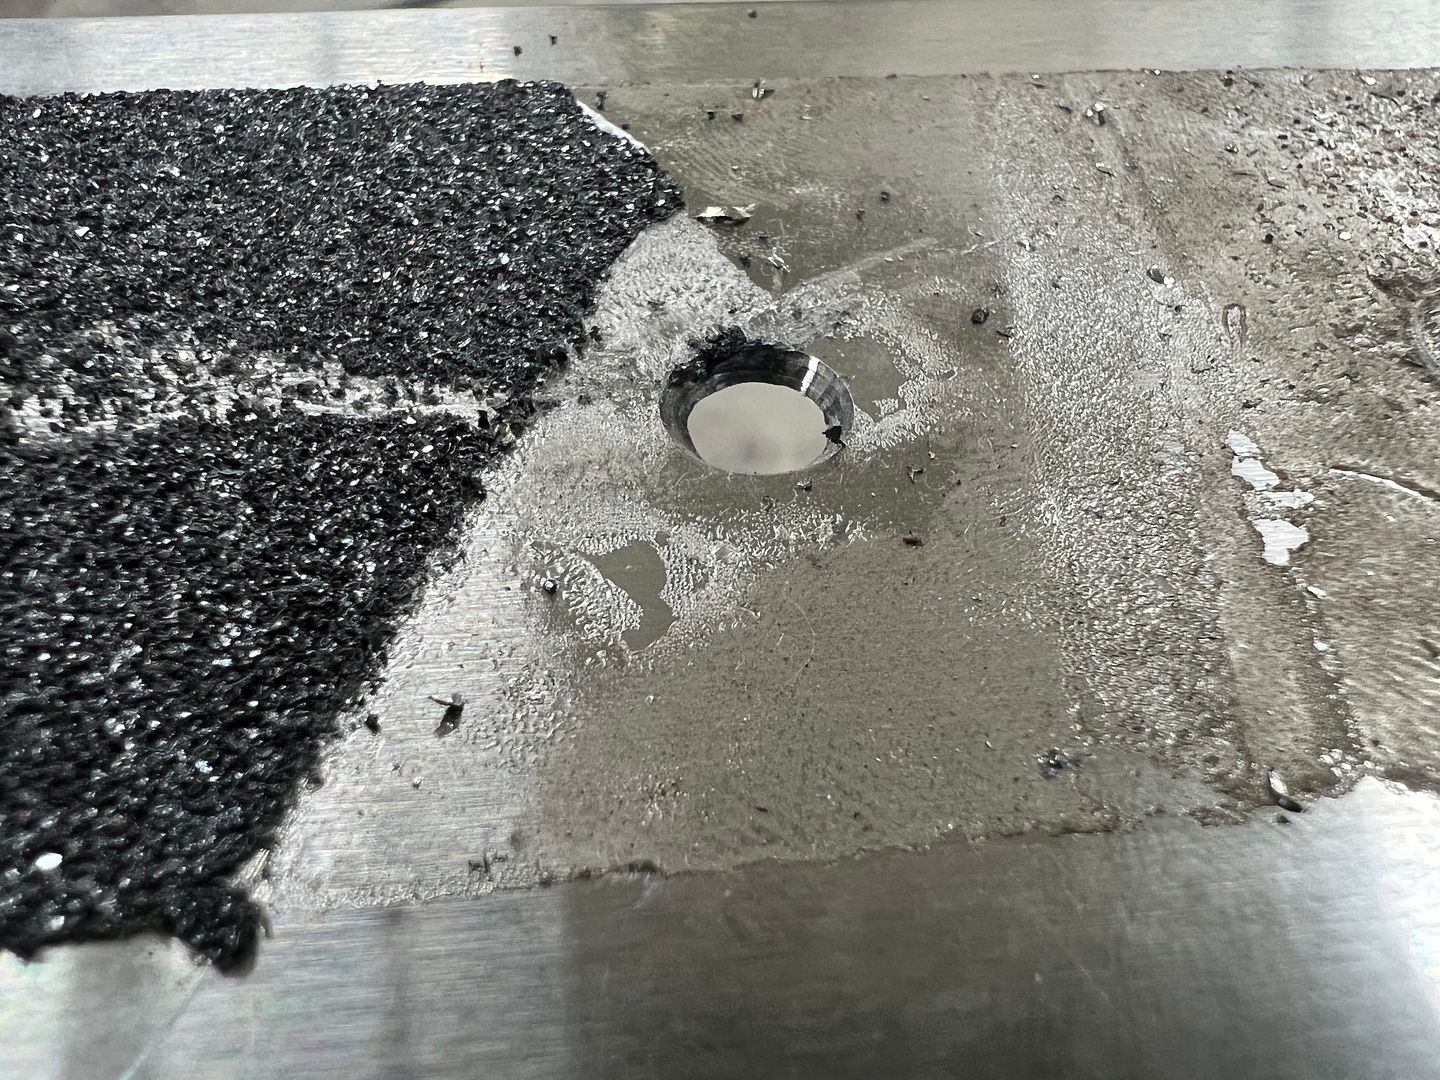
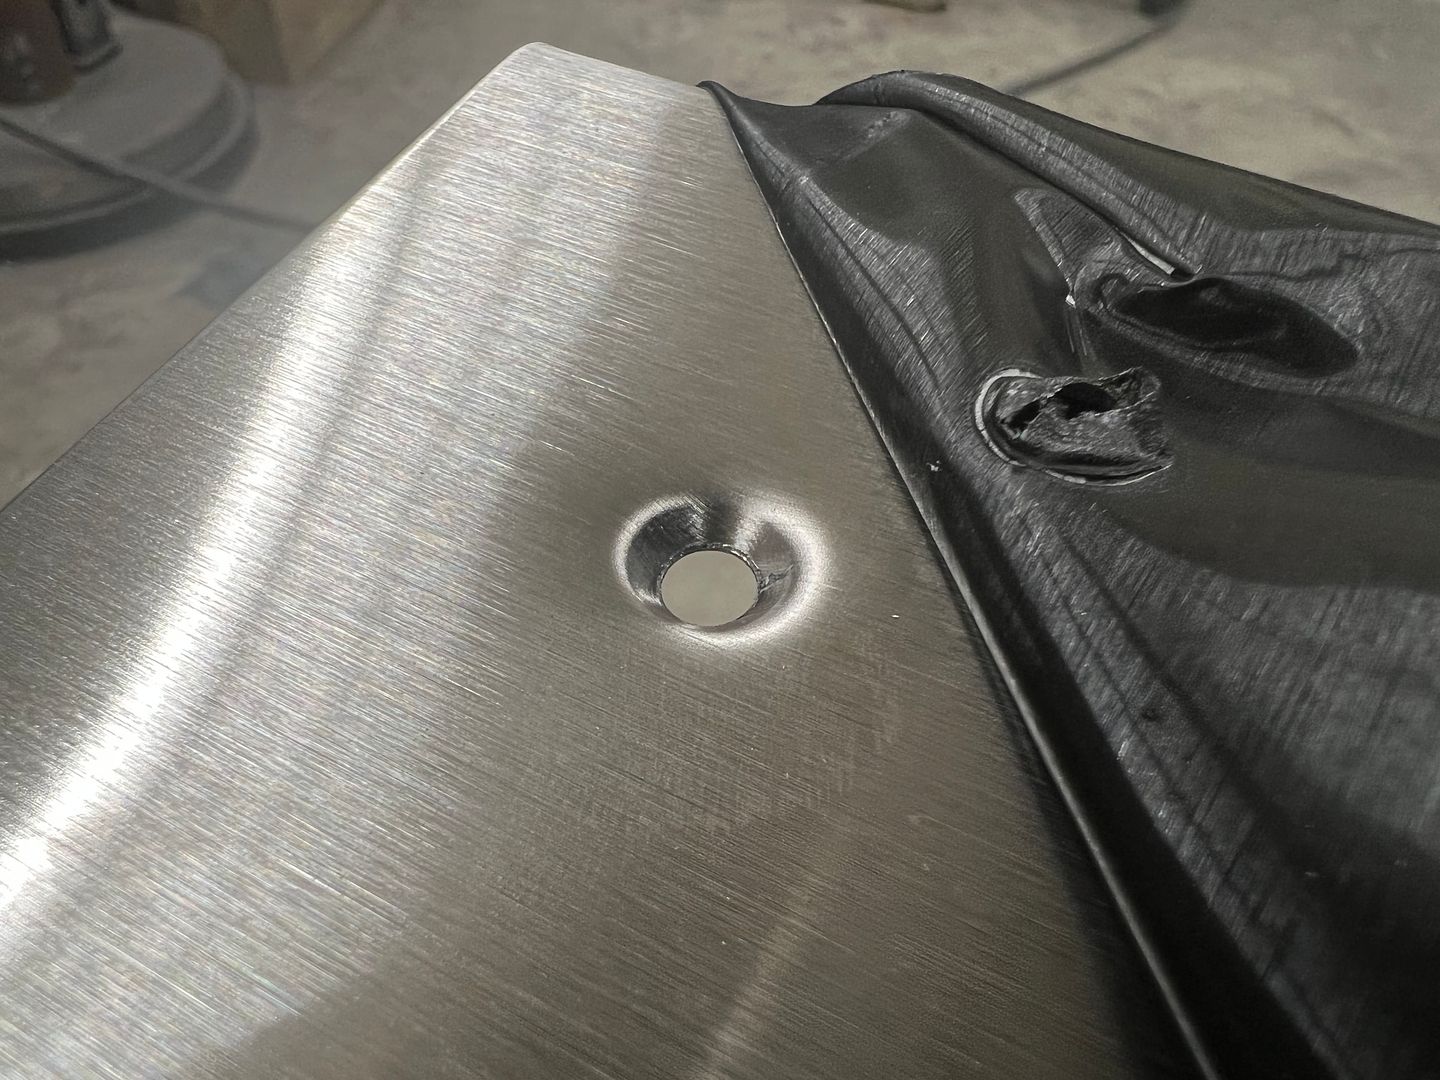
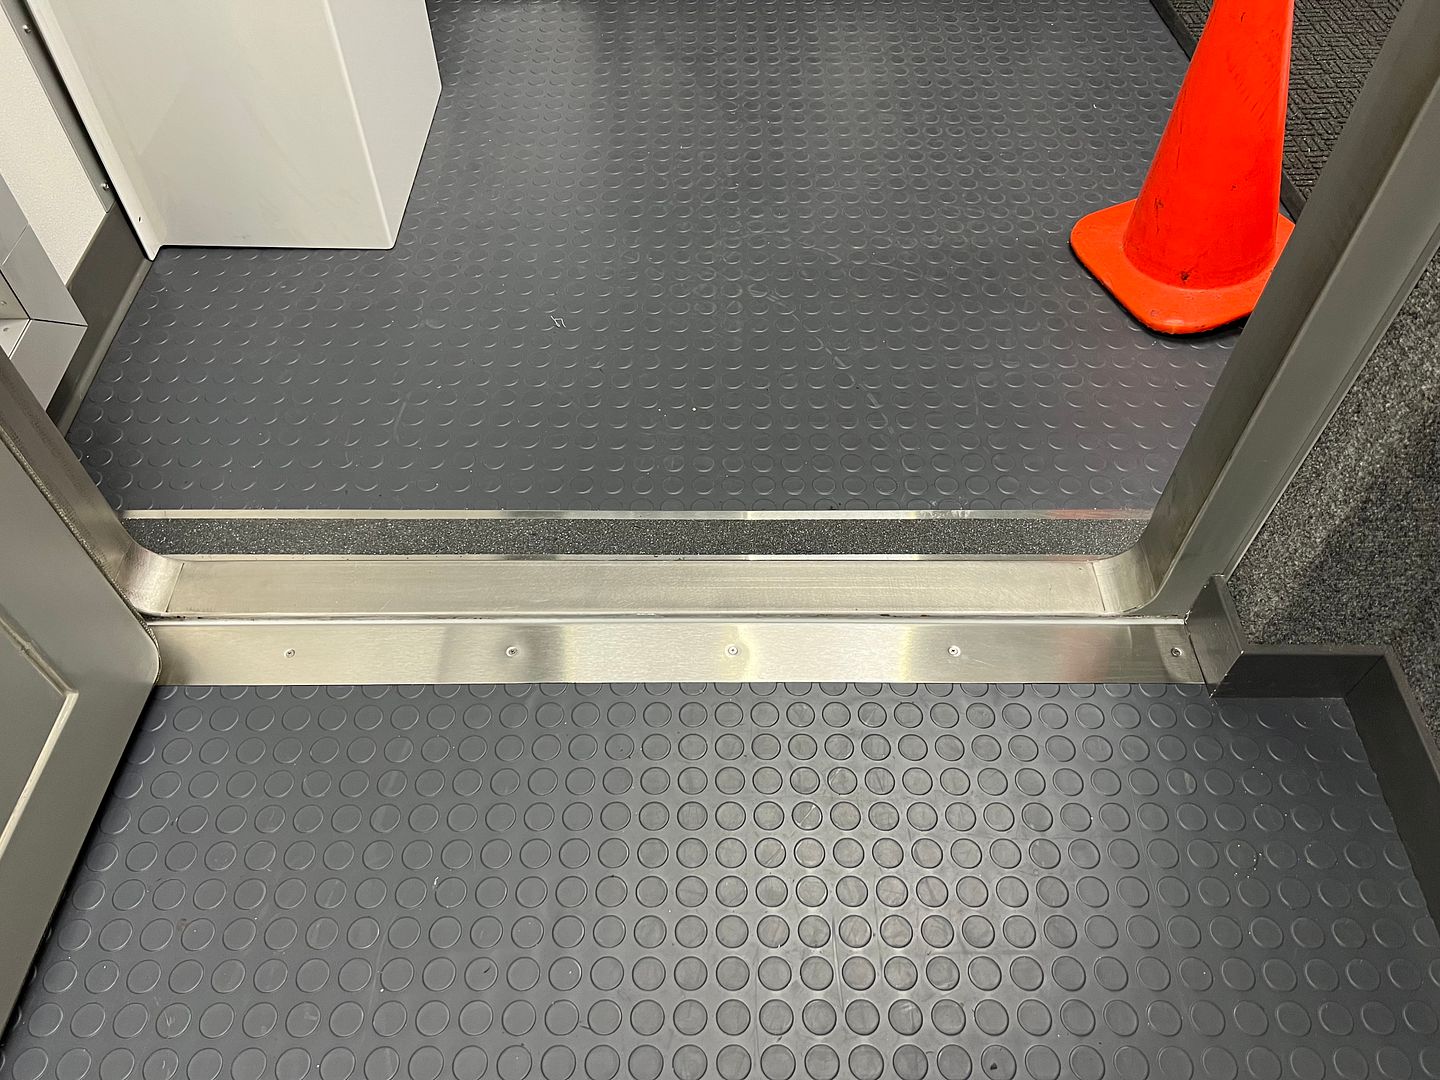
Some more fabrication work for the day job, we had a door seal that was being abraded by a non-skid strip on the threshold, and wanted to drop it down some as well for better clearance. So a new threshold was made from 16 Gauge #4 brushed stainless. Where the old used countersunk holes for the #8 screws, we opted for the more correct version of dimpled holes. Provides more contact area for better seated hardware.
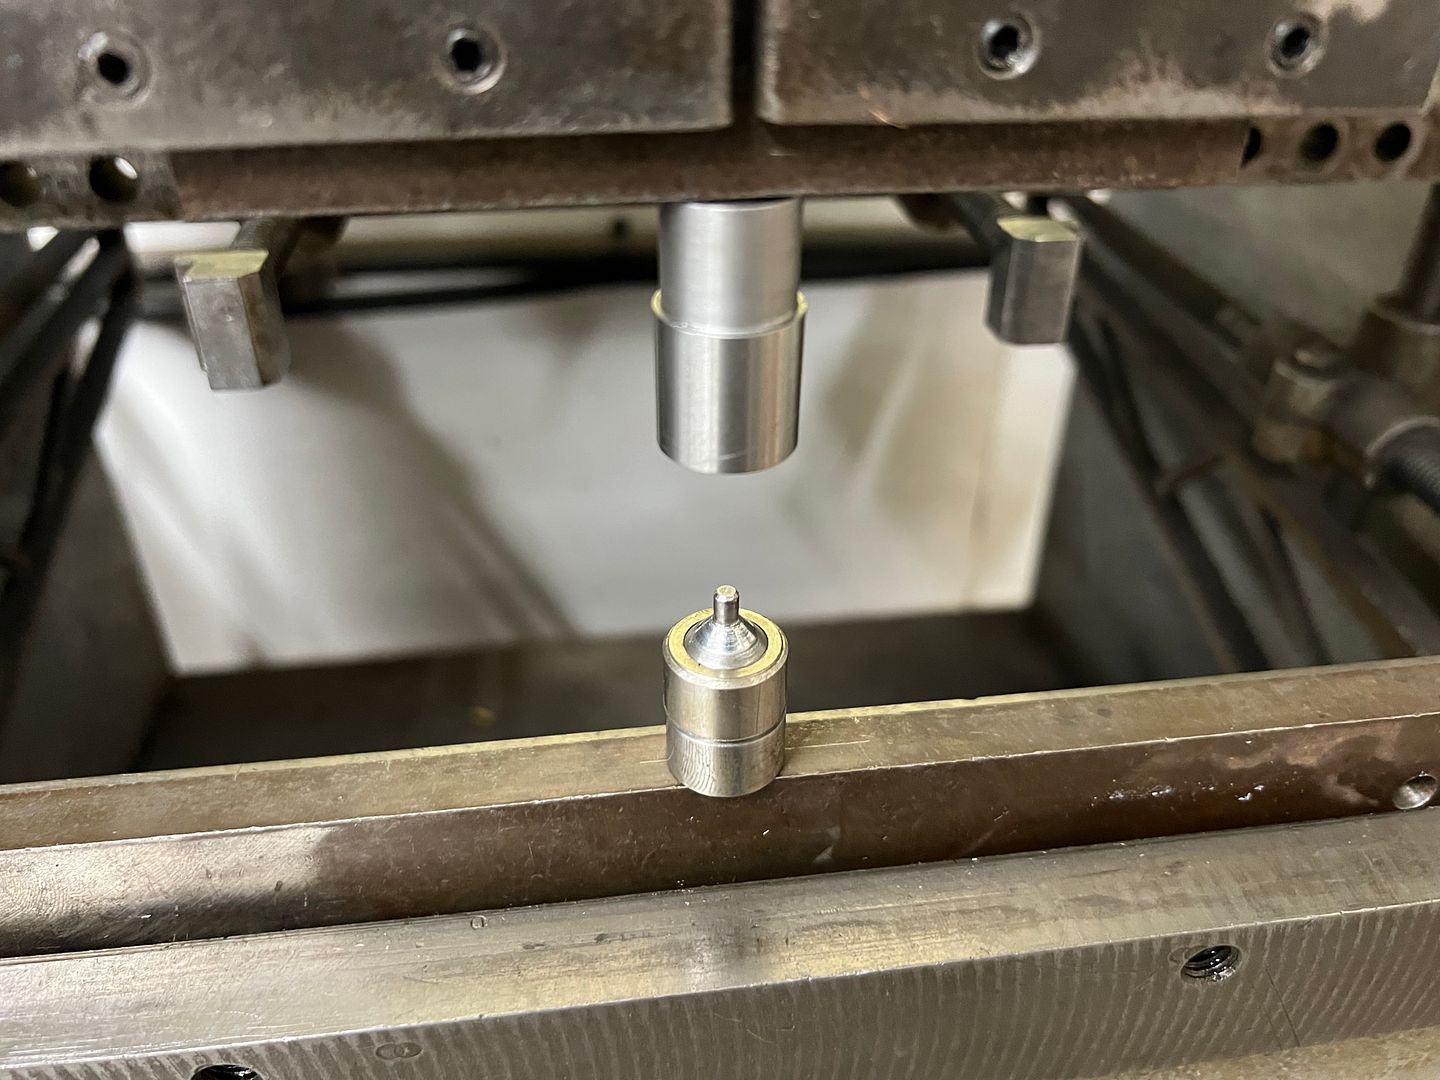
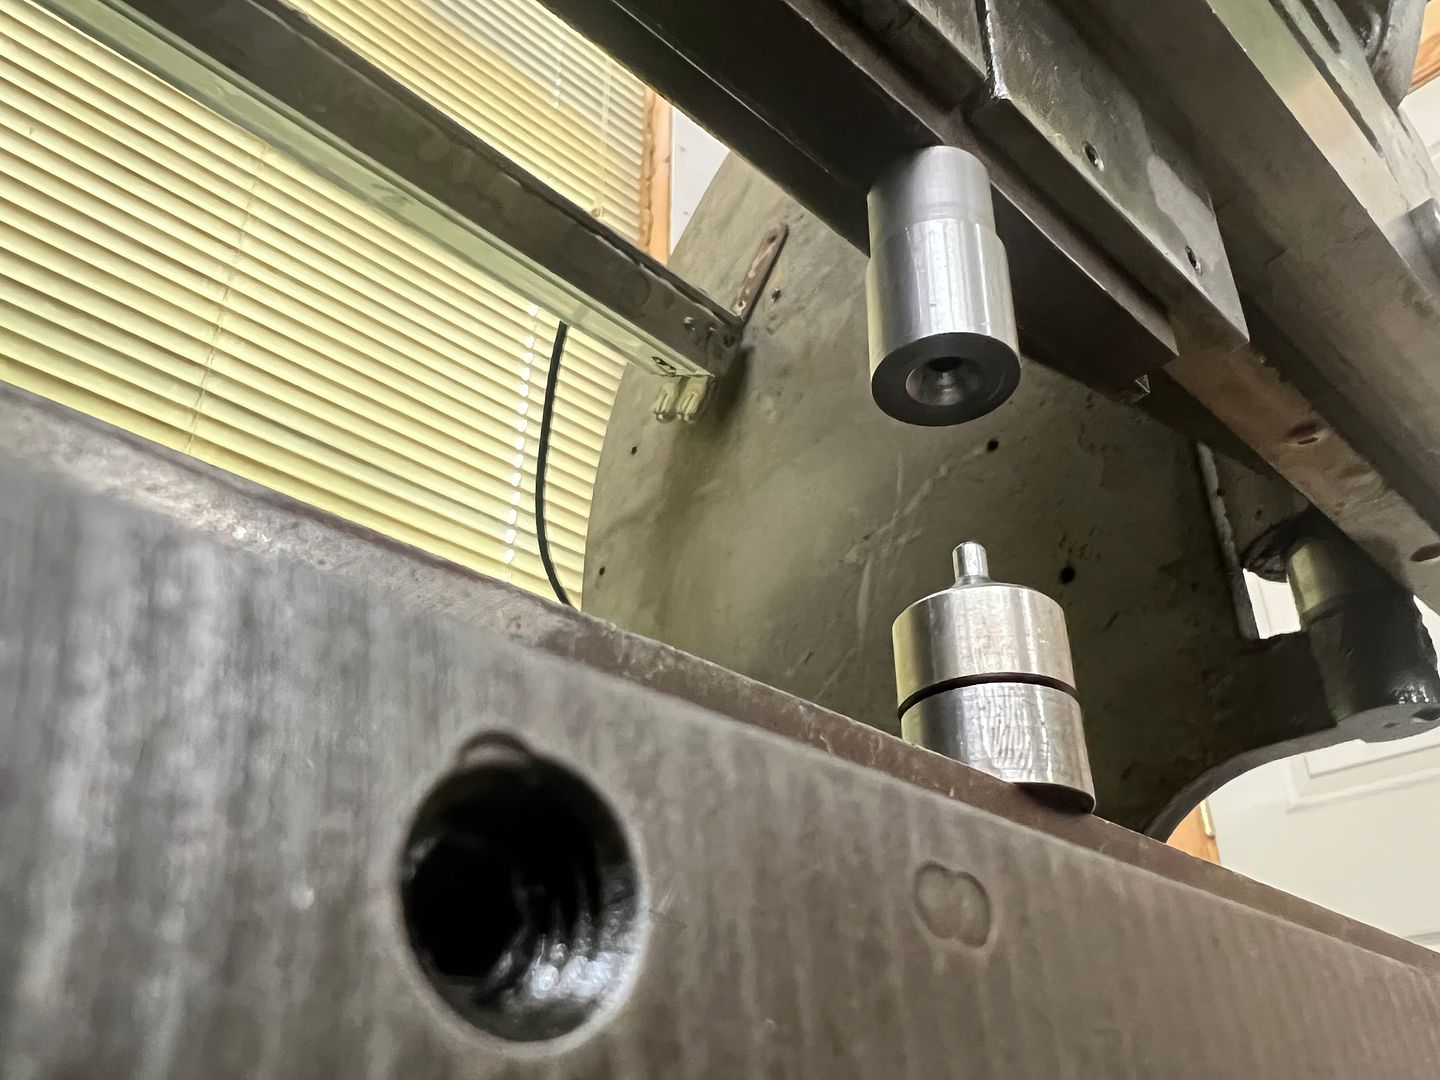
Dies were made for the dimpling process, they used a 1/4" shank just pushed into a drilled hole in some bar stock vs. welding together. This will allow quick changeout for other sizes/shapes of dies for use in the press brake.
 https://youtu.be/FafzVr8eTPM
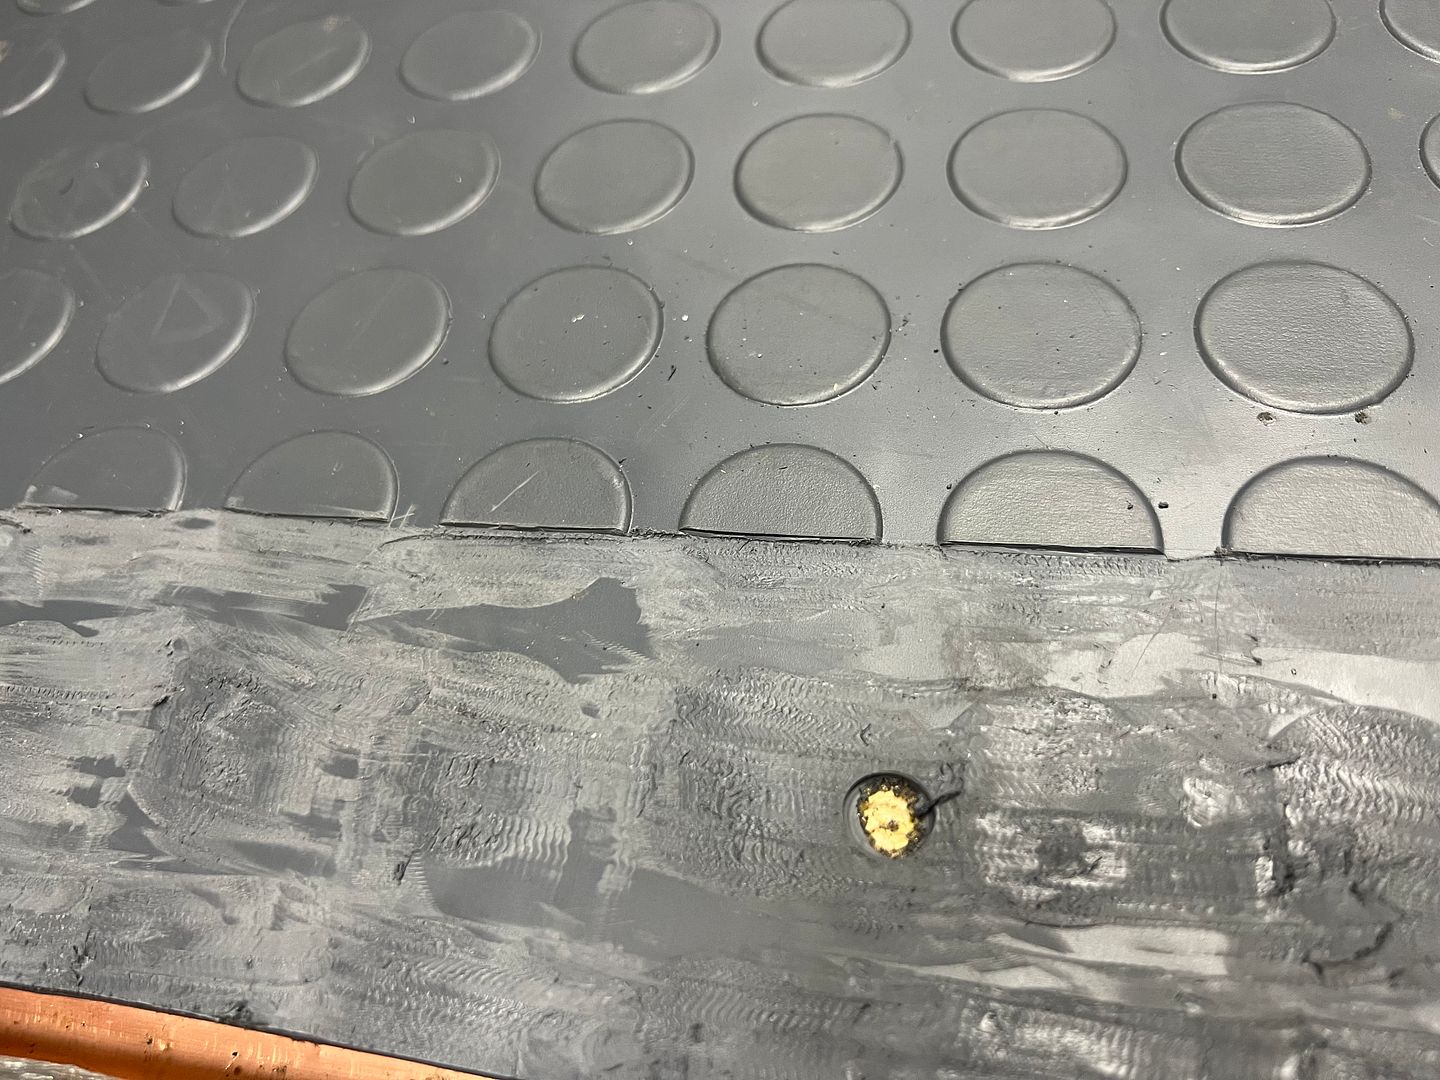
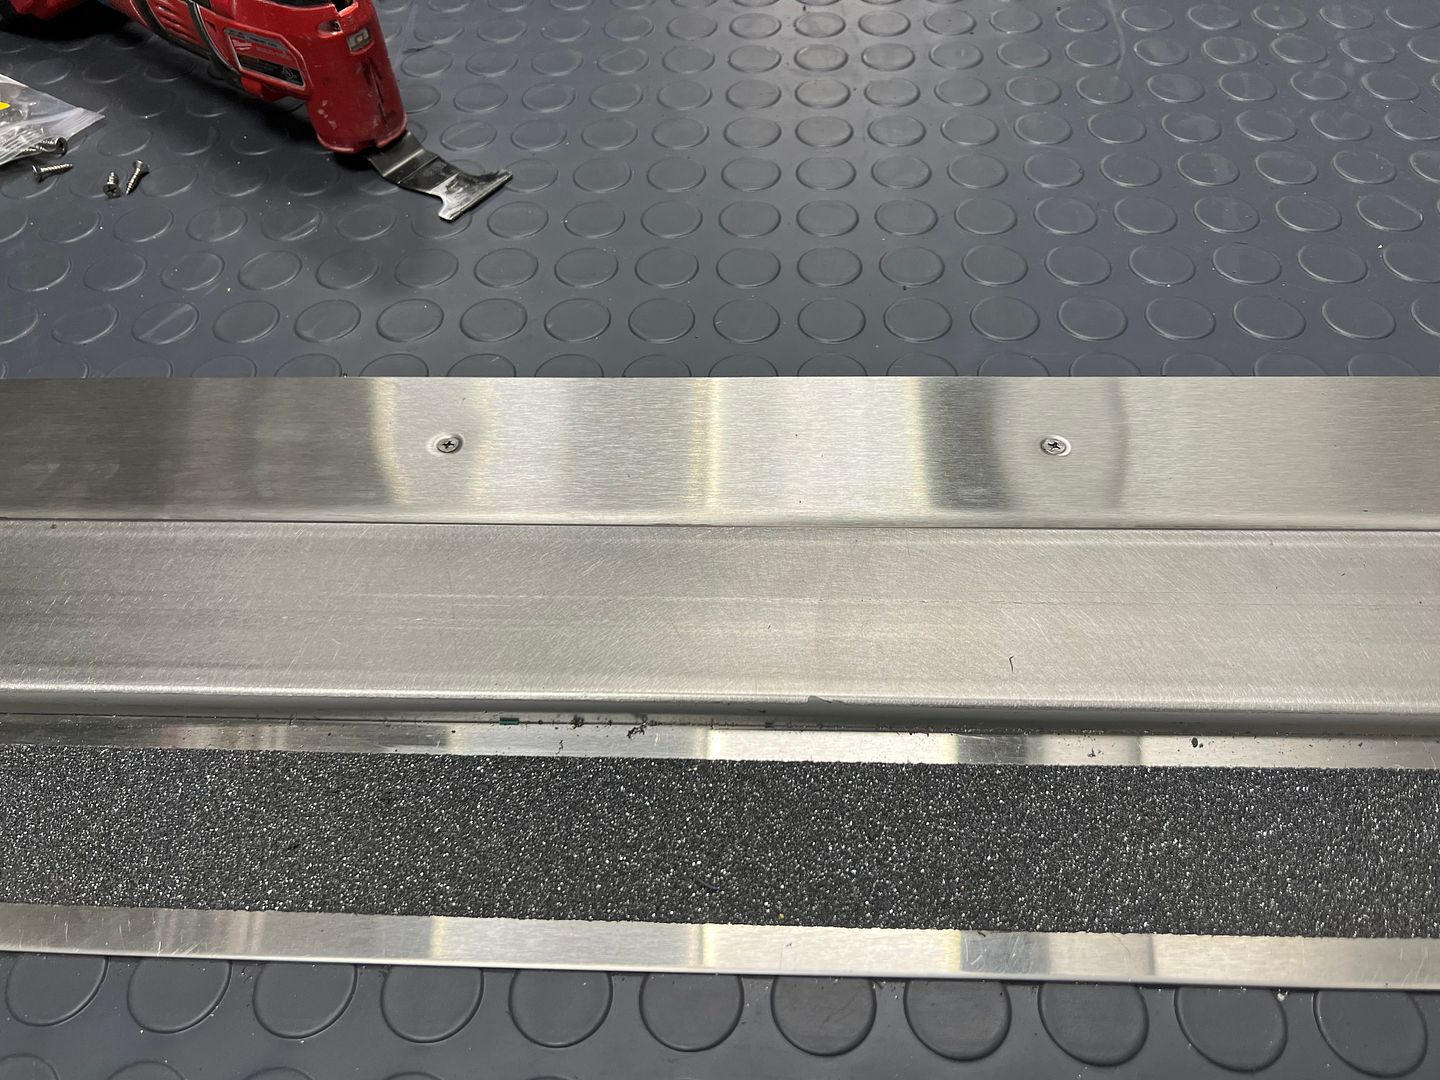
Next, to gain a bit more clearance for the door seal, the new threshold was located and the protrusions of the rubber flooring were scored with a utility knife at the threshold edge. Next, we used a multi-tool to shave down these protrusions that would be beneath the threshold. This wasn't much, but better than what was there before.
Back on wagon duty, we've been continuing on stainless polishing. We had been doing some of the shorter sections by sanding on top of my 4 wheel shop stool as it has a nice flat top surface.
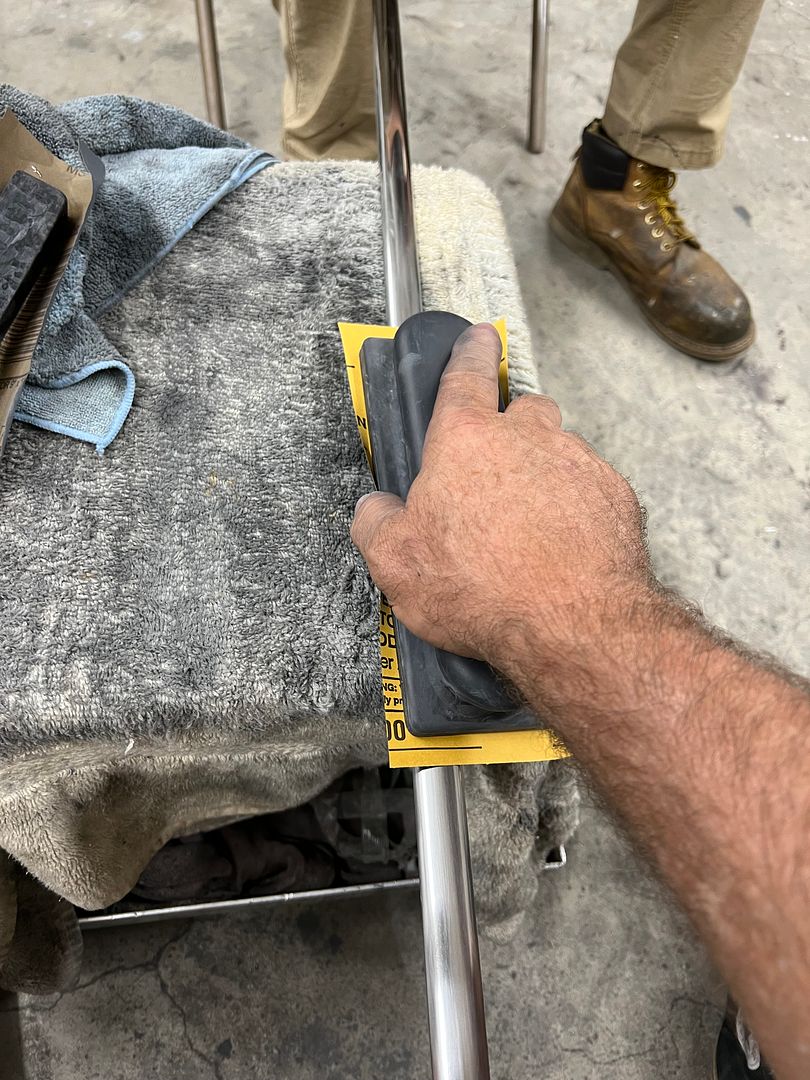
Once we got to the longer sections of trim, this became too cumbersome, so some 1/2" MDF was repurposed as a "holding fixture" while we refined the damaged scratches and dings. A Black Diamond longboard was used with 500 grit PSA paper to highlight any low spots, high spots, or other carnage. Then some LIGHT DUTY metal bumping to address the issues and a repeat of the highlighting sanding. Once all the defects were addressed, we then worked progressively through 600, 1200, 1500, 2000, and 2500 w/d paper. Then 3000 and 5000 Trizact, and finally on to the buffer.
https://youtu.be/THKxgvIdVZw
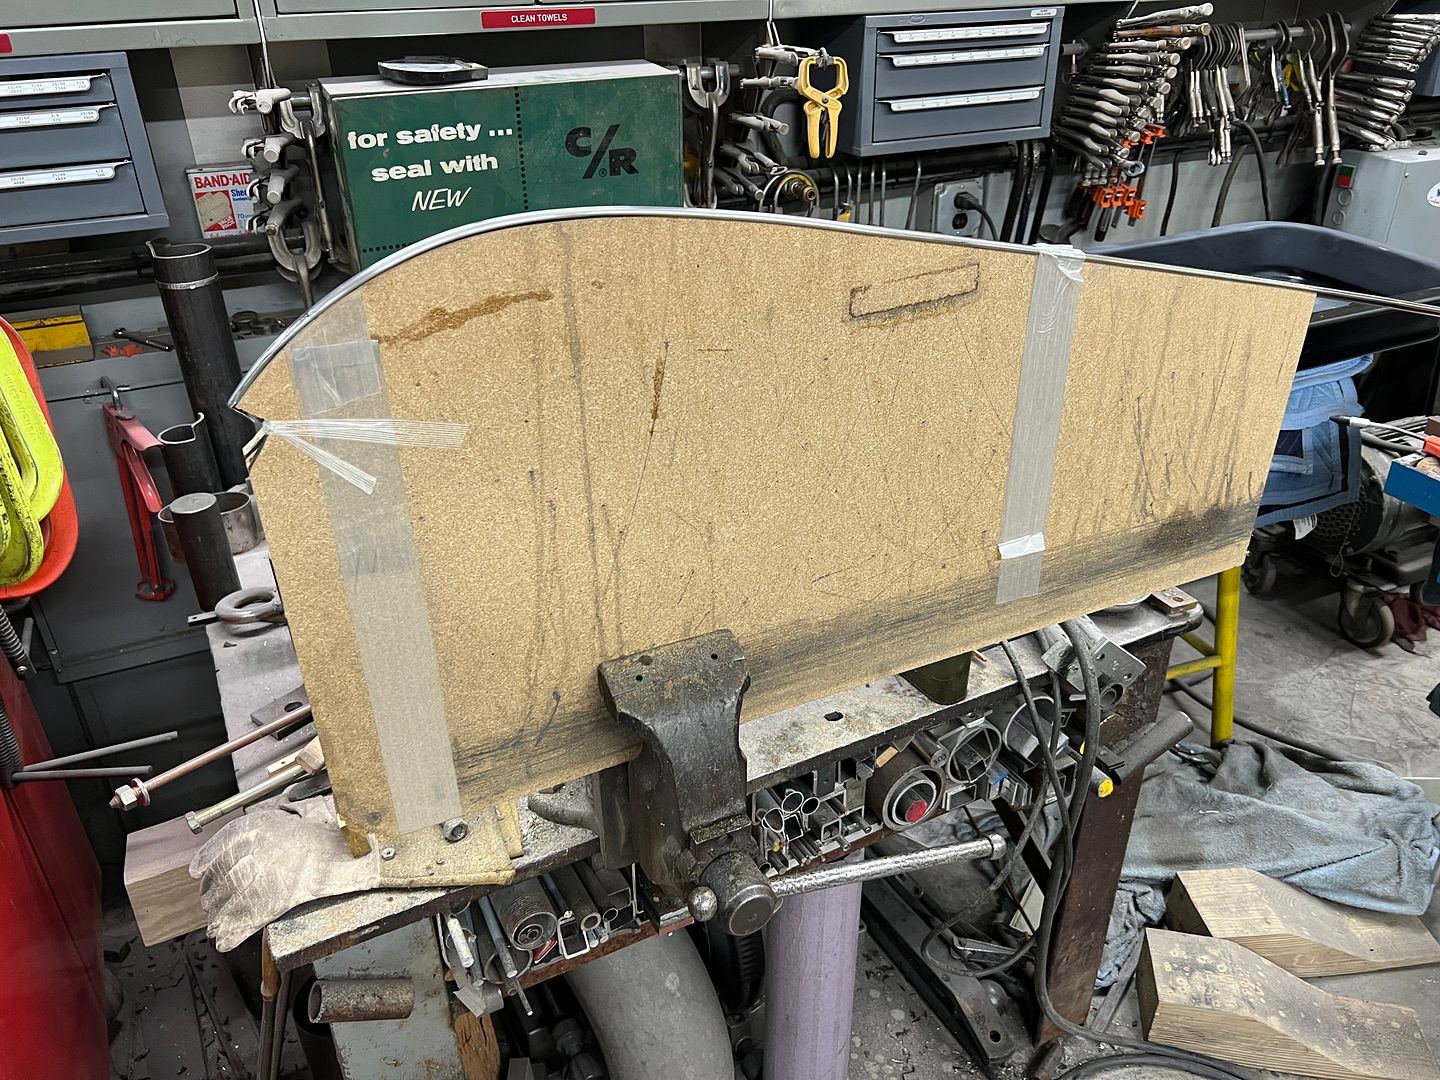
A modification of our "fixture" to hold the curved end of the trim...
 https://youtu.be/N5cgoFXjCDk
https://youtube.com/shorts/tViITsStf_A?feature=share
https://youtube.com/shorts/zYWU_zc4q1w?feature=share
Jared helps out here to help stabilize the skinny trim and keep it from flopping around. Once quick mis-step at this point is about an hour minimum of recovery.
https://youtu.be/Q0h6FuKog44
Nice reflection of the door opener in the ceiling after buffing...
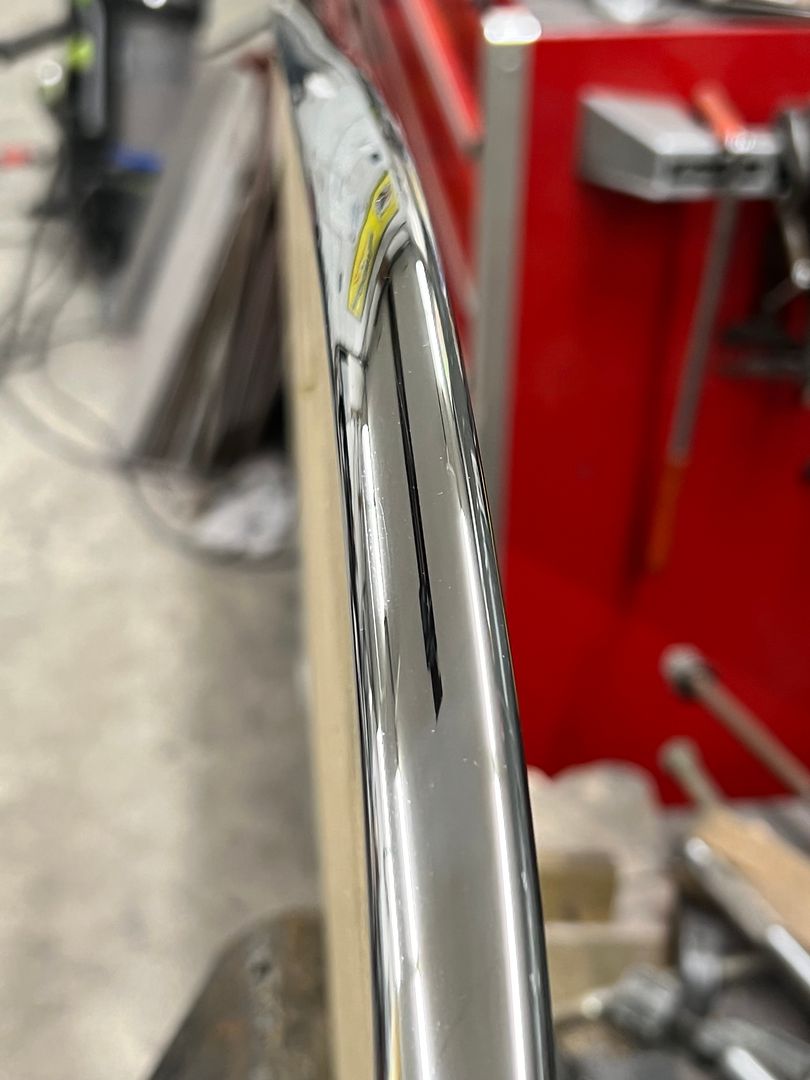
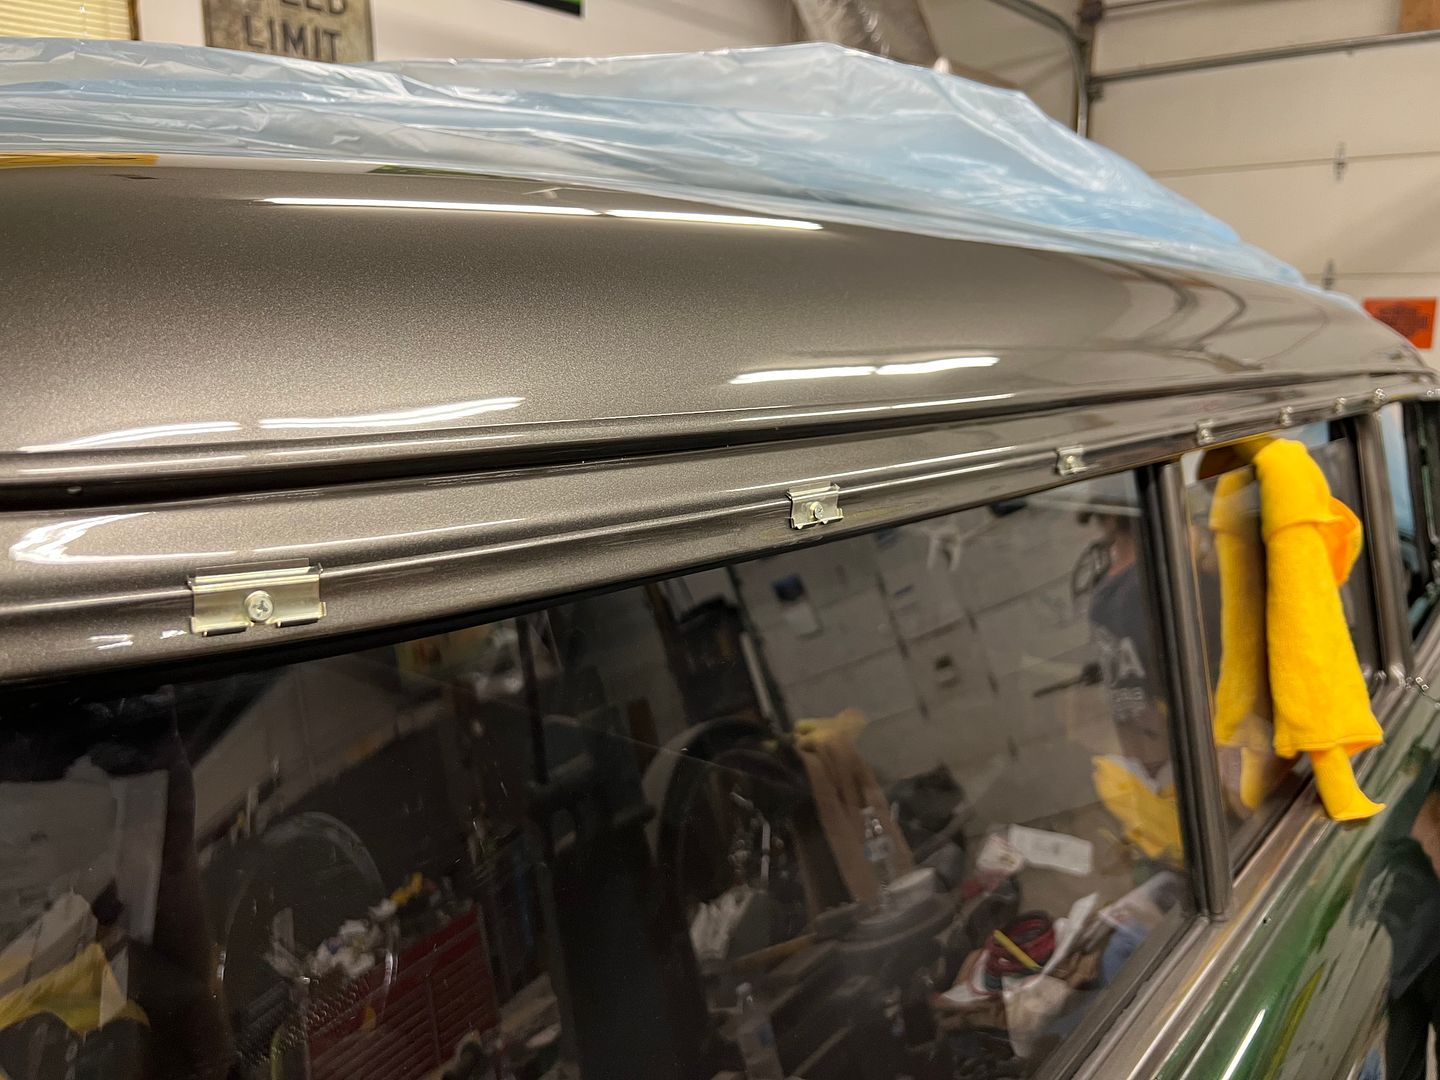
trim clips added...
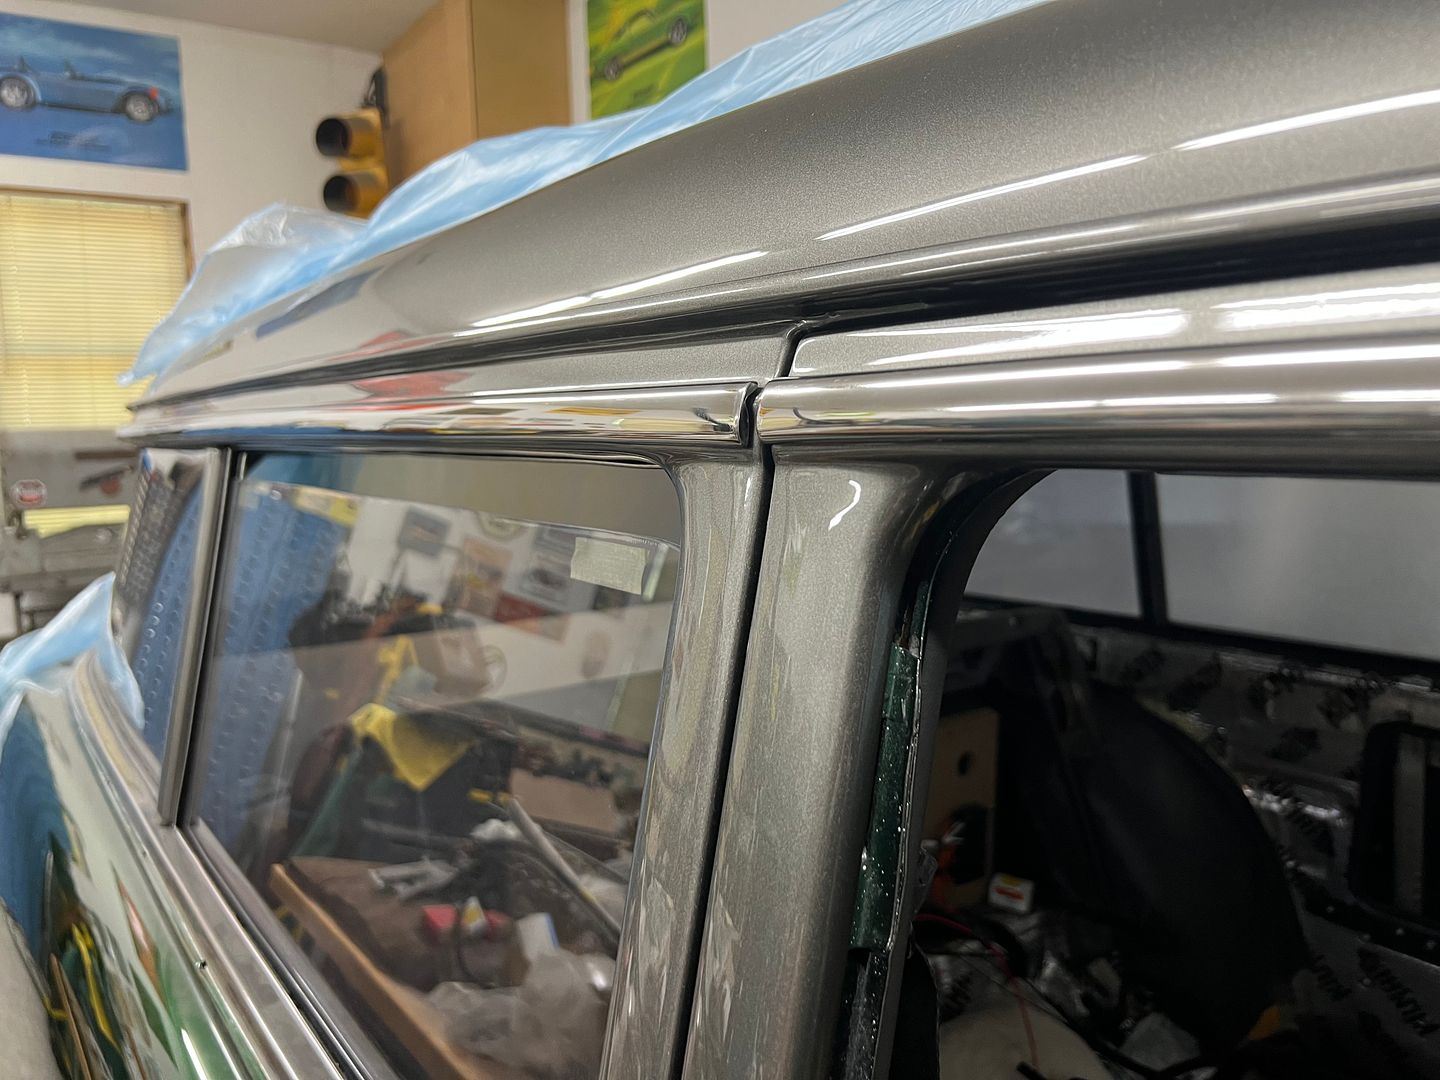
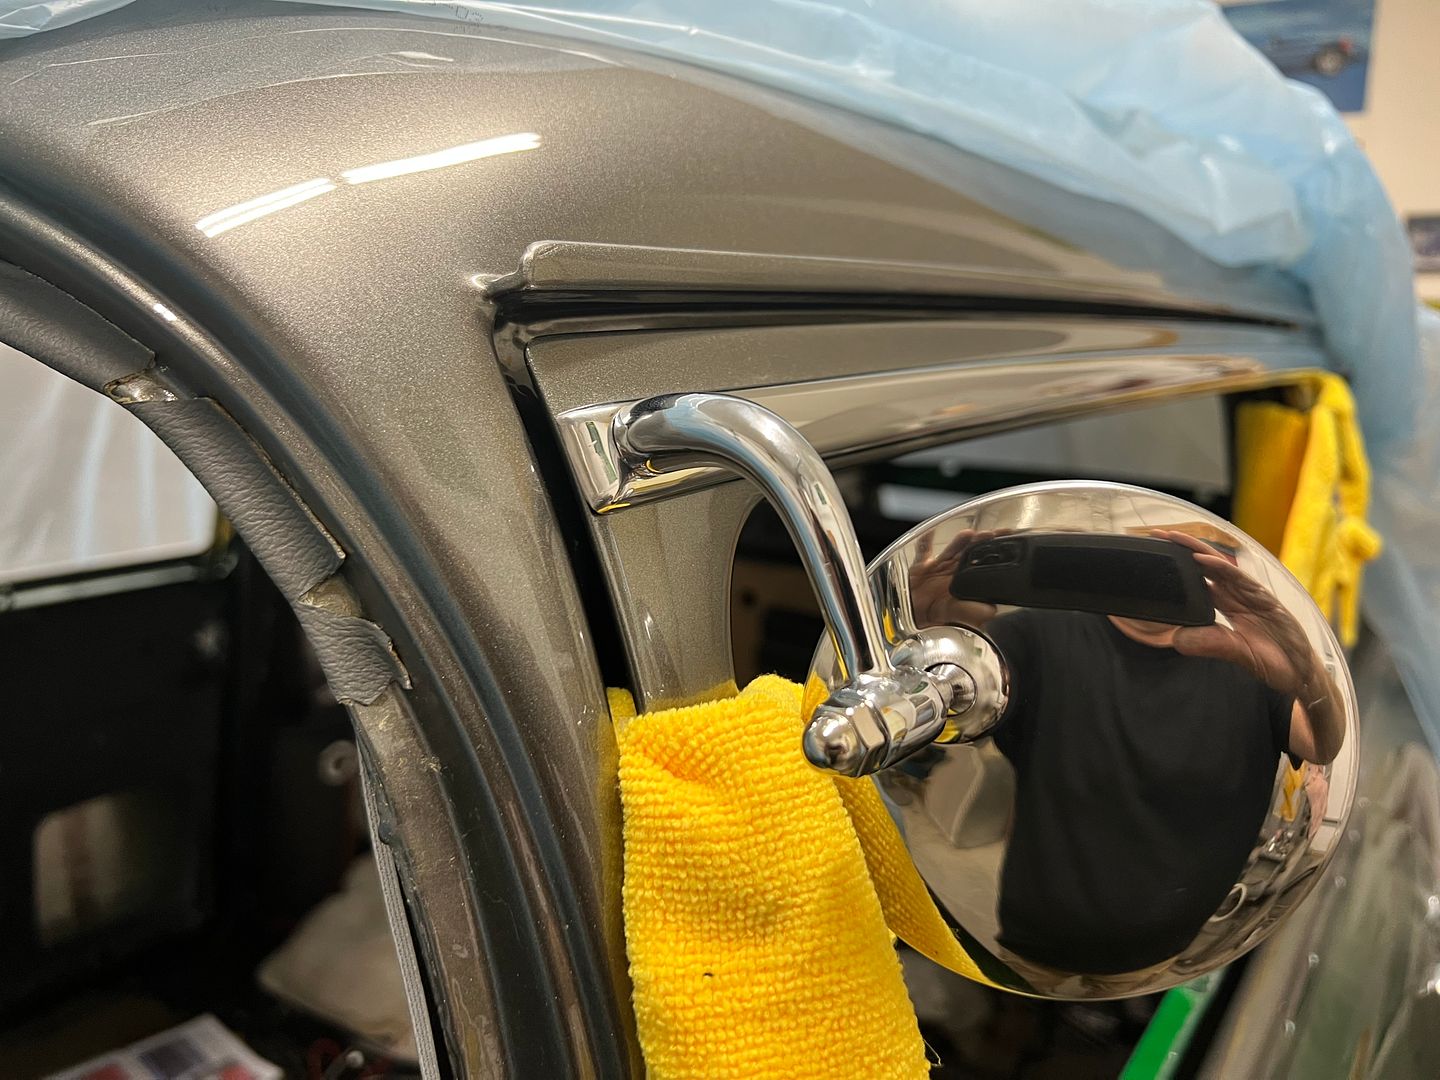
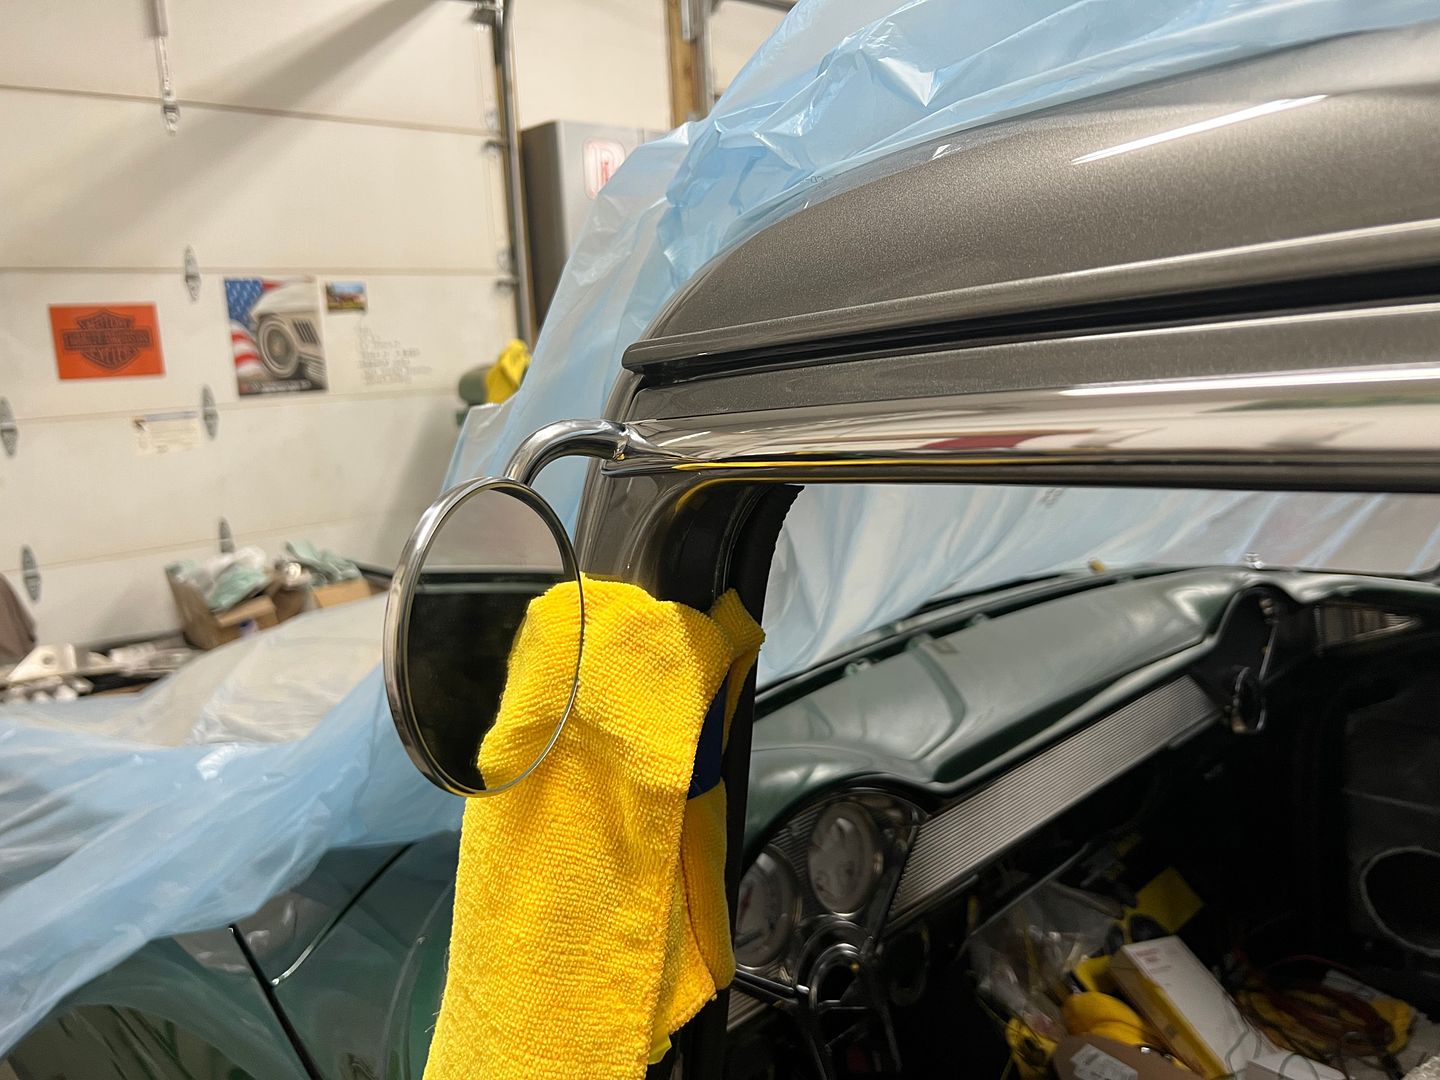
...and our driver's mirror added...
