Continuing.....
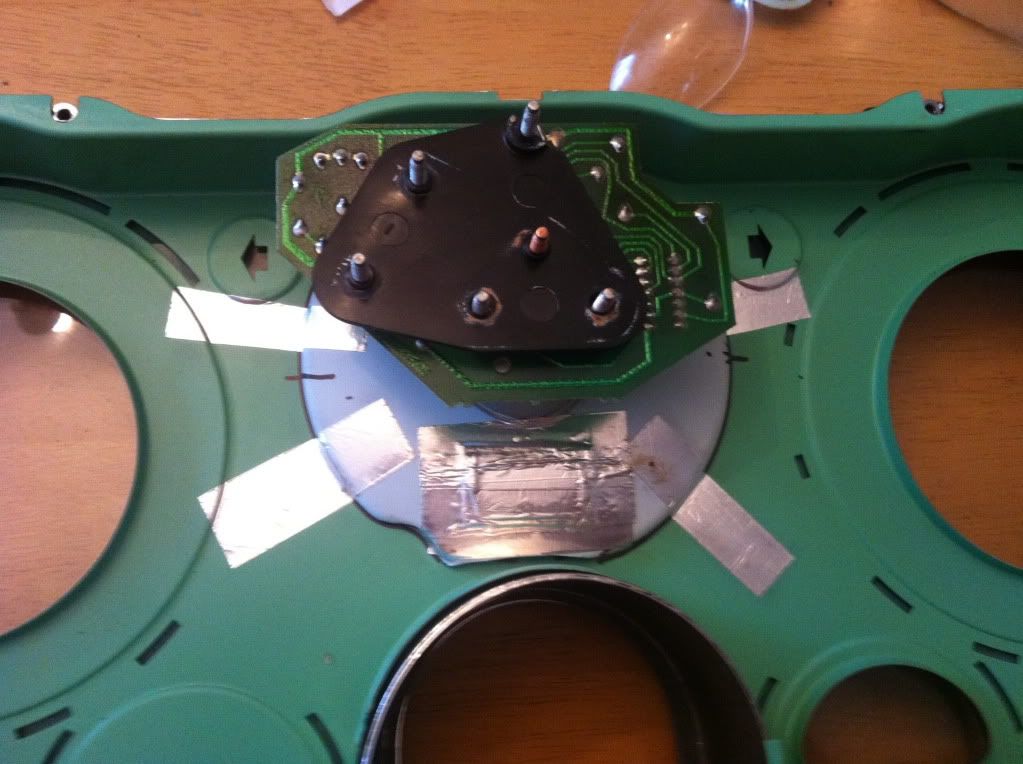
I got the tach positioned, marked the placement, and used some flashing tape to hold it in place. That stuff sticks to everything, and isn't affected by the heat... In case you missed the portion.... It gets hot here. I also taped the red "oil" light lense in place just to fill the void (looks official from front). I rotated these shots before I attached them, but......
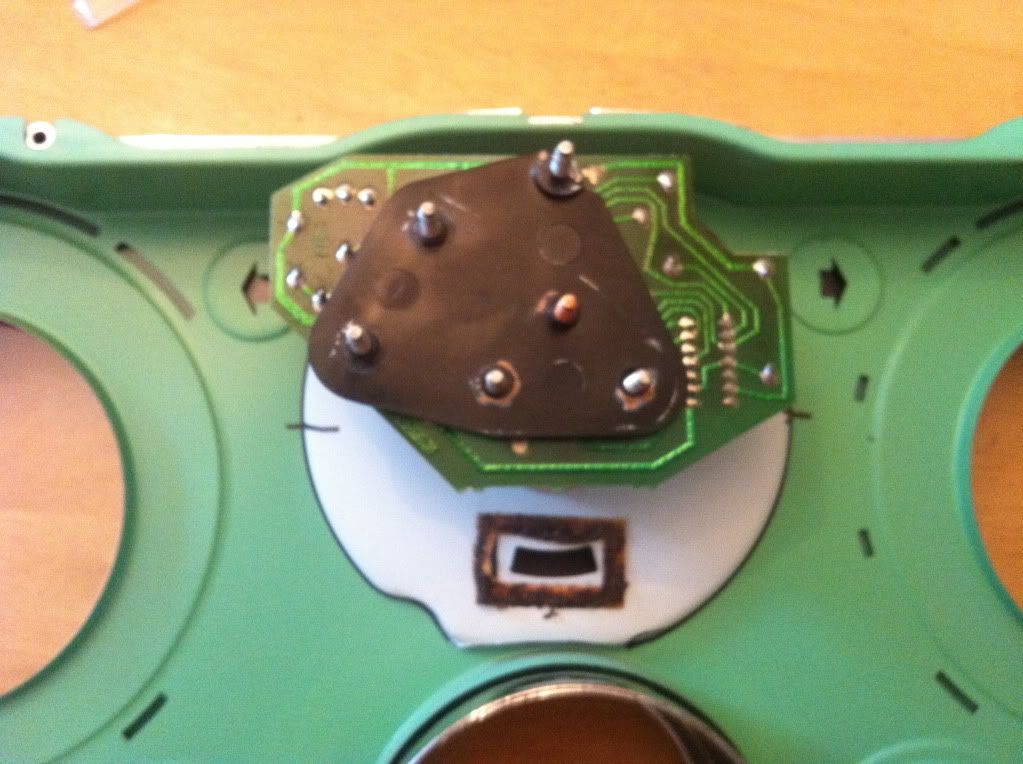
Now here's where I went in my own direction from the instruction in the electrical section. I didn't feel like taking the tach apart, and moving the circuit board. I just opened-up a hole in the backing plate.
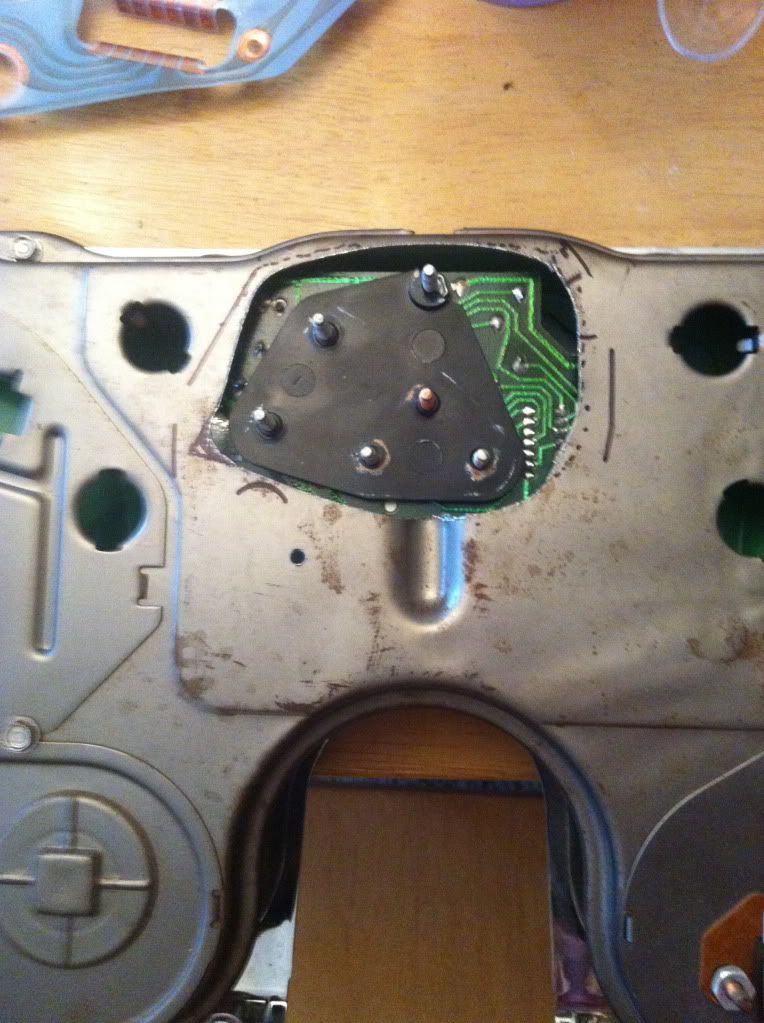
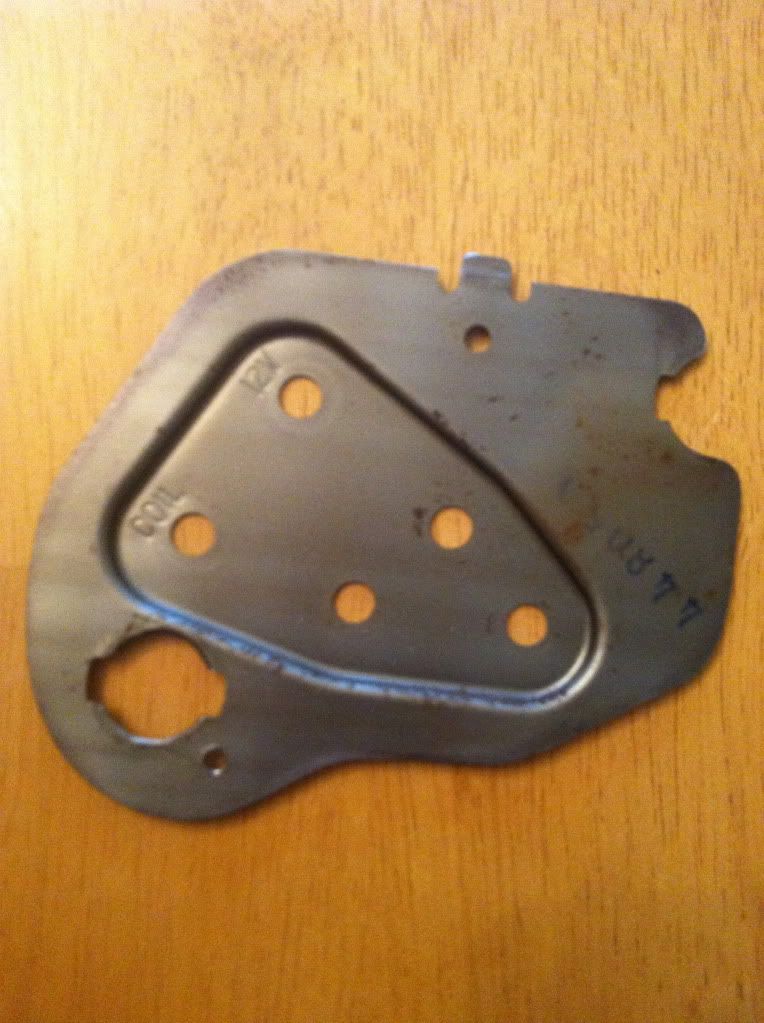
I then used the backing plate that came with the tach, cut it to size, and used to to fill the hole, and support the tach
Two sheet metal screws hold everything nicely in place.
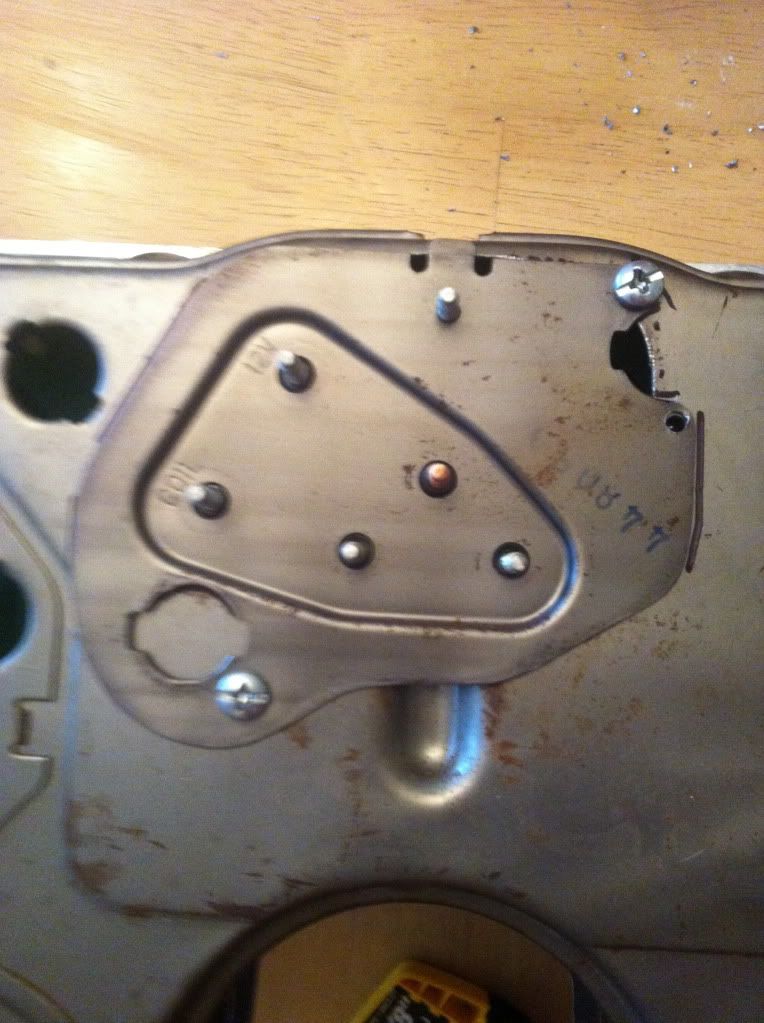
I know. Now how is the dash circuit sheet gonna clear those posts? A few simple relief-cuts with the razor blade, and problem solved.

^^^^Anybody catch those two turn-signal light tubes sitting on the whole assembled cluster ^^^^
Ya.... Me niether

Well here's the finished product... Not to bad. I just hope I got a working tach off of eBay
