Quote:
Originally Posted by Dieselwrencher

Very nice work on the cab and paint work! I love what you're doing with it! Nice choice on the intercooled VE! I don't know where you read or heard that these like to run away but I have to call BS on that. Now, if the turbo starts blowing oil out of the compressor side, it could run a way. But it is not a common thing on them. As far as the flywheel, you'd probably still use a 1st gen flywheel. I am not sure as I never used that adapter. For a clutch fork call this guy and see if he has one. Mark 402-780-5127. If he doesn't have one, he probably can find one.
The alternator and ac were operated by the computer on the first gens. You can get a 1 wire alternator for these, or use a mid 90s Ford F250 external voltage regulator. I have some info in the Diesel conversion section of this site on them.
I think I remember you put a newer steering box on this truck? If so you can use the lines from a square body with a hydroboost. You will have to tweak them to fit nice in there but they work.
If I was you I'd get a 2nd gen radiator and intercooler and modify your radiator support to fit them in. I used a stock 4 core BBC radiator in my 72 and I will be putting a 2nd gen dodge one in eventually. My truck will run warm when hauling 5th wheels. Hauling 20k open trailers it is fine. But that wind resistance makes it work more and my engine isn't stock so that doesn't help either.
|
Thanks I'm happy with how the cab came out. I have seen a few threads on cummins forum talking about it running away and I have seen a few videos as well. As far as the flywheel I went with the second gen So I can go with a second gen clutch. I ended up buying a bellhousing with a clutch fork. I also found a 1 wire alternator conversion kit to convert the stock alternator to one wire. Yes I have the newer steering box but I will have to buy the lines. I'll look into getting a 2nd gen radiator and intercooler as my core support need a lot of work anyways.
Sorry it been such a long time since I have made an update. Back in september I messed my back up at work. I was in the hospital for a week and had to use a wheelchair for a month. I still not 100% I can't say standing for very long or lift anything heavy. I have a damaged disk in my back. I'm weight on insurance to approve a shot. So I can't really do to much at the moment.
So here are some pics of stuff that I had got done be for I got hurt.
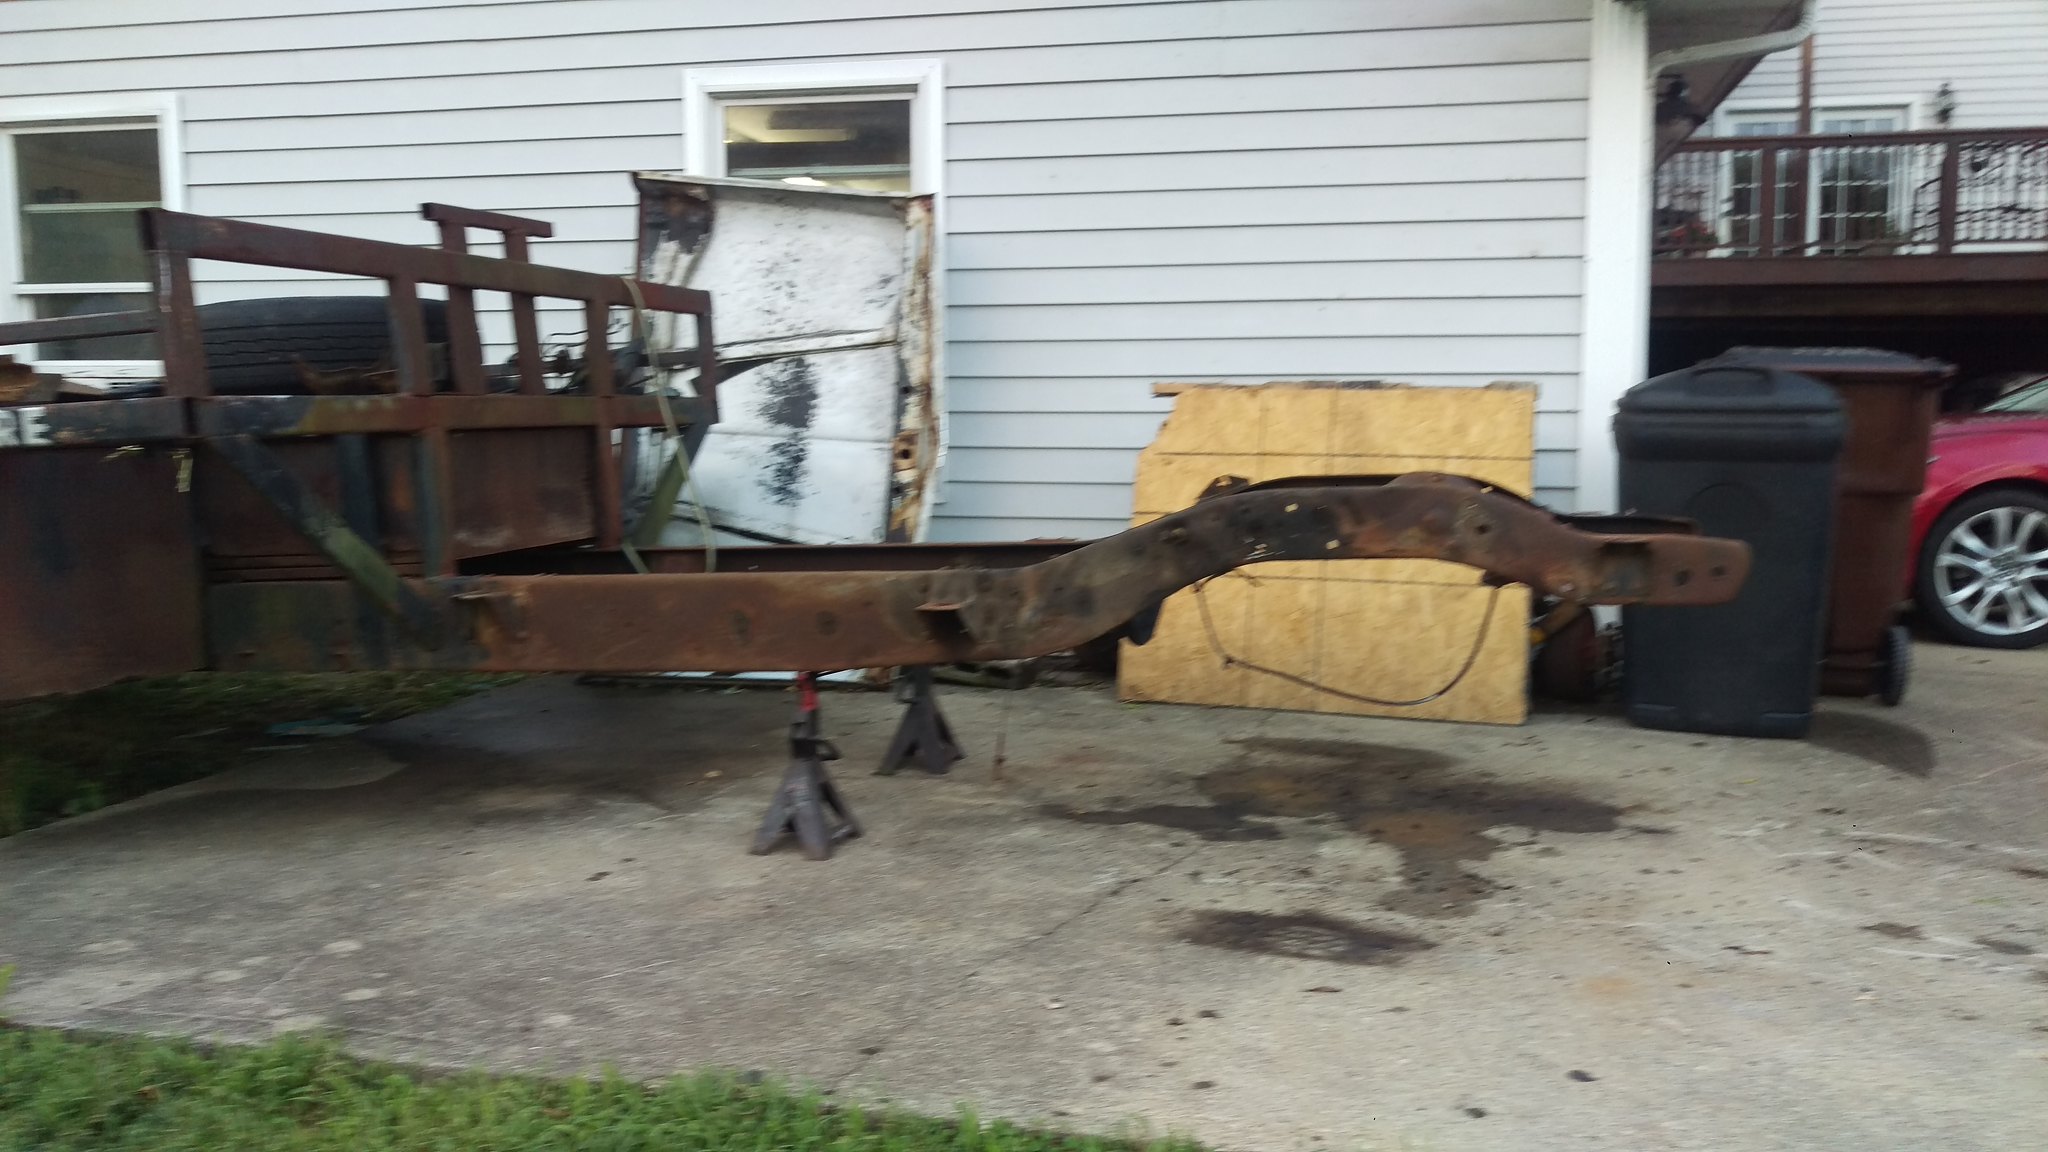
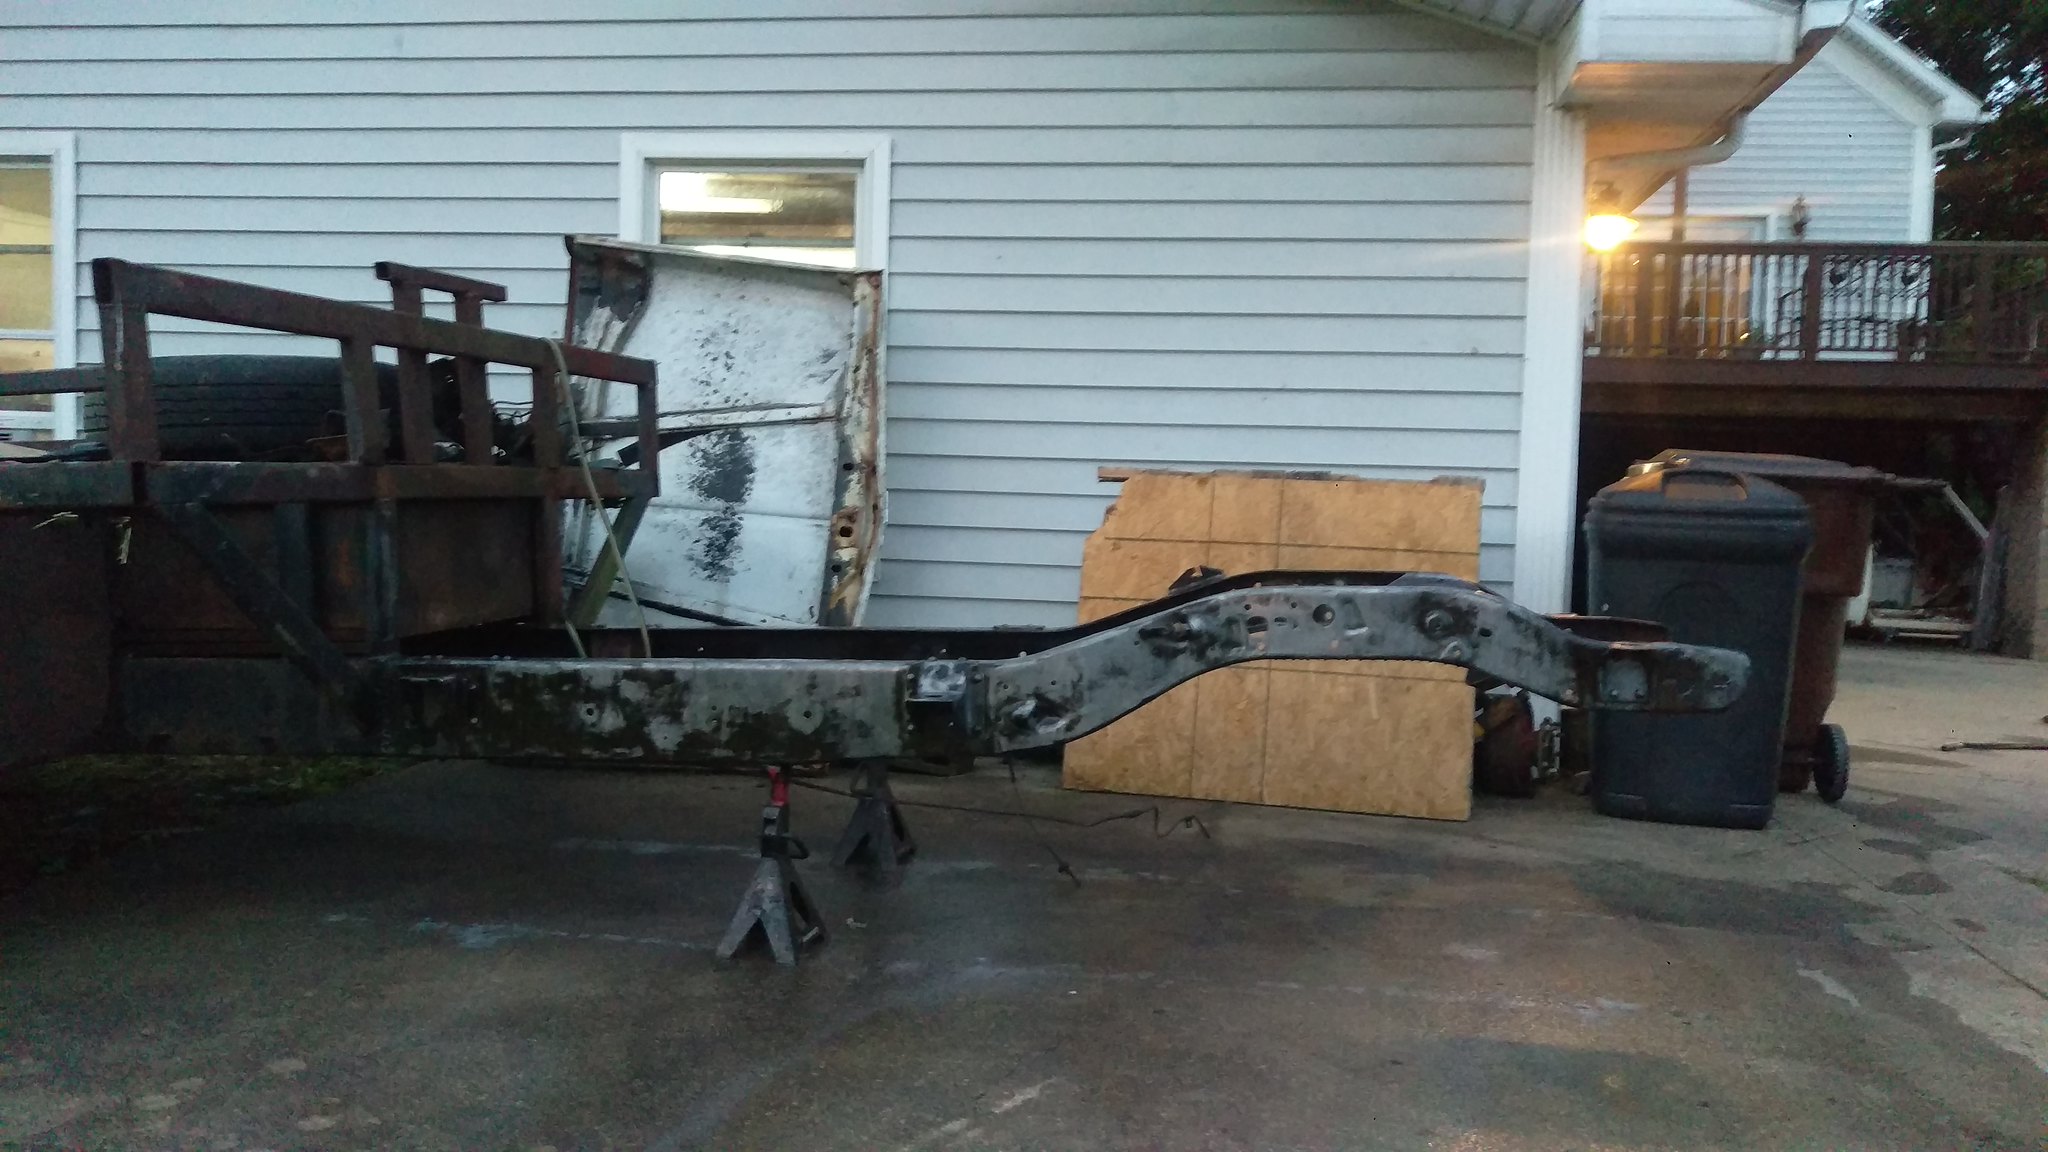
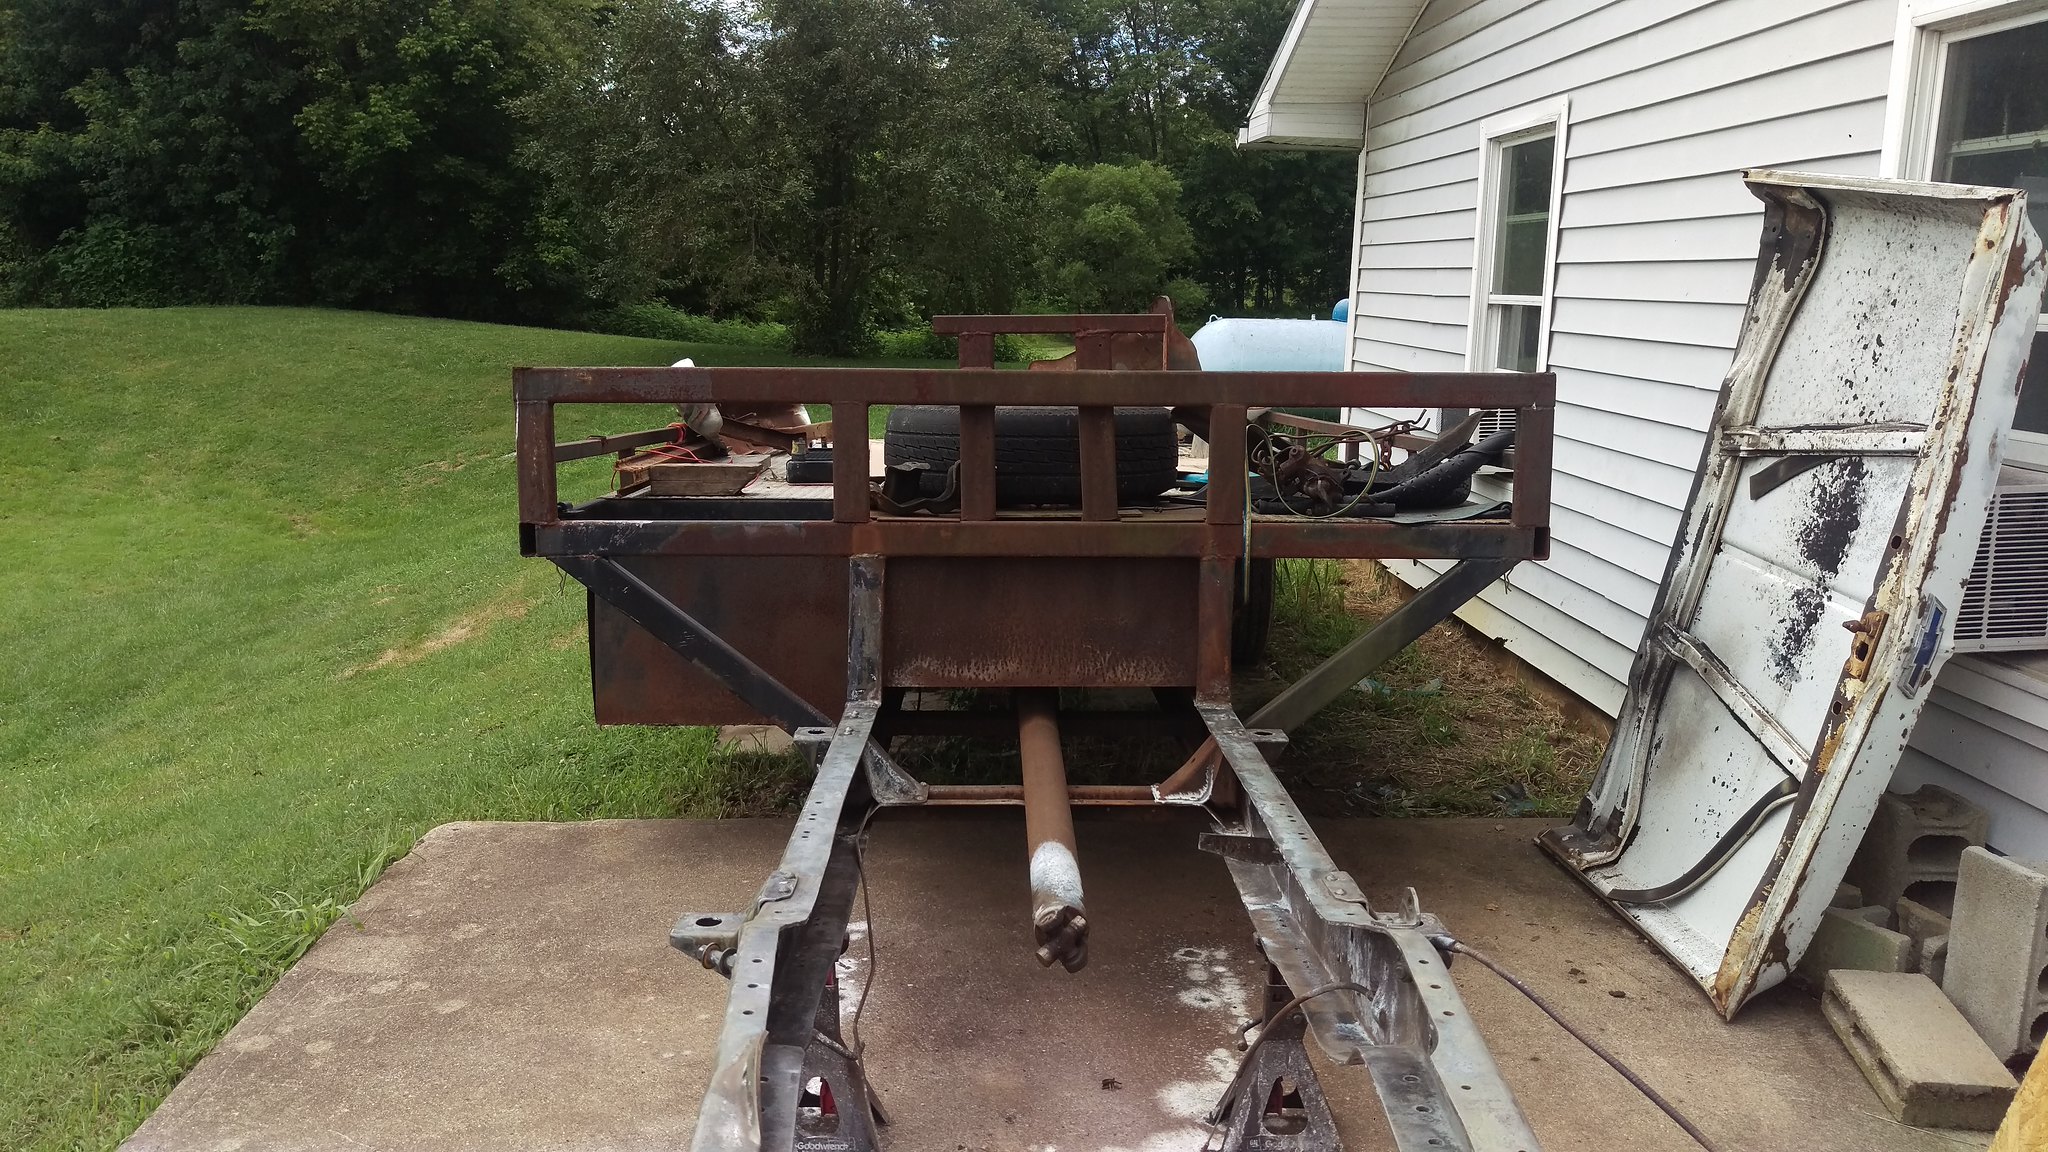
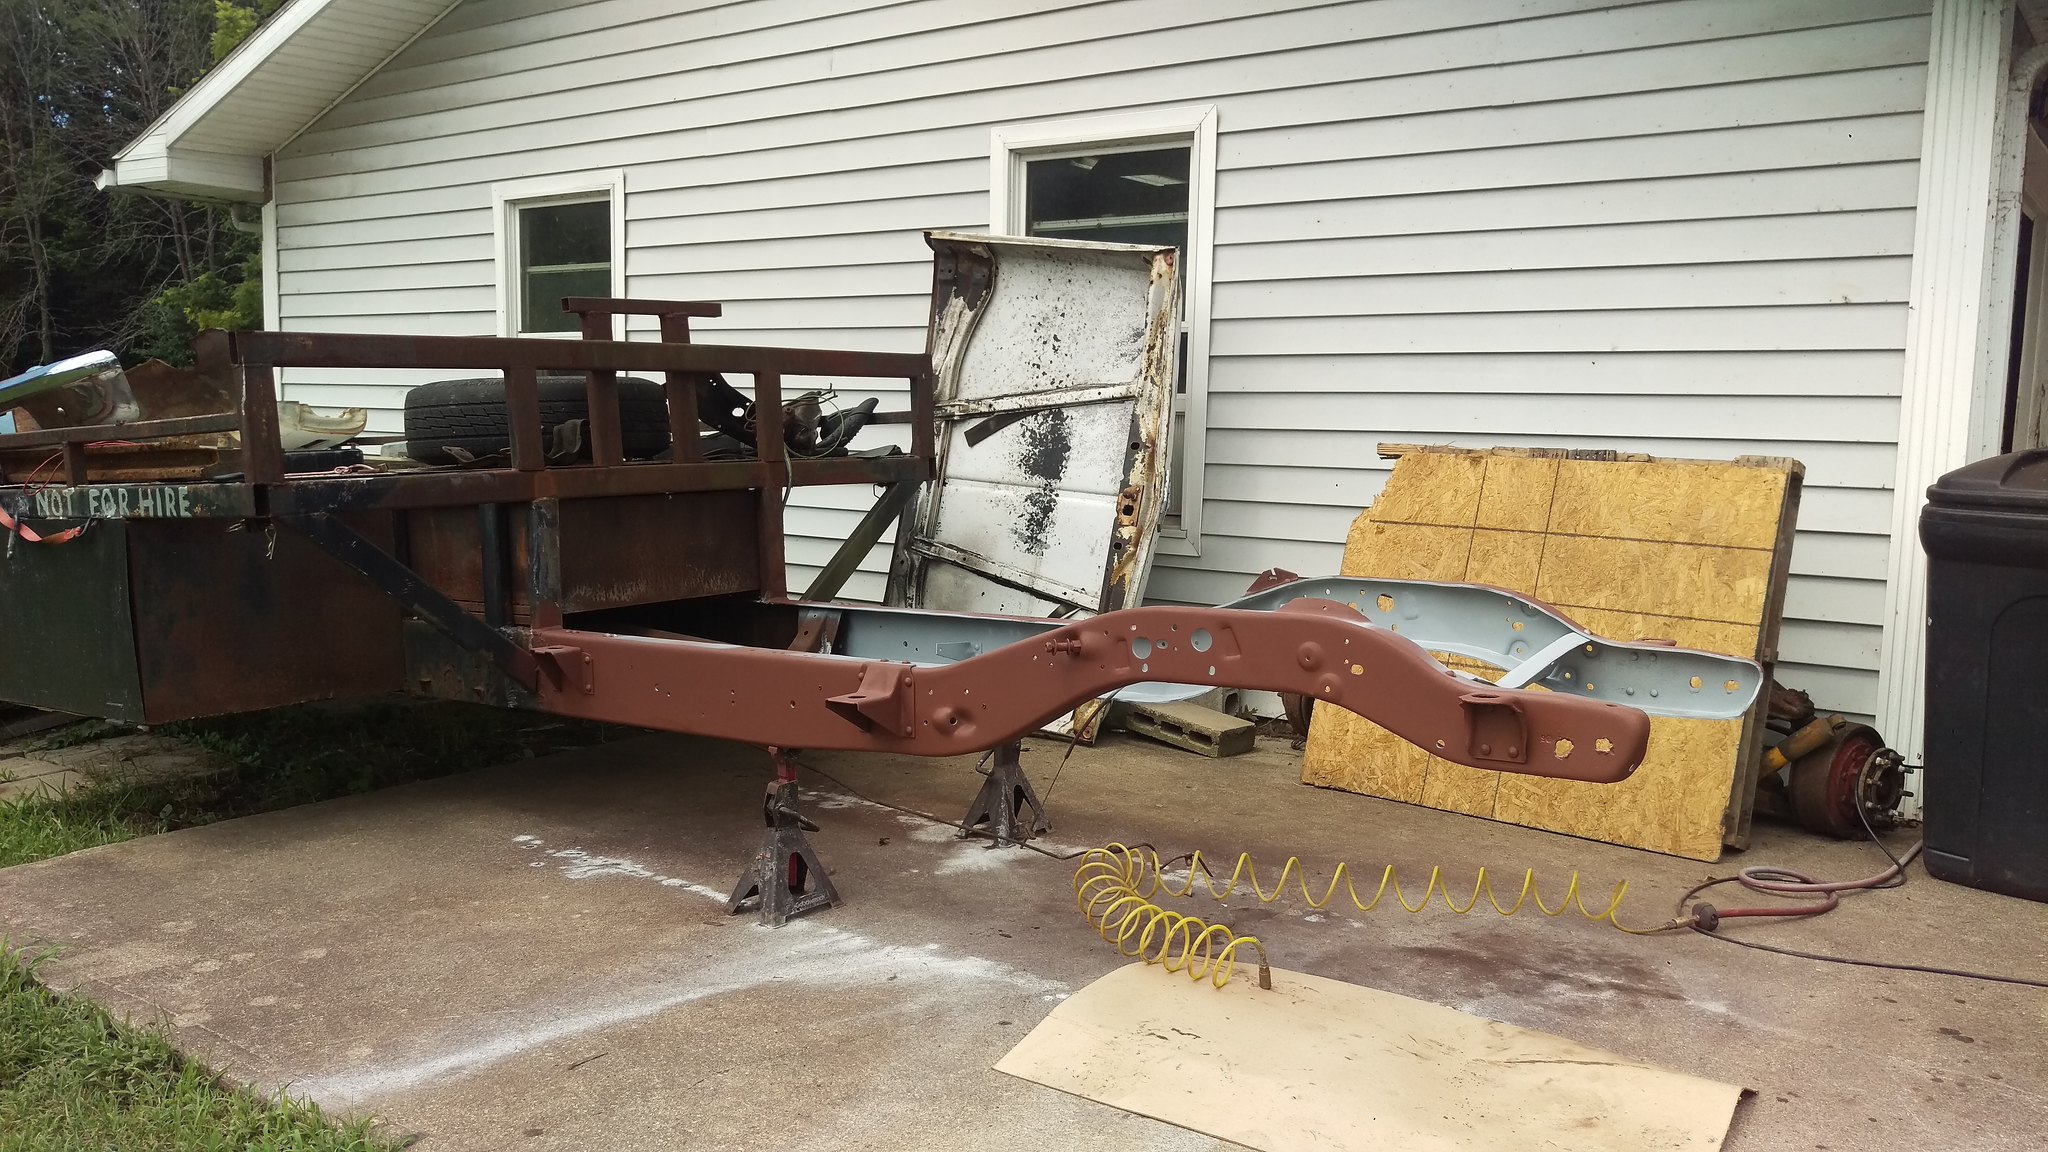
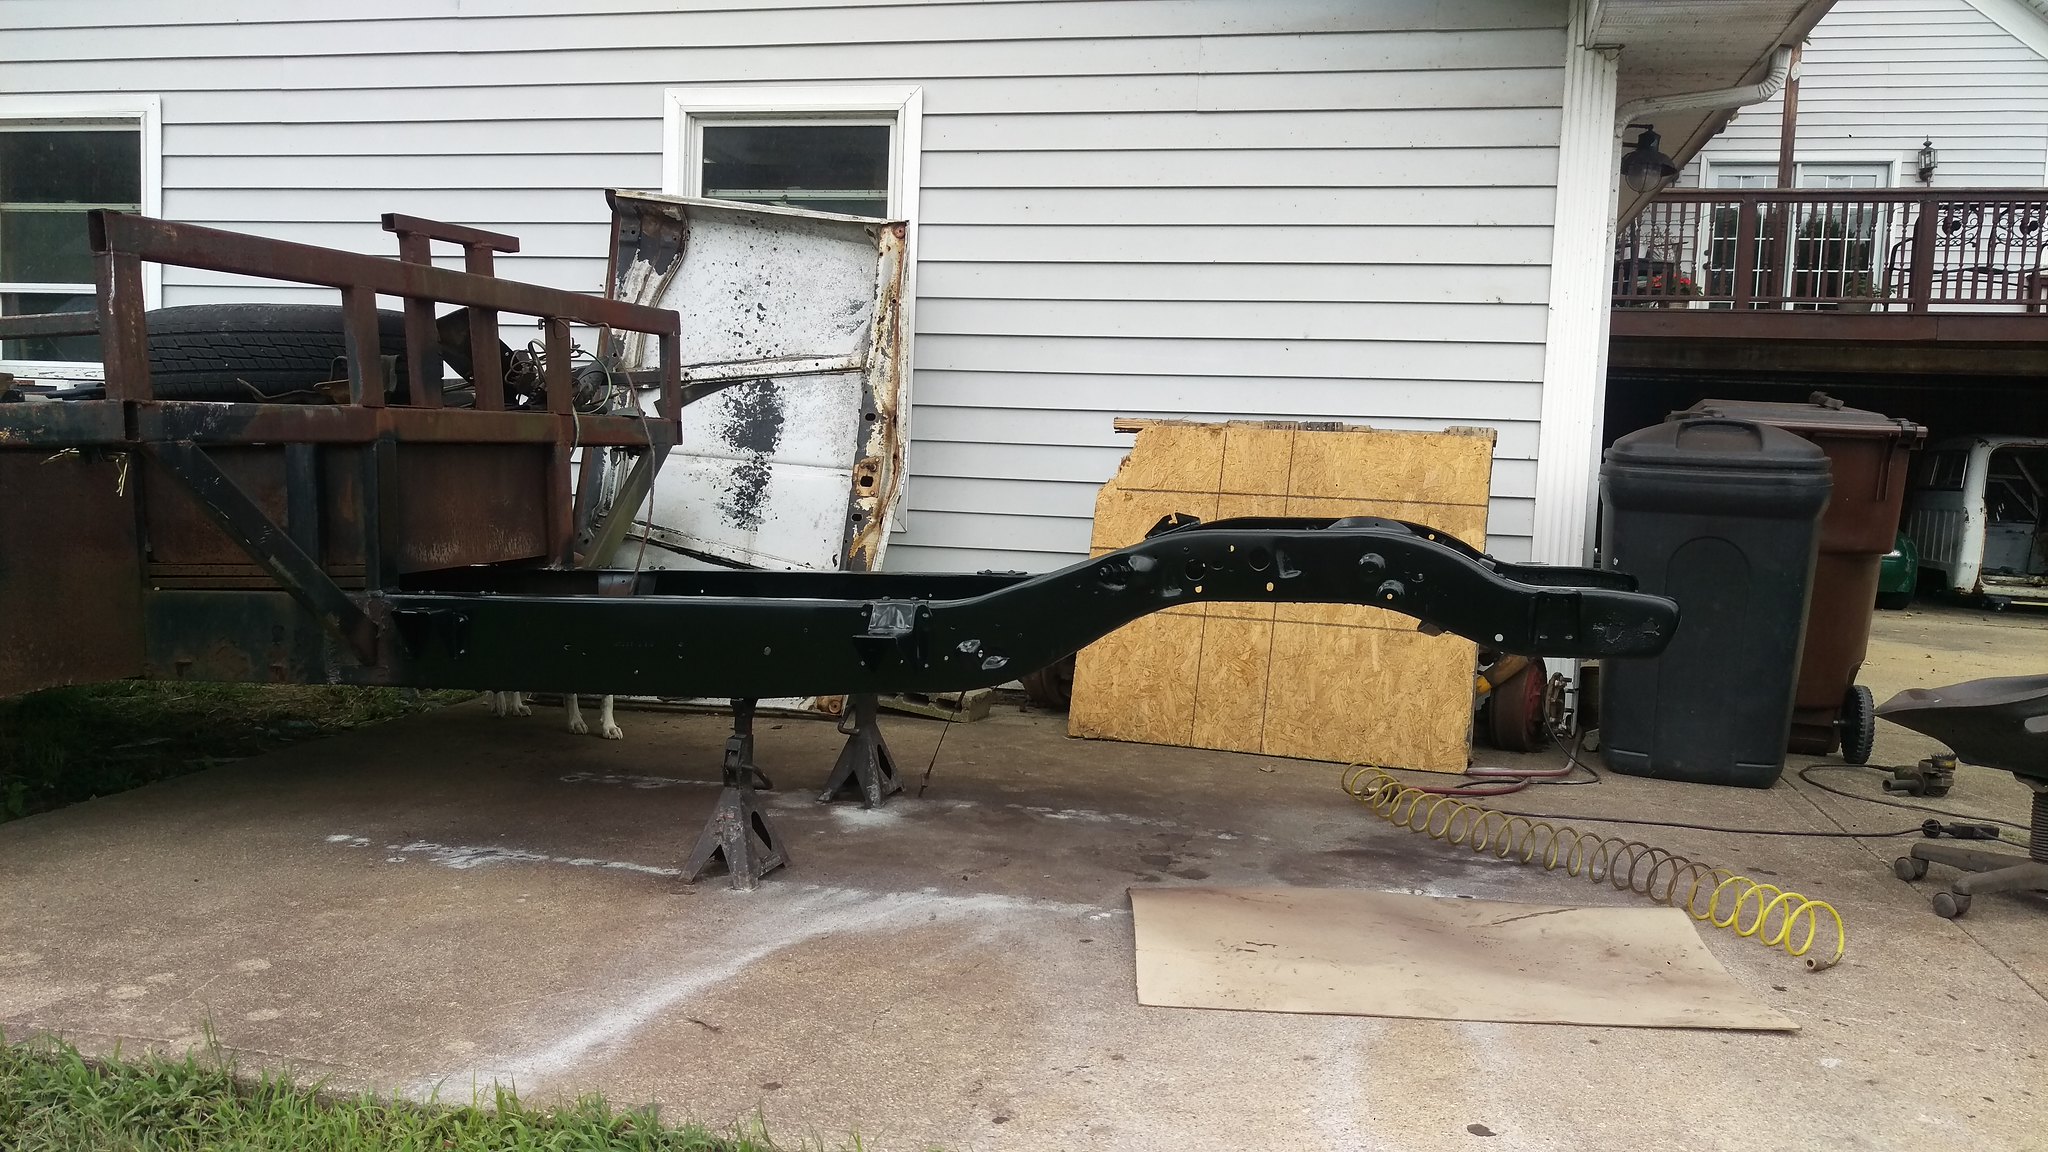
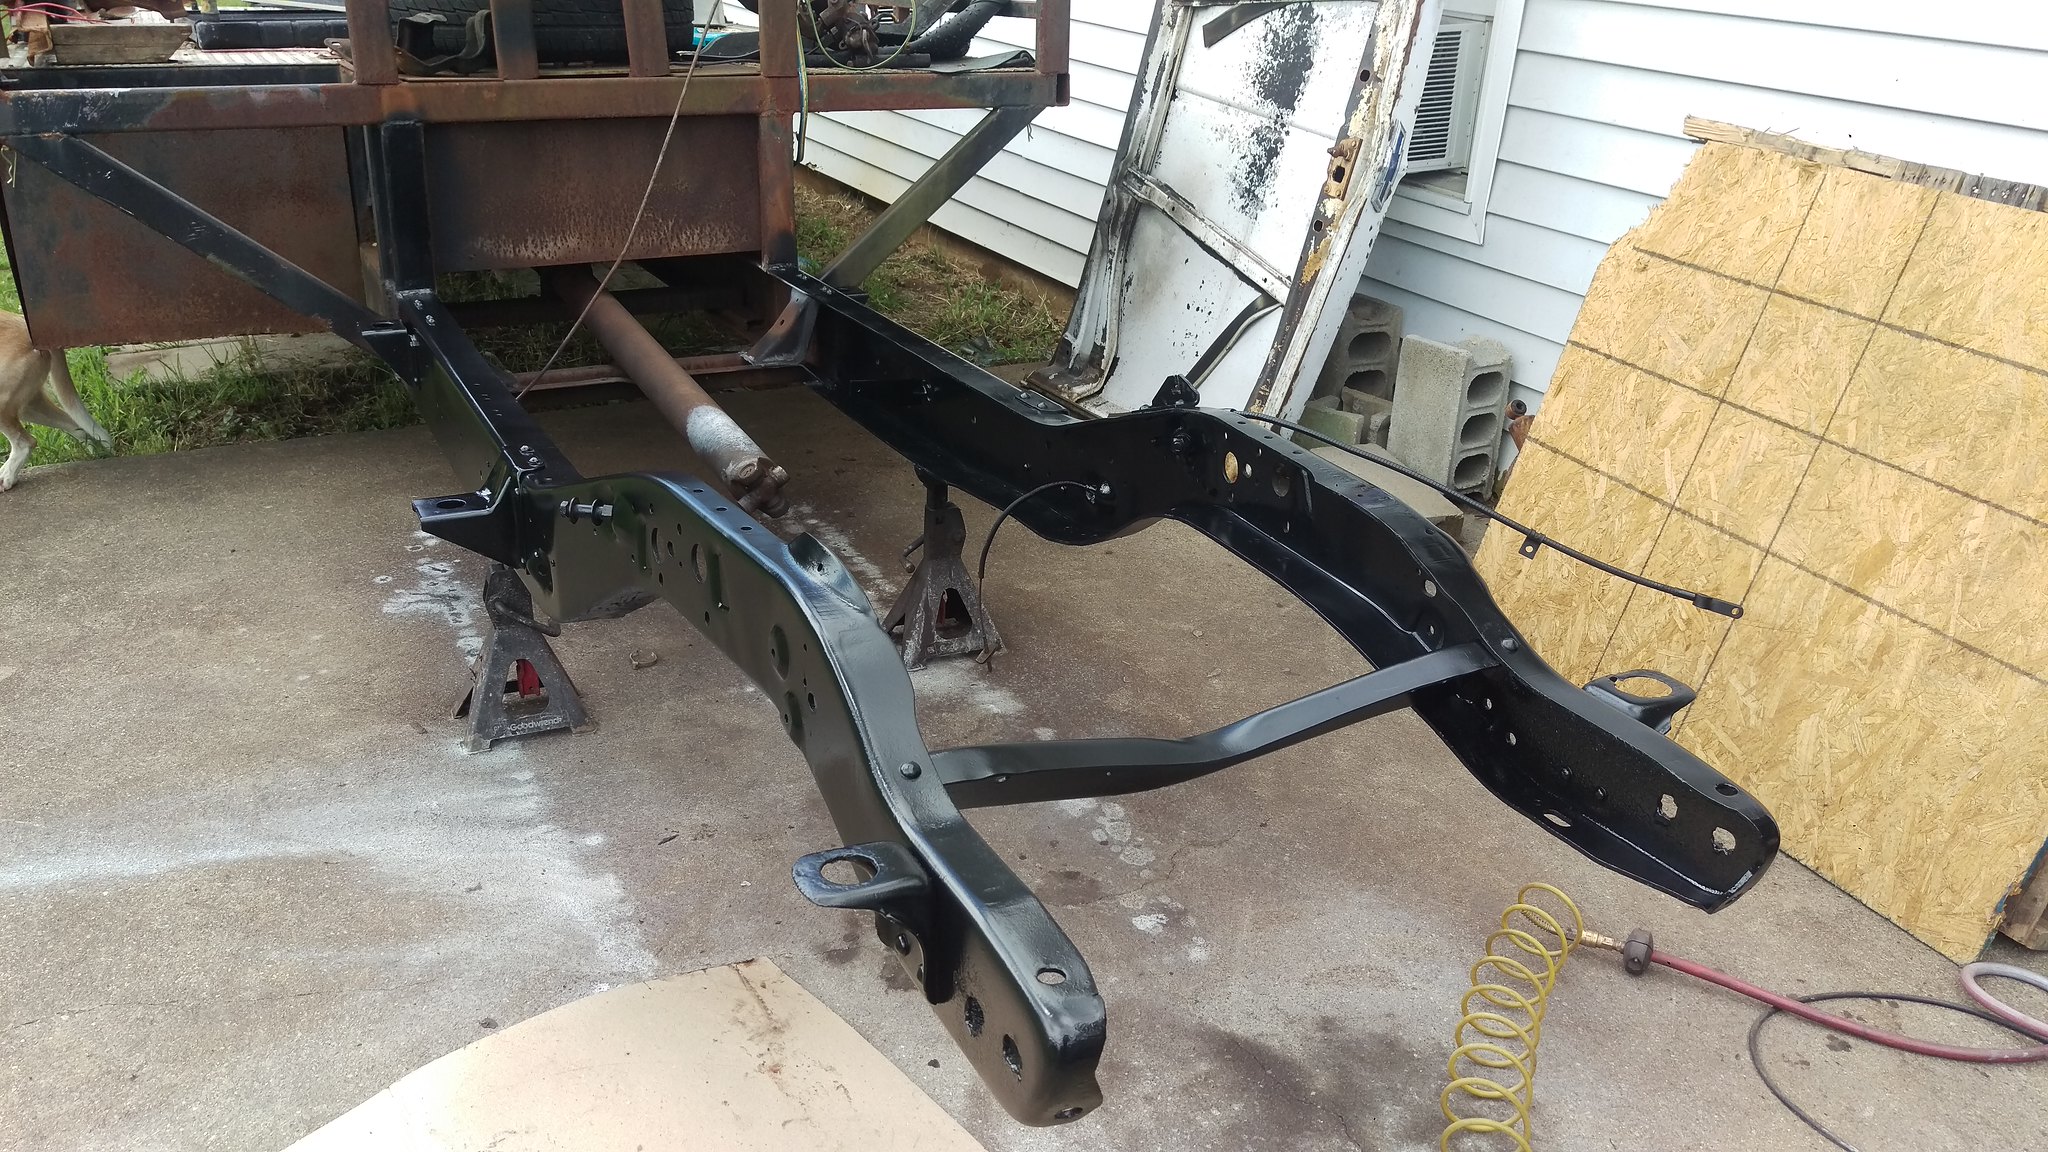
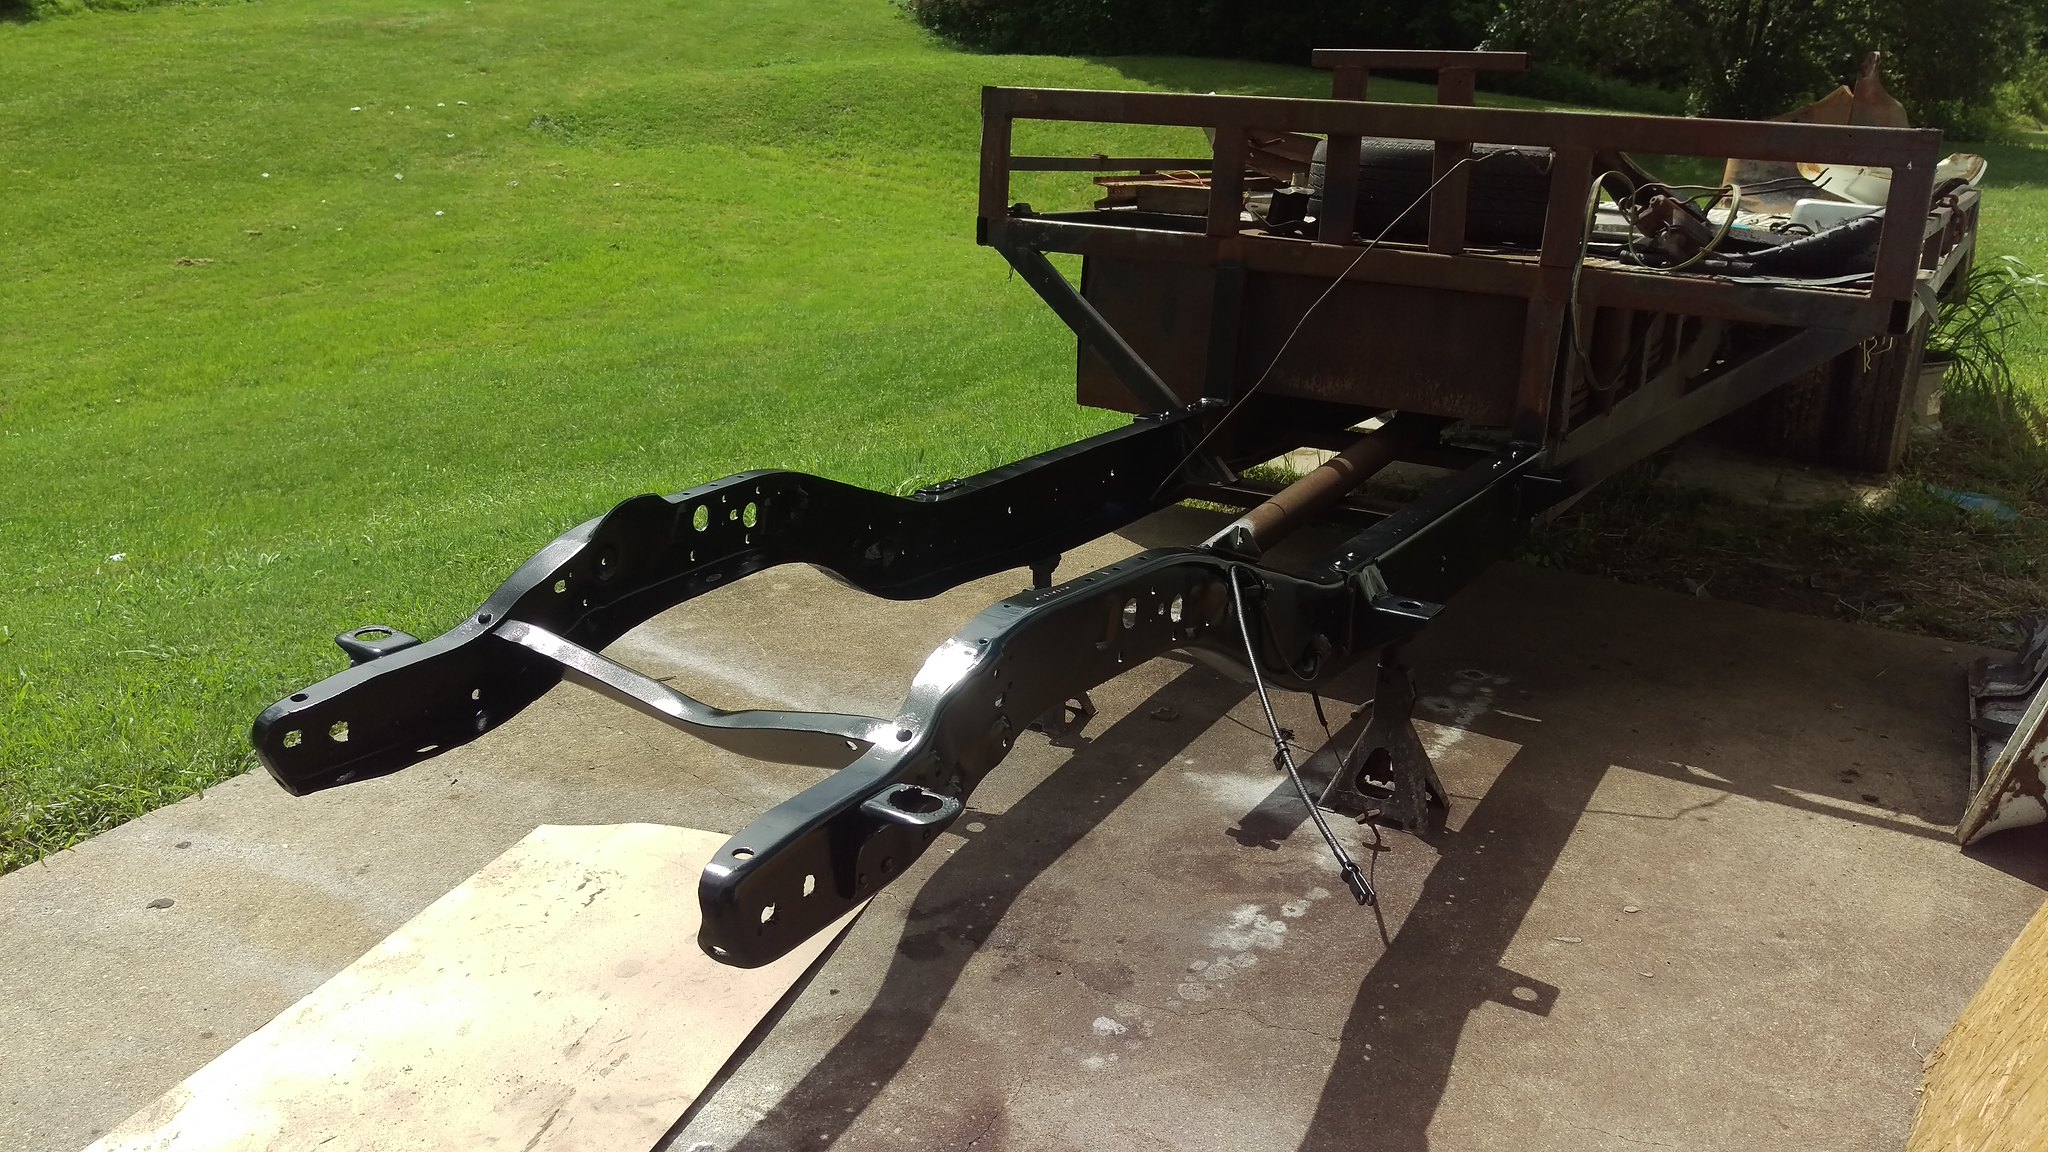
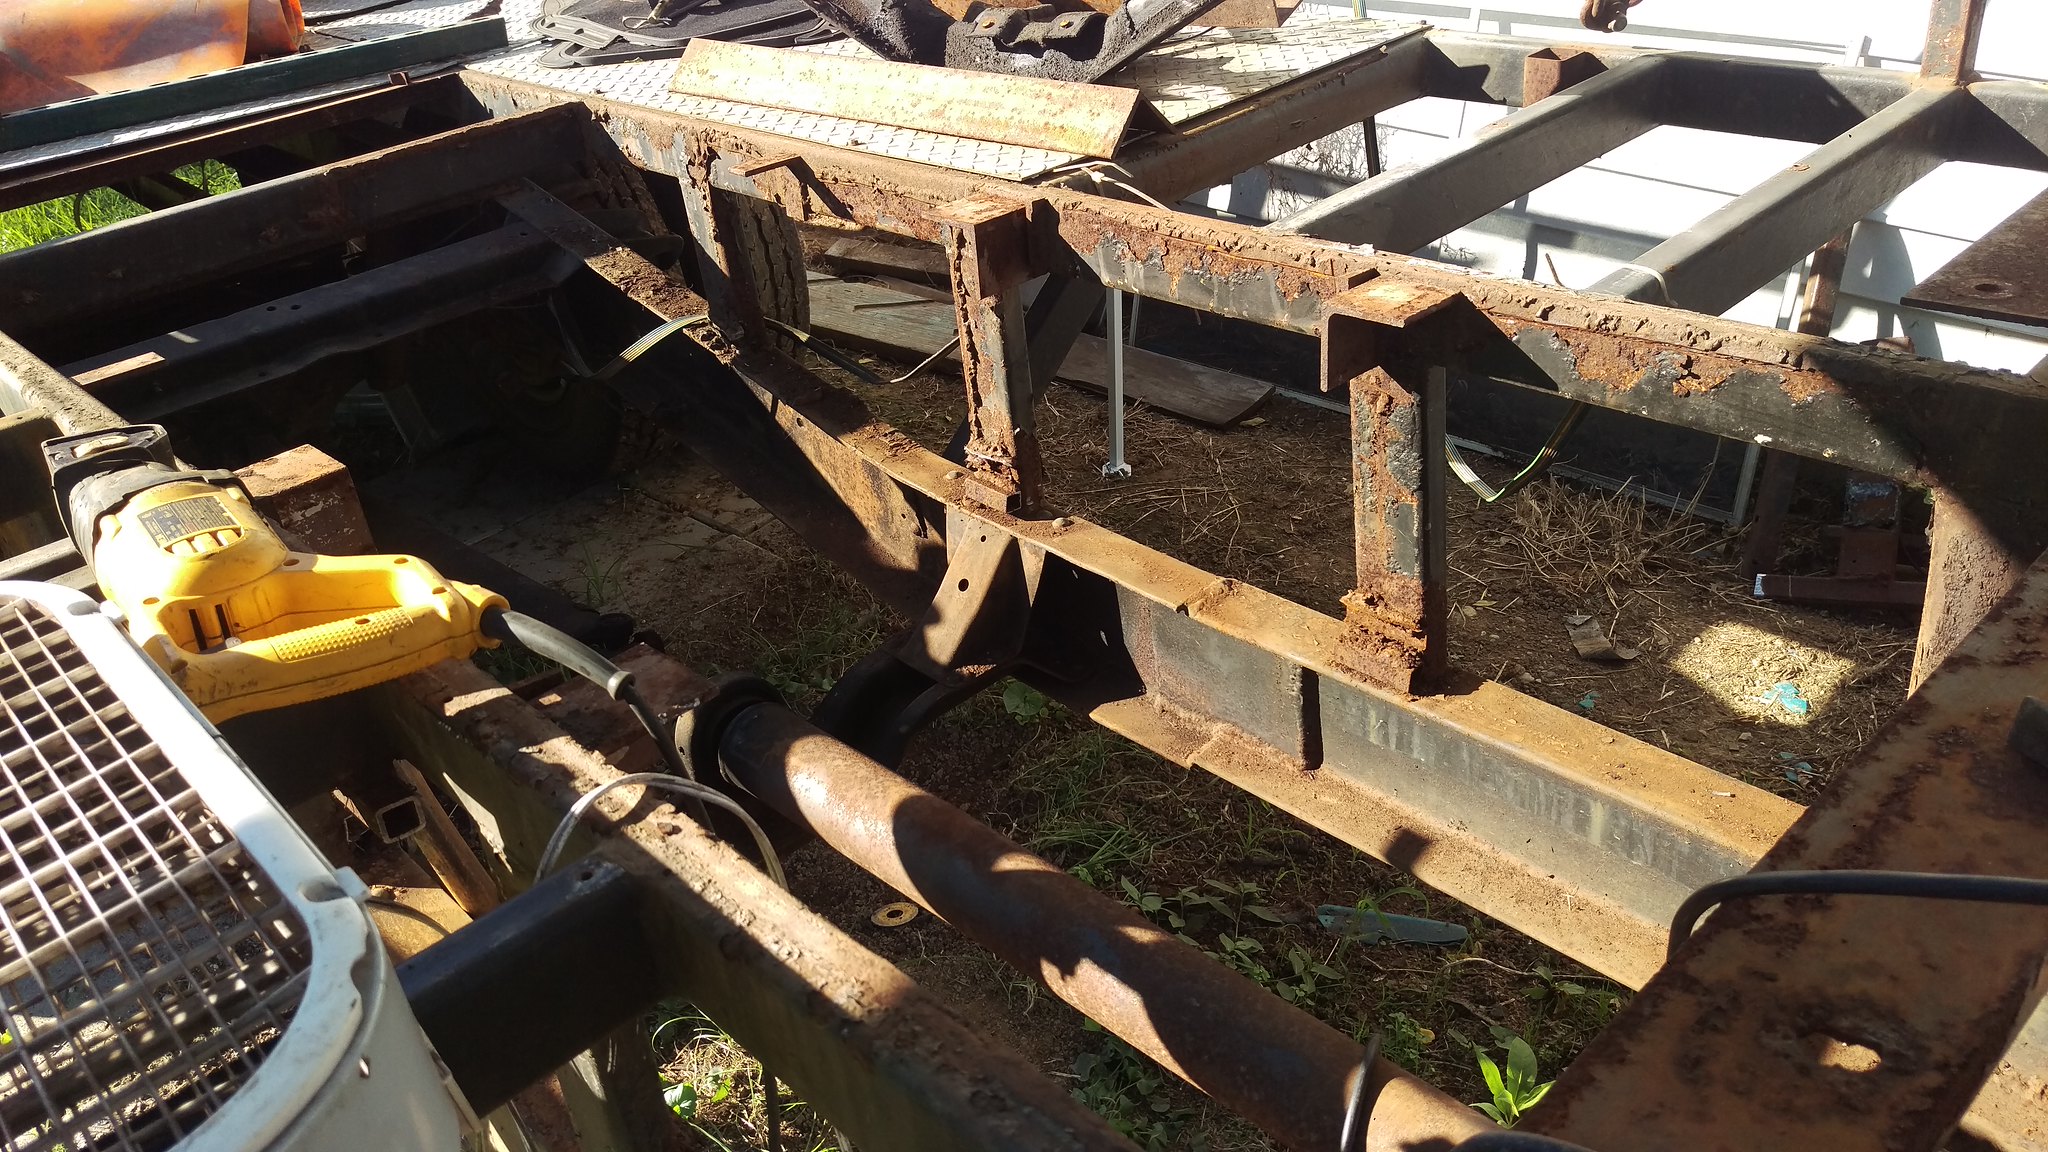
I got the front of the frame painted.
 IMAG1821
 by
jarrod vanwinkle, on Flickr
 IMAG1822
 by
jarrod vanwinkle, on Flickr
 IMAG1825
 by
jarrod vanwinkle, on Flickr
 IMAG1826
 by
jarrod vanwinkle, on Flickr
 IMAG1827
 by
jarrod vanwinkle, on Flickr
 IMAG1828
 by
jarrod vanwinkle, on Flickr
 IMAG1829
 by
jarrod vanwinkle, on Flickr
 IMAG1830
 by
jarrod vanwinkle, on Flickr
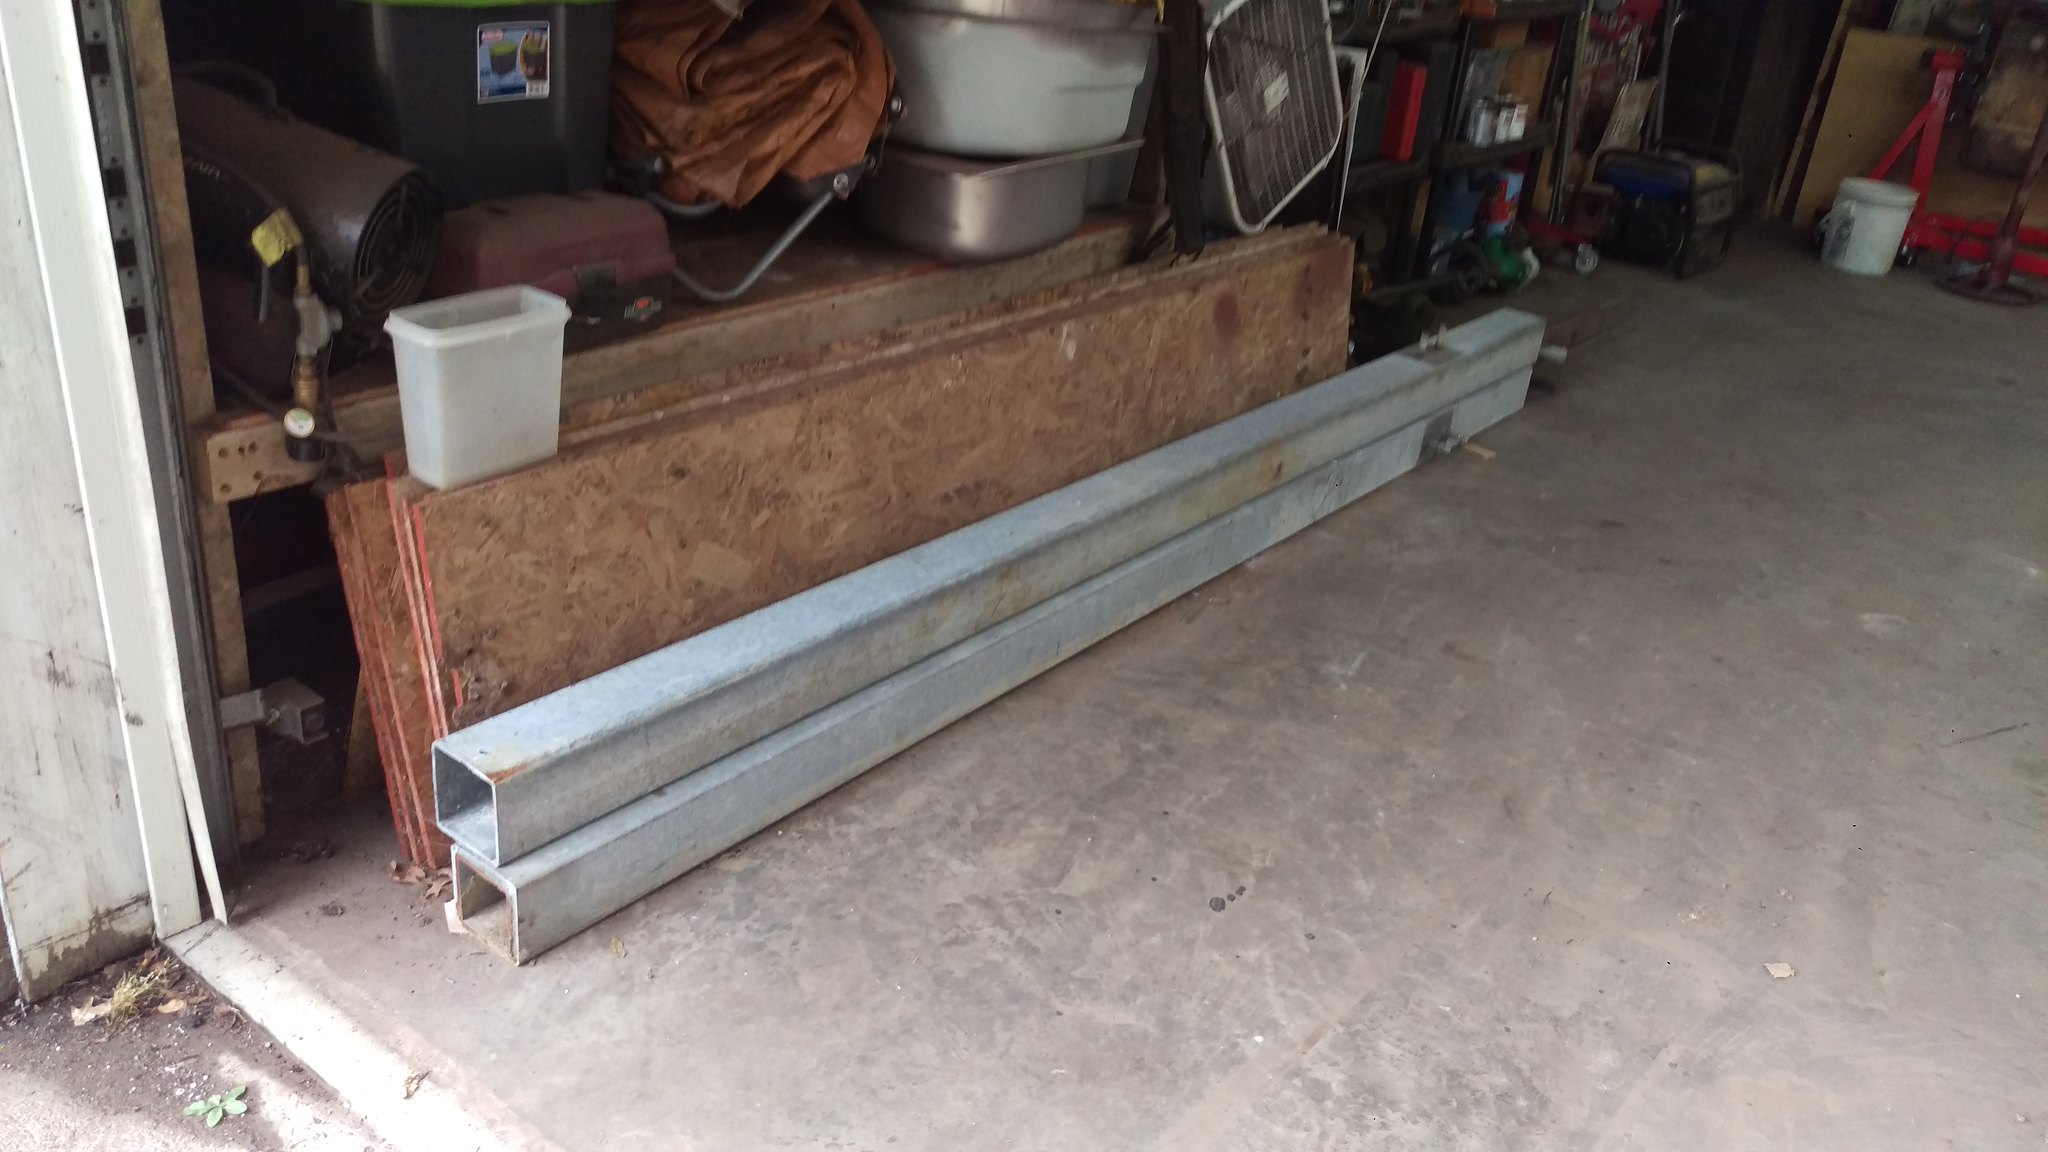
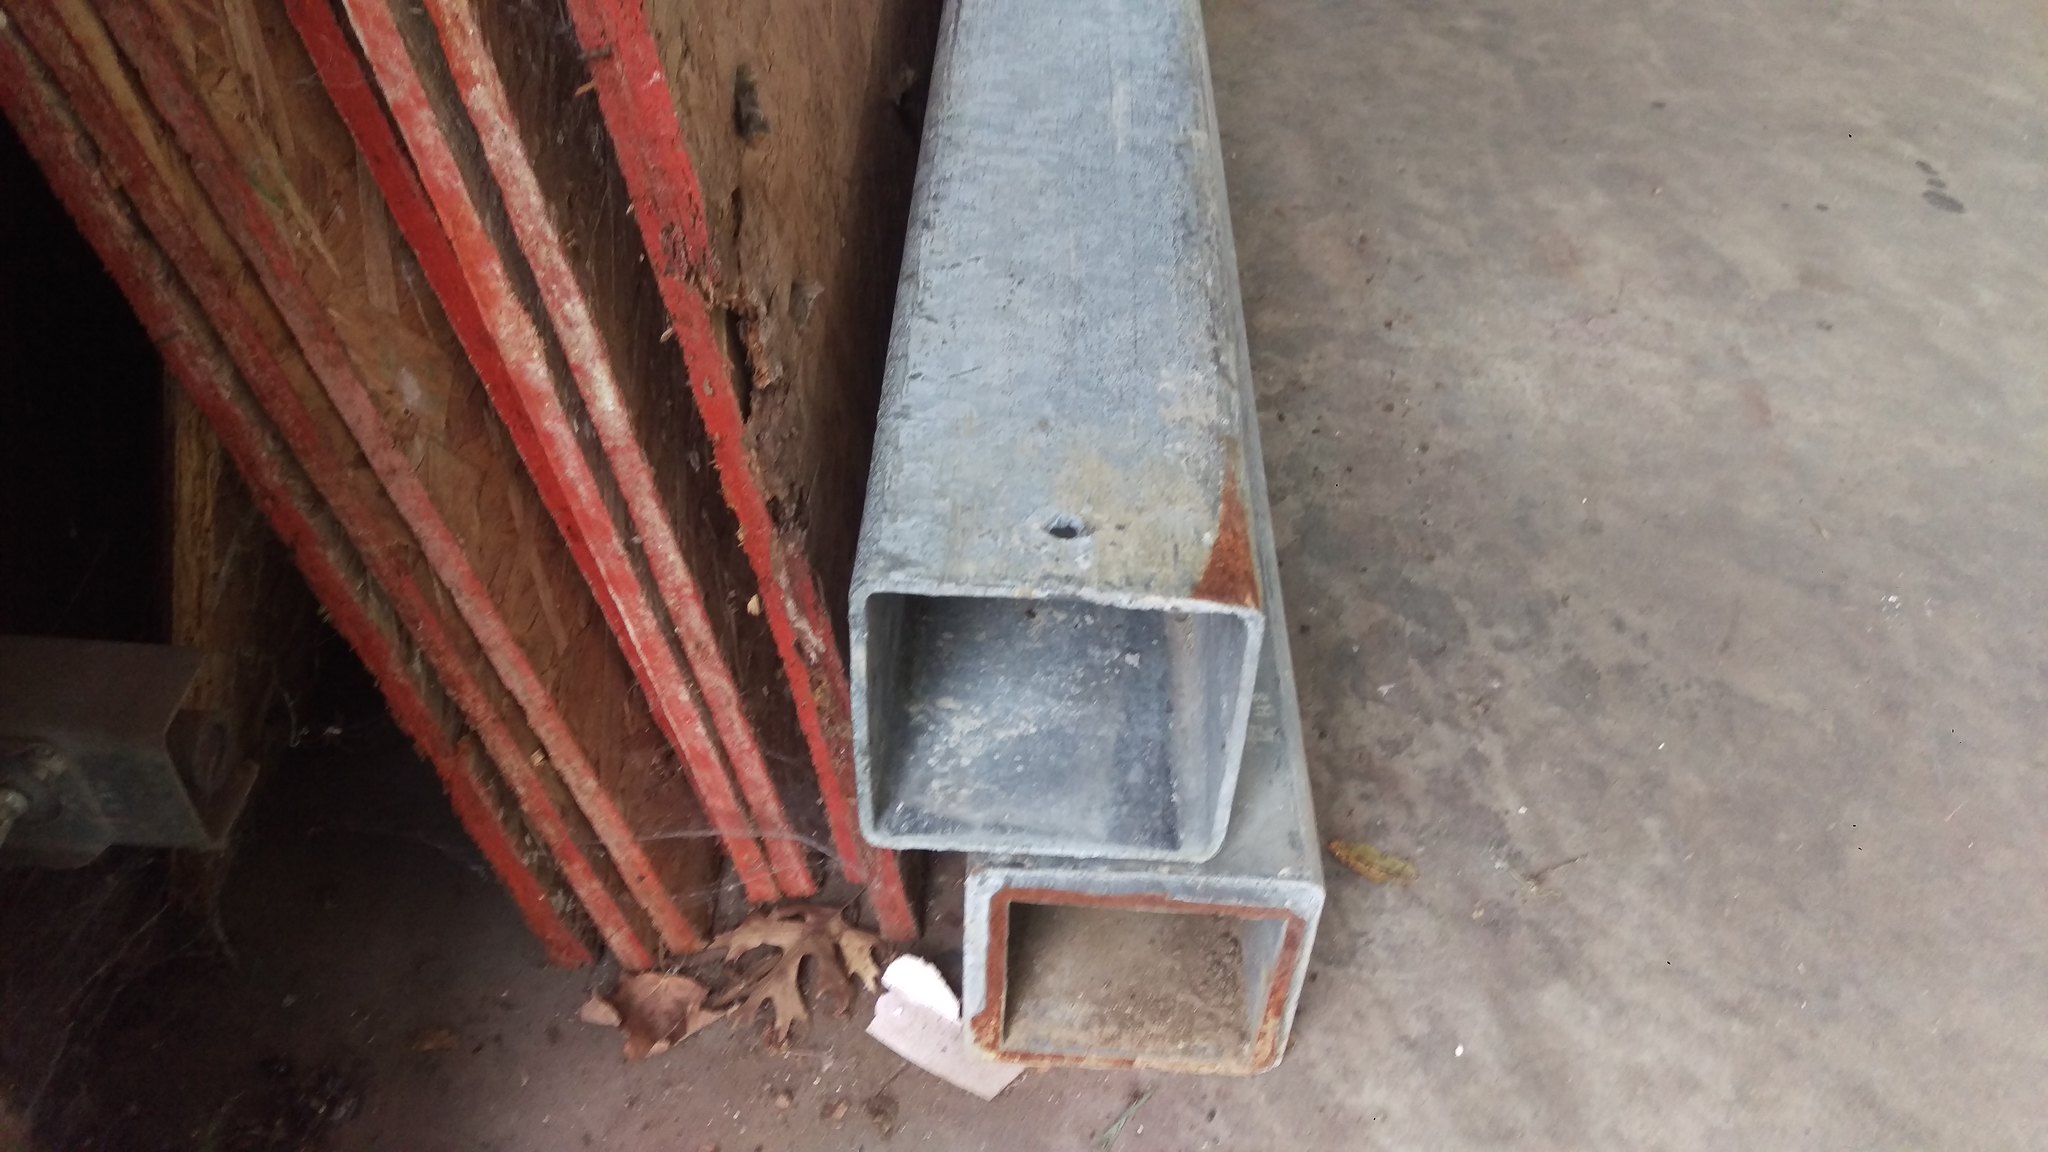
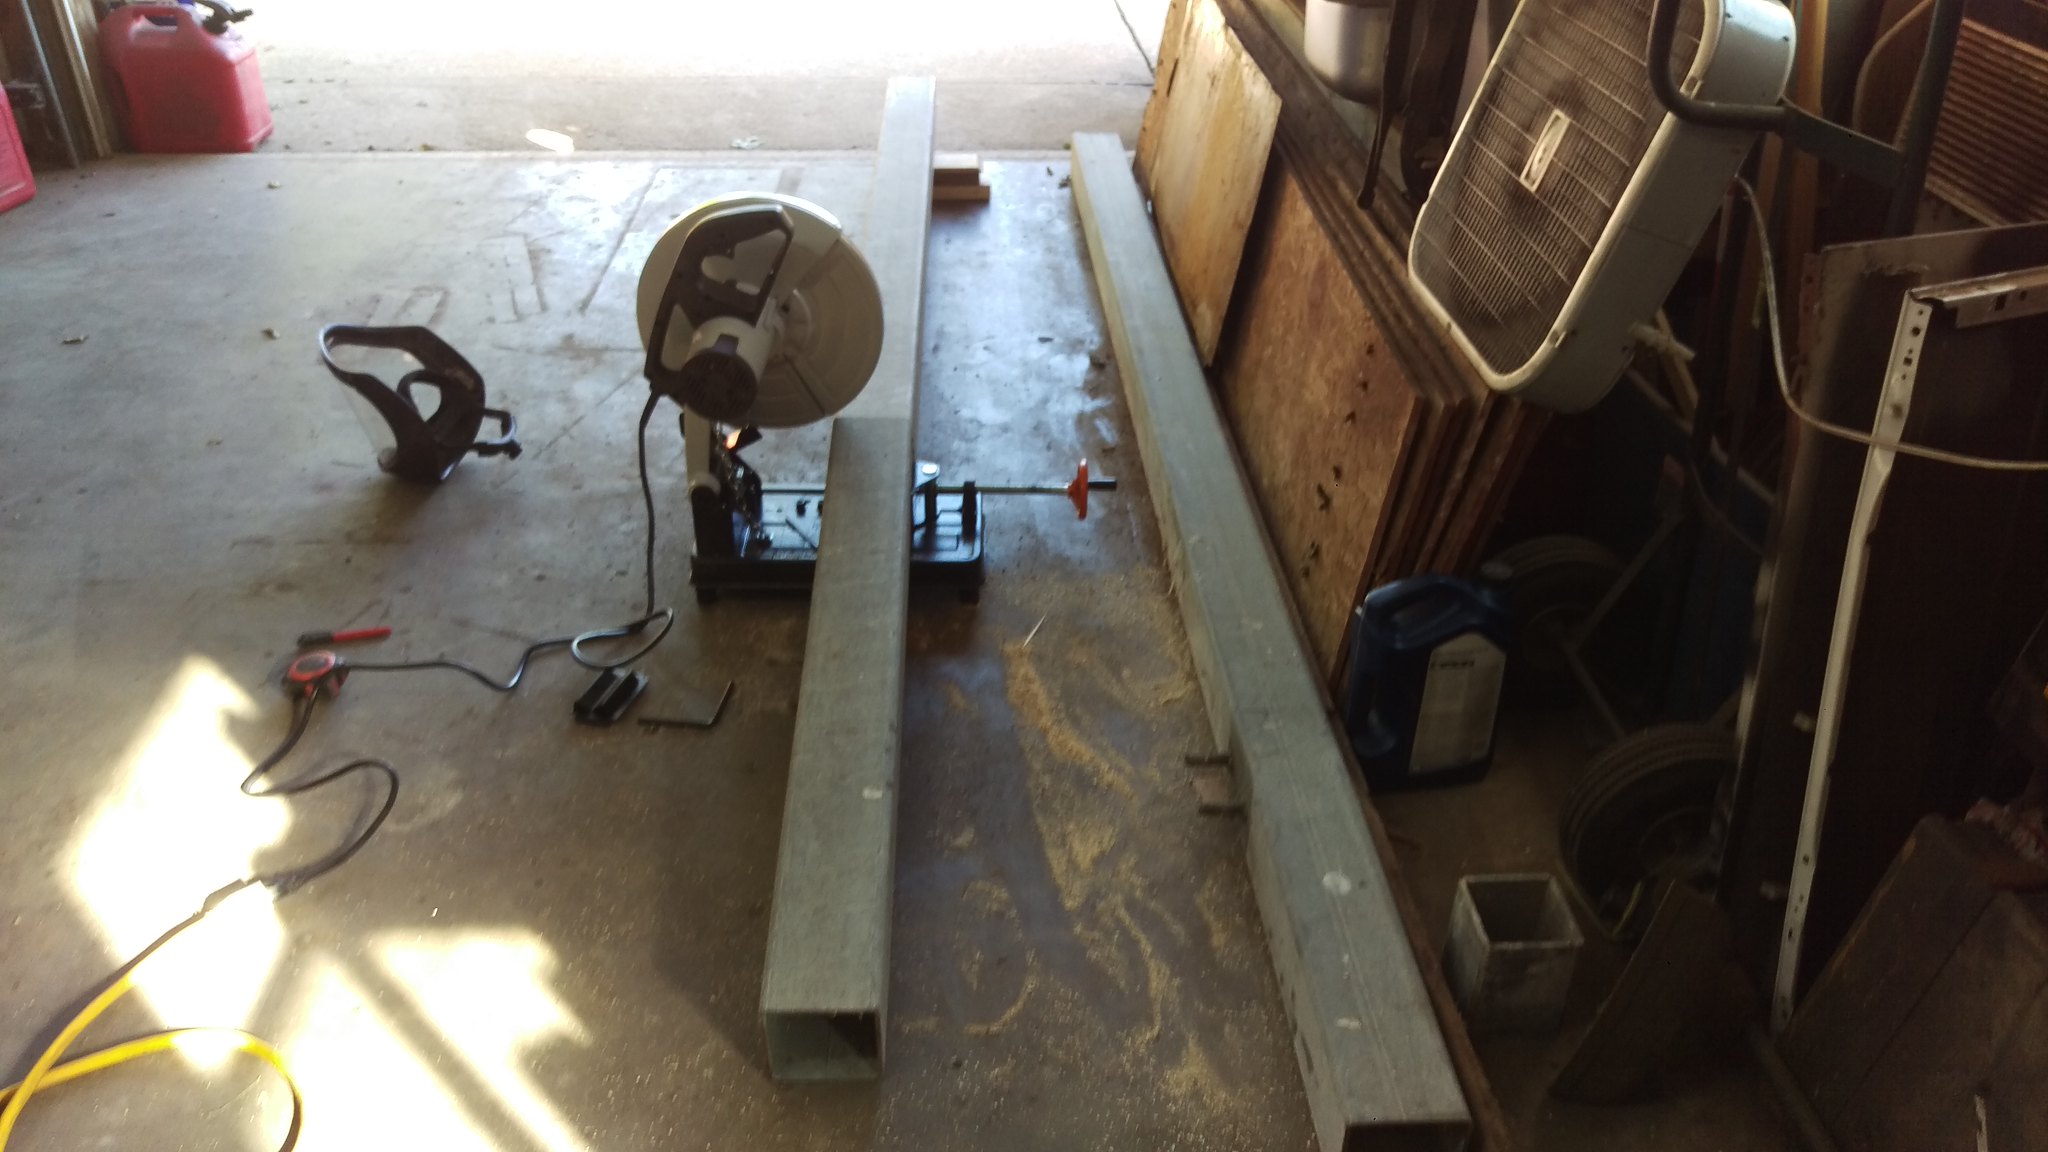
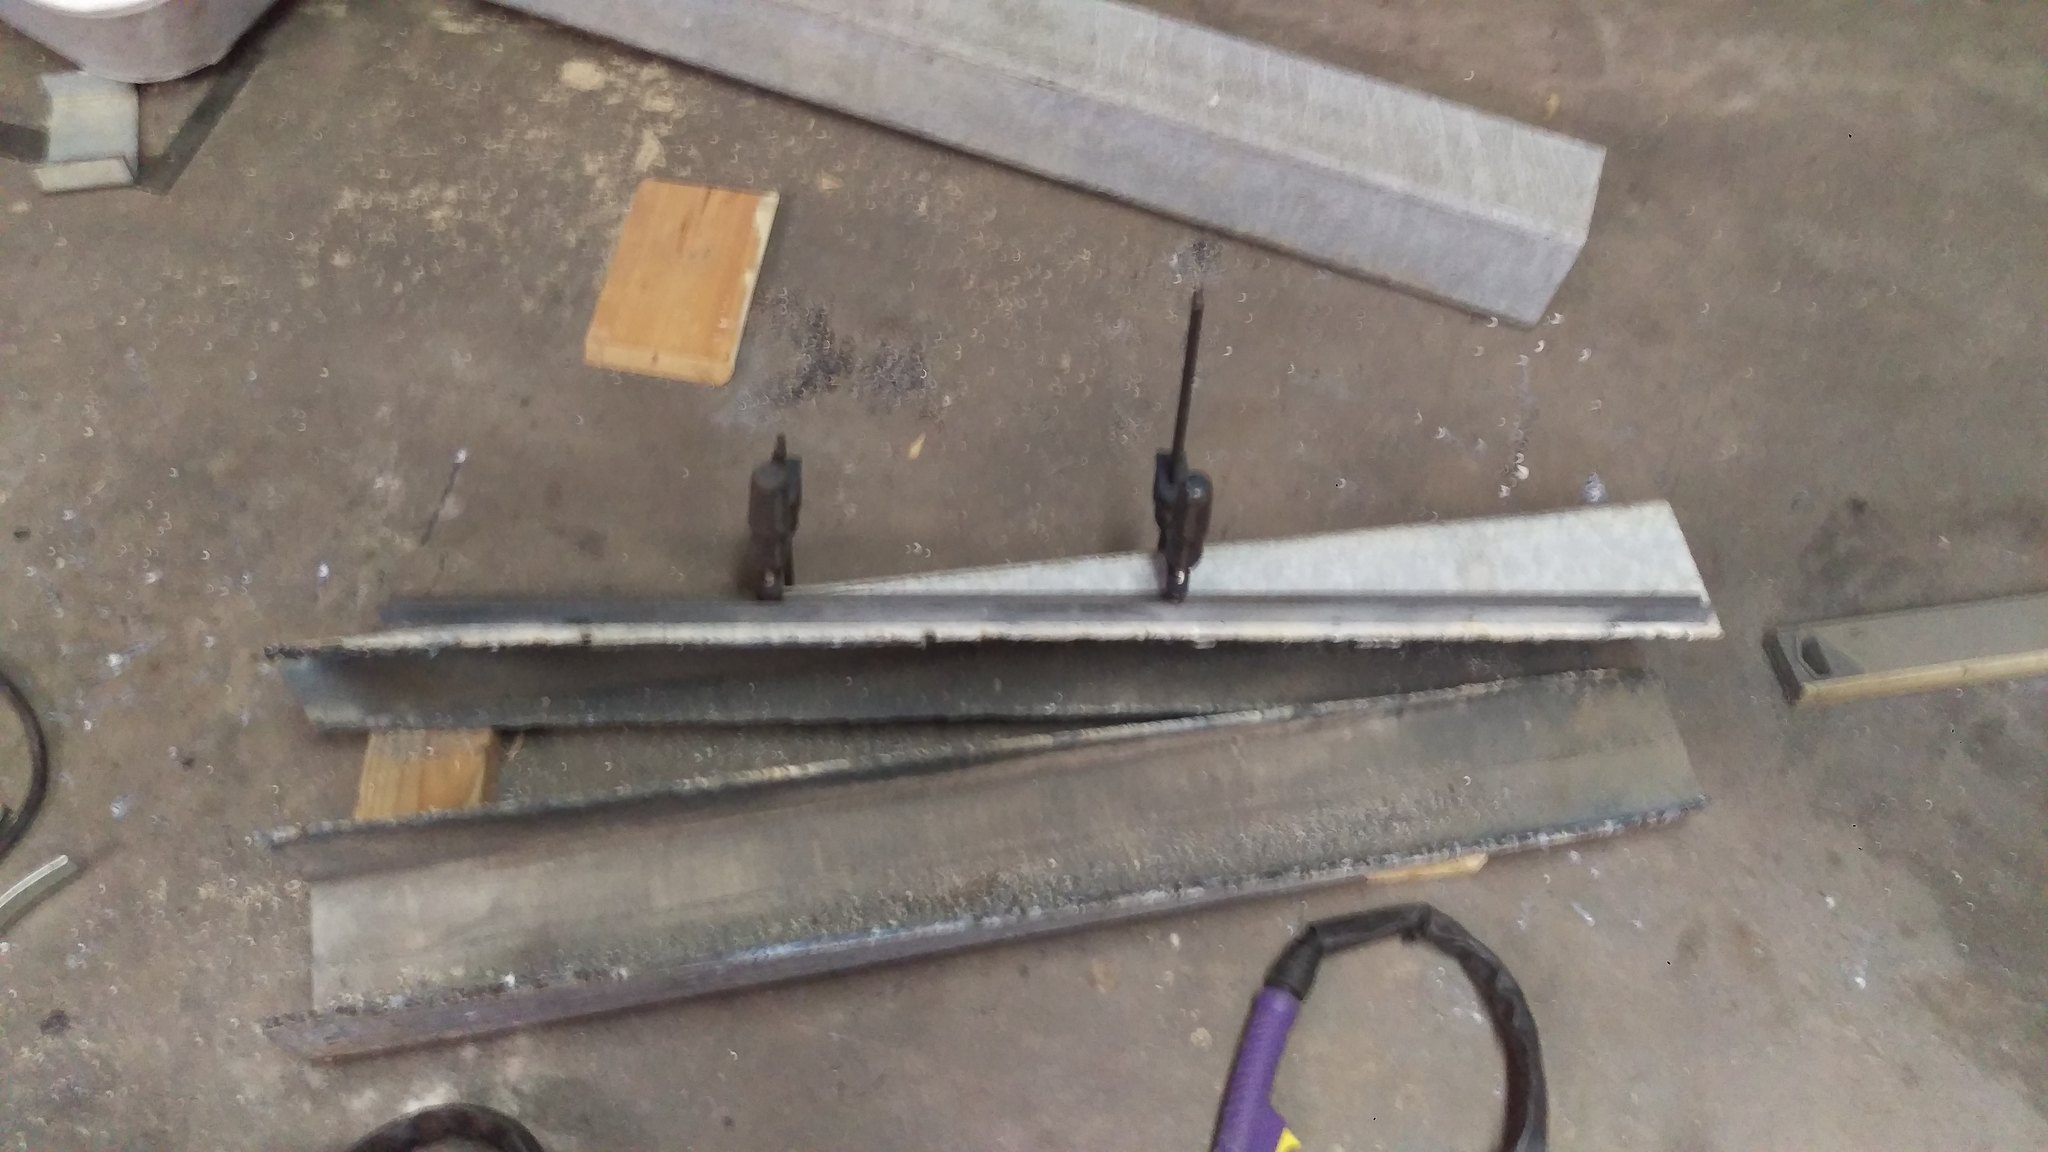
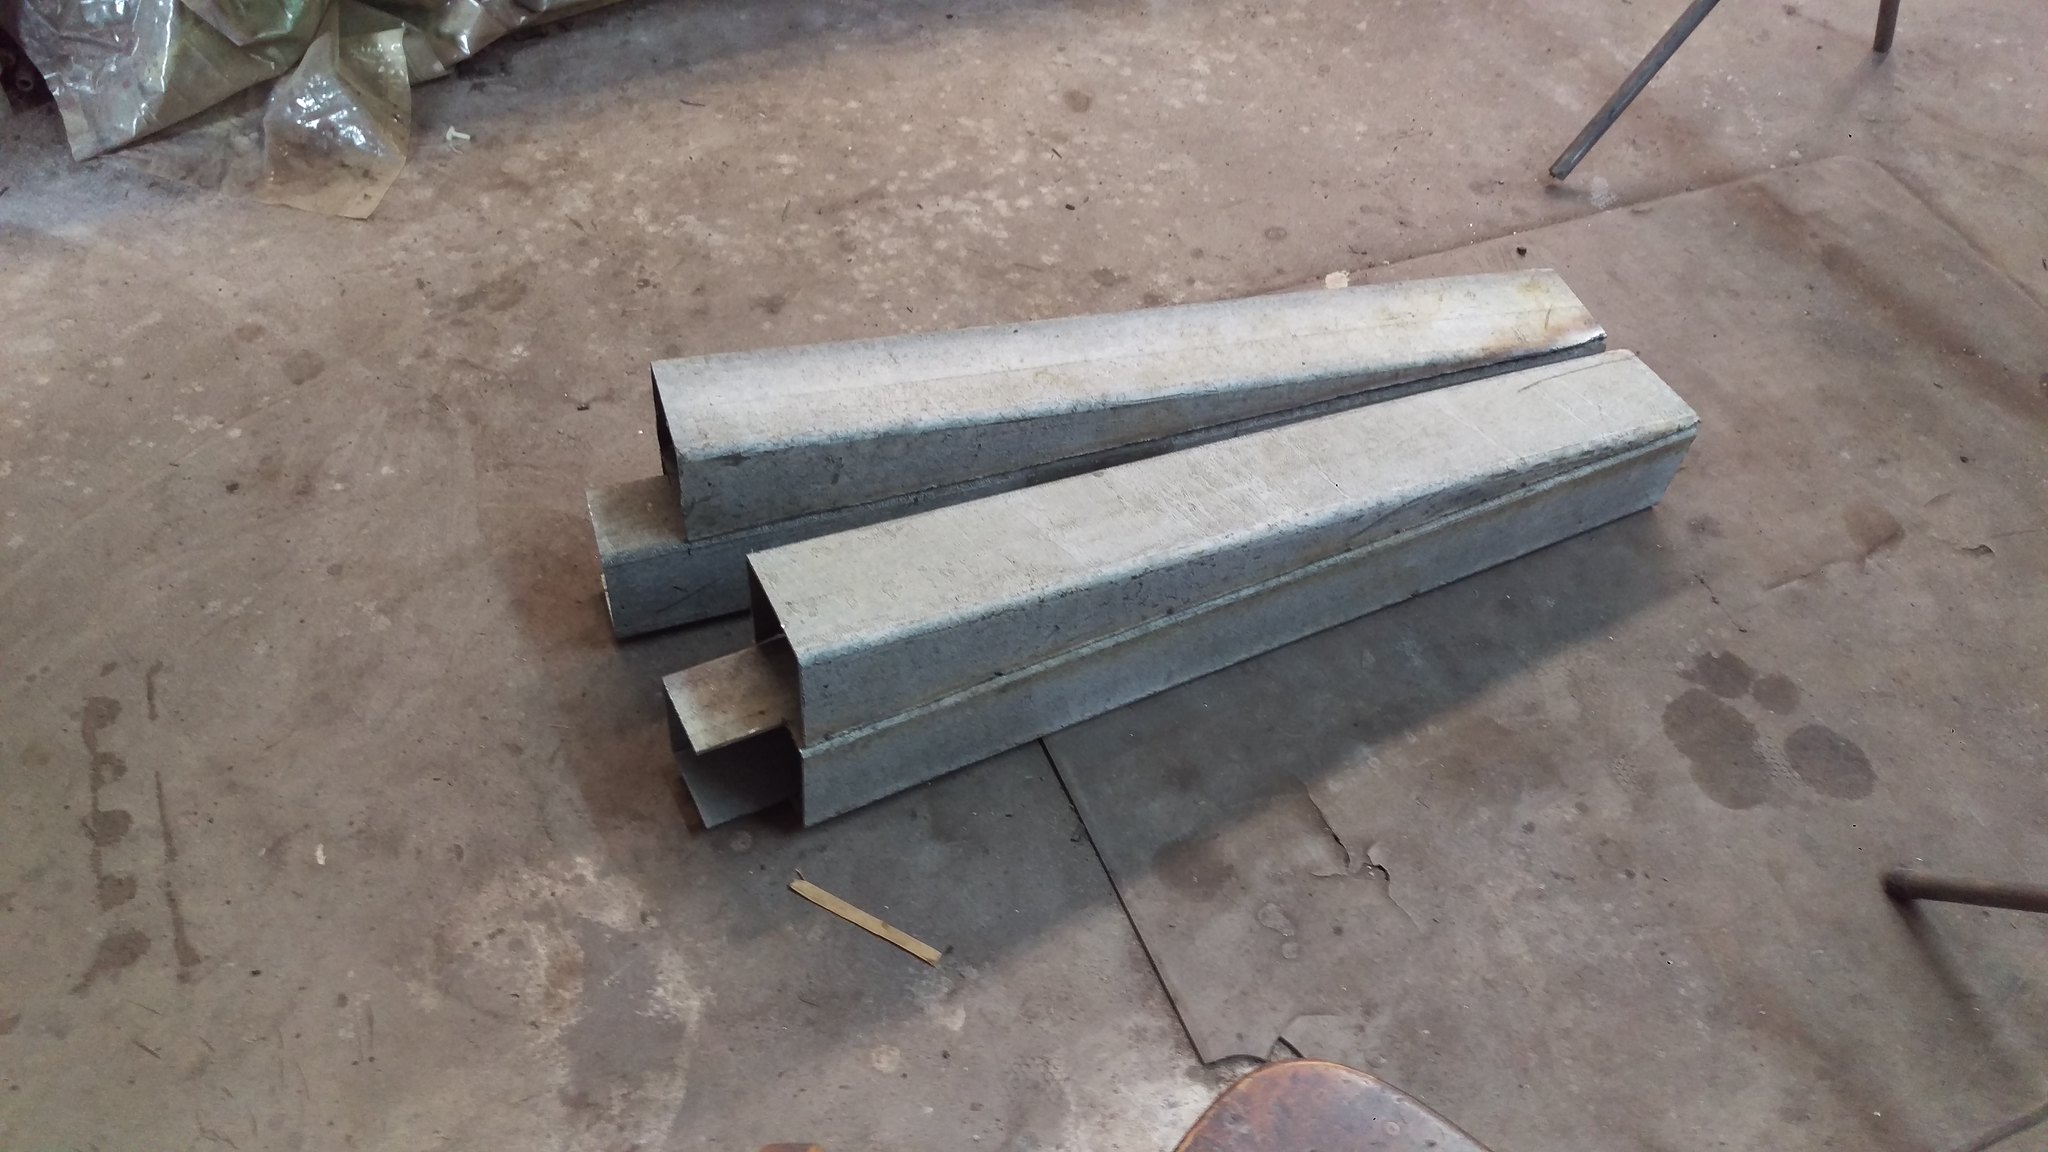
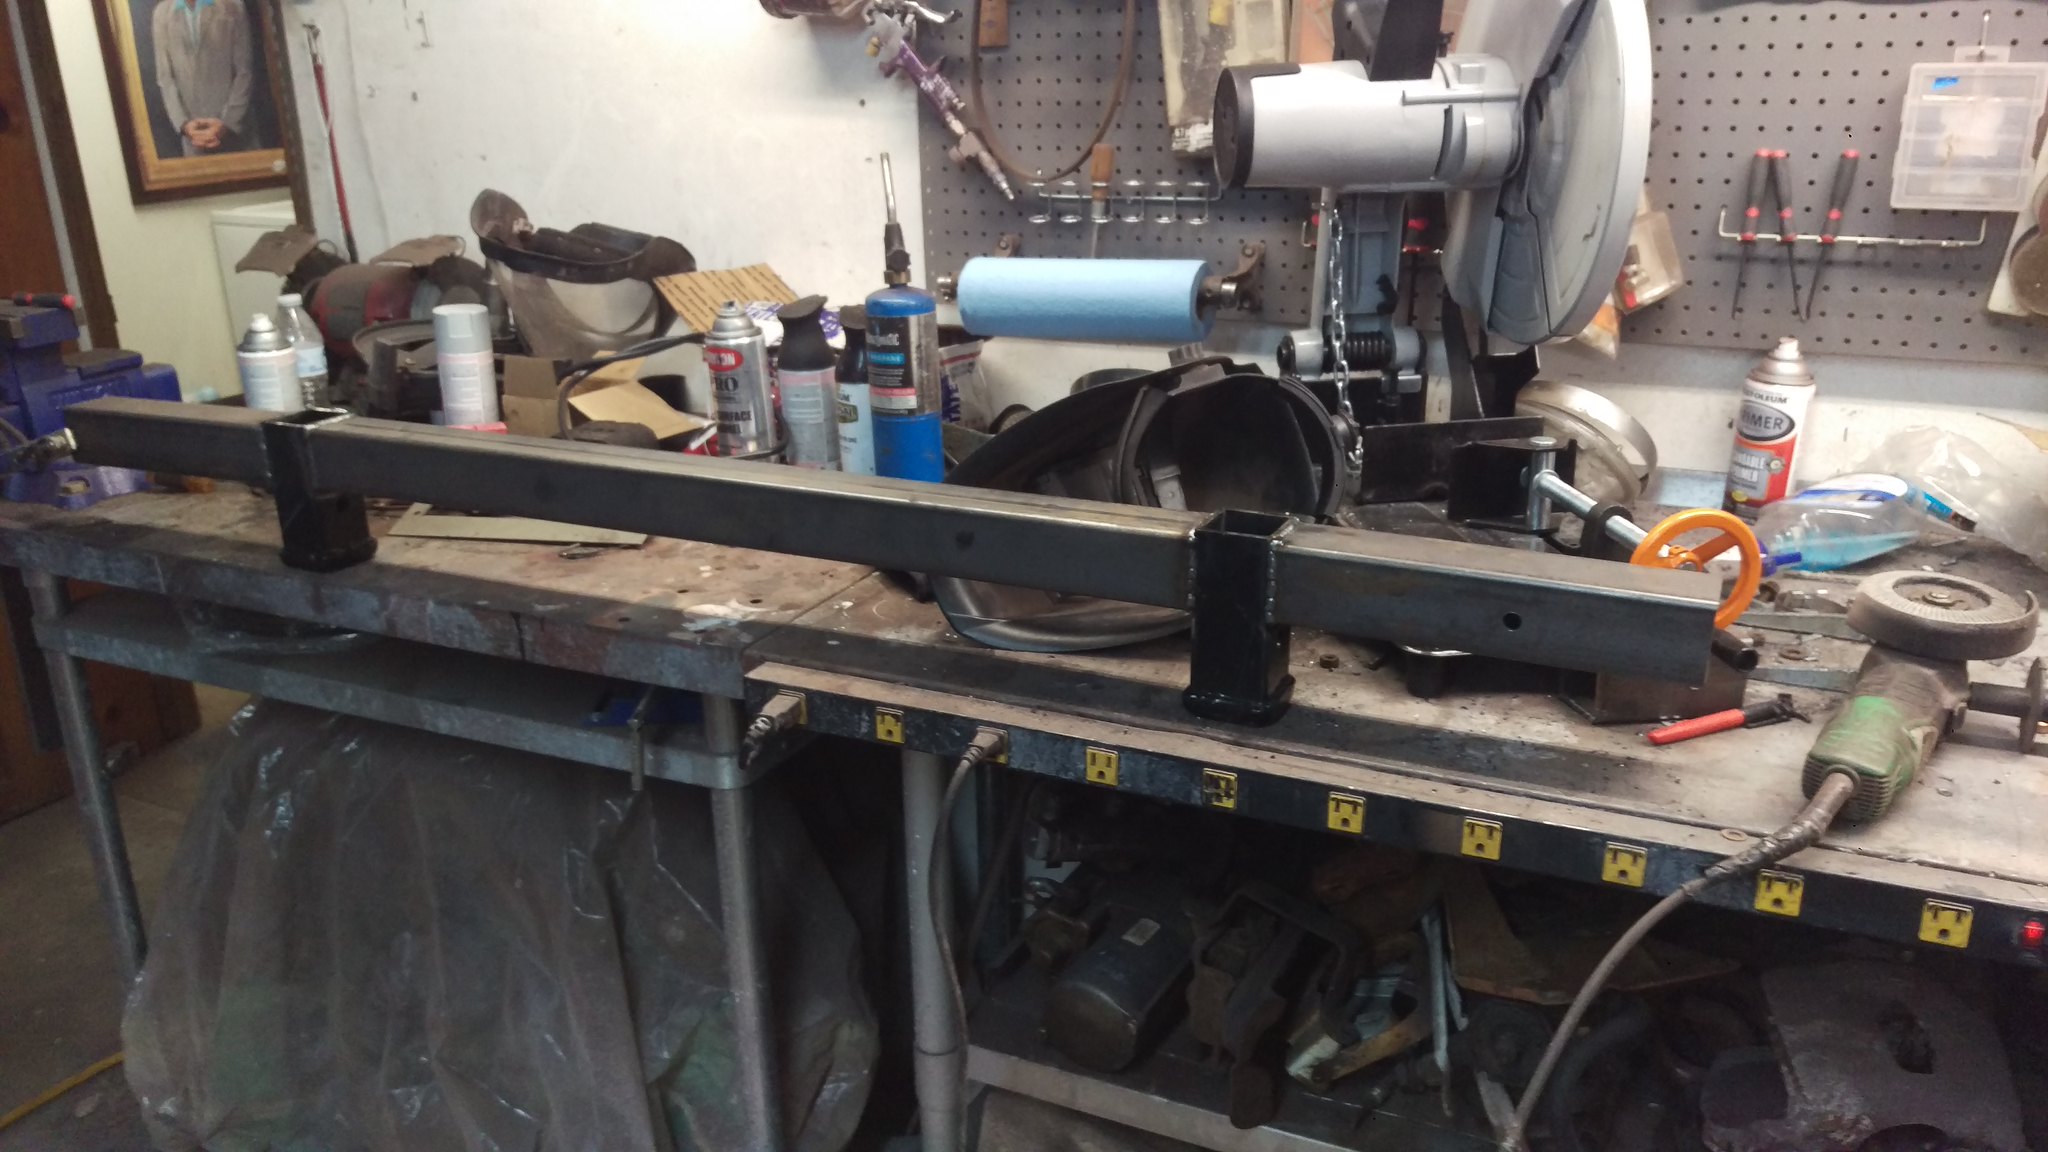
Some steel for my headache rack
 IMAG1832
 by
jarrod vanwinkle, on Flickr
Its 5'' 1/4 box
 IMAG1833
 by
jarrod vanwinkle, on Flickr
 IMAG1831
 by
jarrod vanwinkle, on Flickr
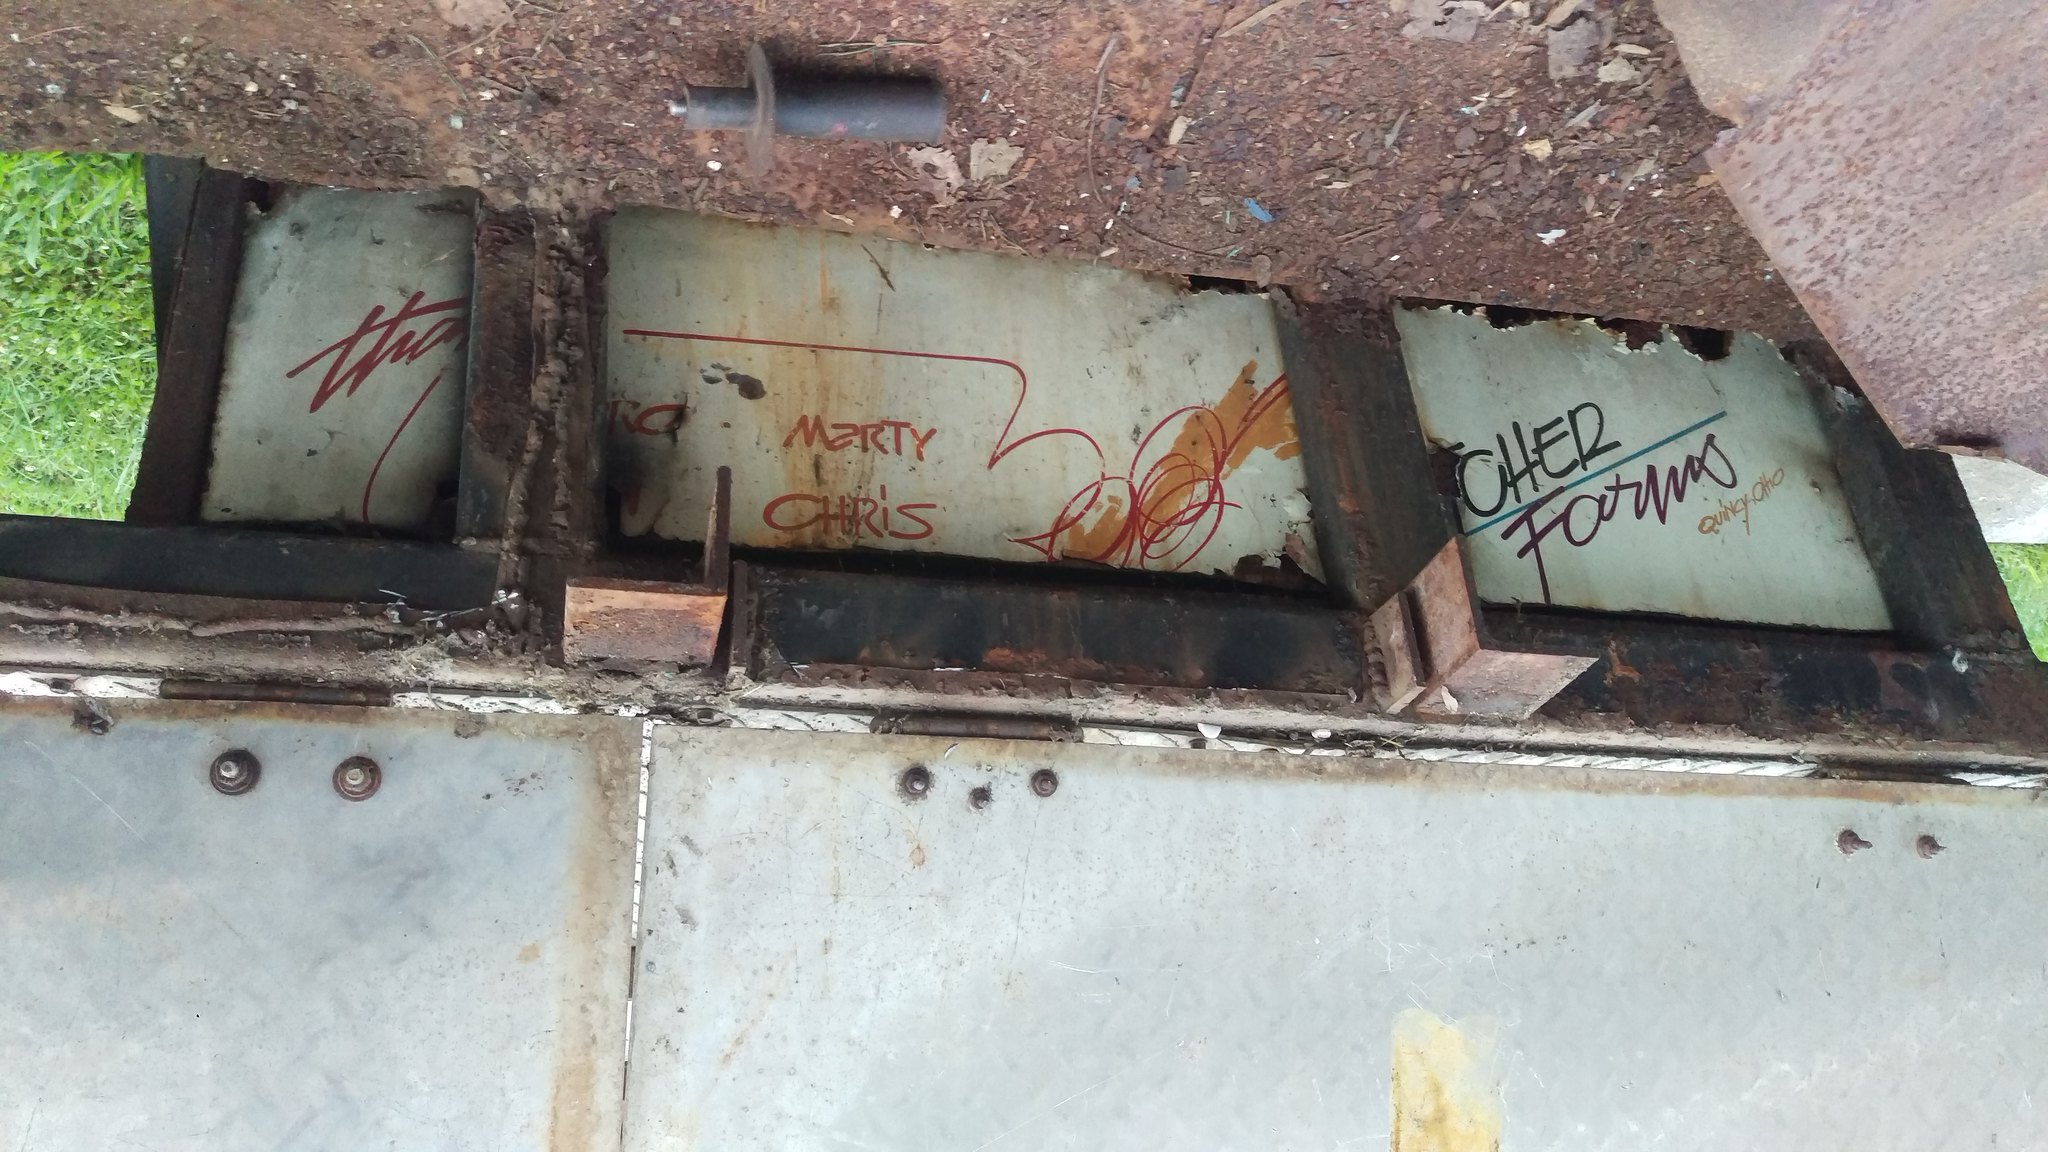
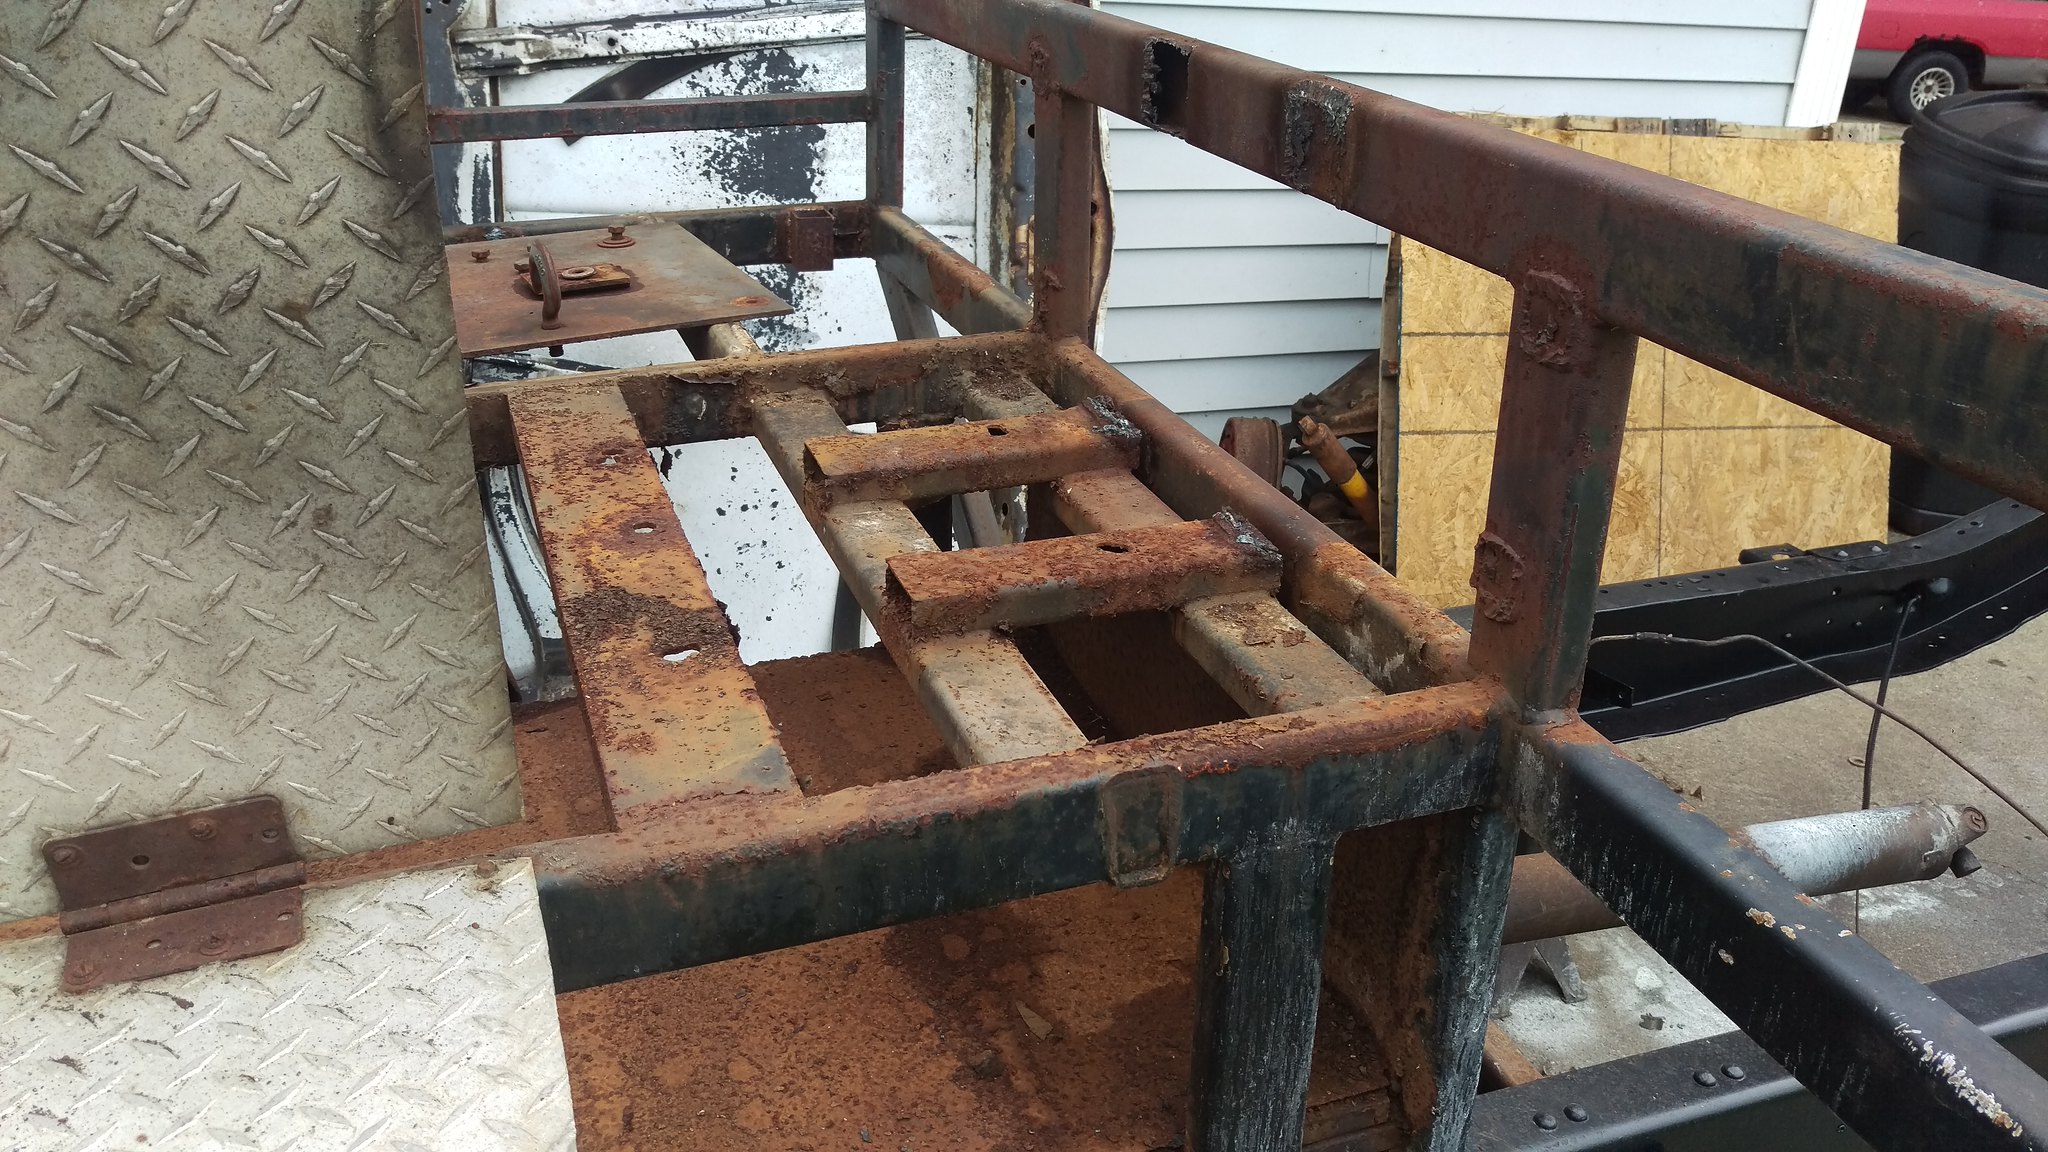
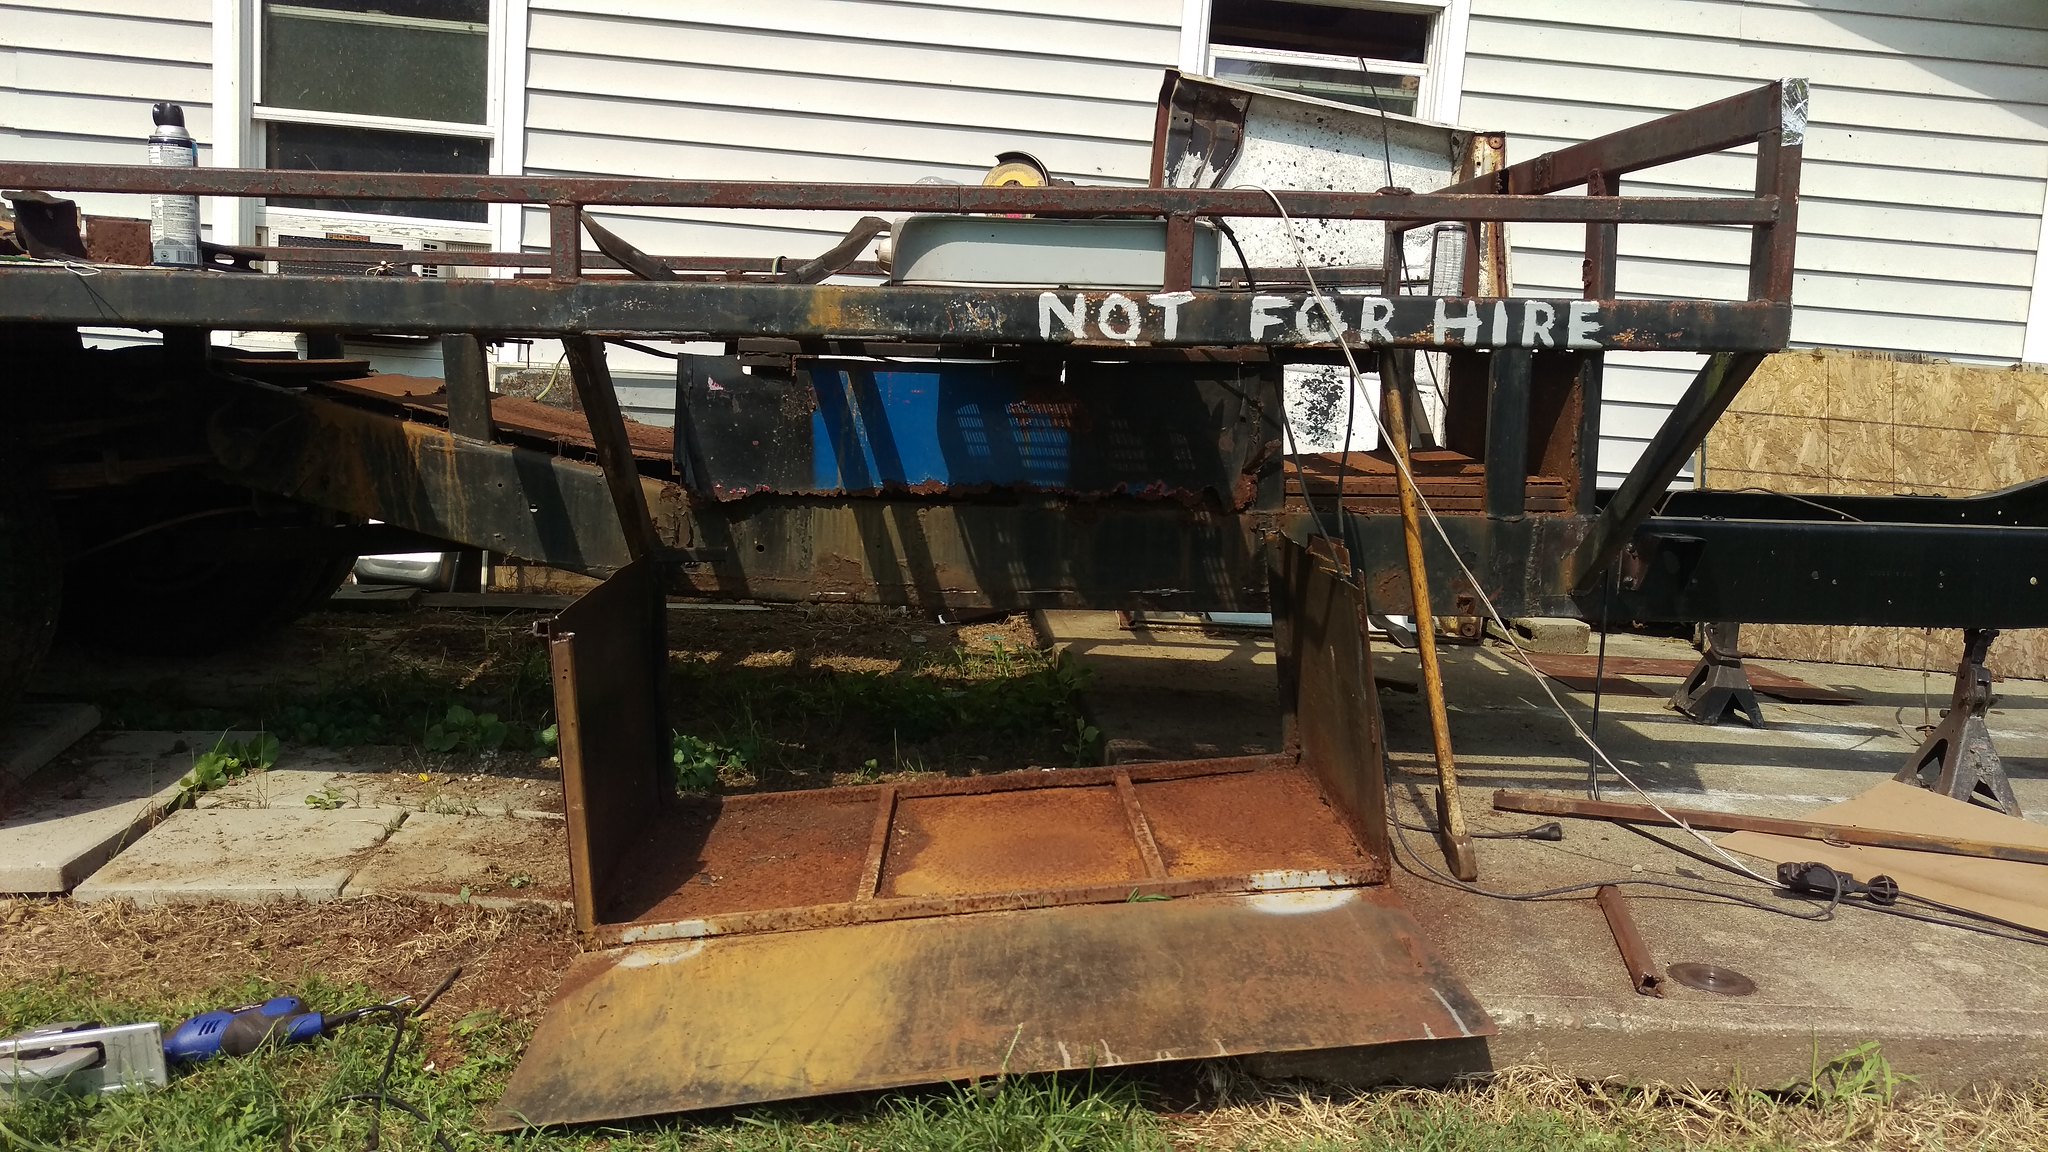
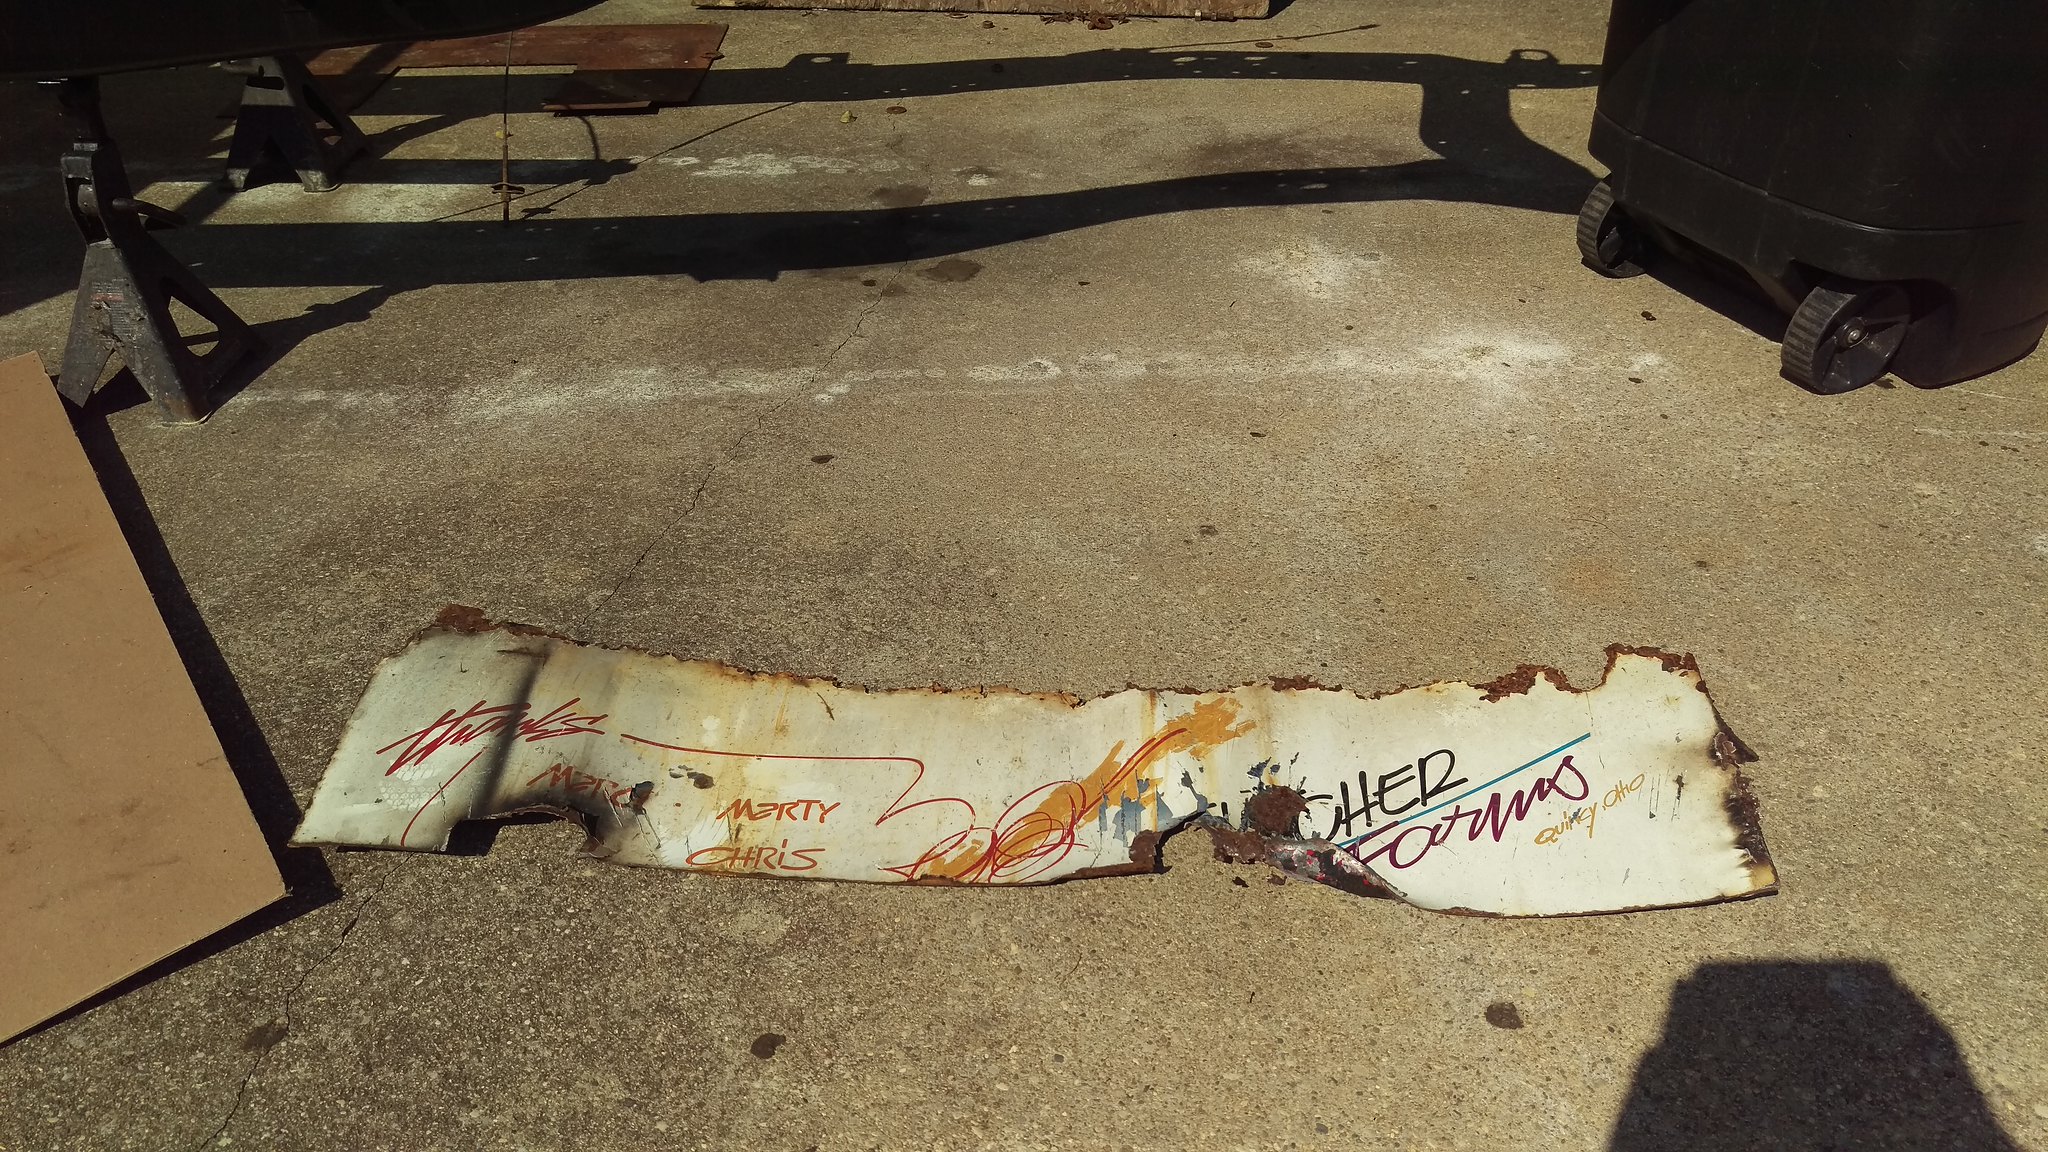
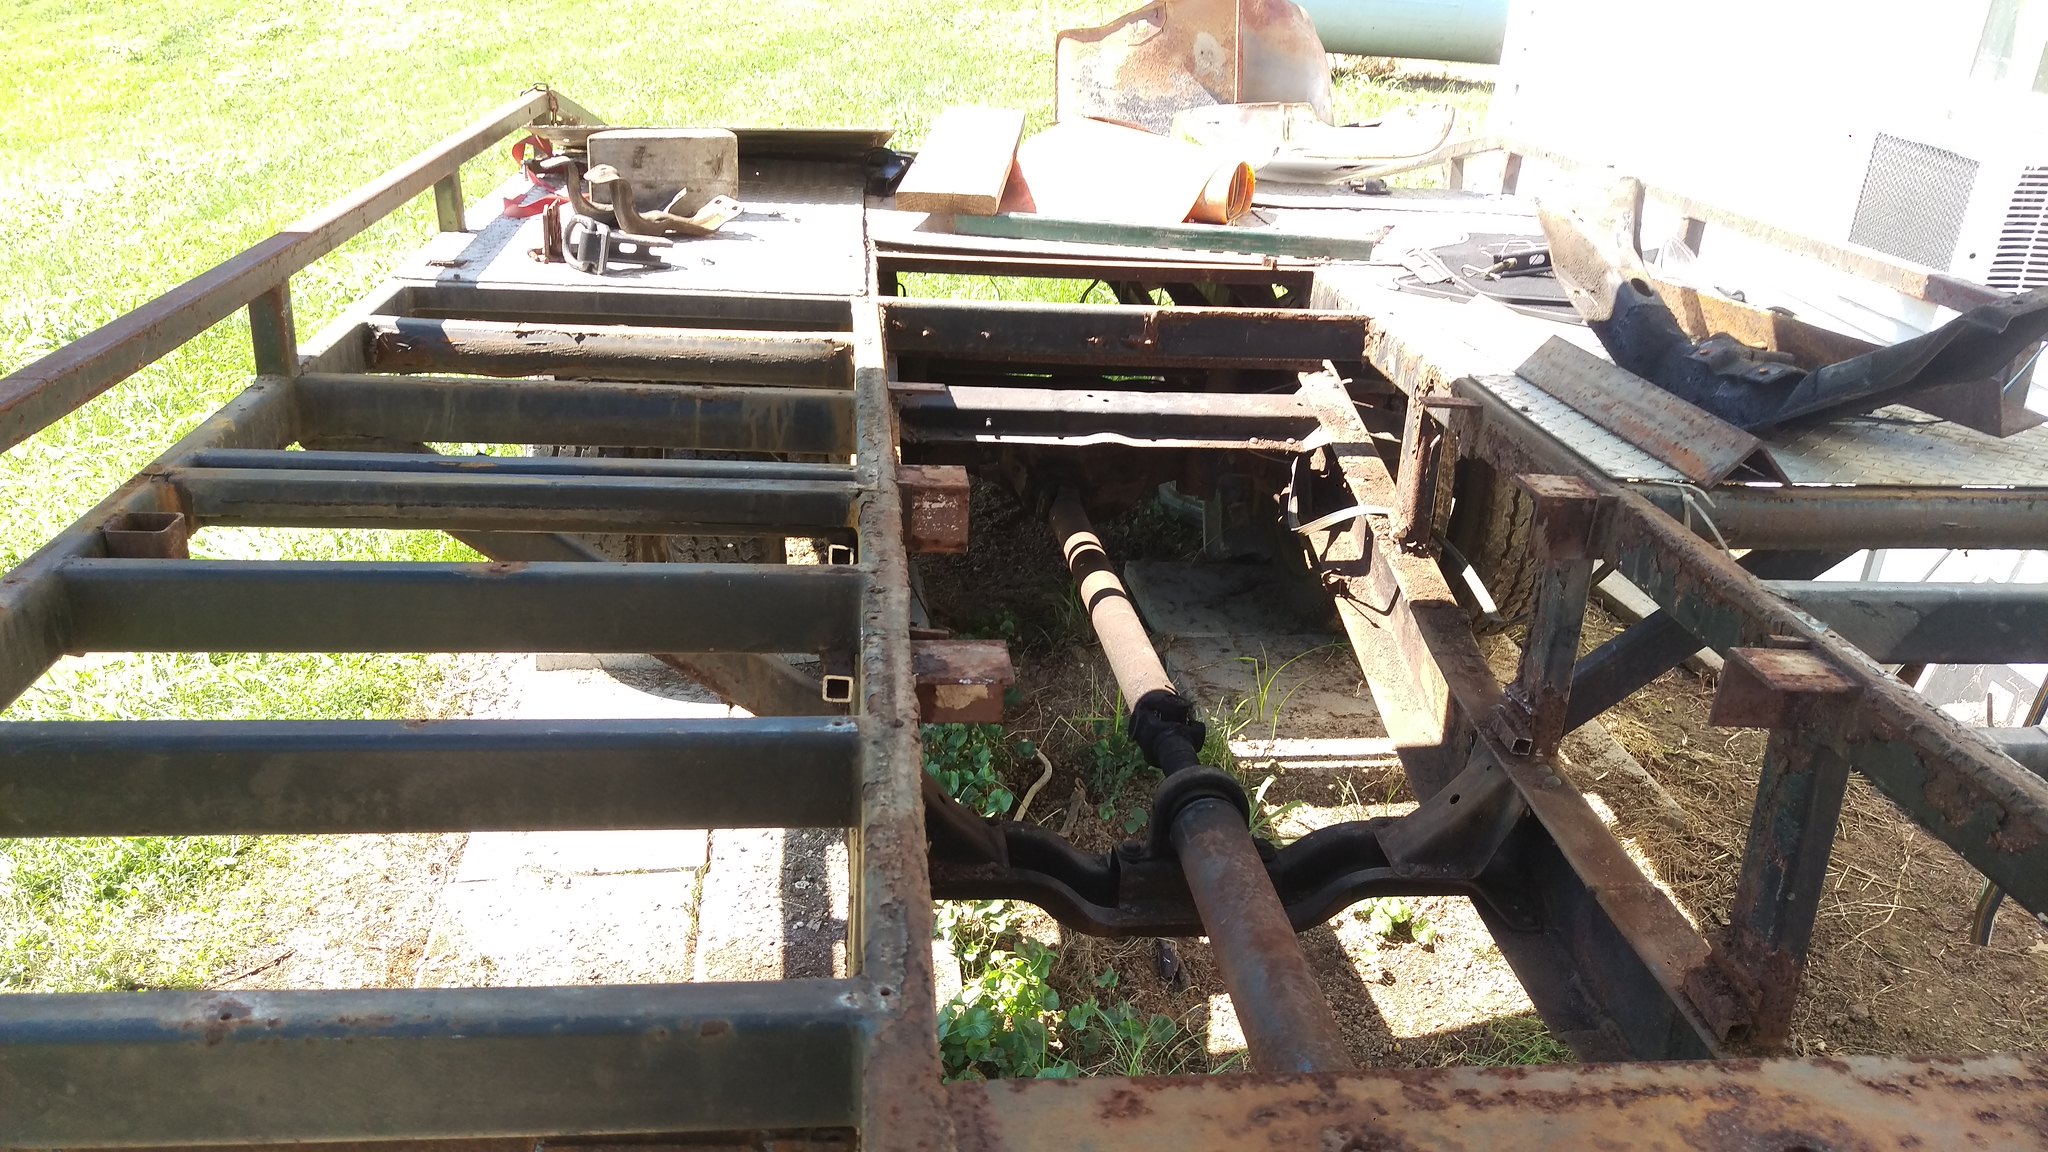
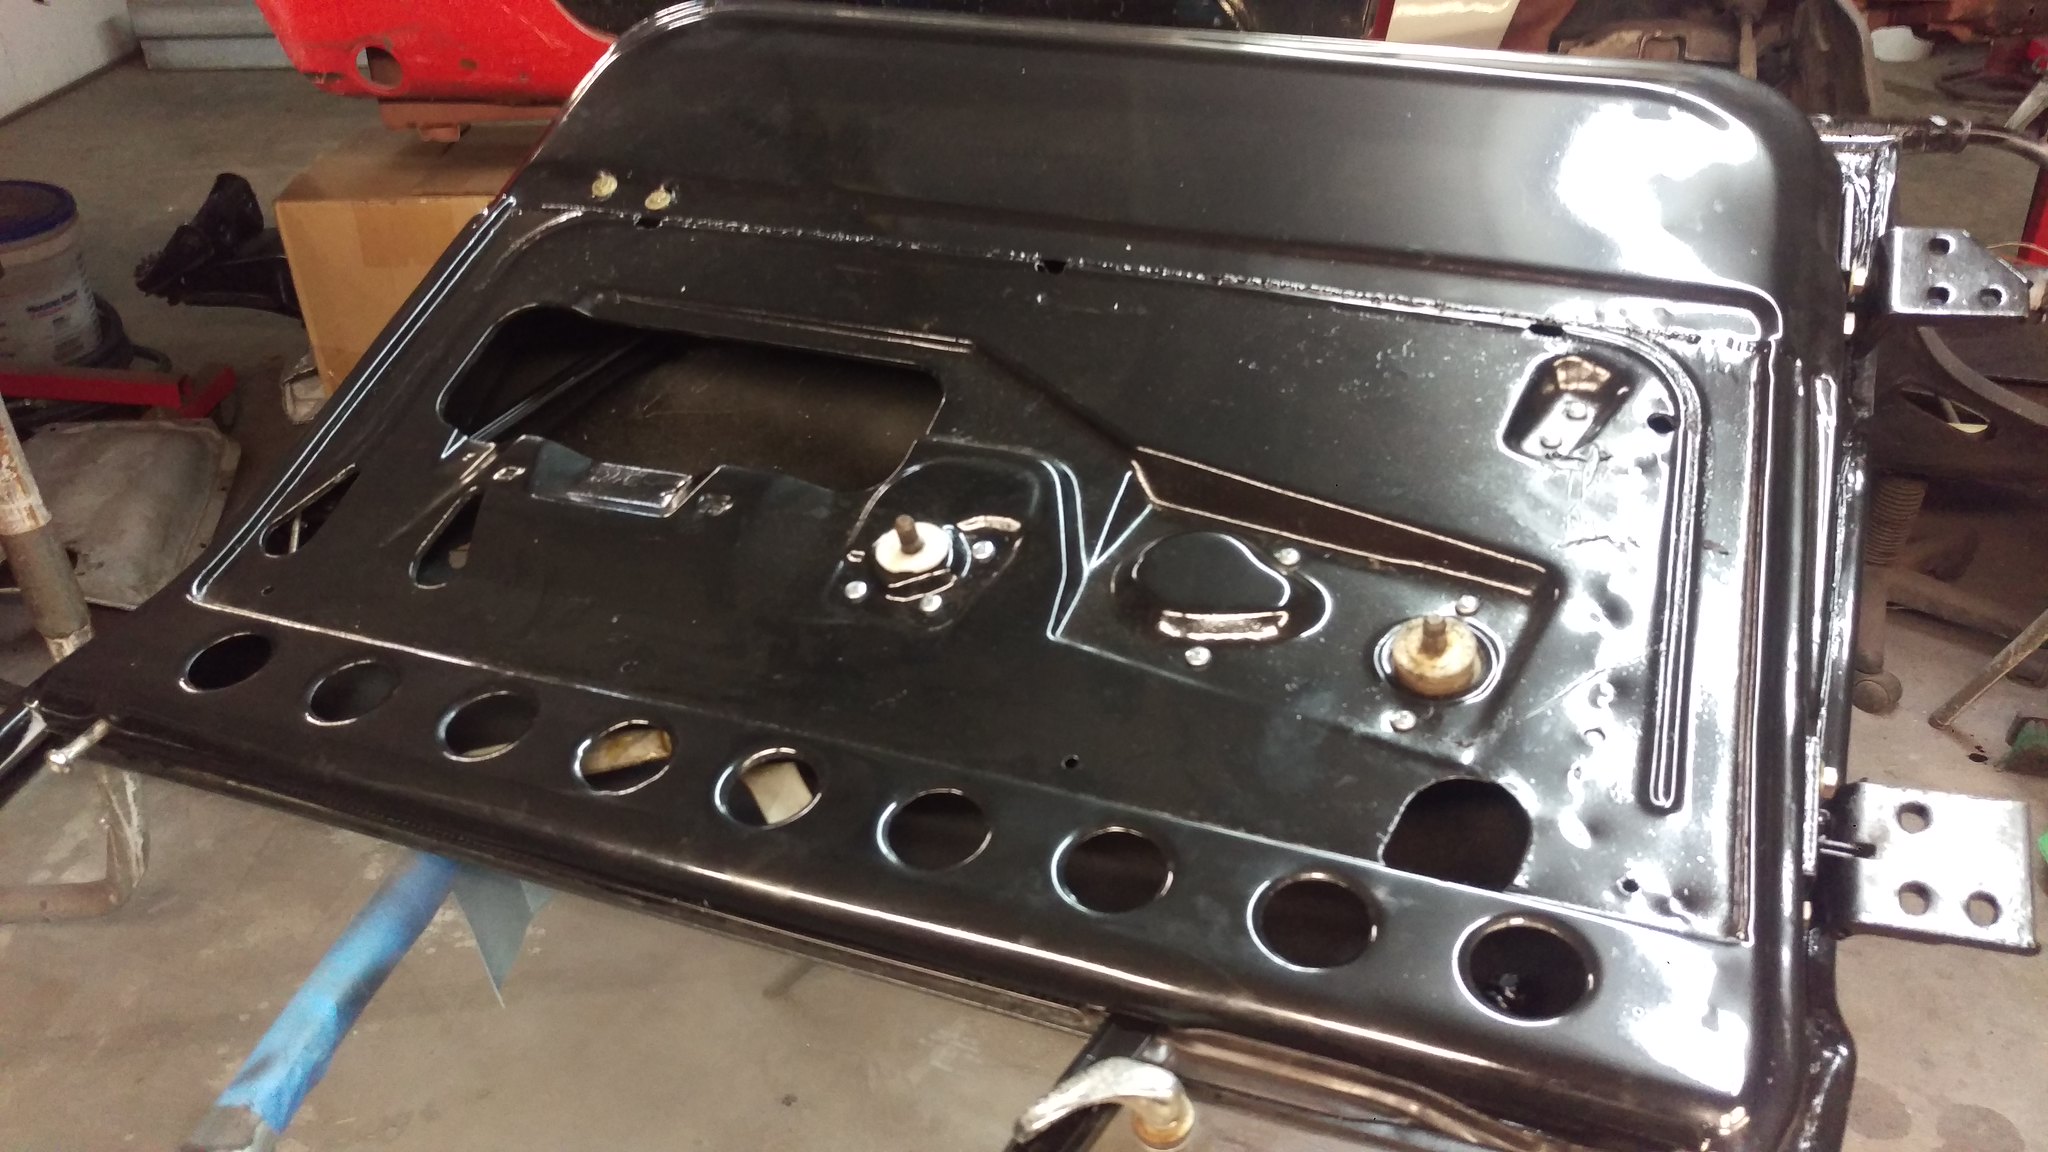
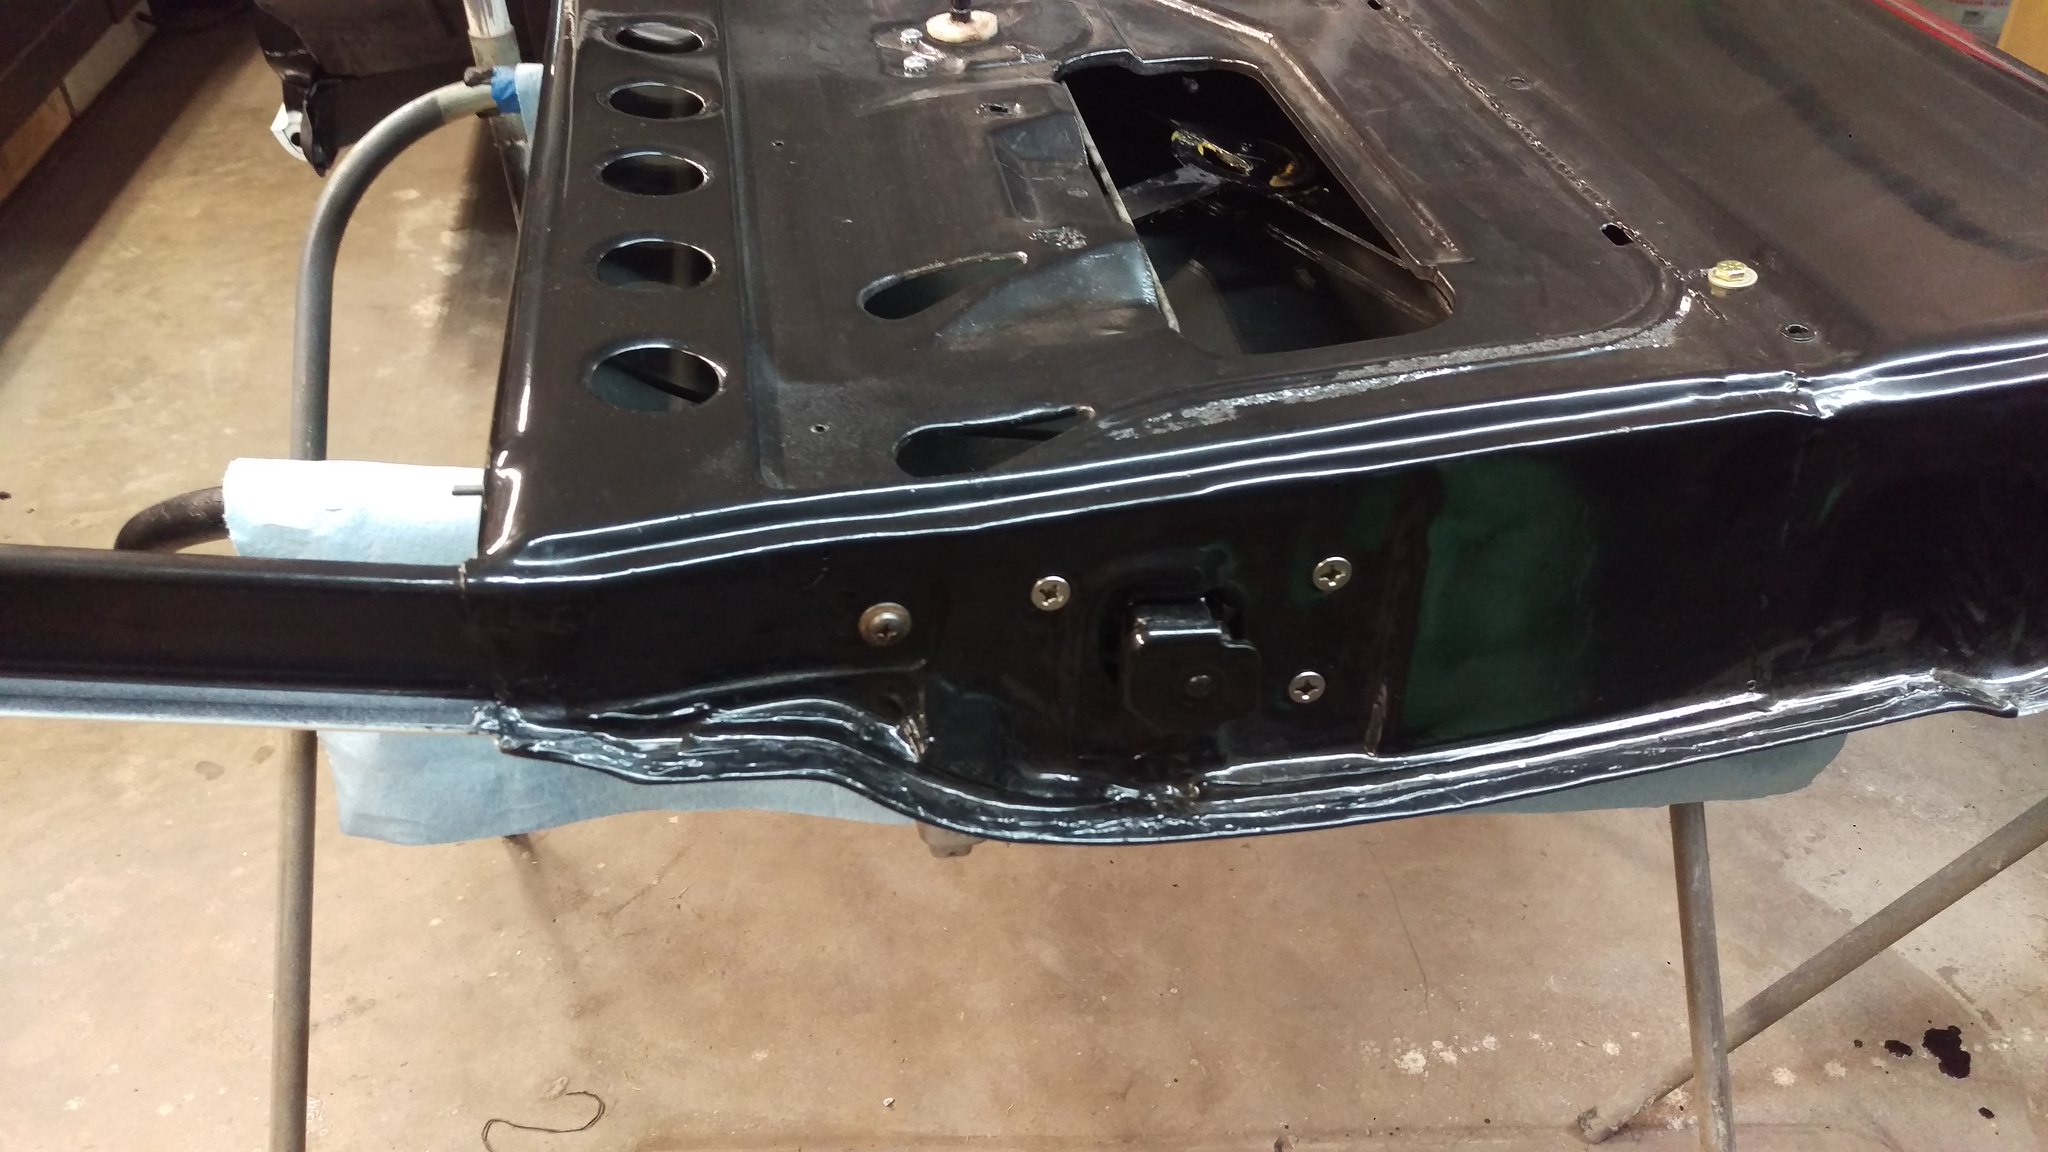
I removed the side box and the inner box nightmare thing.
 IMAG1862
 by
jarrod vanwinkle, on Flickr
 IMAG1863
 by
jarrod vanwinkle, on Flickr
 IMAG1866
 by
jarrod vanwinkle, on Flickr
 IMAG1870
 by
jarrod vanwinkle, on Flickr
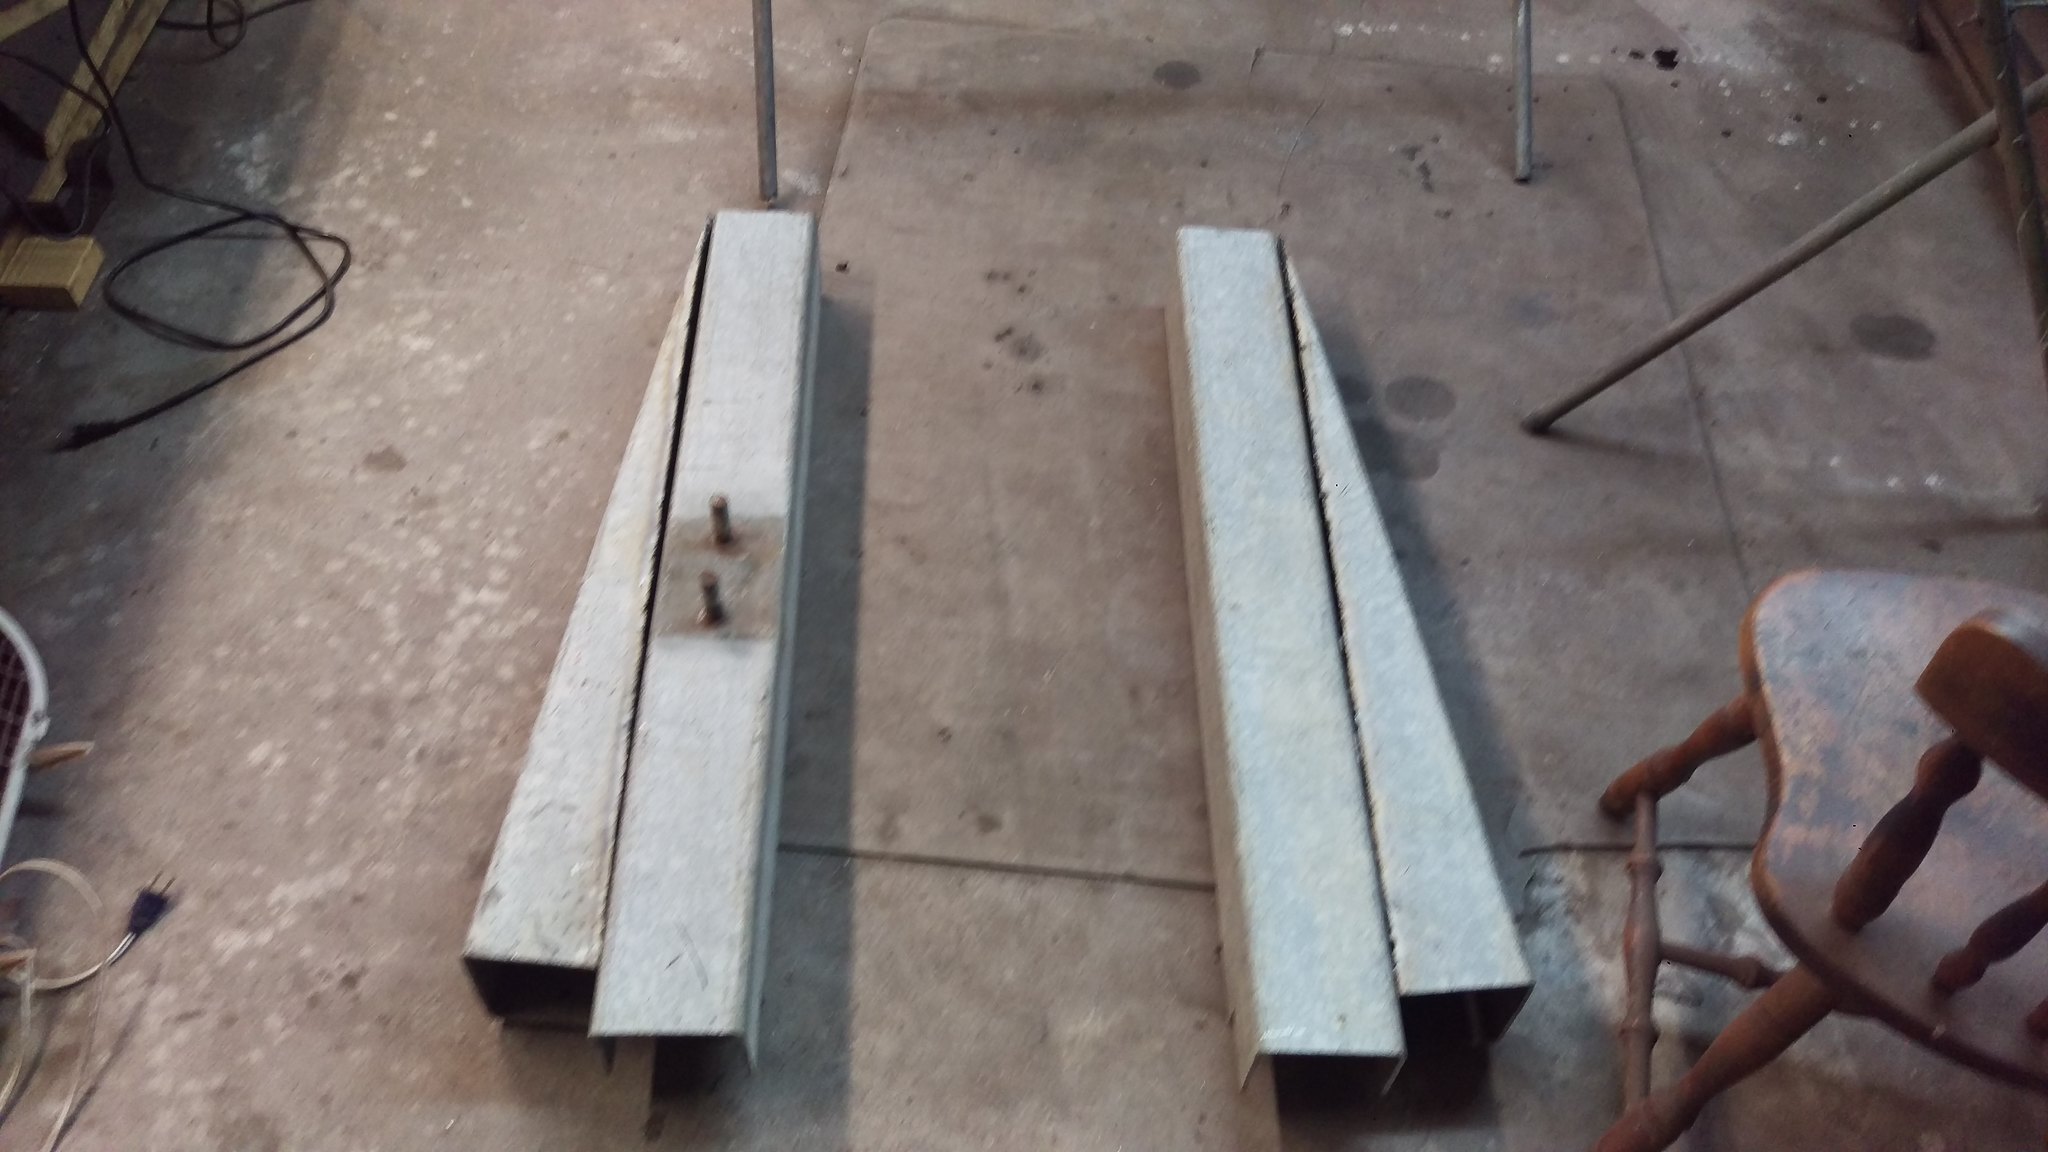
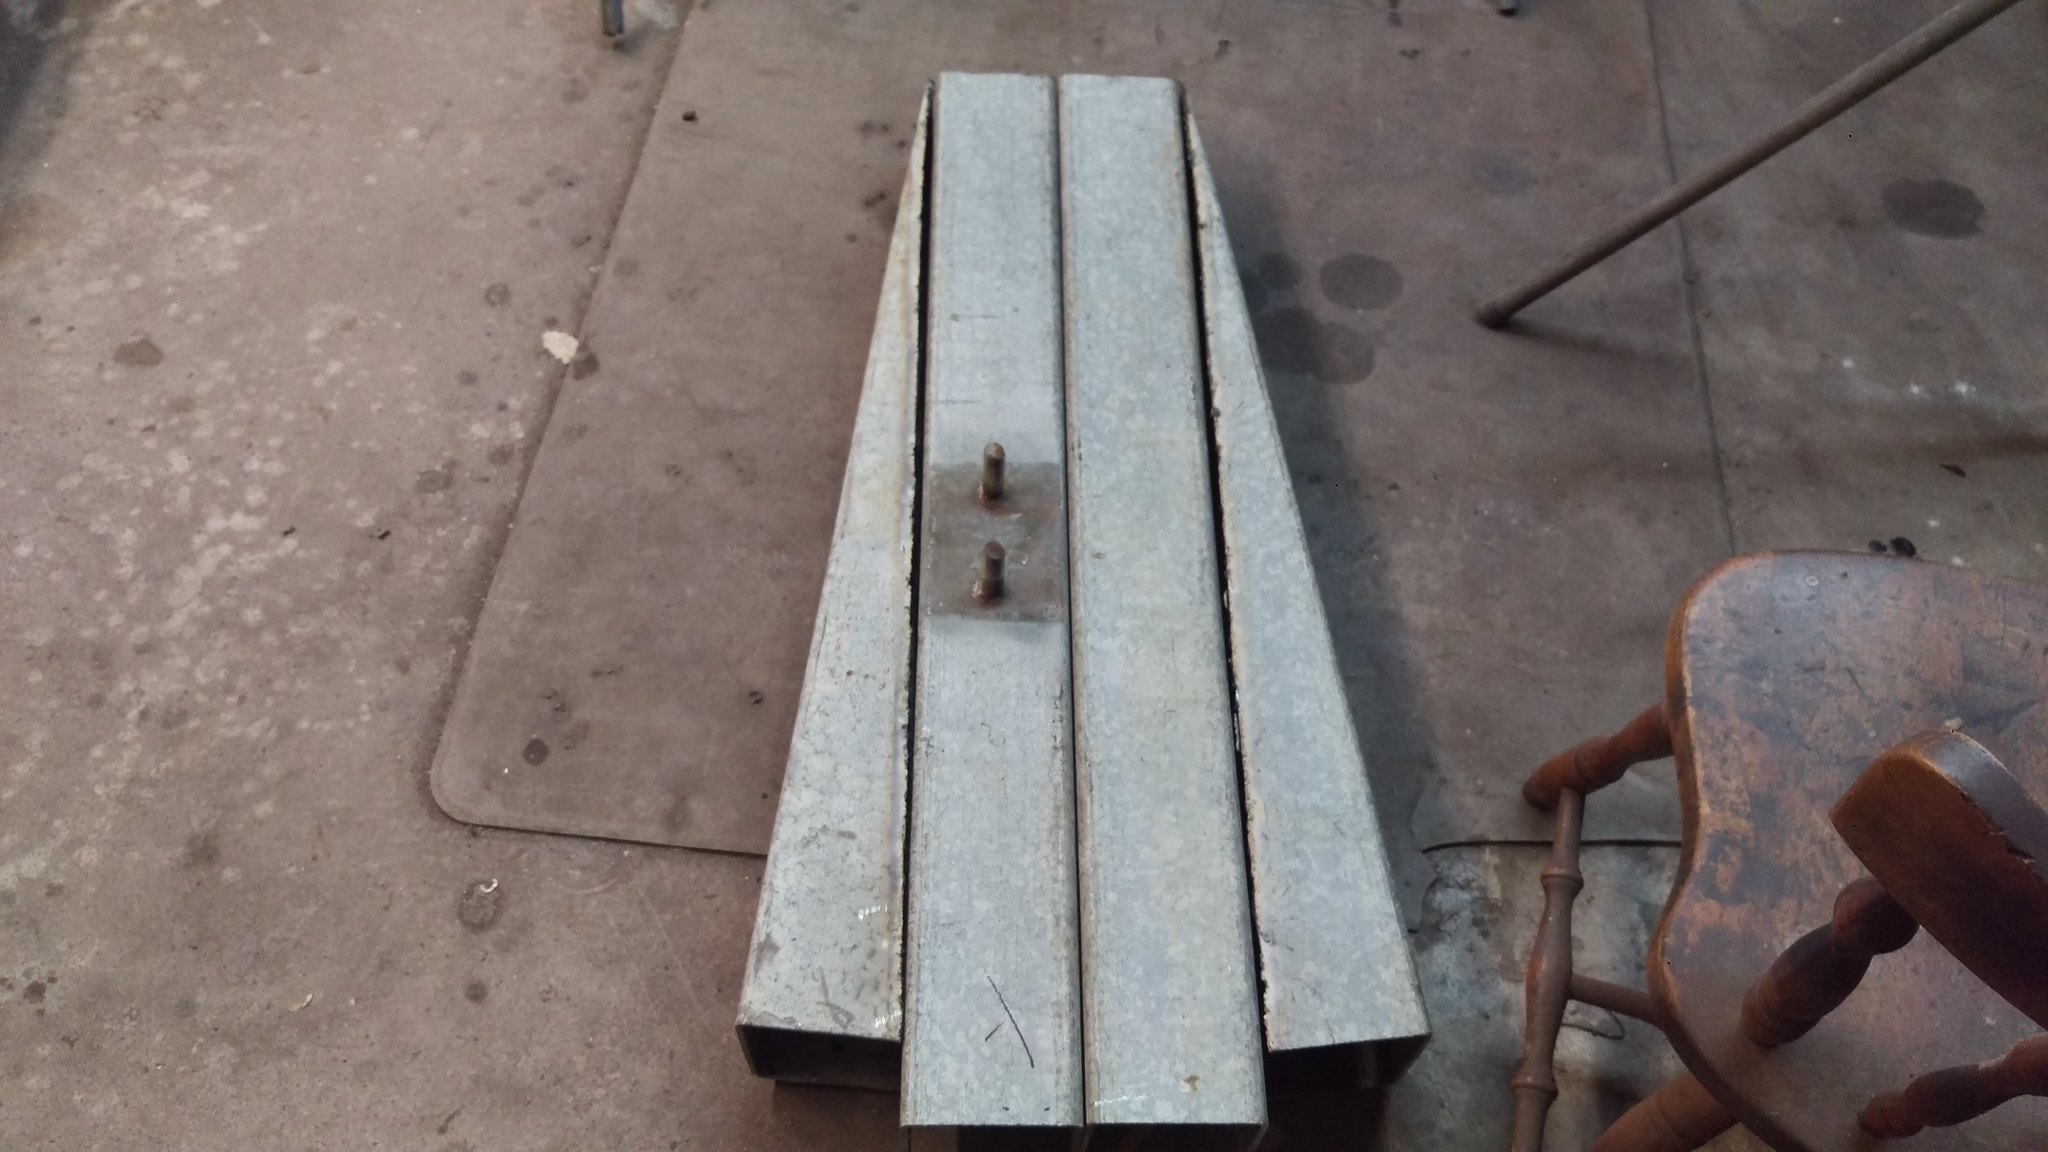
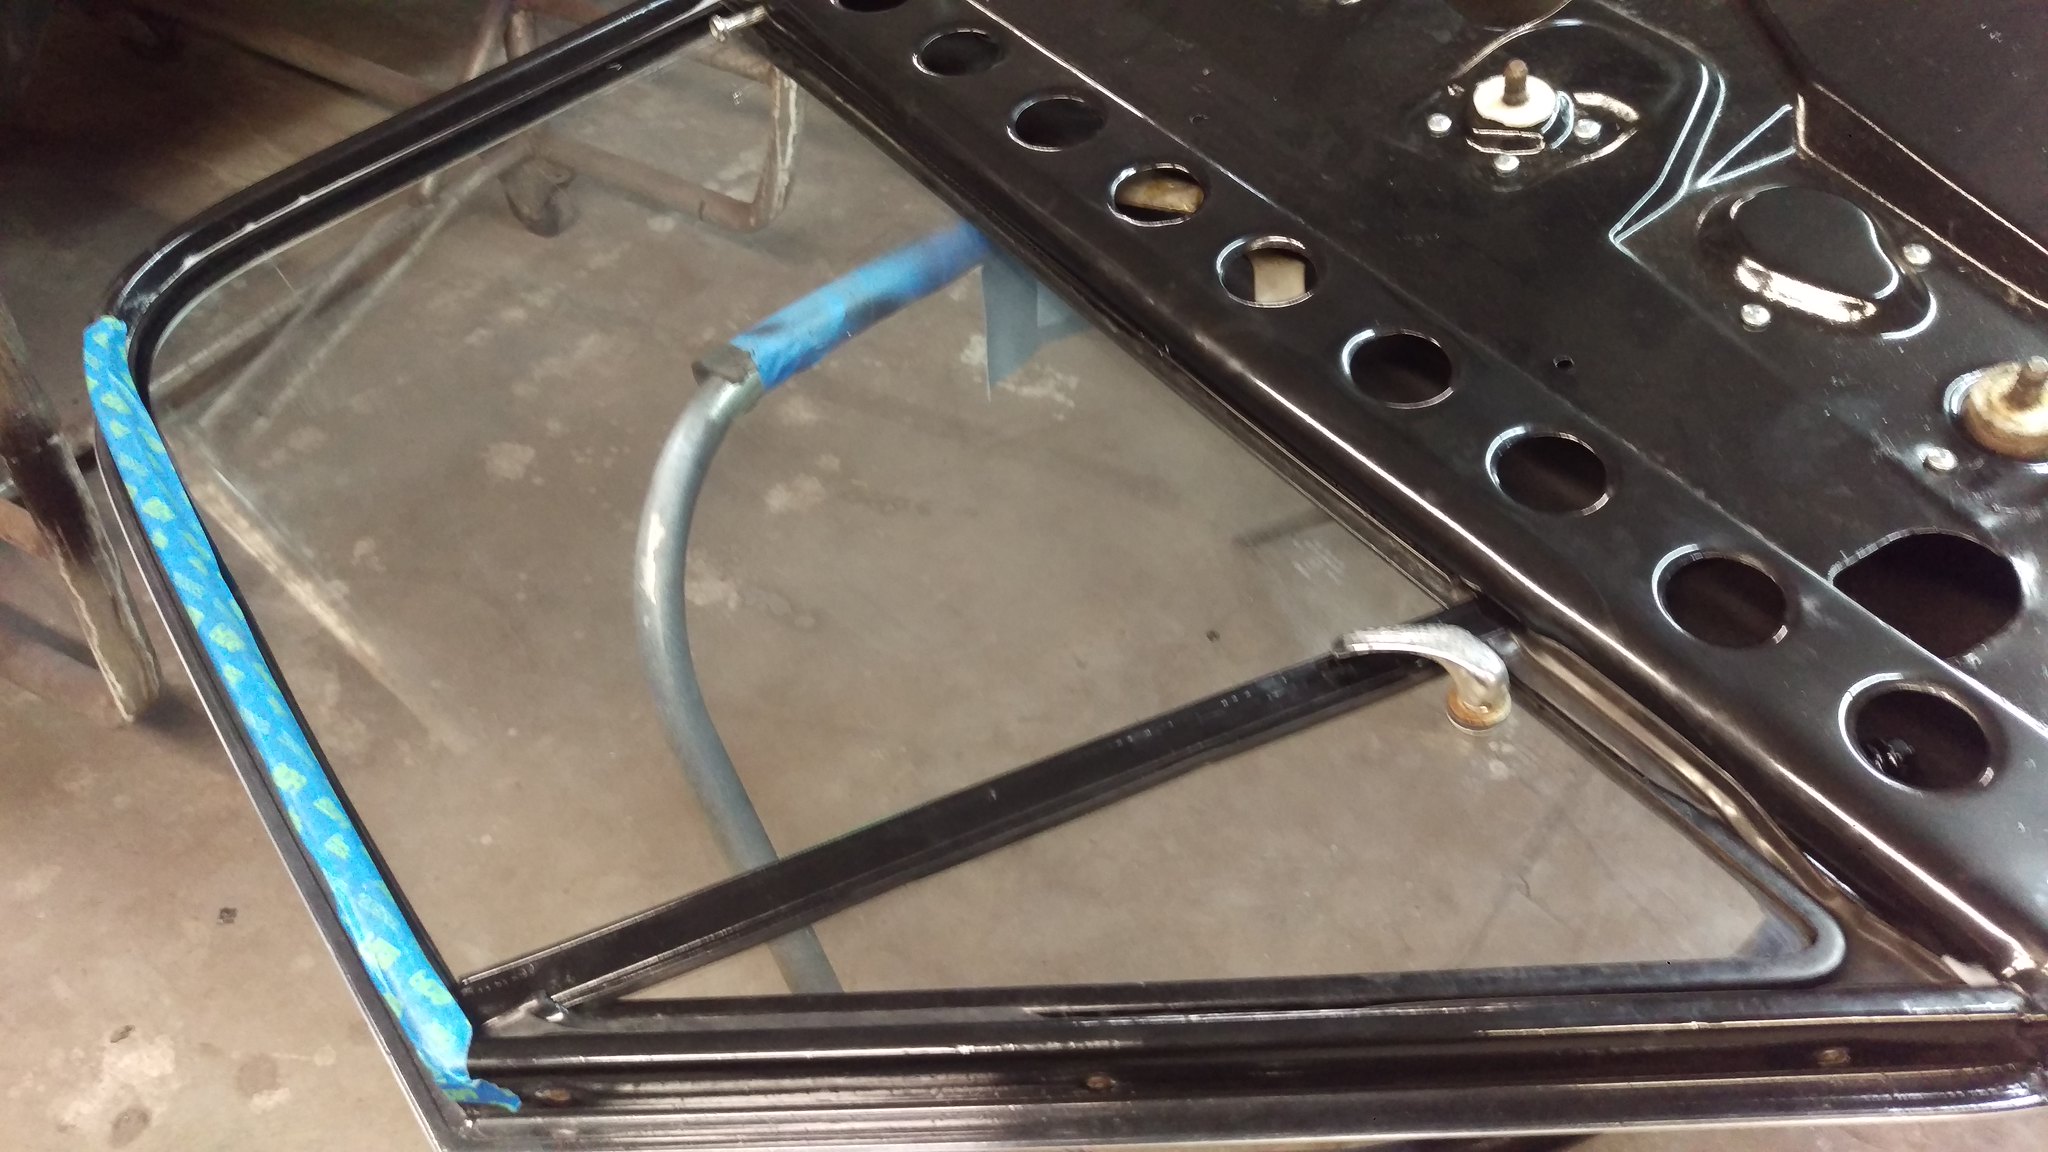
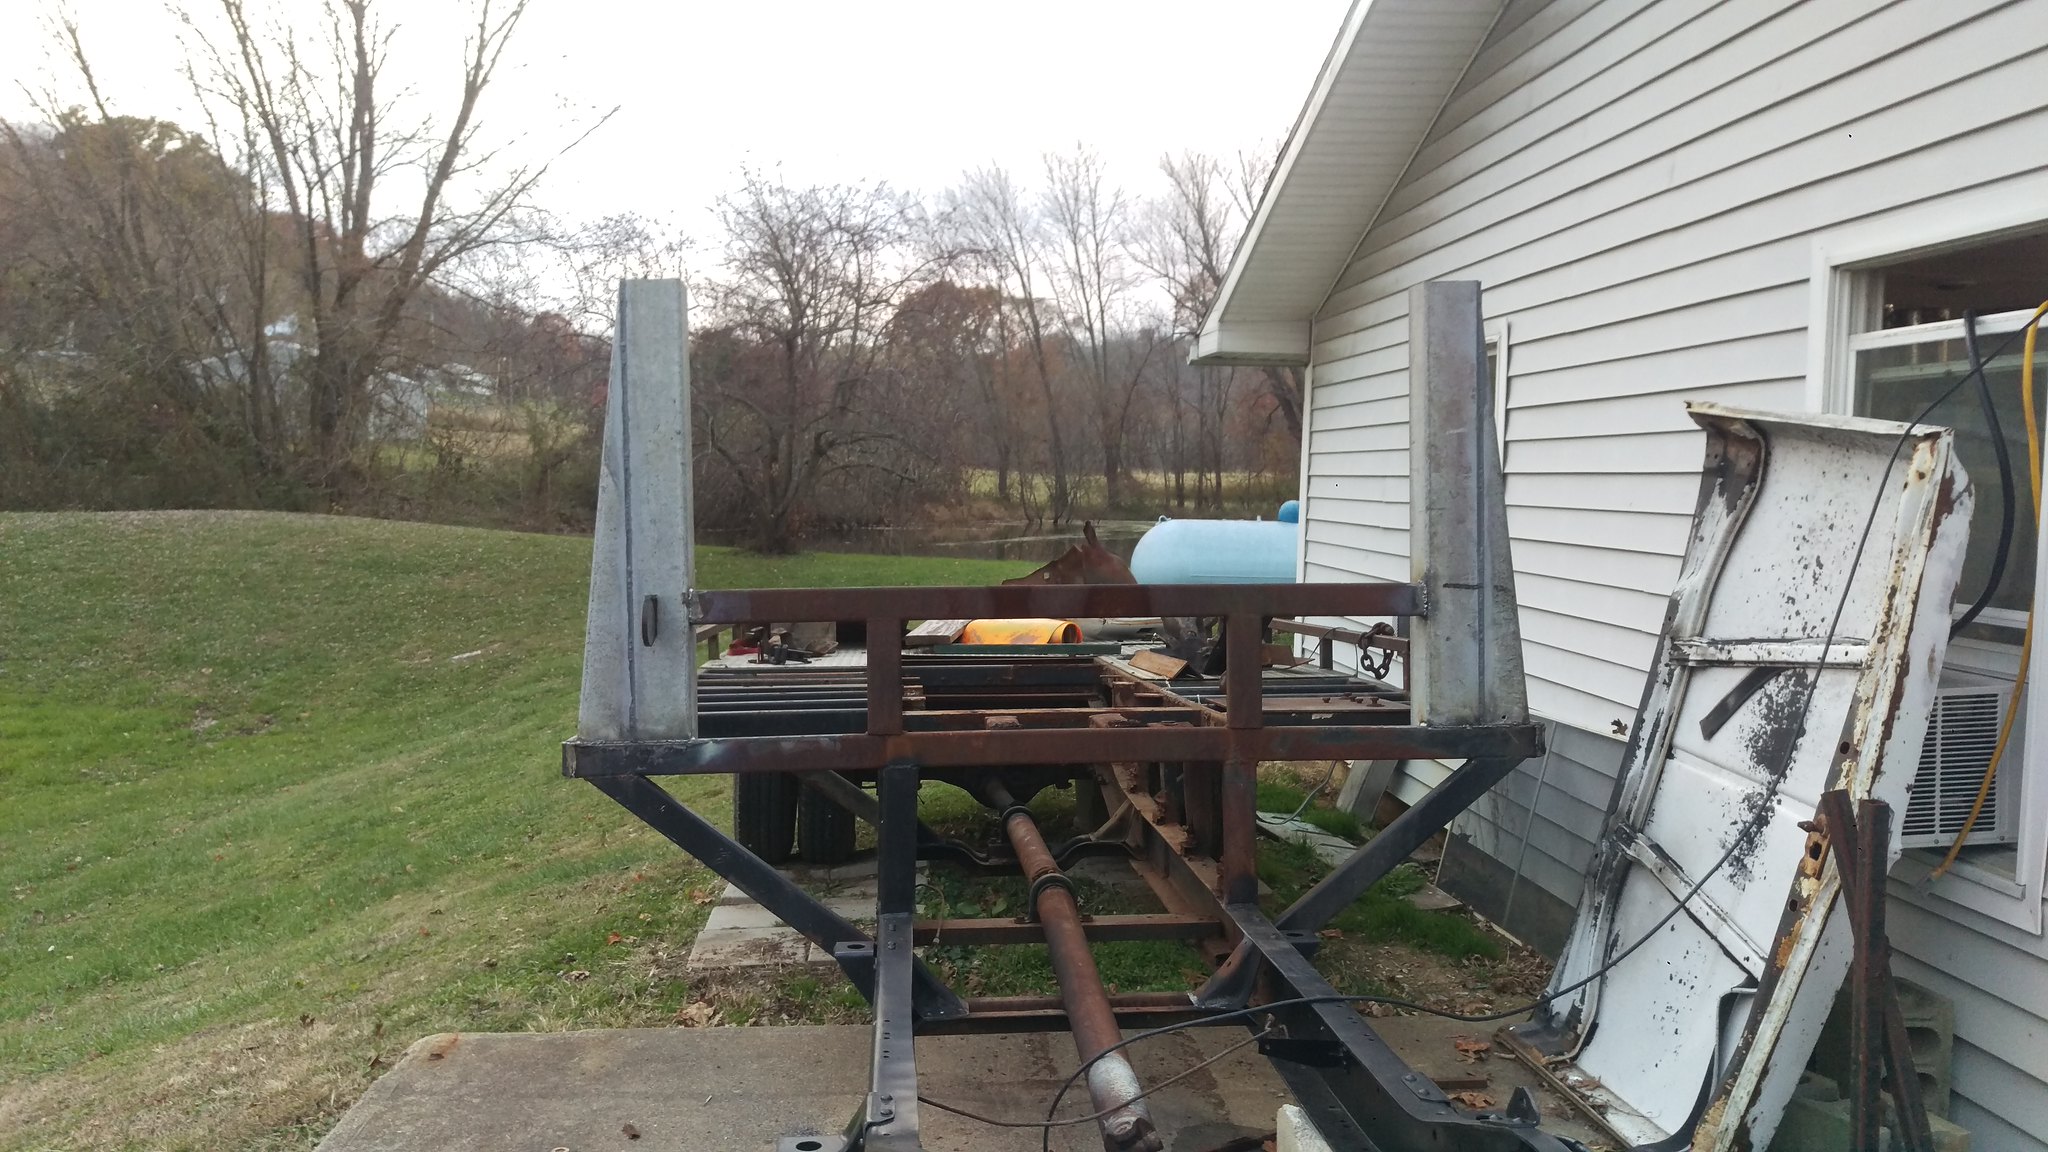
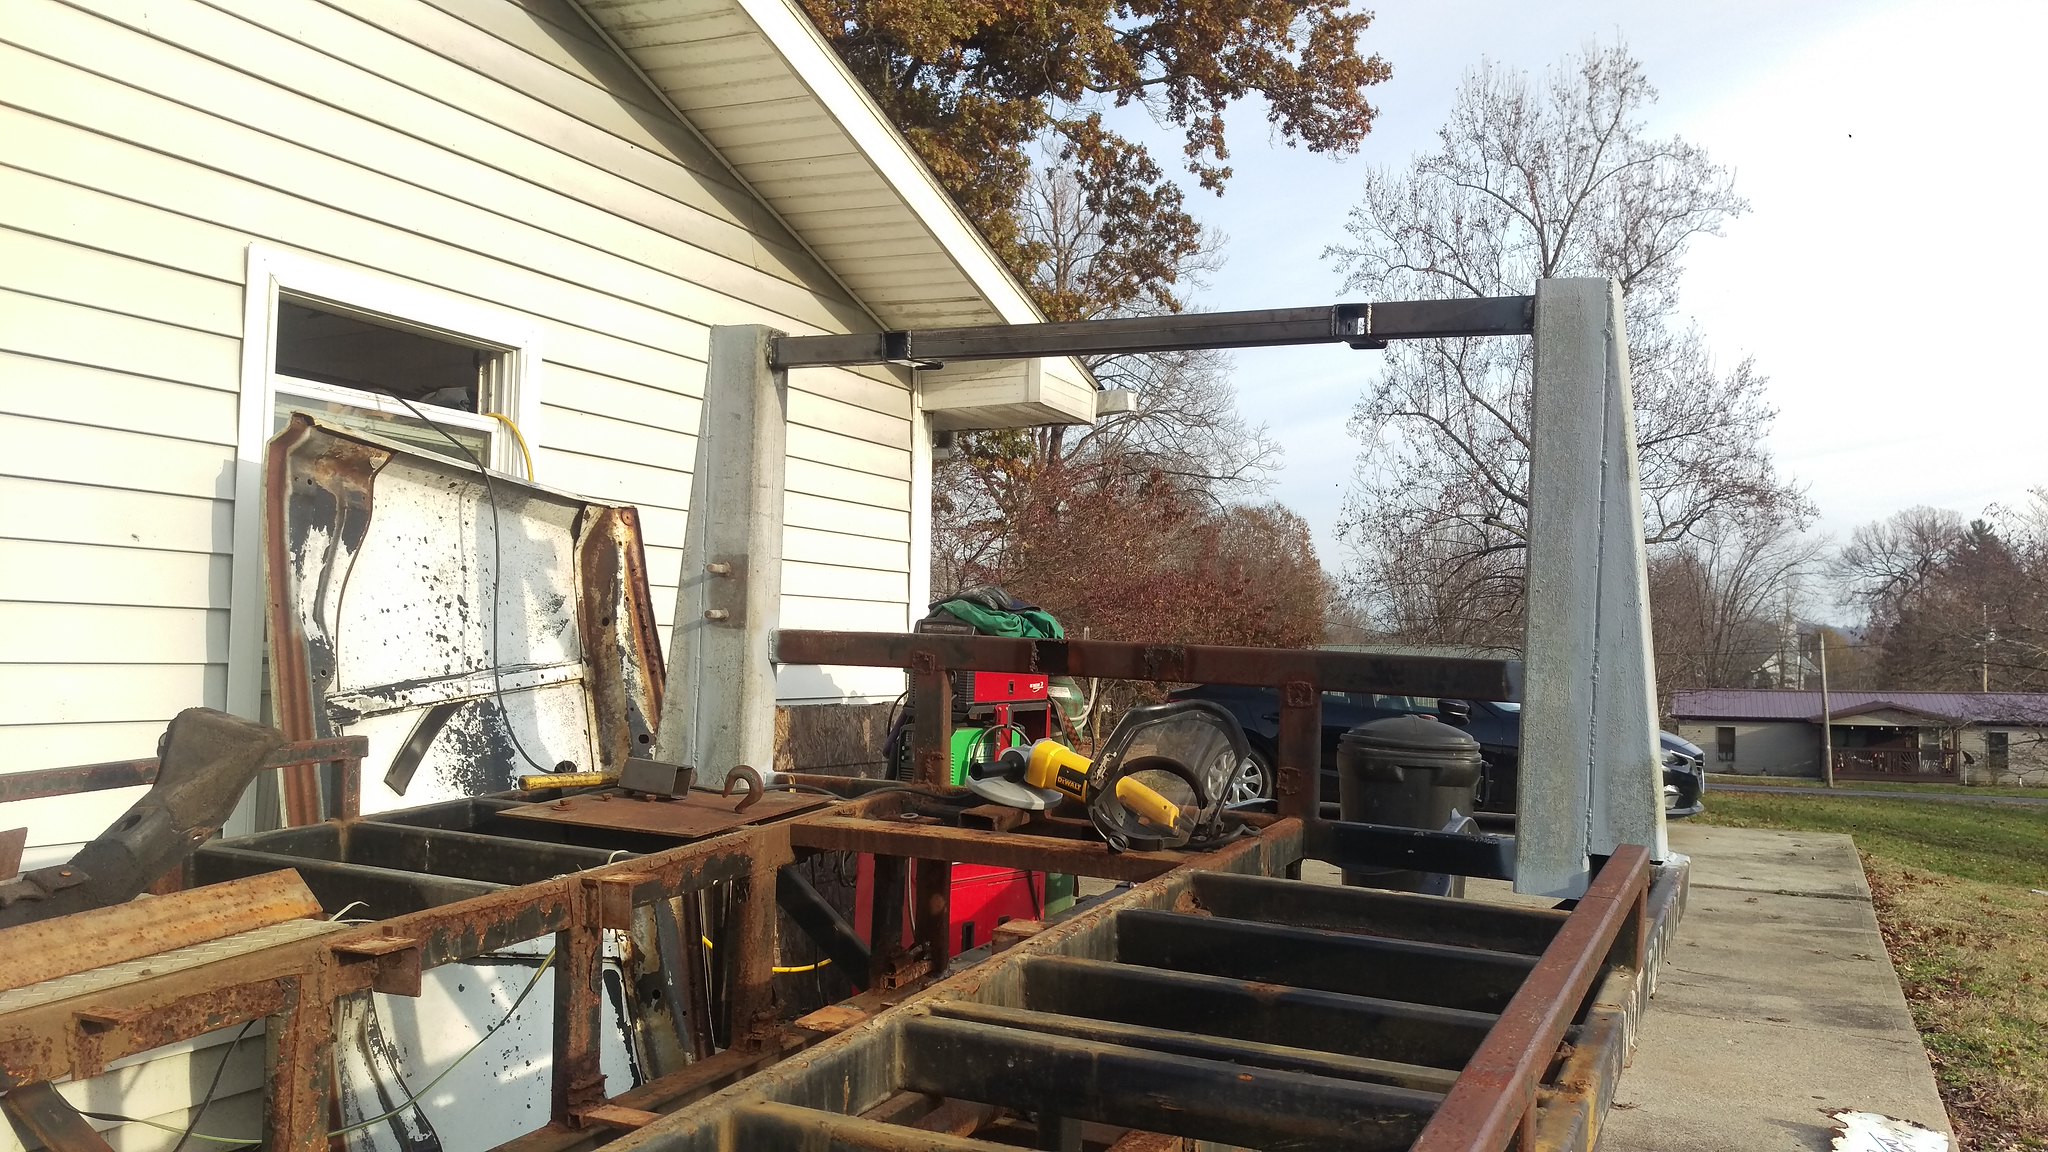
I started on the headache rack
 IMAG1871
 by
jarrod vanwinkle, on Flickr
 IMAG1872
 by
jarrod vanwinkle, on Flickr
 IMAG1873
 by
jarrod vanwinkle, on Flickr
 IMAG1874
 by
jarrod vanwinkle, on Flickr
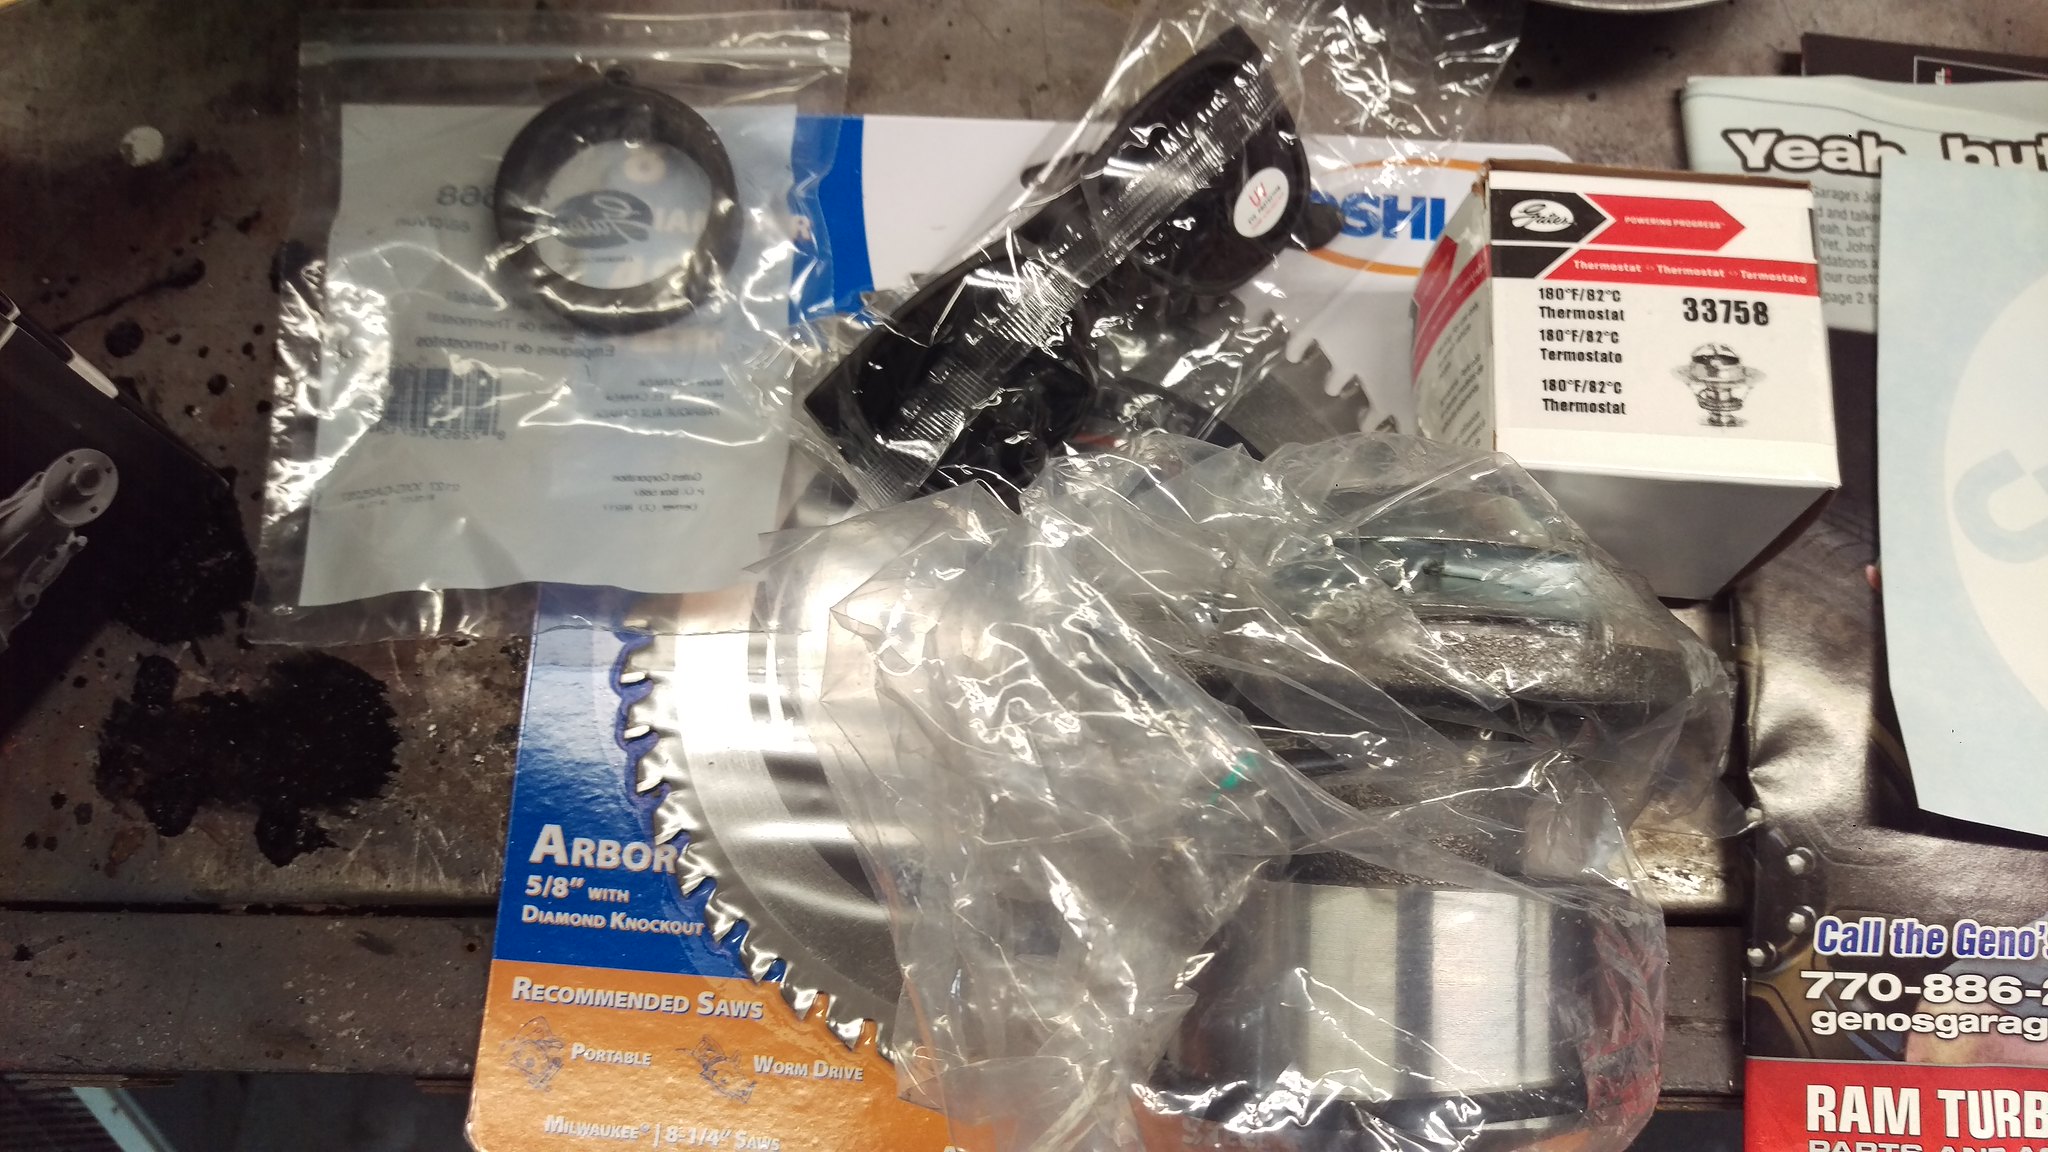
Water pump, thermostat and seals for the cummins
 IMAG1876
 by
jarrod vanwinkle, on Flickr
 IMAG1877
 by
jarrod vanwinkle, on Flickr
I got new seals for the doors
 IMAG1858
 by
jarrod vanwinkle, on Flickr
 IMAG1861
 by
jarrod vanwinkle, on Flickr
 IMAG1859
 by
jarrod vanwinkle, on Flickr
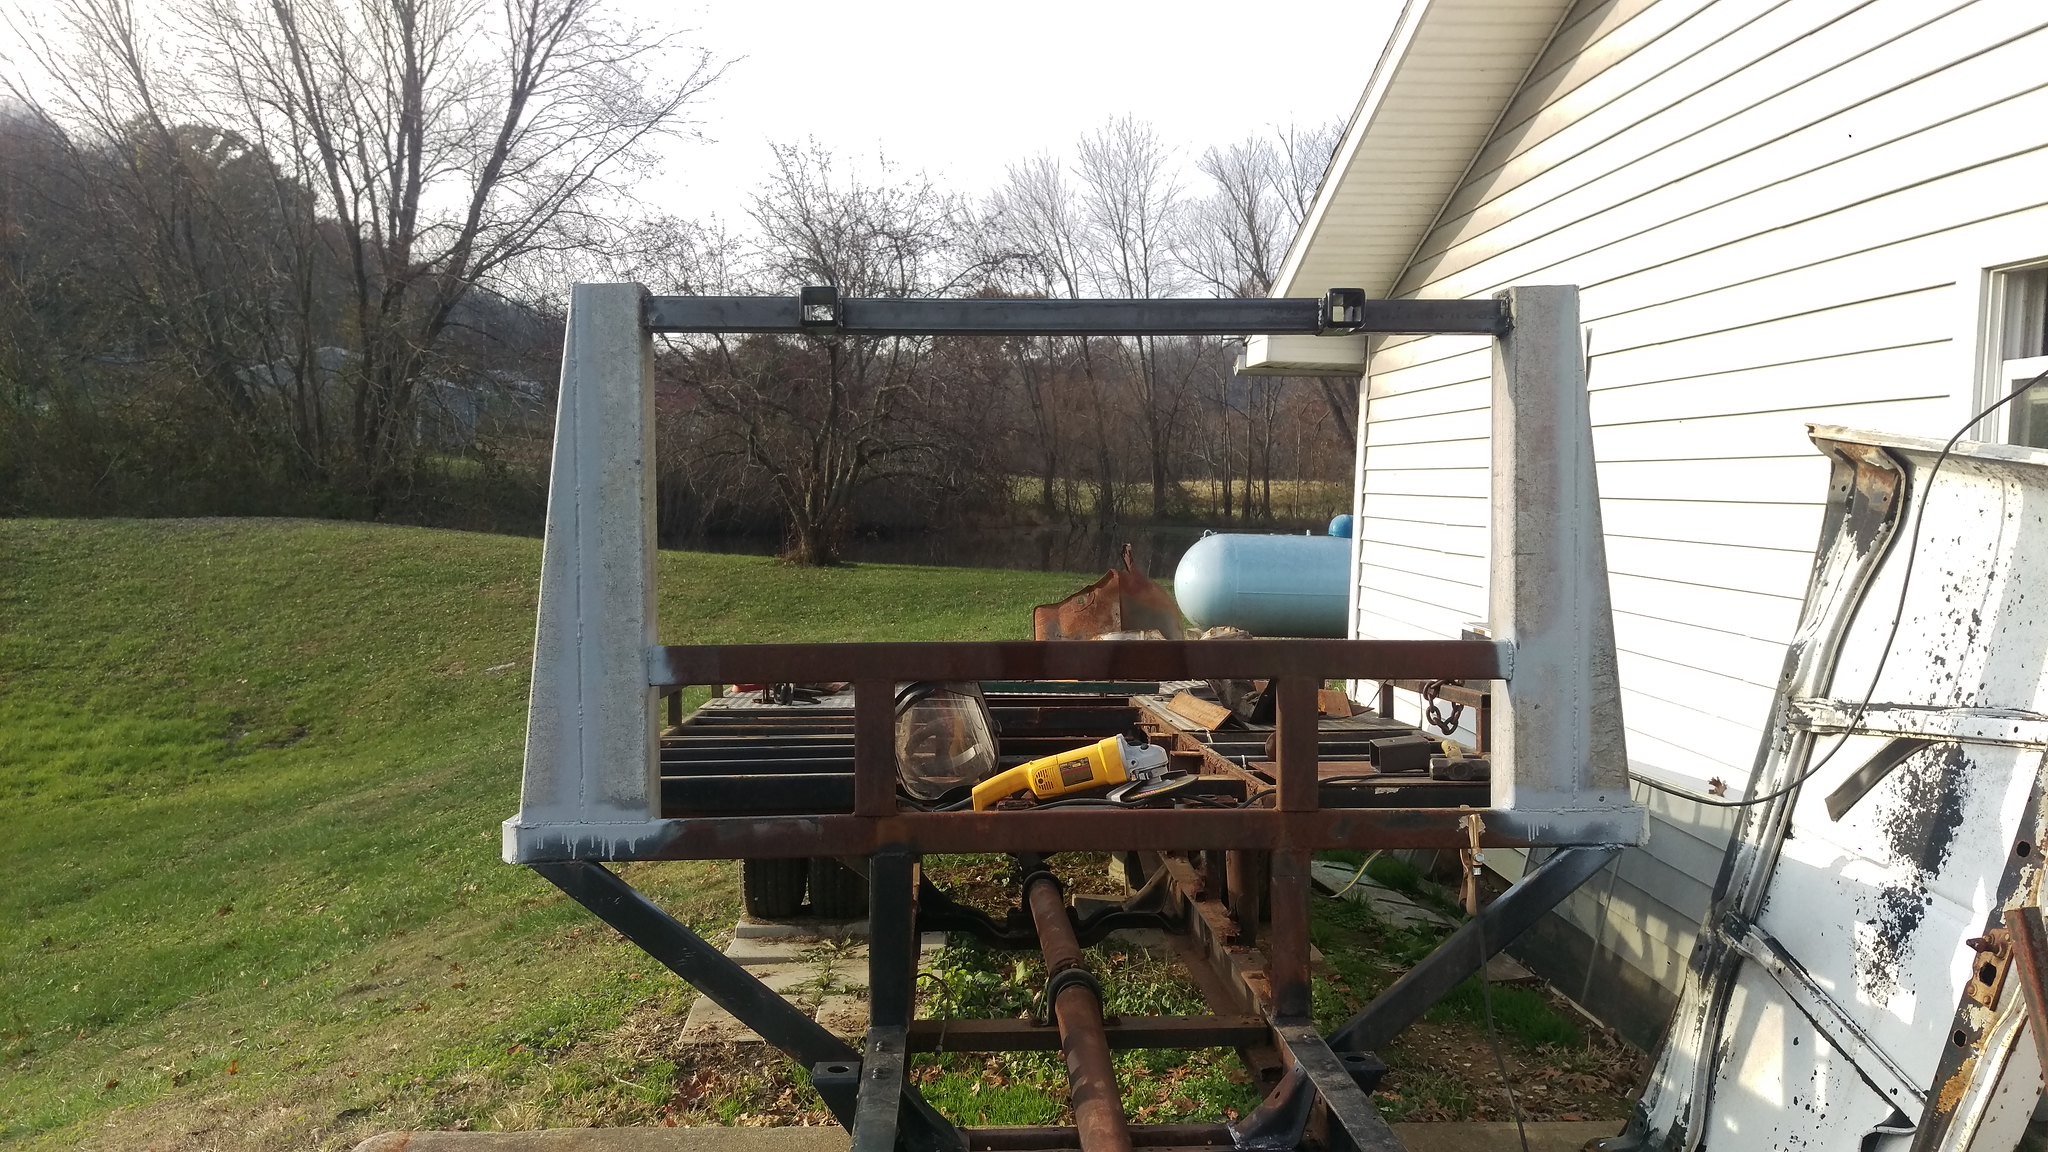
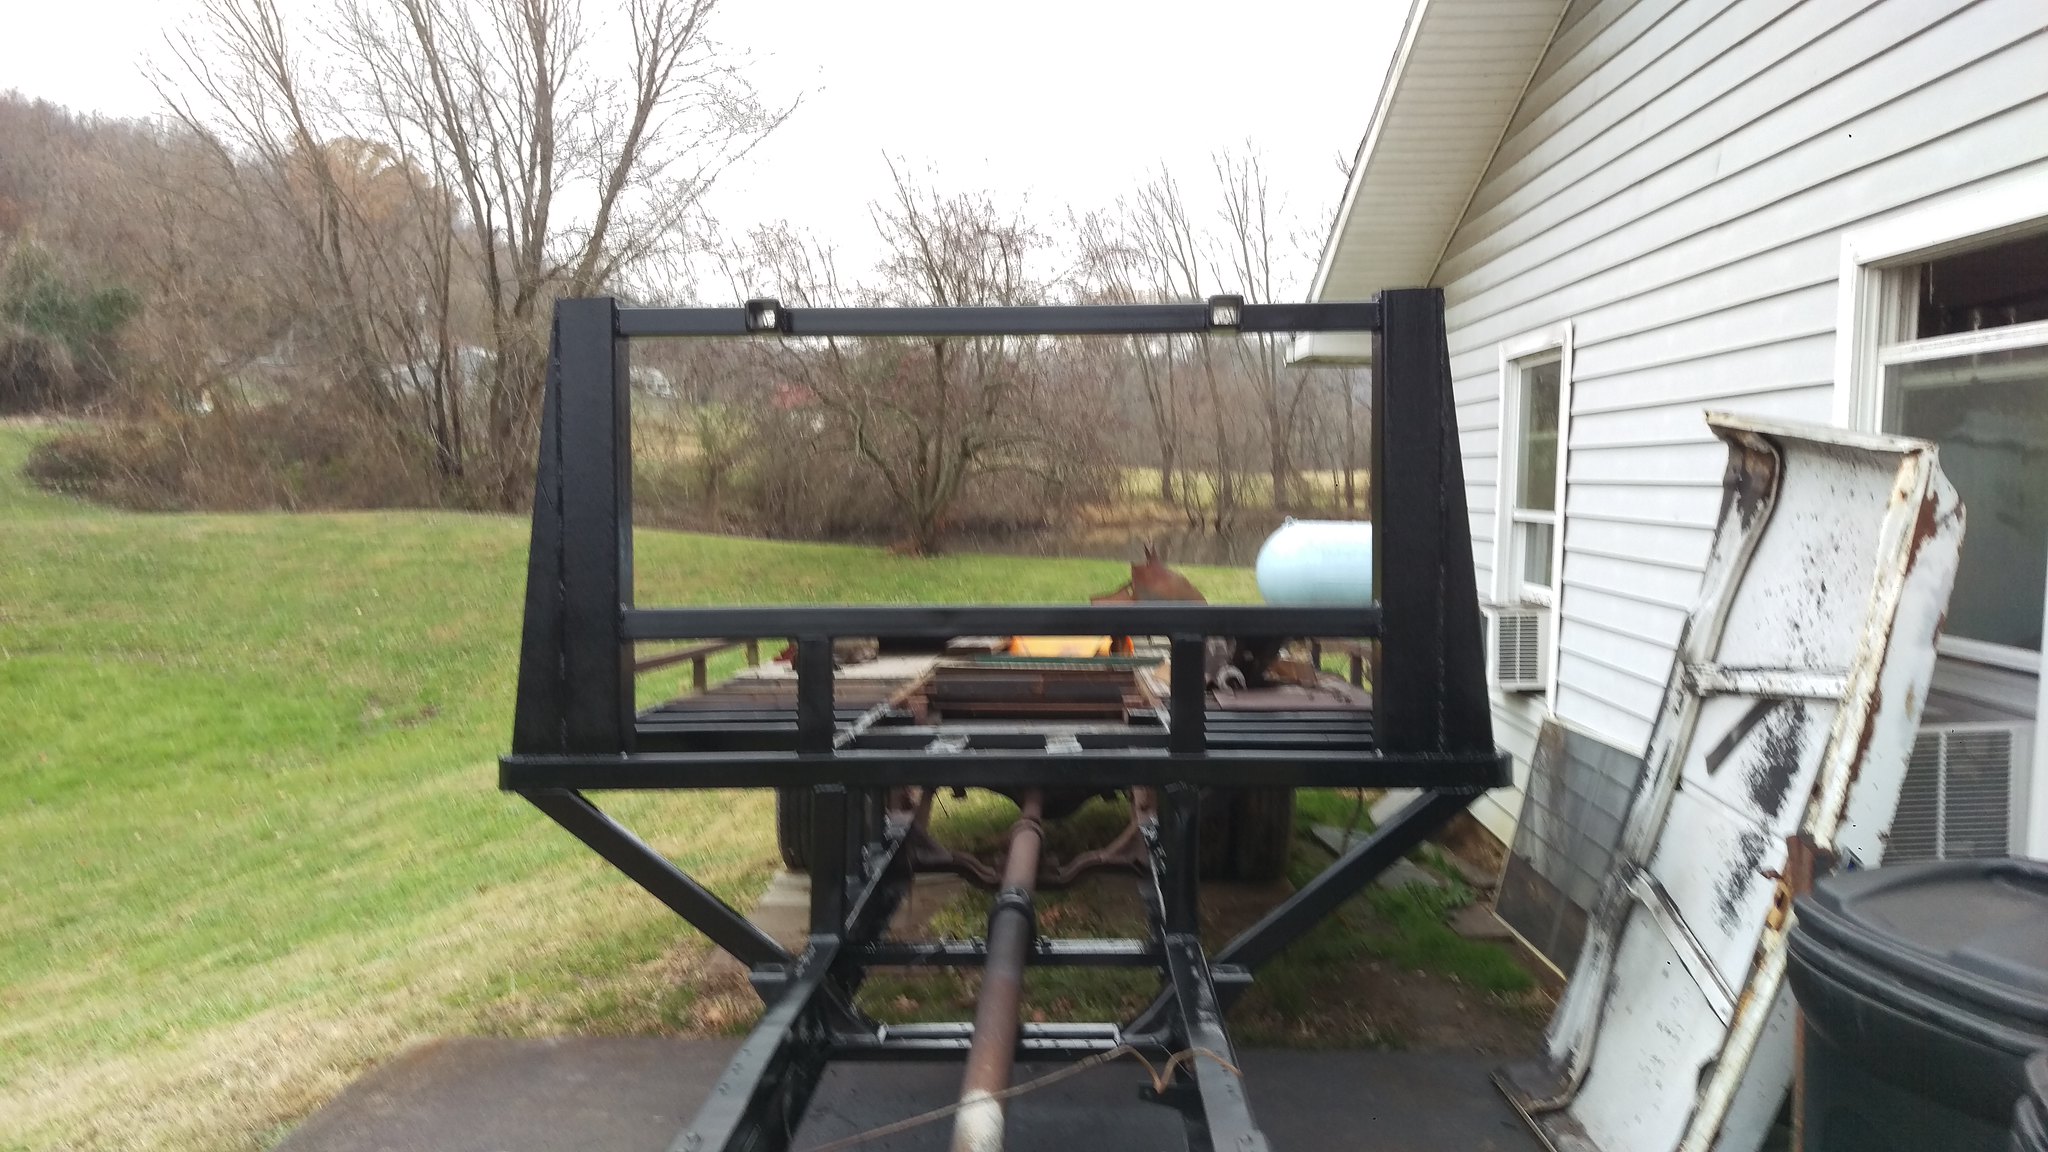
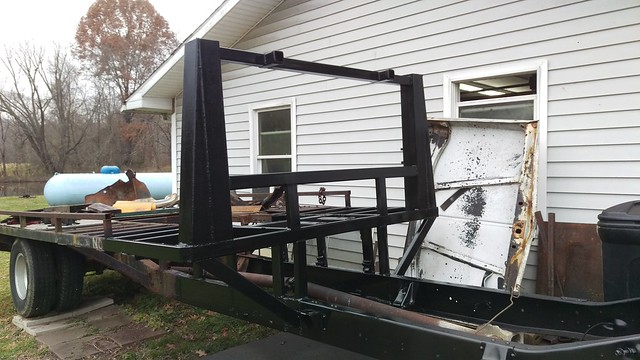
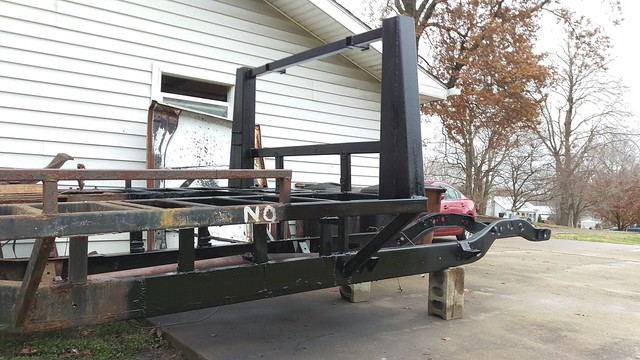
Installed the headache rack
 IMAG1946
 by
jarrod vanwinkle, on Flickr
two receiver mounts so I can make a removable roof rack
 IMAG1950
 by
jarrod vanwinkle, on Flickr
 IMAG1951
 by
jarrod vanwinkle, on Flickr
 IMAG1952
 by
jarrod vanwinkle, on Flickr
 IMAG1953
 by
jarrod vanwinkle, on Flickr
So now we are back to present time.
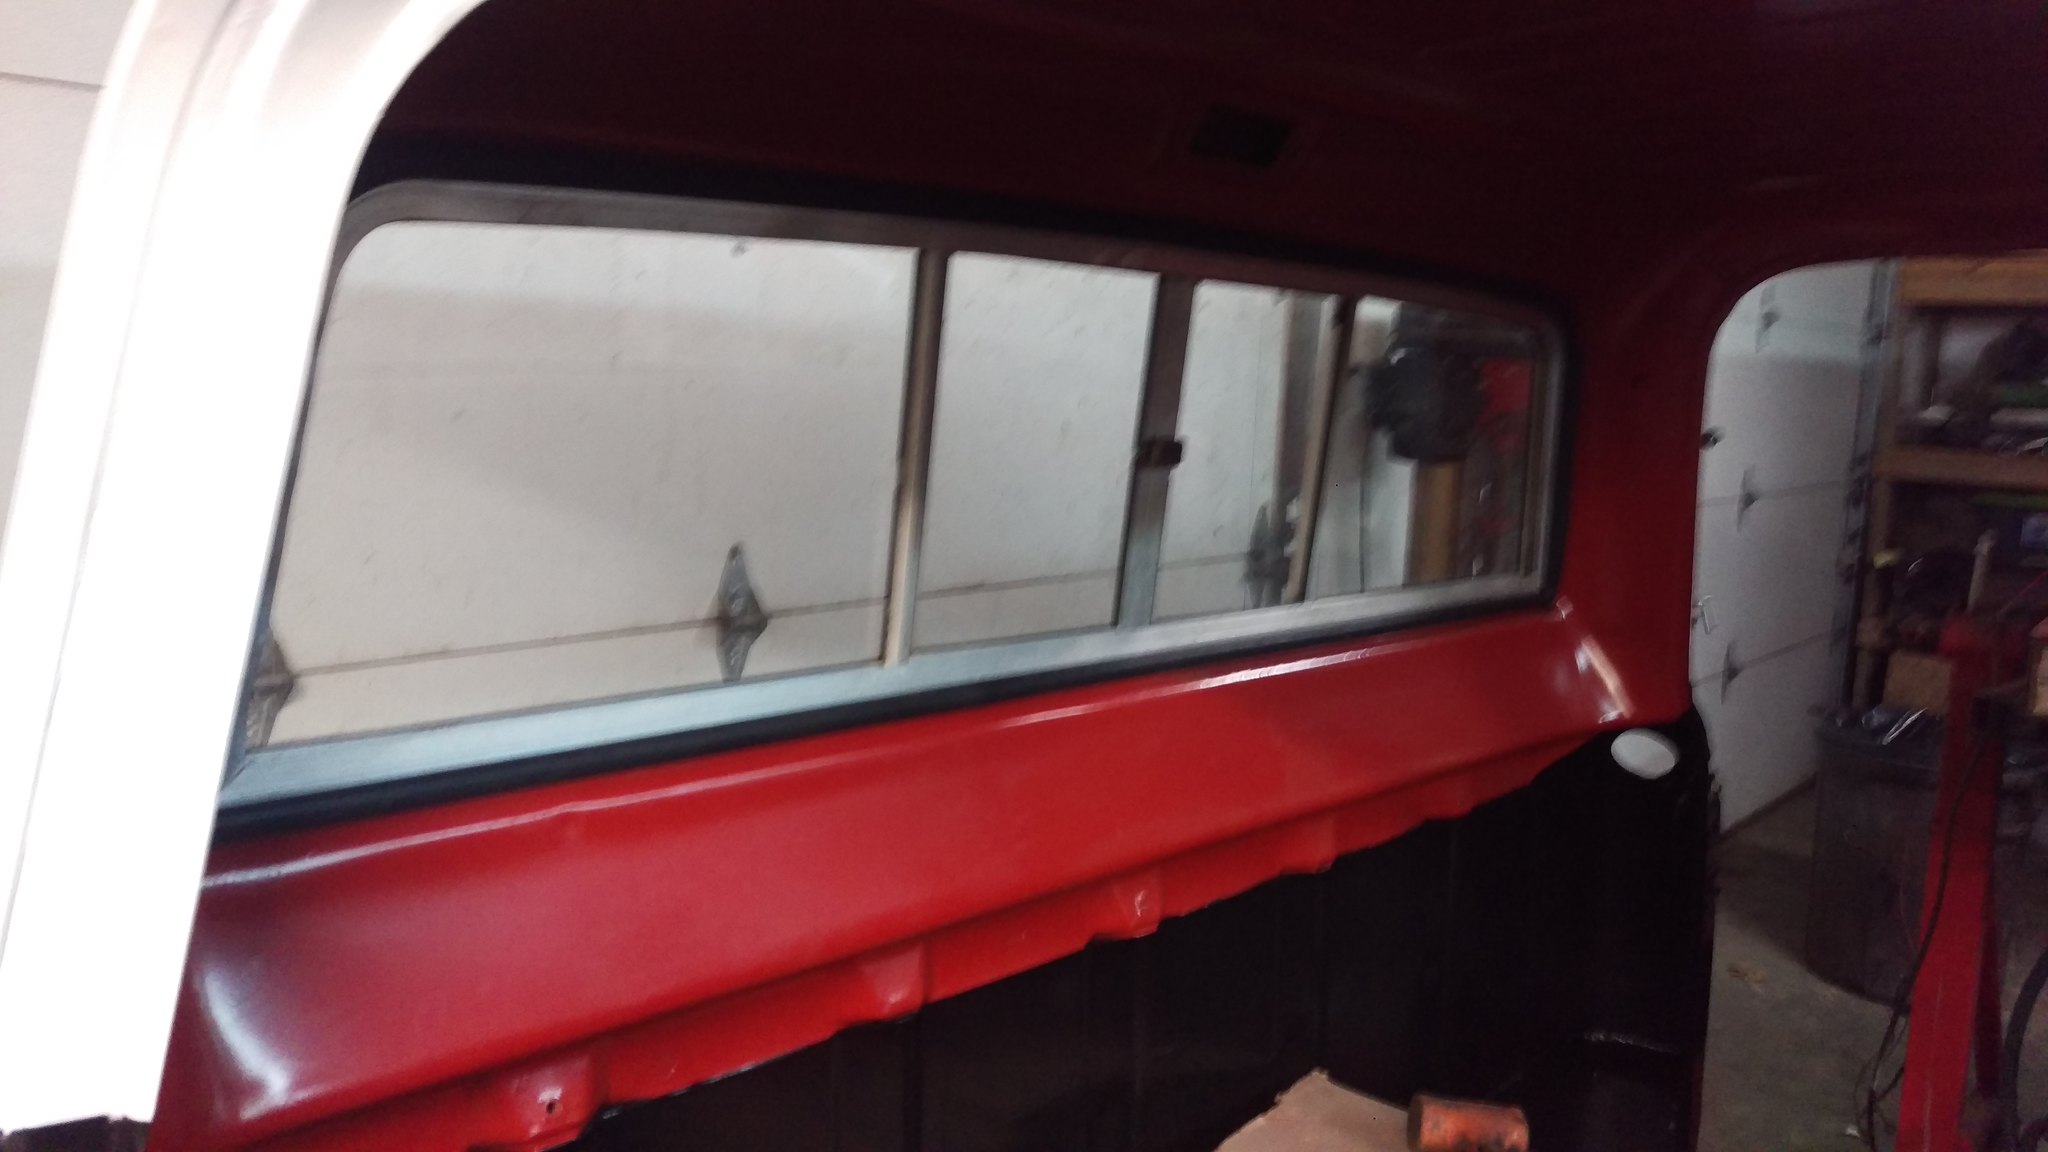
Last week I installed the rear window in the cab.
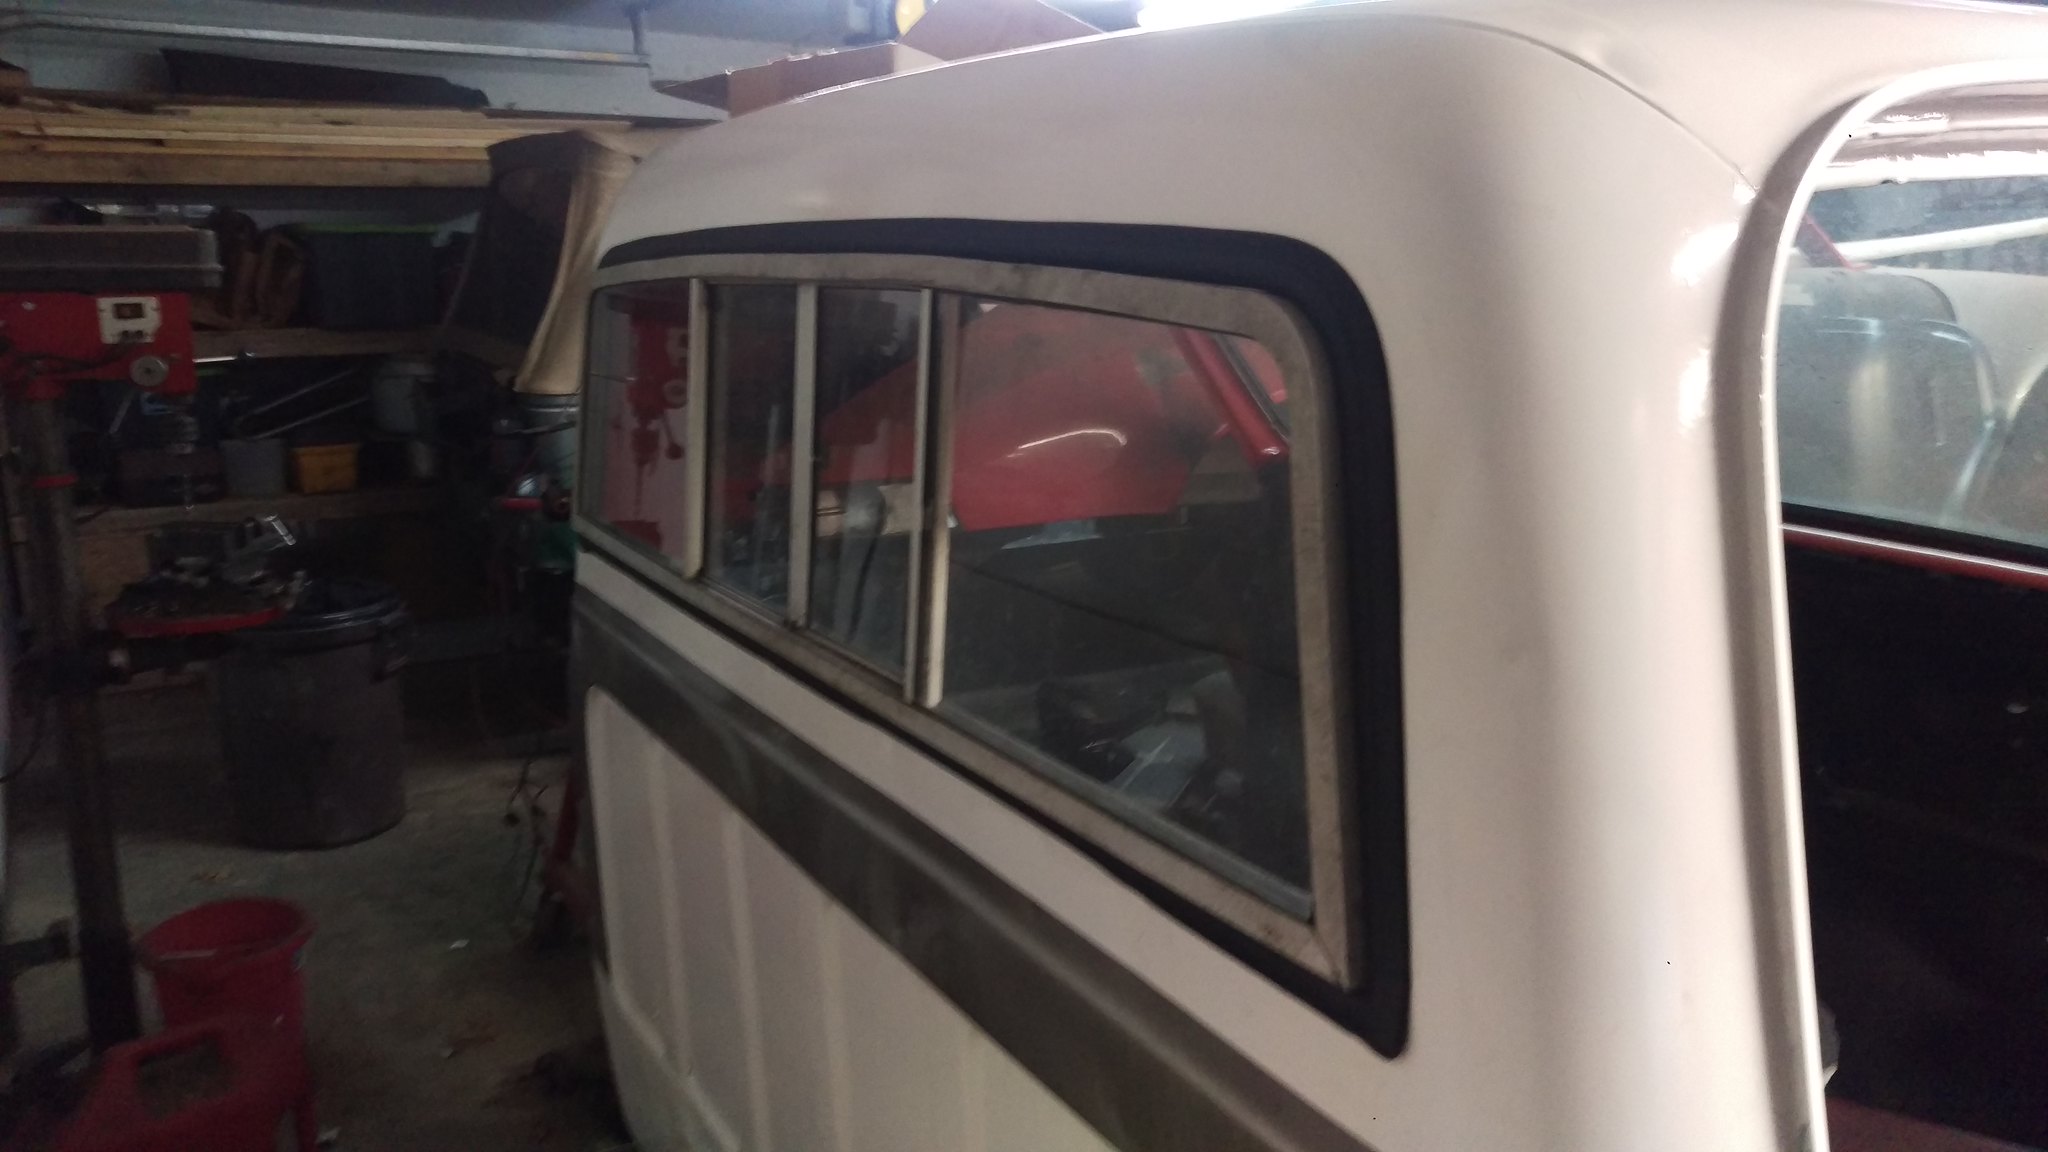 IMAG1976
 by
jarrod vanwinkle, on Flickr
 IMAG1977
 by
jarrod vanwinkle, on Flickr
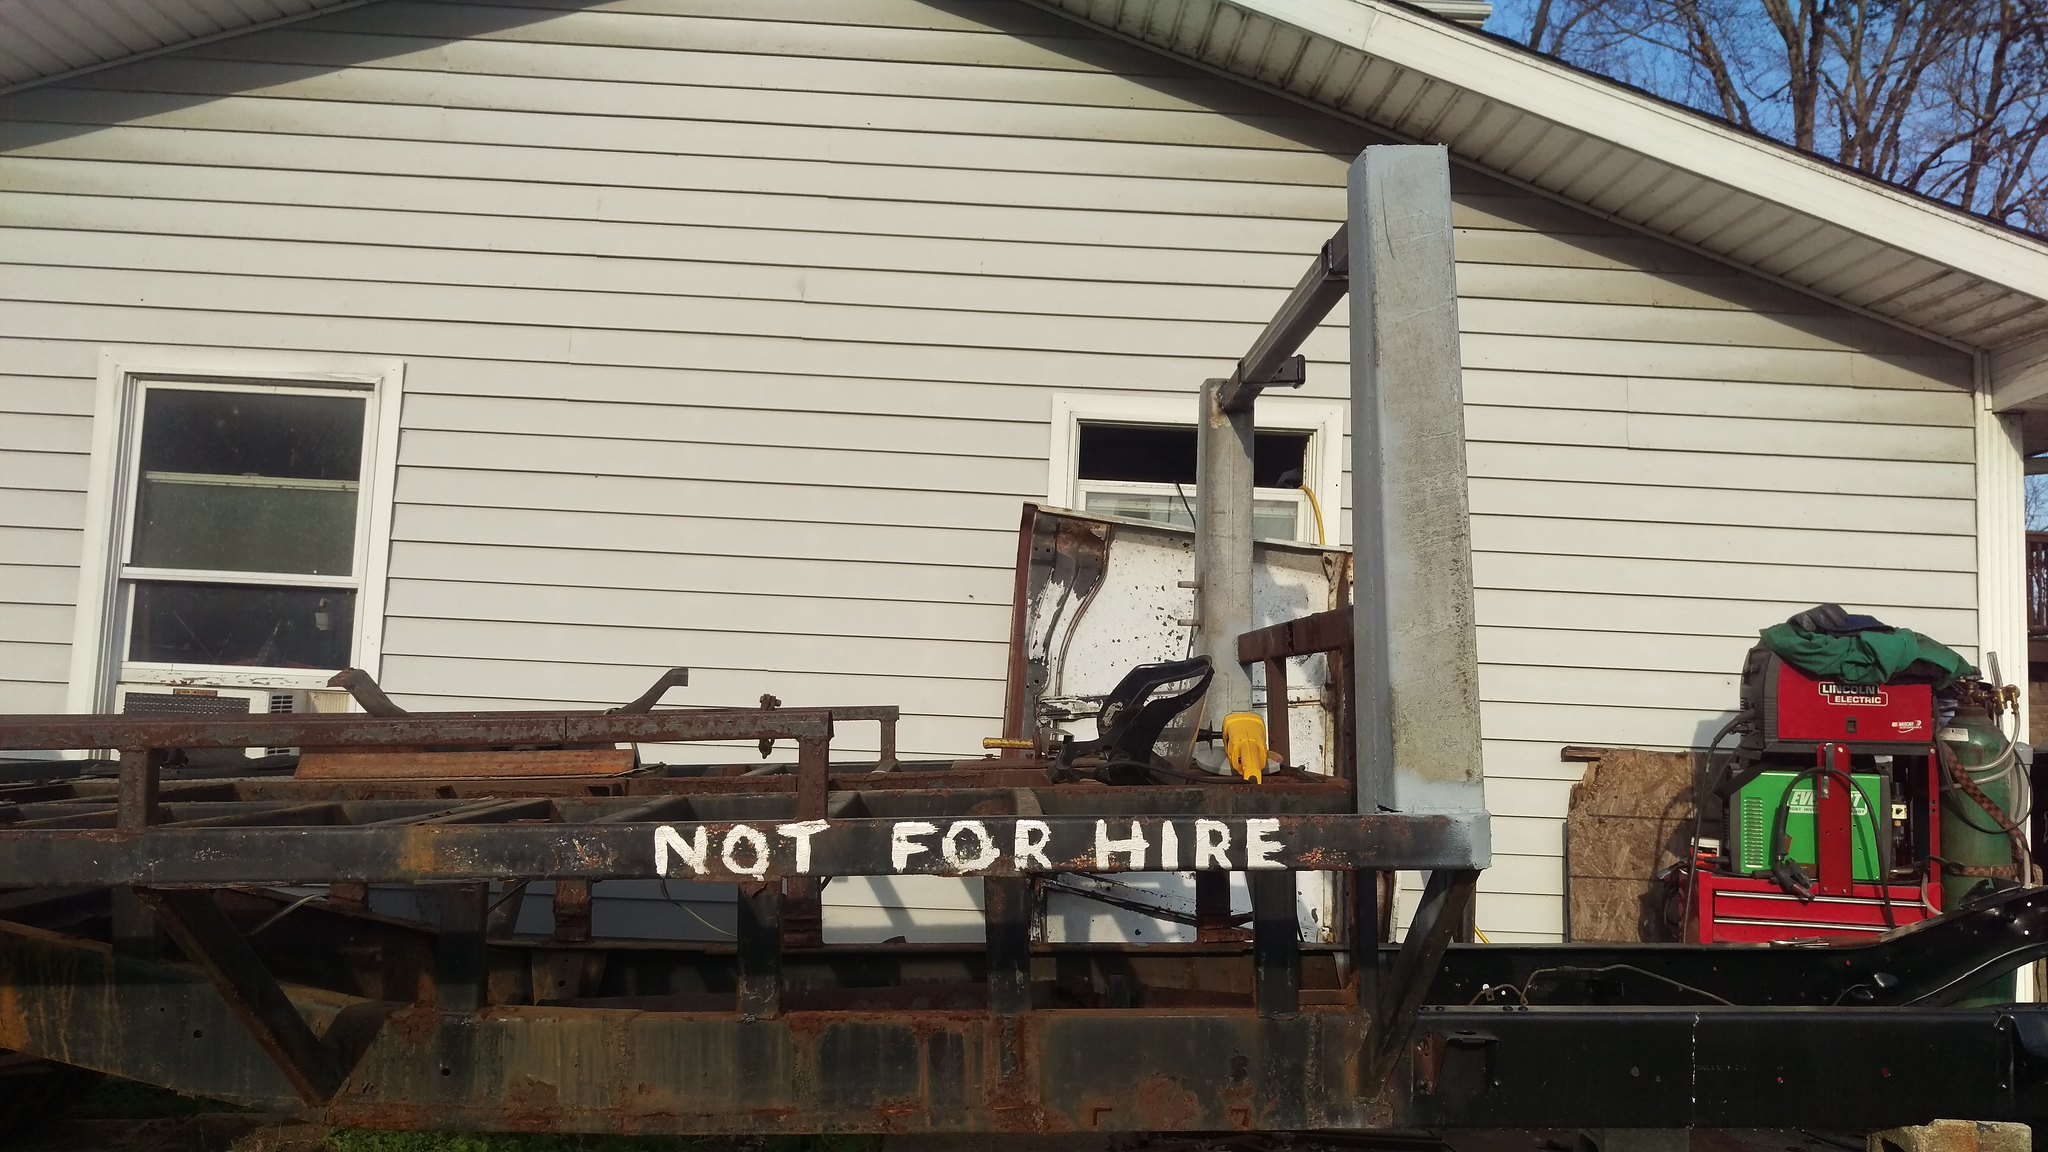
Today I painted the headache rack, just so we're clear I did not paint over rust I had a friend help me wire wheel and frimer all that is painted. I just can't do much right now so I only did a little bit that way I can get the cab on the frame and out of the garage.
 IMAG2041
 by
jarrod vanwinkle, on Flickr
 IMAG2042
 by
jarrod vanwinkle, on Flickr
 IMAG2043
 by
jarrod vanwinkle, on Flickr