somehow I missed a couple of updates here. sorry guys.....
Budget first:
previously was 276.96
new money:
rockauto order: all brake flex lines. Pitman, idler, idler bracket. Upper and lower radiator hoses. Plugs, cap rotor. Trans filter. Power steering pressure and return hoses, inner tie rod ends: 170.36
pair of new upper control arms: ebay 53.98
used kenwood hd/bluetooth stereo, ebay: 44.77
gallon kit viper red paint: paintforcars.com 109
soft tonneau cover, ebay seller gtracers: 113
gallon of valspar rust tough paint: lowes, 32
plug wires: had
k&n filer setup: had
plug wire looms: had
195 thermostat and gasket: had
amp wiring: had
underdrive pullies: had
Now: 700.07
still to add: LCAs from Patrick, calipers and wheel cylinders, new 3 rd brake light (mines broke)
lots of parts came in, lots are in the mail. I got pretty much an entirely new suspension here, some speed parts, some cosmetic parts, etc. lots of stuff. Lots of work to do coming up, as I like this truck enough to give it a good hold on a second life. After all, who wouldn't like this?
 20180228_182419
 by
Michael Crawford, on Flickr
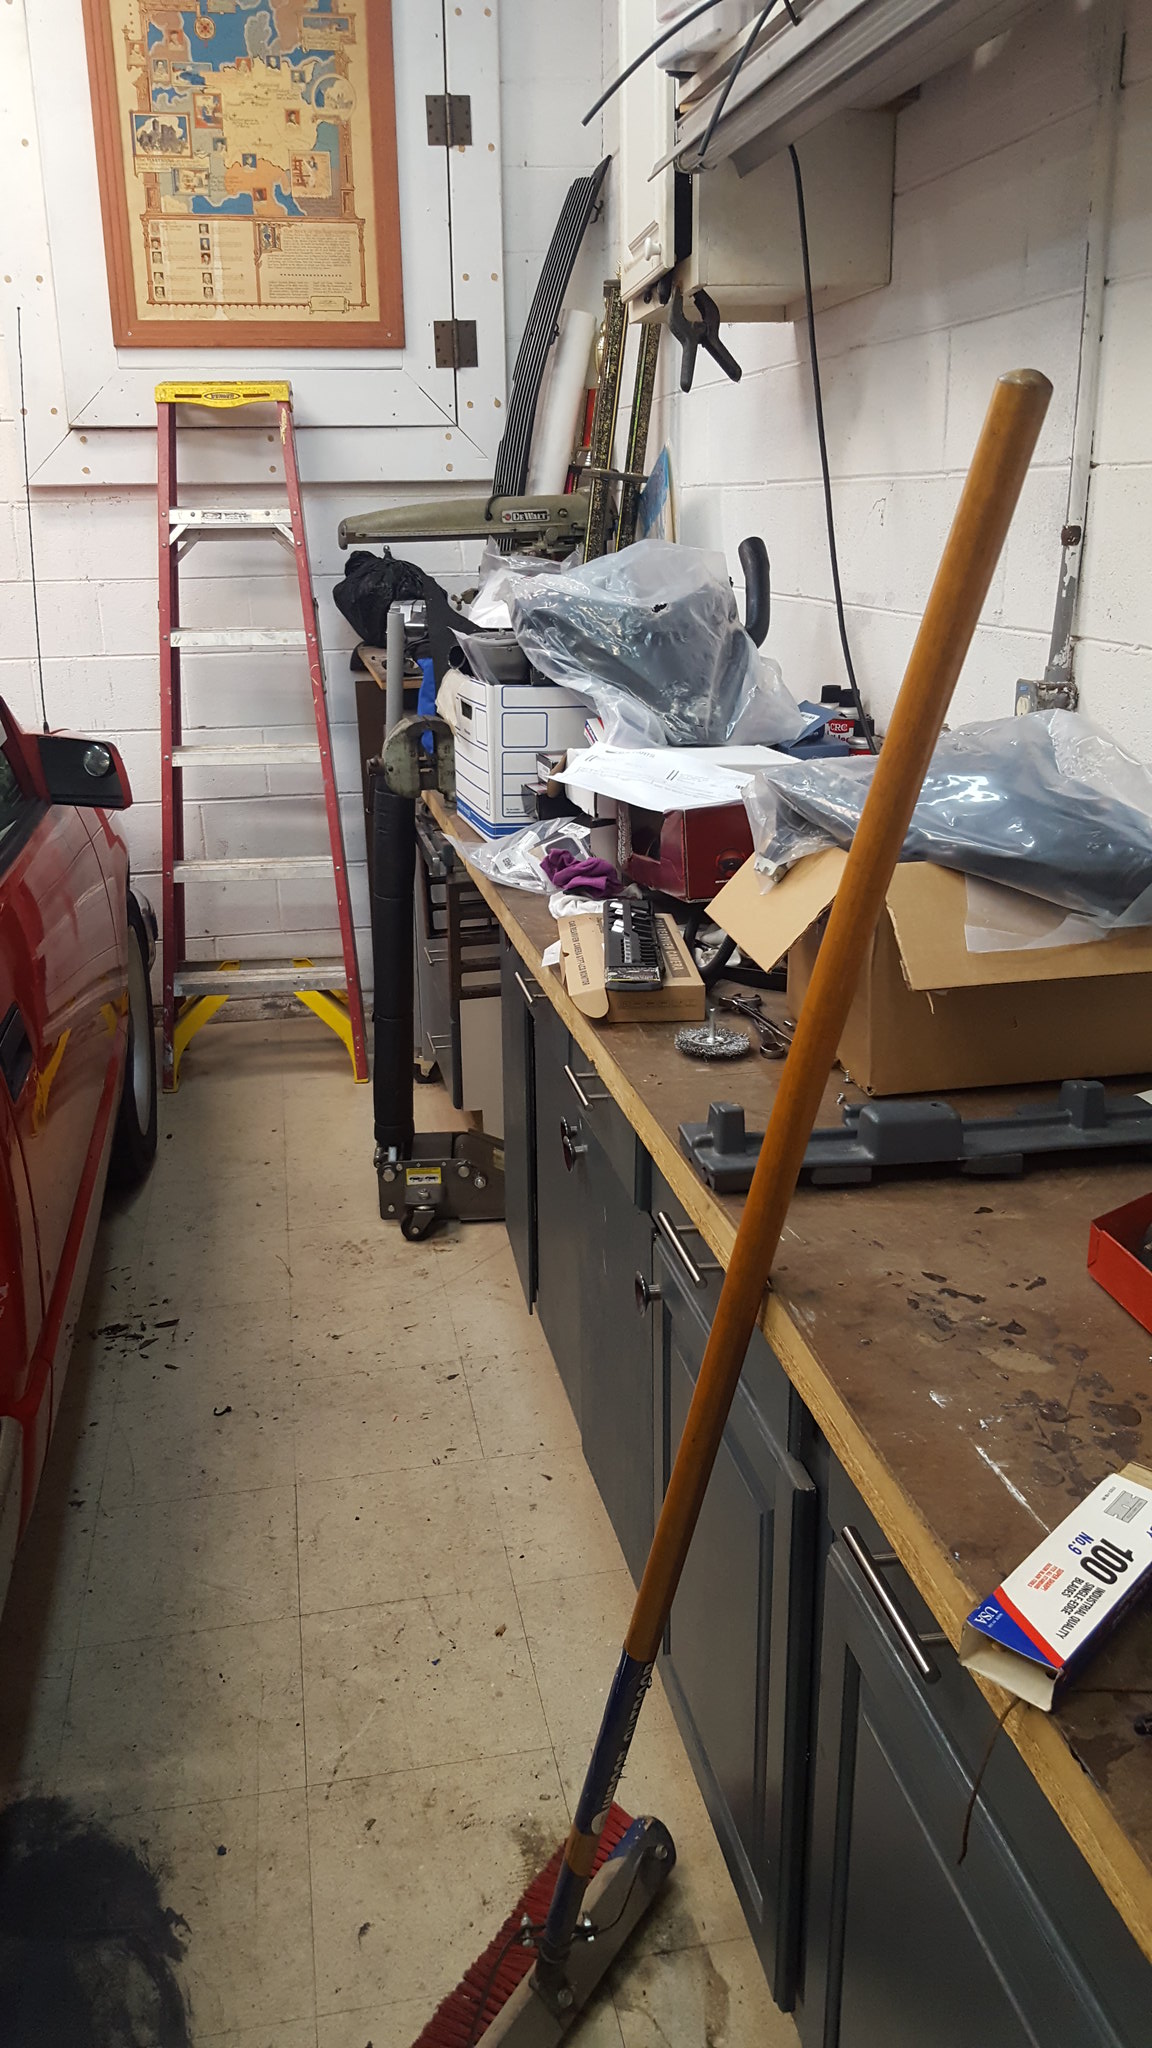
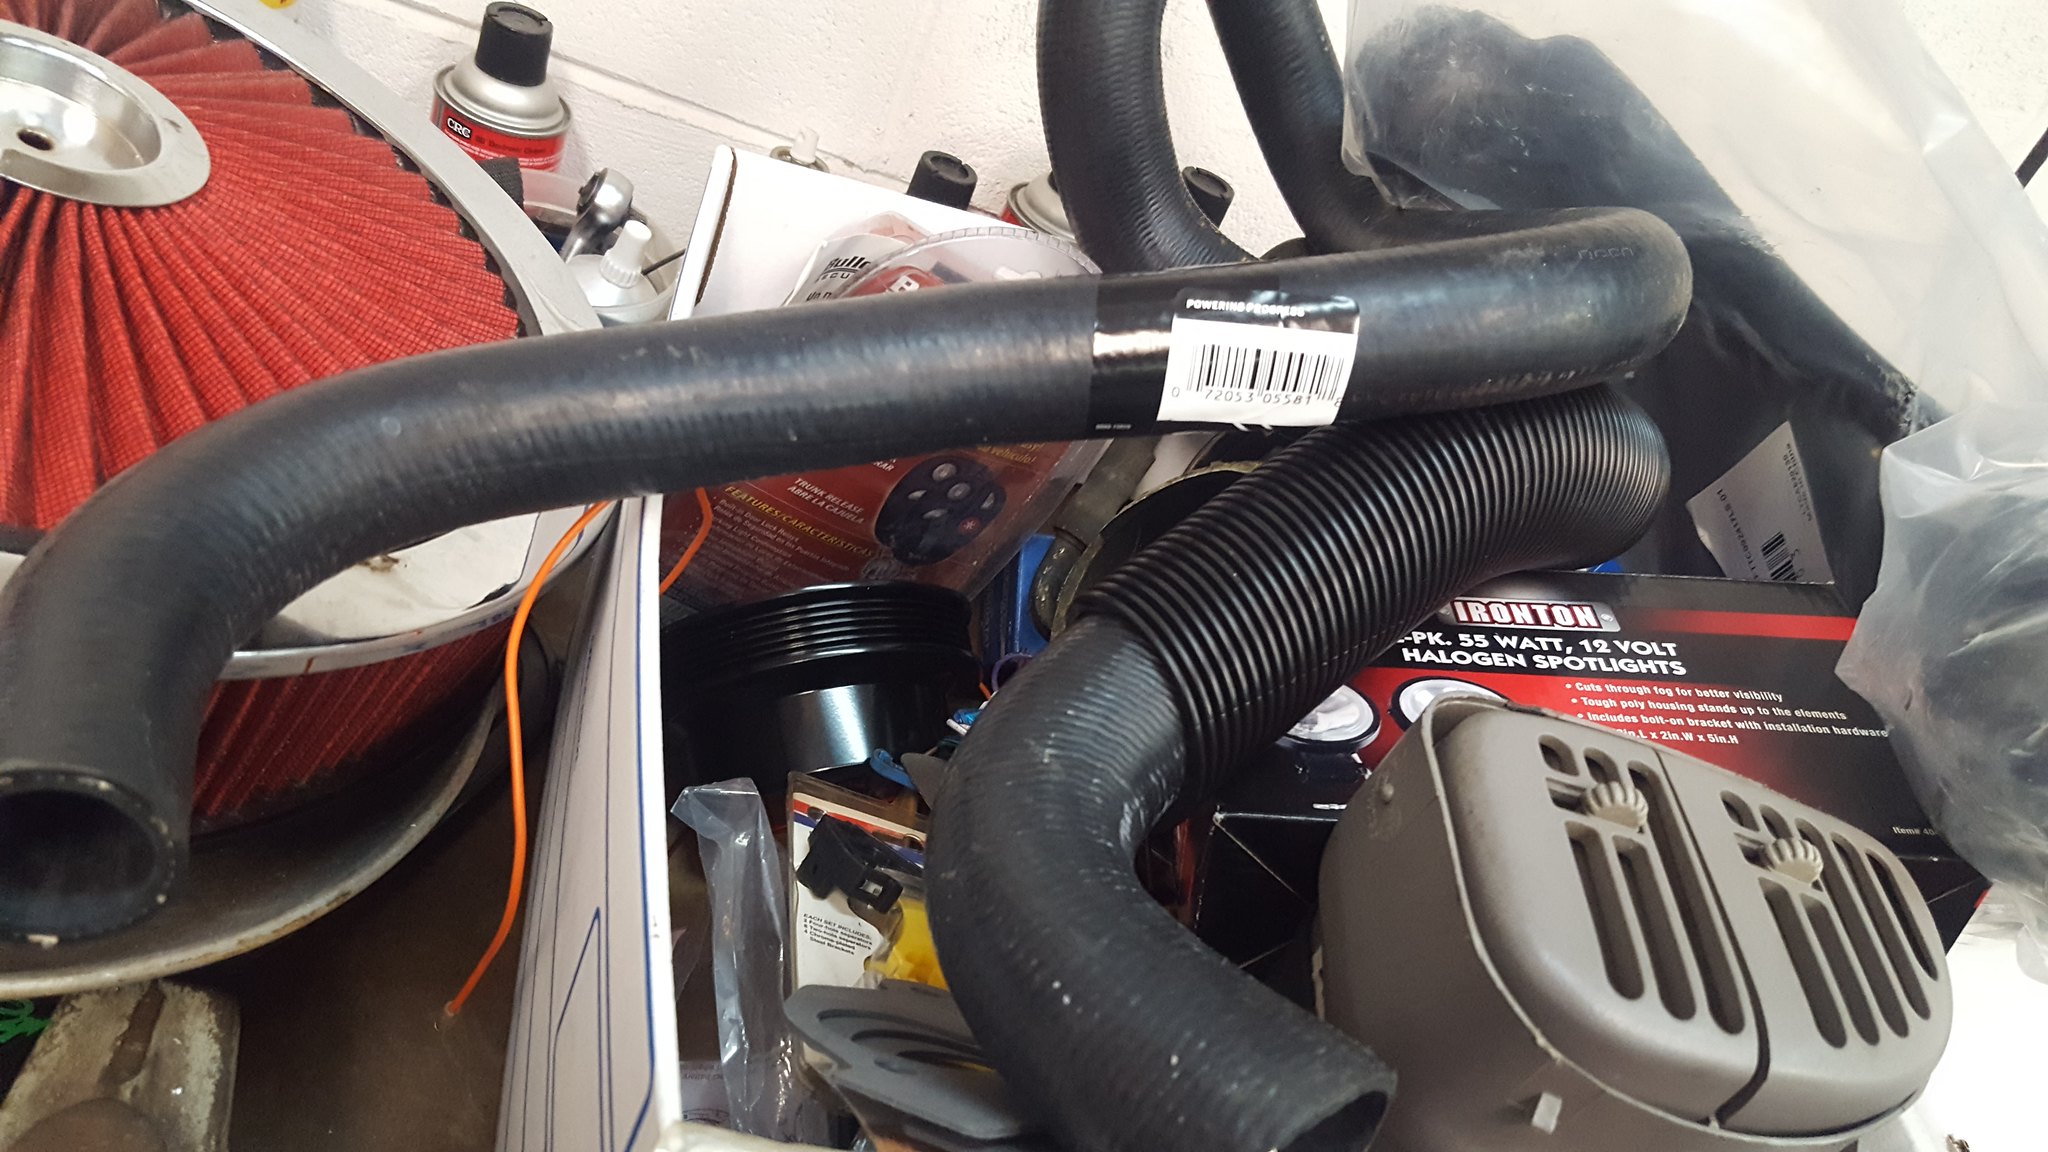
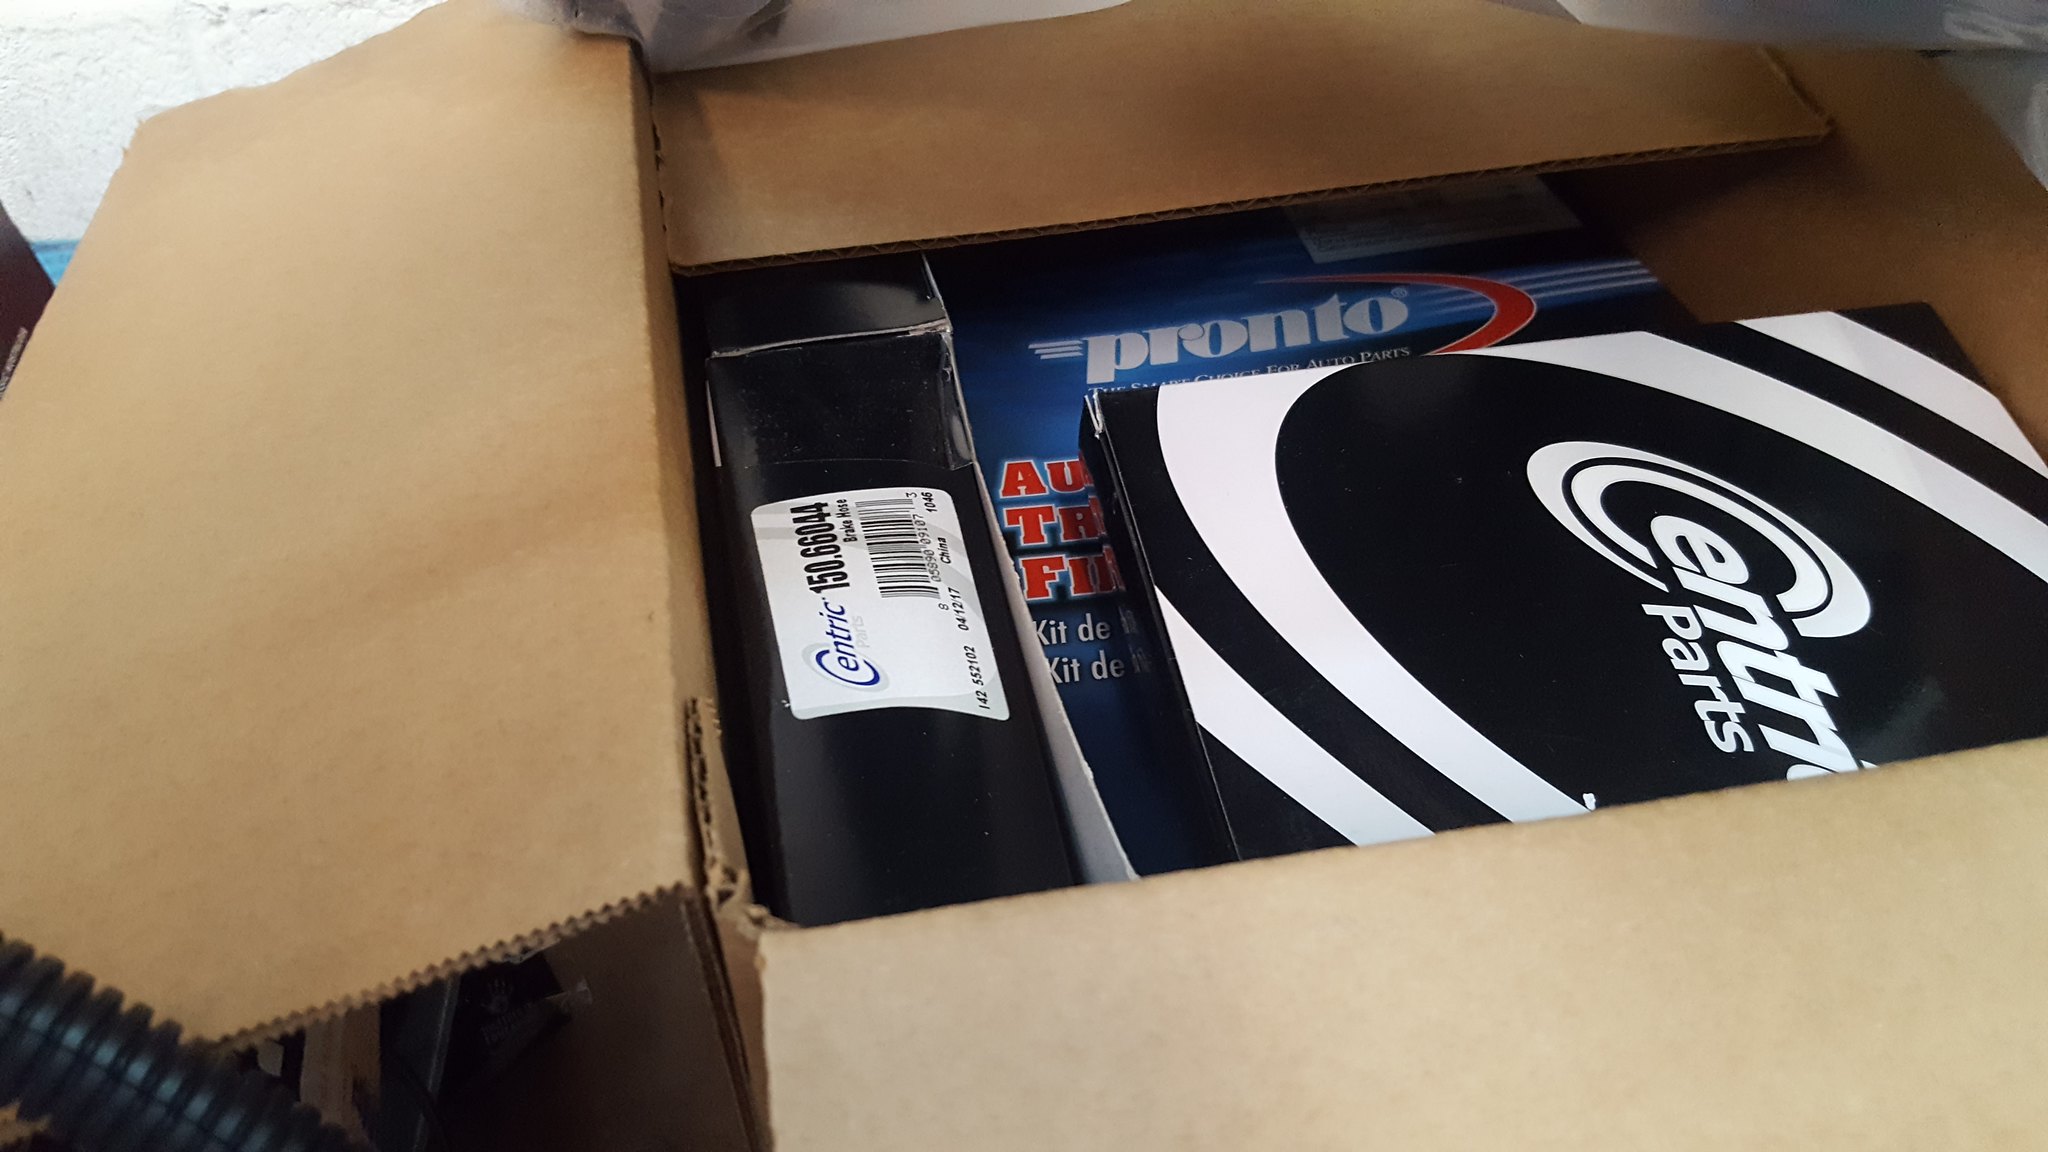
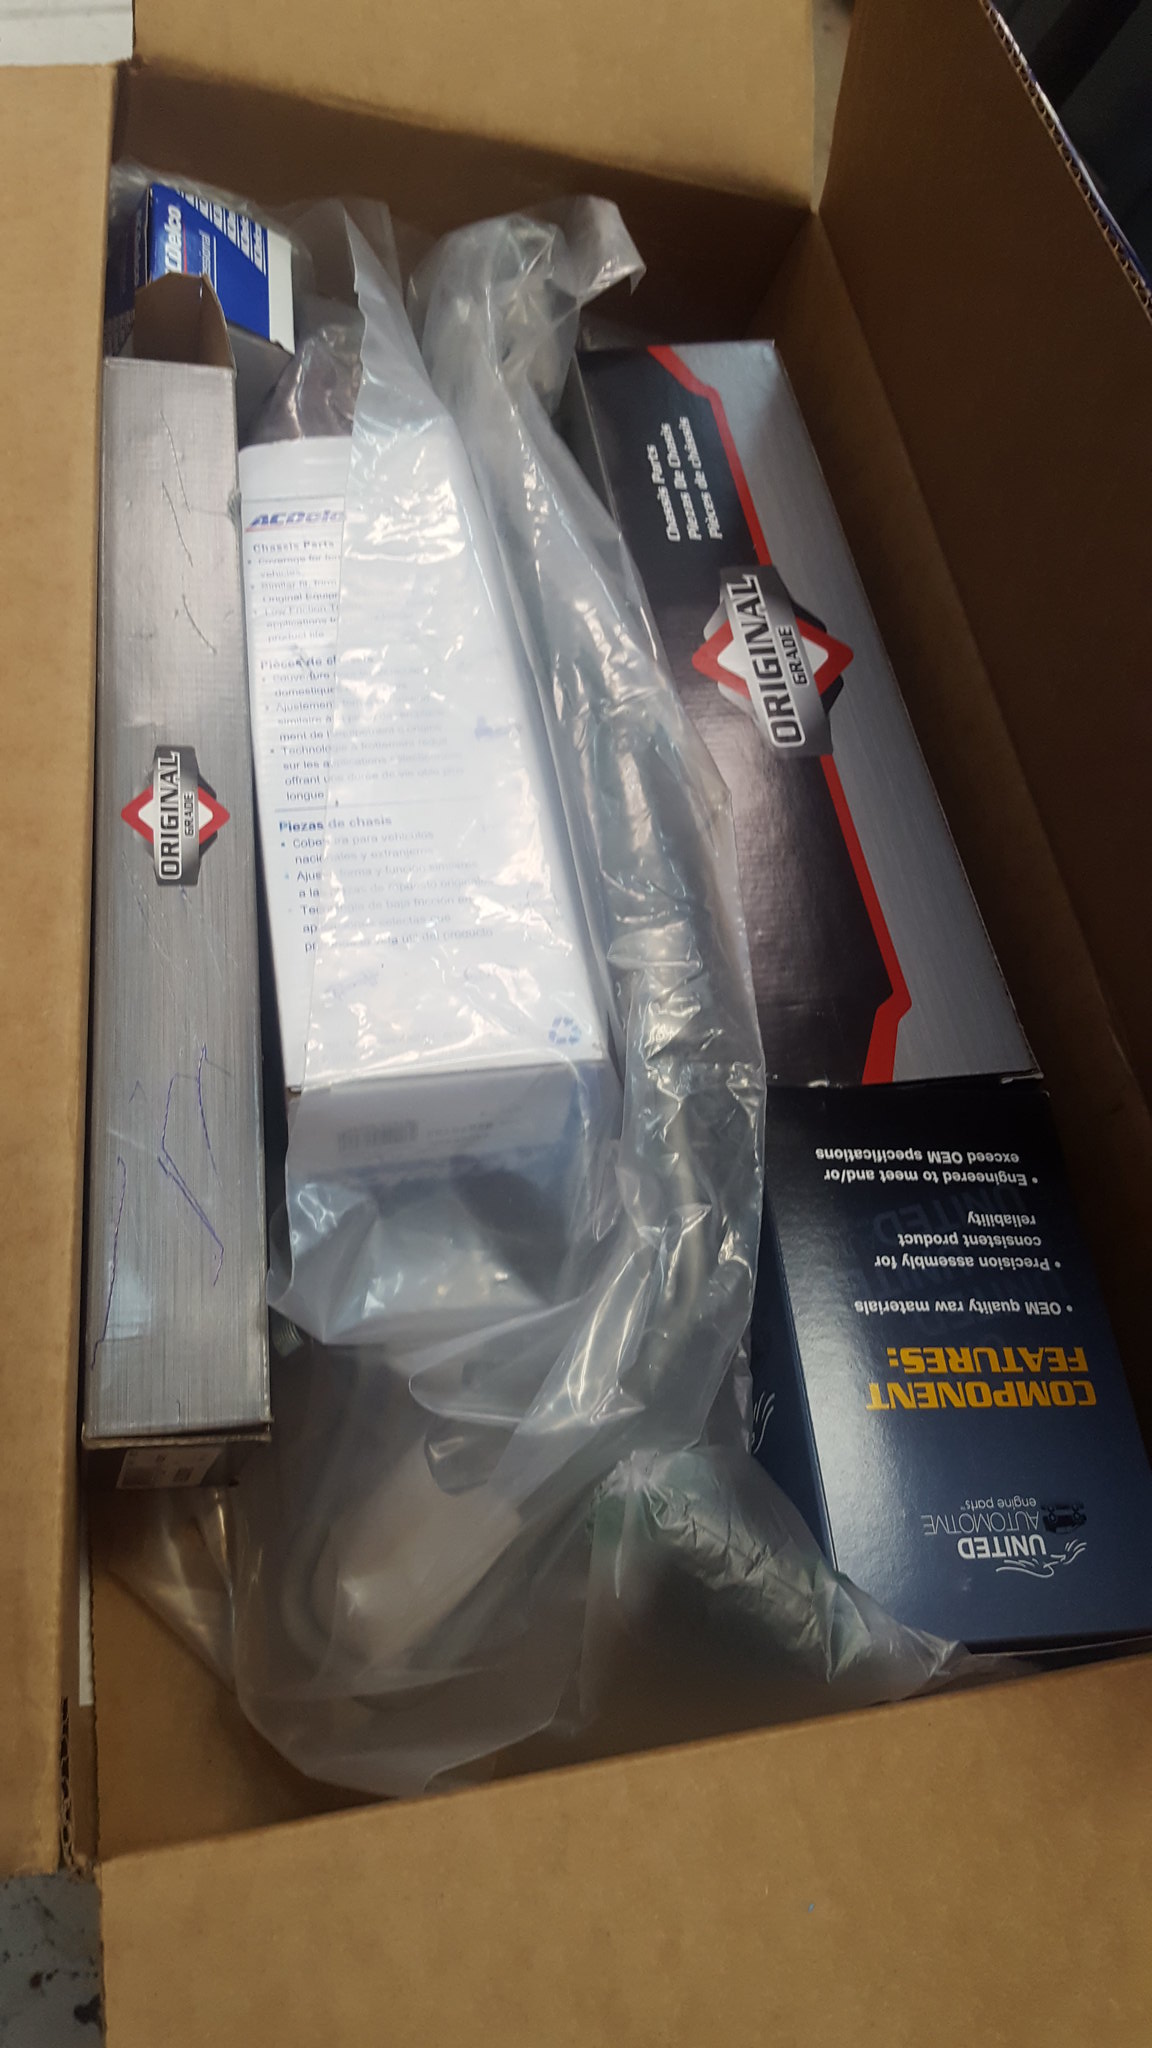
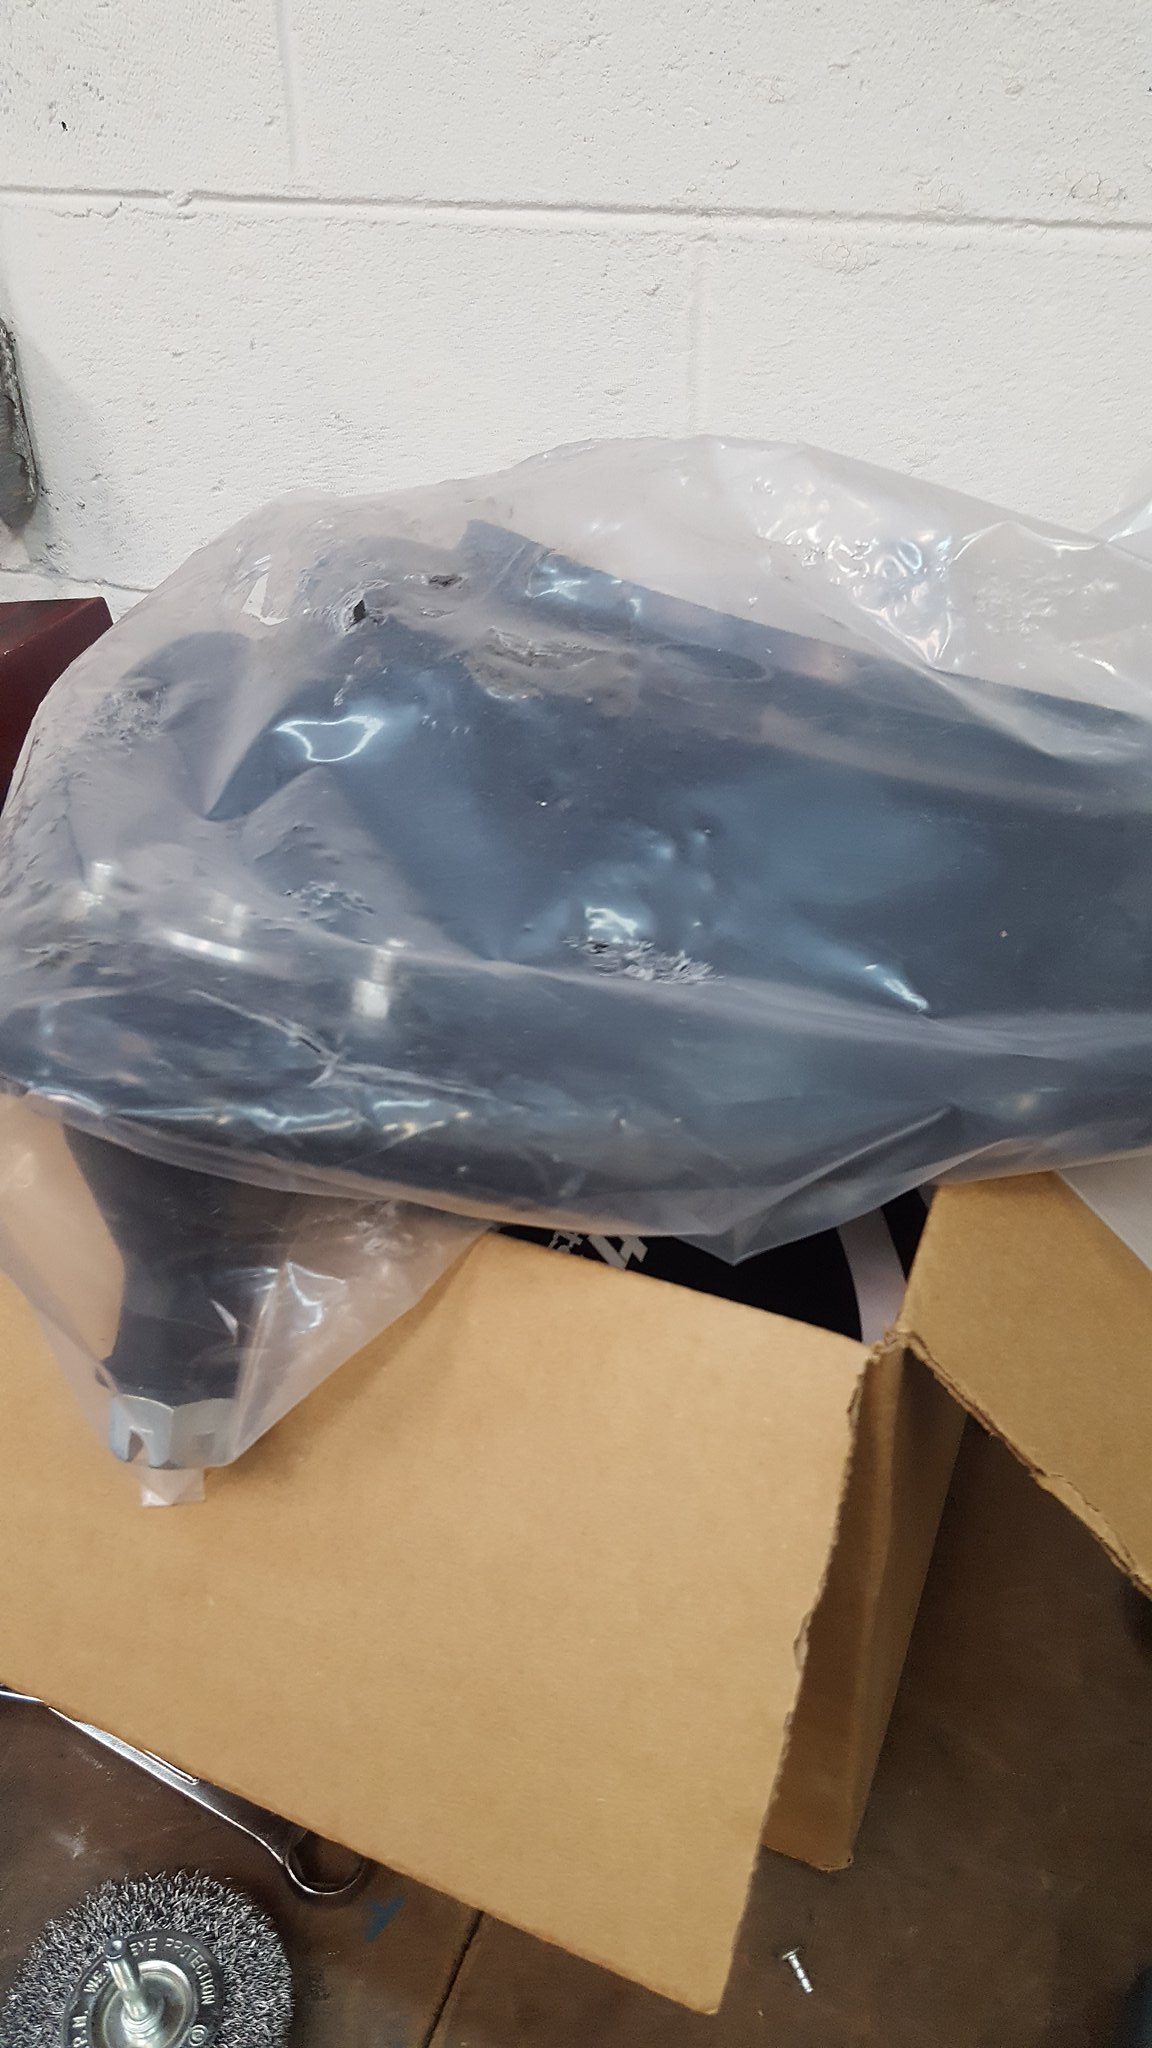
next, the pile of parts that is RAPIDLY drowing. Im running out of workbench space pretty quickly. Need to start getting parts on the truck.
 20180228_210841
 by
Michael Crawford, on Flickr
 20180228_210853
 by
Michael Crawford, on Flickr
 20180228_210902
 by
Michael Crawford, on Flickr
 20180226_165549
 by
Michael Crawford, on Flickr
 20180228_210847
 by
Michael Crawford, on Flickr
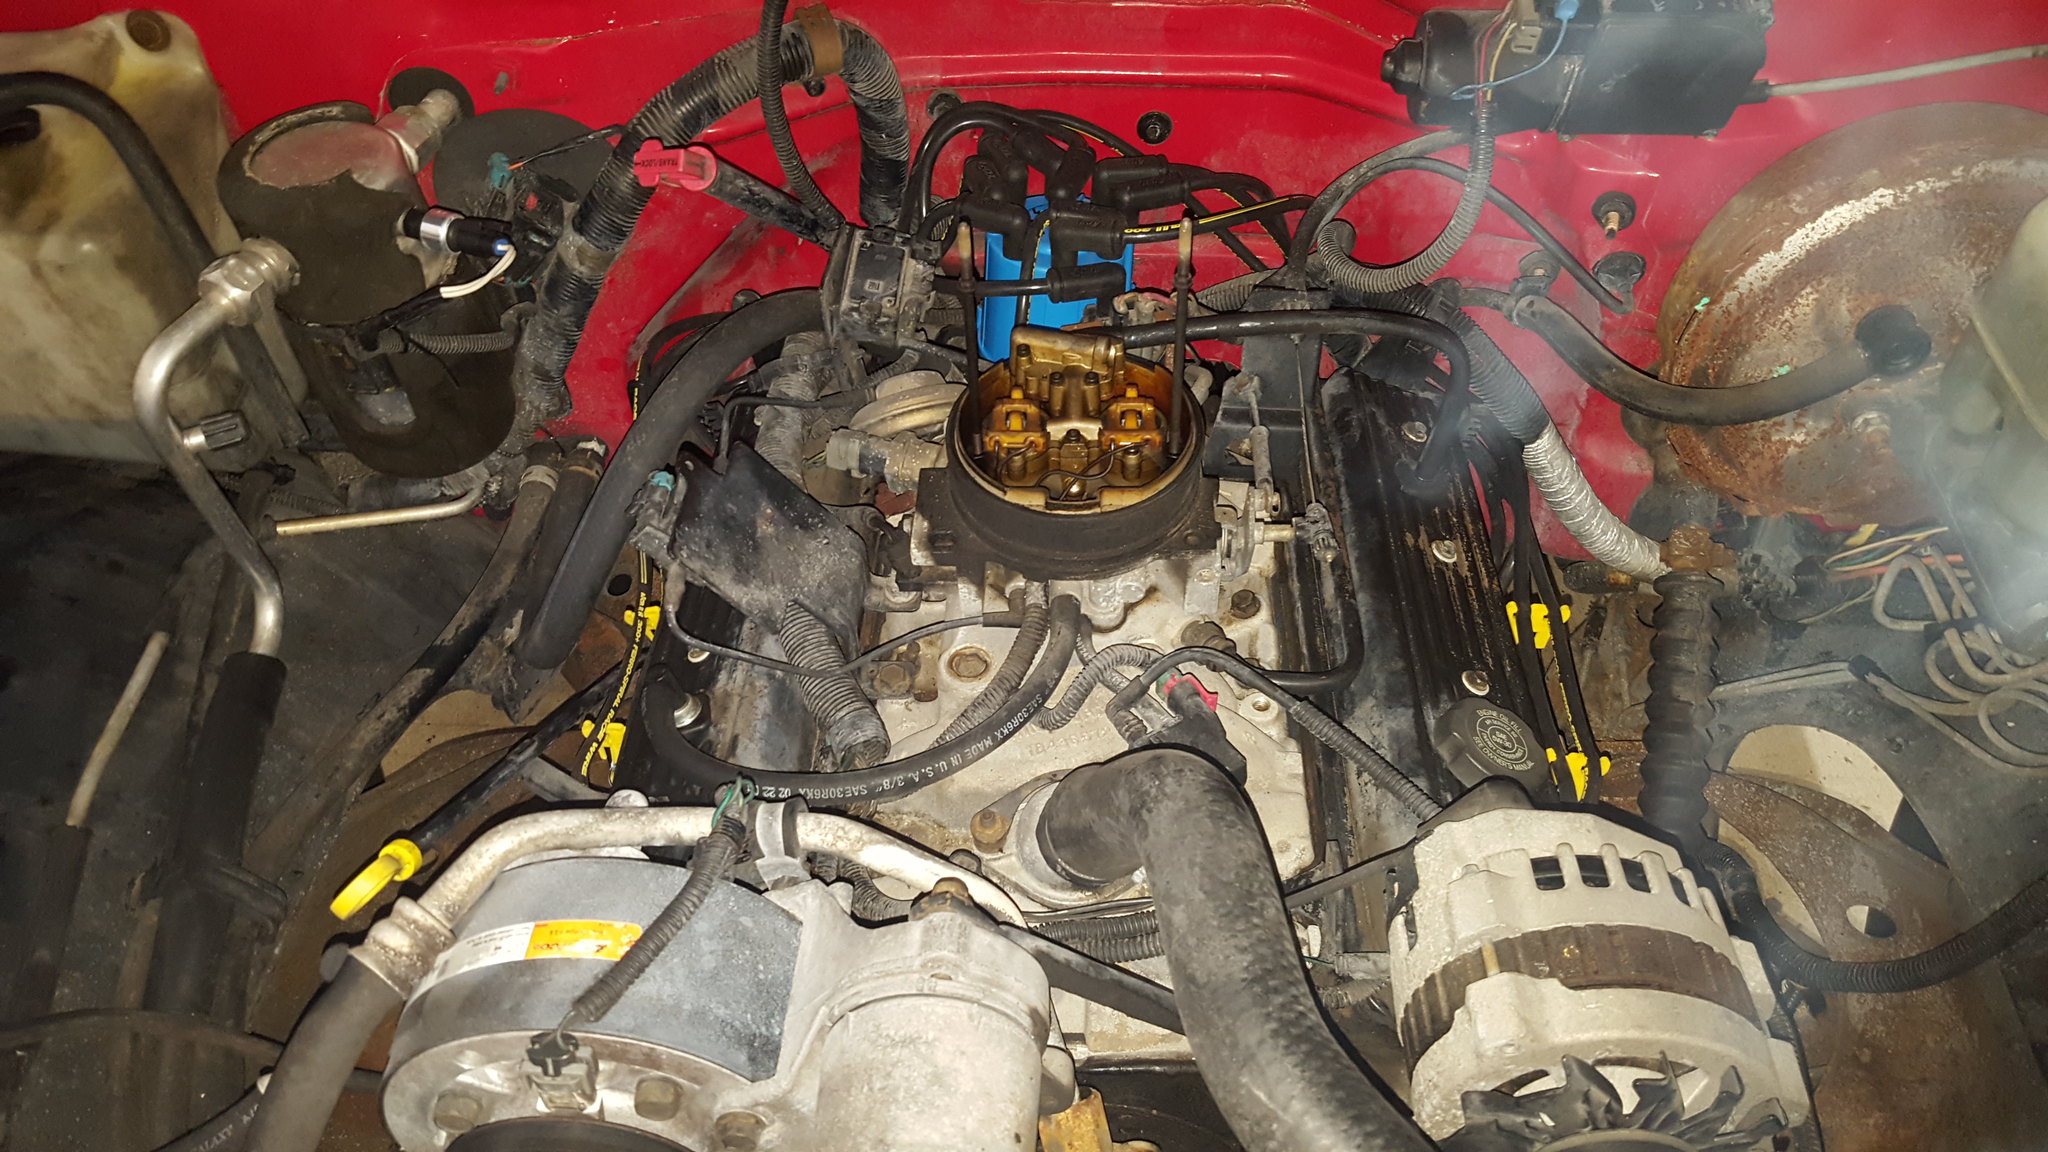
last night I got started with painting and doing the basic tune up. Truck had developed a slight miss at certain loads and operating conditions. Jeremy had put new NGK plugs in it, but couldn't remember if he had done wires, cap, or rotor. I found some Accell 8.8 cut to fit wires in a box, so I had those. Ordered some AC Delco R43TS plugs as that's what I have found to run best in the TBI engines. Good cap and rotor with brass contacts. Had some yellow wire looms in a box as well. So I threw a tune up at it. This was my first time with Accell cut to fit wires, and I must say that working with them was much more difficult than the MSD sets I usually use. However, I was willing to deal with them for the price. Modified the Mr. Gasket looms a bit to fit the bigger wires, and bolt to the factory wire loom spots. Put some never seize on the plug threads (all plugs looked exceptionally good for a 50k motor, let alone one with 200k!), and got it done.
 20180302_220233
 by
Michael Crawford, on Flickr
found carbon tracing and some broken plug wire insulation as I was inspecting the old parts. Haven't driven it yet to confirm the miss being gone, as today was my parents 50 wedding anniversary and we needed the minivan. But, idles much smoother in the shop. I also opened plug gap from .035 to .044. I have found power and fuel economy gains with a wider gap on other TBI engines, so well hope that streak holds here.
 20180302_164430
 by
Michael Crawford, on Flickr
 20180302_164440
 by
Michael Crawford, on Flickr
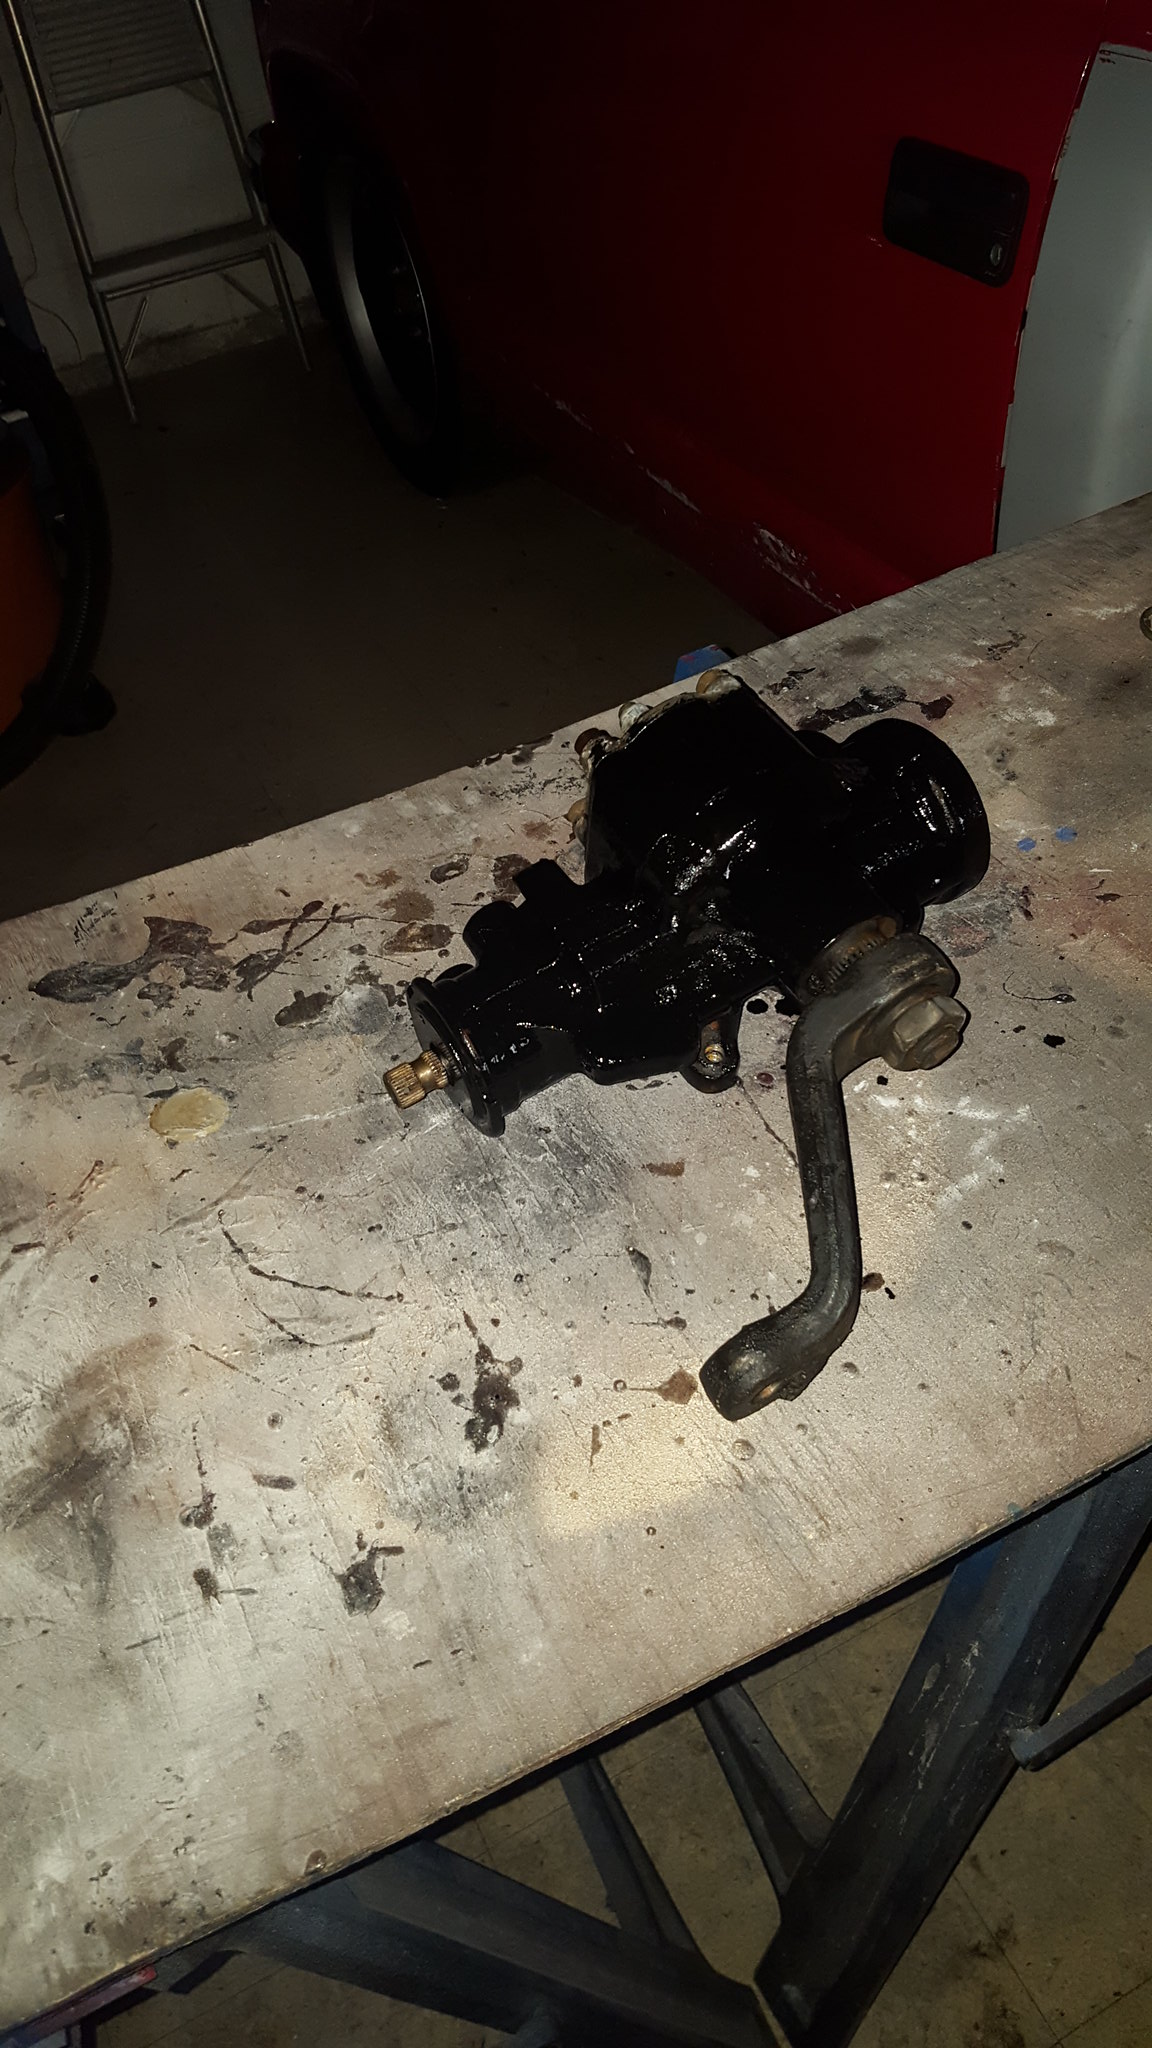
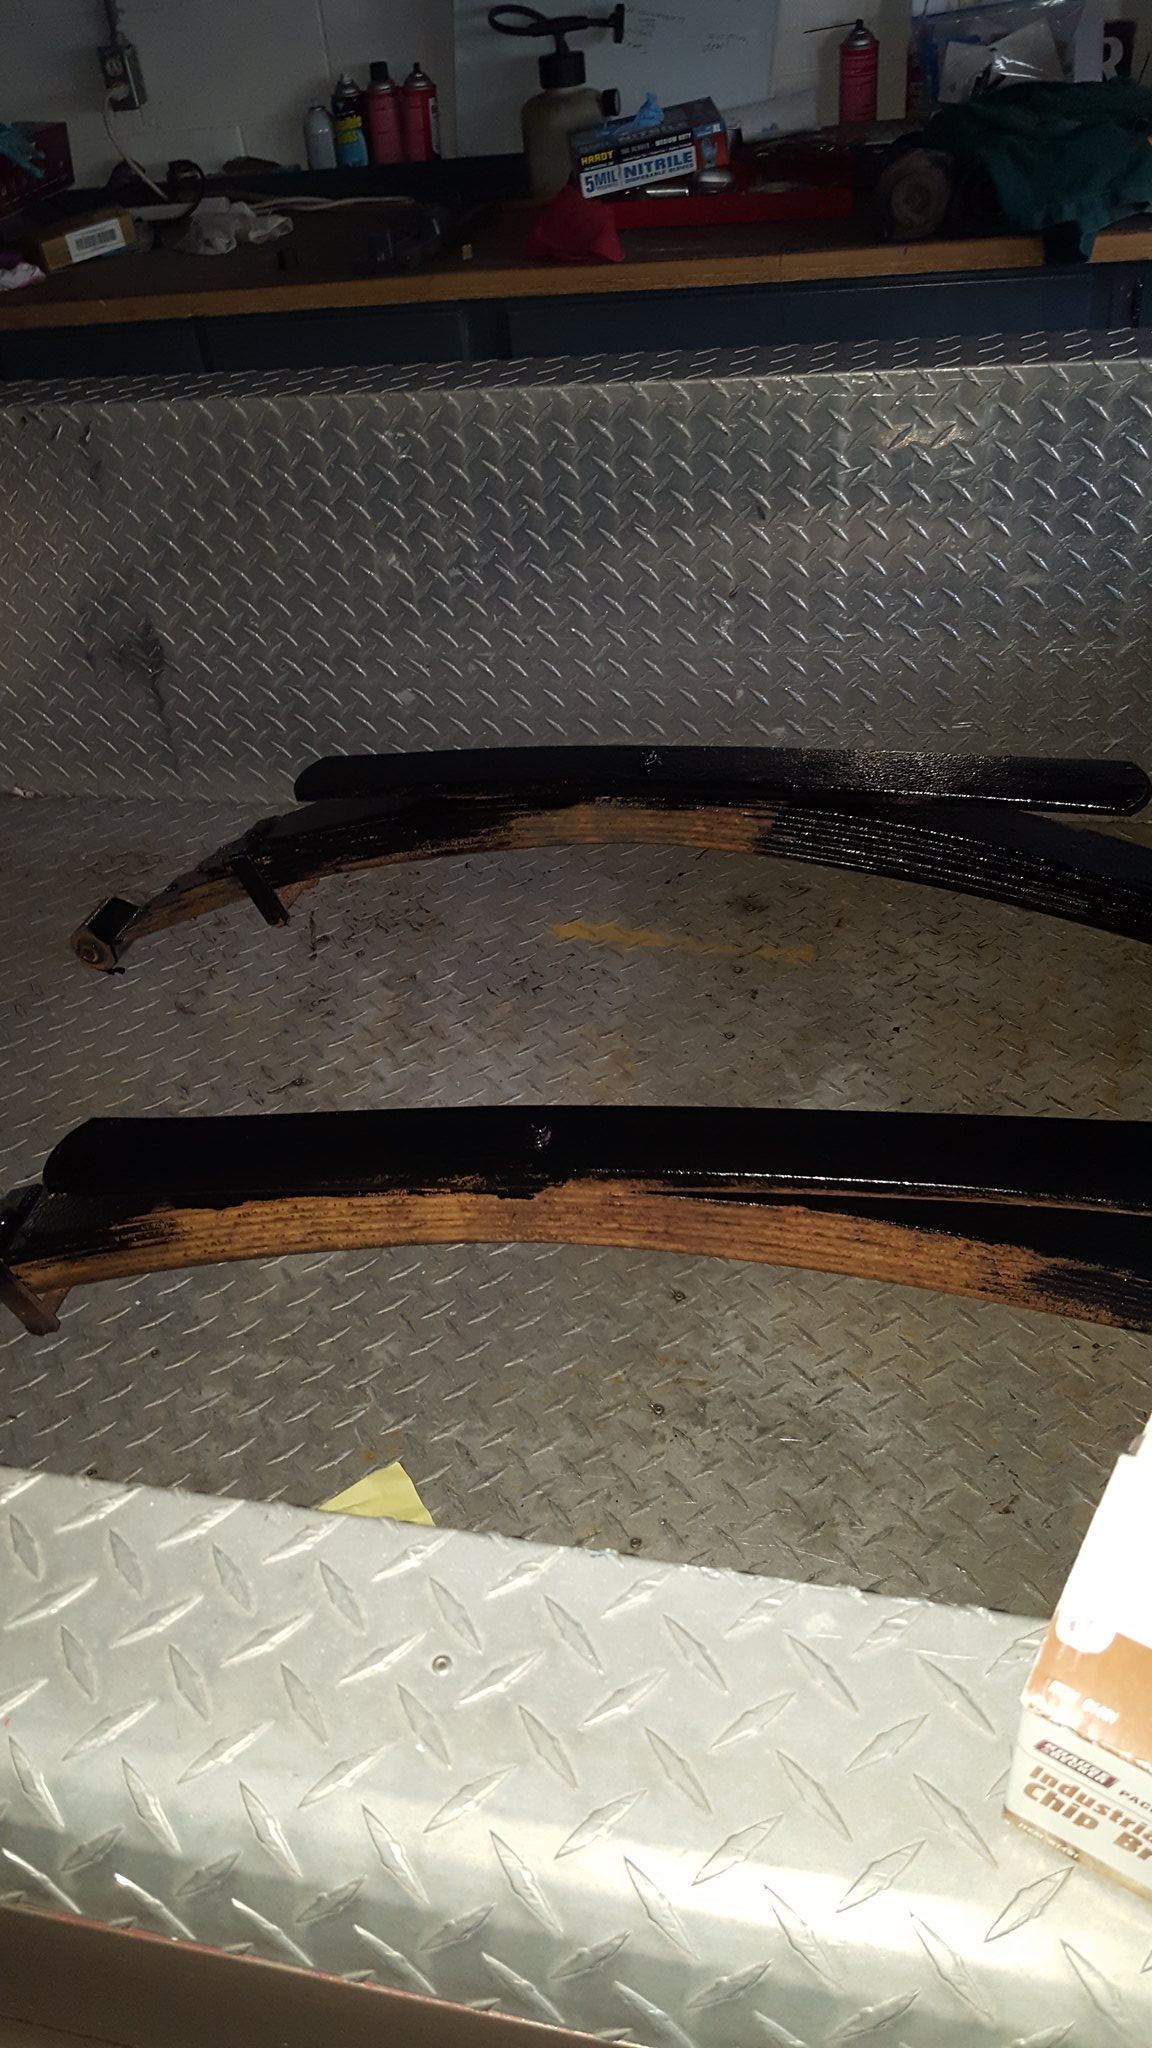
I picked up a gallon of valspar rust tough paint at lowes. This is a rustoleum equivalent, though I have found that it covers far better, resists fading better, applies smoother, and is more durable than rustoleum. Not quite POR15 quality, but good enough for what its for. And at 32 a gallon, far cheaper. I actually started painting frame rails as well, but no pictures, as I didnt get very far before my shoulder started killing me. Did get the steering box painted, and part of the 3 / 4 ton leaves.
 20180302_075237
 by
Michael Crawford, on Flickr
 20180303_084955
 by
Michael Crawford, on Flickr
 20180303_085001
 by
Michael Crawford, on Flickr
lastly: im good at violating my own rules. My rule of “safe, reliable, and cool. In that order) is pretty well shot at this point. Ive hooked up the sub temporarily (and then the old JVC from the box of stereo stuff died, hence the new to me kenwood. Same one I have in the daily driven miata), started painting the frame that still has serious play in the steering, and not even tried to figure out which pulley on the accessories is noisy as hell. In my defense, its because I was presented with a golden opportunity.
My buddy art paints cheap cars and builds salvage title cars for local car lots. Hes a good, cheap bodyman. Not show car quality, but better than standard 10 footers. He is the guy that came and helped me shoot the plastidip off with razor blades and a pressure washer. Hes the guy that taught me to paint cars and do bodywork (which I still suck at). His local paint supplier had gone up in price dramatically after changing ownership. We got to talking about Patrick's recommendation of paintforcars.com, and art thought they were great prices for a similar grade of materials to what he typically uses. They have a very limited color palette though. He offered to shoot the truck if id order an experimental supply kit from them.
Freaking SOLD!!!!!
first I ordered the color chip chart. They only offer one non metallic red, and I was hoping it was close to the victory red on this thing. They called theirs viper red.
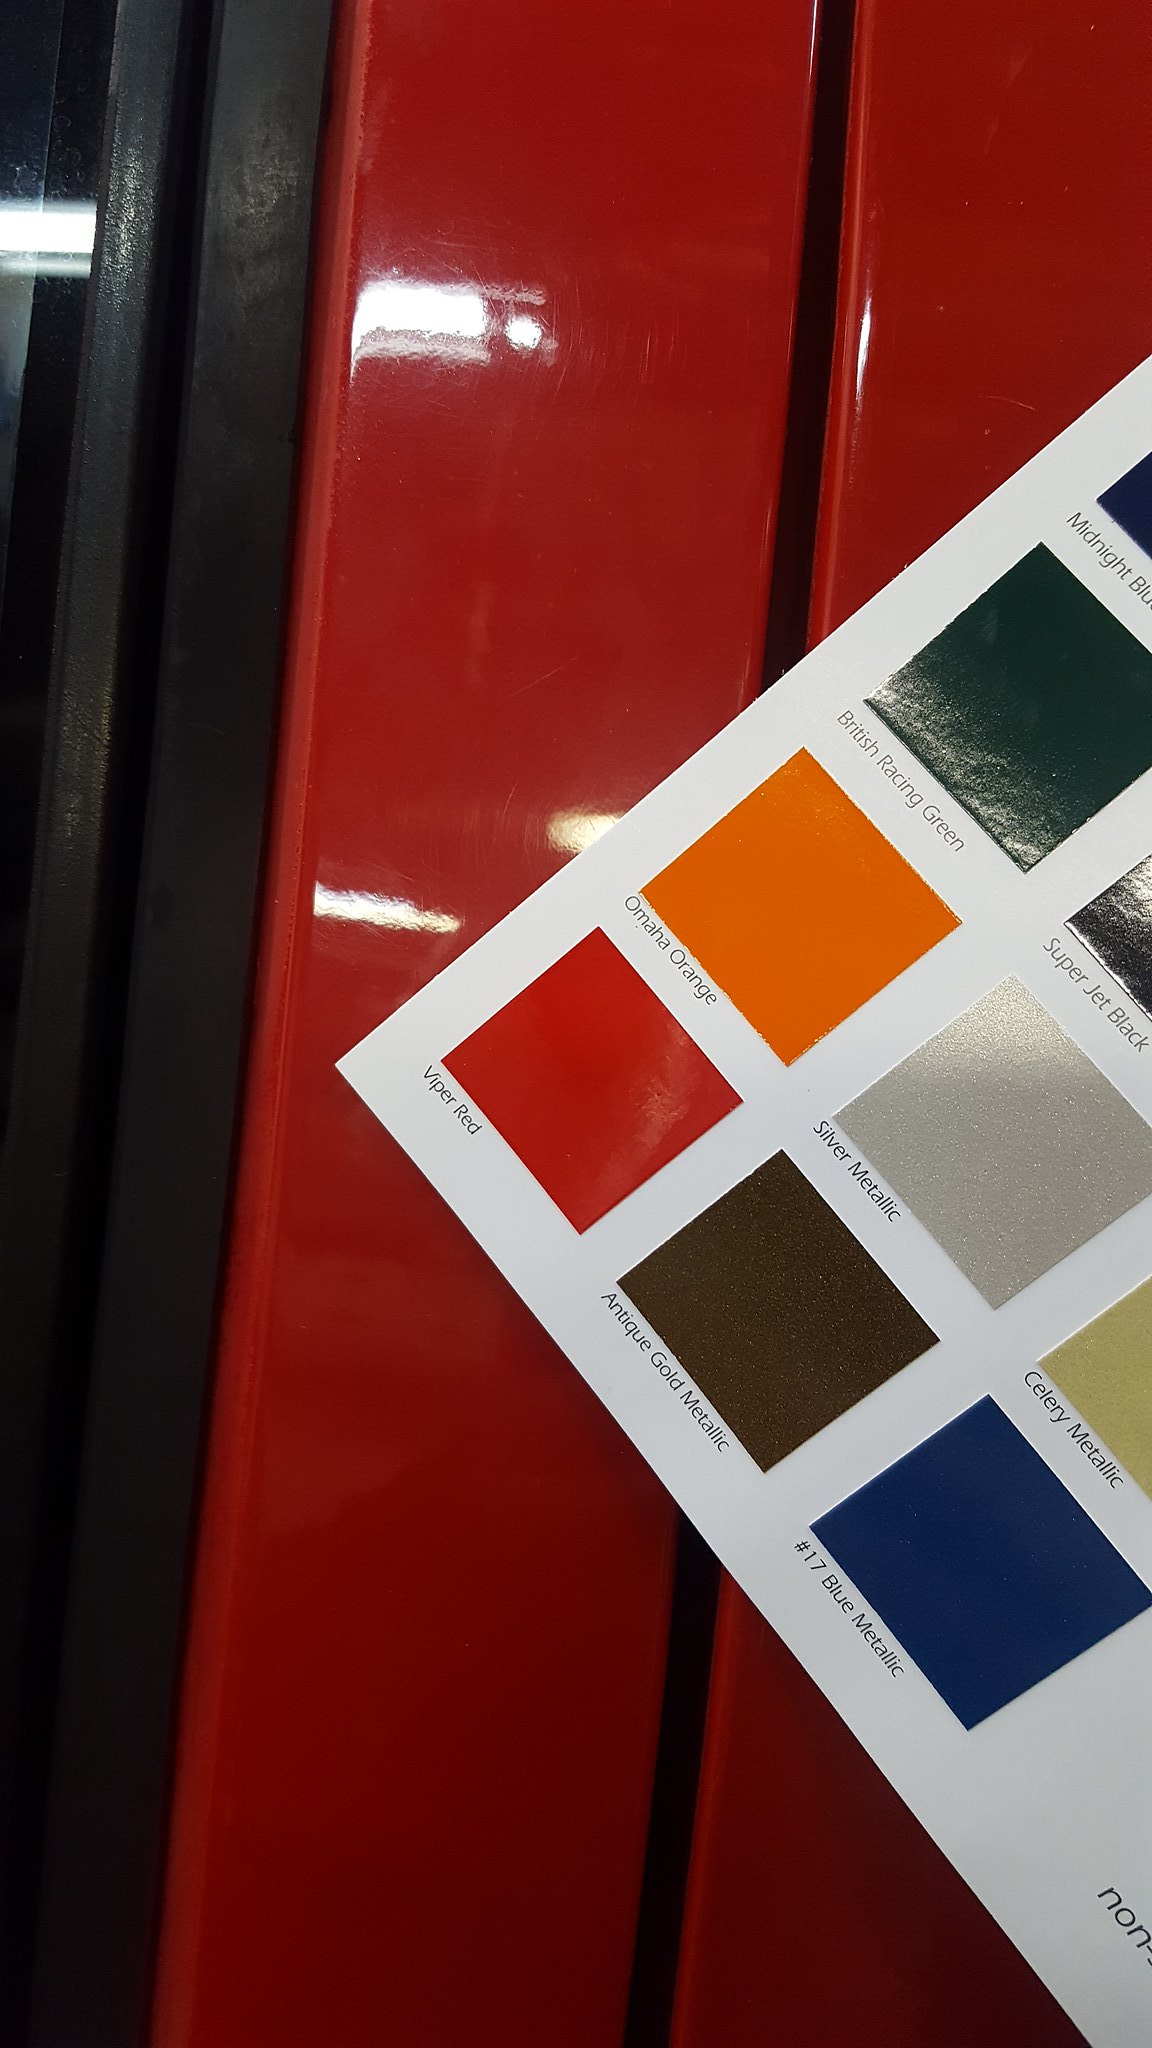 20180228_171330
 by
Michael Crawford, on Flickr
close enough for me. So we orderd the acrylic urethane kit of viper red. Kind of interested to see how it turns out. Art has been spraying ****ty materials with decent results for so many years that im not too worried about the end results of the paint is actually usable. And Patrick swears by it. But hes from Ohio, so I dunno how it will hold up and spray down here in the hot and humid and sun baked south.
anyway, after doing some side work next Friday and Saturday, my wife and I are going to do some disassembly. Sunday after church, we will be dropping the front and rear bumpers, hood, grille, and bed at arts place. He will paint them and do whatever it is he does while I rebuild the suspension, paint the frame, and clean up the rest of the truck thoroughly. Then, when the parts at home are reassembled, I will take the cab/front clip over for him to paint and reassemble the body. Wet sand and buff, and drive it some more. He also was able to work a trade for the chrome bumper to a painted bumper.
Im excited to see how this turns out. Hoping that it doesn't suck, as they have some neat colors on that chart and I like neat colors on beaters.
I do need some pictures and details on the door weatherstripping though. Mine is all out of place, and im pretty sure there's either more pieces or less than there is supposed to be. Since im pulling it all for paint anyway, id like to get it back together properly with correct stuff. NPD has the main door surround weatherstripping for 10 a side, but there's more pieces attached to the door and a-pillar on mine. Anyone have details? I also need to figure out if I can leave the door glass in while removing the window run channel weatherstripping and the belt molding on the outside.