Budget first:
previously was 1745.44
new money:
new trailer hitch: 20
console: 17.50 (pull-a-part)
door: 57.50
gallon high build primer: 95 (oriellys)
welding: 40
alpine components: had
sound deadening from mcmaster carr: 120 for 5 sheets
insulation: had
backup camera: had
autometers (had the trans temp, paid for narrowband) 13
relay and wiring, as well as flood lights: had
new floodlight bulbs: 9.97 from amazon
m14x1.5 studs (20) 24.00 amazon
new total: 2142.41
so, last real update we had a roller with a kick ass stance. Since then, it seems like I haven't gotten much done, but its that last 10 percent that takes 90 percent of the time....
 20180404_195856
 by
Michael Crawford, on Flickr
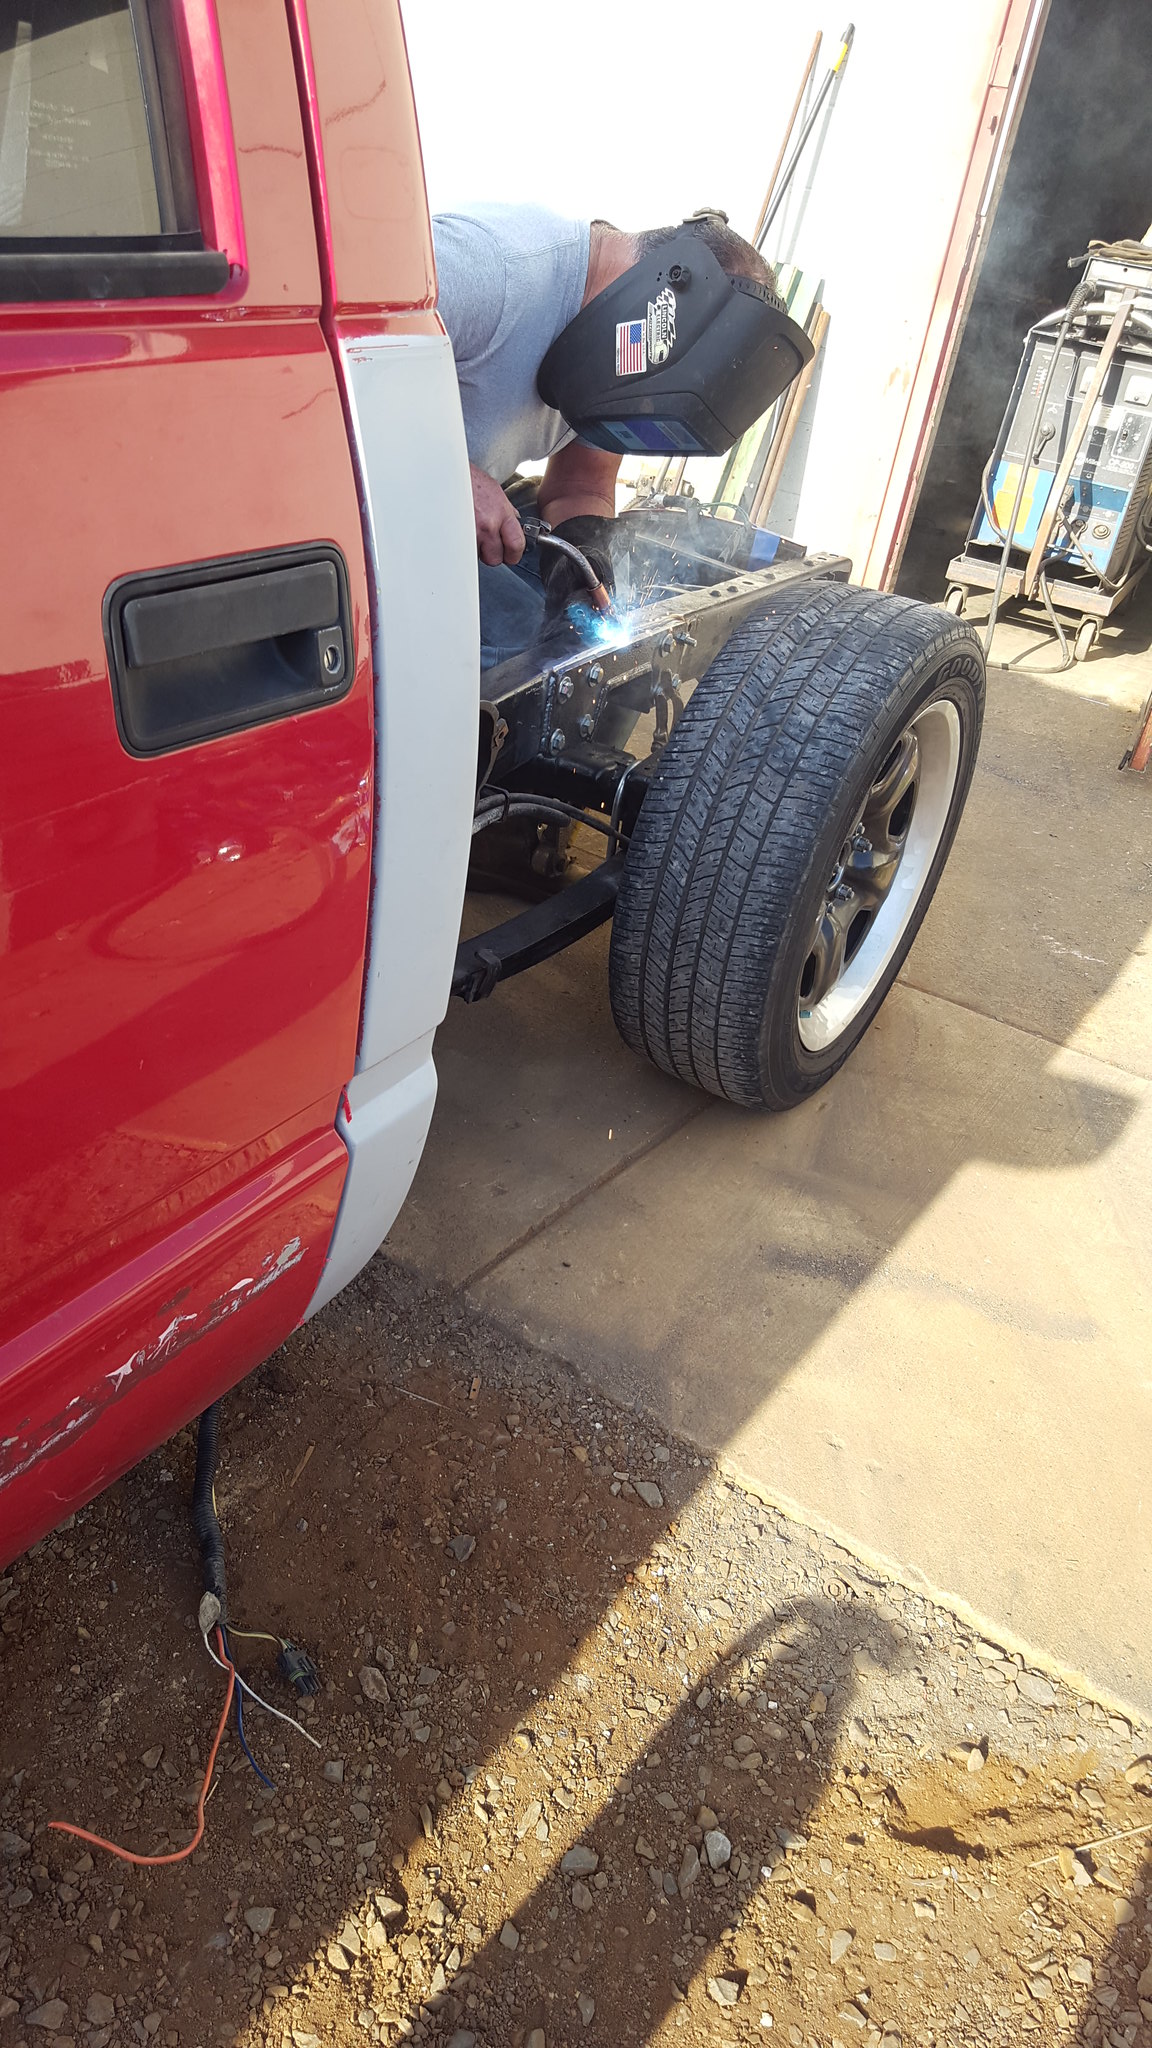
we had an issue with the un-reinforced frame getting bent. Got that straightened out, and the notched welded in by a pro. My 110v welder wouldn't touch this stuff....
 20180403_212756
 by
Michael Crawford, on Flickr
 20180406_085153
 by
Michael Crawford, on Flickr
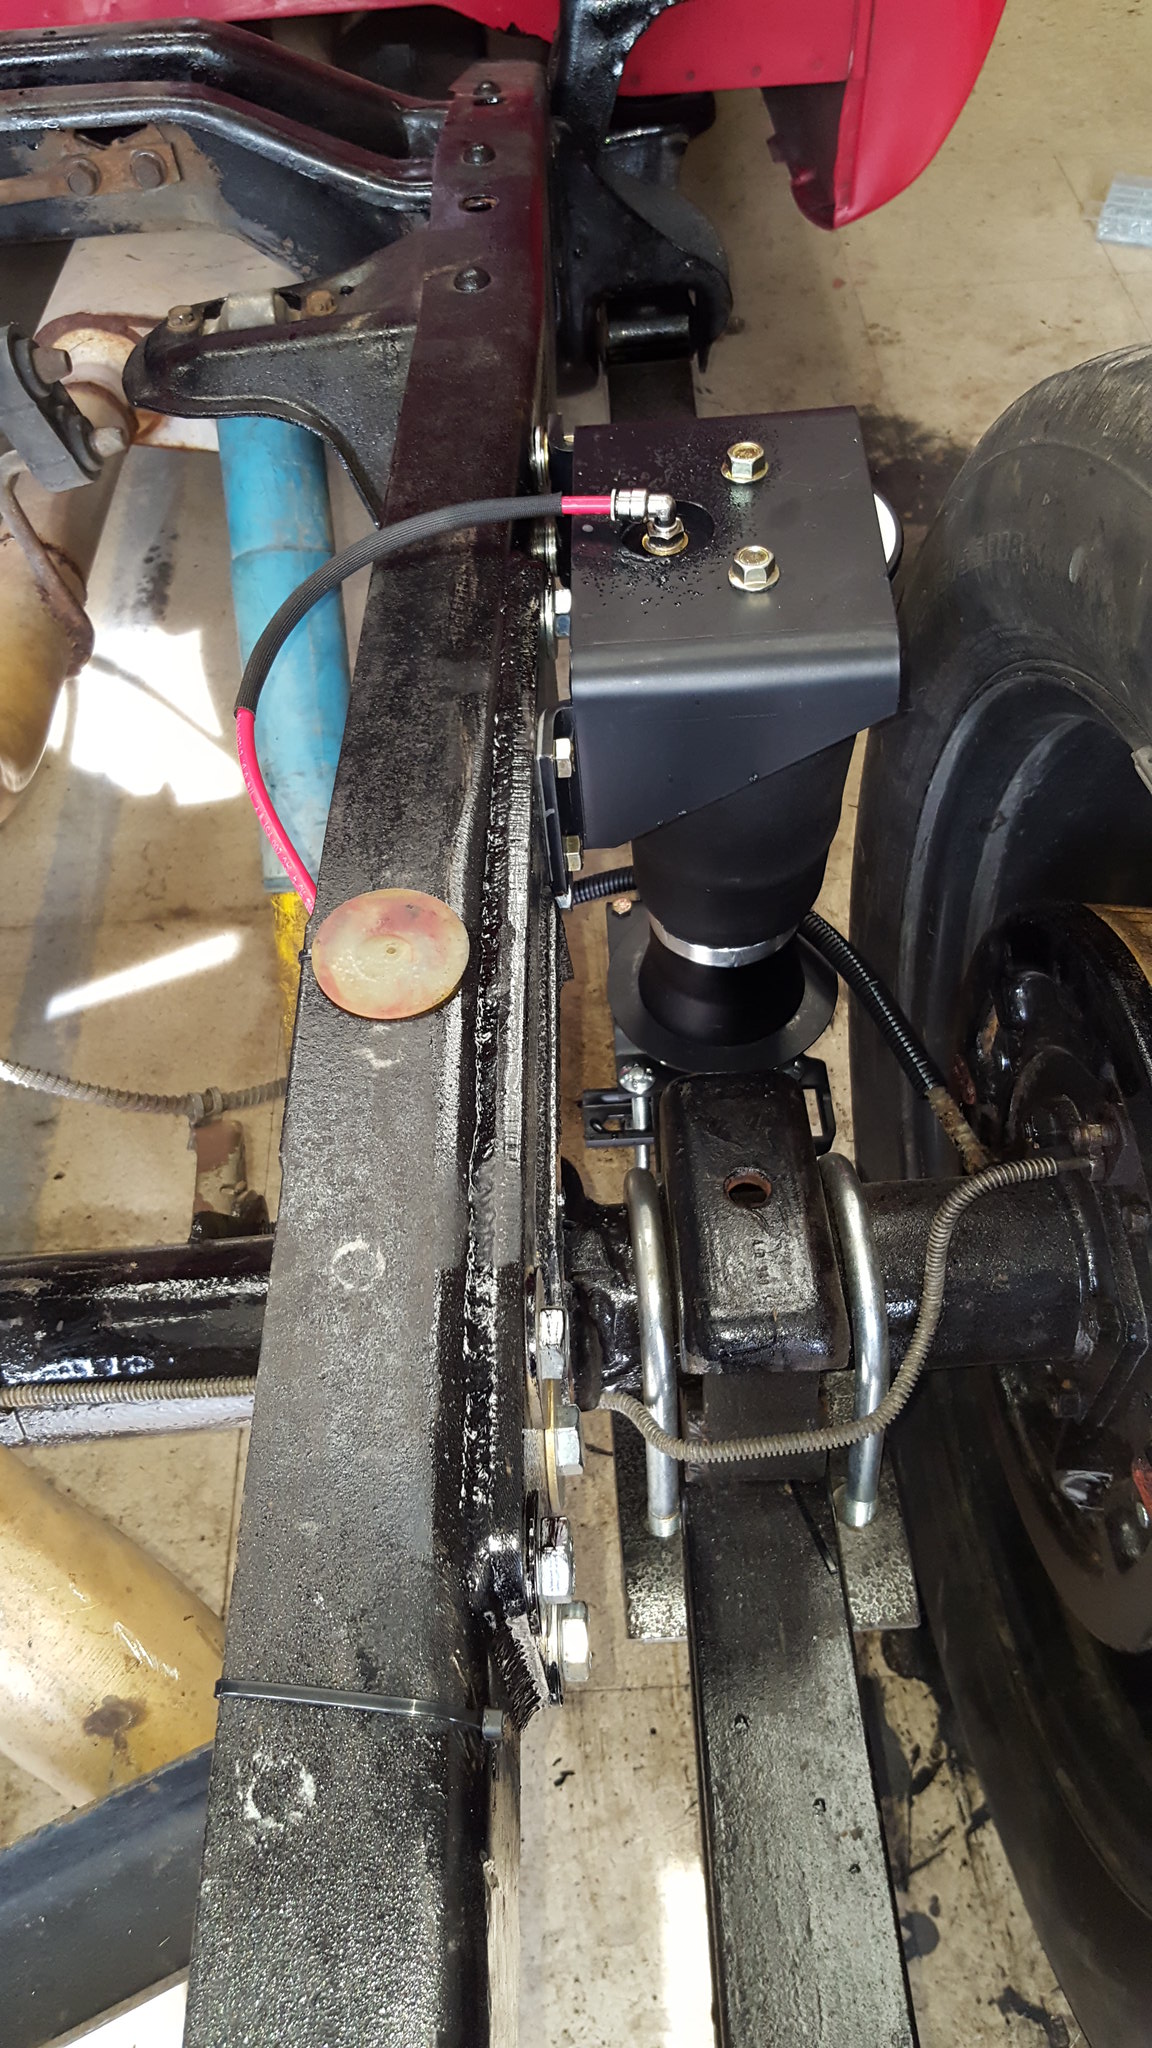
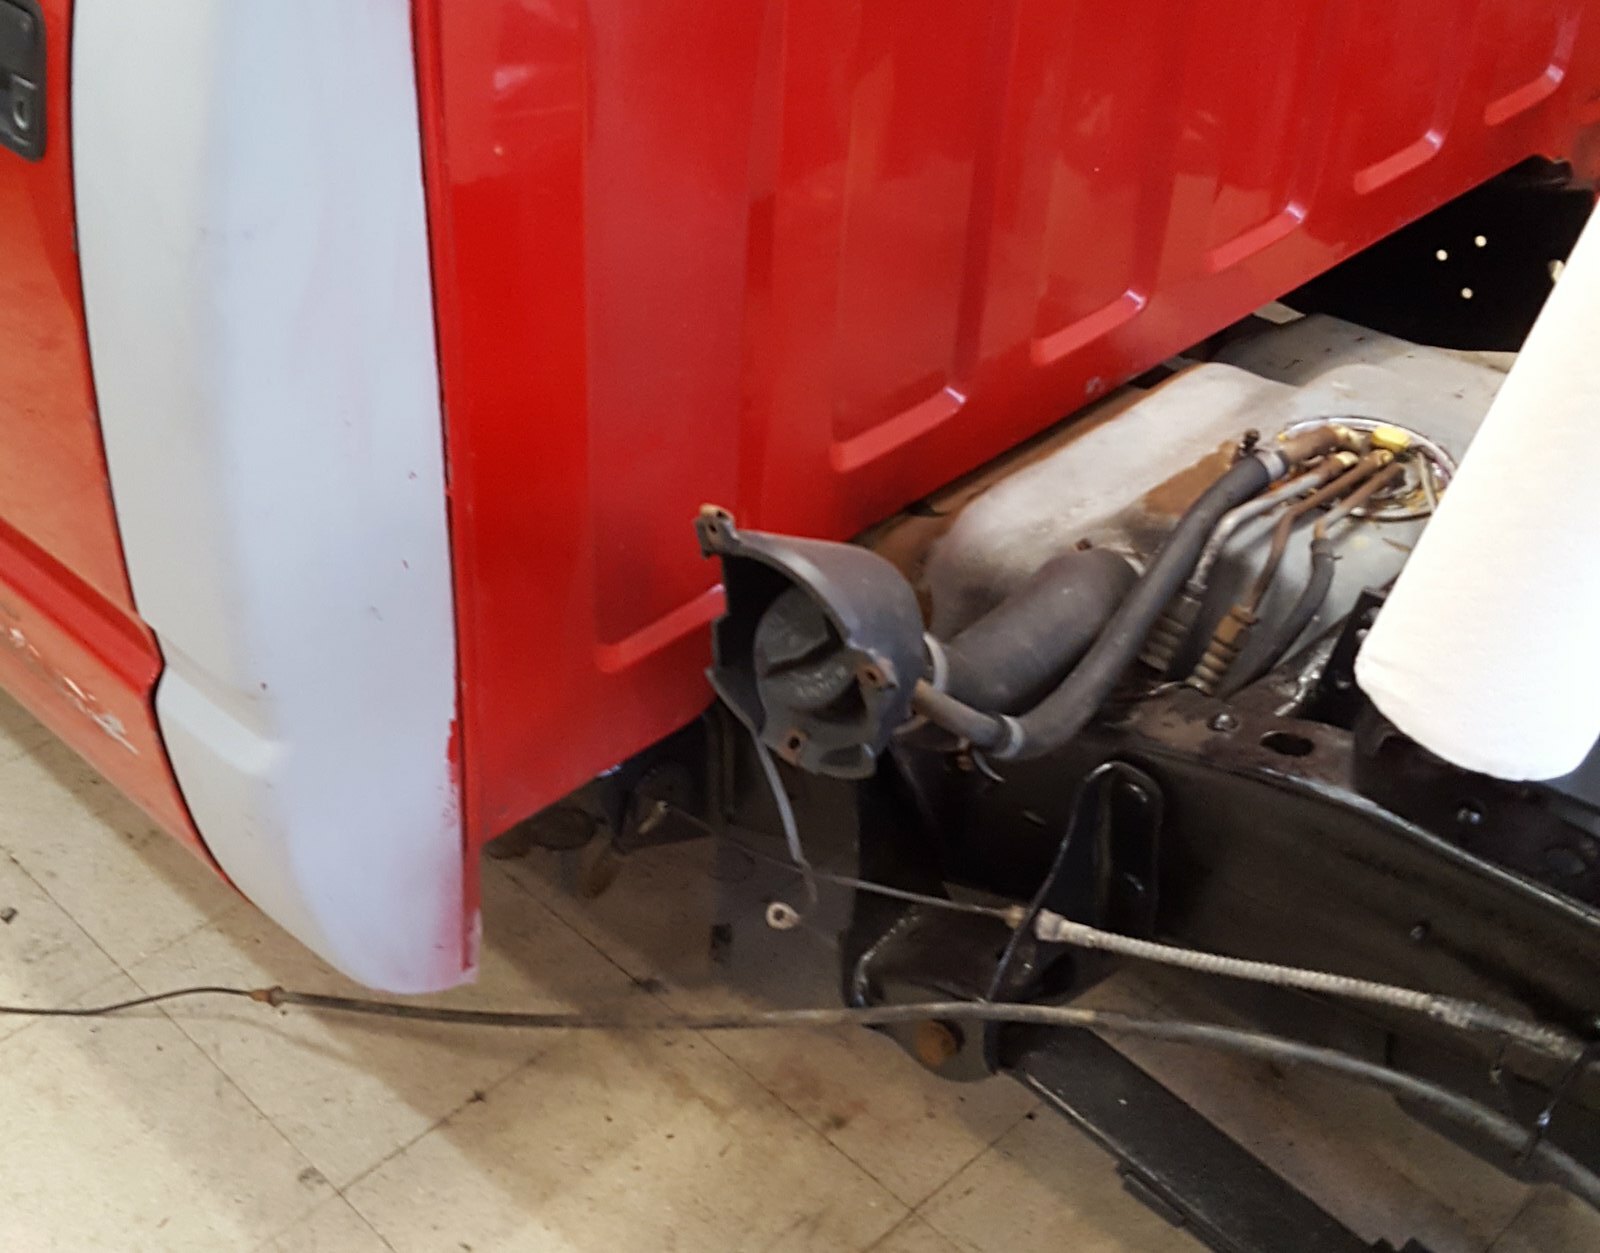
we got the front end aligned (VERY rough), everything torqued and greased, wheel bearings set, cat converter gutted (catalyst was broken and turned sideways. NFG), exhaust rehung. Etc. so we got all that sorted. I then went on to get the airbags installed. Had to modify the lower mount, as the kit isnt supposed to work with a flip kit. But we got it done. Essentially I just added another leaf clamp on the lower plate. Had to move the whole setup forward about 5 inches for clearance. Anyway, got them in, the welded frame painted, bumpstops in, etc.
 20180408_171749
 by
Michael Crawford, on Flickr
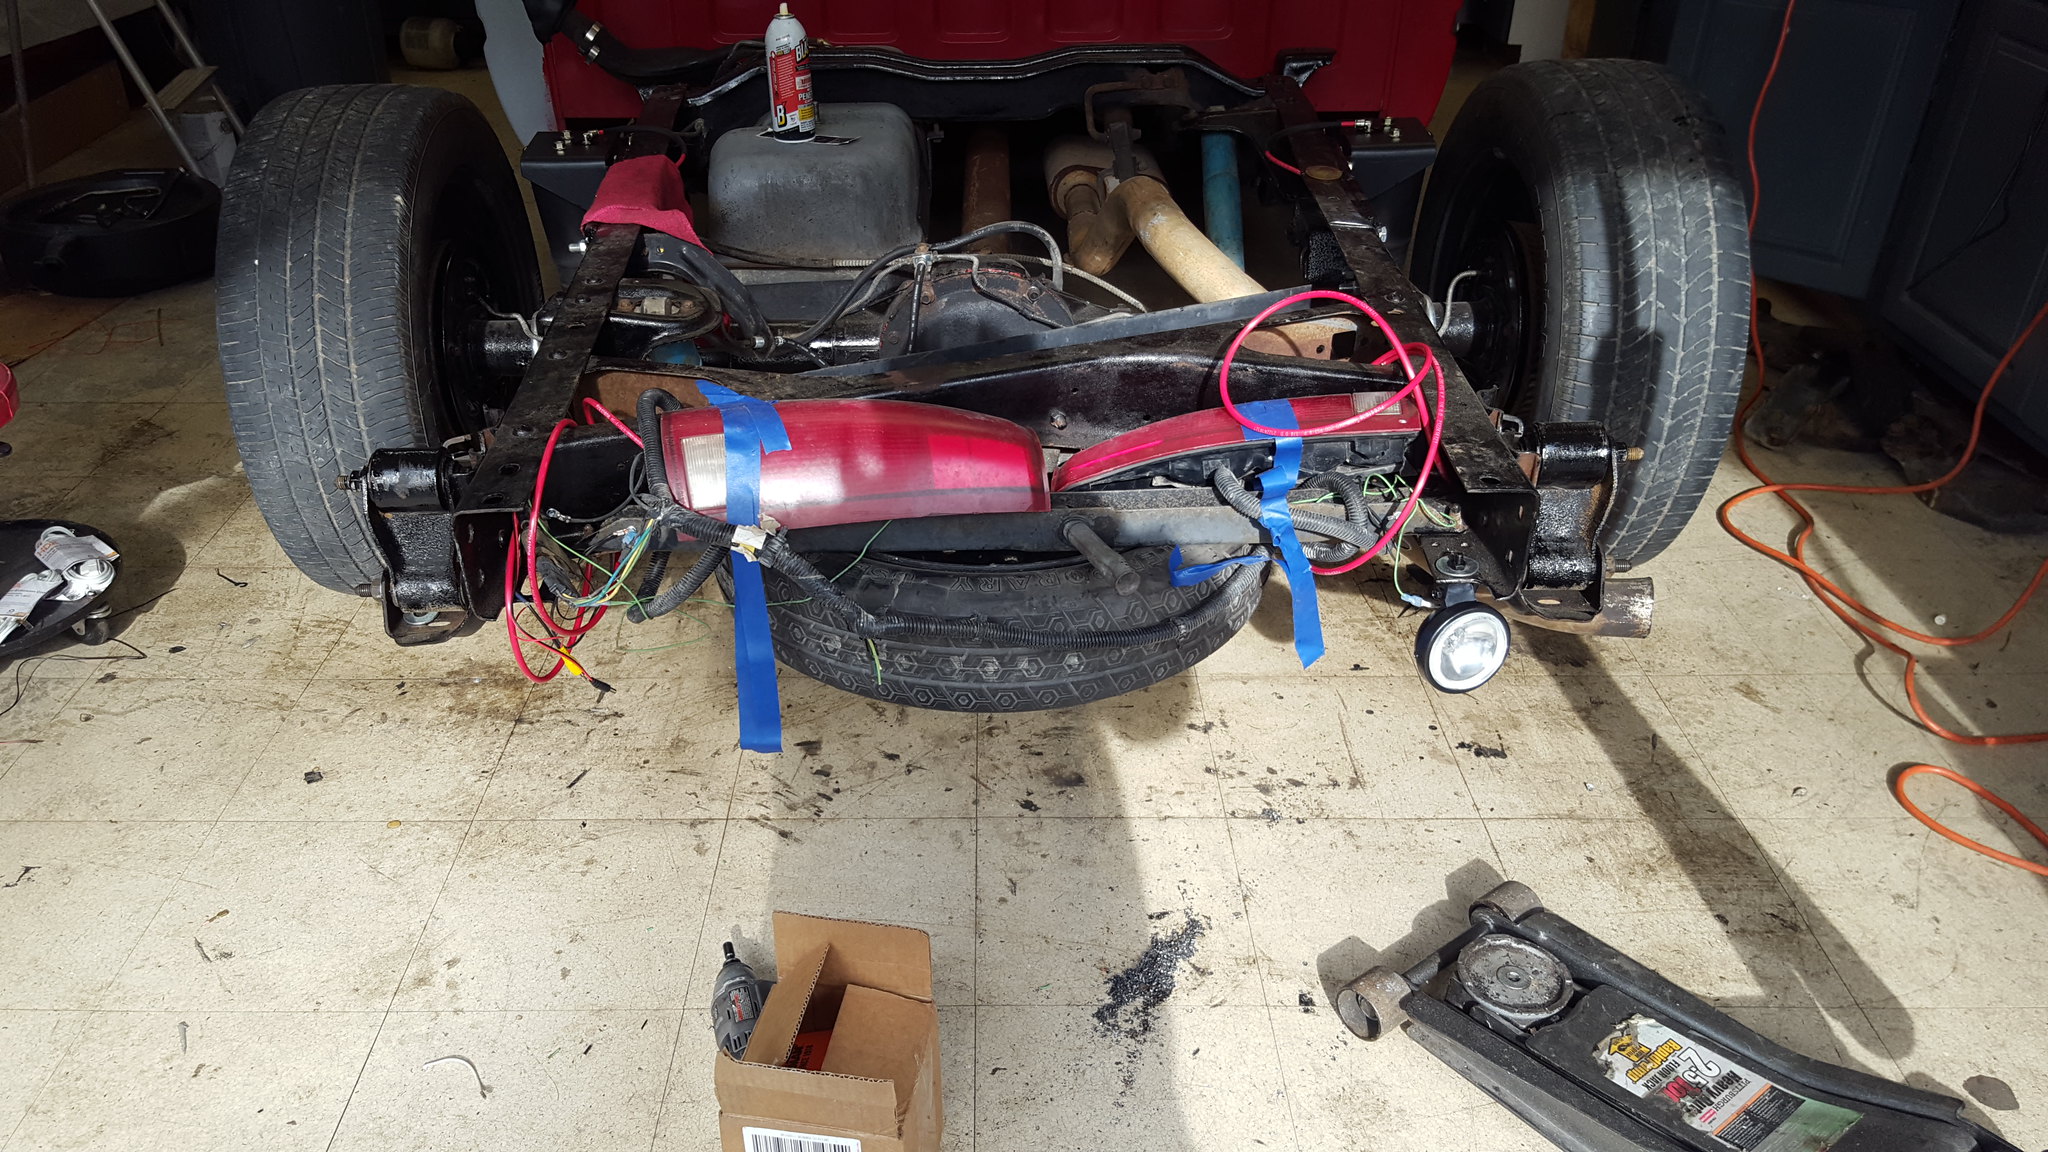
whnile I was back there, I also got the relay for the auxiliry backup lights and backp camer wired in, as well as (temporarily and in the wrong place) one of the 100 watt floods. Holy crap we have backup lights. I need to tidy the wirig up, and when the hitch gest installed, the floods wil be mounted to it. Fill valves for the air bags wil be mounted to either side of the liscence plate on the bumper.
 20180408_171756
 by
Michael Crawford, on Flickr
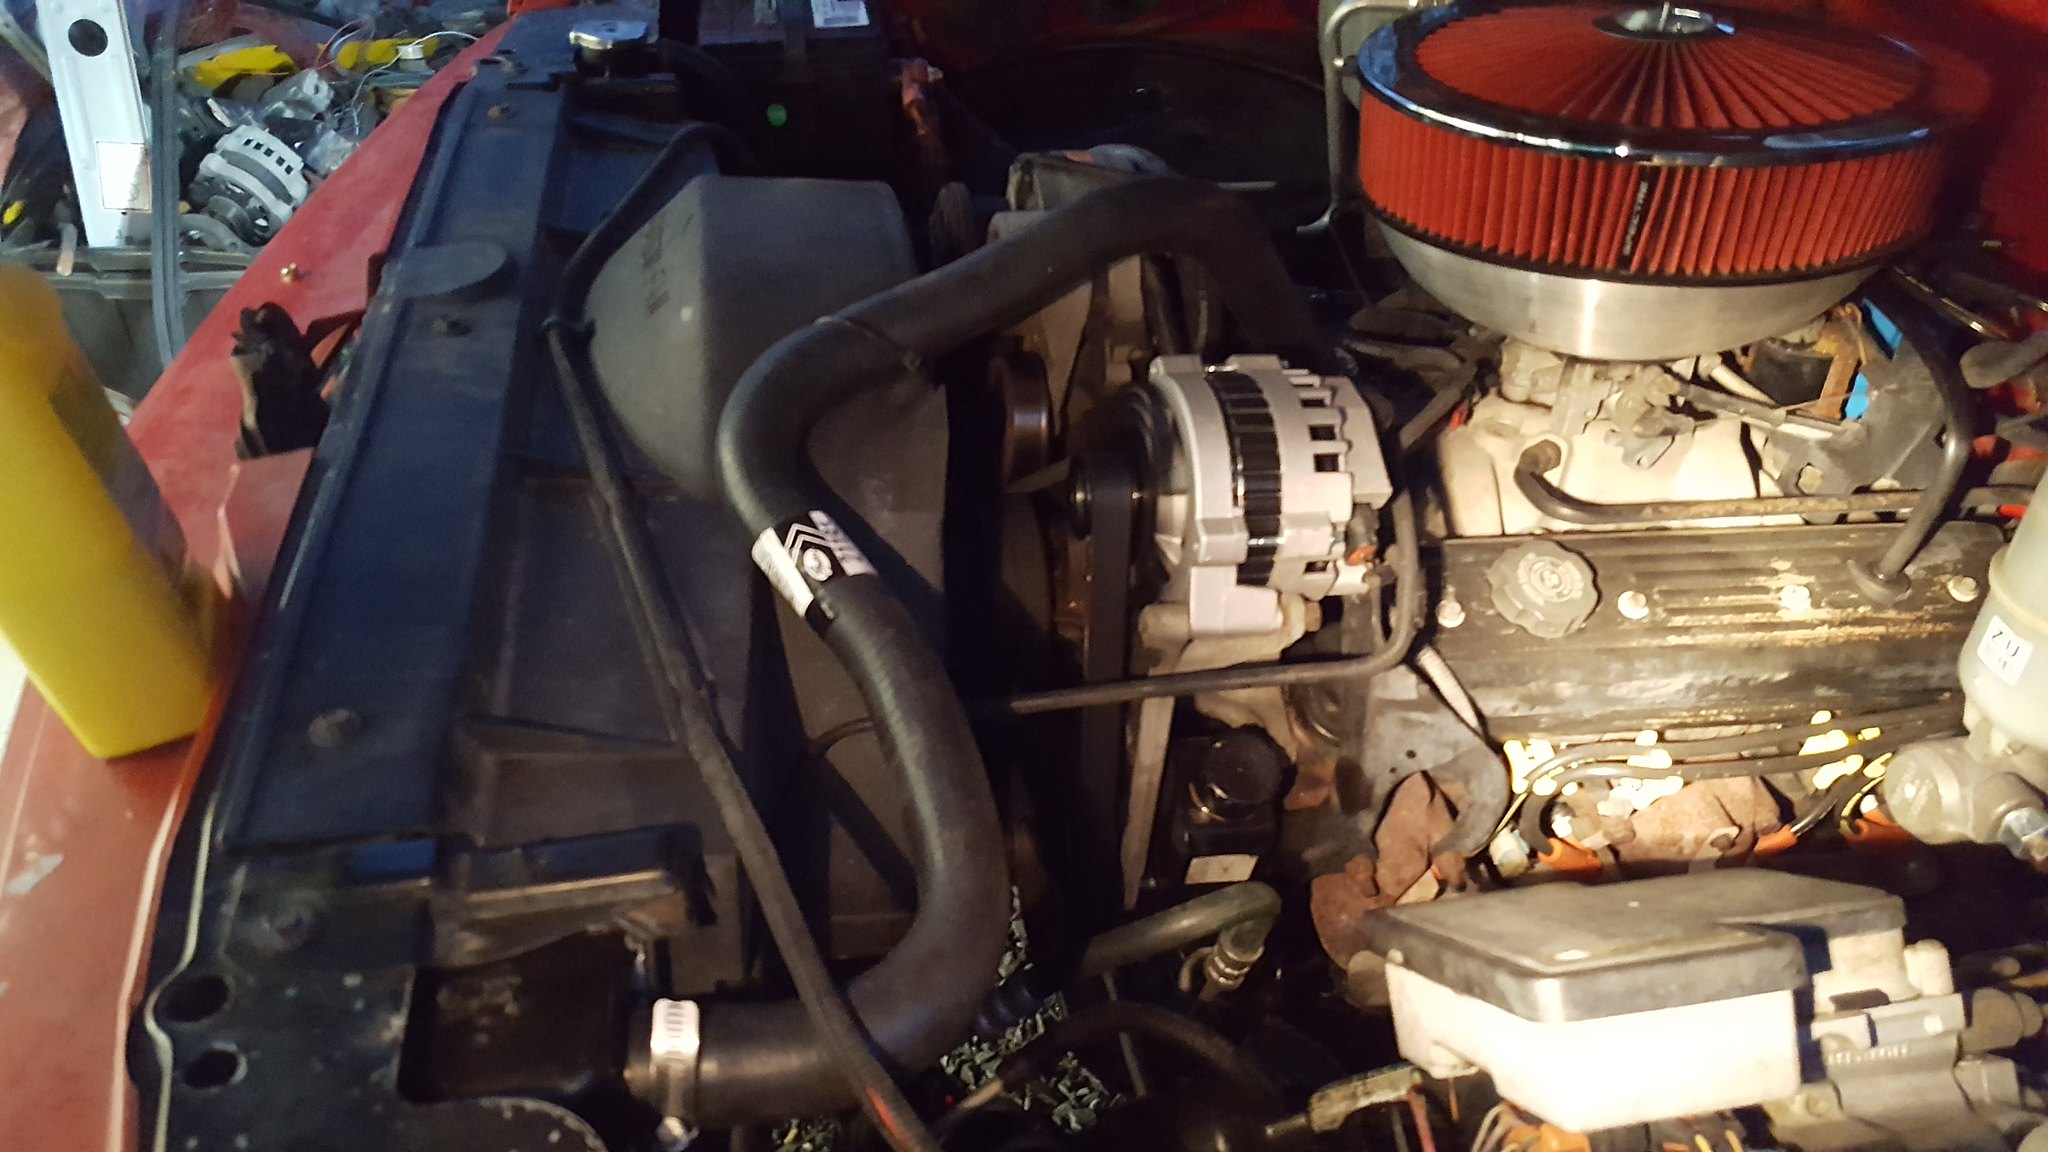
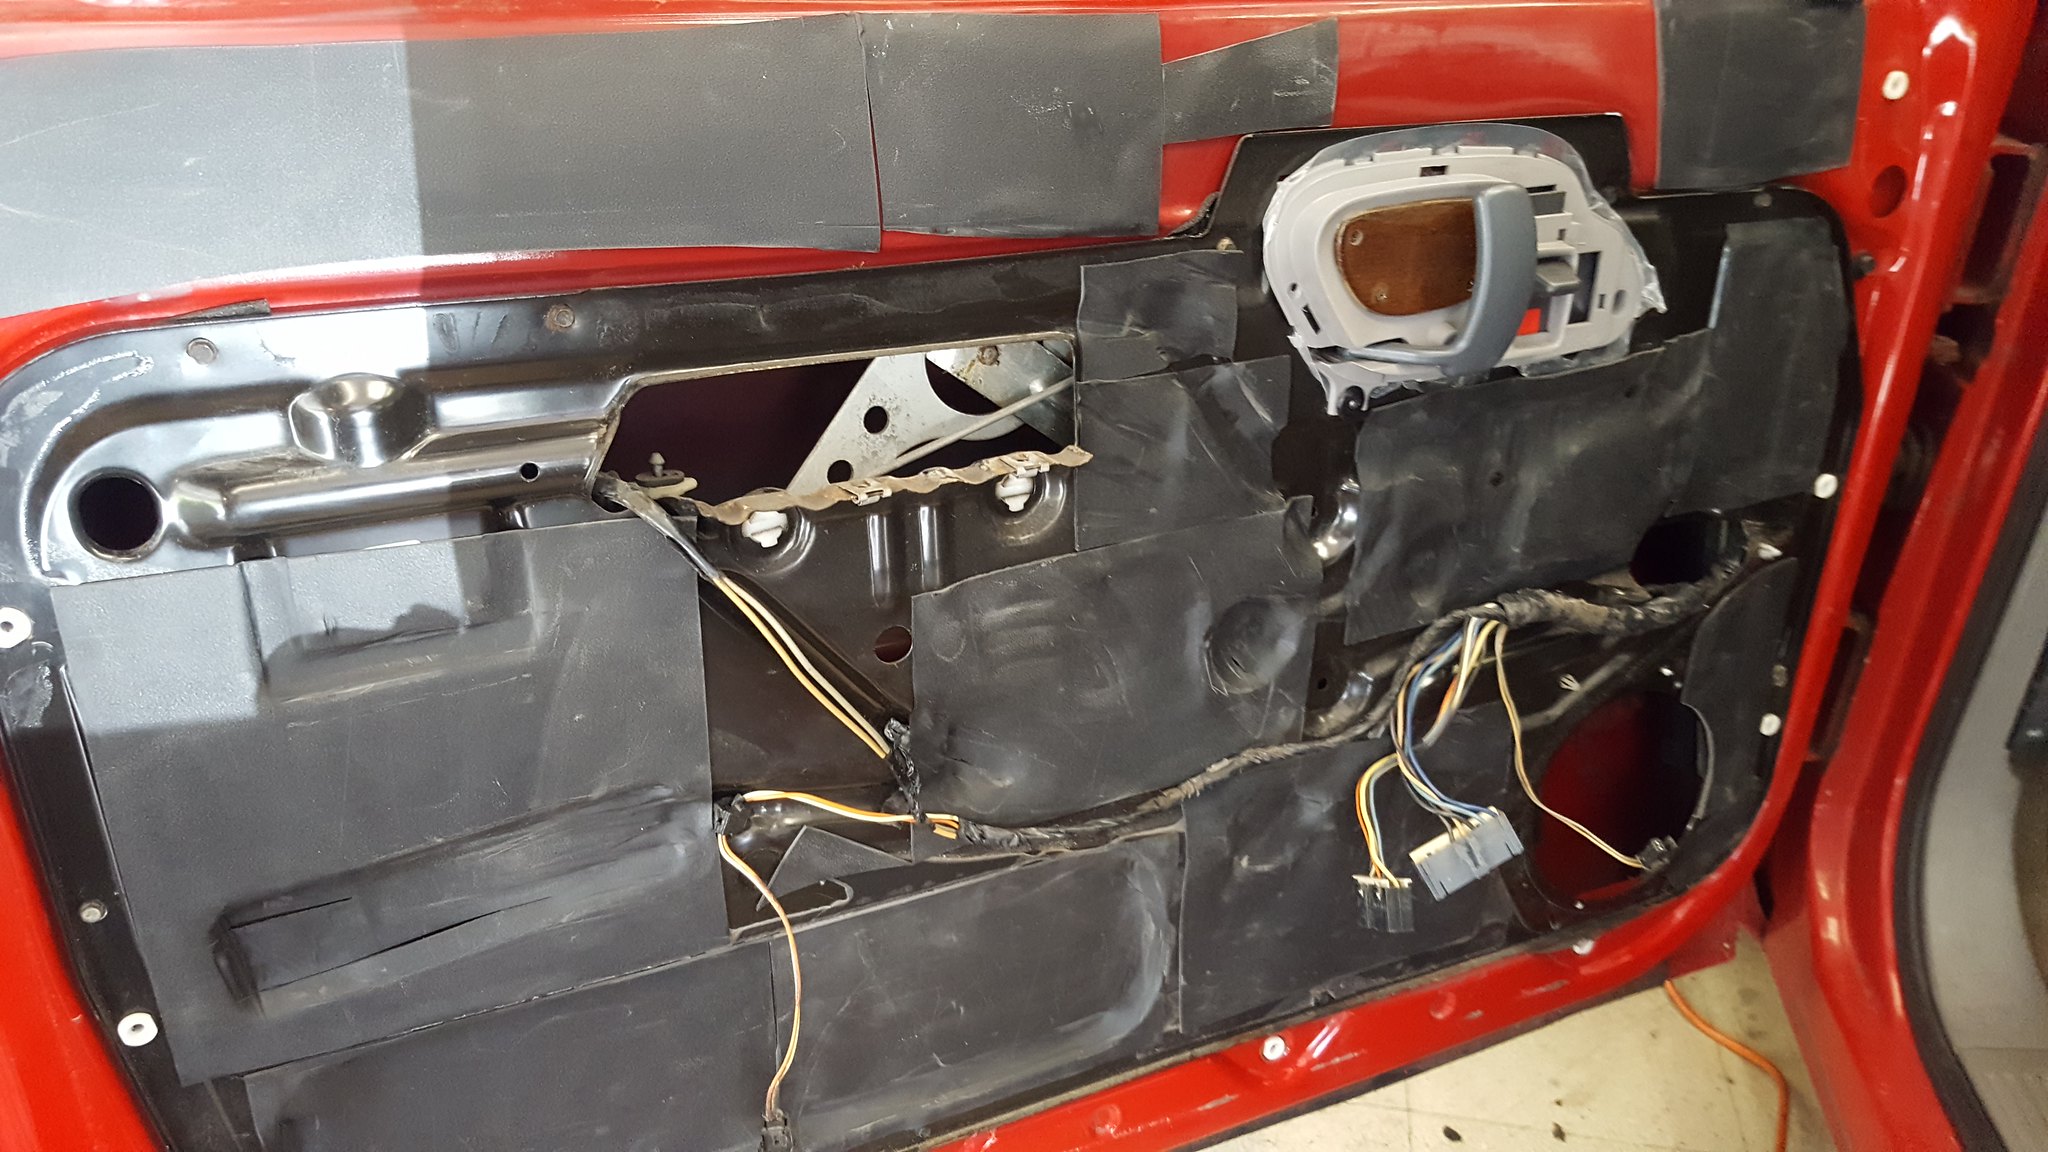
I also went ahead and added sound deadening and insulation to the drivers door, as I was in there to put oe of the alpine components in. (factory speaker died some time back) no pictures of the insulation, but will do a full writeup on sound deadening and insulation when I do the rest of the interior.
 20180405_145340
 by
Michael Crawford, on Flickr
 20180405_145330
 by
Michael Crawford, on Flickr
I love overhead consoles. So I got one. Locating my backup camera monitor in the old garage door spot, and a pair of autometers in where the rear HVAC controls would be.
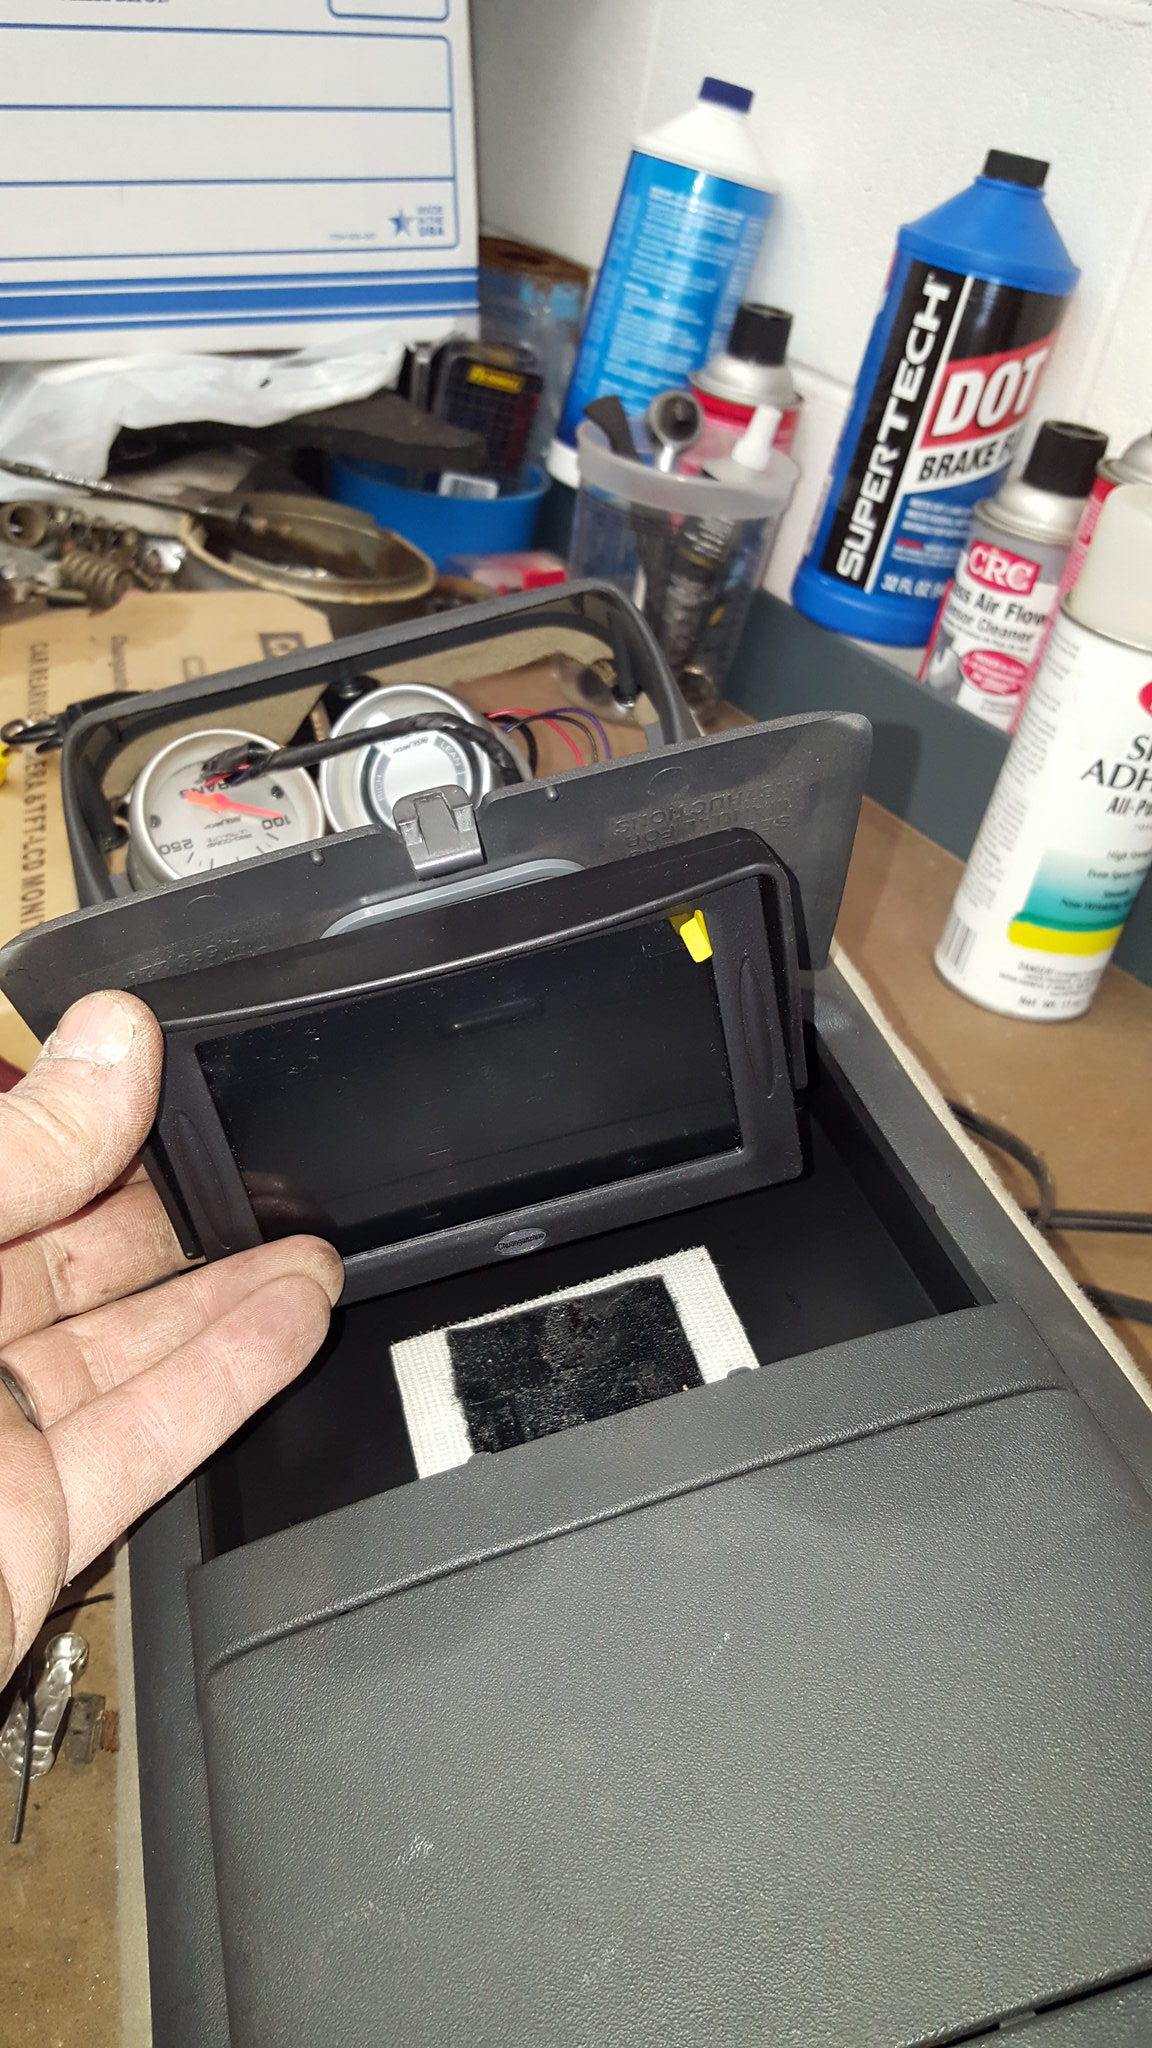 20180408_172130
 by
Michael Crawford, on Flickr
lastly for this update, ive been prepping the cab for paint. That entails removing the baked on plasti dip that the pressure washer didnt remove. Lacquer thinner and a paper towel is doing the trick though. And the paint under the plastidip is in shockingly good shape. However, I found the passengers door is loaded with bondo, and bent a fair bet. Hard to get a picture of. But I bought another door. Made more sense than trying to fix this one.
 20180406_164748
 by
Michael Crawford, on Flickr
 20180406_175302
 by
Michael Crawford, on Flickr
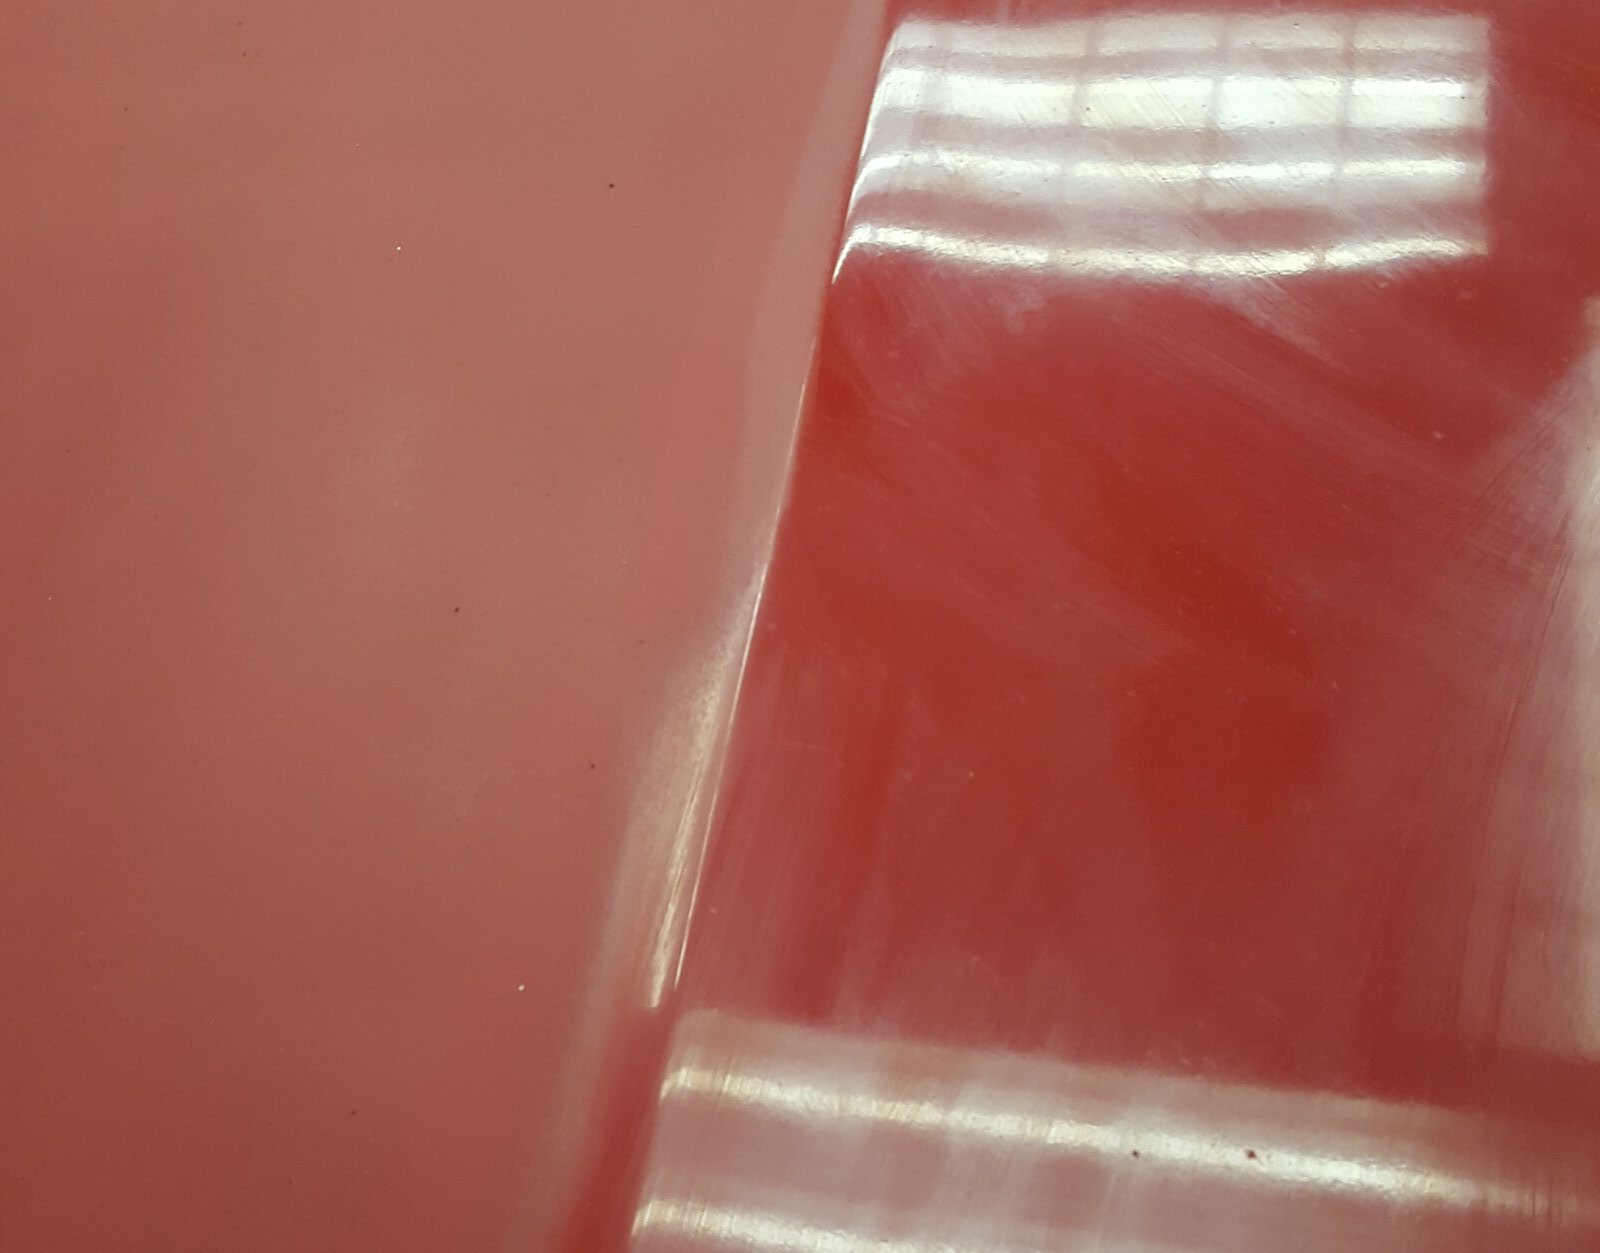
art is shooting the bed tomorrow. But here's a couple of pictures of the tailgate, just because im incredibly happy with how it tuned out.
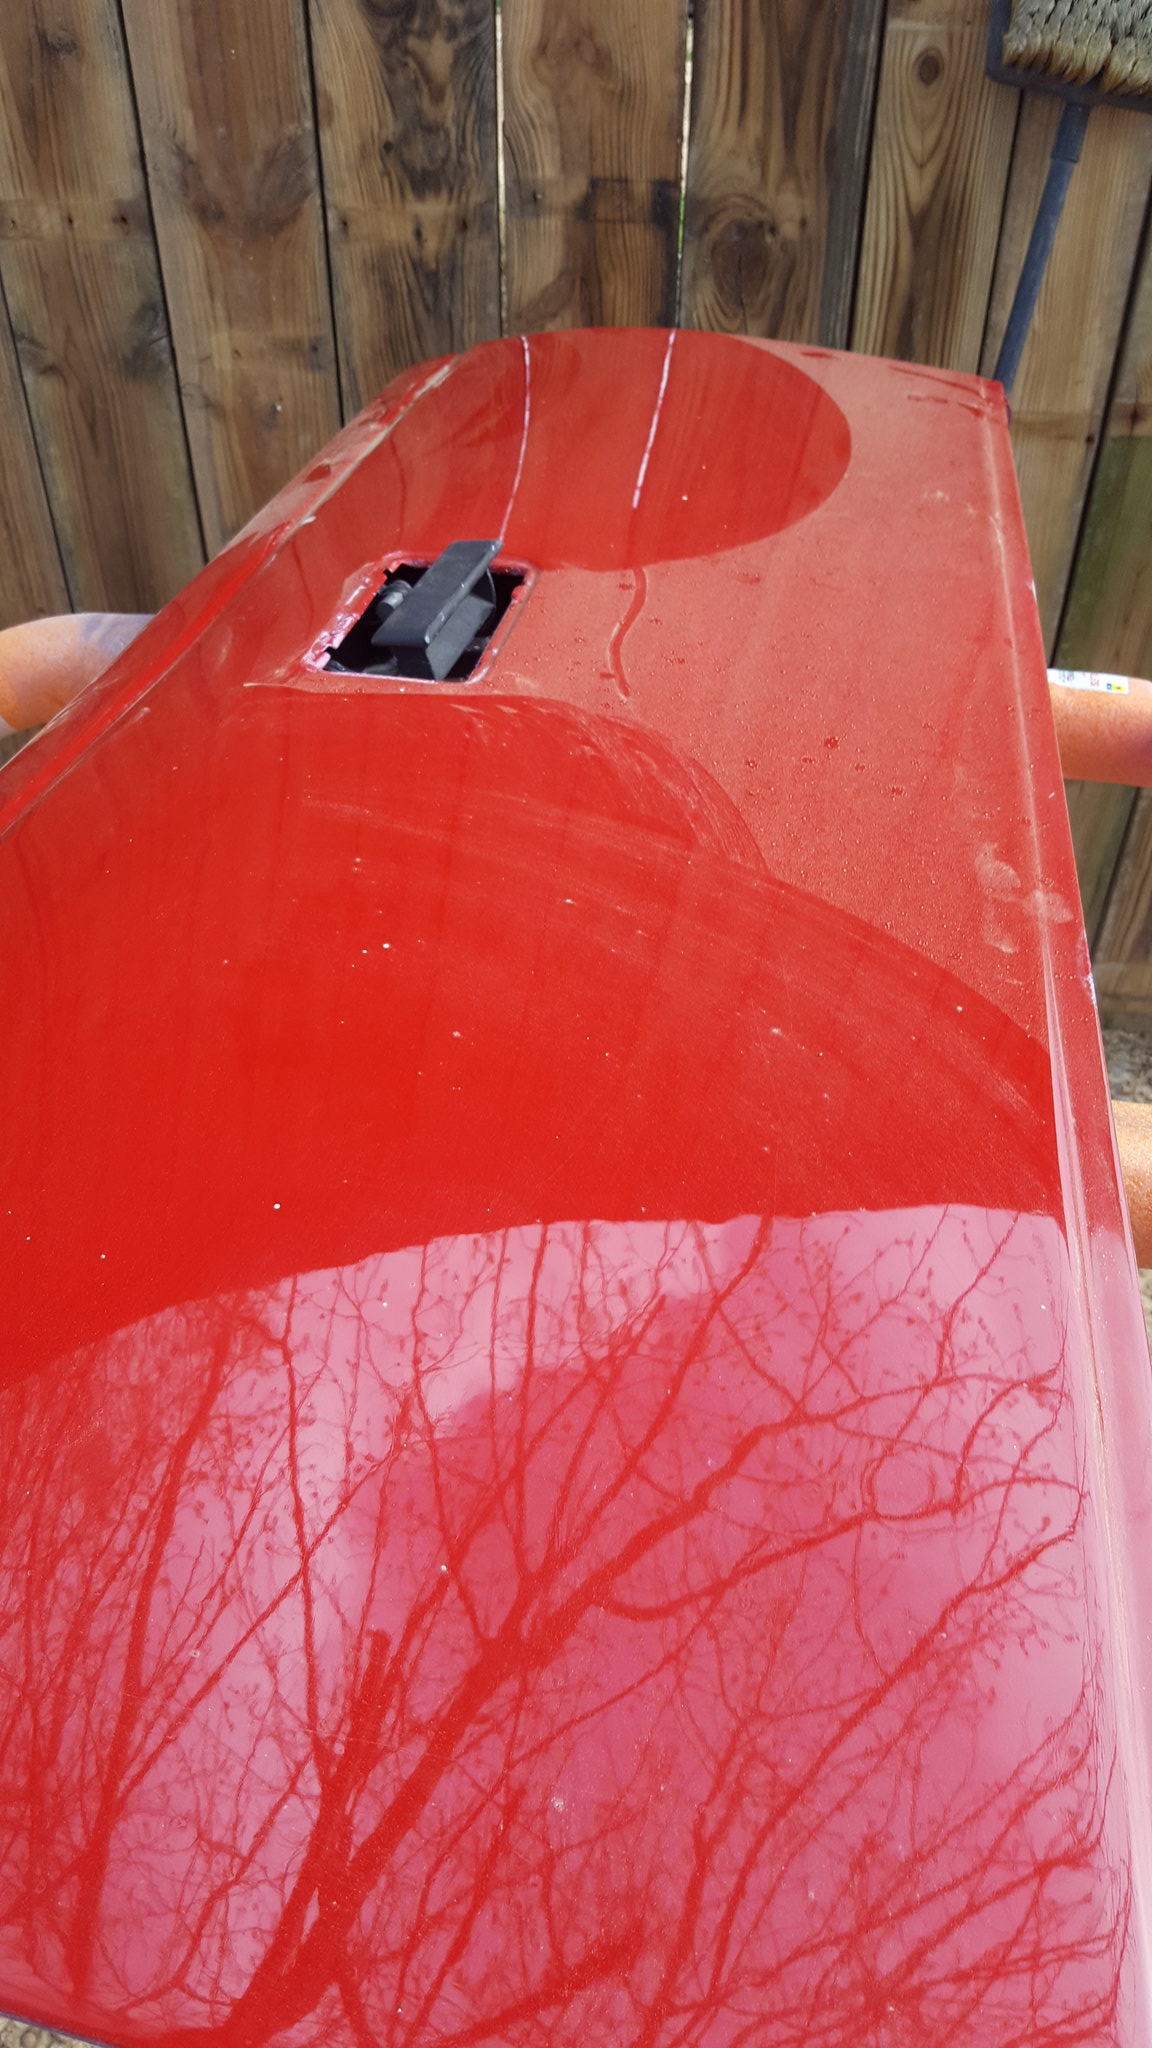 20180404_171828
 by
Michael Crawford, on Flickr
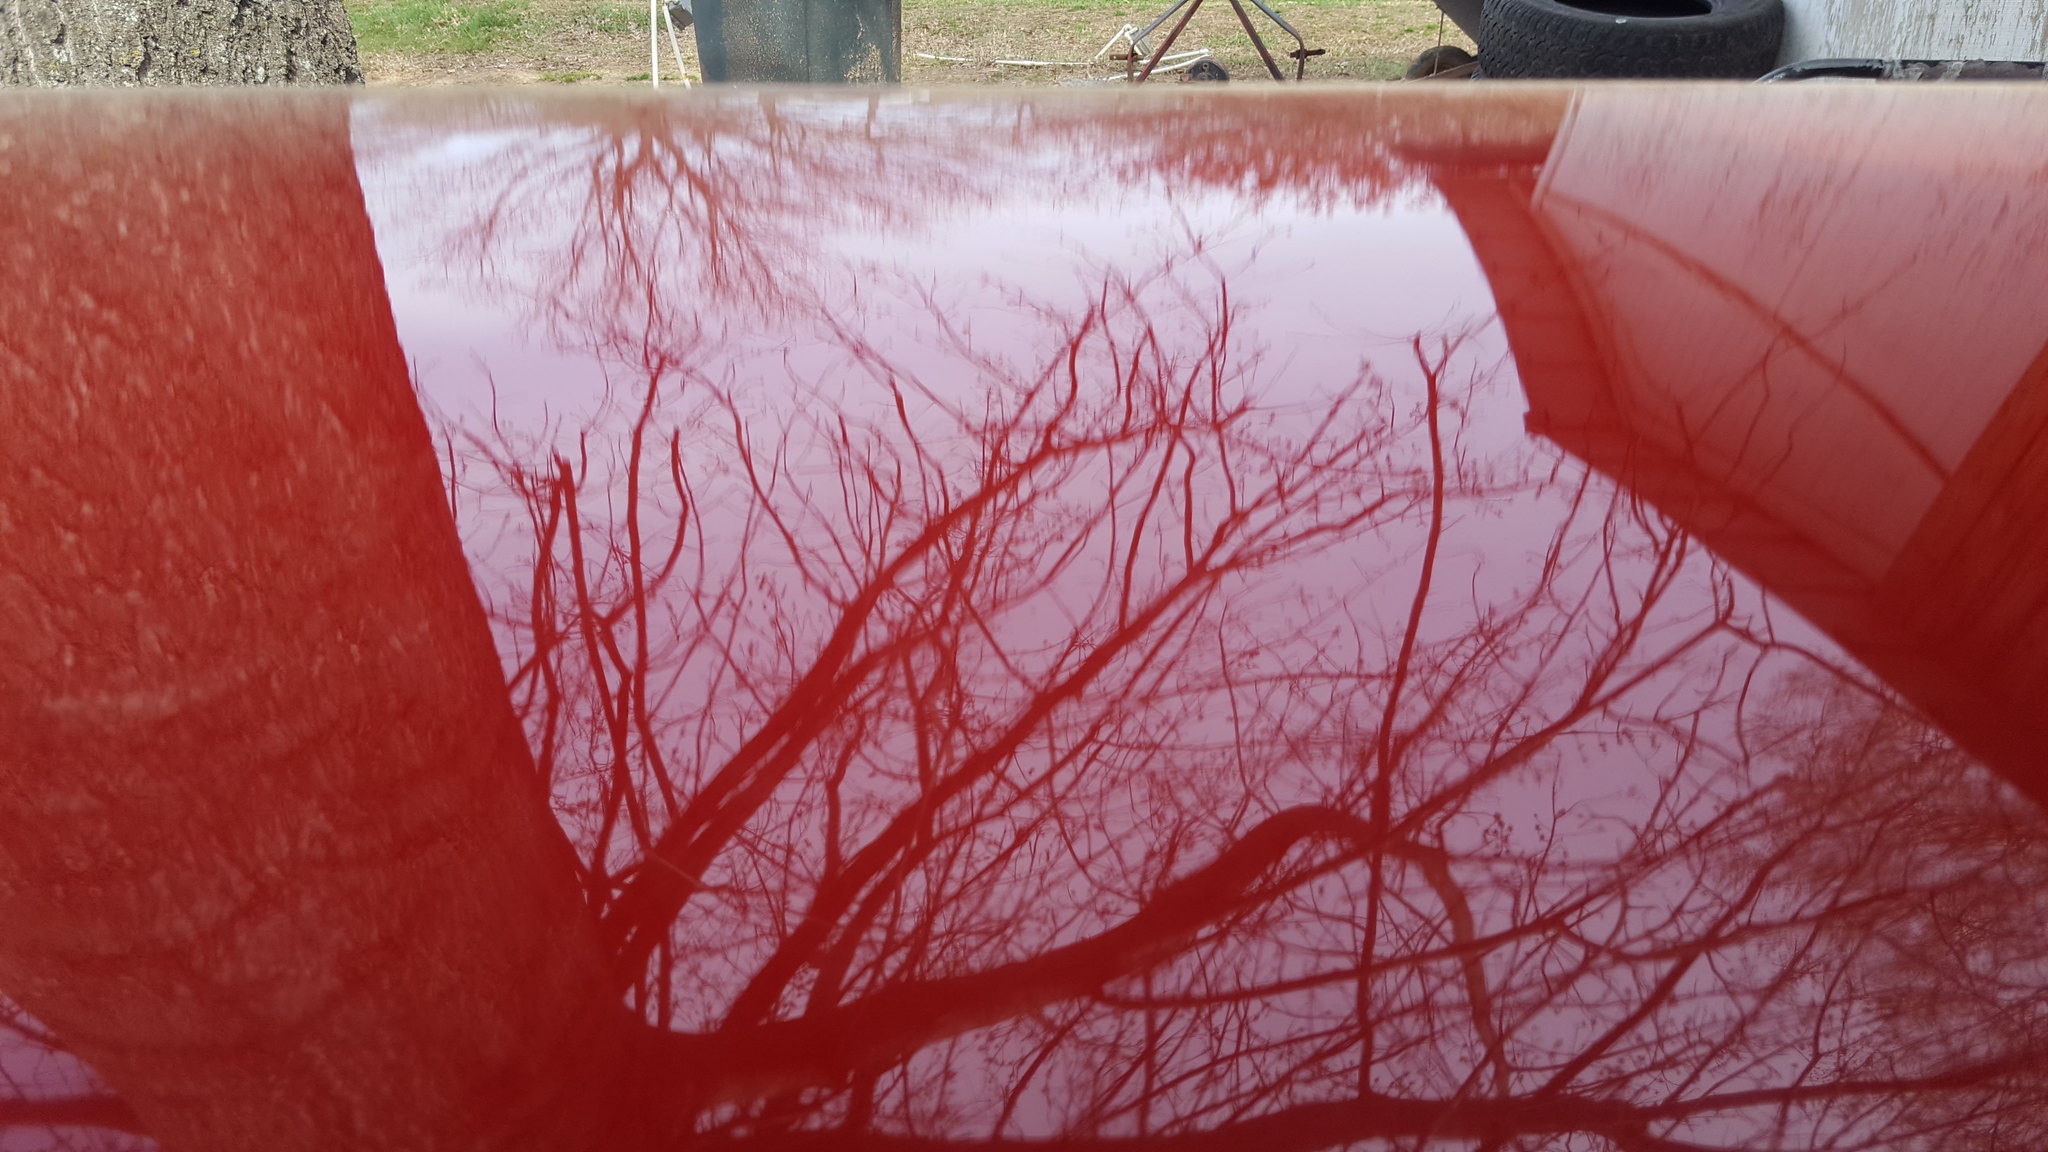 20180404_171309
 by
Michael Crawford, on Flickr