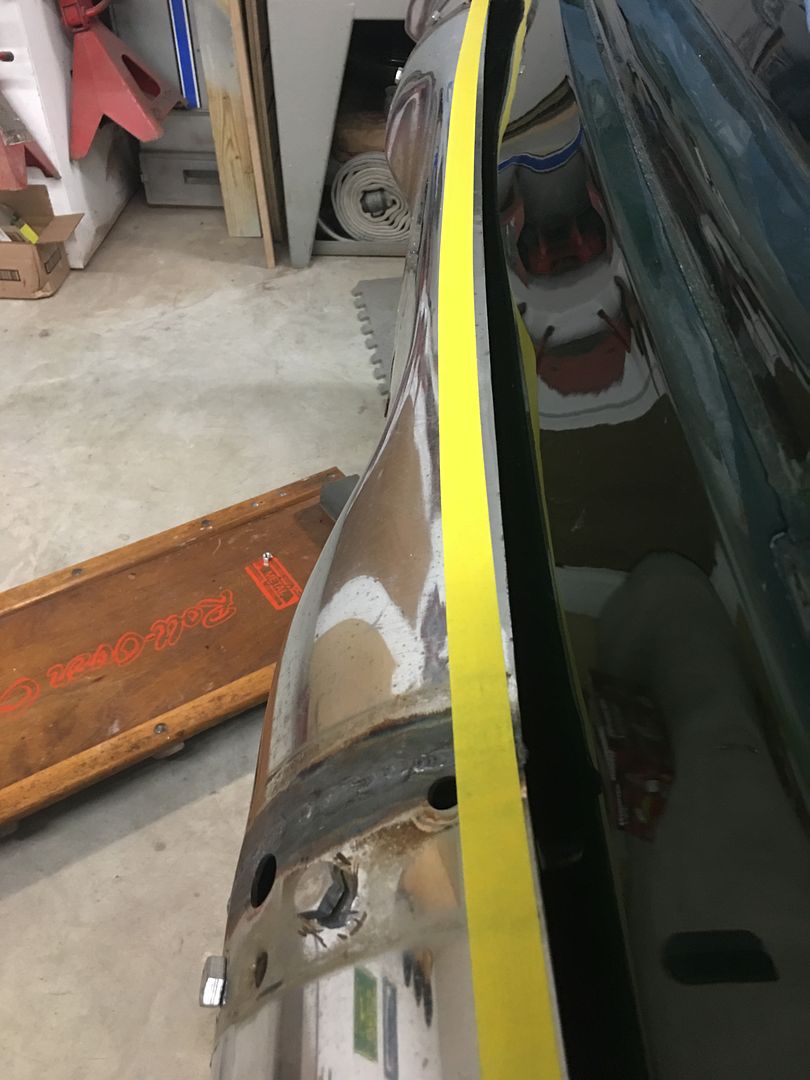
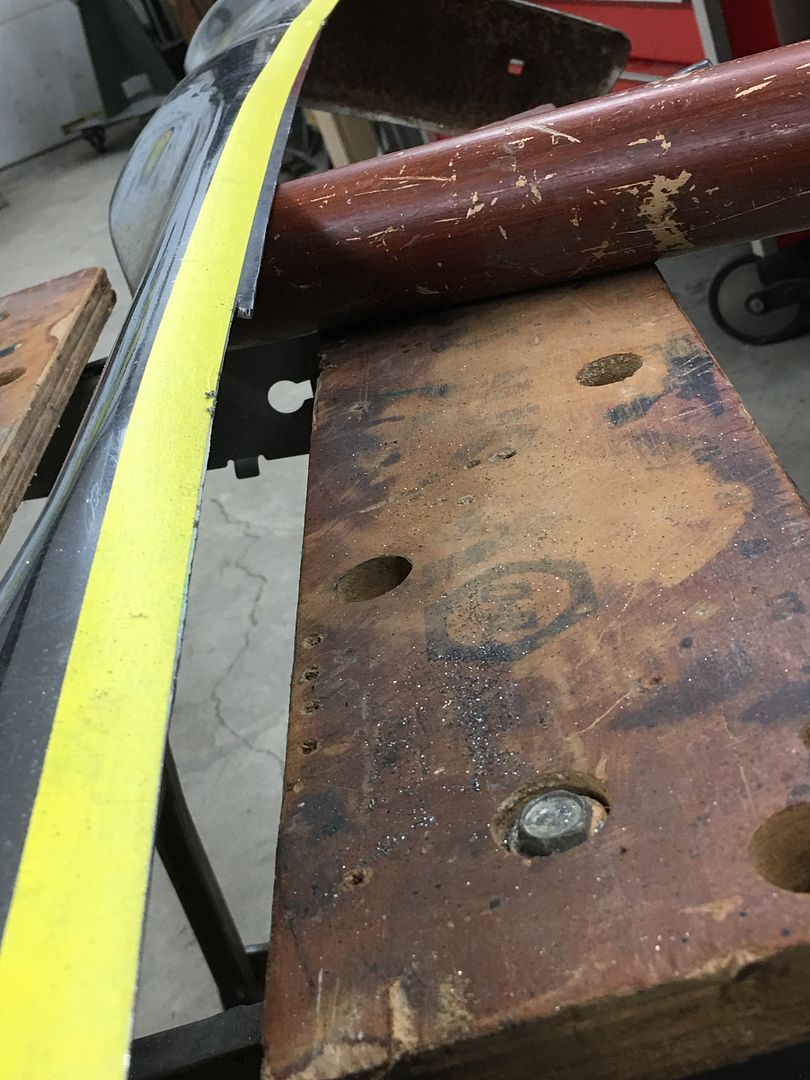
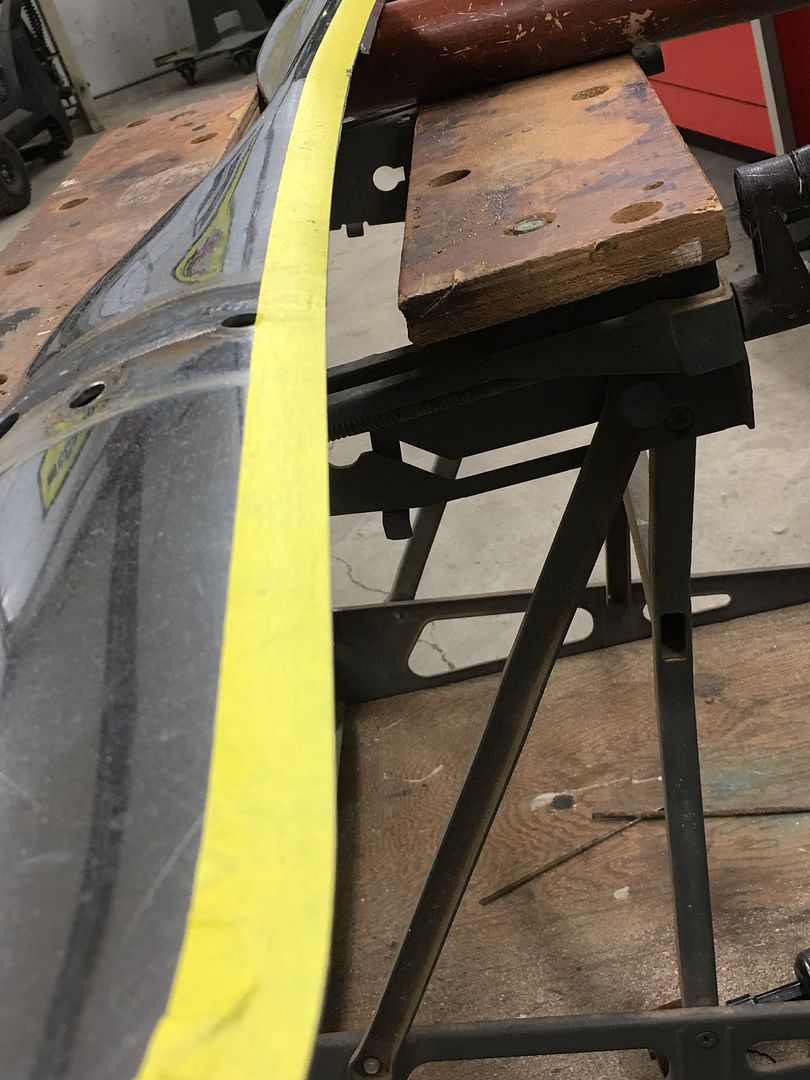
More progress on the wagon, more bumper action. Part of the problem with using three pieces to form the bumper with a nice wide bumper guard to hide the overlaps, is there is less of a smooth transition from end to end. So in using those individual parts to make a single bumper, we need to trim to correct this. While on the car, painters tape is used to lay out a smooth transition from end to end.
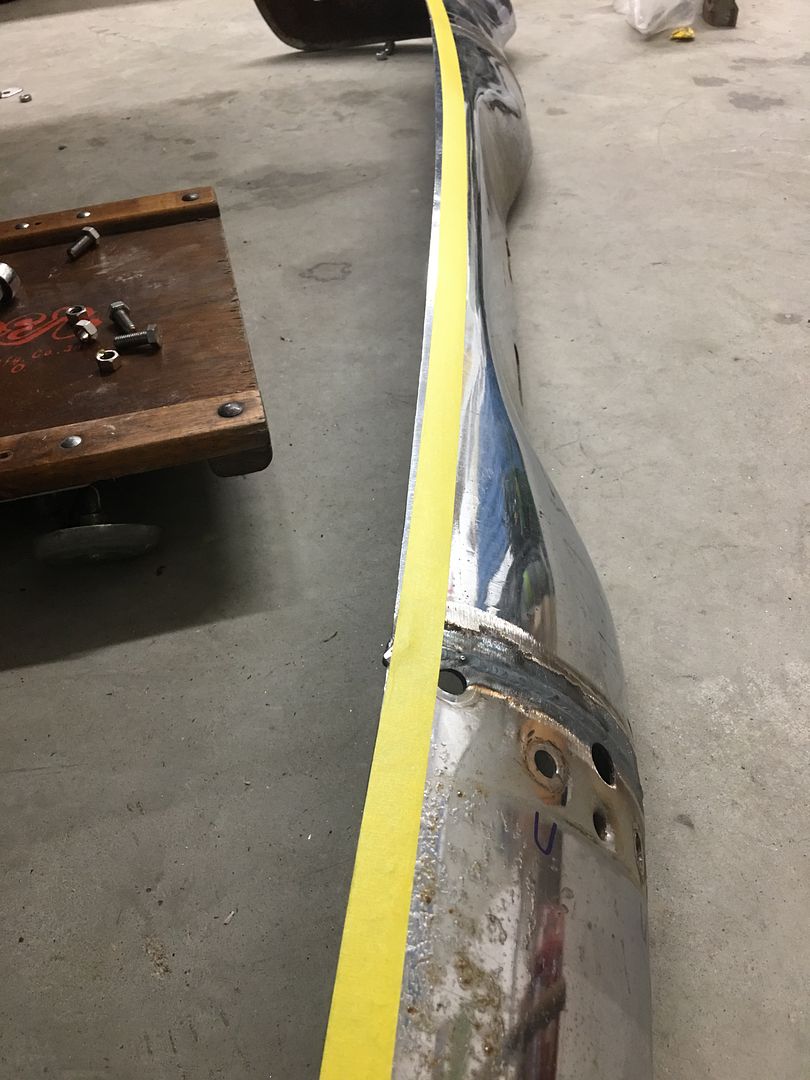
An air body saw is used to cut off the bulk and roloc sander for cleanup afterward...
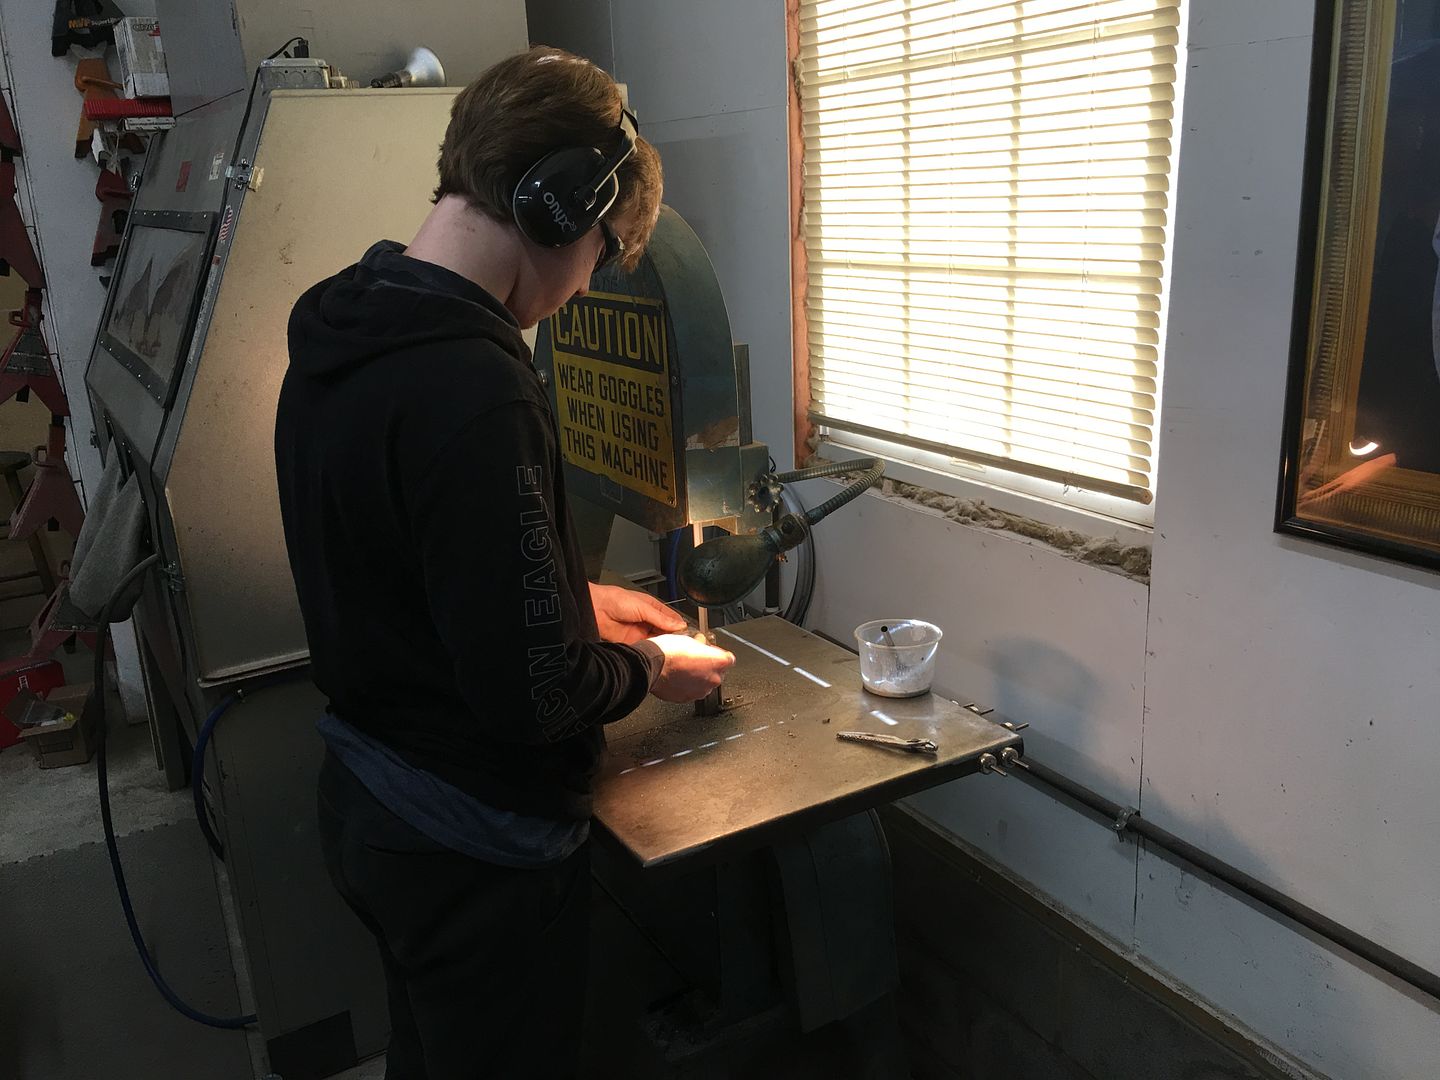
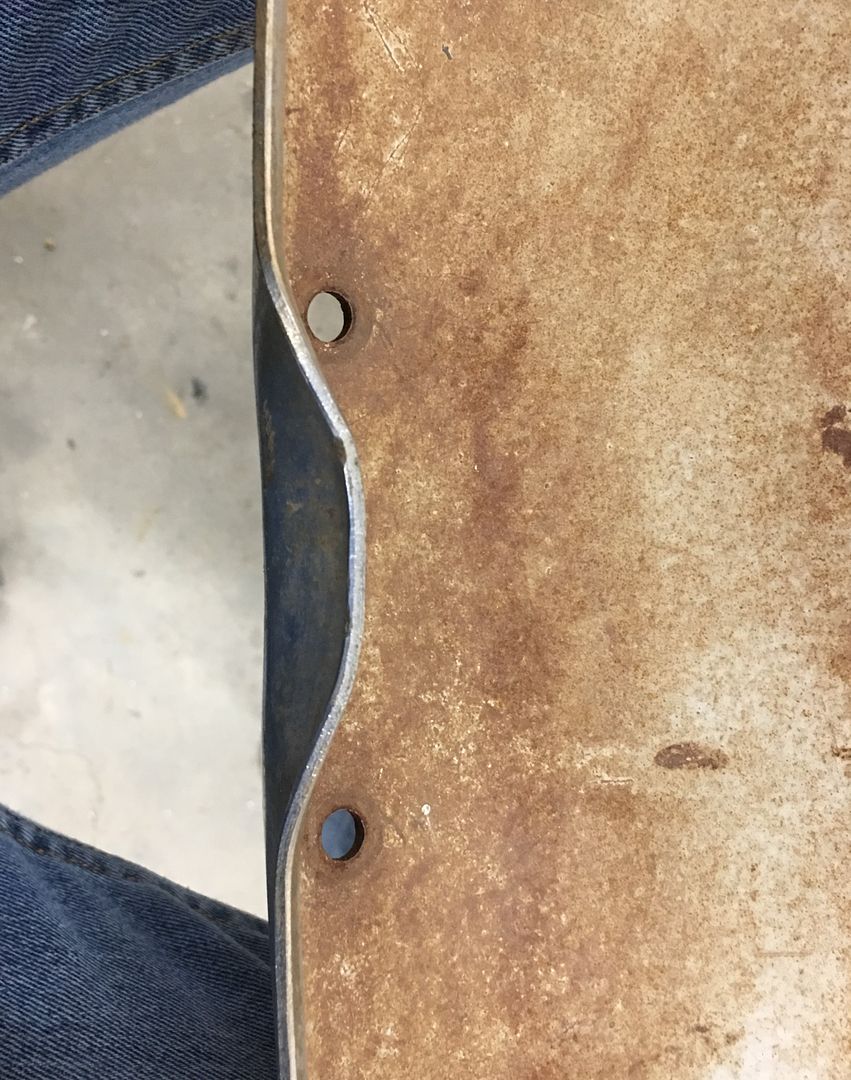
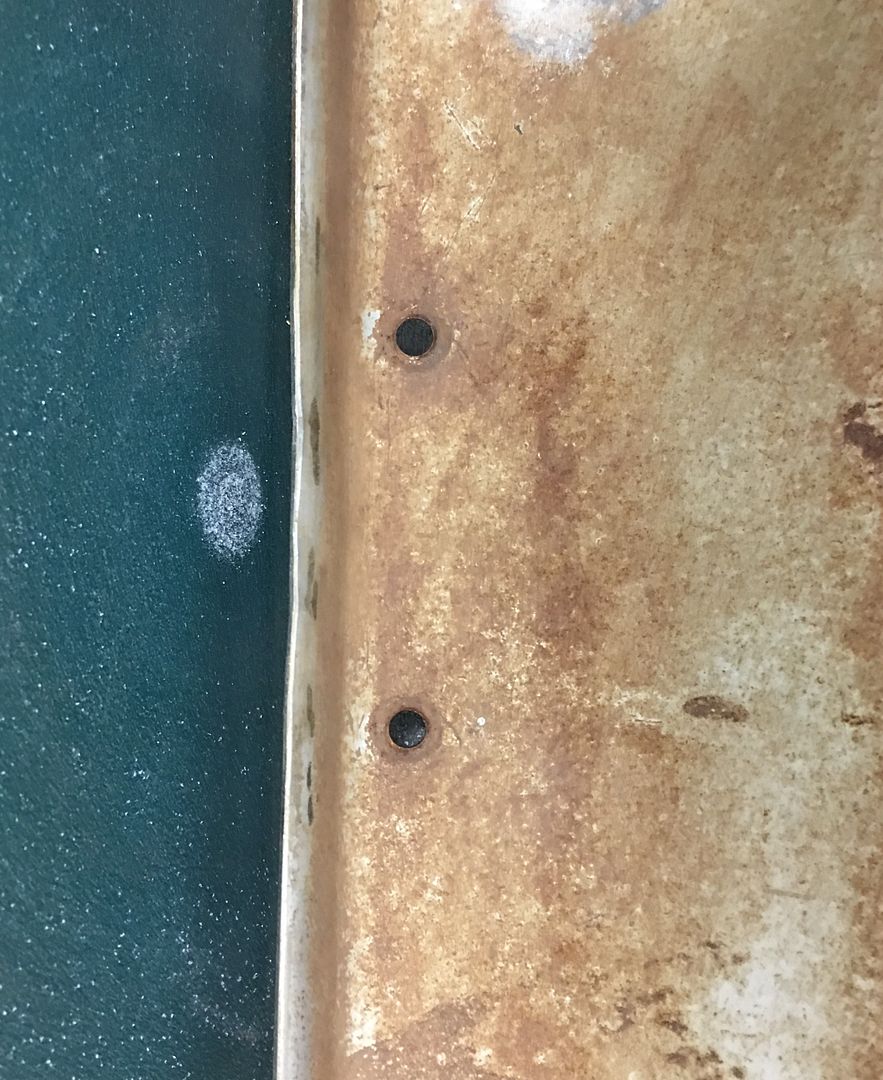
Jared has been helping out with the bumpers, here making tight fitting plugs to fill in the old bolt holes for a smooth look on the outside.
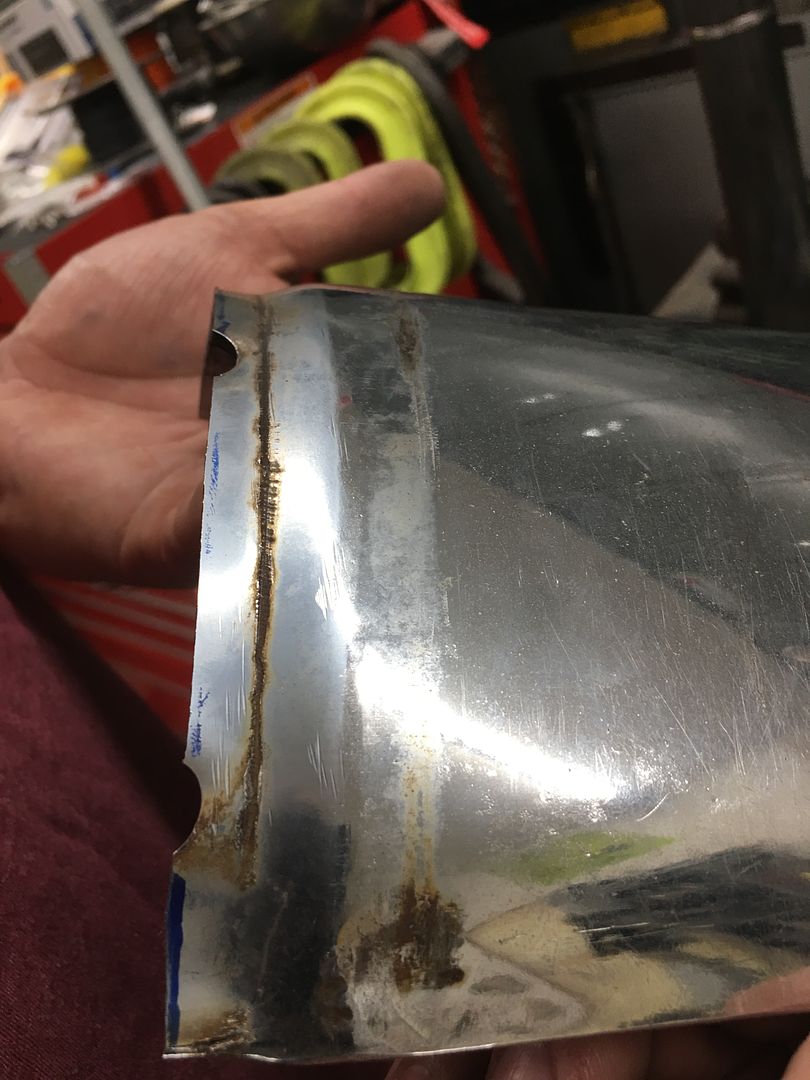
Our front bumper center section had a bit more damage to repair, the center section showed it had been used to pull/tow/?? in a previous life... As the car was pulled, it added some creases as the center pulled outward..
A bit of off-dolly with a rather large hammer and we're much better now.
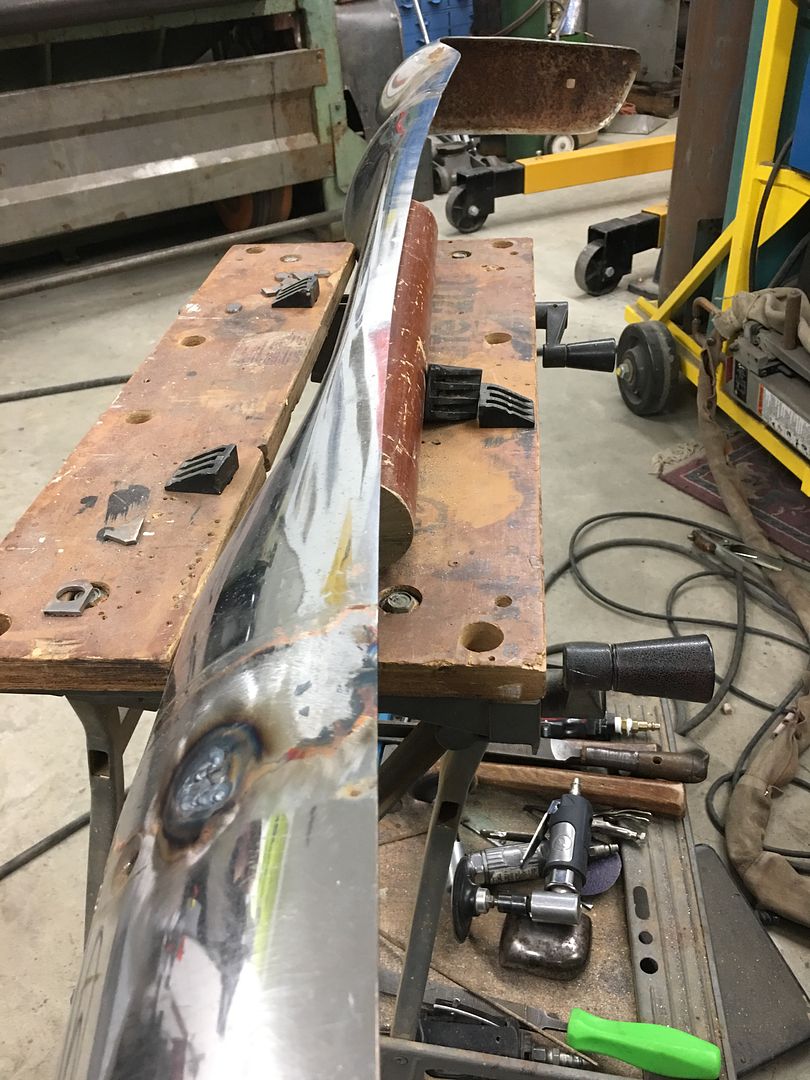
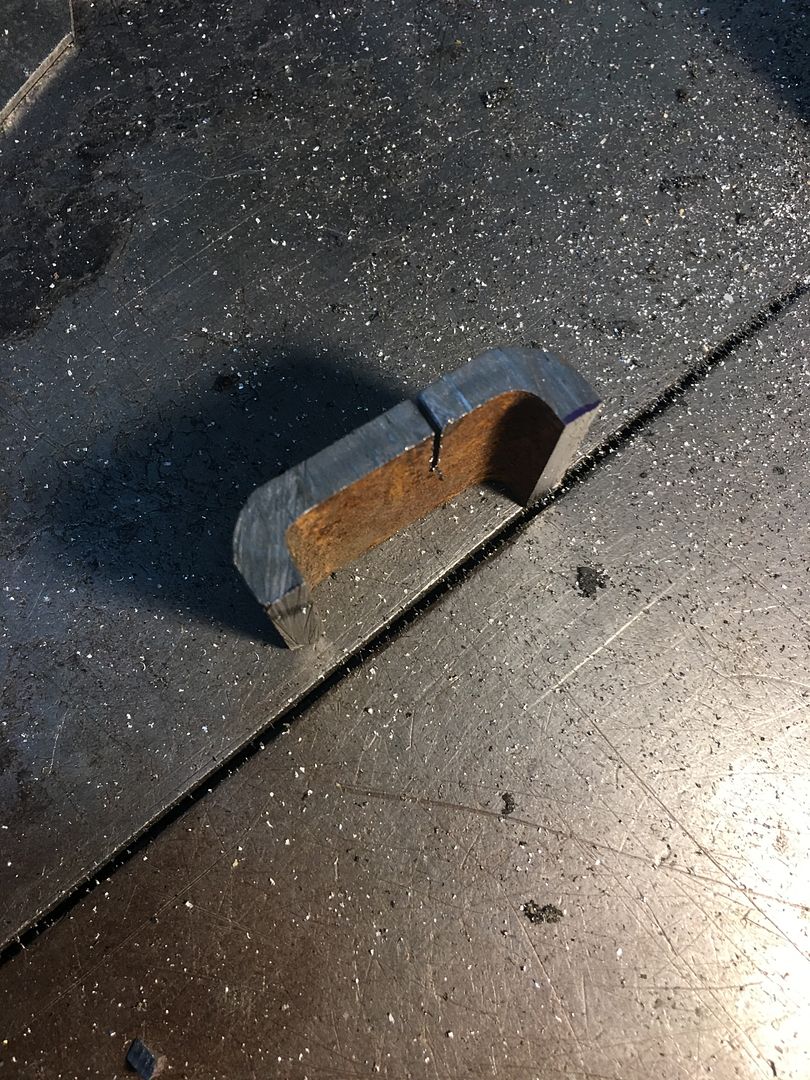
The center section also had a stepped flange on either end so the outer pieces would be flush when mounted. As we are making one-piece bumpers, the step is trimmed to length and the step is flattened using a precision flattening device..
Video version:
https://www.youtube.com/watch?v=DCuKjivvr7Q
Next, we wanted shaved fasteners but also still wanted some fine-tune adjustability. So that eliminates the old weld bolts on the back side caper.. Next option was a bracket that accepted the carriage bolt but also allowed some adjustment side to side. This design was graciously shared with us by Laszlo Nobi (aka Chevynut) as he had done on his 56 Nomad build (see here:
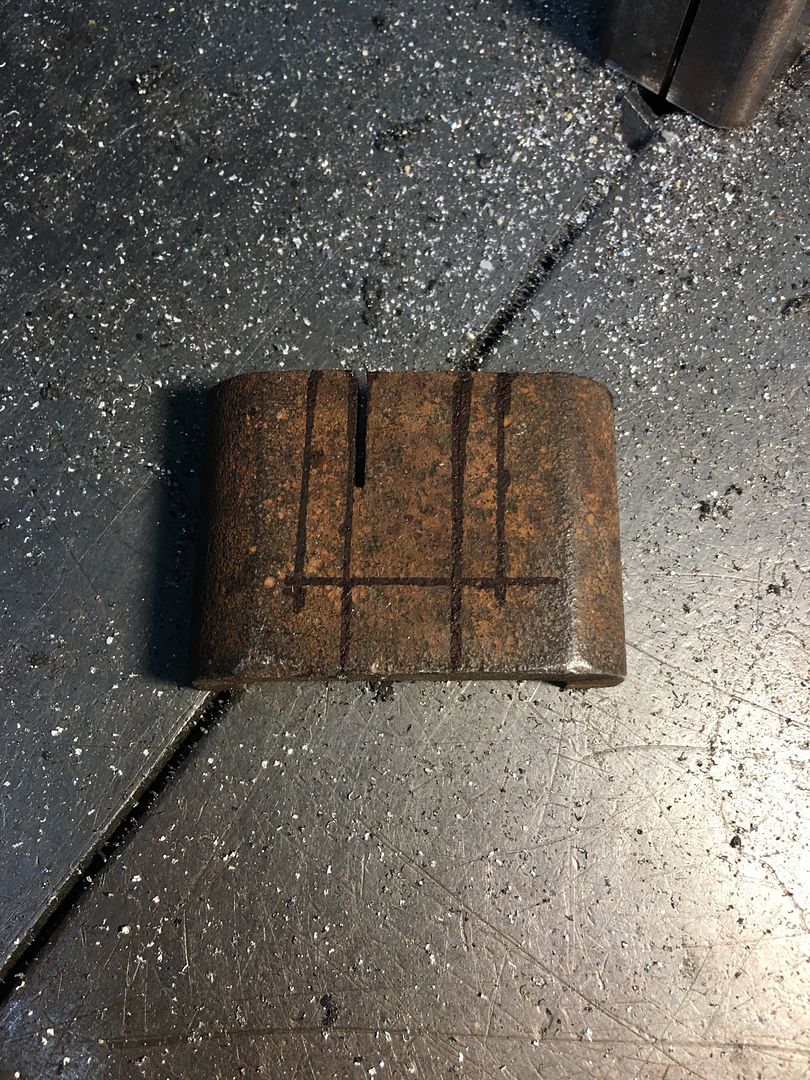
https://www.trifivechevys.com/showth...final-assembly ). So we started with 2 x 2 x 1/4" thick square tubing. The 1/4" thickness allows for the height of the "square" of the carriage bolt, and we cut down on the width to just enough for the carriage bolt diameter, both to minimize size of the bracket and also to minimize the tendency for the center of the bracket to pull outward.
Square tubing is cut to length and sliced and diced as shown...
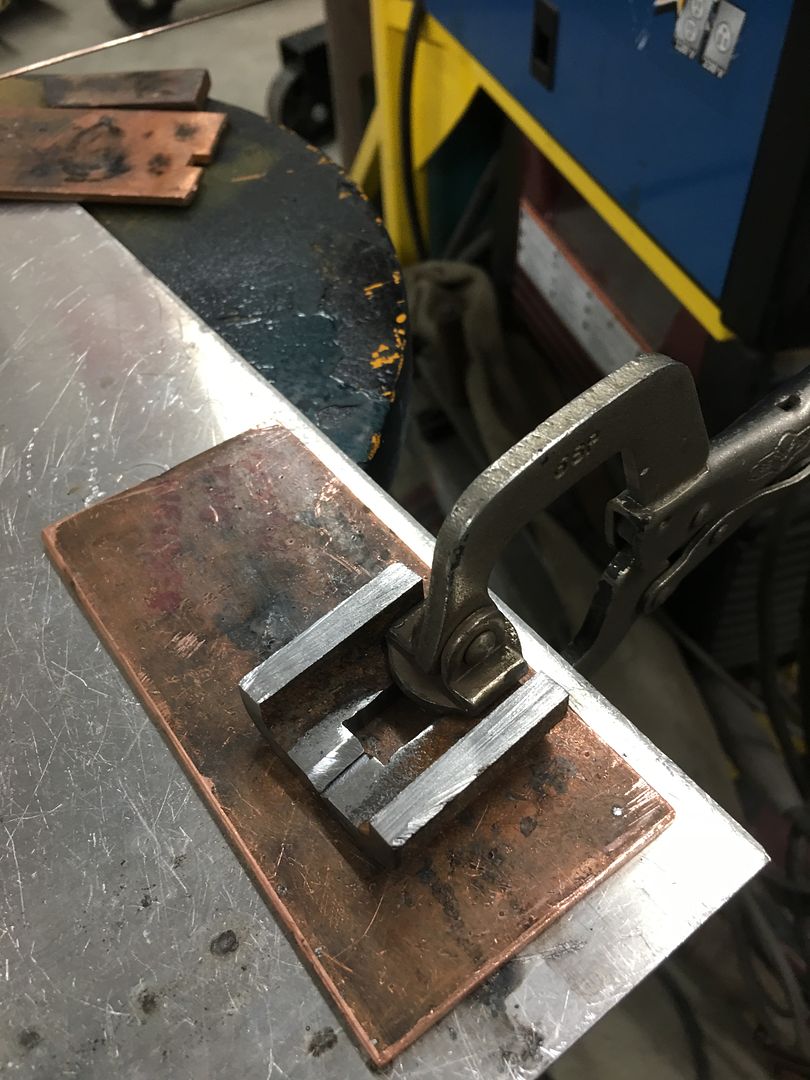
Adjacent parts are beveled to insure full penetration on the 1/4" thick material..
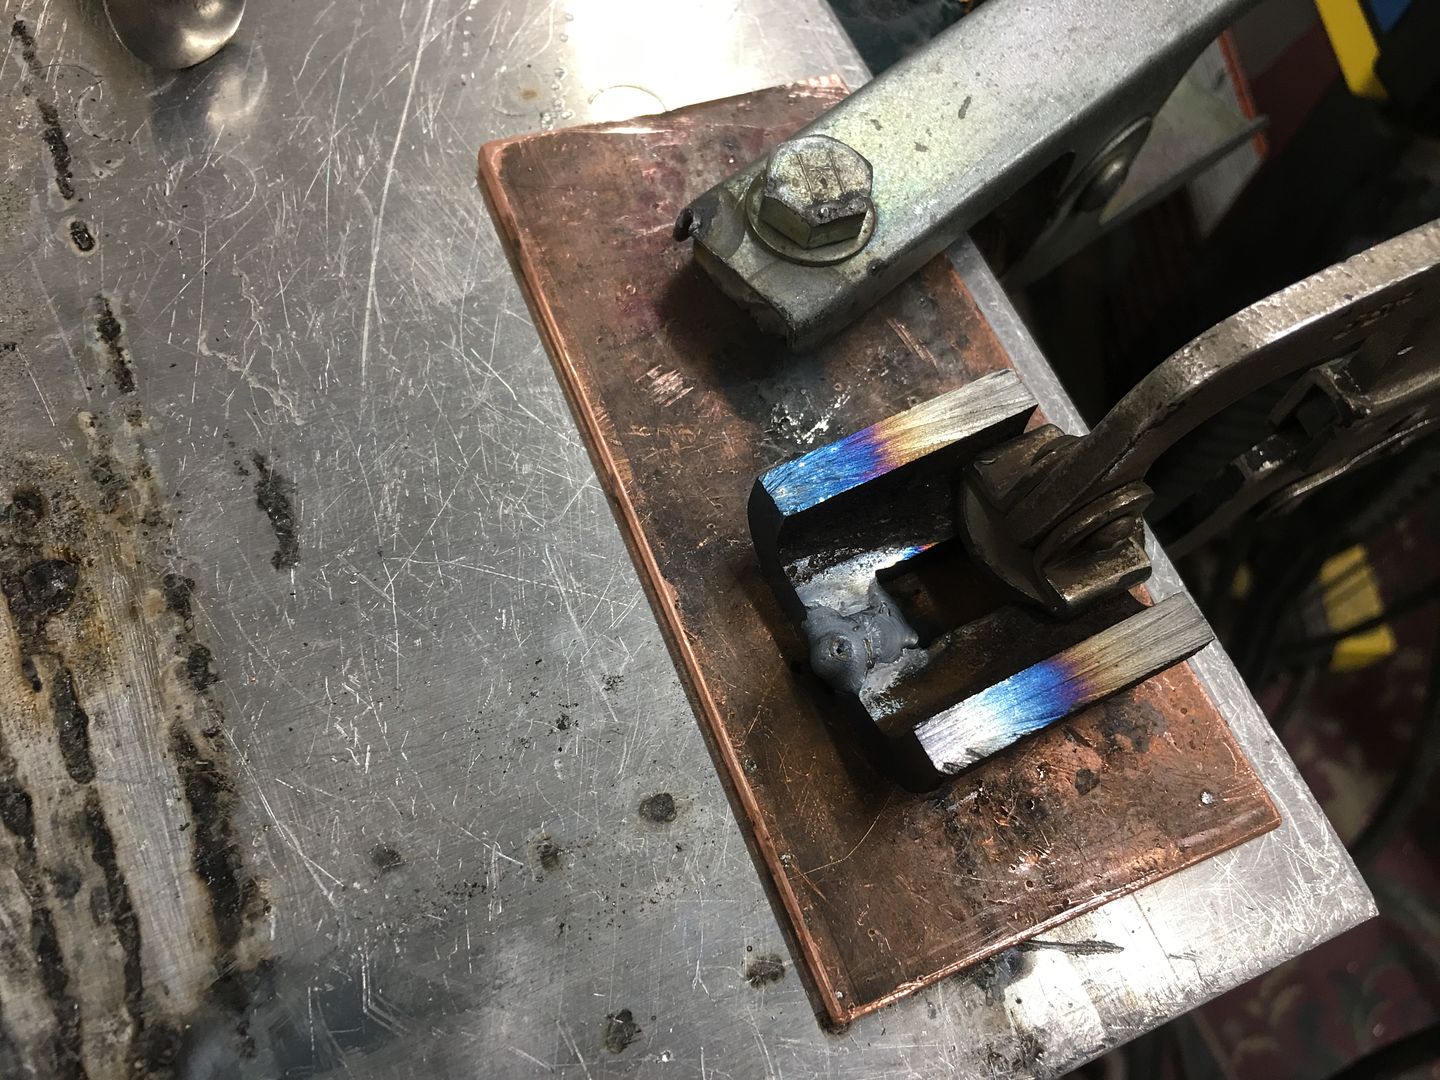
A 7/16 hex nut is used to maintain the 3/8 width so our weld does not close up the slot when the weld shrinks while cooling..
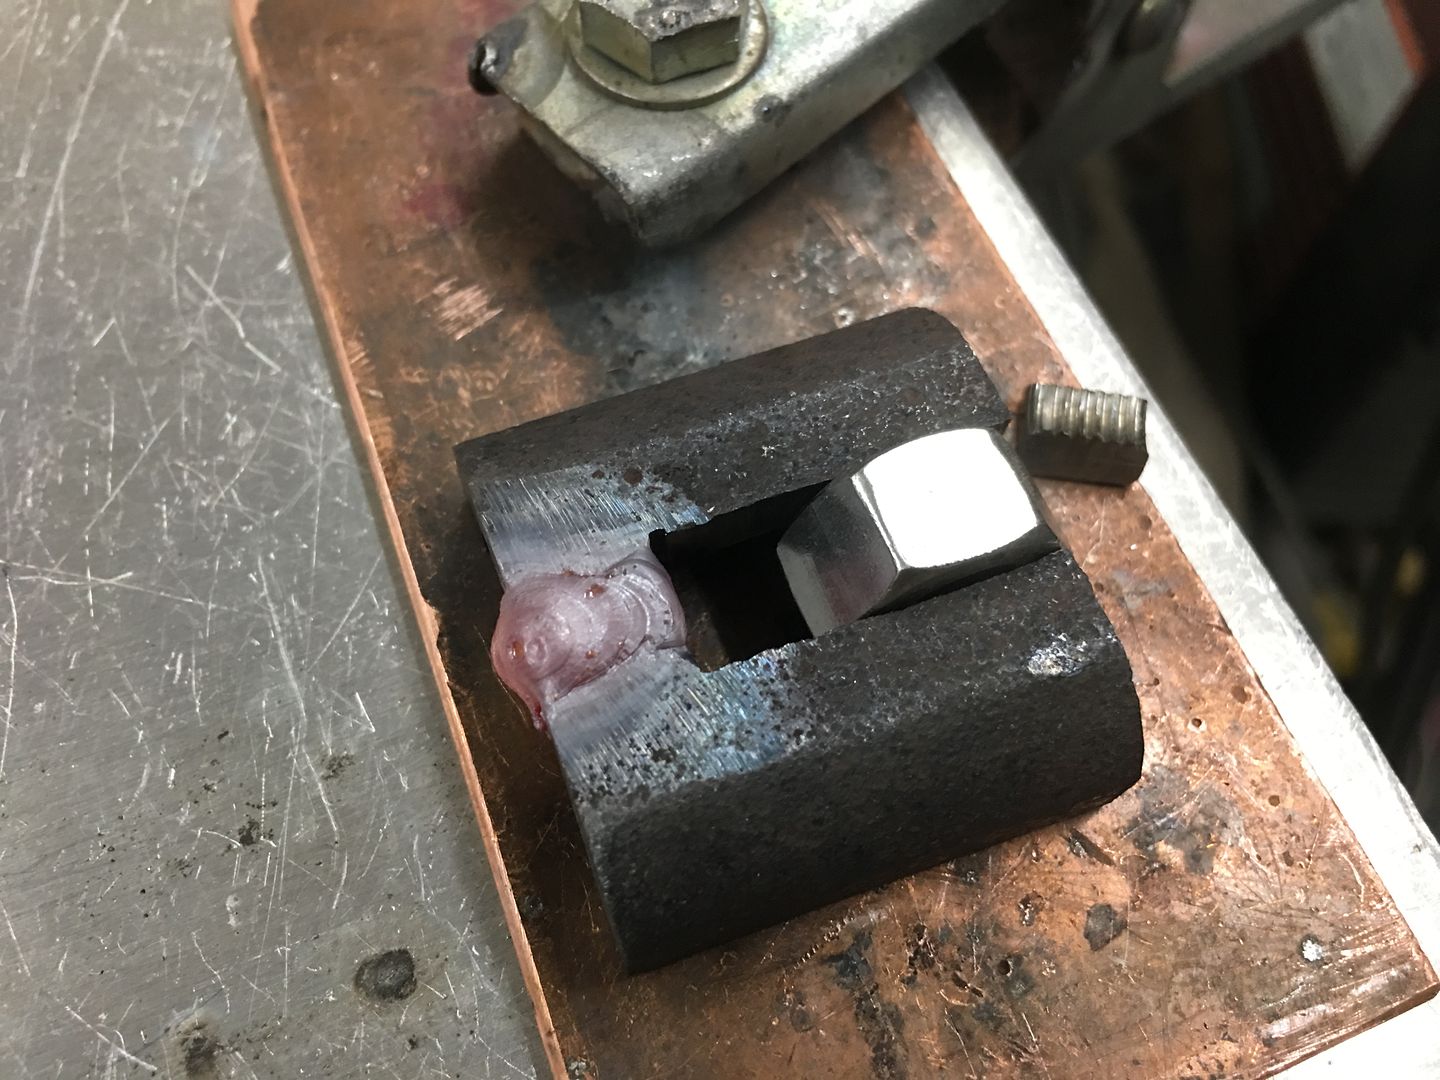
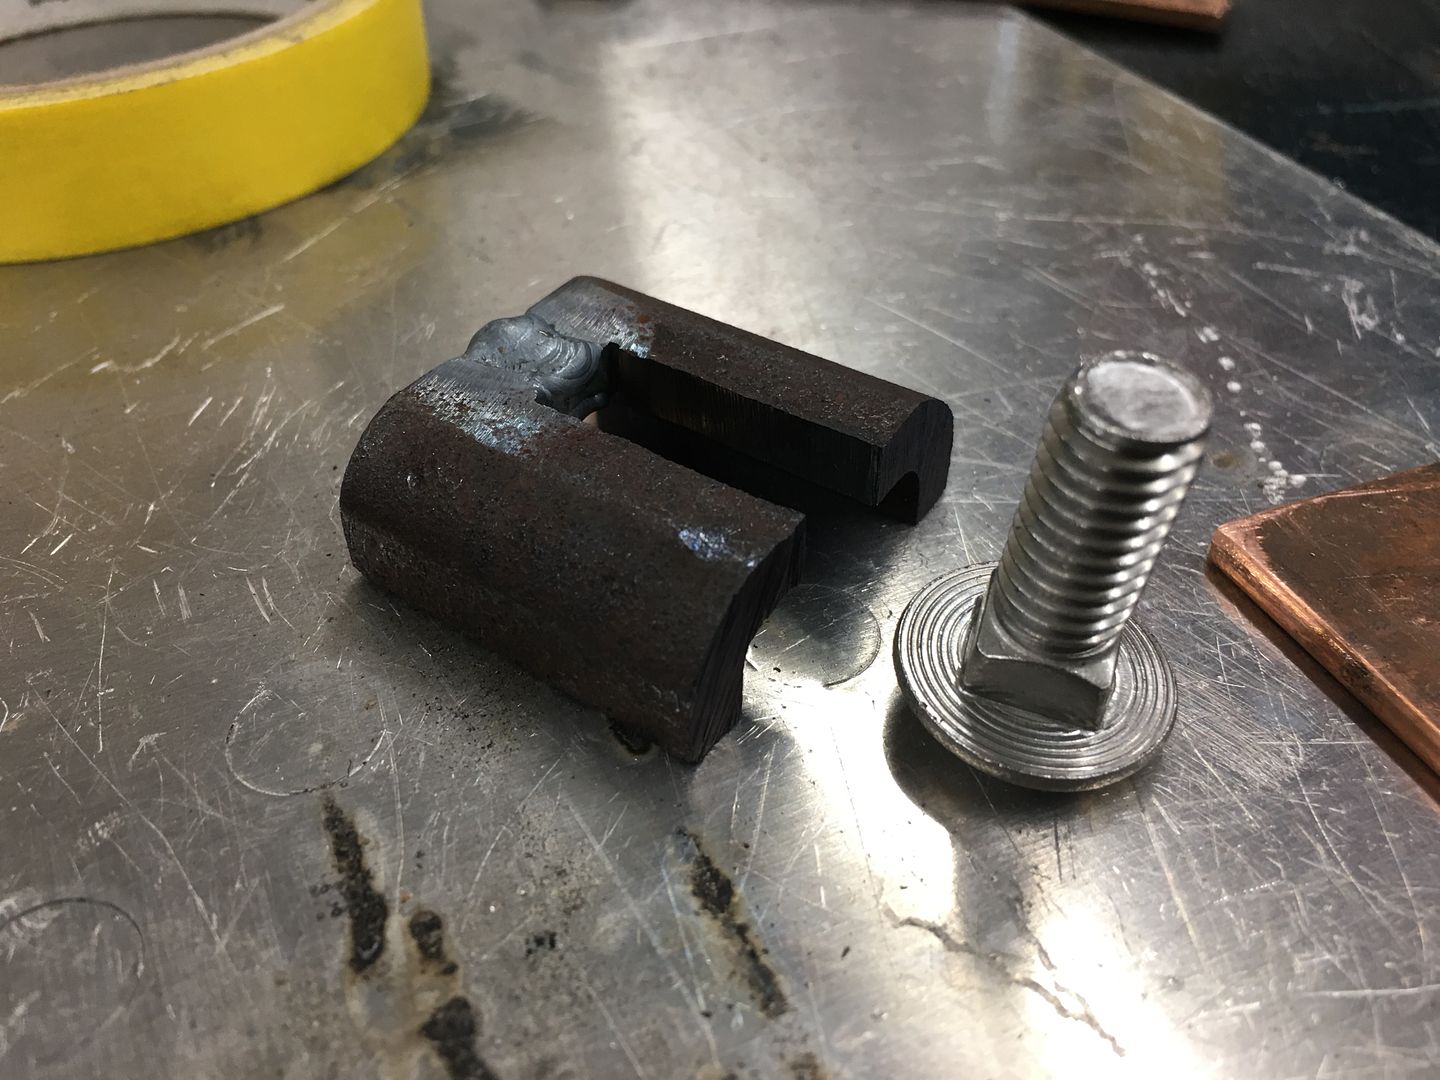
The part is then cleaned up, here is our finished part that will weld to the back side of the bumper...
https://www.youtube.com/watch?v=WFZePcoMK-U
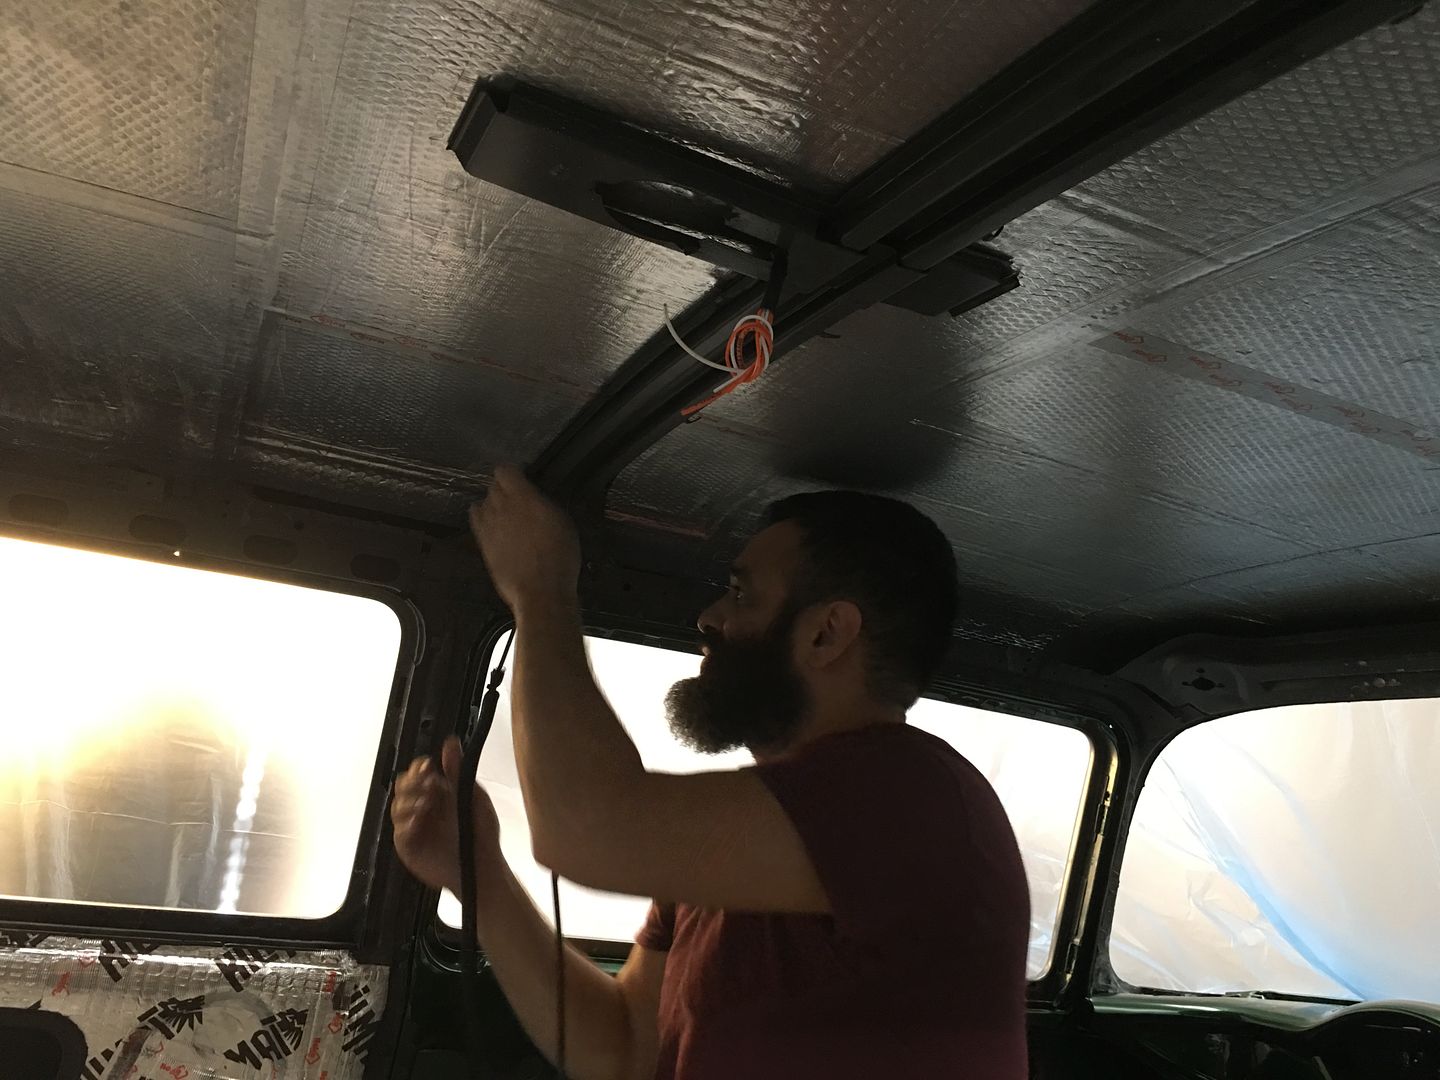
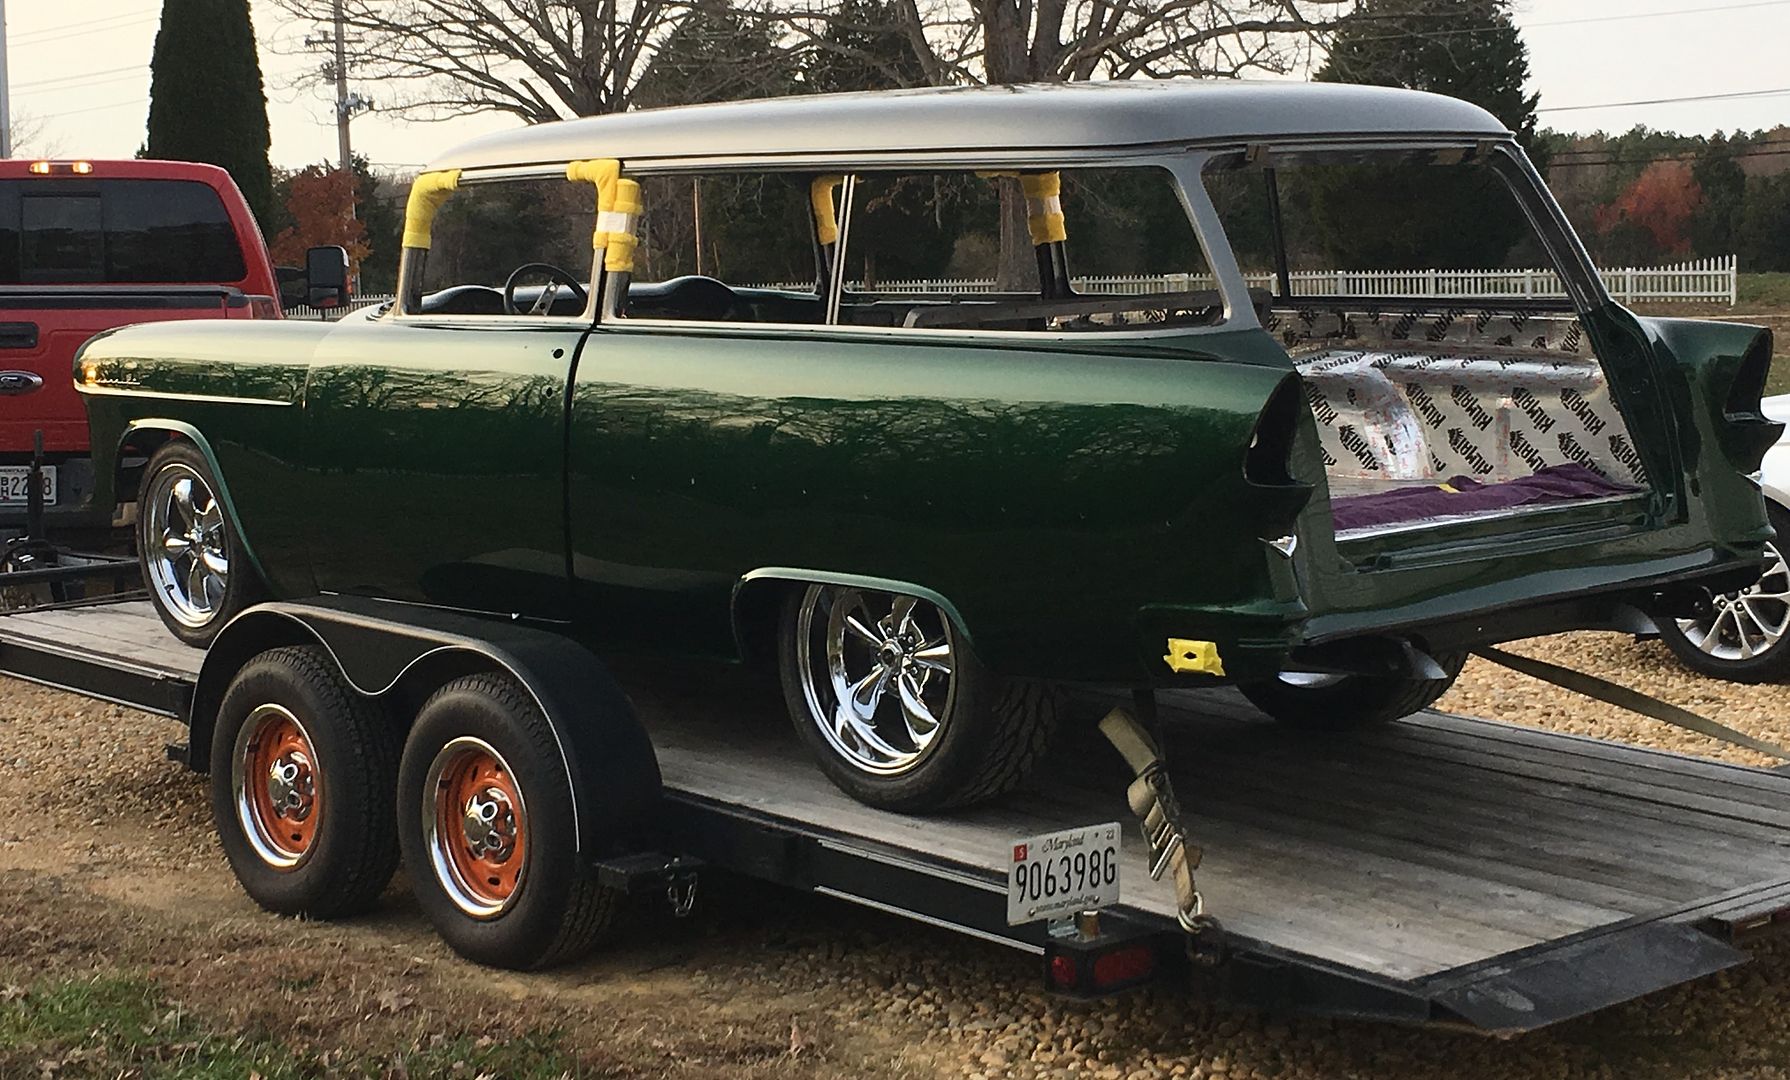
Meanwhile Mike has been working on electrical wiring, here getting the interior light wiring in place so we can load up and take to the upholsterer for headliner installation..