To feed that PDM, I needed a power feeding setup. If you recall from way back when, I mentioned I was going to install some studs so I could easily move the battery once I figure out where I want it. So here's the final solution. I still have some cleanup work to do, but this is good enough for testing and to get the engine fired up. I need to fab a new battery box/hold down as the current one over the years suffered from corrosion and was very thin in part. I wound up blowing the factory battery mount apart by drilling the spot welds out. The bottom was the only piece in bad shape. I'm currently thinking about getting one of these
pre-cut units and welding it to the factory side pieces.
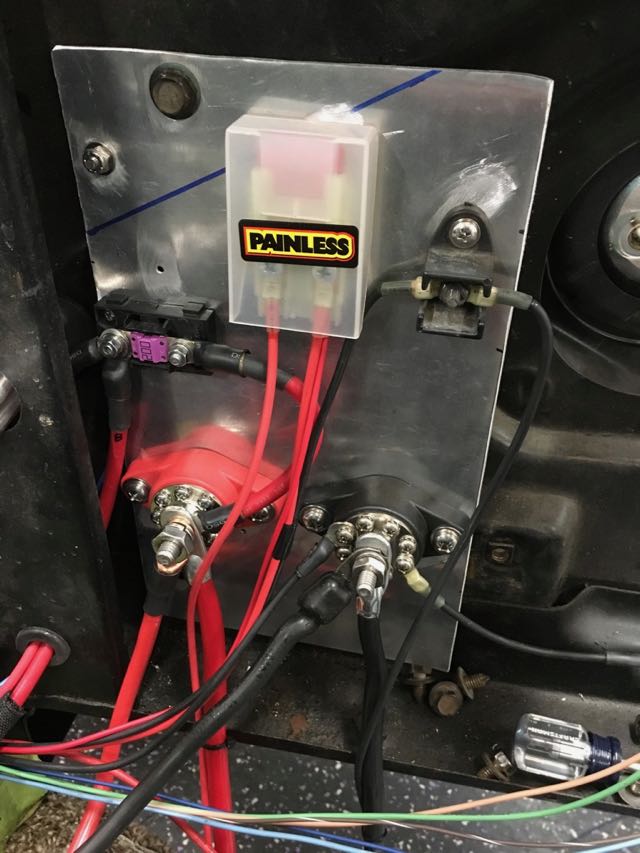
So here's the power feed board. There are two different power feeds here. The primary feed, which is the two large studs at the bottom, provide power to the fuse block and PDM as well as tie in the alternator. That circuit is protected by a 200 amp midi fuse. The other feed is the ECU feed. The ECU wants clean power. So to get clean power it needs to go straight to the battery. So that's the MAXI fuse up top. The MAXI provides power to the ECU and vintage air/Dakota digital controllers. It is a completely separate power circuit from everything, so the possibility of getting disrupting electrical transients should be minimized. Looks a little messy because I do plan to either paint or polish that aluminum backing plate so it will come apart shortly after I get the engine fired up. Plus found out my engine ground is too short if I put my inner fender in, but that's an easy fix.
I also got the transmission harness redone. Going to EFI, I'm letting the ECU control the bits of the trans it can control, which in this case is the torque converter clutch. But, I had to re-wire the guts and redo the harness to send the 4th gear signal to the ECU and so forth. It's also got my speedo tied in.
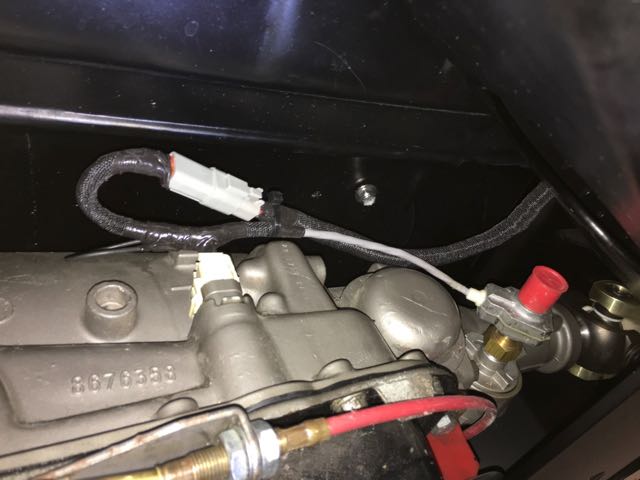
And the last harness to make was the fuel tank. Here it is. I may wind up dropping the tank so I can put a cable clamp down in there to keep the connector from beating itself up. Overall I'm pretty happy with how the electrical is turning out.
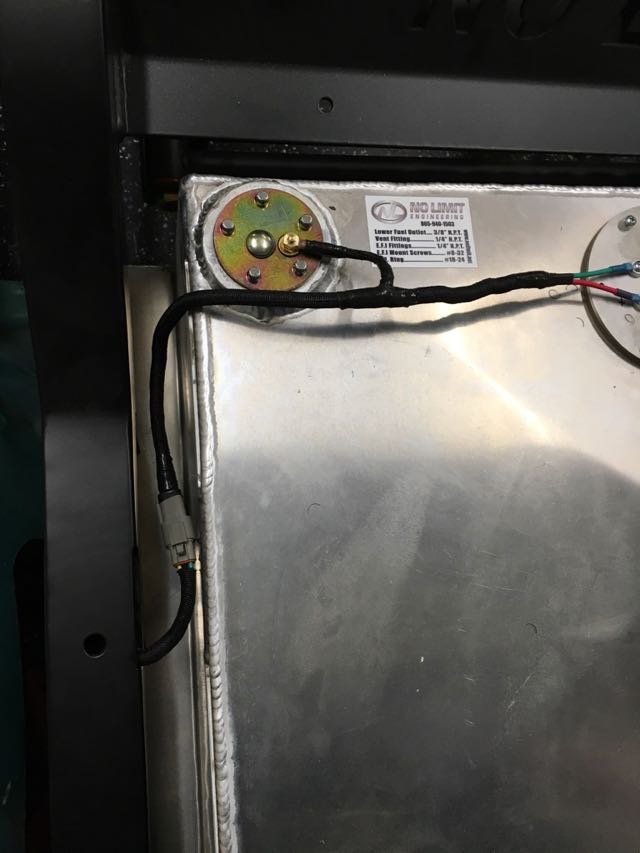
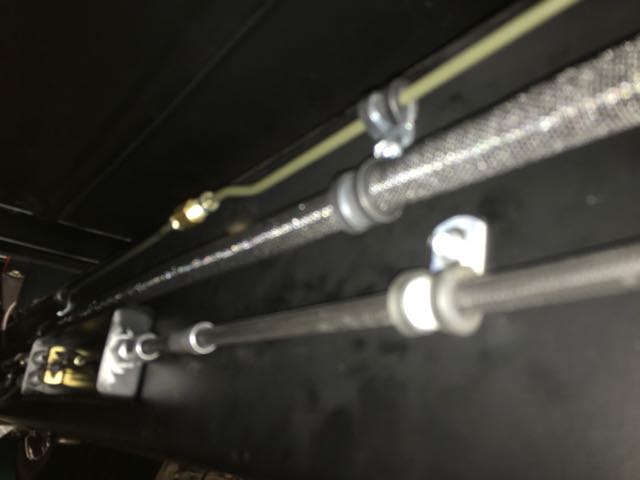
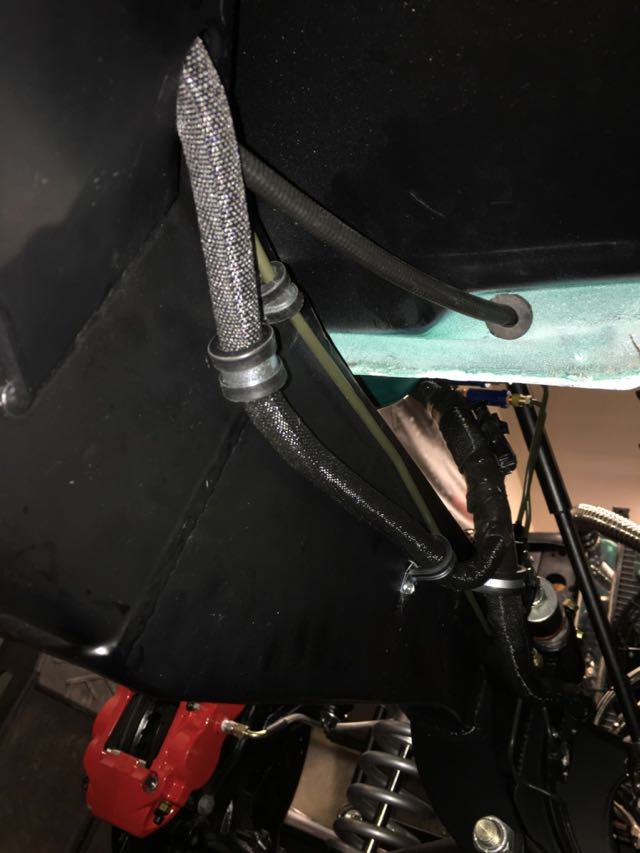
A couple shots just showing some more of the routing. I'm using the Painless Performance Classic Braid to cover everything up. I really like the look of it and it seems to almost look OEM like. Or maybe that's my OCD. Ha!