While building my tach dash, I was fortunate enough to have a spare set of tach tins which allowed to media blast and repaint them to match the original colors. If you do not have a spare set of tins, simply follow the steps listed below, blast the tins, repaint, and begin the assembly.
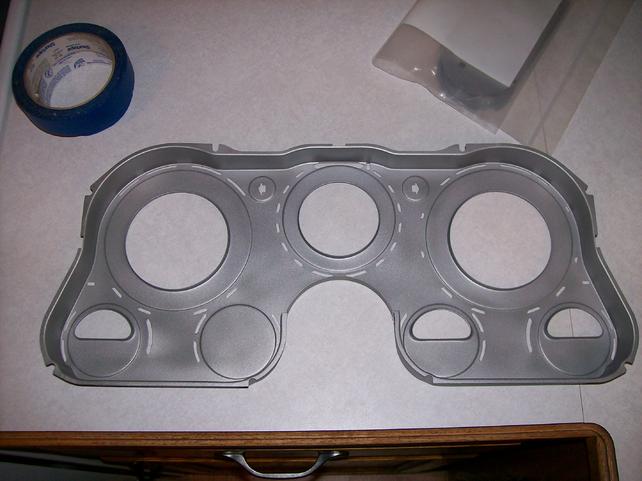
Here's a few shots of what the tins looked like when I started taking apart the dash, and how they looked following a quick media blast and a quick tape and repaint.

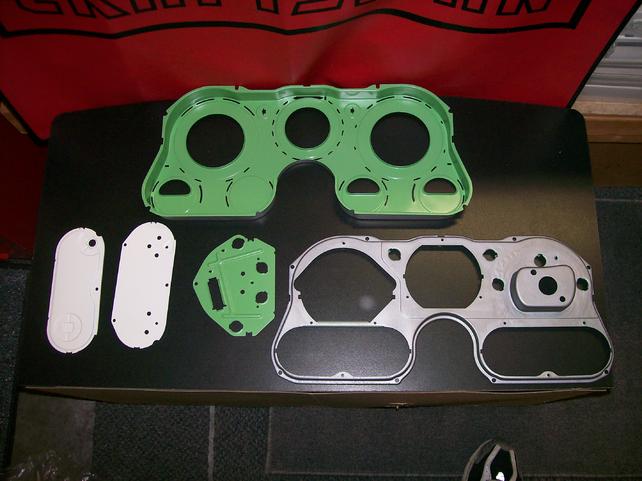
The tins need to be painted as follows:
Front Tin:
Semi Gloss Black - Front
Summer Leaf - Rear
Rear Tin:
Summer Leaf - Front
Clear Flat - Rear
Speedometer Tin:
Summer Leaf - Front
Clear Flat - Rear
Ammeter/Oil Pressure/Temp Tins:
Flat White - Front
Clear Flat - Rear
The benefit of have a spare set of tins is that upon tear down of the original dash, a simple bolt and rebolt process can be done from the old tins to the new ones.