Quote:
Originally Posted by Lugnutz65

It's not you. Notice that some pics from other folks (mine for instance) are still there. Astronaut must have accidently moved his pics or messed up his account. Don't worry, he'll fix it.
|
Just making sure it was not me.
I was able to complete my project for this. I did not do a full out restoration but rather just touched mine up a bunch. When I get my new motor complete I will start my miles back to zero and actually put the new sticker numbers and letters on.
For this go around I did the following;
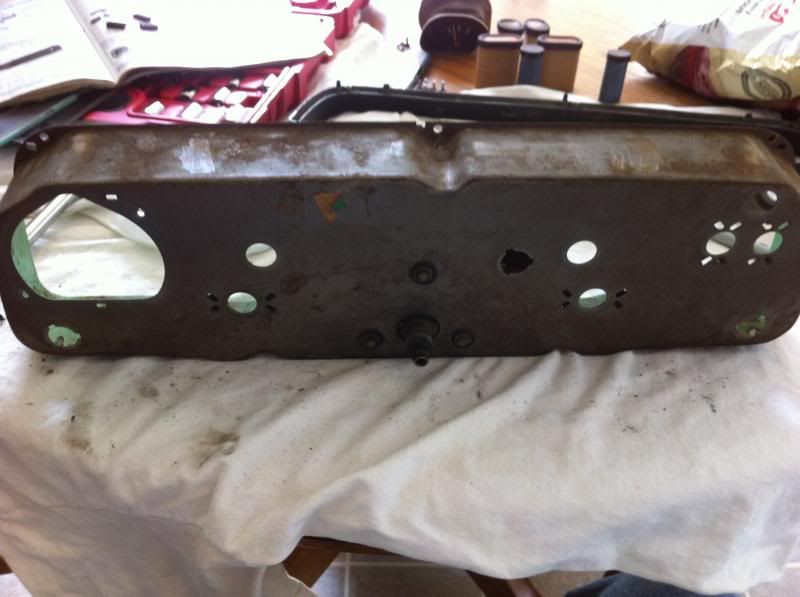
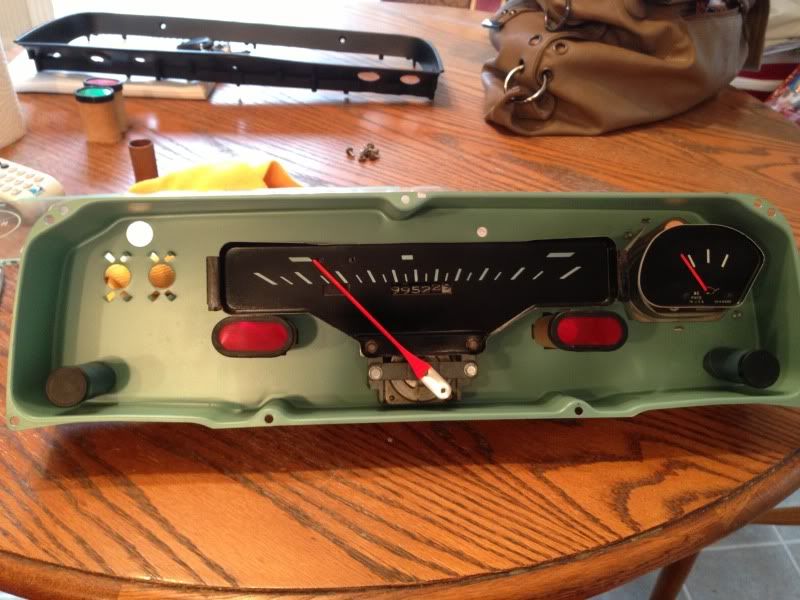
Took apart and cleaned.
Wiped down the speedo and gas gauge.
Daughter took the model paint and repainted the speedo and gas needle.
Painted the bezel
Painted the interior and exterior of the encasement
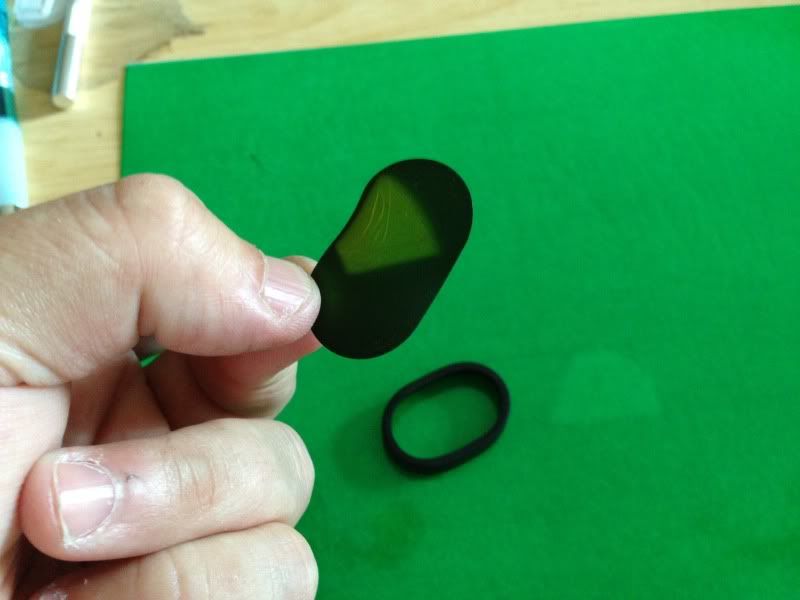
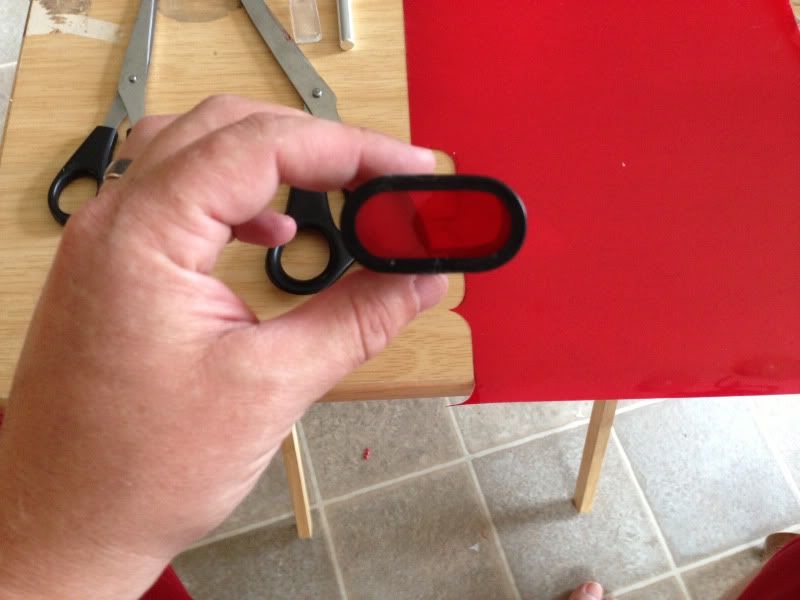
Painted the black/green door/window piece. (not sure what its called....the piece that the glass sits on top of).
Redone all of the red/green light parts
Cleaned up the lens the best I could. It was pretty rough with overspray and scratches. I think it done okay for now. Again, when I get my new motor ready I will replace the lens, bezel, and actual speedo and gas gauge faces.
Thank you very much for this thread to help a newbie like myself have the confidence to tackle this.
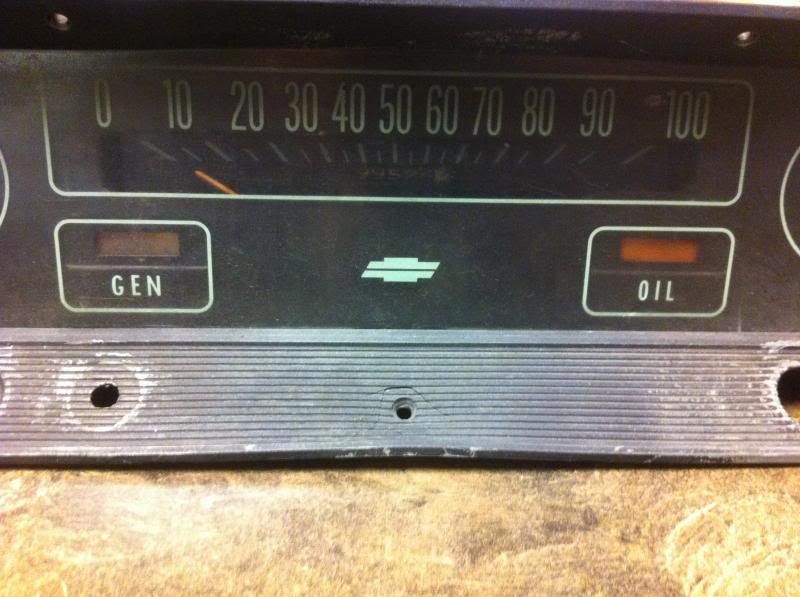
Here are a few pictures.
When I first took it apart
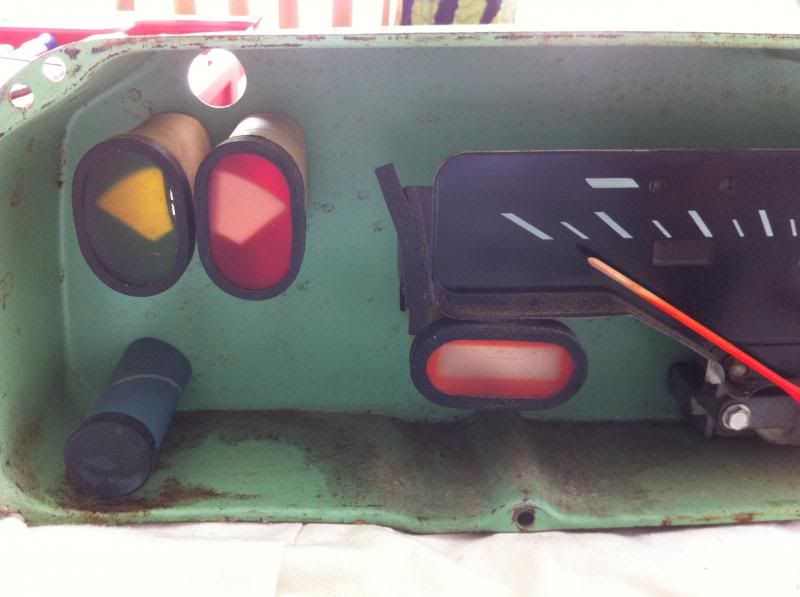
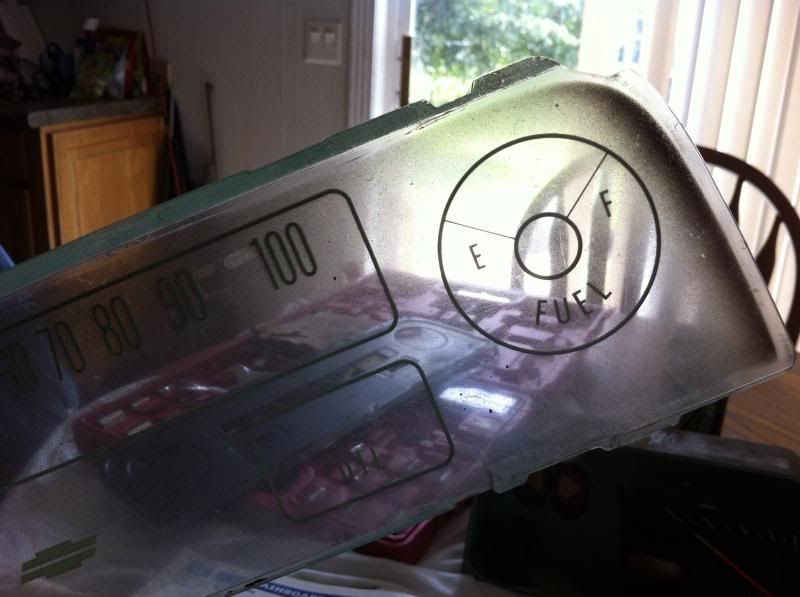
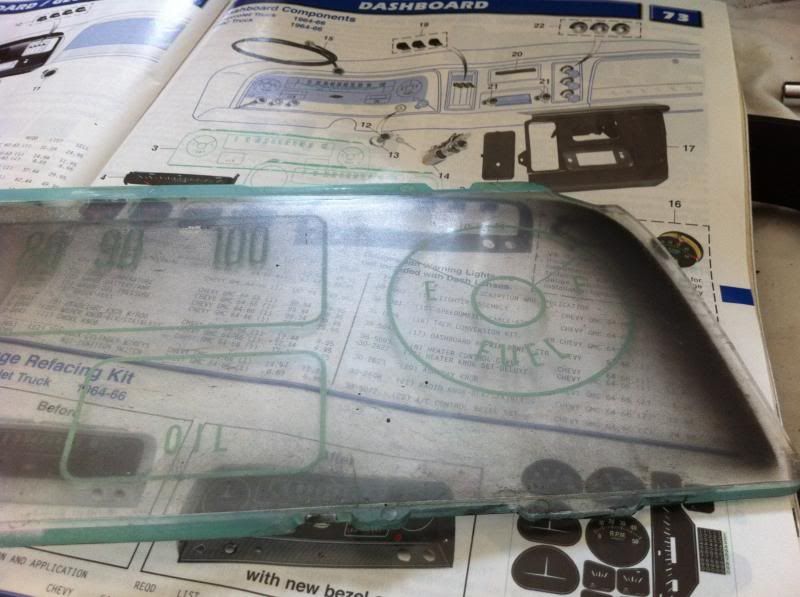
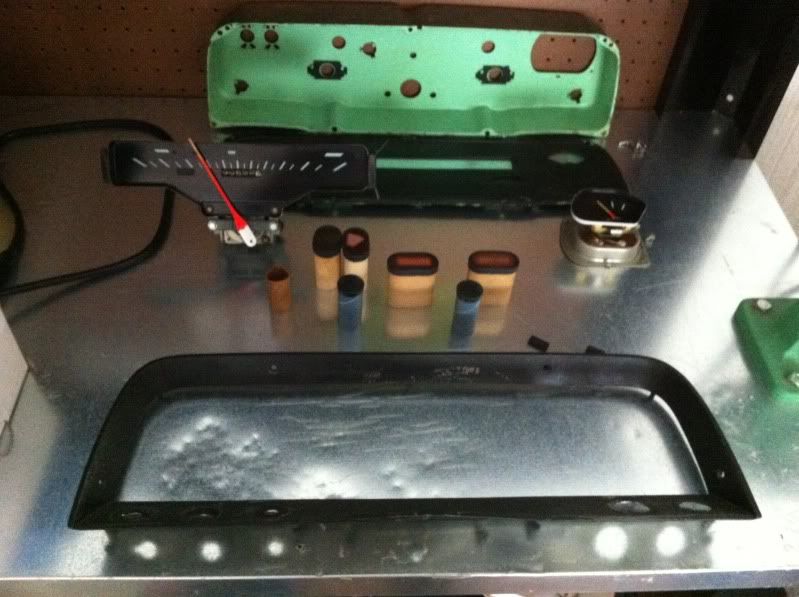
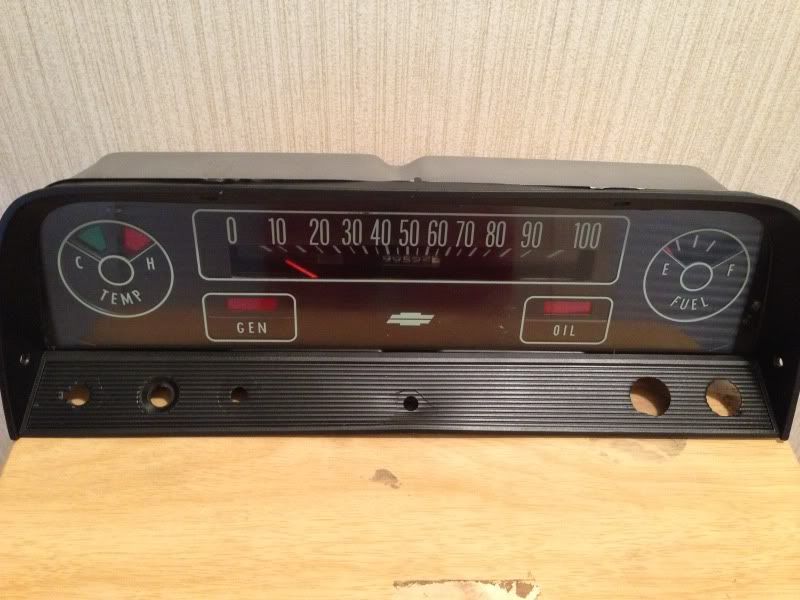
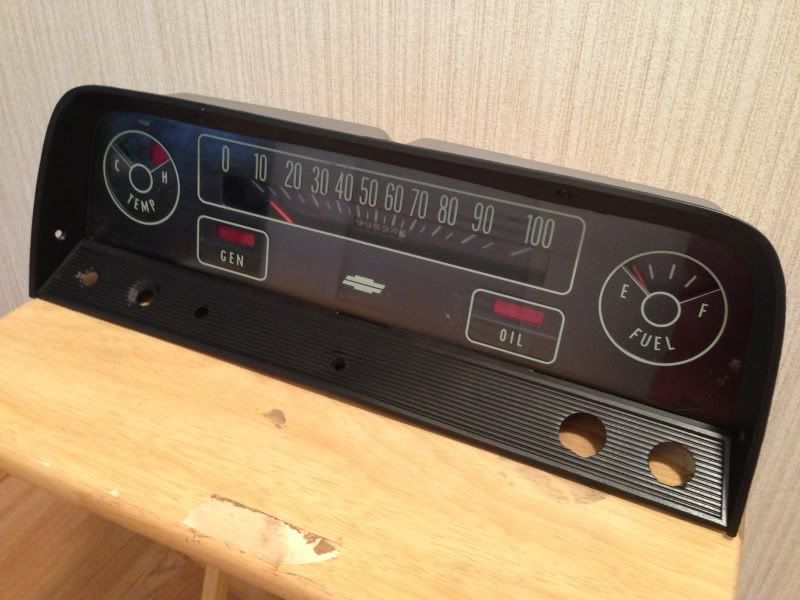
Some of the process

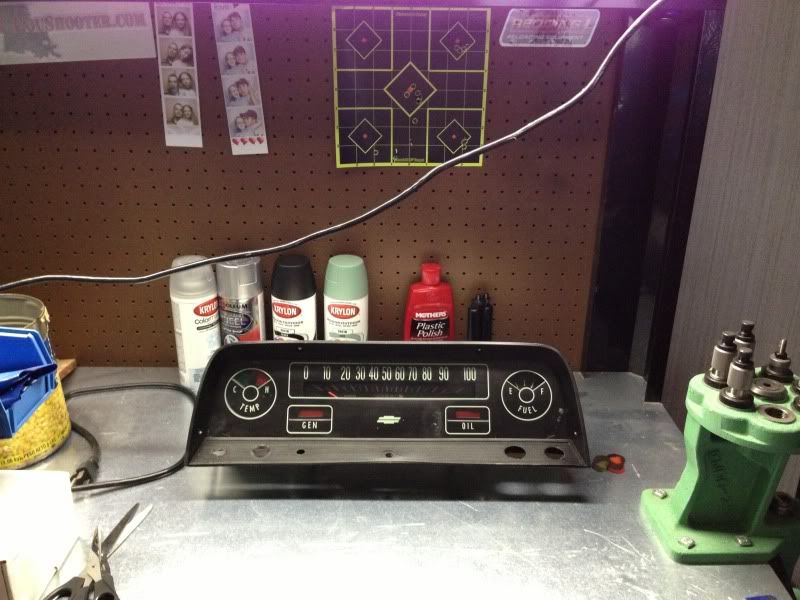
Put back together

Again, thank you for your how to thread. It was a big help.