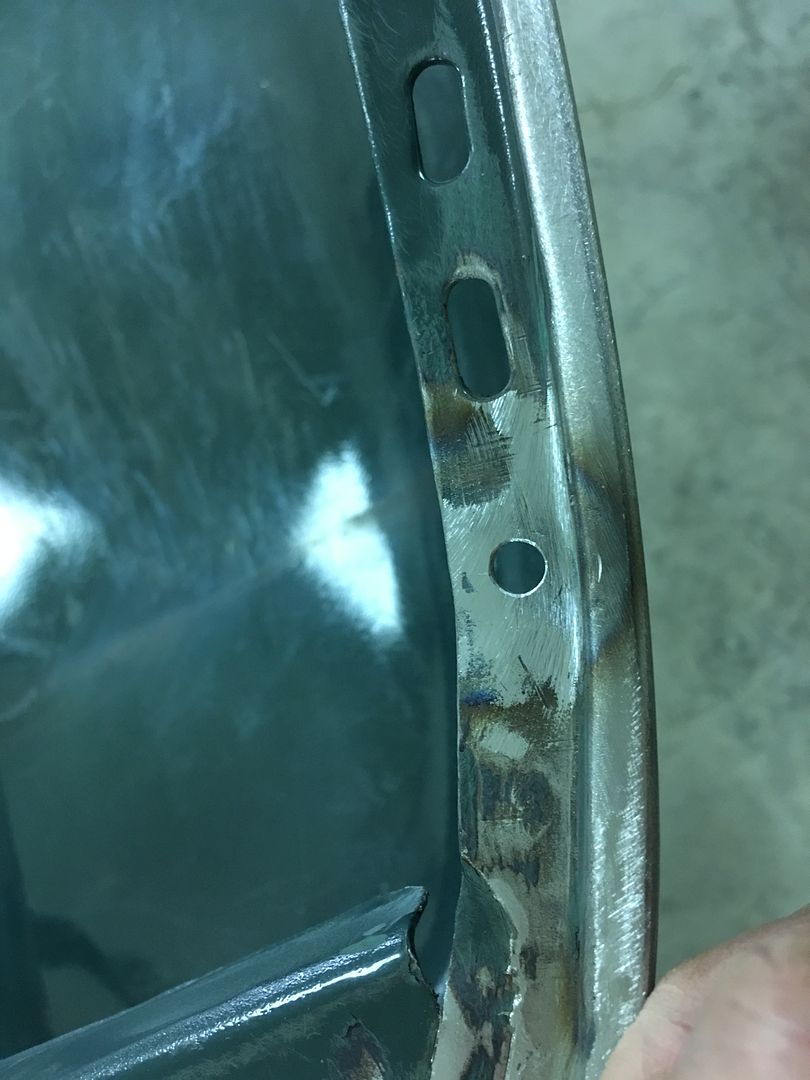
We have a few more spots to fix from cracking and fatigue, namely the holes on the underside for the rubber hood bumpers. We've already repaired three, and from the looks of it, need to take care of the remaining three..
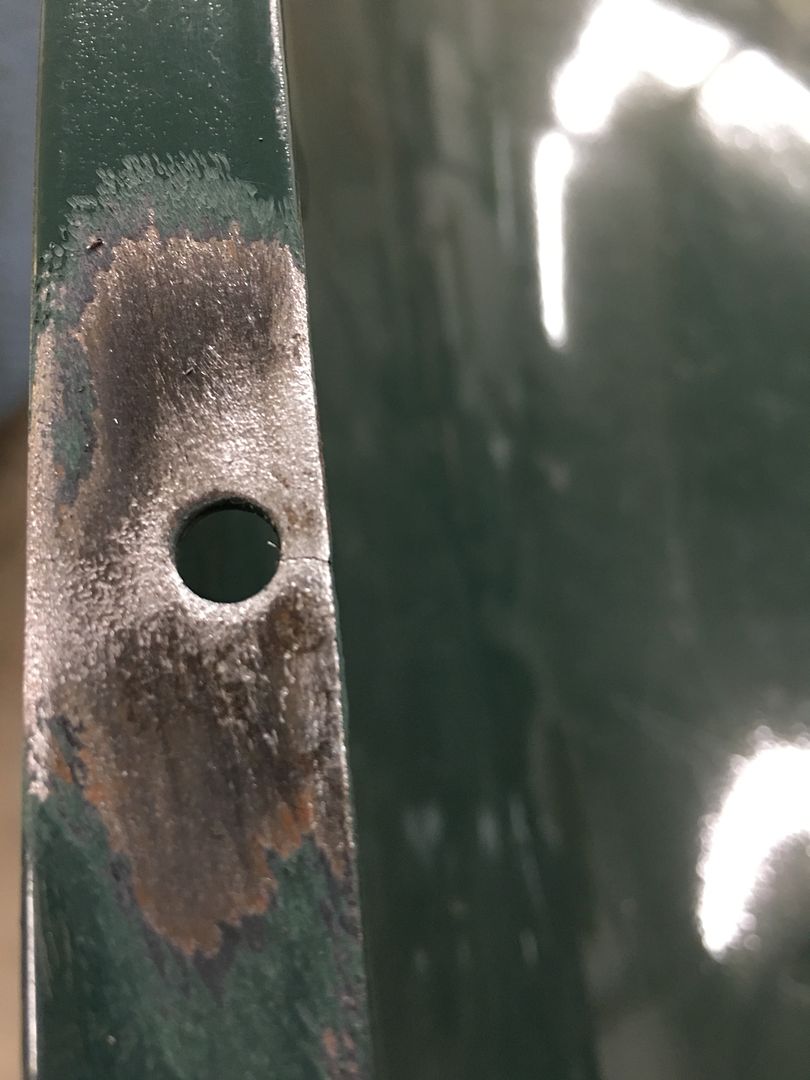

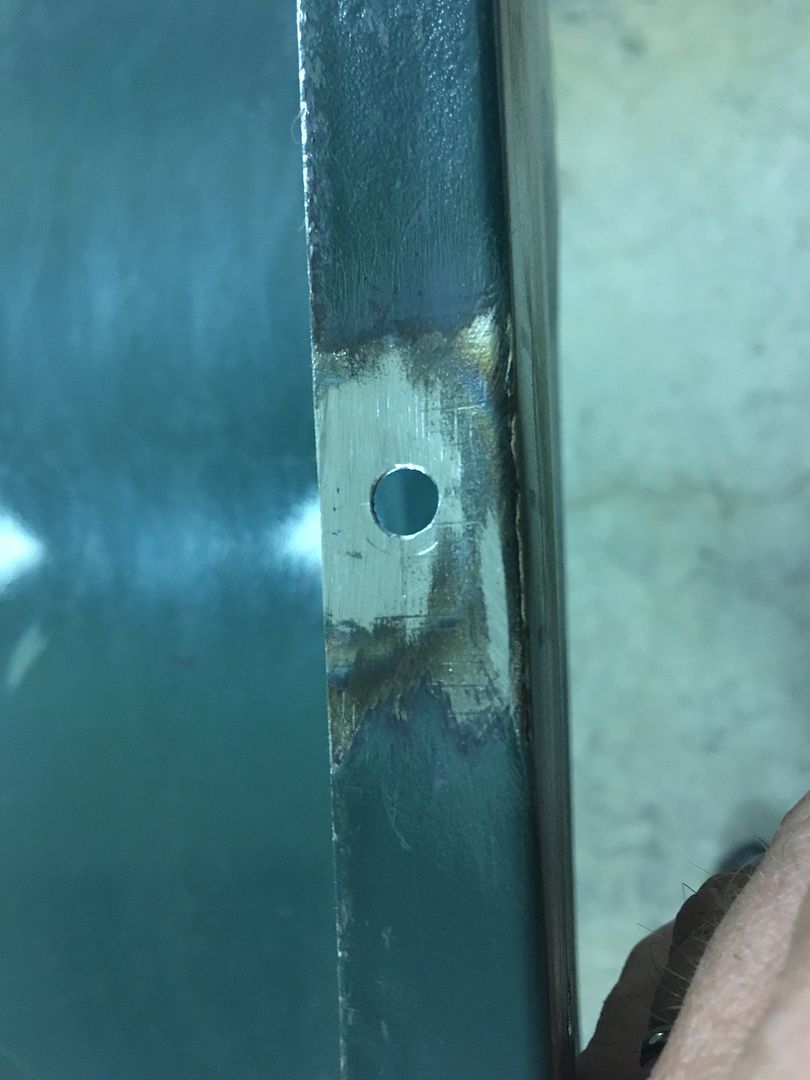
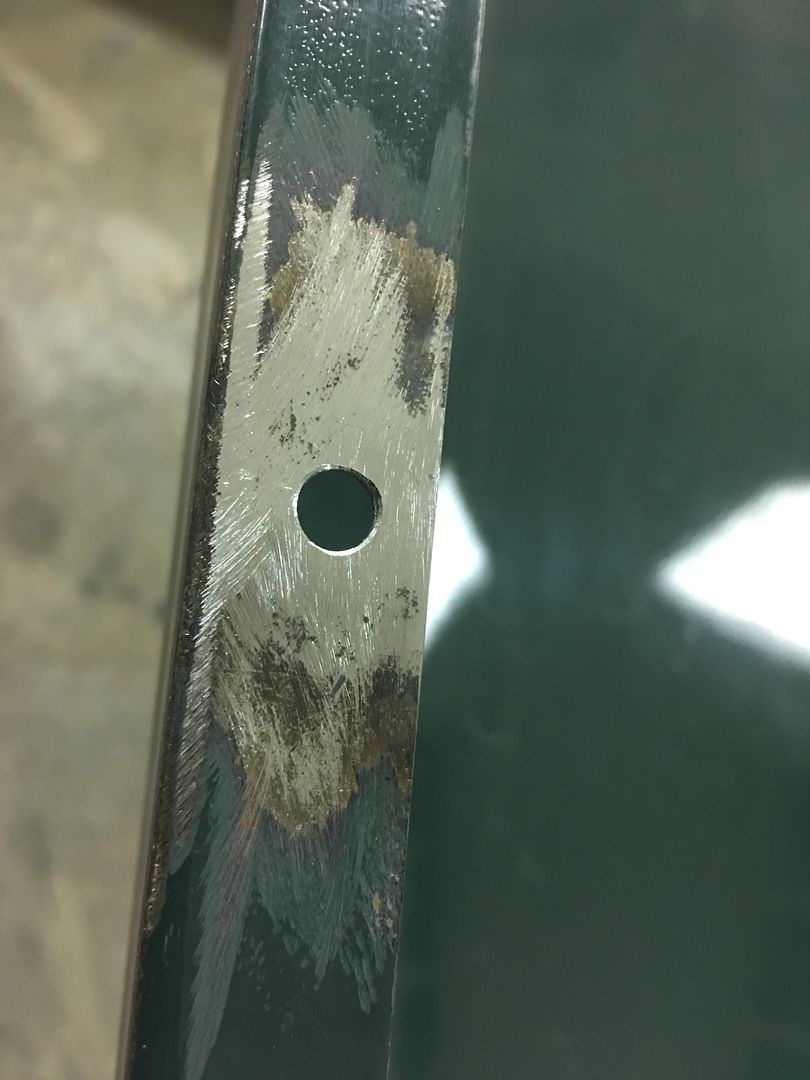
18 Gauge x 1/4" plugs were TIG welded in to fill the existing holes, and a copper backer gives us a bit of a heat sink so the cracks/fatigued areas don't blow a big hole on us..
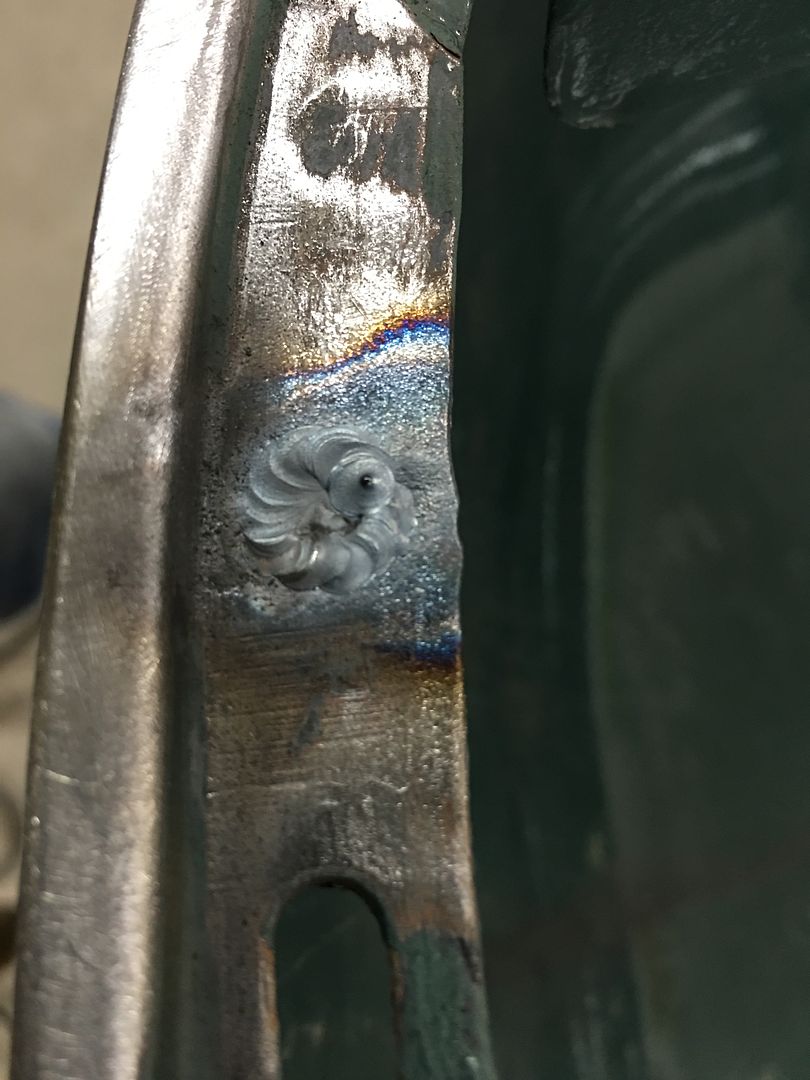
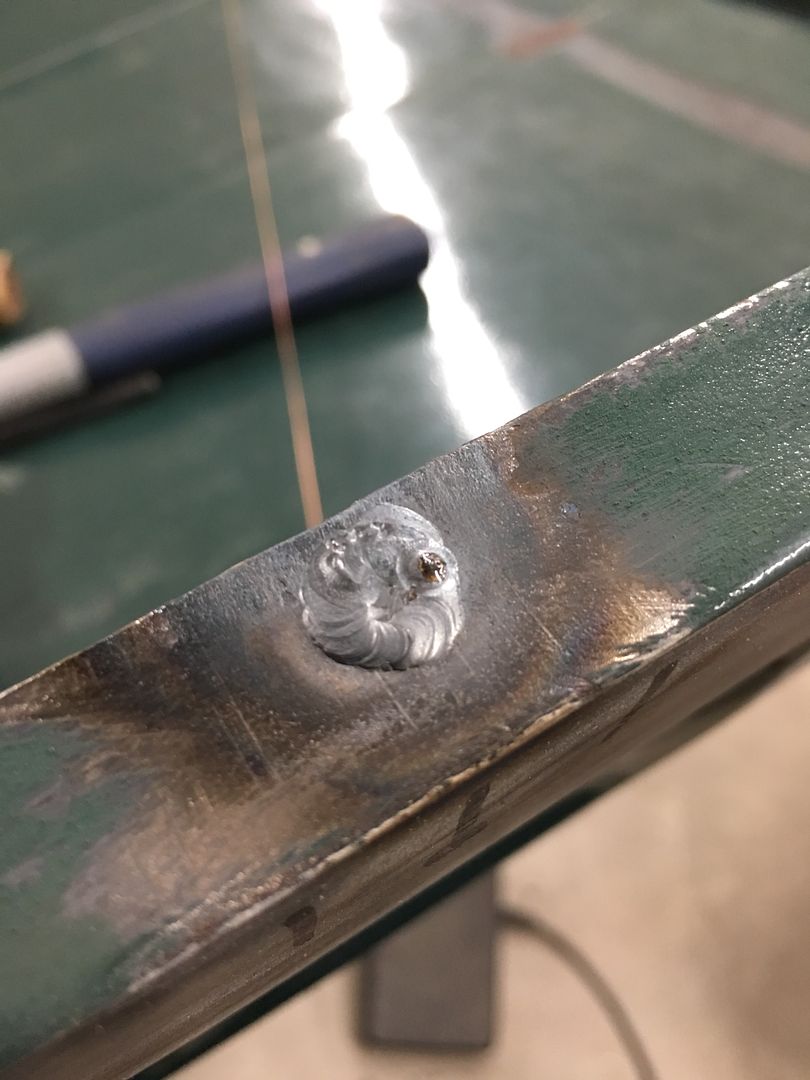

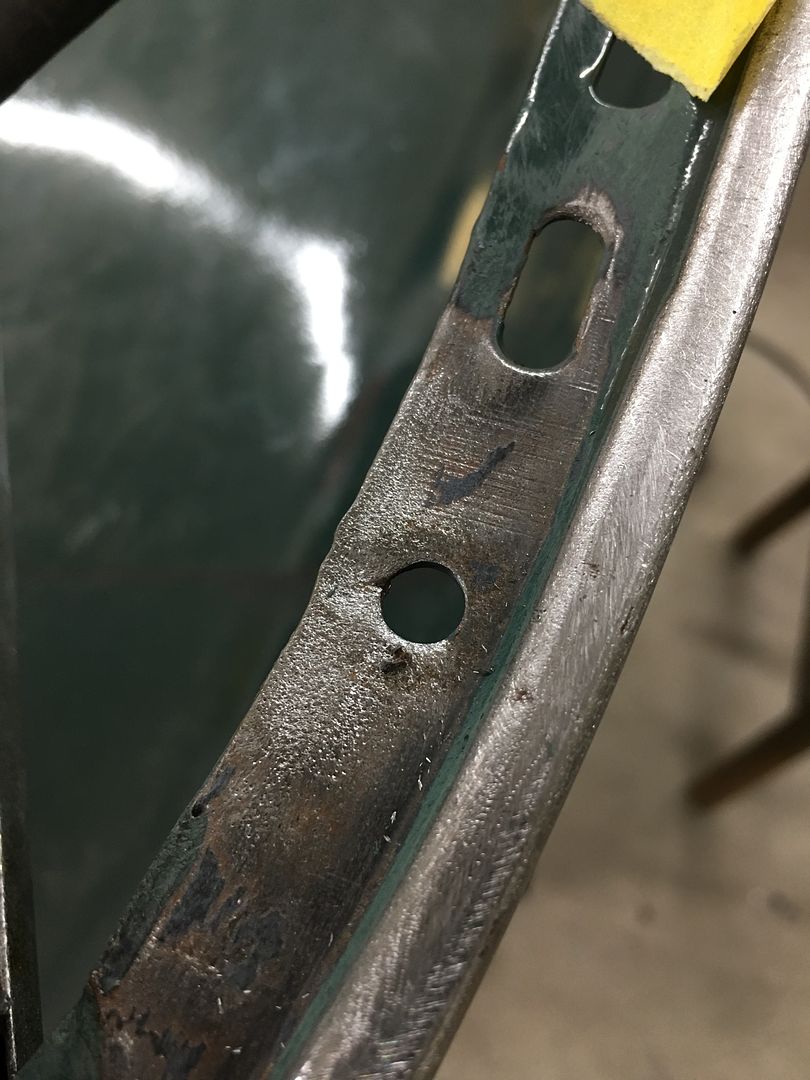
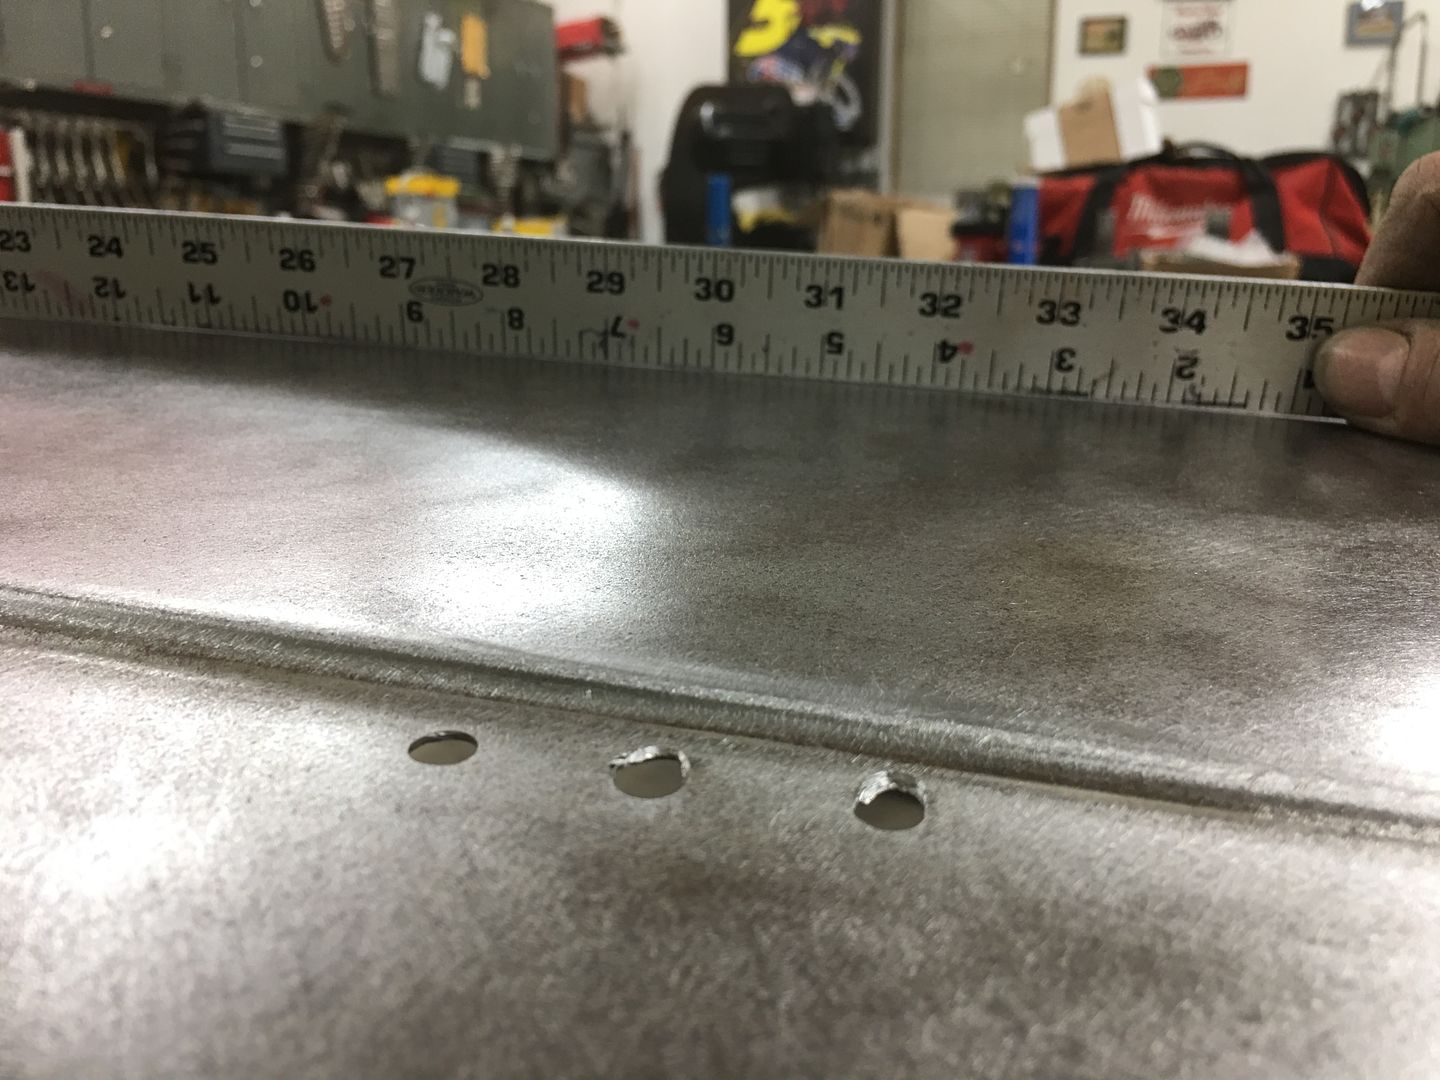
Welds were dressed on both sides of the sheet metal, and new holes drilled slightly in farther from the edge to help slow down the reappearance of cracks.
Next, I'm sure everyone has seen how these hoods can oil can, show low spots, and try to flop around while driving down the road. Part of that is abuse over the years, fatigue, etc. Any low spots invariably result in a loss of support of the hood and will show oil cans or loose areas.
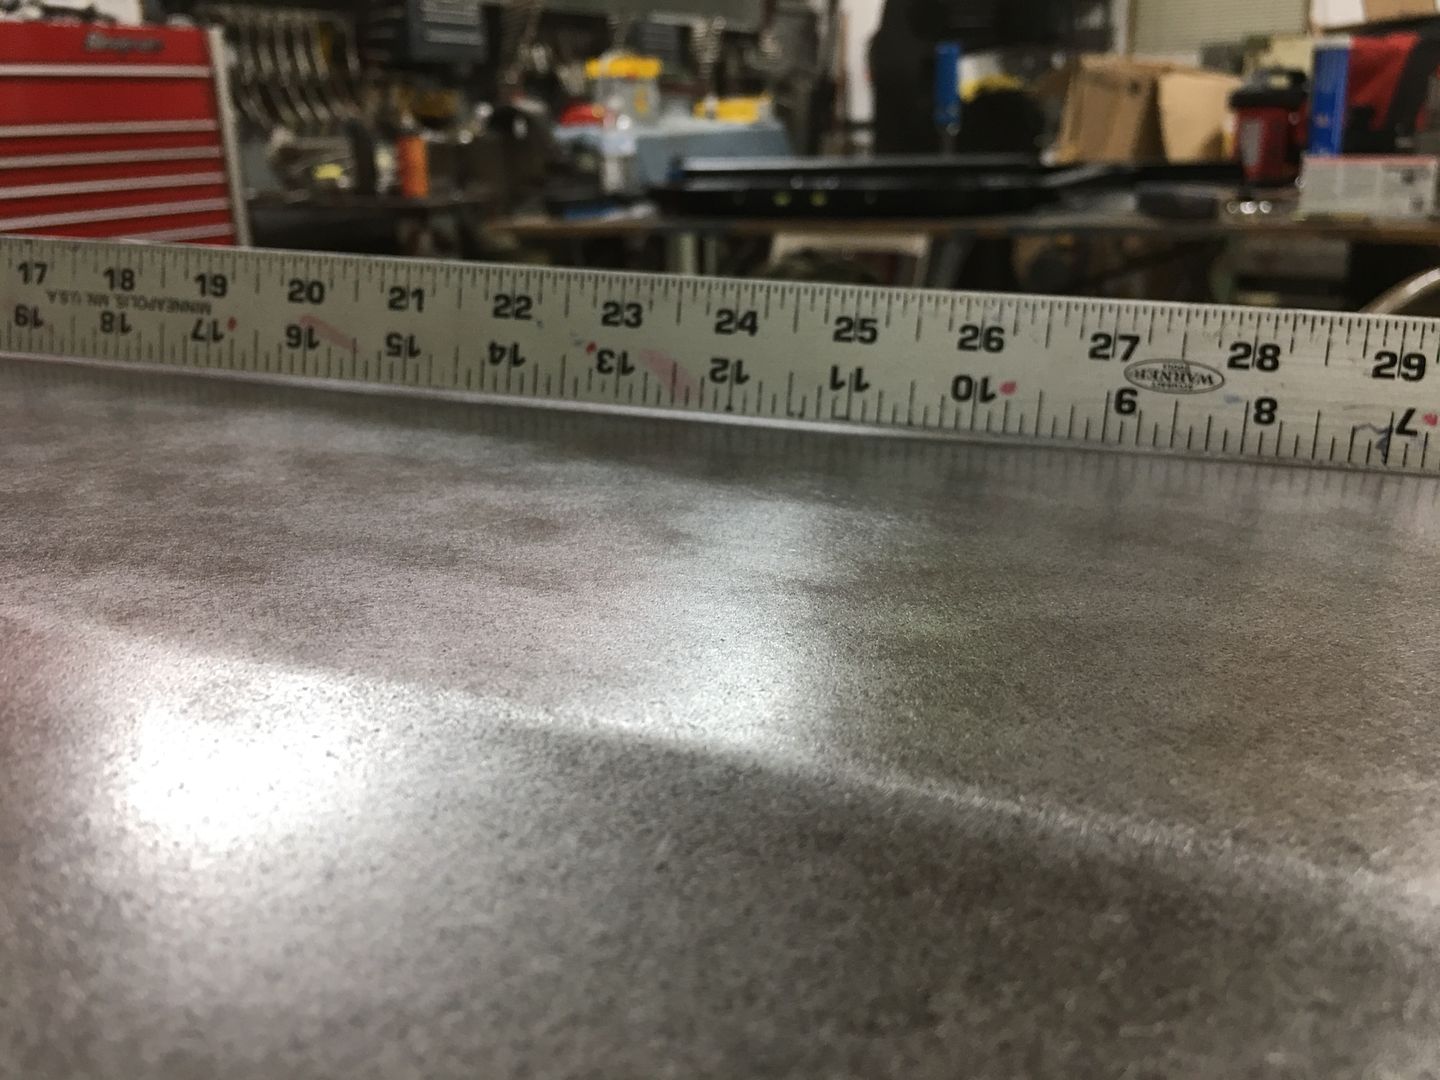
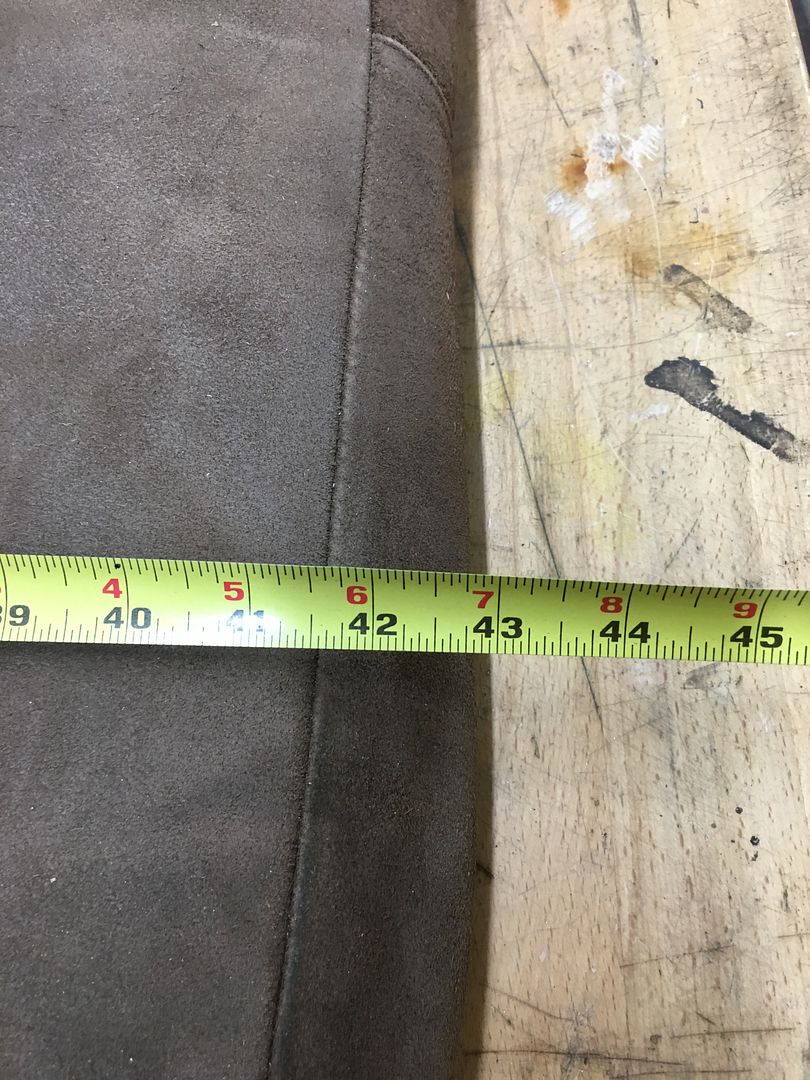
A good tool to check the crown of the hood is a long straight edge in the form of a 36" rule. If you don't have one, most hardware stores sell aluminum flat bar for a few dollars that will make a good profile template. For this style hood, lows are bad, straight is better, and a slight crown in the center crease along the entire length of the "flat" area of the hood is optimal.. This gives the support to help eliminate those oil cans and floppy hoods.
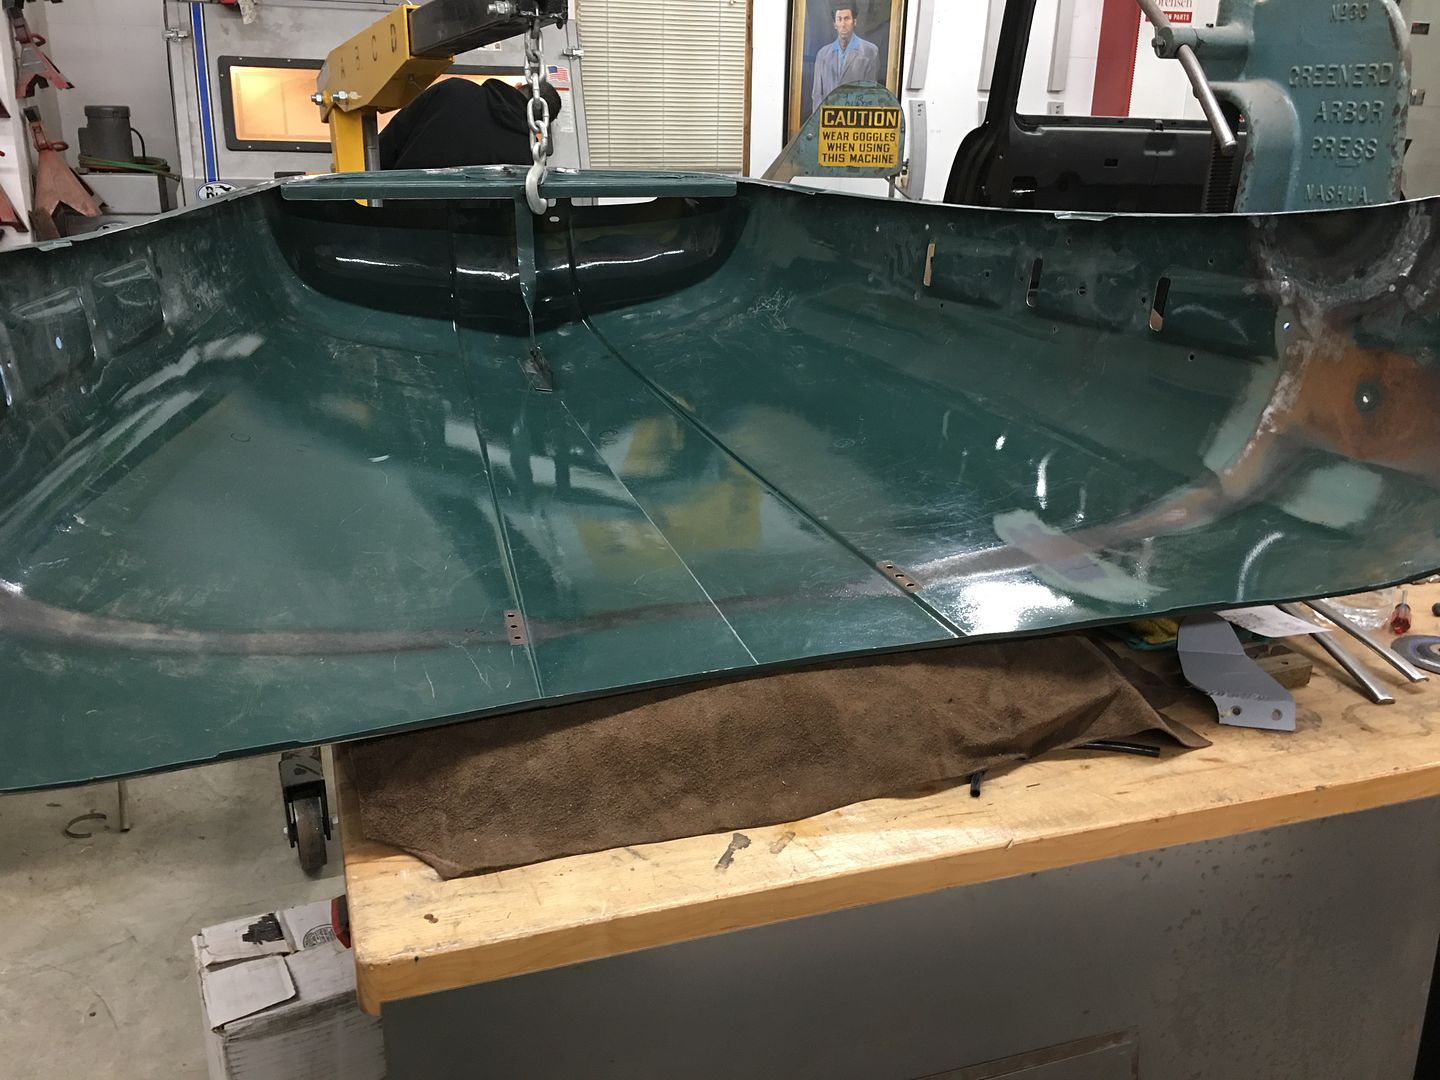
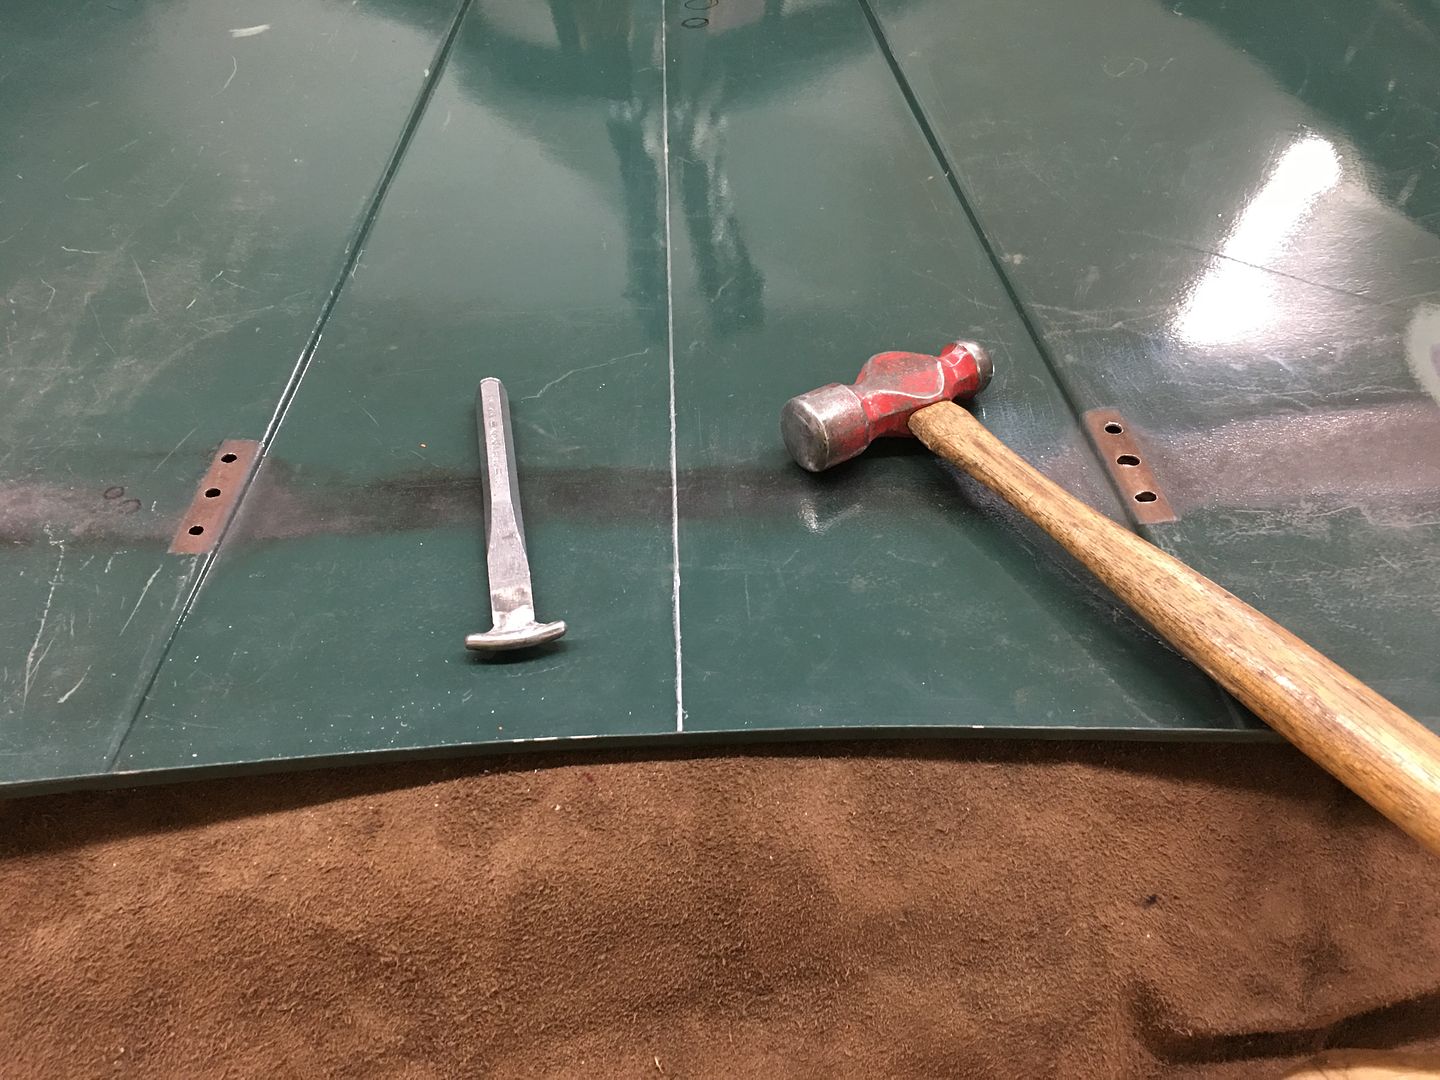
When we started there was an obvious area about 12" forward of the rear edge, dead center, that appears low, and was easily pushed downward. In order to better define the center crease and provide the support needed, we will use a sand bag (a rather large one) and lightly hammer from the bottom side into said bag with a purpose built "punch".
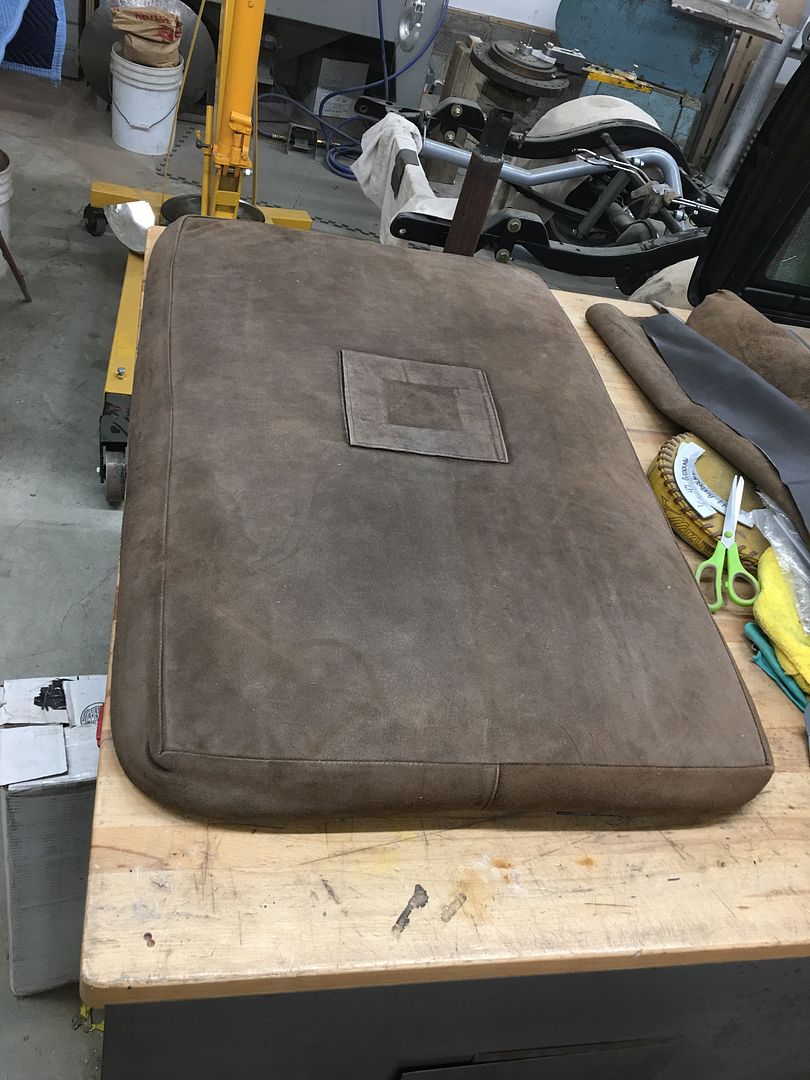
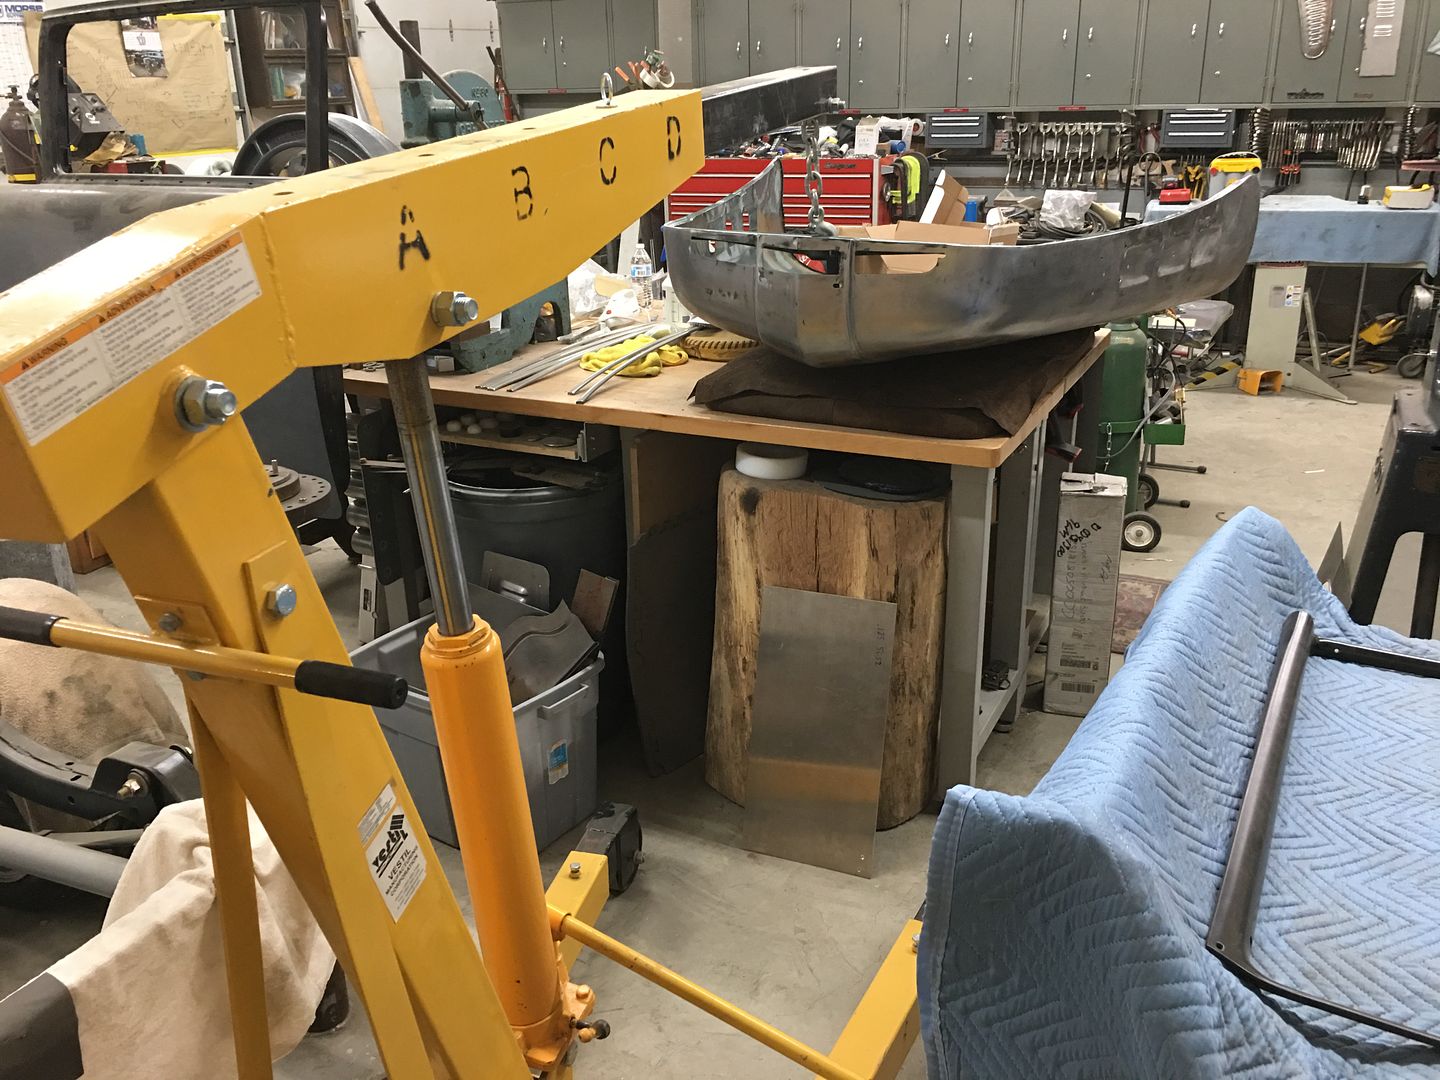
In order to keep the back portion of the hood down against the bag for support, we used our latest "metalshaping" tool to hold the front of the hood up, an engine hoist..
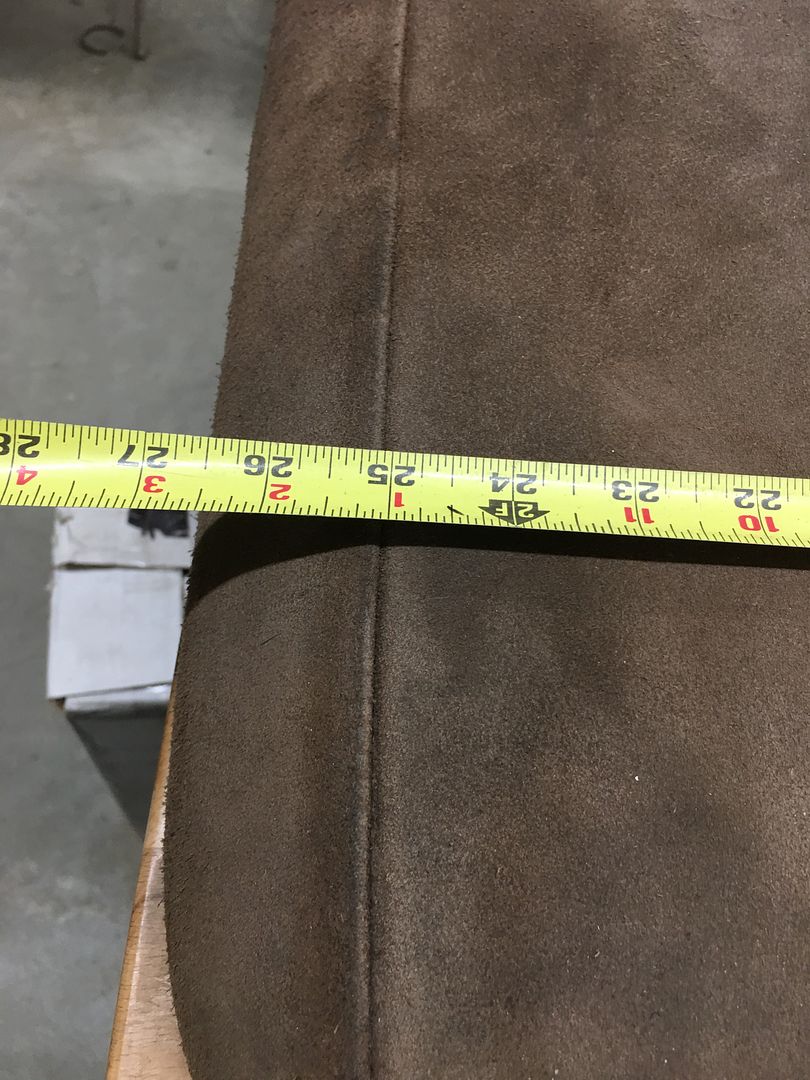
A reference mark is used on the inside, measured and centered...
The crease was checked for low spots prior, and the bottom marked. The "punch" is dragged along the centerline and tapped as you go. Flip the hood over, check crown, remark as needed, repeat. We got to a good straight/slight crown and the oil can disappeared. Pushing along the entire center crease was a nice tight support now..
So if you are having issue with your hood, I would suggest first checking your center crease.