Before I continue covering the tear down of the gauge panel, I want to reference the process of repainting your needles in the event your needles have faded over time.
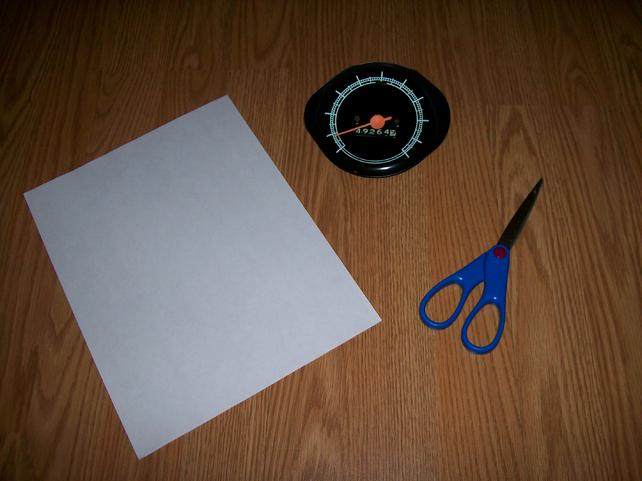
Start off with a guage, a pair of scissors, and a few sheets of white paper.
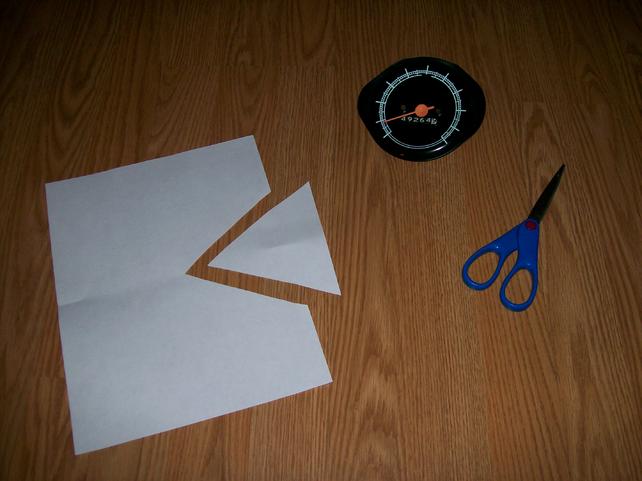
Take a sheet of paper and fold it in half, and cut off a triangle section from the center of the paper like picture below.
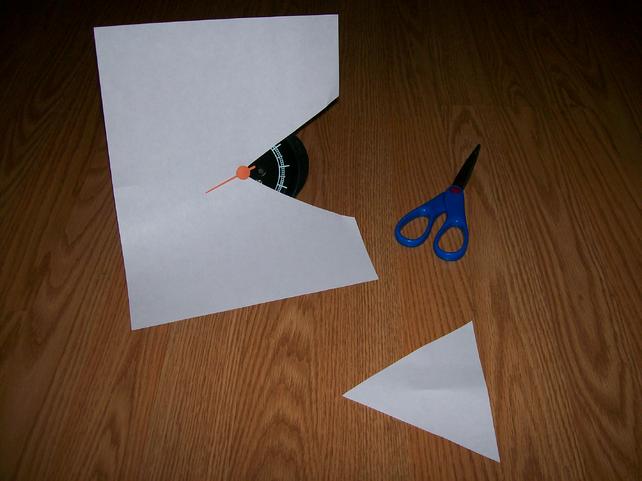
Proceed to slid the paper under the needle you need to paint as pictured below and then repeat the process described above on a second sheet of paper to completely surround the needle.

Shoot a couple of light coats of paint from the color of your choice. Allow proper dry time as needed. You can also use a brush on style paint, but you will need to ensure you 'load' the brush with enough paint so it won't leave brush strokes on the needle.
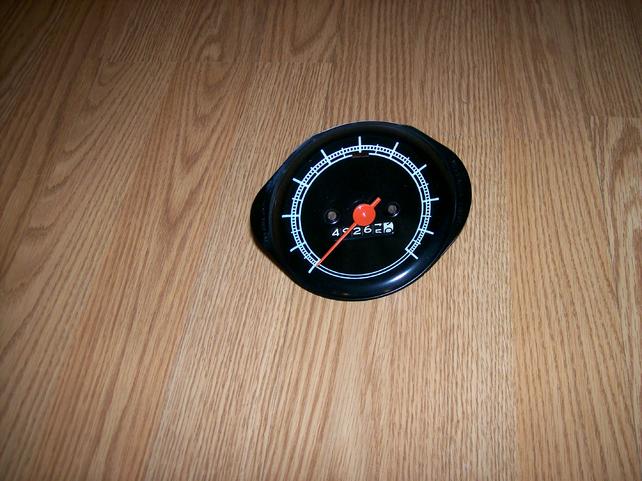
Repeat as needed for all needles that need repainting. I would recommend that if you're going to repaint one needle, to repaint them all so they match.