Getting the side latch backing plates out was no problem because they will fit through the hole. The top hinge and lower handle plates removal was a bit harder. First you have to remove the pop rivet heads with a large drill bit. Go slow and soft, they are aluminum. Use a 1/8 punch and tap out the rivets. Once the plates are loose they're still inside the fiberglass shell without a way out. I used a multi-tool with a plunge blade to split the seam between the outer and inner shell. Then I made cuts into the outer shell to remove a section of the fiberglass big enough for the plates to be removed.
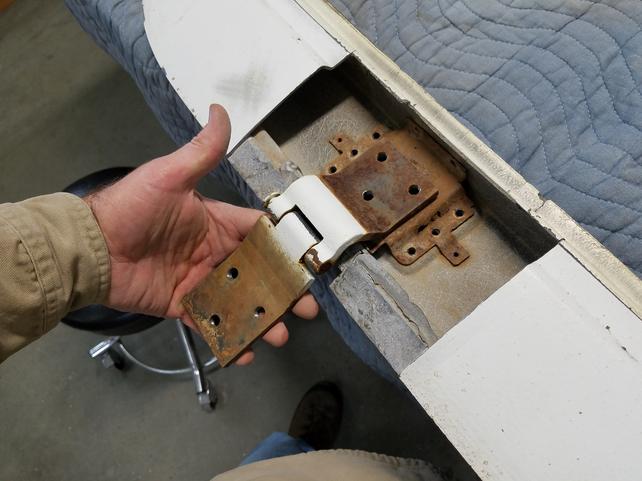
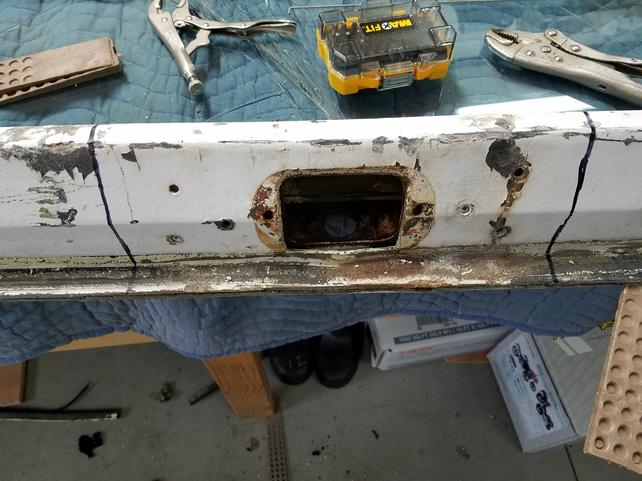
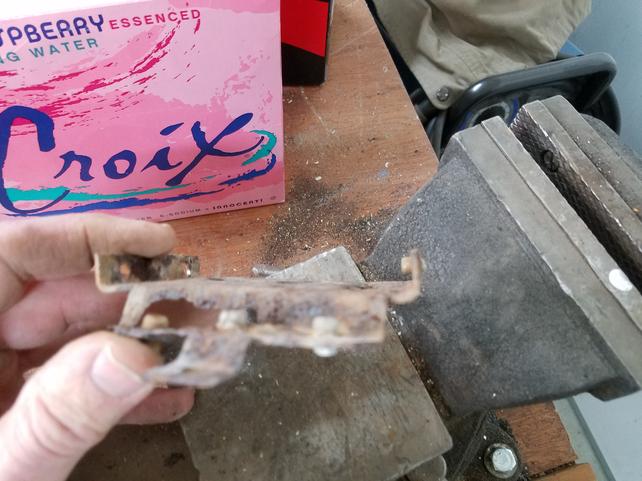
After the plates were removed it was quite clear that they wouldn't have lived long. There were multiple holes and missing sections of the mounts. If your hatch ever just falls off while going down the road, this is why.
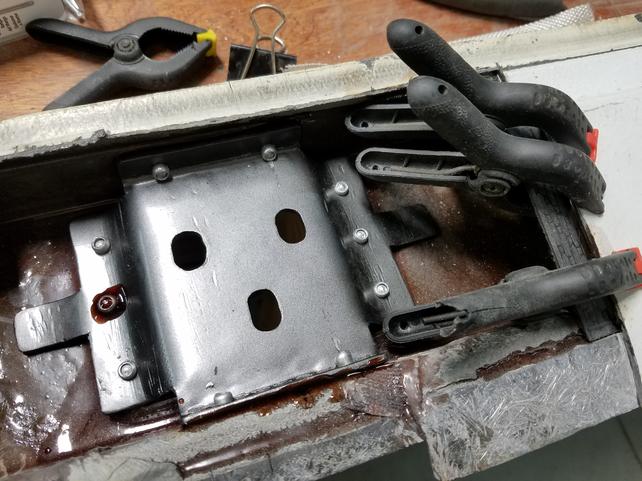
I made replacement mounting plates out of stainless sheet I had. I used it for the center latch handle plate and the upper hinge plates. For all of the side plates with backing nuts I just used .090 mild steel plate and flange nuts Tig welded to the plates. The side plates and the strut mounts were not all that bad but I didn't want to have to ever think about them so I just made new ones. The upper strut mount was hard to re-install because it's so far up there but if you just put the piece on a thin welding rod with duct tape then get it in position, start a screw , you can get the rivets in and your done.
Speaking of rivets. They are your standard 3/16 pop rivets. I used the 3/8 reach on all of the plates and it worked fine.
After the plates were reinstalled the fiberglass access hatch's had to be repaired. I used 1/16 carbon fiber sheet cut into strips to give me a mounting edge. After roughing them up with 60 grit they were clamped and glued using West Systems epoxy. West Systems epoxy is used for advanced composite construction of aircraft and sailboats so I'm confident in it's use.
After it cured it was just sanded and filled with more West Systems to finish off the repair.
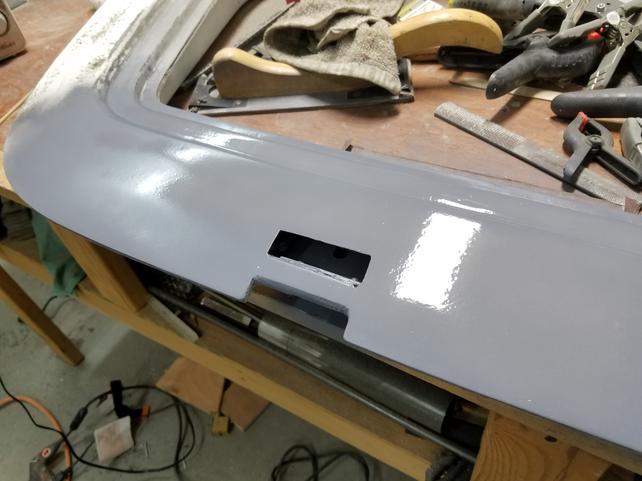
All I need to do now is sand, prime and re-texture with the NAPA textured coating.
The original color of the top was black but that's too hot for me so the final color is still up in the air.
We will see!
Jeff