
|
 02-17-2016, 10:58 PM
|
#1 |
|
Registered User
Join Date: Apr 2009
Location: Lowell AR
Posts: 360
|
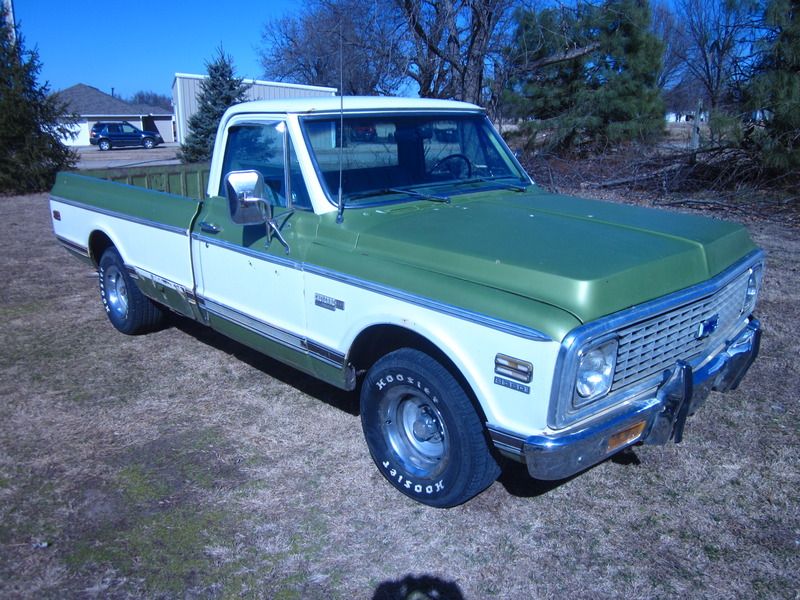
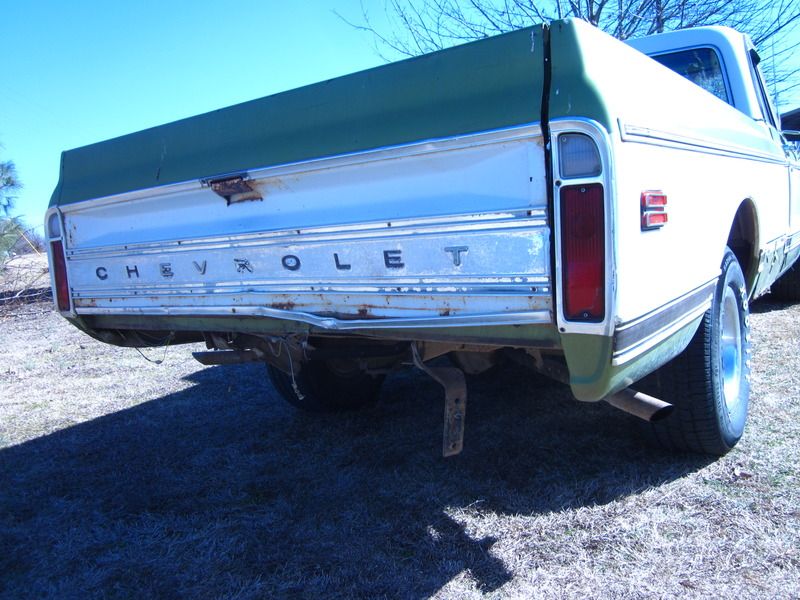
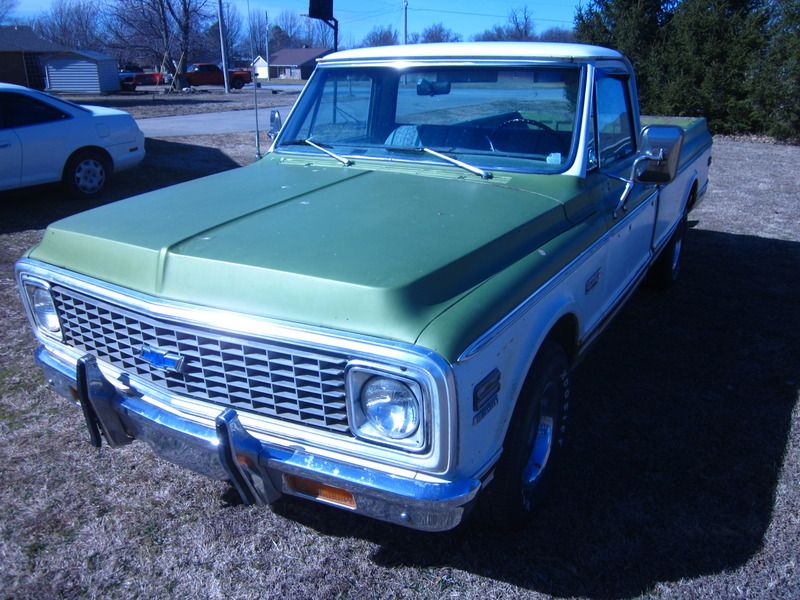
Project 1972
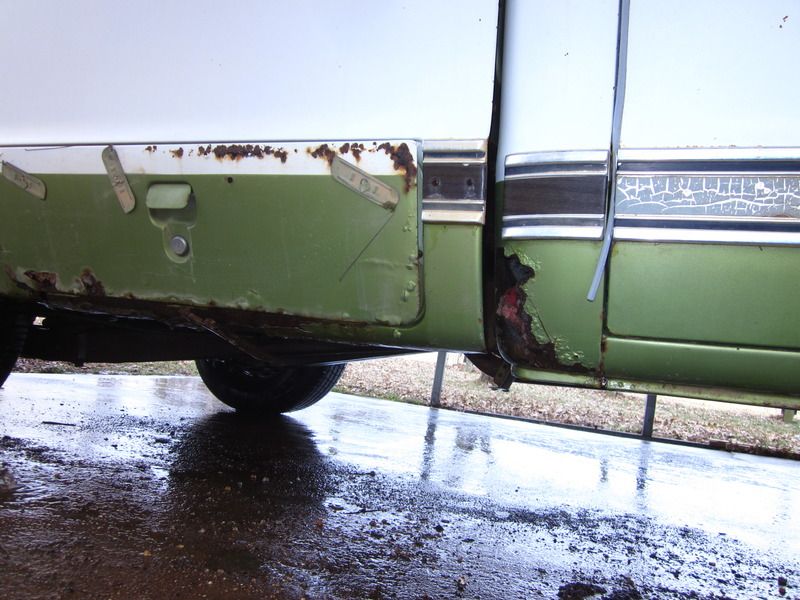
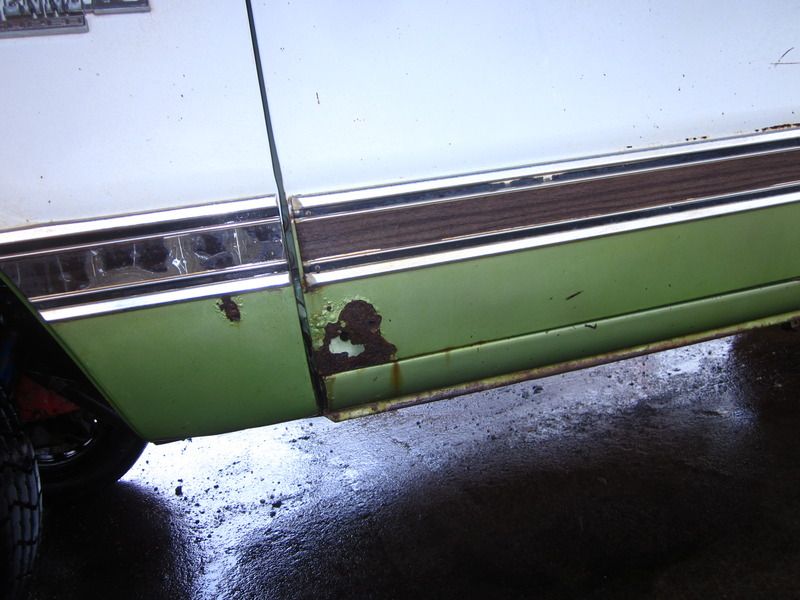
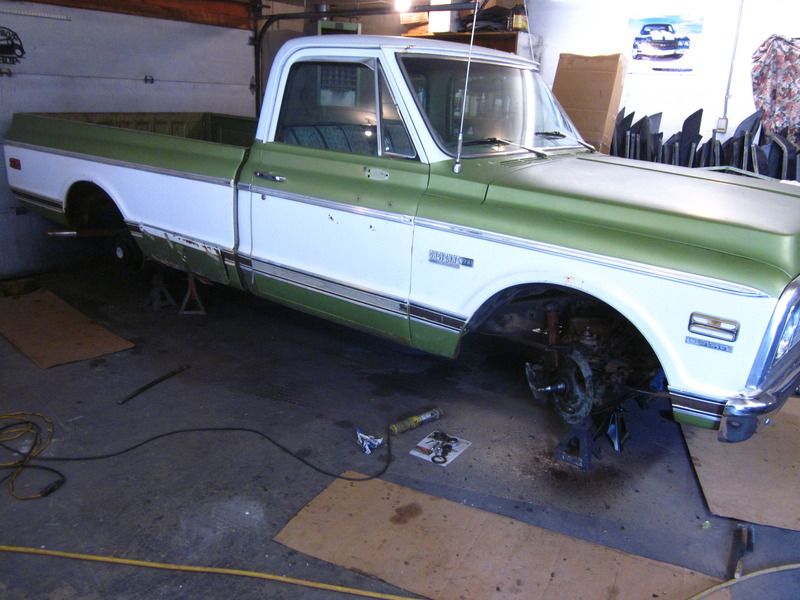
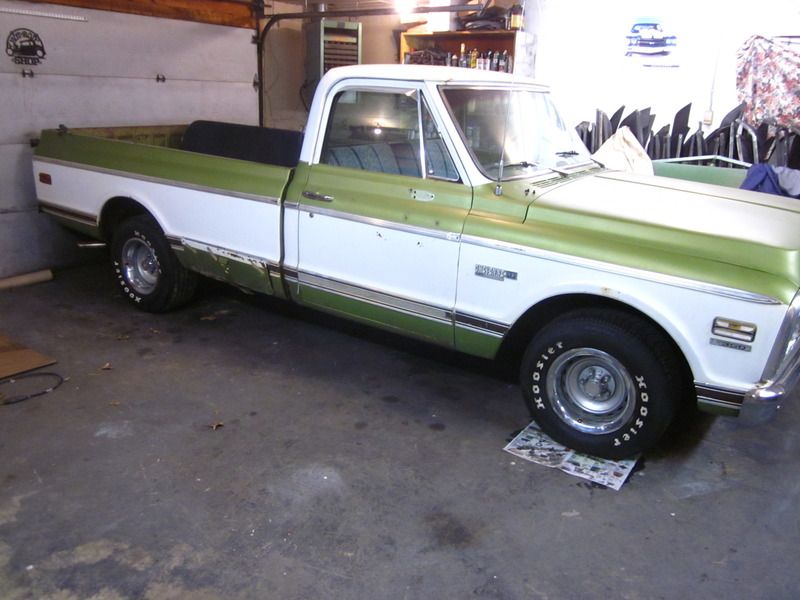
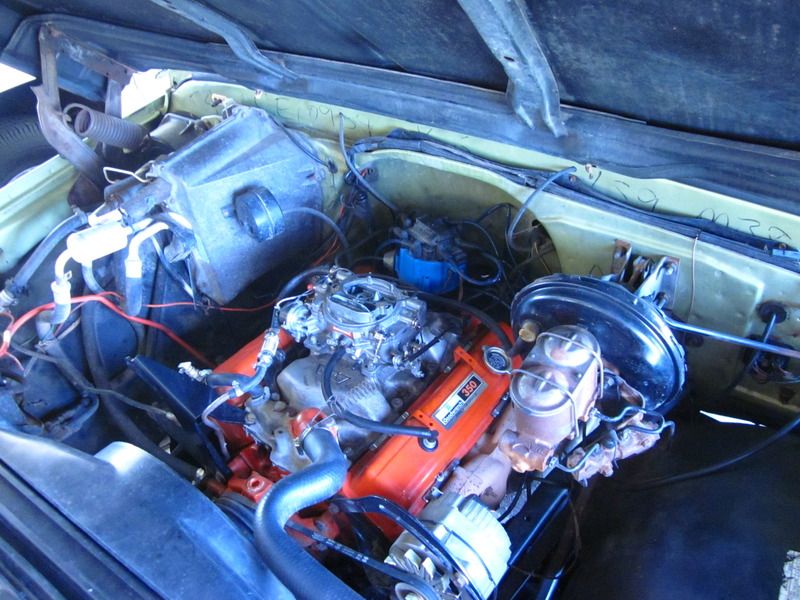
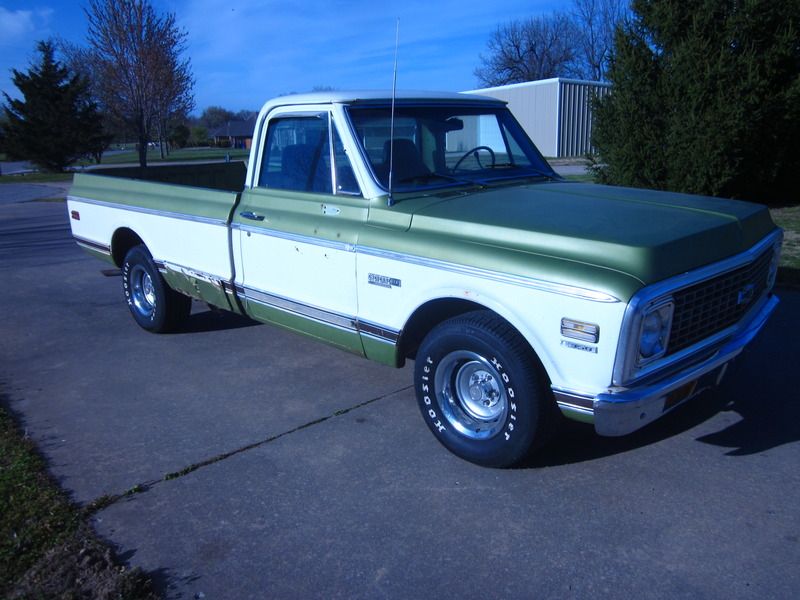
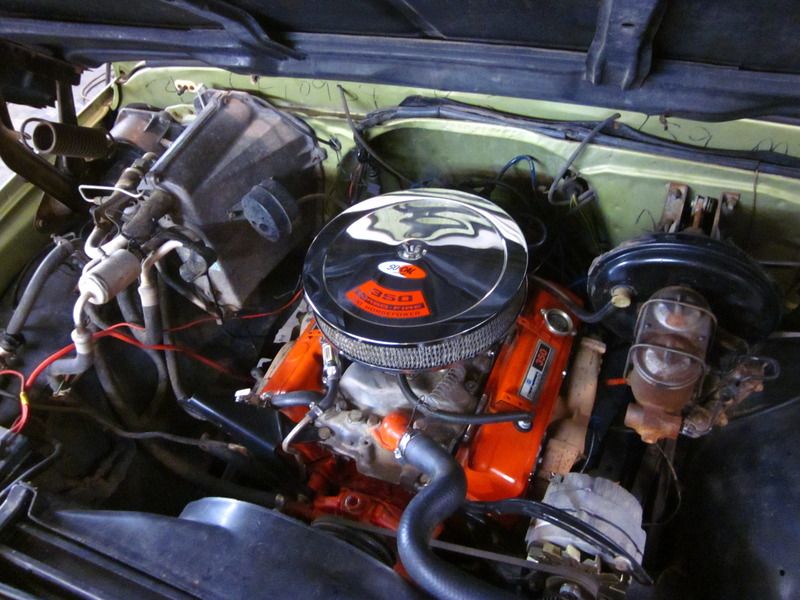
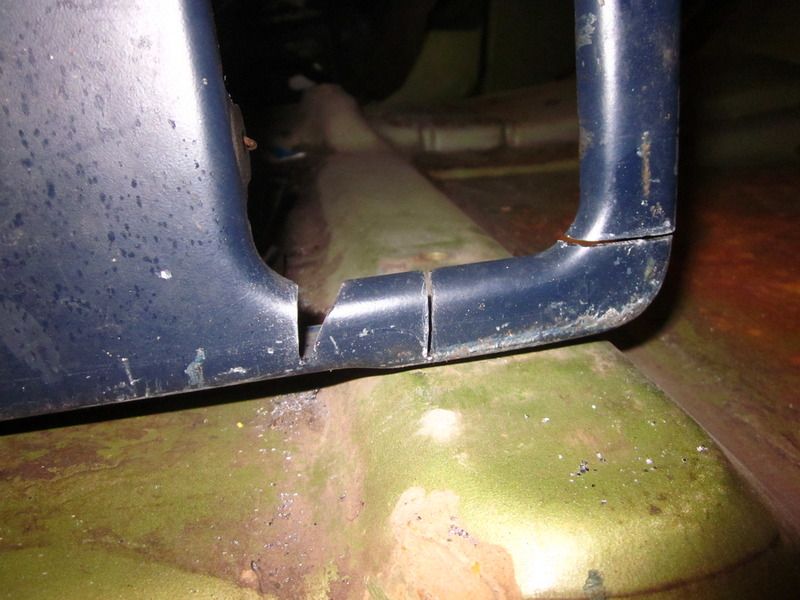
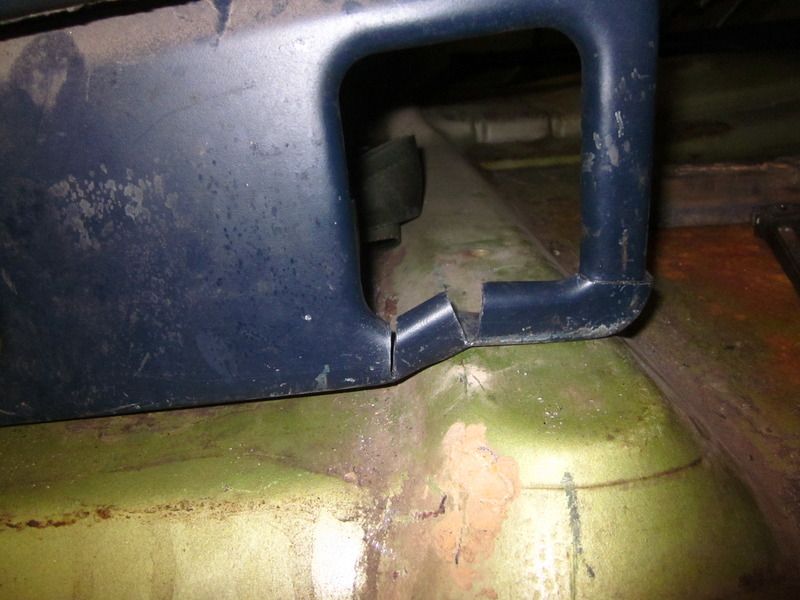
I have been looking for one of these trucks for a few months. I have looked at quite a few. i found this one on craigslist about 40 miles away. I drove it home last night. It has a rebuilt 350, I know the shop that did the engine. I need to check out all the brakes and suspension. I know it needs a carrier bearing. It has rust on cab corners and bottom of doors. The guy I got it from said someone rammed into the back bumper and pushed it under the truck, The bumper brackets are still there but all bent up. This truck is exactly what I was looking for.
|

|

|
|
02-17-2016, 11:10 PM
|
#2 |
|
Registered User
Join Date: Oct 2009
Location: canton ga
Posts: 12,729
|
Re: Project 1972
Looks great .
|
|
|
|
|
02-18-2016, 12:46 AM
|
#3 |
|
Registered User
Join Date: Dec 2009
Location: El Dorado Ca
Posts: 3,374
|
Re: Project 1972
Nice cheyenne, same colors as mine
|
|
|
|
|
02-18-2016, 08:36 AM
|
#4 |
|
Registered User
Join Date: Jun 2015
Location: shreveport, la.
Posts: 160
|
Re: Project 1972
Great find, anytime truck comes from our part of the country there's probably gonna have some rust repair. I'm sure you can handle it. What's your plan with the truck? Again congrats..... Casey
|
|
|
|
|
02-18-2016, 10:57 AM
|
#5 | |
|
Registered User
Join Date: Apr 2009
Location: Lowell AR
Posts: 360
|
Re: Project 1972
Quote:
|
|
|
|
|
|
02-18-2016, 12:44 PM
|
#6 |
|
Registered User
Join Date: Jan 2009
Location: San Antonio, Texas
Posts: 1,374
|
Re: Project 1972
Great Truck! I am in to watch this one. I am particularly partial to this color scheme
__________________
1972 C10 LWB, 350/350 Deconstruction began 5/2009, mostly completed restoration, 5/2017 |
|
|
|
|
02-18-2016, 12:50 PM
|
#7 |
|
Registered User
Join Date: Feb 2016
Location: Pinebluff, NC
Posts: 10
|
Great looking truck! I also just bought a '72 Cheyenne super project. Mine has the wood bed though, lwb fleetside. Good luck.
|
|
|
|
|
02-19-2016, 10:39 PM
|
#8 |
|
Registered User
Join Date: Apr 2009
Location: Lowell AR
Posts: 360
|
Re: Project 1972
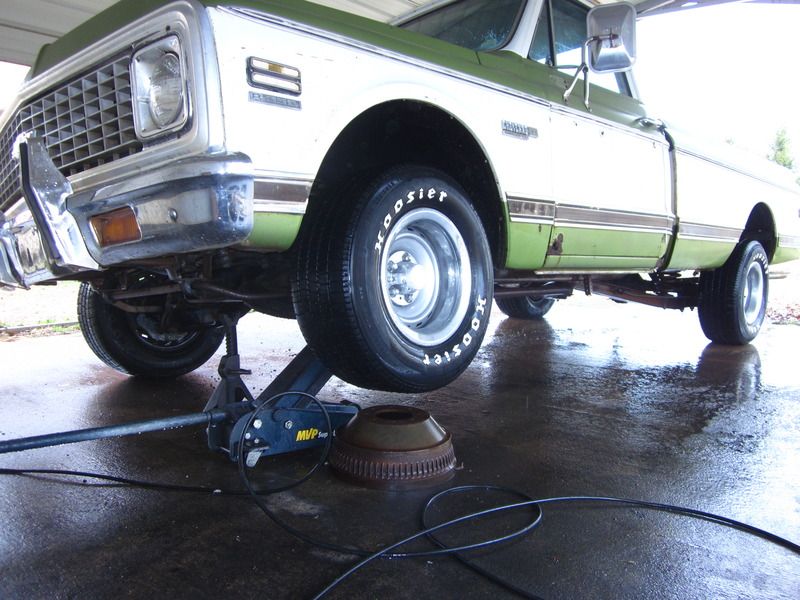
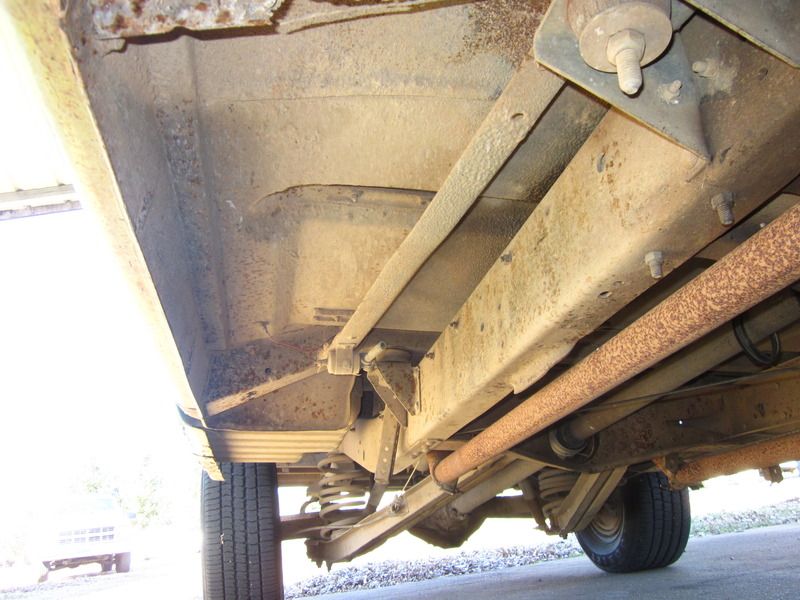
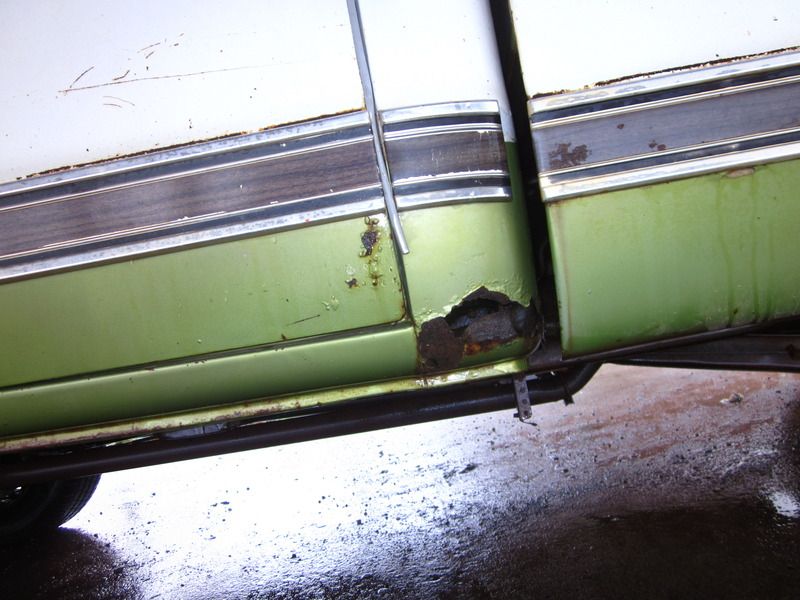
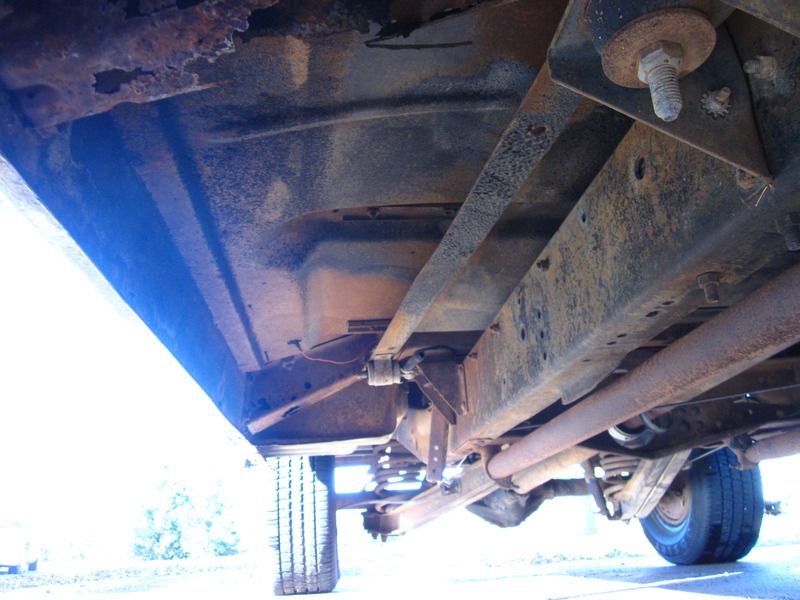
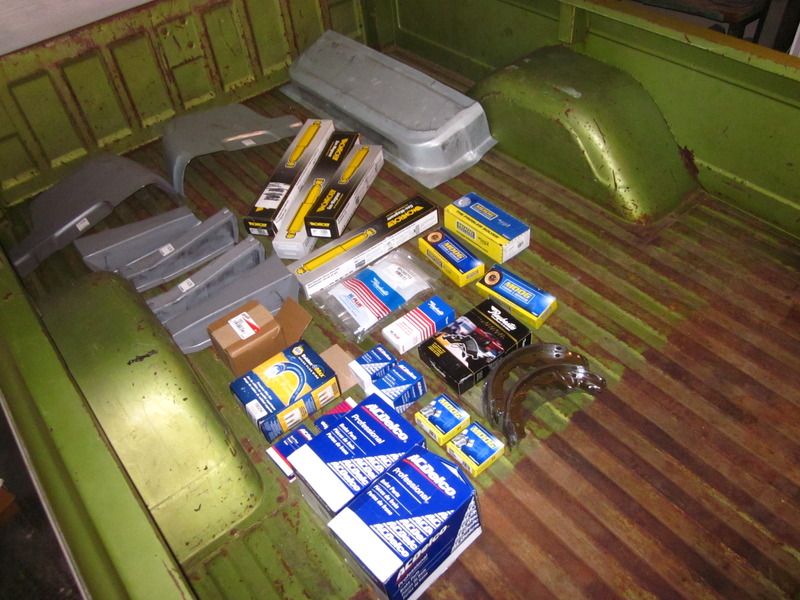
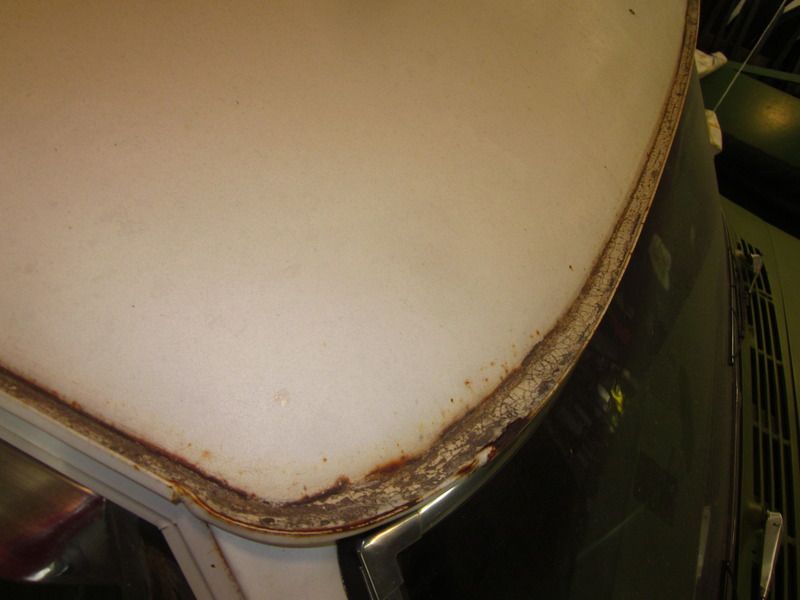
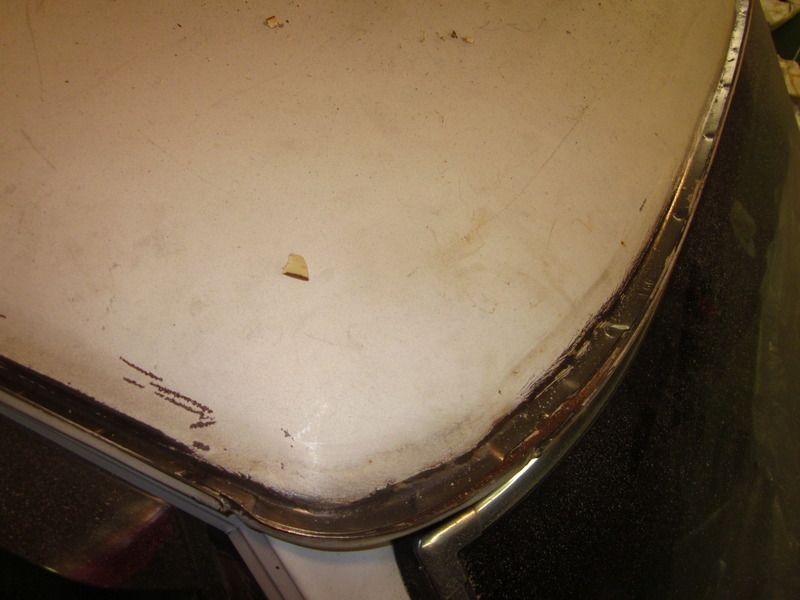
I have been lying on a creeper power washing the underside to remove all the caked on mud. It took me about three hours. I took a before and after picture of the underside. Everything under there looks pretty good to me. I also took some pictures of the rust that I will have to fix. I ordered all the repair panels and supports from T.A.B.CO. Inc. I sure like this truck!
Last edited by rsgt; 02-19-2016 at 10:49 PM. |
|
|
|
|
02-19-2016, 10:51 PM
|
#9 |
|
Registered User
Join Date: Apr 2009
Location: Lowell AR
Posts: 360
|
Re: Project 1972
Had trouble putting all the picture in the post.
|
|
|
|
|
02-22-2016, 03:30 PM
|
#10 |
|
Registered User
Join Date: Jun 2015
Location: shreveport, la.
Posts: 160
|
Re: Project 1972
Good luck with your new project and as always holler if we can help...Casey
|
|
|
|
|
02-22-2016, 08:09 PM
|
#11 | |
|
Registered User
Join Date: Apr 2009
Location: Lowell AR
Posts: 360
|
Re: Project 1972
Quote:
|
|
|
|
|
|
02-27-2016, 12:24 AM
|
#12 |
|
Registered User
Join Date: Apr 2009
Location: Lowell AR
Posts: 360
|
Re: Project 1972
I have been ordering parts mostly from rock auto. Going to rebuild all the brakes and work on the front suspension. Today I pulled the drive shaft to change the carrier and do the u-joints.
|
|
|
|
|
03-03-2016, 09:24 PM
|
#13 |
|
Registered User
Join Date: Apr 2009
Location: Lowell AR
Posts: 360
|
Re: Project 1972
Pulling all the brakes off, going to put on all new. Went to Napa and ordered new rotors. I have one rear axle seal leaking. I pulled the axle out today. Pick up new parts tomorrow.
|
|
|
|
|
03-14-2016, 11:02 PM
|
#14 |
|
Registered User
Join Date: Apr 2009
Location: Lowell AR
Posts: 360
|
Re: Project 1972
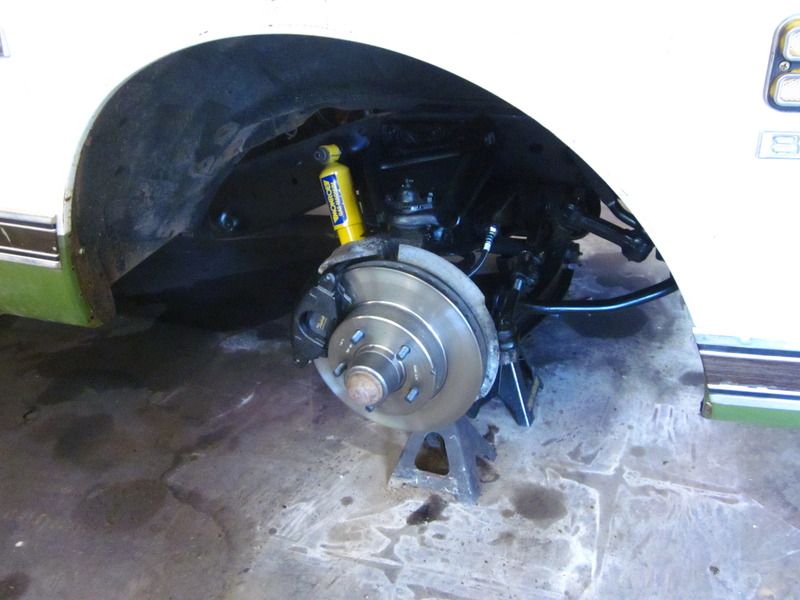
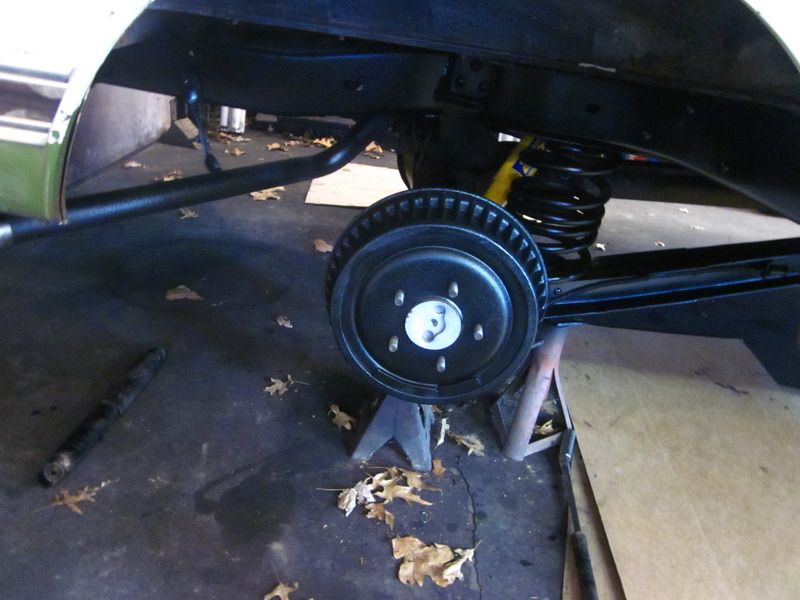
A lot of cleaning some painting. New bearings in the rear axle. All new brakes and brake hoses and new shocks. I replaced worn parts in the front end.
|
|
|
|
|
03-18-2016, 10:42 PM
|
#15 |
|
Registered User
Join Date: Apr 2009
Location: Lowell AR
Posts: 360
|
Re: Project 1972
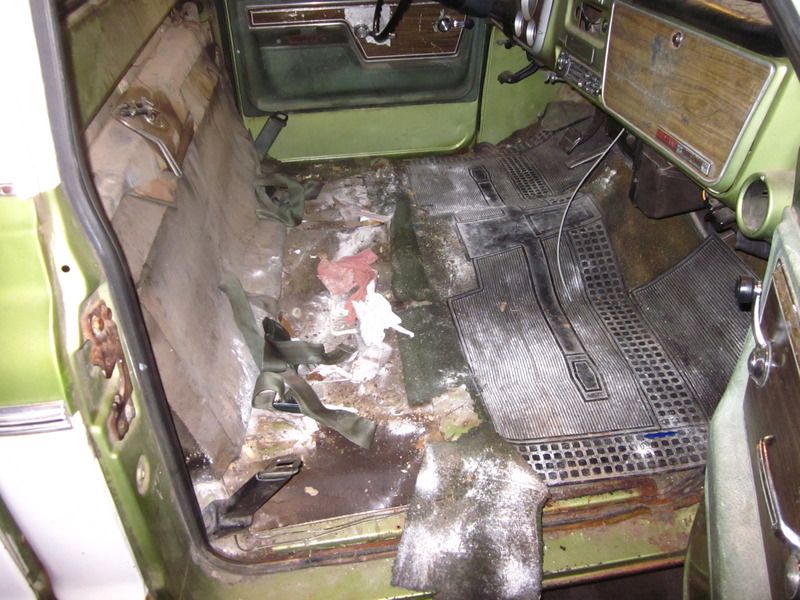
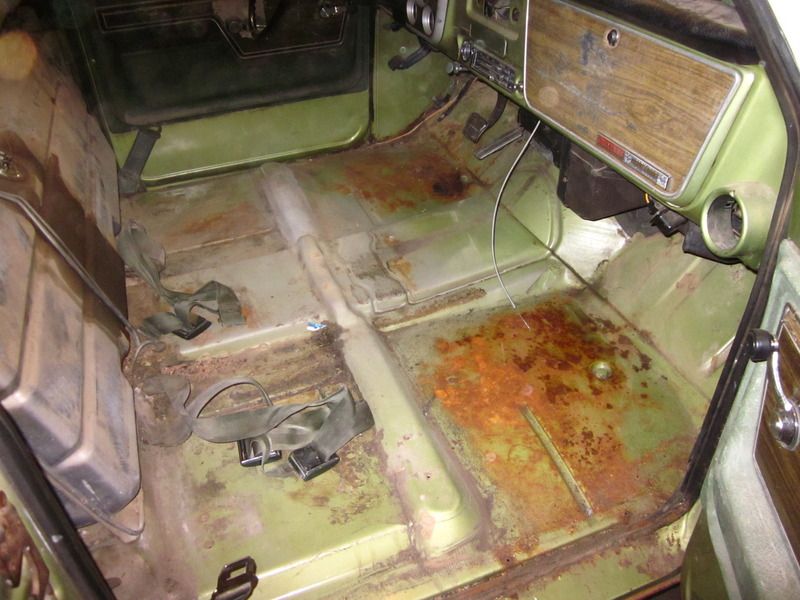
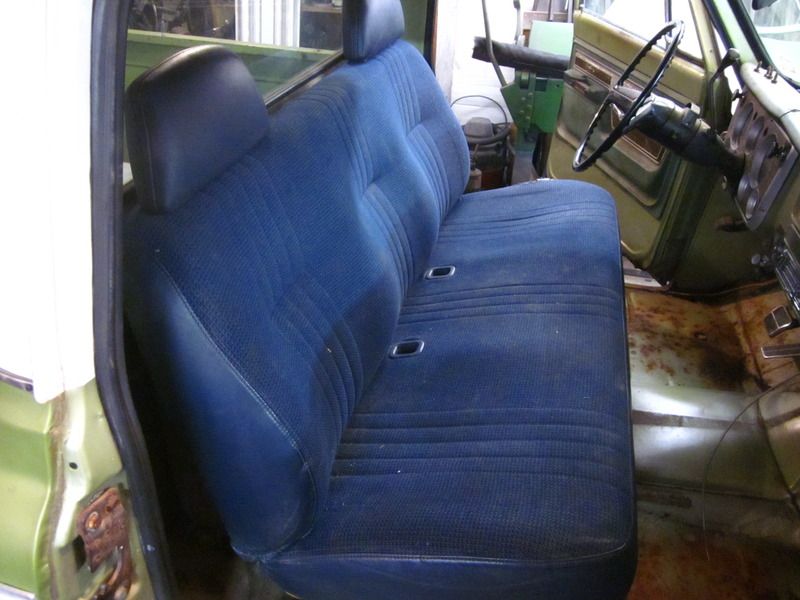
I got everything underneath finished. I took off the big side mirrors and the front bumper guards . I cut 3/4 coil on the front springs, it brought in down one inch. I pulled out the front seat and carpet. I bought this blue seat yesterday. It is a lot more comfortable than the original seat. It will eventually be reupholstered.
|
|
|
|
|
03-19-2016, 01:01 PM
|
#16 |
|
Registered User
Join Date: Jul 2015
Location: Warner Robins, Ga
Posts: 32
|
Re: Project 1972
Looks great man. Those floor pans look to be in decent shape.
|
|
|
|
|
03-29-2016, 10:44 PM
|
#17 |
|
Registered User
Join Date: Apr 2009
Location: Lowell AR
Posts: 360
|
Re: Project 1972
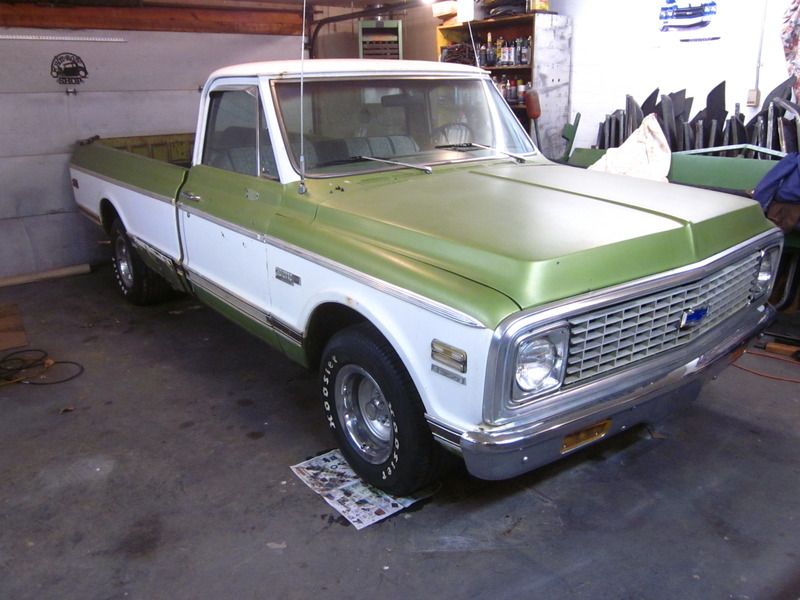
I changed the carb for one I rebuilt. Put in new plugs and wires. This thing is running sweet now. I took my first ride since installing all the brakes and suspension parts, its like a different truck. I chipped out the body sealer from the drip rails and started cleaning it up.
|
|
|
|
|
03-29-2016, 11:15 PM
|
#18 |
|
Registered User
 Join Date: Feb 2016
Location: Camarillo, CA
Posts: 256
|
Re: Project 1972
Boy, you're getting after it!
Nice looking truck! |
|
|
|
|
03-30-2016, 05:08 PM
|
#19 |
|
Registered User
Join Date: Apr 2009
Location: Lowell AR
Posts: 360
|
Re: Project 1972
Today I worked on the seat mounting. The seat I put in there is from a 99 Chevy truck. I was just trying to get the seat at the most comfortable angle. Now I just need to weld it.
|
|
|
|
|
04-06-2016, 11:01 PM
|
#20 |
|
Registered User
Join Date: Apr 2009
Location: Lowell AR
Posts: 360
|
Re: Project 1972
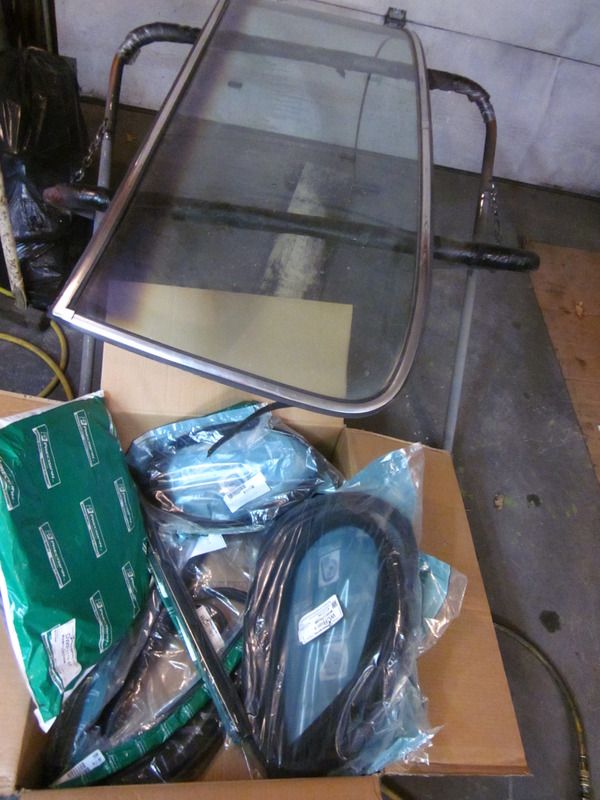
I finished my seat bracket. I took the seat to an upholstery shop to have it reupholstered. I have been sanding on the top, took out the windshield to clean up where the windshield sits. I ordered all new weatherstripping from gmc pauls, all precision brand.
|
|
|
|
|
04-06-2016, 11:29 PM
|
#21 |
|
Senior Member
Join Date: Jun 2002
Location: Murray, Kentucky
Posts: 3,366
|
Re: Project 1972
Great work so far. I had a seat covered for my jimmy that was a 94 bench. Turned out pretty good. What color are you going with on the seat?
Rg
__________________
Roger '68 Short step - https://67-72chevytrucks.com/vboard/...d.php?t=849675 '69 ('70?) 2wd Blazer '70 GMC Jimmy 2wd |
|
|
|
|
04-06-2016, 11:35 PM
|
#22 | |
|
Registered User
Join Date: Apr 2009
Location: Lowell AR
Posts: 360
|
Re: Project 1972
Quote:
|
|
|
|
|
|
04-15-2016, 09:27 PM
|
#23 |
|
Registered User
Join Date: Apr 2009
Location: Lowell AR
Posts: 360
|
Re: Project 1972
I took out the back glass, I want to make sure I clean up all the rust.
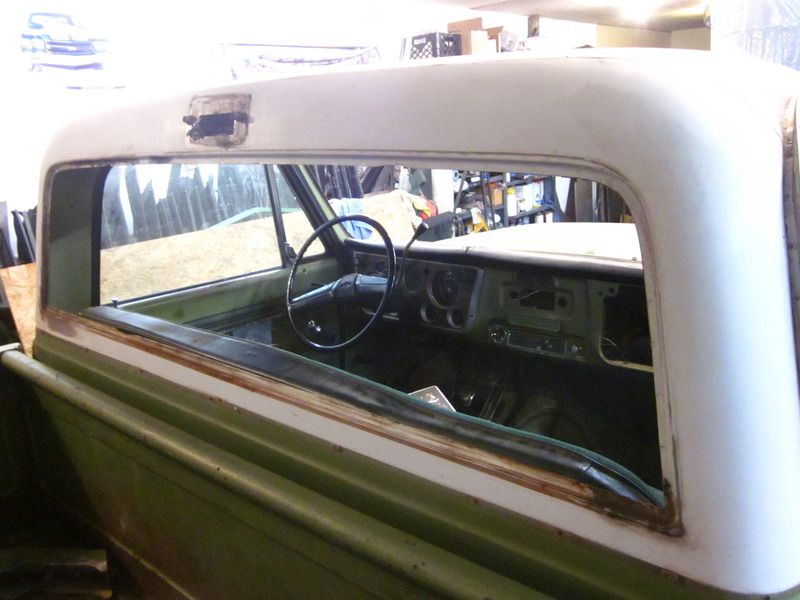 I took some of the dash apart. I am going to repaint the inside.  Today I repaired this rusted spot by the sunvisor.  I pieced together this sprayer and good or bad I sprayed some por15 in the upper roof area through the sunvisor holes. I got por15 leaking out everywhere.   
|
|
|
|
|
04-15-2016, 11:20 PM
|
#24 |
|
Registered User
Join Date: Oct 2007
Location: Spanaway
Posts: 8,451
|
Re: Project 1972
Eastwood also has a product for that with a long plastic wand, I have not used it yet but plan to.
__________________
Mike. Swamp Rat build thread : http://67-72chevytrucks.com/vboard/s...d.php?t=595019 72 3/4T 4X4 4" BDS Lift 33" BFG's |
|
|
|
|
04-22-2016, 06:56 PM
|
#25 |
|
Registered User
Join Date: Apr 2009
Location: Lowell AR
Posts: 360
|
Re: Project 1972
I thought I would work on my a/c heater box. There is no duct work at all, all the duct holes were taped up. I found out by reading this forum that the diverter box flapper is broken a lot of the time. Well my box did not have the flapper at all. I decided to try and make one. I welded a strap of metal to the rod and cut out two pieces of aluminum and shaped them to fit. I glued in some rubber strips I cut from an old roof rail weatherstrip I had kept. Then I riveted the aluminum together. I installed the box and it works good.
    
|
|
|
|
 |
| Bookmarks |
|
|


 Linear Mode

