
|
Register or Log In To remove these advertisements. |
|
|
|
|||||||
 |
|
|
Thread Tools | Display Modes |
 09-13-2011, 08:58 AM
|
#26 | ||
|
Registered User
Join Date: Apr 2009
Location: Pflugerville, TX
Posts: 594
|
Re: Project Texas Snowball 1987 R10
Quote:
Quote:
|
||

|

|
|
09-13-2011, 07:04 PM
|
#27 |
|
Registered User
Join Date: Apr 2009
Location: Pflugerville, TX
Posts: 594
|
Re: Project Texas Snowball 1987 R10
Sweet! Went digging through the "junk" in the center console, and found the brackets for the bucket seats. Dude knew what he was doing!

|
|
|
|
|
09-24-2011, 09:31 PM
|
#28 |
|
Registered User
Join Date: Apr 2009
Location: Pflugerville, TX
Posts: 594
|
Re: Project Texas Snowball 1987 R10
Woo hoo! Victory! Got the bed off at last.
Managed to get it off with just myself and my lovely wife. Just took a little thinking and a small amount of work. I jacked up the diff high enough to get the wheels off, and then supported the frame at that height with jack stands. I then let the diff down with the jack, which drooped the suspension enough that with the wheels off, the bed sides missed the drums. My wife and I then shimmied the bed backwards and worked it onto the dolly I built. I added rails lengthwise so we could slide it along easily. After that, it was just a matter of lining up the holes in the bed with the holes I drilled to attach it to the dolly, and voila, done. Oh, and I really need to buy some pegboard....can you tell? 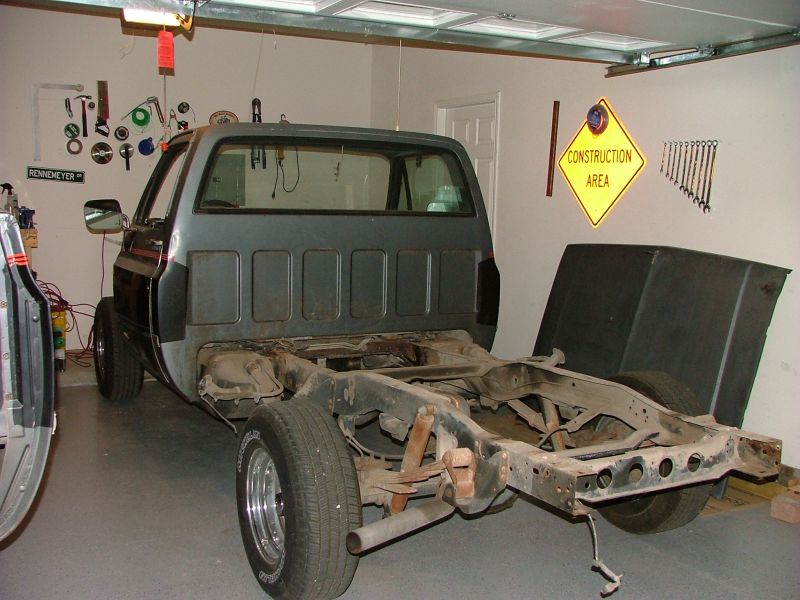 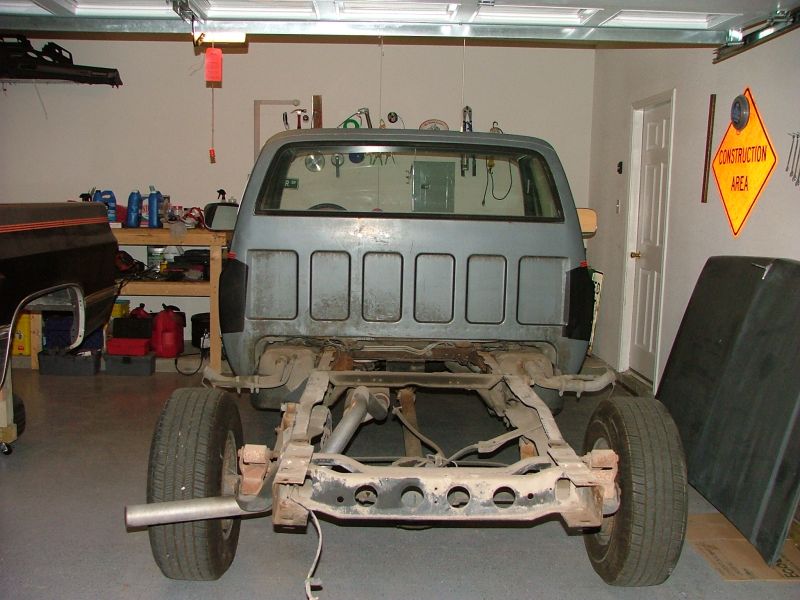 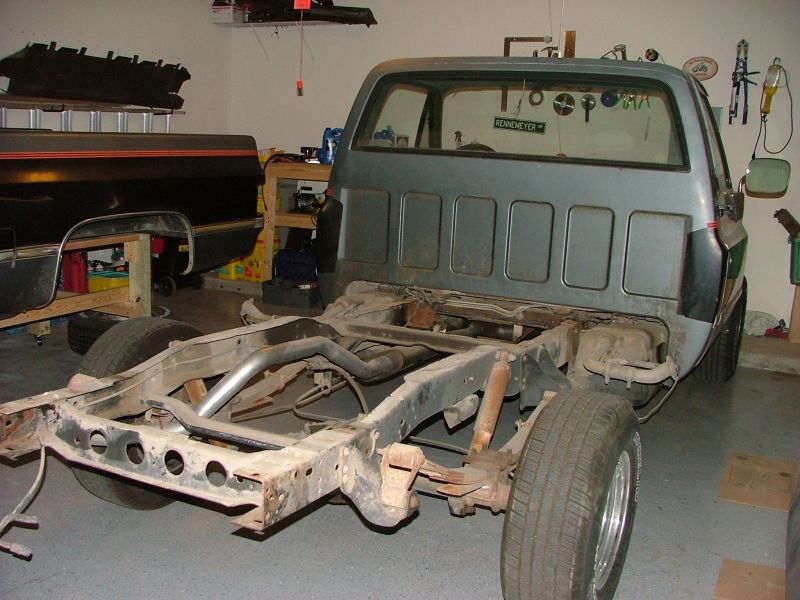 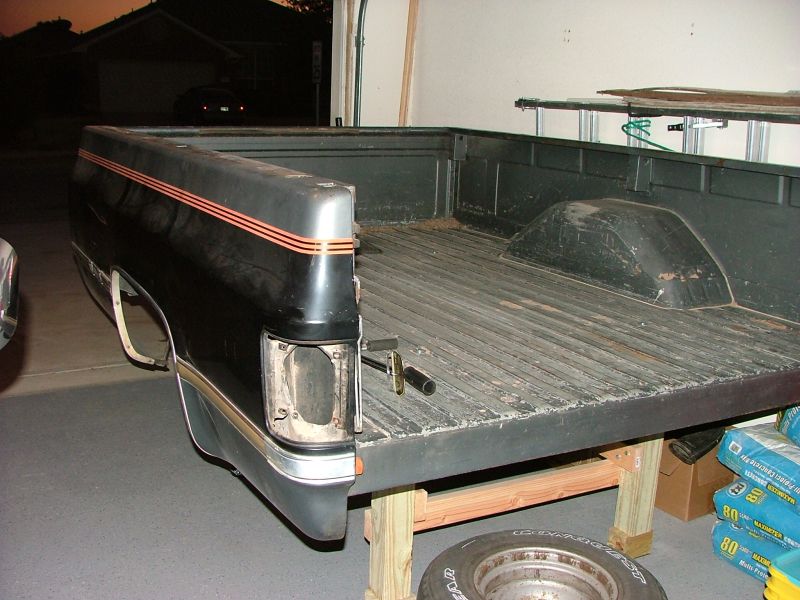   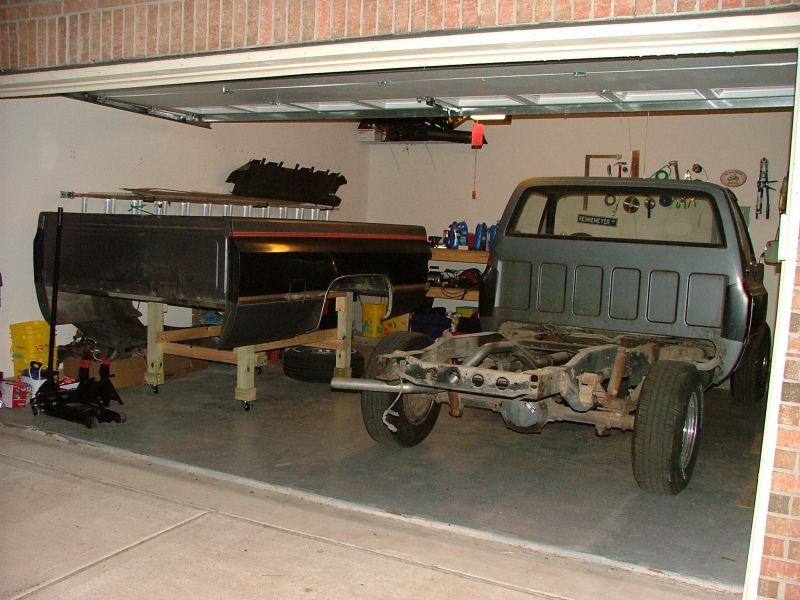 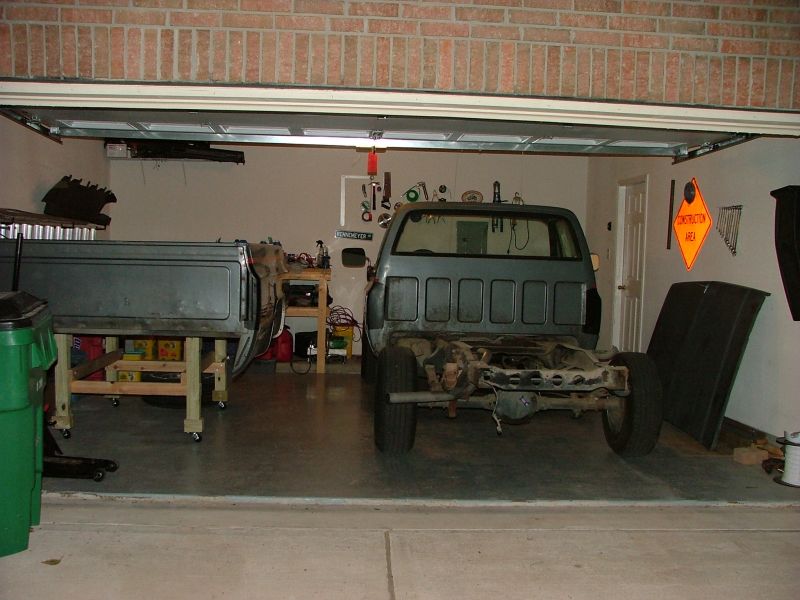
|
|
|
|
|
09-27-2011, 08:59 PM
|
#29 |
|
Registered User
Join Date: Apr 2009
Location: Pflugerville, TX
Posts: 594
|
Re: Project Texas Snowball 1987 R10
Made some progress on tearing down the rear suspension. I got the passenger side leaf pack off and started cleaning them up. Also got both bushings/bushing shells out of the main leaf. Now I just need to clean up the rest of the leafs, hit them with paint, and order some bushings.
Thursday is payday, so I will be ordering the bushings then. Managed to get all the U-bolts out without destroying any of them. Lots of PB blaster, plus I wire wheeled the visible threads, which made it pretty easy. 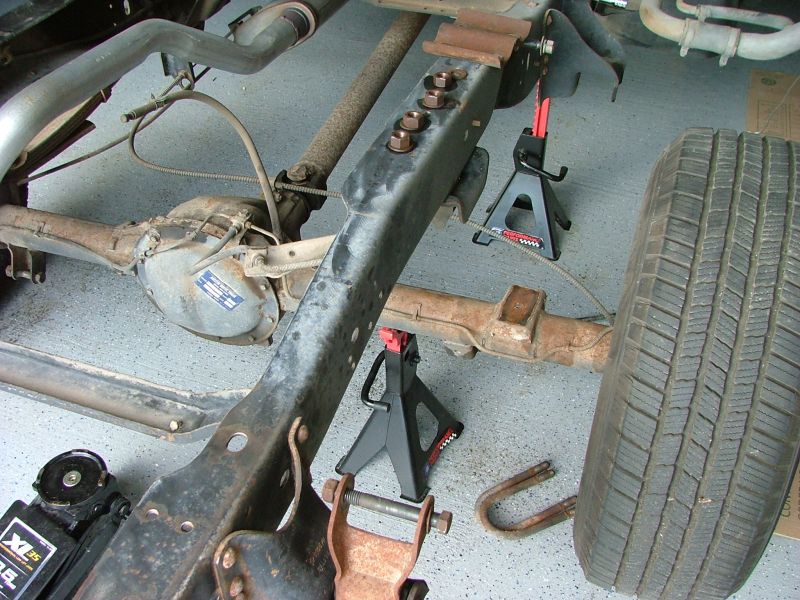 Dirty leafs. They all still have a pretty good arch though. Anyone know where to order the leaf spring pads? Some of mine are pretty hammered. Can't honestly say I've looked for them, but I'm feeling pretty lazy today. :baby: 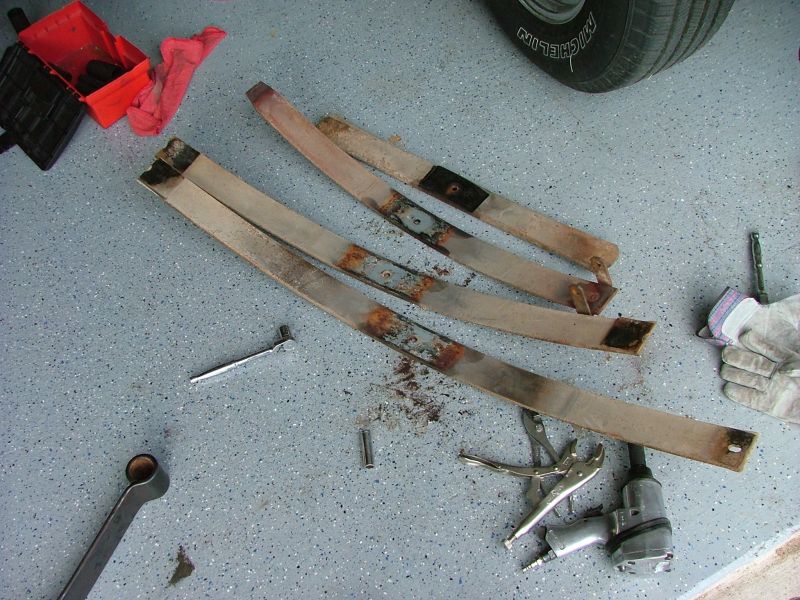 Die bushings, DIE!!!! 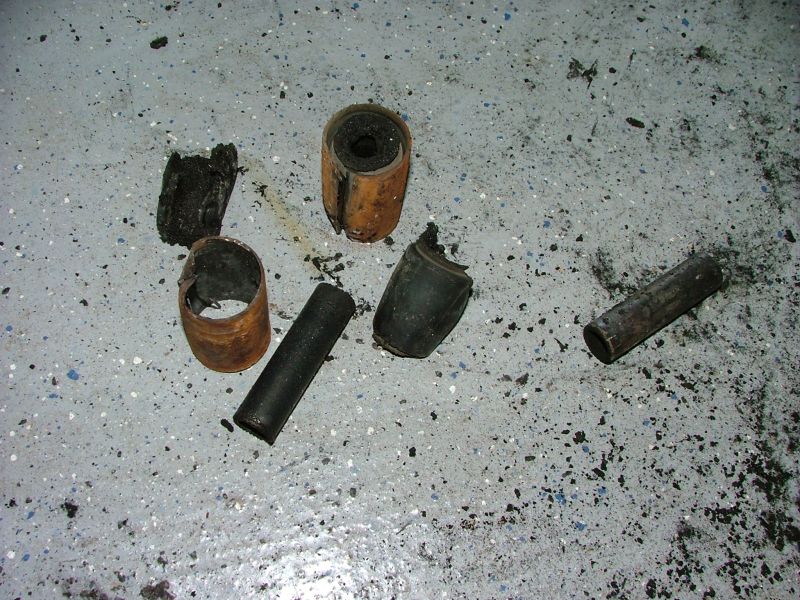 The end result after bushing removal and cleaning up the rest of the leaf. I still need to clean the rust out of the bushing area, then I'll hit it with some paint. 
|
|
|
|
|
09-30-2011, 11:12 AM
|
#30 |
|
Registered User
Join Date: Apr 2009
Location: Pflugerville, TX
Posts: 594
|
Re: Project Texas Snowball 1987 R10
Got out to the garage tonight and was able to get the passenger side fuel tank dropped. I messed around for a few minutes with the fuel lines thinking about draining the tank using the fuel pump, but all of my gas cans were full, so I decided to drop it with the fuel in it.
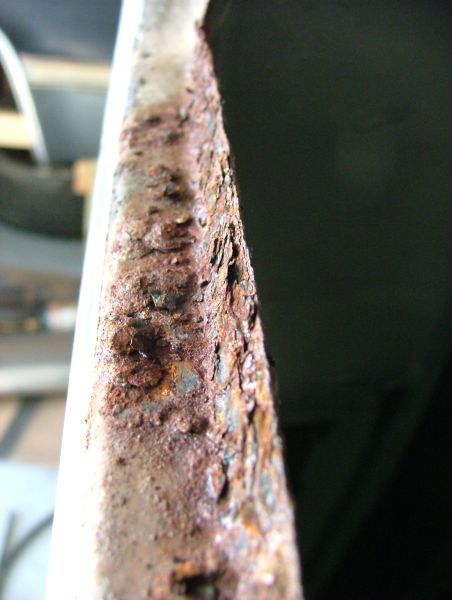
I drained it once before about a year ago trying to get all the old fuel out because the truck wouldn't run well from that tank, but it turns out it was a bad pump. Fortunately, I only put 7 gallons of fresh fuel in it, so it wasn't too bad to drop. I will be replacing both of my 16's with 20 gallon tanks and new sending units, so I don't really care what kind of shape these tanks are in. I did however, snap a few pics of the "martian landscape" that had built up inbetween the tank shield and the tank itself. You can see that the shield probably caused more corrosion than it prevented, though I suppose it does stop other more direct impact damage. It's 100x easier just to unbolt the brackets, in my book. I just lowered the tank down using my jack and a sheet of plywood for support after removing all the bracket bolts. Easy peasy. 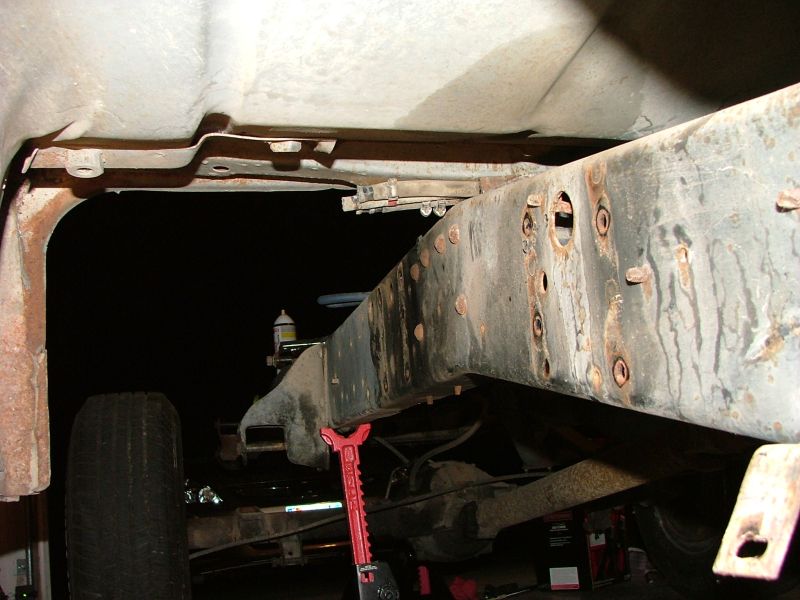 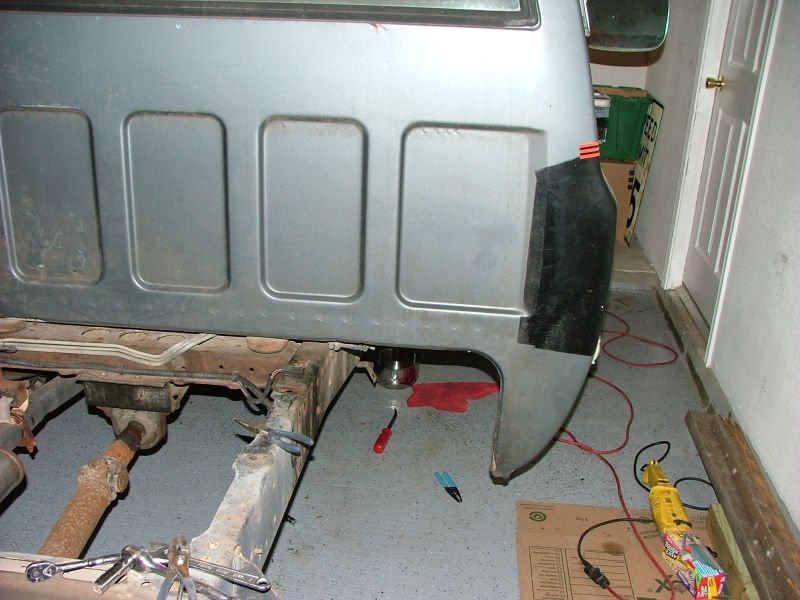 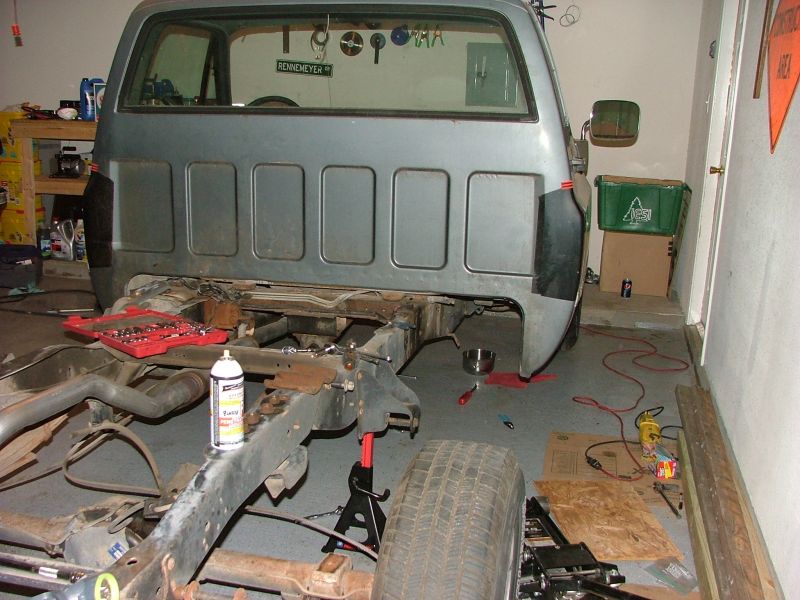 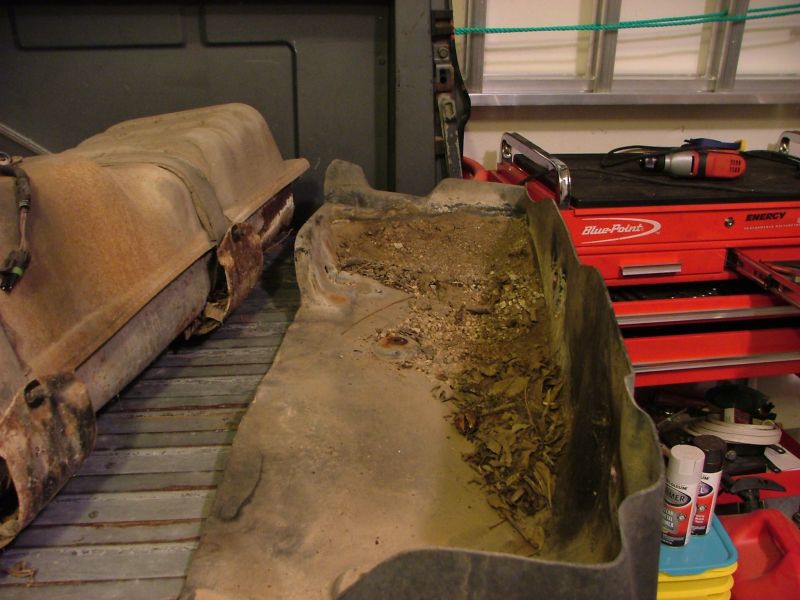 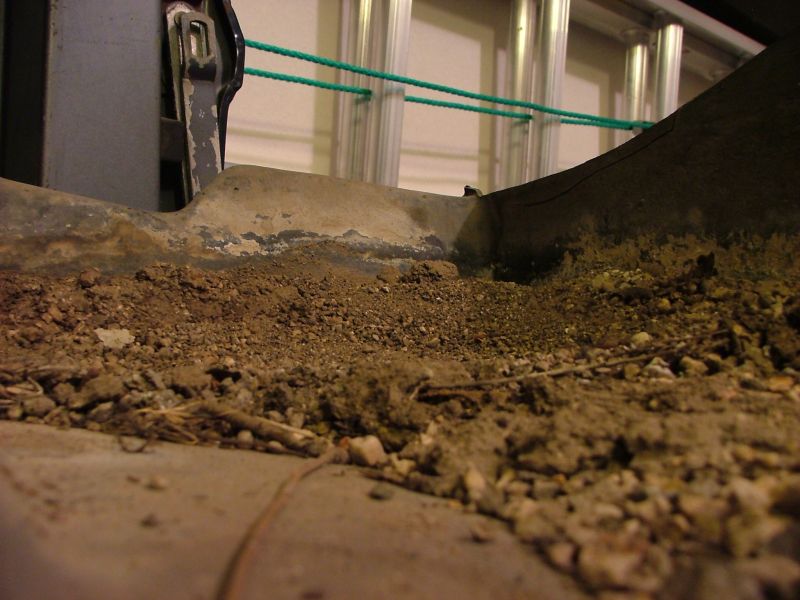 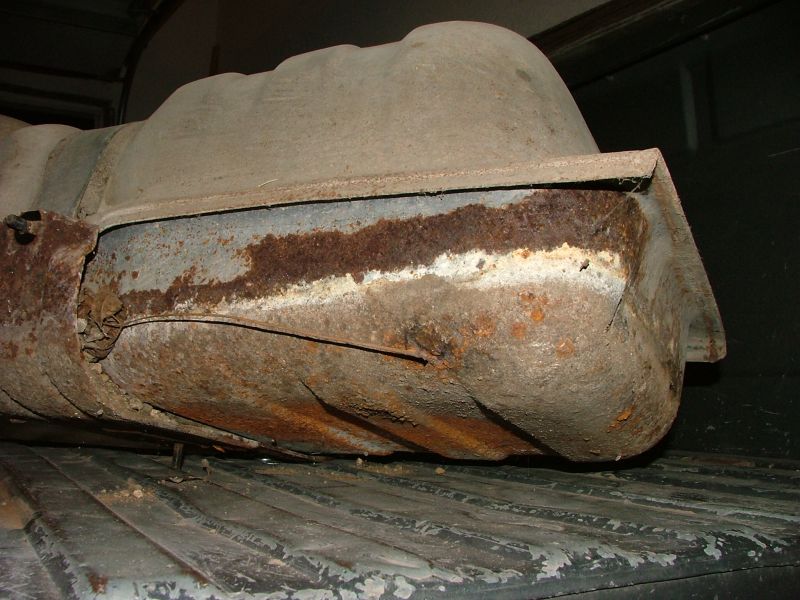
|
|
|
|
|
10-02-2011, 09:21 PM
|
#31 |
|
Registered User
Join Date: Apr 2009
Location: Pflugerville, TX
Posts: 594
|
Re: Project Texas Snowball 1987 R10
Well, I was about to order some new poly leaf spring bushings and my shackle and hanger kit, but the AC in the house just went out. It's going to cost somewhere to the tune of 3.5-5k to get it fixed...
Guess it'll be a while before I order parts... 
|
|
|
|
|
10-03-2011, 03:58 AM
|
#32 |
|
Registered User
Join Date: Sep 2009
Location: Weare,NH
Posts: 1,589
|
Re: Project Texas Snowball 1987 R10
Replacing your 16 gallon tanks you say? Like to send your old drivers side tank my way?

|
|
|
|
|
10-03-2011, 10:51 AM
|
#33 | |
|
Registered User
Join Date: Apr 2009
Location: Pflugerville, TX
Posts: 594
|
Re: Project Texas Snowball 1987 R10
Quote:
|
|
|
|
|
|
10-23-2011, 05:26 PM
|
#34 |
|
Registered User
Join Date: Apr 2009
Location: Pflugerville, TX
Posts: 594
|
Re: Project Texas Snowball 1987 R10
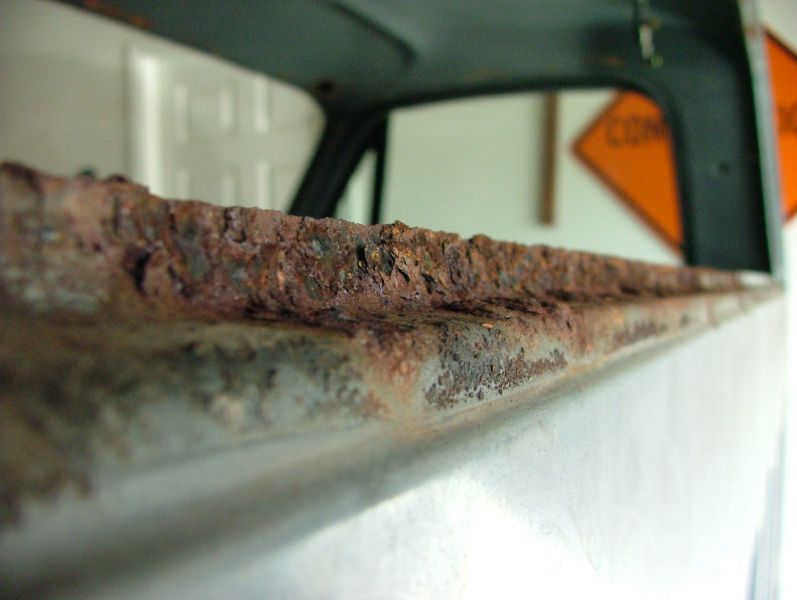
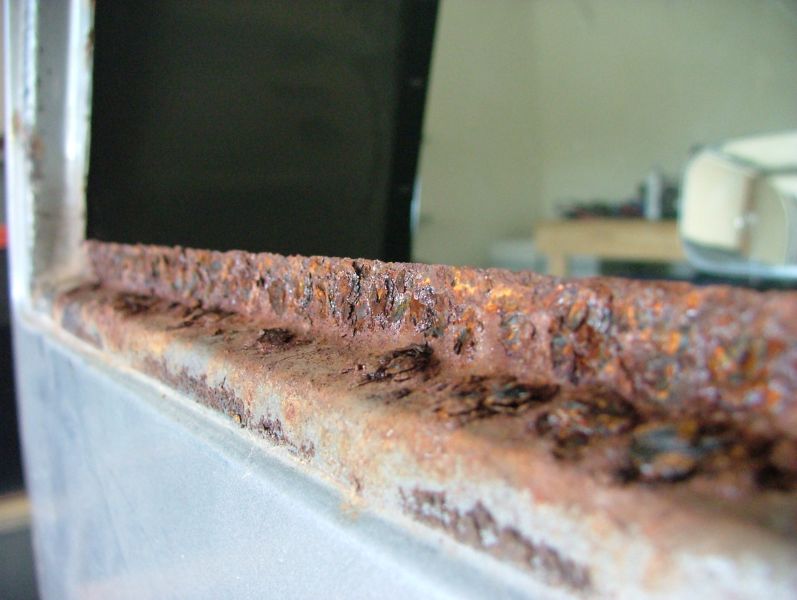
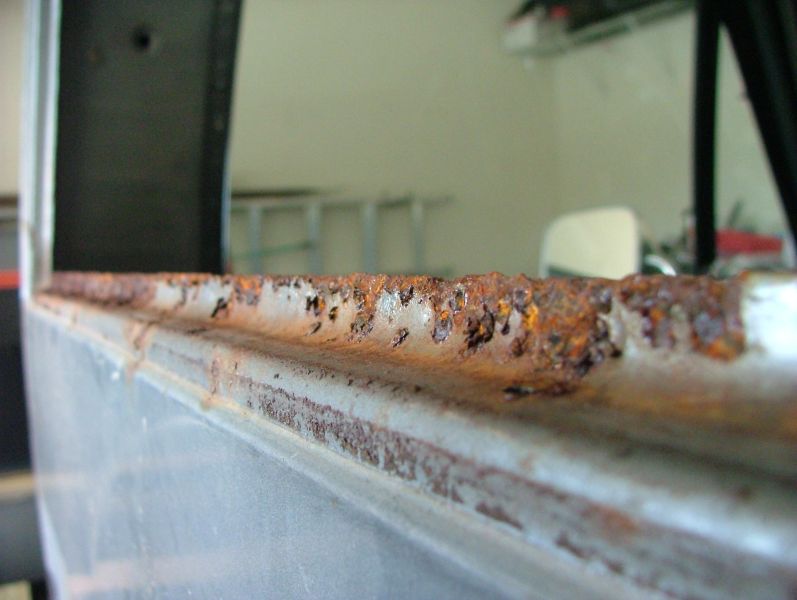
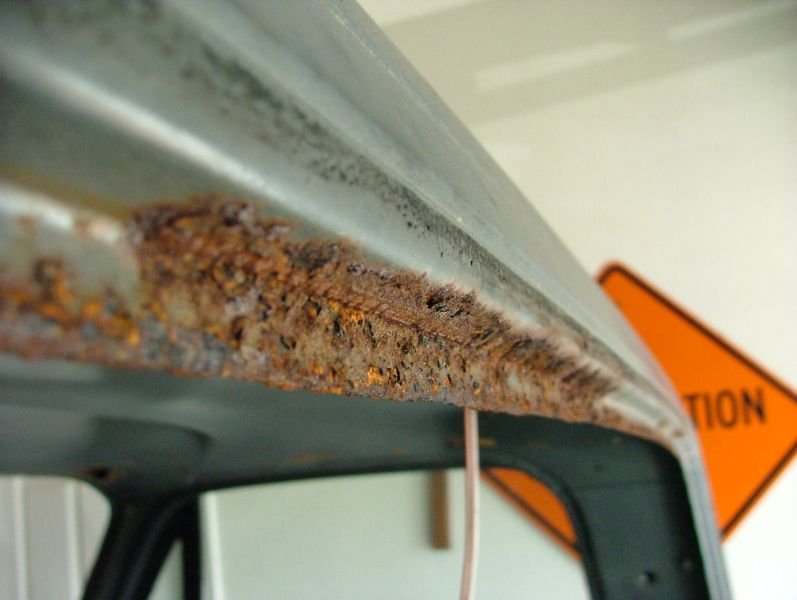
Had a chance to get outside and pull the rear glass today. In the process, found the first piece of sheet metal I'll absolutely need to replace.
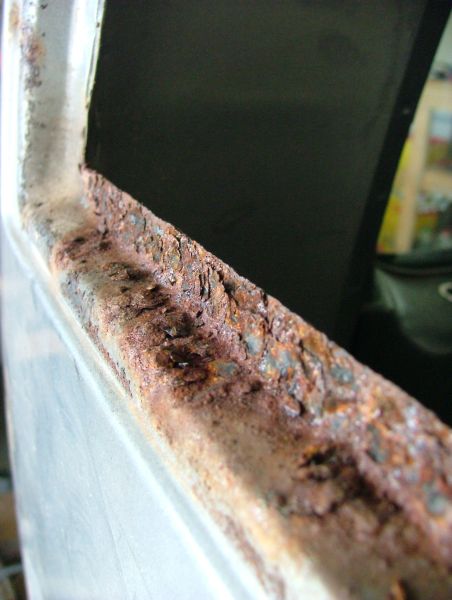         Also had time to install the poly bushings into my cleaned up leaf spring pack. Please ignore the scuff marks. Those are from the spring plate sitting on the springs when I threw them on the truck temporarily to back it out of the garage. 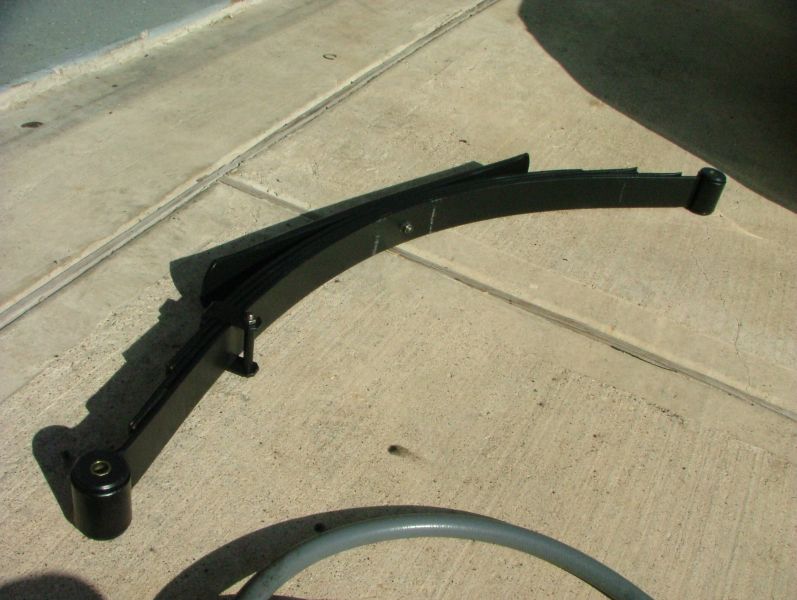 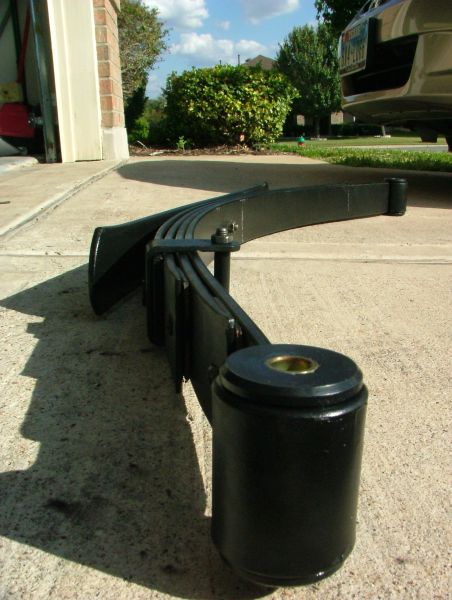  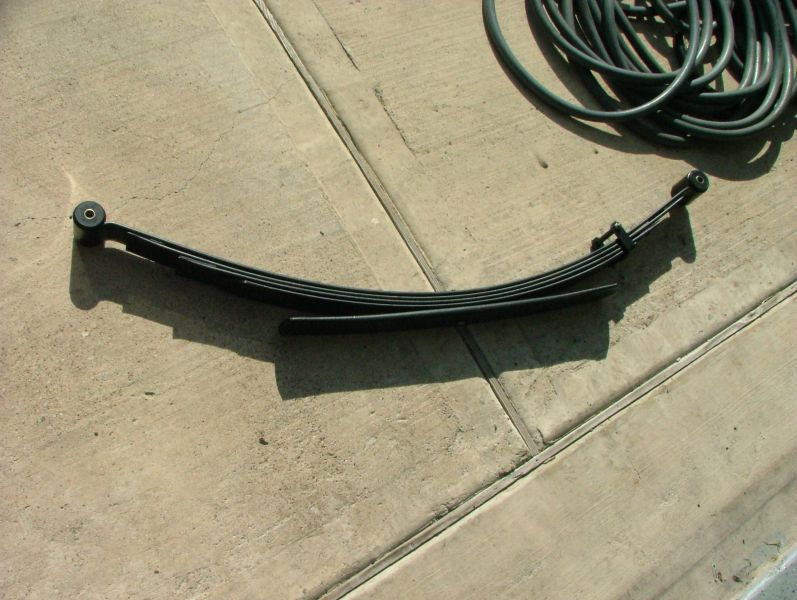
|
|
|
|
|
10-24-2011, 10:29 AM
|
#35 |
|
Registered User
Join Date: Apr 2011
Location: corpus christi, tx - america's fattest city
Posts: 253
|
Re: Project Texas Snowball 1987 R10
That's nothing, the rot around the rear window. Mine is much worse, not a big deal since I'm swapping the cab anyway. This was one of several common places for rust to form on the squares.
If you decide not to graft new sheet metal you can go old school and melt some lead in there. At least yours has enough still intact where you can do that, mine's too far gone... |
|
|
|
|
03-19-2012, 04:14 PM
|
#36 |
|
Registered User
Join Date: Apr 2009
Location: Pflugerville, TX
Posts: 594
|
Re: Project Texas Snowball 1987 R10
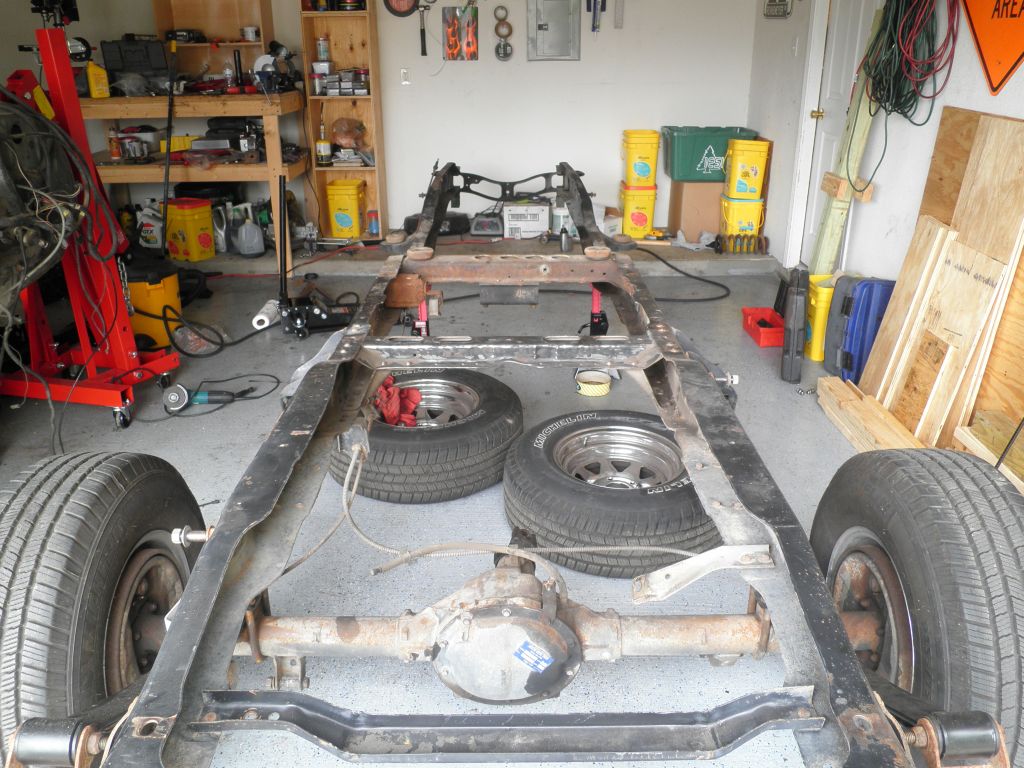
Been a while since I've updated. Been working like crazy on paying off debt and gathering the needed tools. Picked up an engine hoist, stand, and a welder w/ gas cylinder this month to get started on the truck again.
Got the engine out and the cab off, finally, during this past weekend. 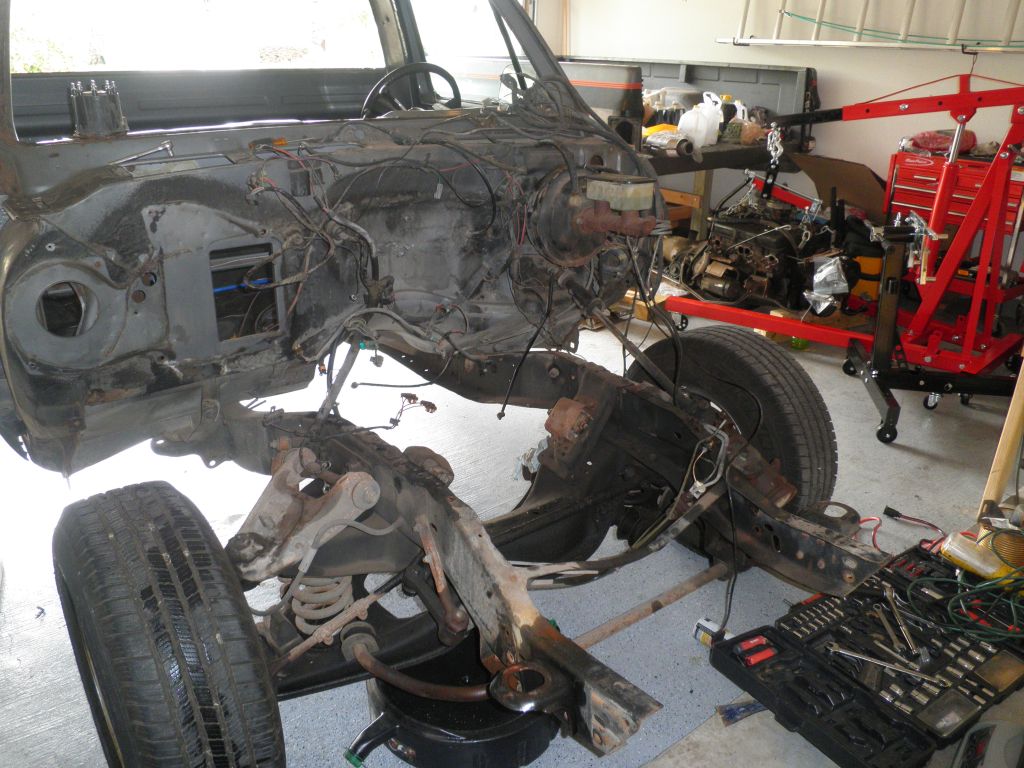 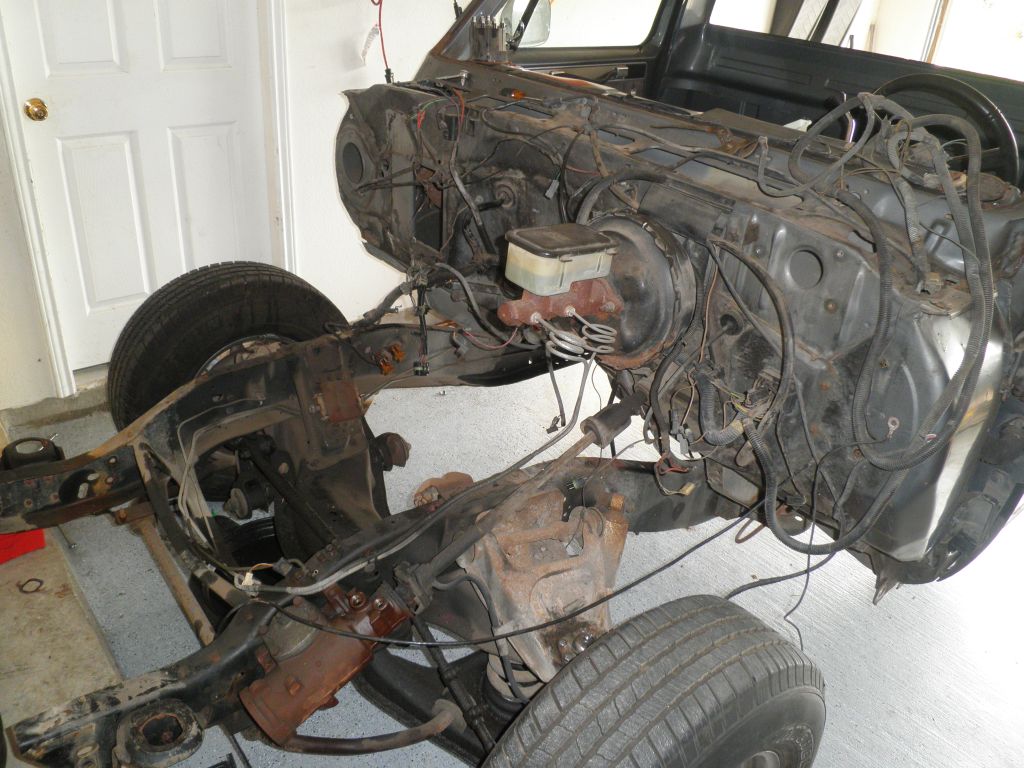 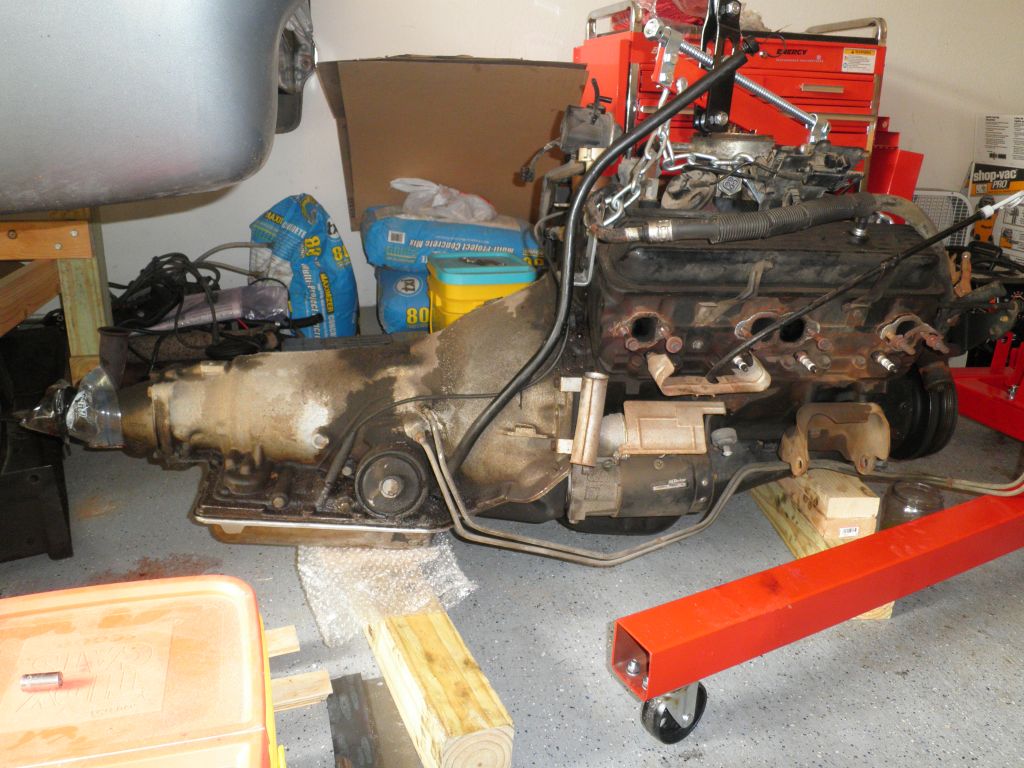   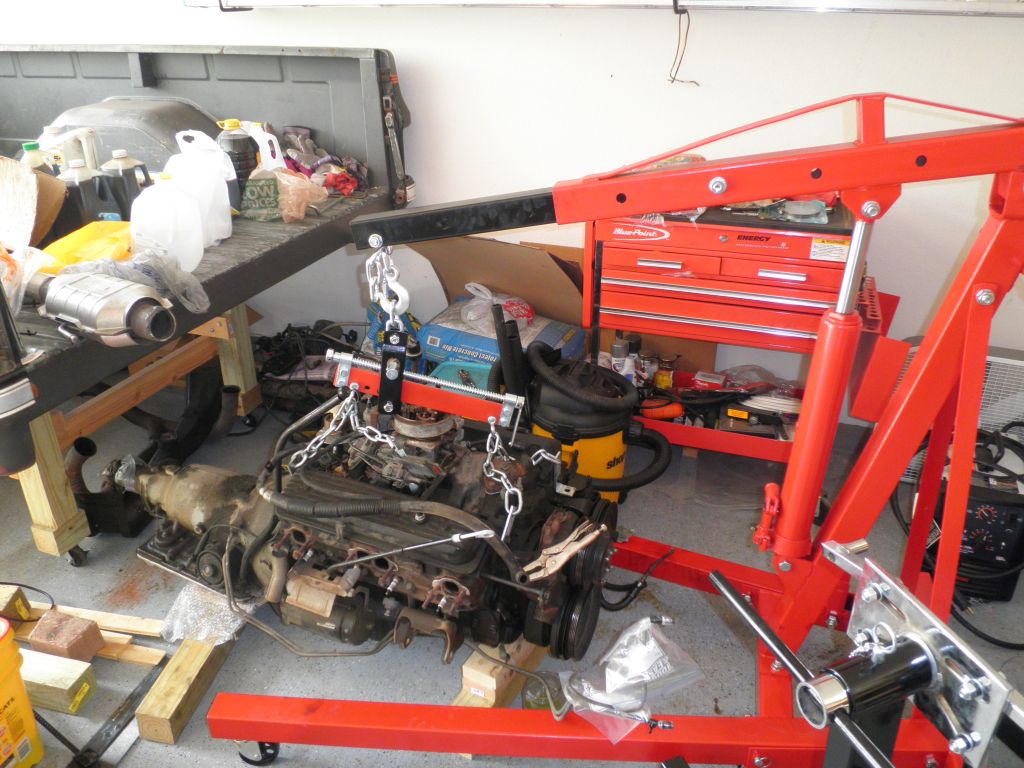 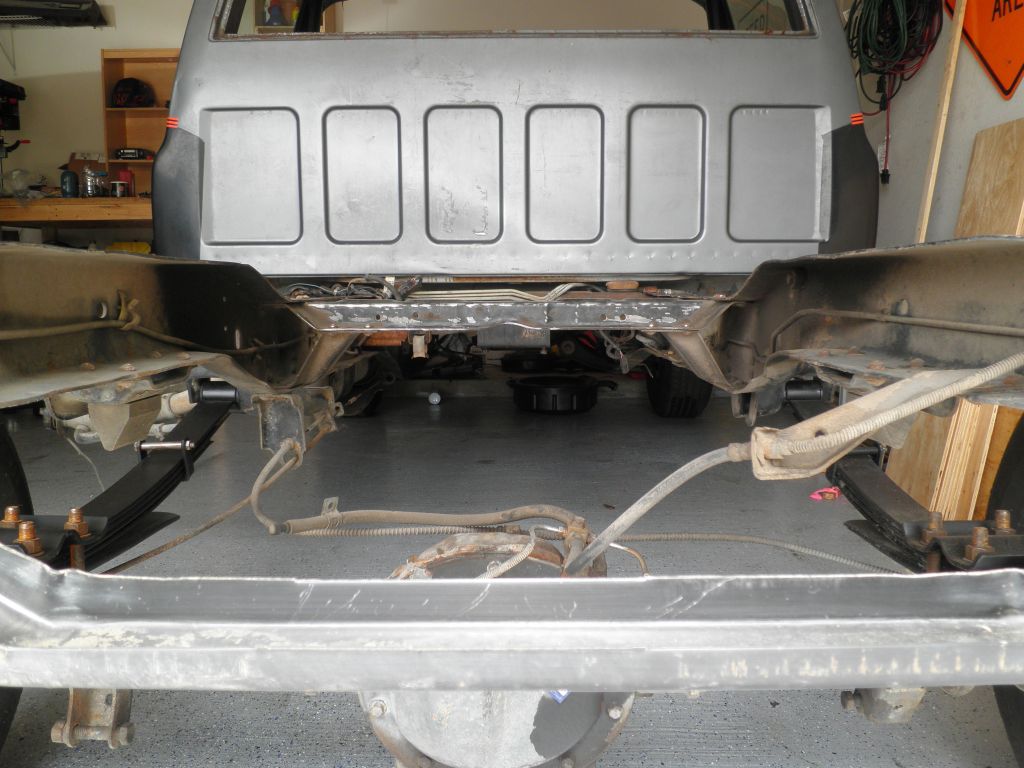     
|
|
|
|
|
03-19-2012, 04:42 PM
|
#37 |
|
Registered User
Join Date: Aug 2011
Location: Houston, TX
Posts: 170
|
Re: Project Texas Snowball 1987 R10
U sure have a loving wife. Mine would've been on my ass about the project in the garage.
|
|
|
|
|
03-21-2012, 03:00 PM
|
#38 |
|
Registered User
Join Date: Apr 2009
Location: Pflugerville, TX
Posts: 594
|
Re: Project Texas Snowball 1987 R10
She definitely is a sweet heart! Got the garage picked up a little, but still need to do more clean up before I can get to work. Nothing like tripping over extension cords and tools to ruin your day, haha. After that's done, I'll be borrowing a co-workers pressure washer and buying some oven cleaner to degrease the frame. Then saving some cash to drop and rebuild the front suspension.
|
|
|
|
|
03-27-2012, 11:05 PM
|
#39 |
|
Registered User
Join Date: Apr 2009
Location: Pflugerville, TX
Posts: 594
|
Re: Project Texas Snowball 1987 R10
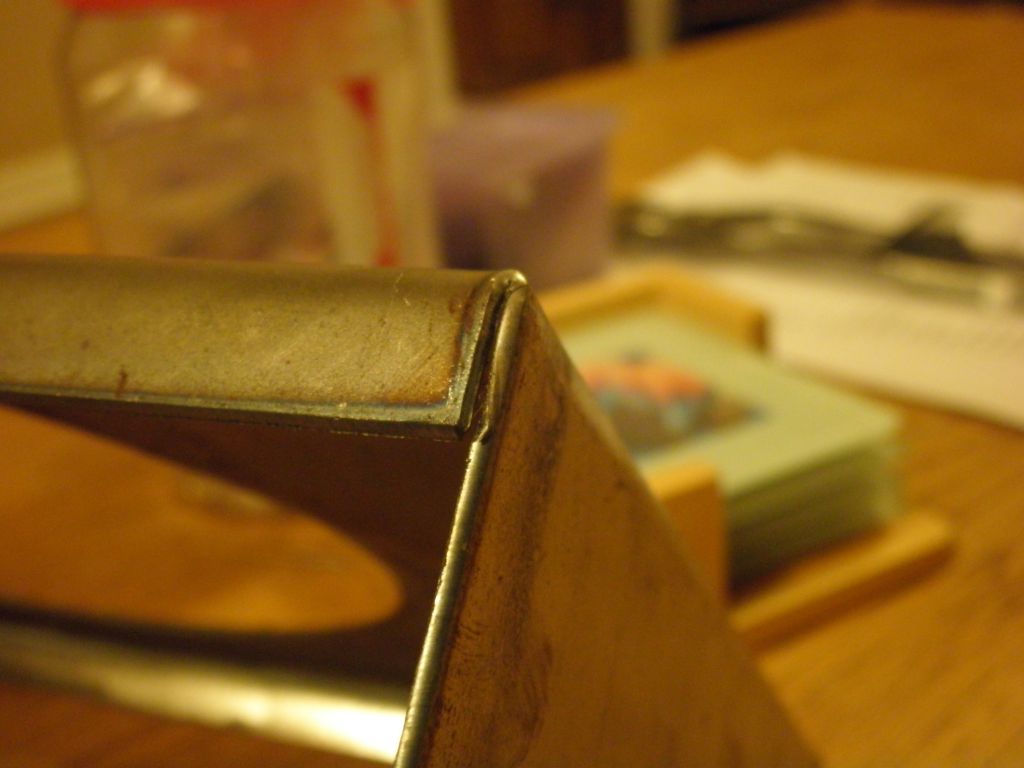
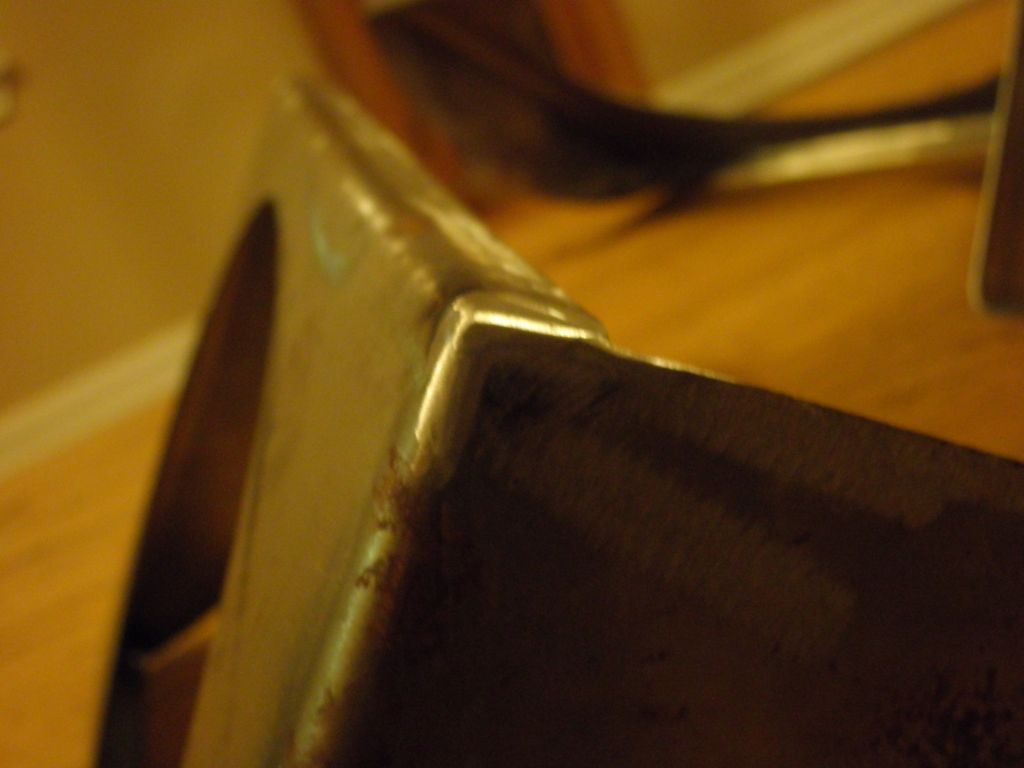
Got bored tonight and decided I didn't like the gaps on my 6x9 speaker brackets, so I busted out mah' welder and fixed em' up. This was my first try on sheet metal, kind of a primer to bodywork, if you will.
|
|
|
|
|
04-03-2012, 03:49 PM
|
#40 |
|
Registered User
Join Date: Apr 2009
Location: Pflugerville, TX
Posts: 594
|
Re: Project Texas Snowball 1987 R10
Boom! My front suspension exploded into a million pieces. Got it all torn down to the individual components for the most part. I still need to remove bushings and the like. After that, I need to order my drop spindles, and then it's off to the powder coaters with a bunch of stuff.
|
|
|
|
|
04-22-2012, 02:07 PM
|
#41 |
|
Registered User
Join Date: Apr 2009
Location: Pflugerville, TX
Posts: 594
|
Re: Project Texas Snowball 1987 R10
While I am waiting for some money to come my way to do the powder coating, I decided to tackle the cab seam, which I am shaving.
I got the cab seam cleaned out of all the gunk, but then discovered that I suck at sheet metal welding. I was a little too hot on one part of the cab and those parts warped a little bit, but nothing I can't fix later on when I do body work with a stud gun and a hammer.  The second half of the cab I did went much better, had the heat turned down and figured out what I was doing for the most part. Pictures below! The second half of the cab I did went much better, had the heat turned down and figured out what I was doing for the most part. Pictures below!Here is the warping I was talking about. I was kind of pissed that I messed it up, but it can be fixed, no point being mad about it.   Here is the second half of the cab. The welds are much neater, and there was ZERO warping, since I was cooling the welds immediately after I completed them with compressed air.   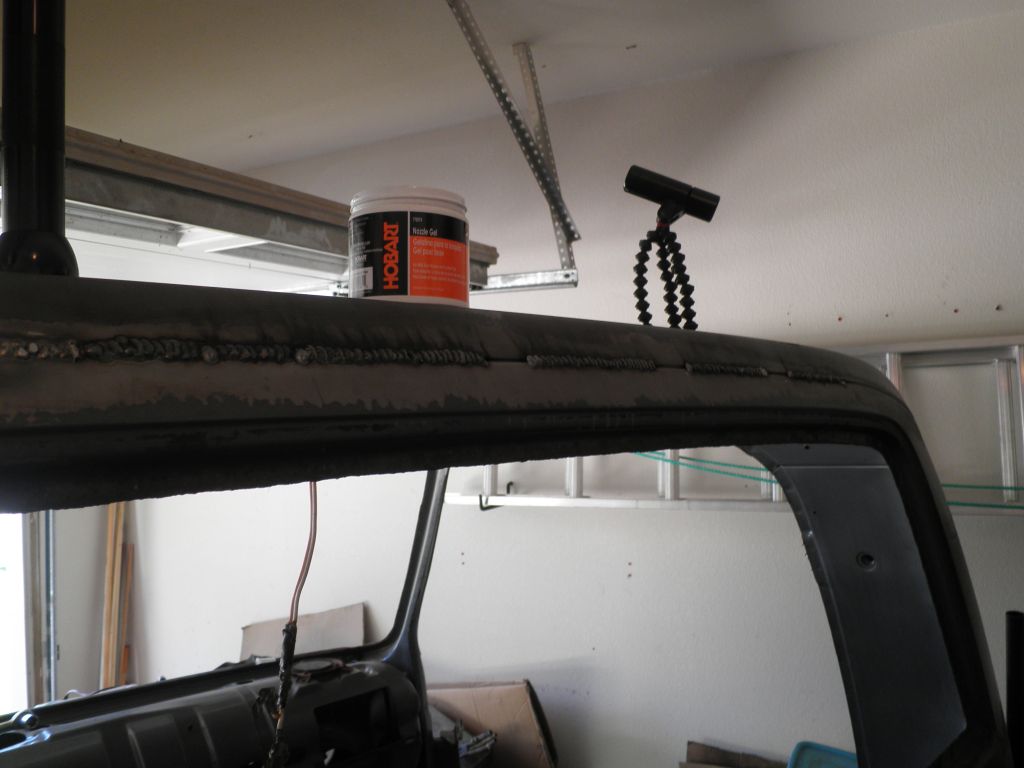  Here is a comparison of the first attempted welds on the left (which I've started to grind down a little in this photo) and my second try, on the right. As you can see, my second attempt was WAY better and more consistant.  Here is a shot of the nearly complete cab seam, showing my 2nd attempt again.  My 2nd attempt after wire wheeling. Looking good! A few blips and whatnot here and there that aren't perfect, but pretty decent overall.  Here is the cab band and corner moldings I scored from the JY. 
|
|
|
|
|
| Bookmarks |
|
|


 Linear Mode

