
|
Register or Log In To remove these advertisements. |
|
|
|
|||||||
 |
|
|
Thread Tools | Display Modes |
|
|
 04-28-2016, 07:07 PM
|
#1 |
|
Registered User
Join Date: Nov 2014
Location: Oakland, CA
Posts: 114
|
Re: Kell's Two Cents - 1946 build
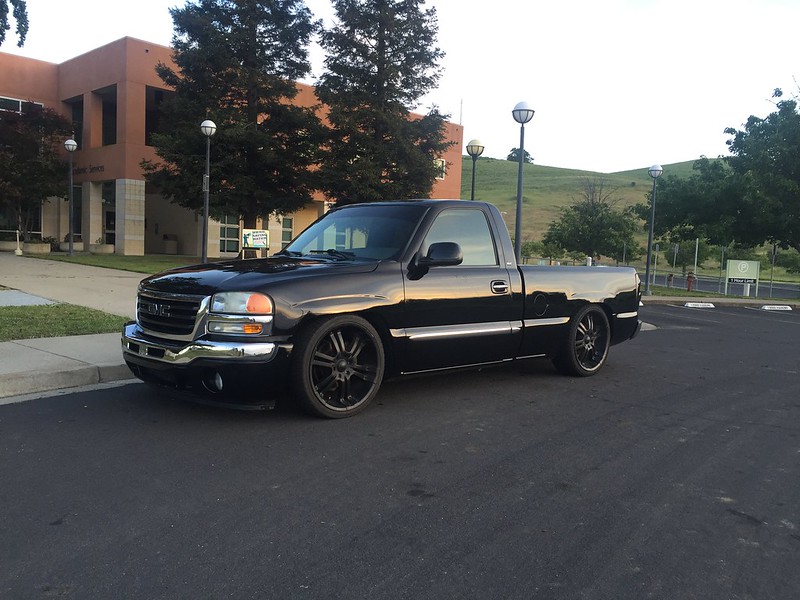
Thanks man, yeah I found a thread somewhere online of guys posting pics and all the specs for the drops they did. No conversation was allowed, just pics and specs, so it was really cool. It took a lot of the guess work out since I could find the trucks sitting exactly how I wanted and emulate their drops. Only difference was most everybody bolted in c-notches and seemed to have clearance issues. I welded in a deep C and don't even run bump stops in the back, I never hit.
|

|

|
|
04-28-2016, 07:28 PM
|
#2 |
|
Registered User
Join Date: Nov 2014
Location: Oakland, CA
Posts: 114
|
Re: Kell's Two Cents - 1946 build
Alright, so I'm back with some minor updates. I feel like I'm doing more running around and less actual building of the truck.. But I have began to tackle the cab a little bit.
Months ago I tried to begin disassembly on it. I ordered clutch head bits, and literally got nowhere with it. Not a single screw would come off the interior, the clutch heads just seemed to melt away. So my cab for the most part remained untouched while I had been focusing on the frame and everything else. Finally I could ignore it no longer and had to get serious on it. I went down and bought a bunch of 1/4-20 bolts and started welding them to all the interior screws. Finally they came off relatively easily, and I could grind and reuse the bolts a 2nd time. In many cases I found it easier to hold the bolt to one side of the screw head to give myself a larger welding area on the other side, as holding it dead center of the screw head doesn't give you much room on any side of it. 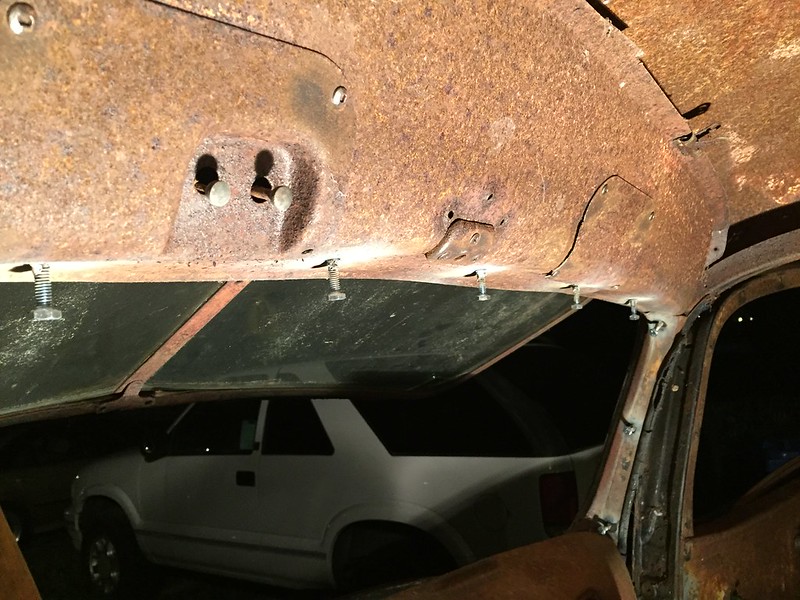 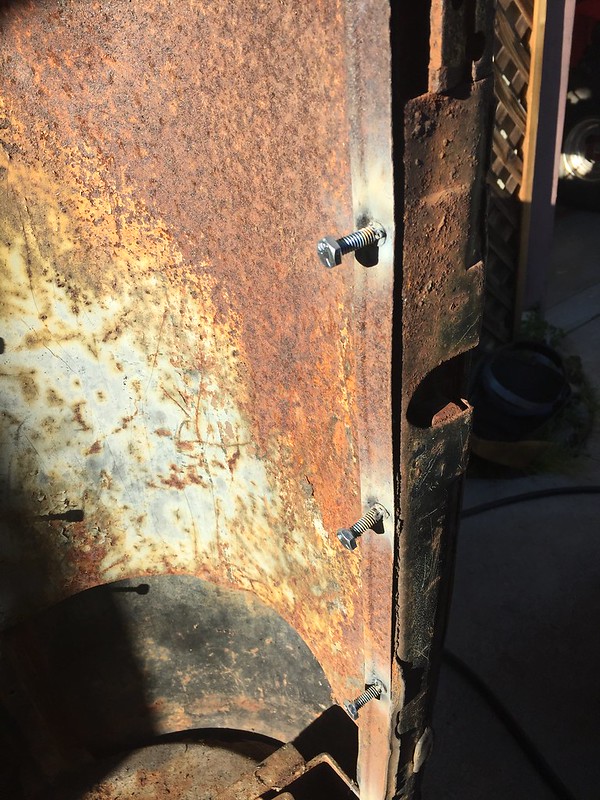 So that's how it went getting the cab pieces all taken off. I pulled the windshield and the dash, and I began stripping the interior of all the rust. Let me just say this is painstaking work, absolutely not my favorite part of this build lol If it weren't for preserving the patina, one should seriously just cash out and have their cab sandblasted. Anyways, couple photos 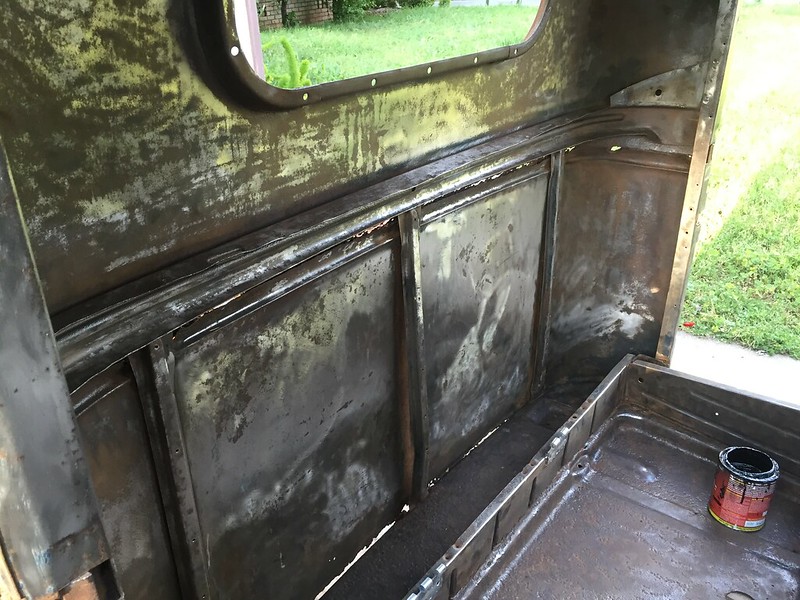 All this is just one part of one day  POR-15 all around 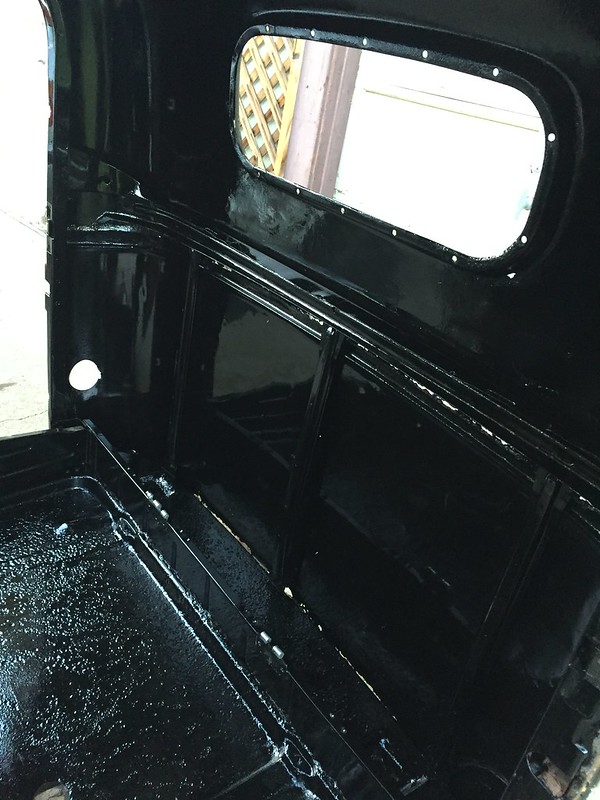  Next I flipped it up and got the bottom 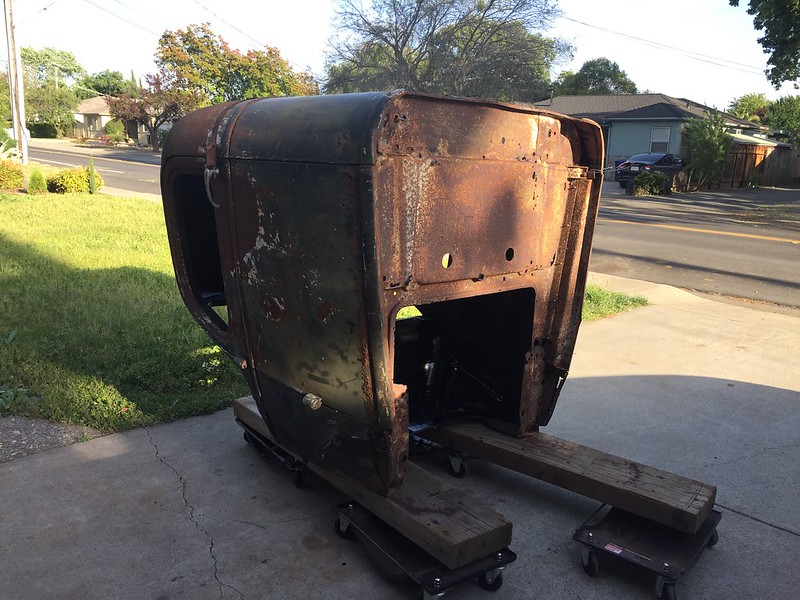 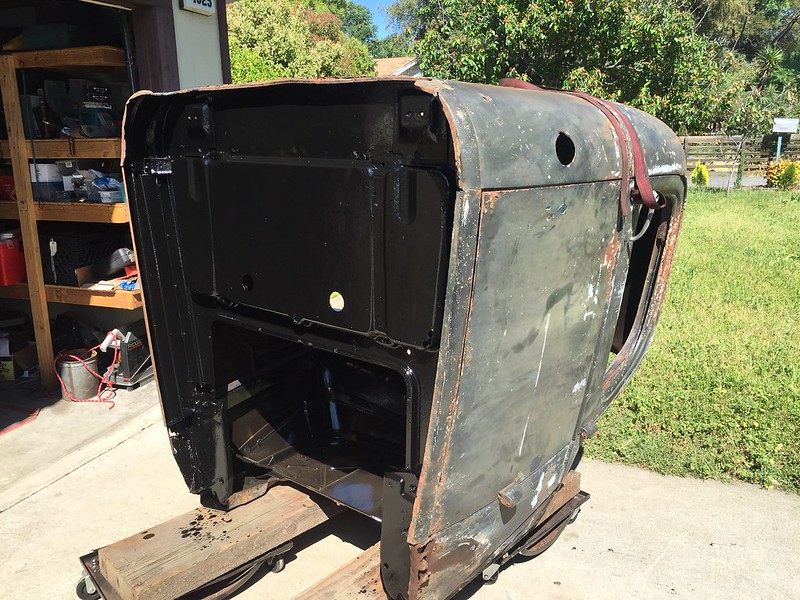 I really like the original moss on the roof 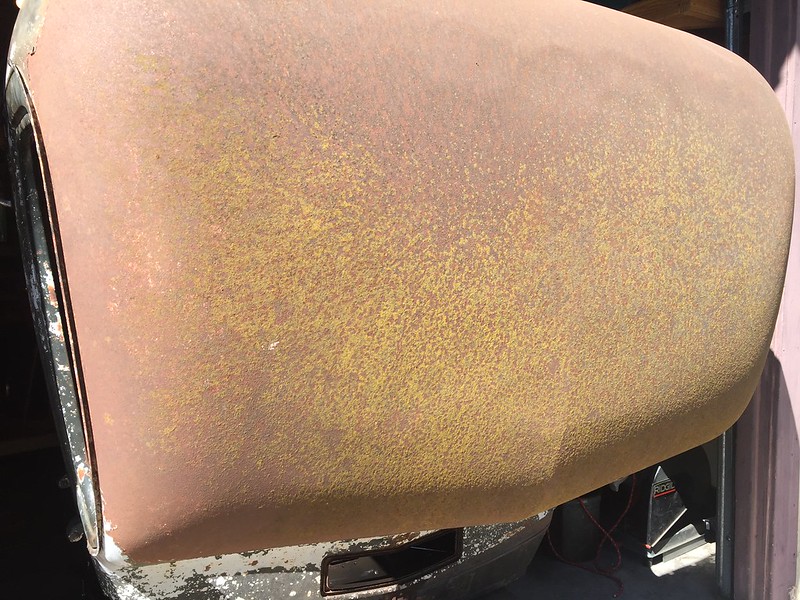 The cab is obviously in pretty bad shape. Pitting in the floor, rust through at the belt line, bottom back of the cab, cab corners, etc. I would really like the redo the floor, bottom back, and cab corners as all these area get covered up and would not show. I'll have to revisit it though, it's just not in the cards this summer Thanks guys, I'll catch ya later Last edited by gokellurself; 08-20-2017 at 02:11 PM. |
|
|
|
|
08-17-2016, 12:04 AM
|
#3 | |
|
Registered User
Join Date: Dec 2002
Location: Cactus Patch So. Az
Posts: 4,749
|
Re: Kell's Two Cents - 1946 build
Quote:
I just finished welding in a C Notch on the rear frame of our 03 GMC what a difference a few inches makes in the frame. no more THUMP !
__________________
53 TuTone Extended Cab 350 4-Spd 3:08 (SOLD) 53 Chevy Moldy pearl green ZZ-4 4L60E 9" 3:25 55 GMC 1st Black Mll (ZZ4) ZZ6 TKO 600 5 sp 3:73 62 Solidaxle Corvette Roman Red (327 340hp 4spd 3:36) C4 & C5 suspension tube chassis LS 3 4L70E 65 Corvette Coupe 327 350hp 4spd 4:11 78 Black Silverado SWB (350/350) 5.3 & 4L60E 3:42 2000 S-Type 3.0 (wife cruiser) 2003 GMC SCSB 5.3 4L60E 3:42 |
|
|
|
|
|
08-17-2016, 12:33 AM
|
#4 | |
|
Registered User
Join Date: Nov 2014
Location: Oakland, CA
Posts: 114
|
Re: Kell's Two Cents - 1946 build
Quote:
Last edited by gokellurself; 08-19-2017 at 10:04 AM. |
|
|
|
|
|
| Bookmarks |
|
|


 Hybrid Mode
