
|
 05-11-2016, 12:35 PM
|
#701 |
|
Registered User
Join Date: Apr 2003
Location: Indep, MO
Posts: 5,893
|
Re: 55 Wagon Progress
Congrats on the mention in the new TRJ, Robert. The Louvers are cool!
__________________
Boppa's Old Yeller Truck Build, Old Yeller's New Heart! Project Buzz Bomb Flyin' Low! |

|

|
|
05-11-2016, 01:11 PM
|
#702 |
|
Registered User
Join Date: Jan 2013
Location: Leonardtown, MD
Posts: 1,633
|
Re: 55 Wagon Progress
Thanks! Should be getting a copy in a couple weeks

__________________
Robert |
|
|
|
|
05-13-2016, 10:25 AM
|
#703 | |
|
Registered User
Join Date: Jan 2013
Location: Leonardtown, MD
Posts: 1,633
|
Re: 55 Wagon Progress
Quote:
__________________
Robert |
|
|
|
|
|
05-16-2016, 12:28 AM
|
#704 |
|
Registered User
Join Date: Jan 2013
Location: Leonardtown, MD
Posts: 1,633
|
Re: 55 Wagon Progress
Well today was our Saturday so we put the newly installed GoKart slick to use on the cast wheeling machine, along with the 4" diameter lower anvil. Started with slight pressure and gradually increased. Tire was about 1/2 deflated.
 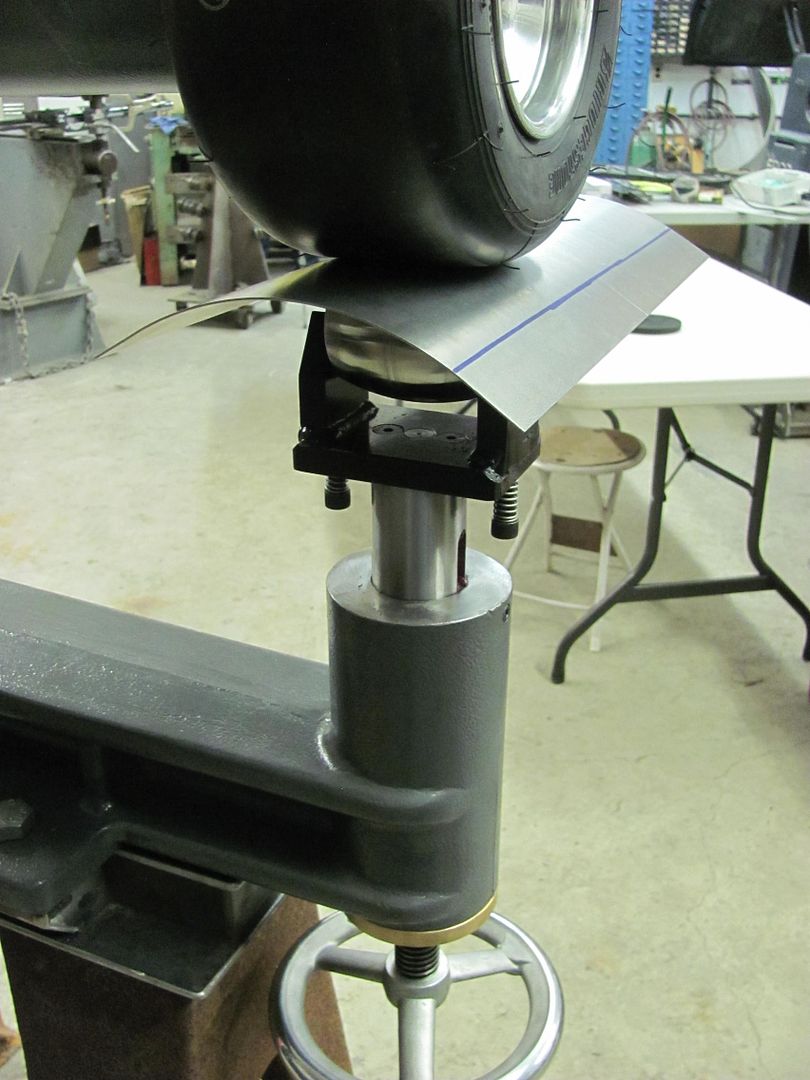 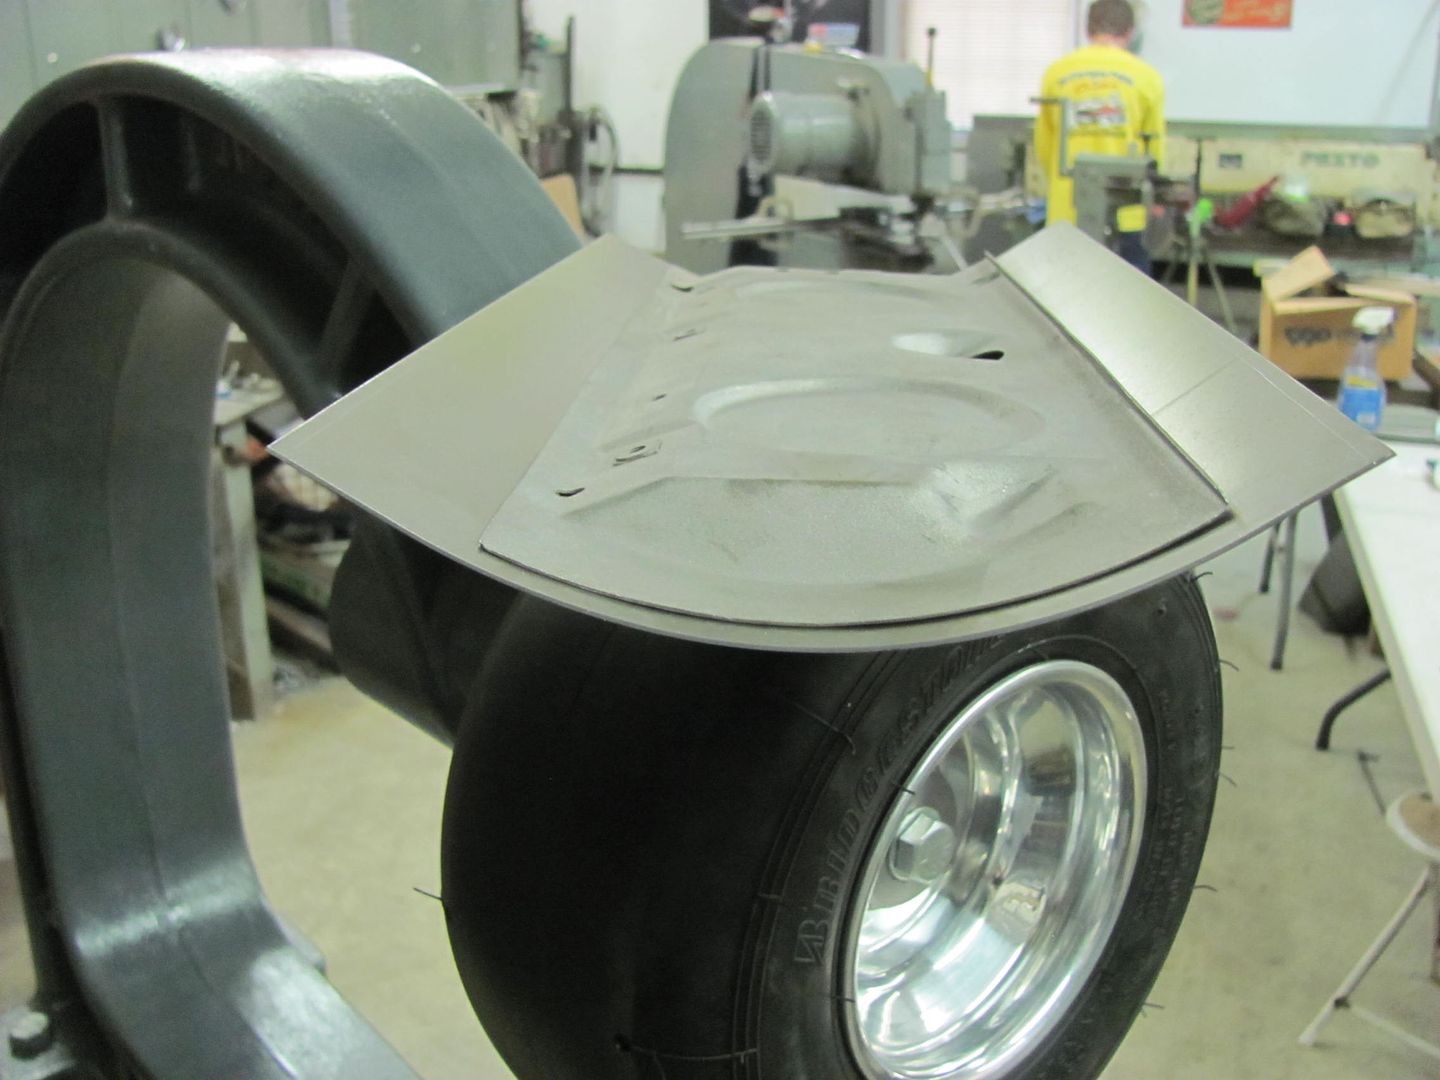 The sides (as shown) had been left a bit long to keep from flattening out fingertips, so now we trimmed one side and marked for the bends. The tipping wheel in the bead roller was used to thin the bend area for a bit of friendly persuasion.. 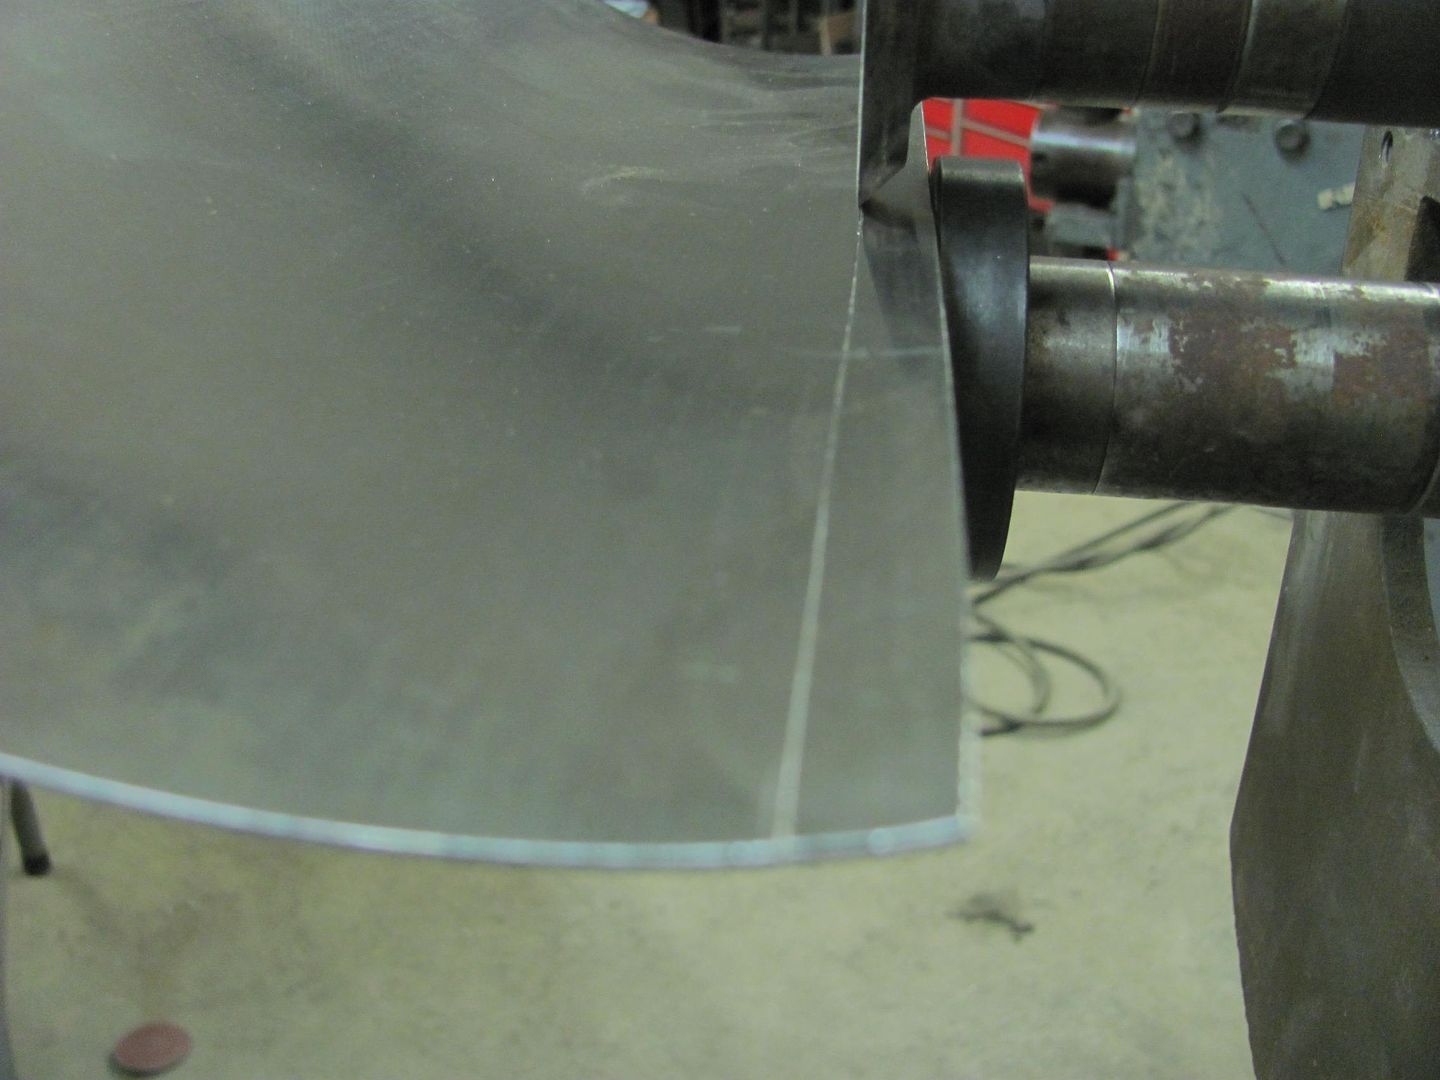 These were fun. About 3/16" from bend to bend....or less. Had to use all the tricks, hem is still loose, we'll epoxy all the pieces apart and then assemble, making all the folds tight.  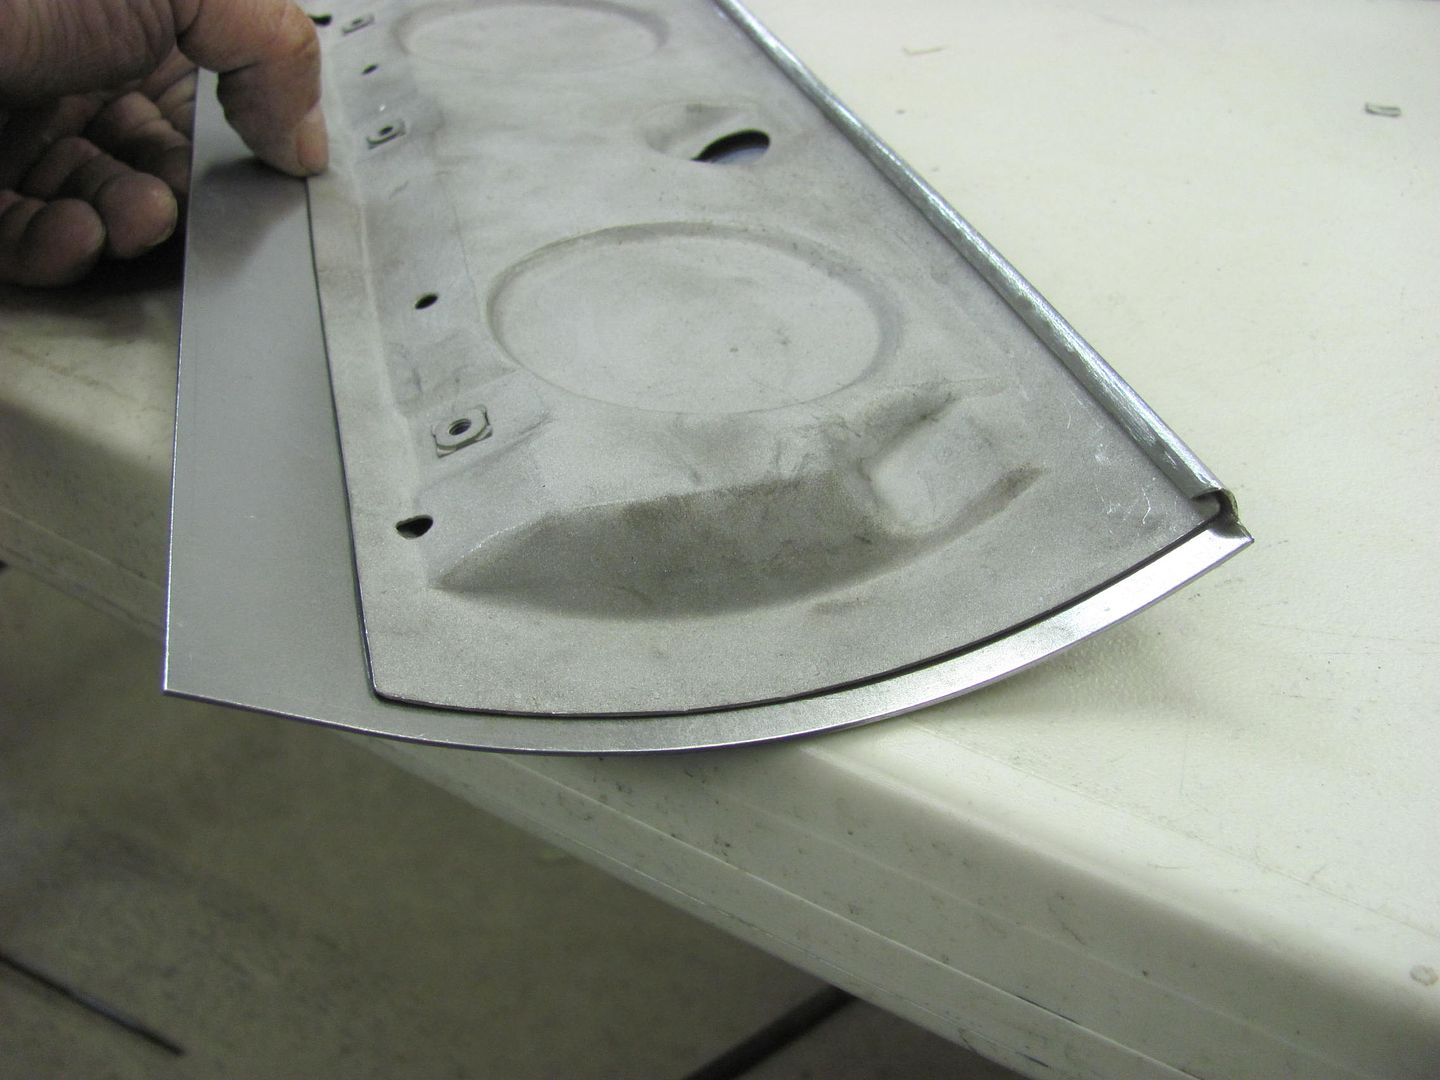 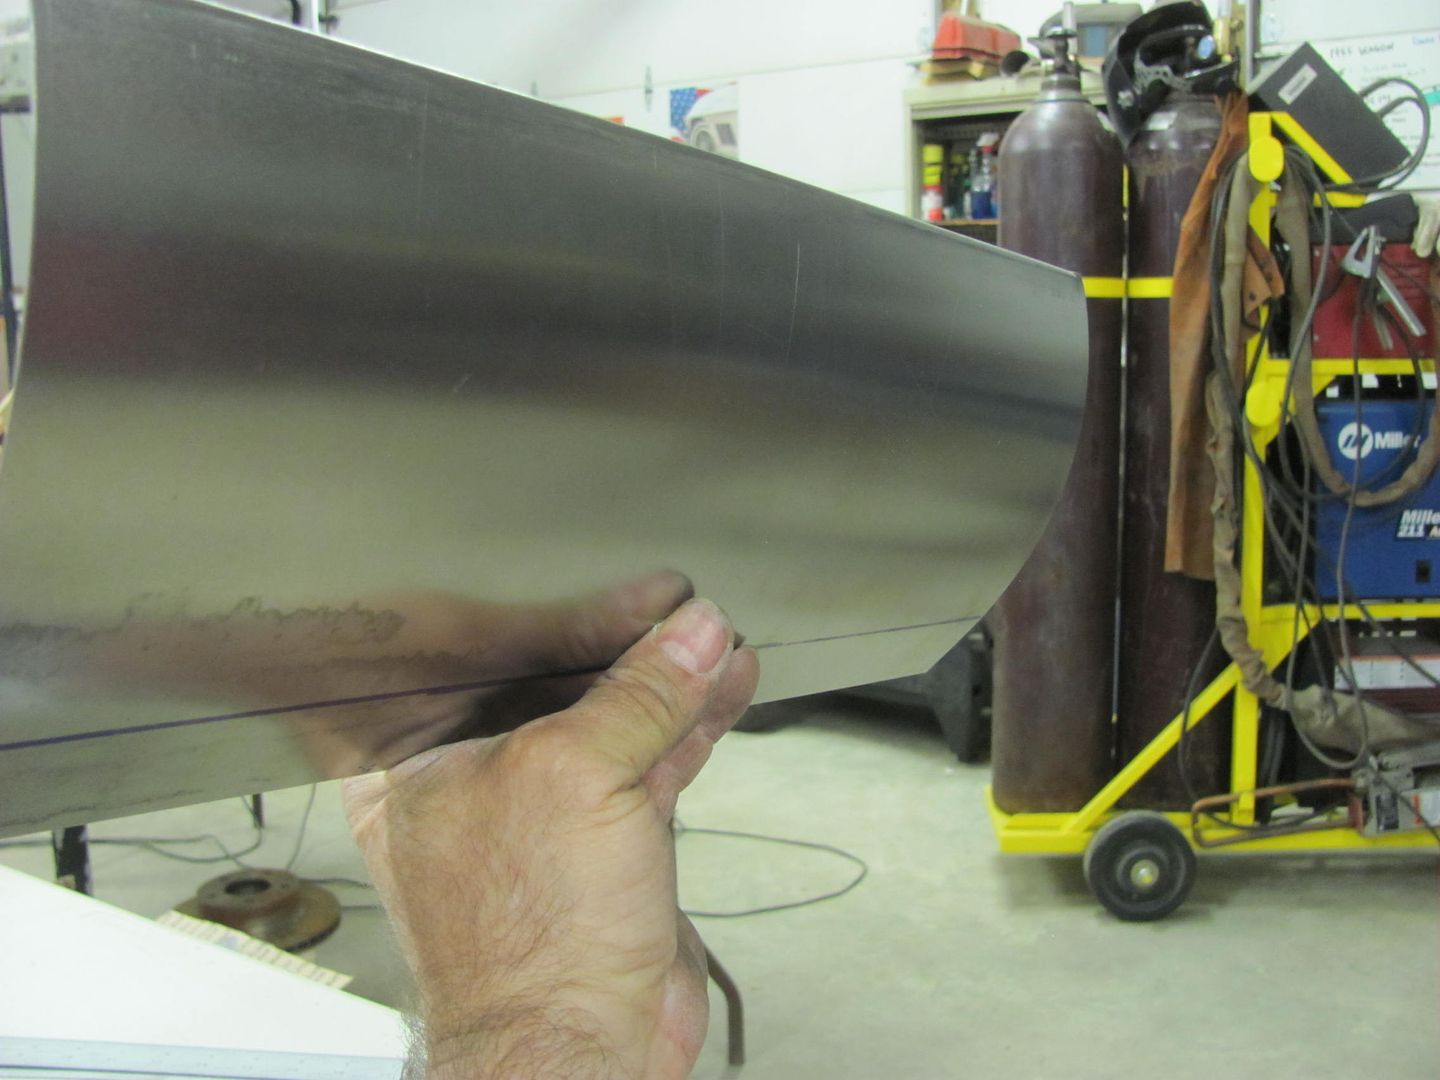 Still have the lock hole to go as well, we are going to leave this one smooth as opposed to the factory's vertical bead to simulate the gap at the ashtray..
__________________
Robert |
|
|
|
|
05-16-2016, 08:31 PM
|
#705 |
|
Registered User
Join Date: Apr 2011
Location: .
Posts: 3,104
|
Re: 55 Wagon Progress
So good it'll look factory and 99% of people won't even catch it. That is Skill.
|
|
|
|
|
05-17-2016, 06:47 AM
|
#706 |
|
Registered User
Join Date: Nov 2014
Location: Omaha
Posts: 558
|
Re: 55 Wagon Progress
One word... Gorgeous!
|
|
|
|
|
05-18-2016, 11:34 PM
|
#707 |
|
Registered User
Join Date: Jan 2013
Location: Leonardtown, MD
Posts: 1,633
|
Re: 55 Wagon Progress
Thanks!
Well with a nice radius on the face of the glove box door skin, we now need a flat area for the lock cylinder. Since I had a piece of Polyurethane here from the care package Rich B had sent me, it seemed the right tool for the job. 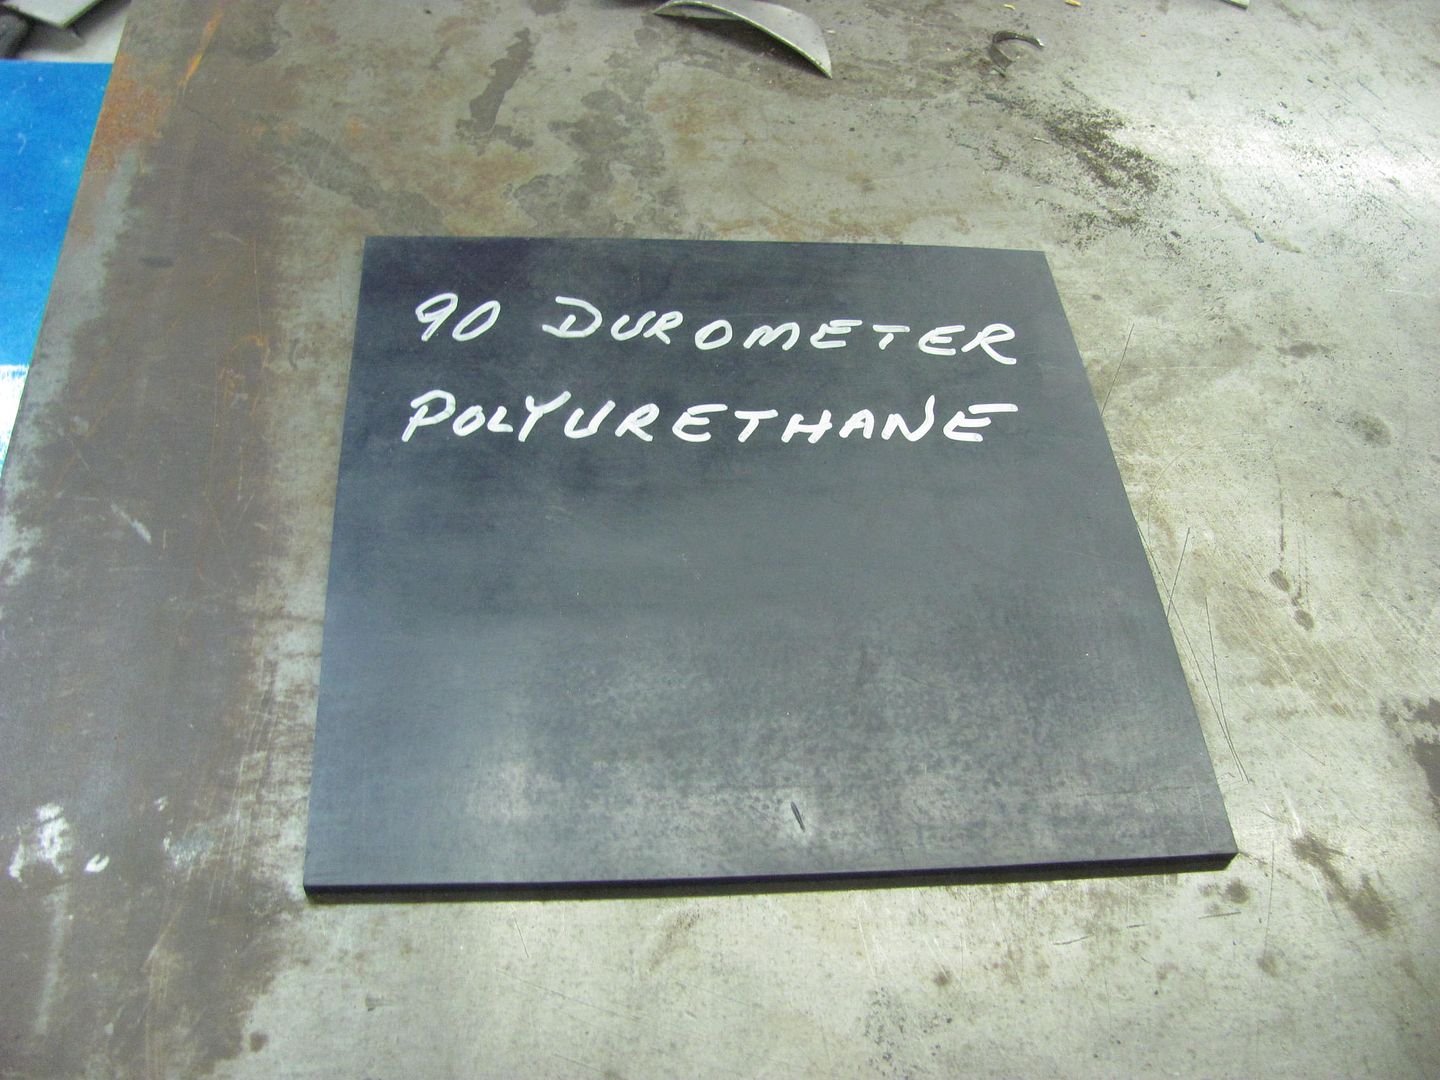 The lock cylinder hole was added using a step drill for the hole and a die grinder for the notch. 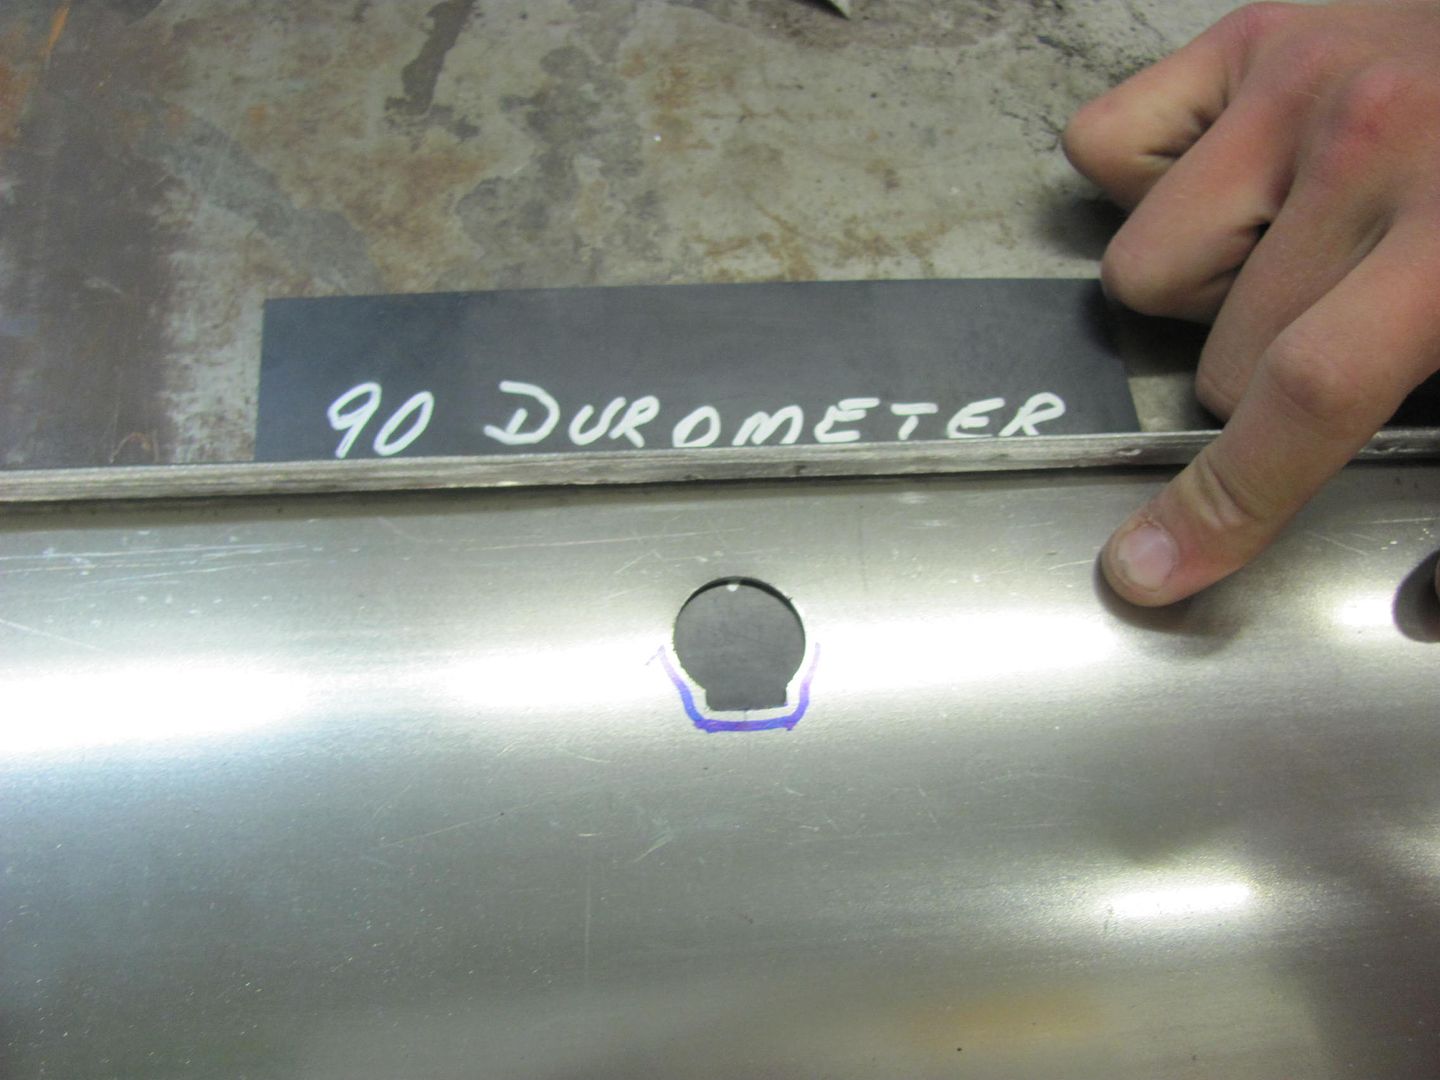 A punch is used to add the needed stretch to provide the flat area.. 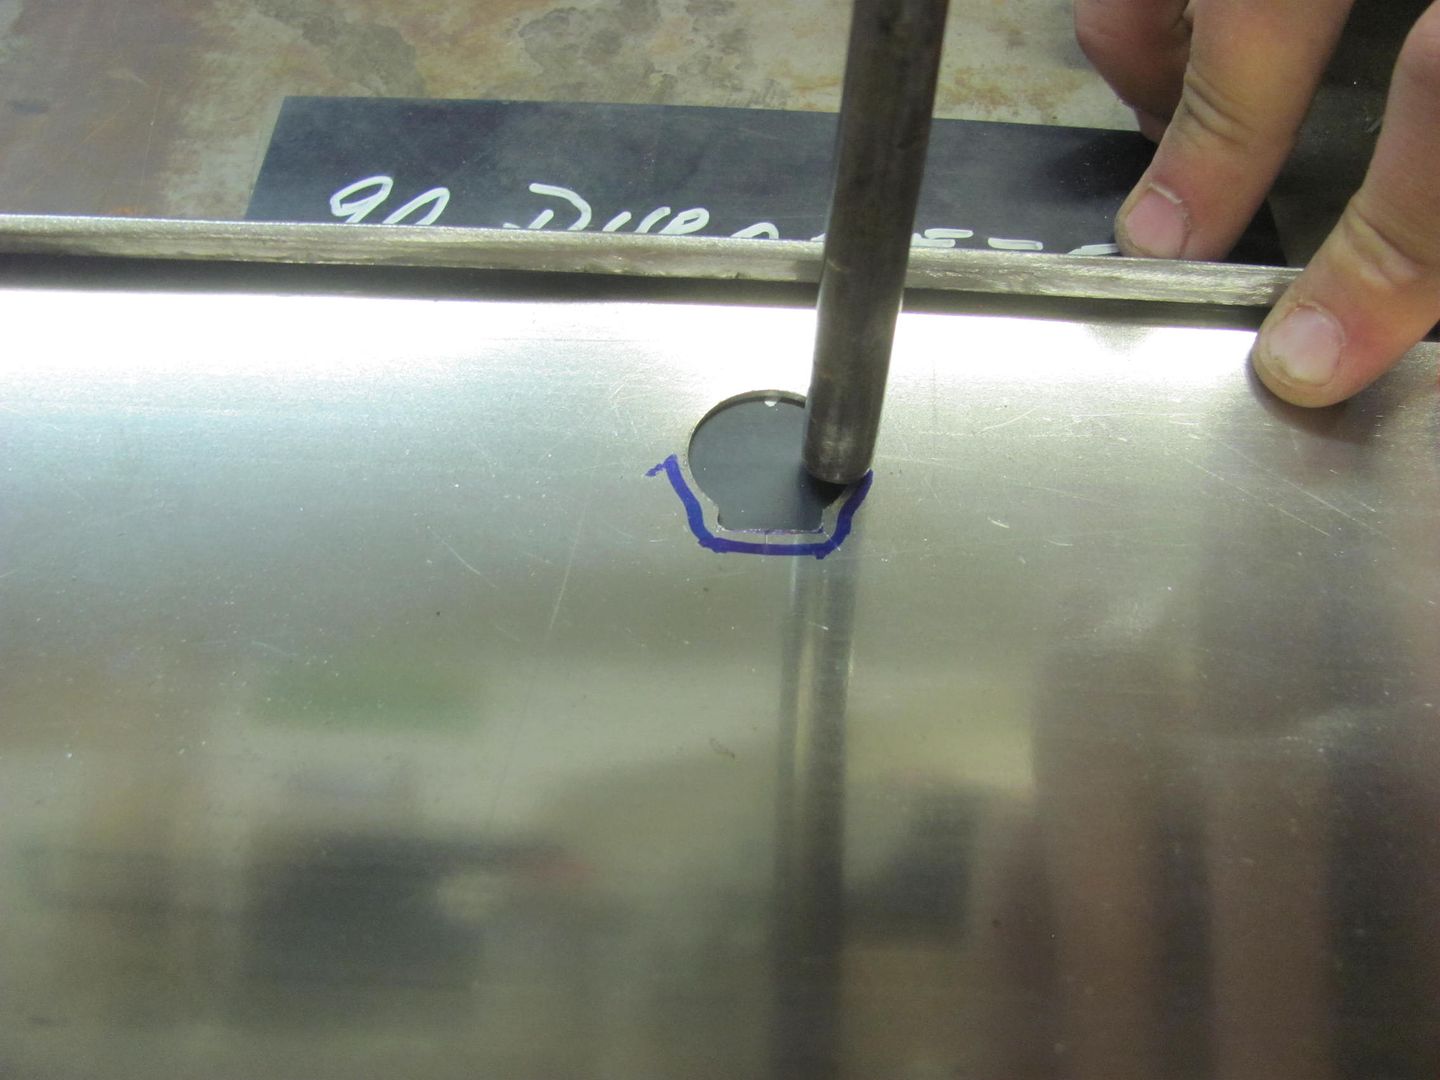 Starting to take shape.. 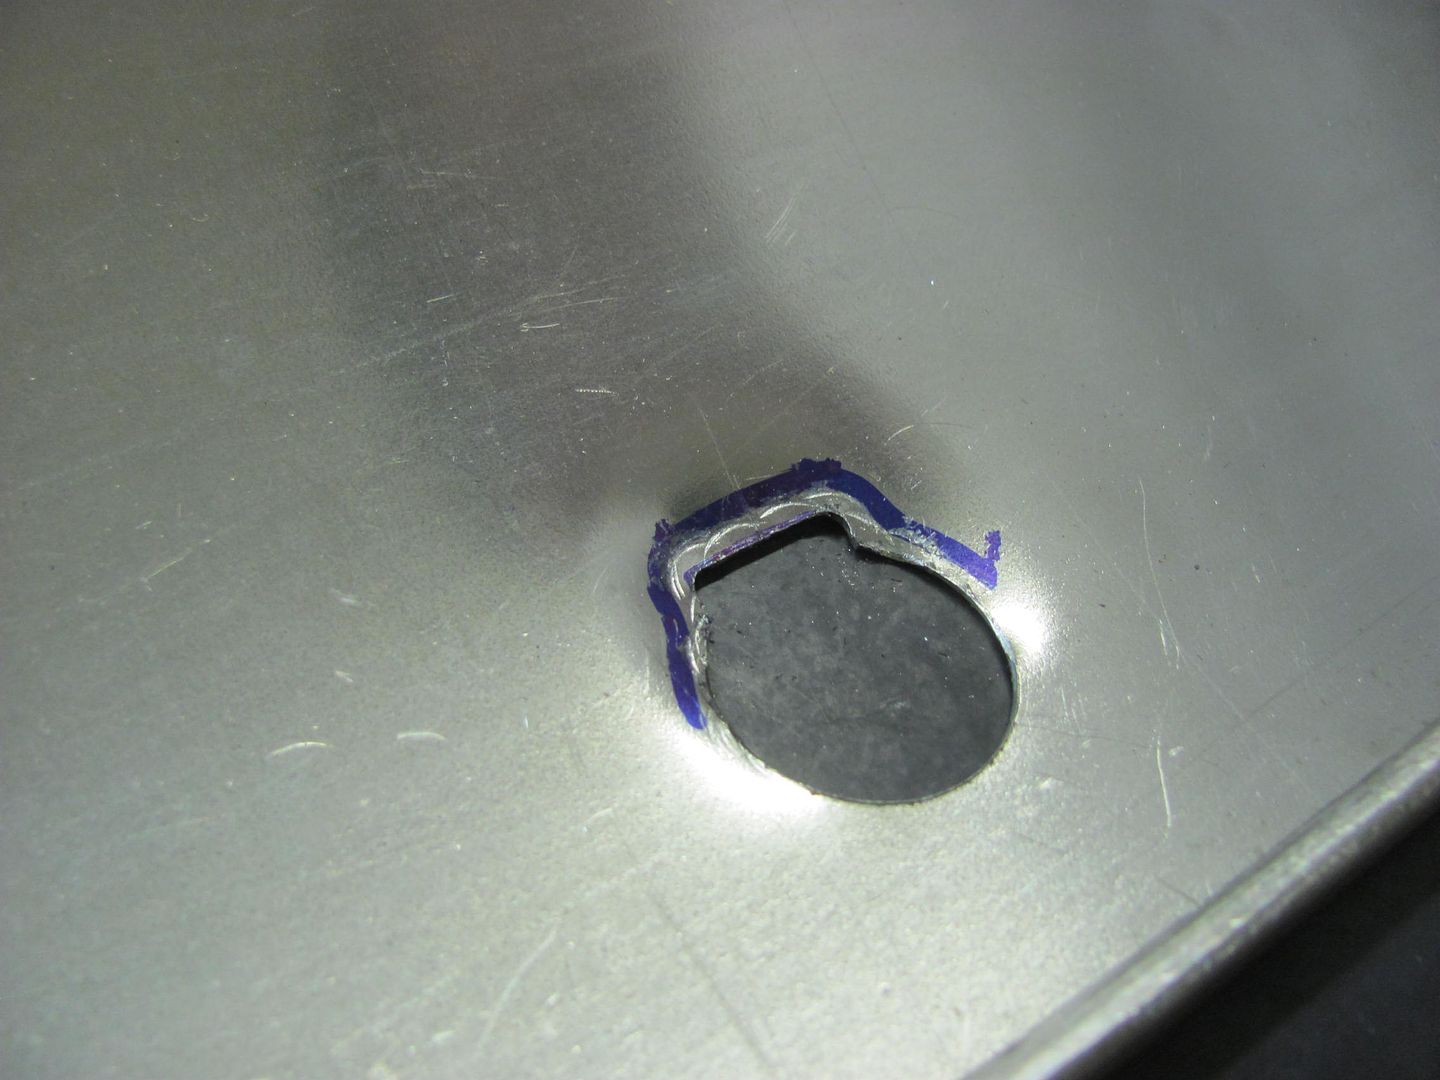 Some fine tuning of the detail... 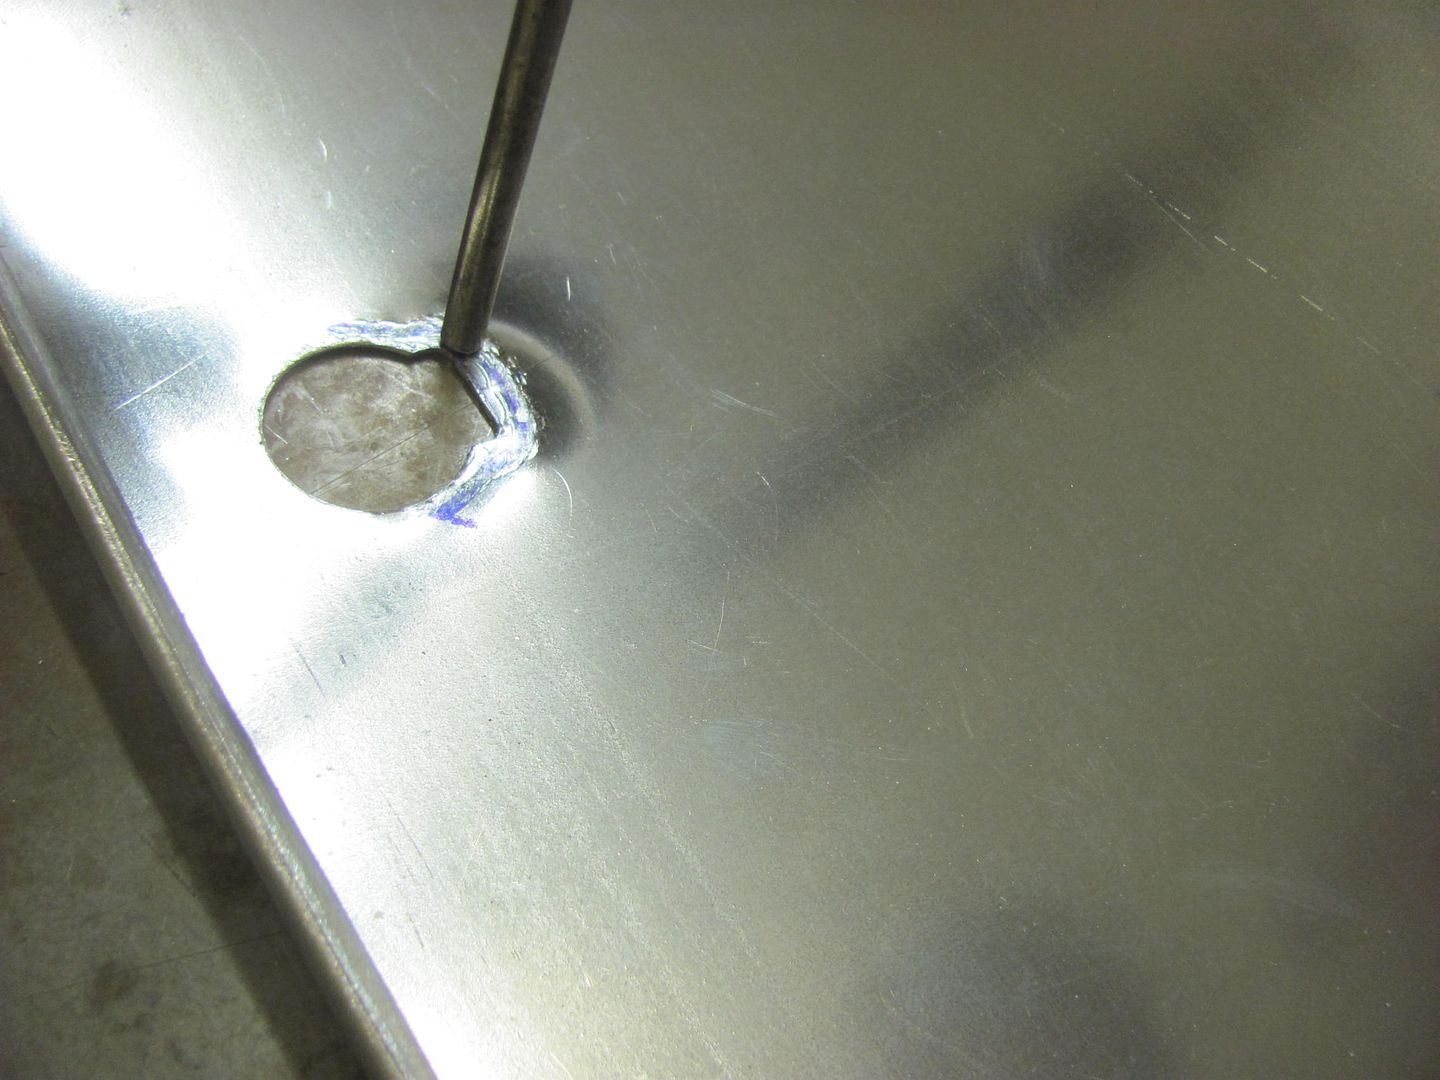 The bottom flange was measured, trimmed, and folded in the Diacro press brake 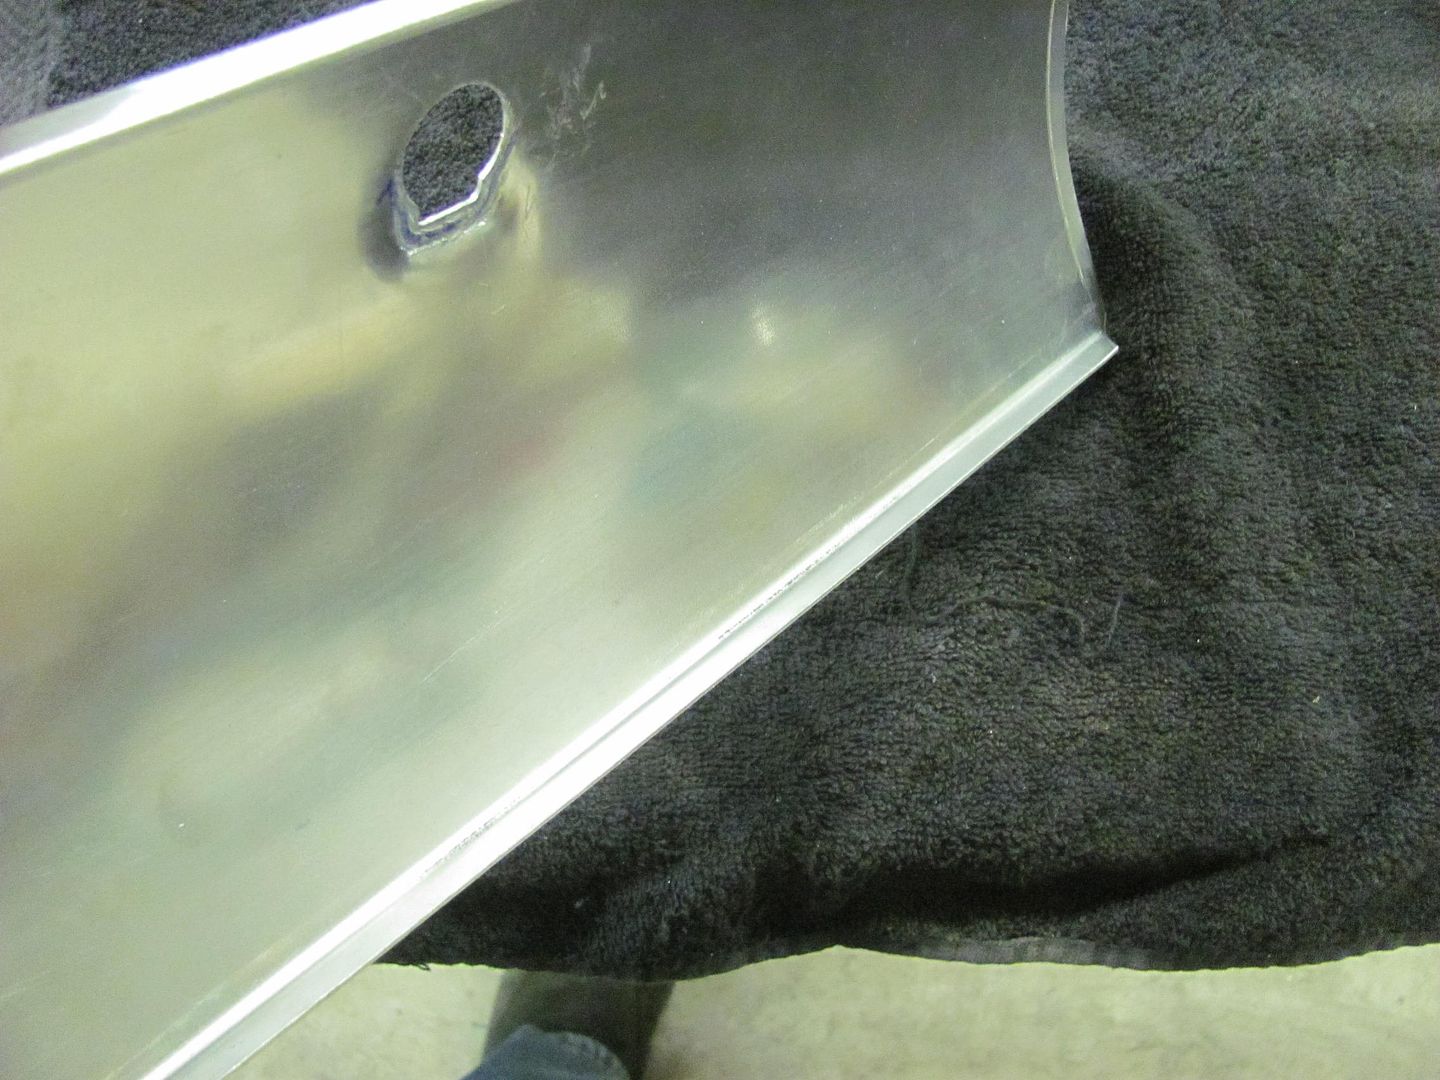 The side flanges were tipped slightly in the Bead Roller.. This also gives us a nice mark to show the fold line.. 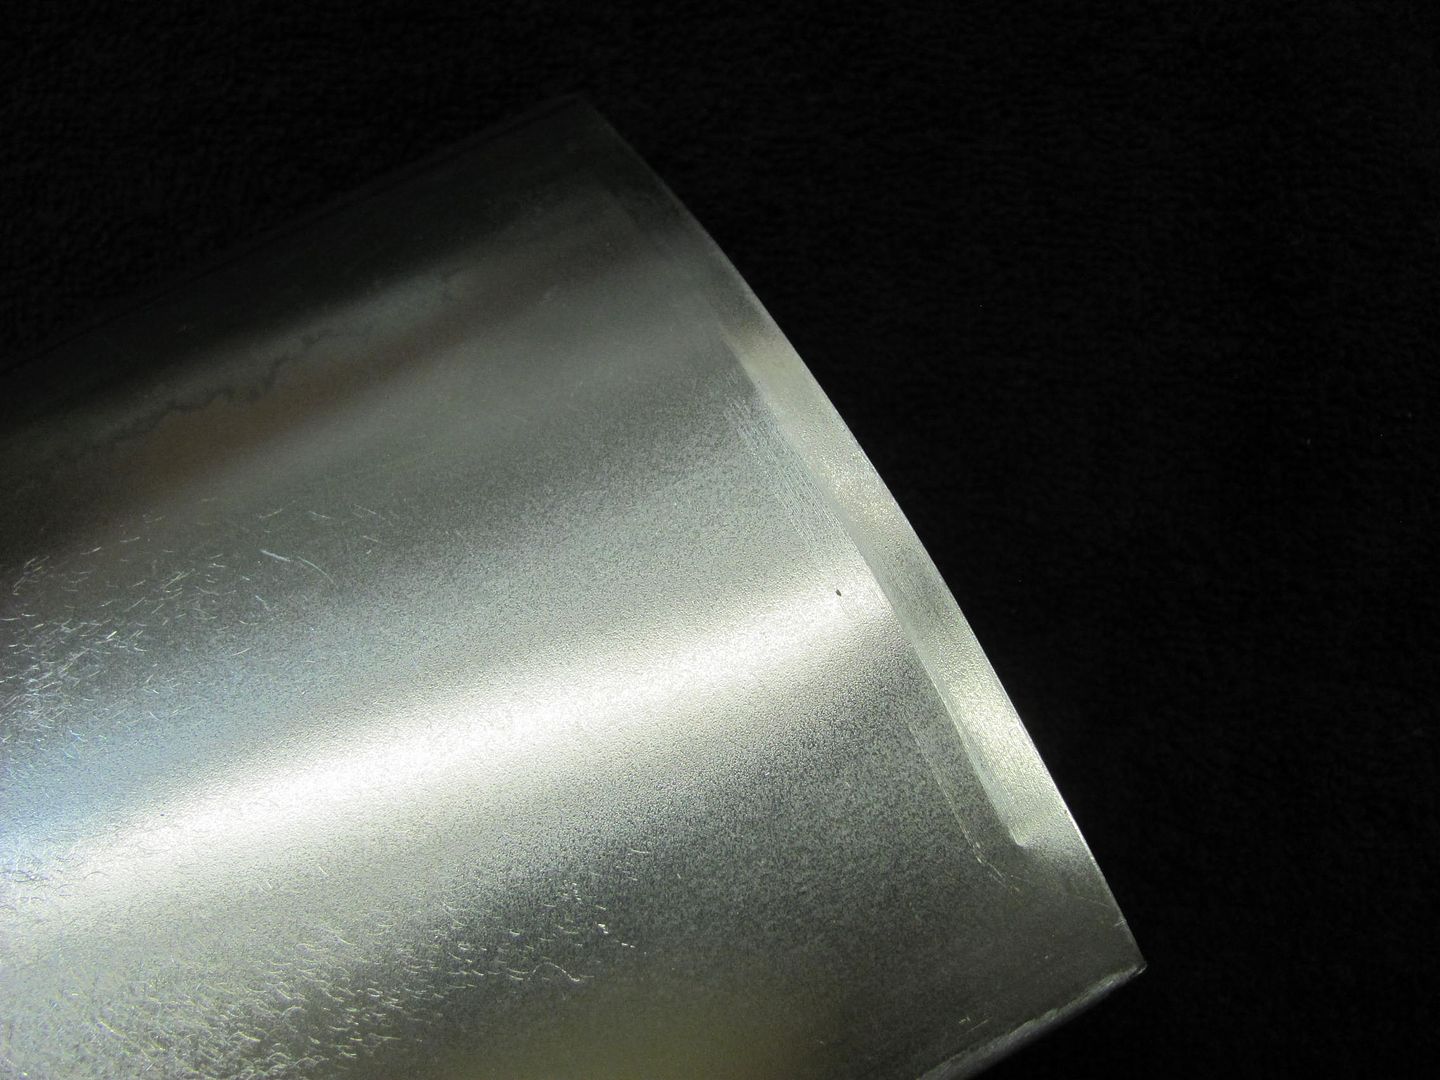 Touched up with the DA 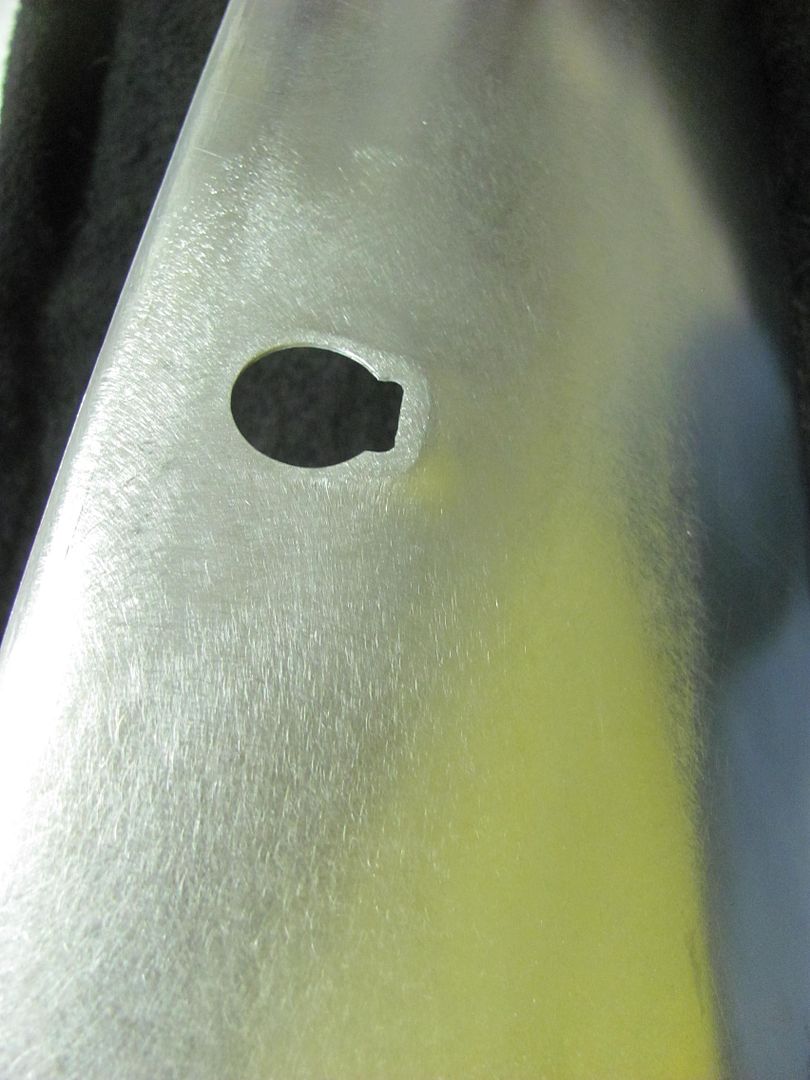 With the three flanges folded to a 90, now we'll media blast and epoxy before assembling the two halves. 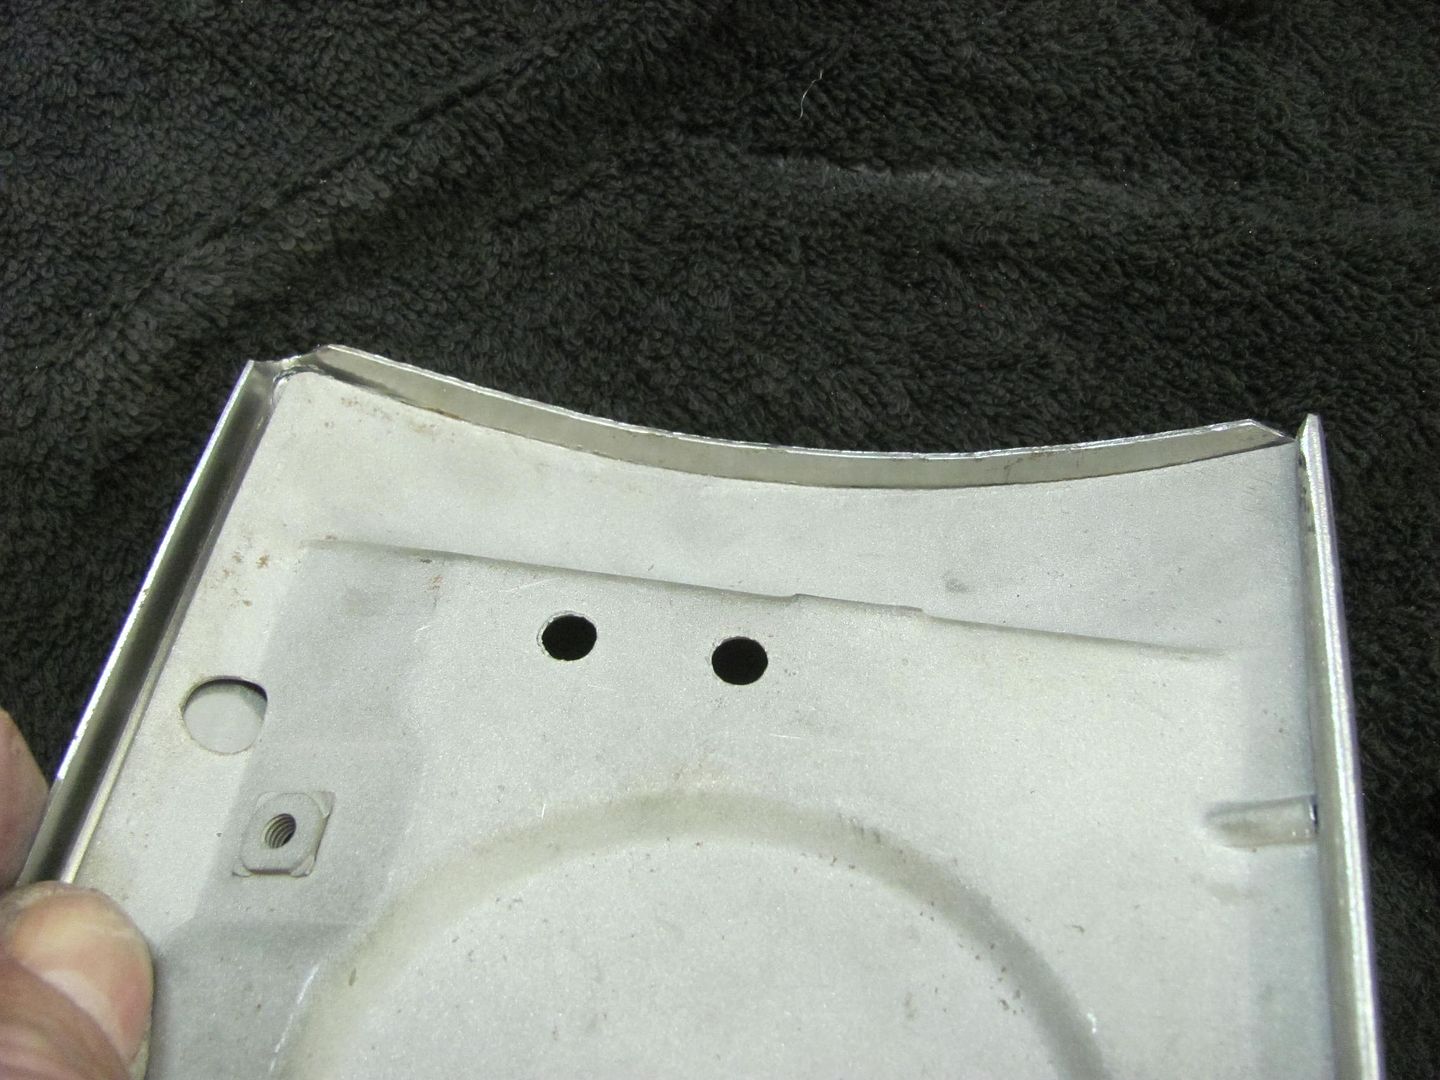 This shows the tipping tool used on the side flanges. 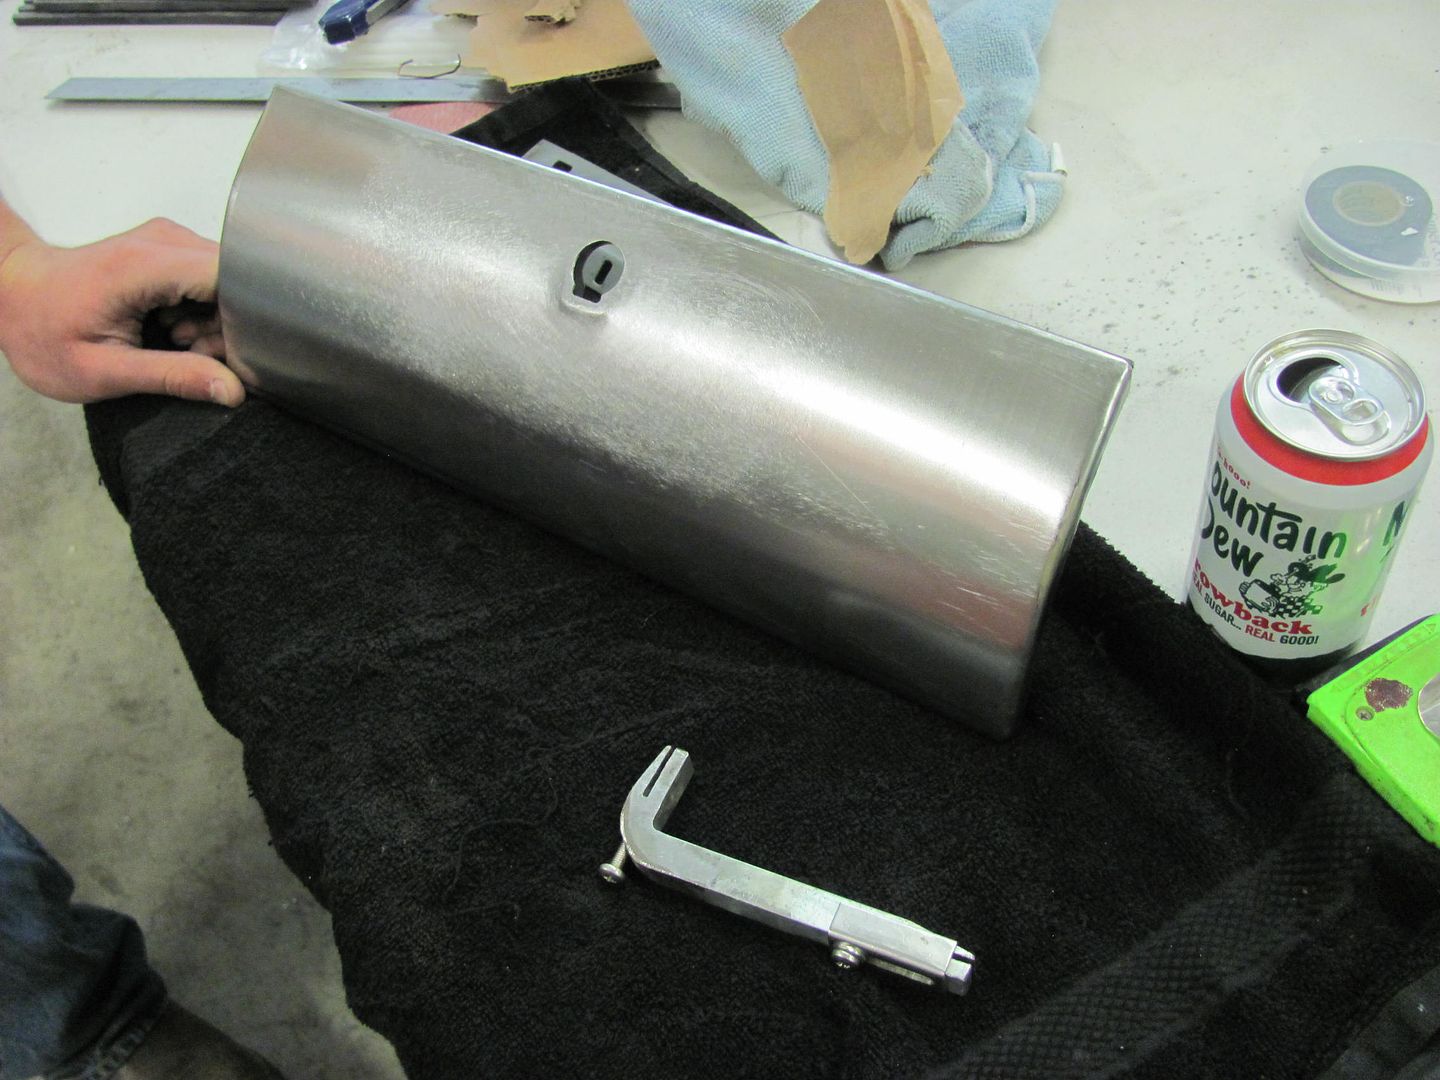 With lock cylinder. Looks almost factory... 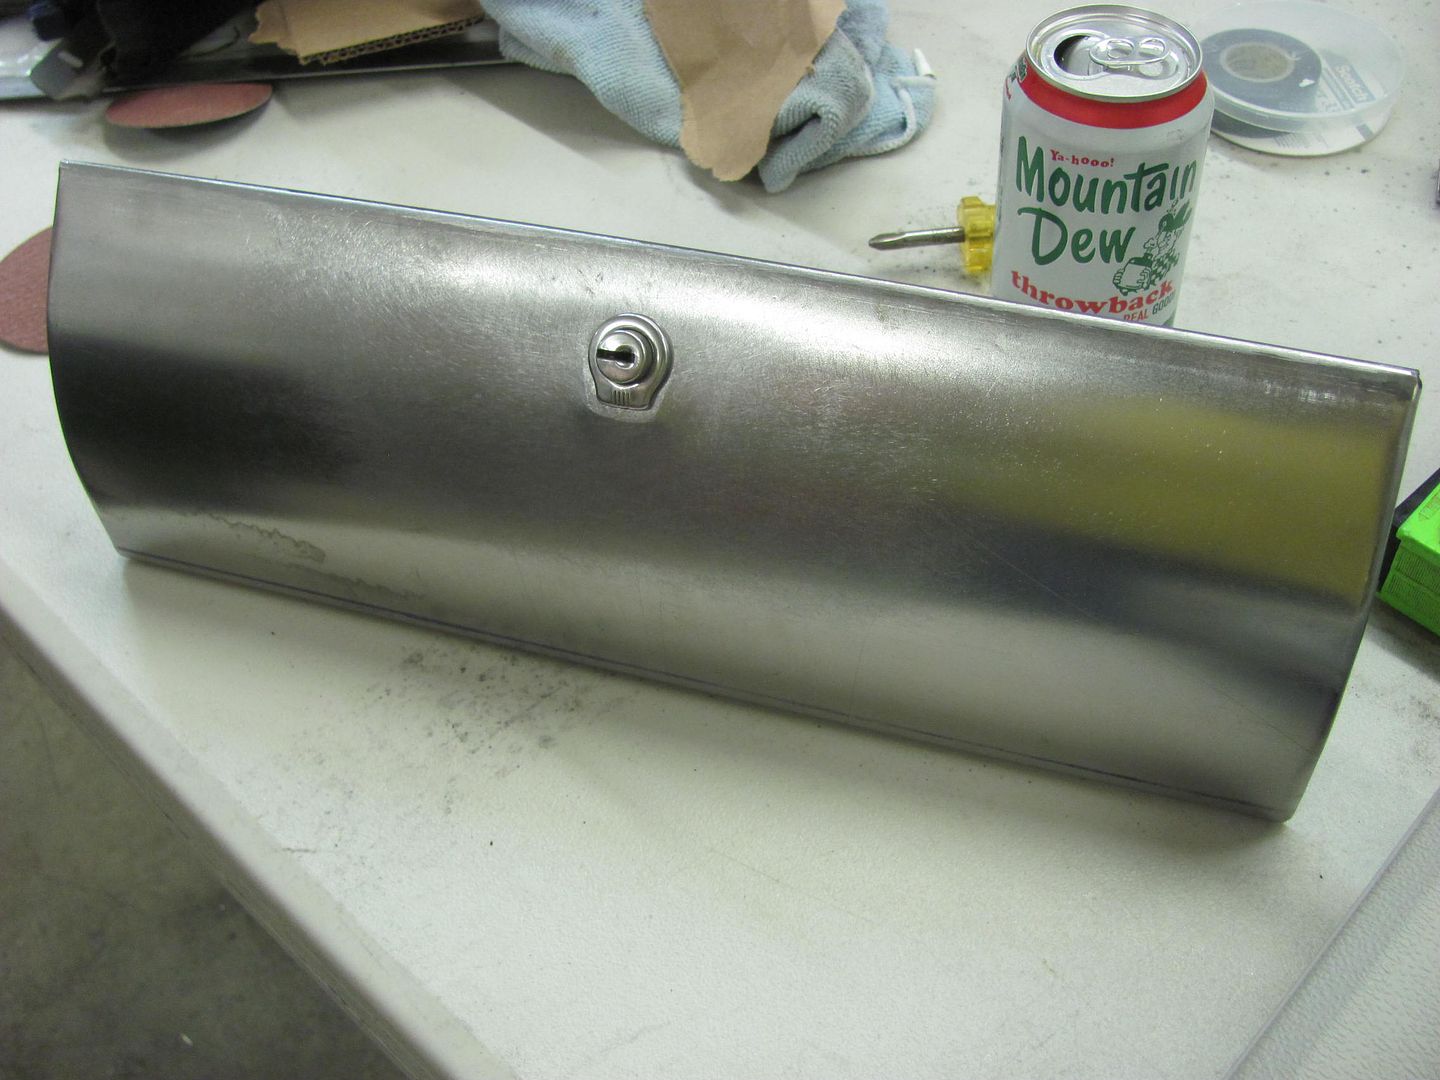
__________________
Robert |
|
|
|
|
05-19-2016, 09:16 AM
|
#708 |
|
Registered User
Join Date: Dec 2011
Location: Morris, Alabama
Posts: 178
|
Re: 55 Wagon Progress
Always amazed by your work, Robert!
|
|
|
|
|
05-19-2016, 08:46 PM
|
#709 |
|
Registered User
Join Date: Oct 2007
Location: Spanaway
Posts: 8,451
|
Re: 55 Wagon Progress
Nice!
__________________
Mike. Swamp Rat build thread : http://67-72chevytrucks.com/vboard/s...d.php?t=595019 72 3/4T 4X4 4" BDS Lift 33" BFG's |
|
|
|
|
05-19-2016, 09:34 PM
|
#710 |
|
Senior Member
 Join Date: Jul 2012
Location: Oblong, Illinois
Posts: 7,017
|
Re: 55 Wagon Progress
Nice work and good tutorial Robert.
|
|
|
|
|
05-20-2016, 07:48 AM
|
#711 |
|
Registered User
Join Date: Jan 2013
Location: Leonardtown, MD
Posts: 1,633
|
Re: 55 Wagon Progress
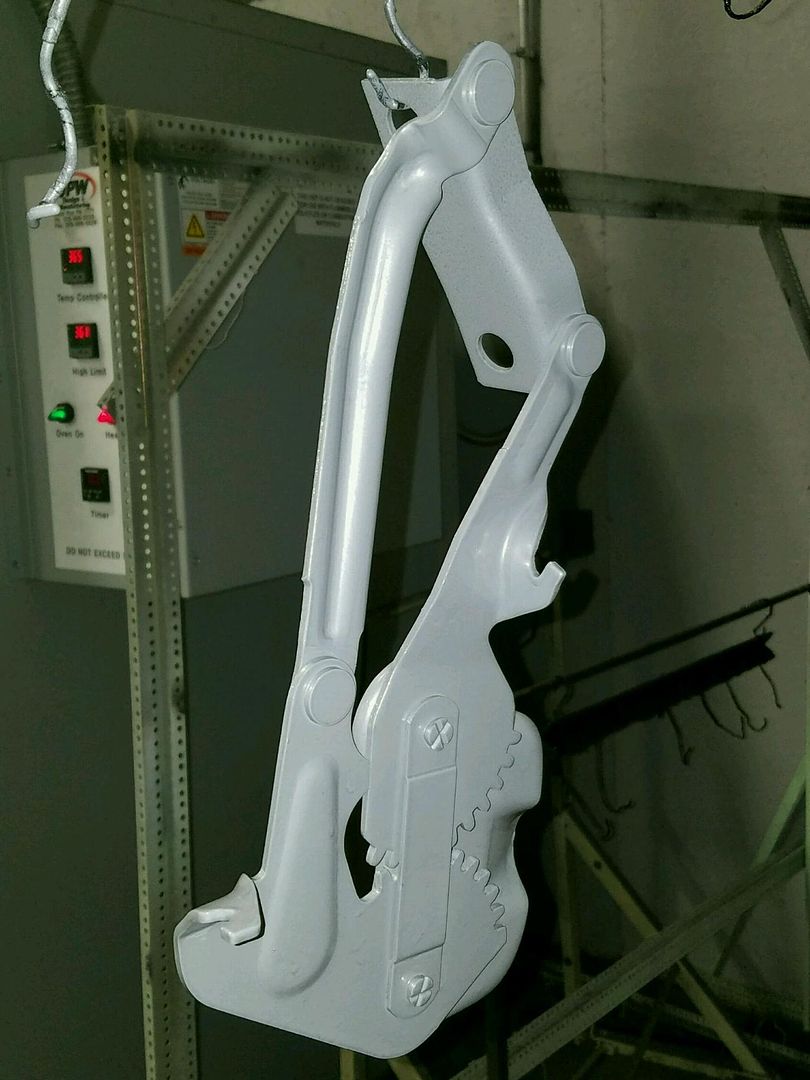
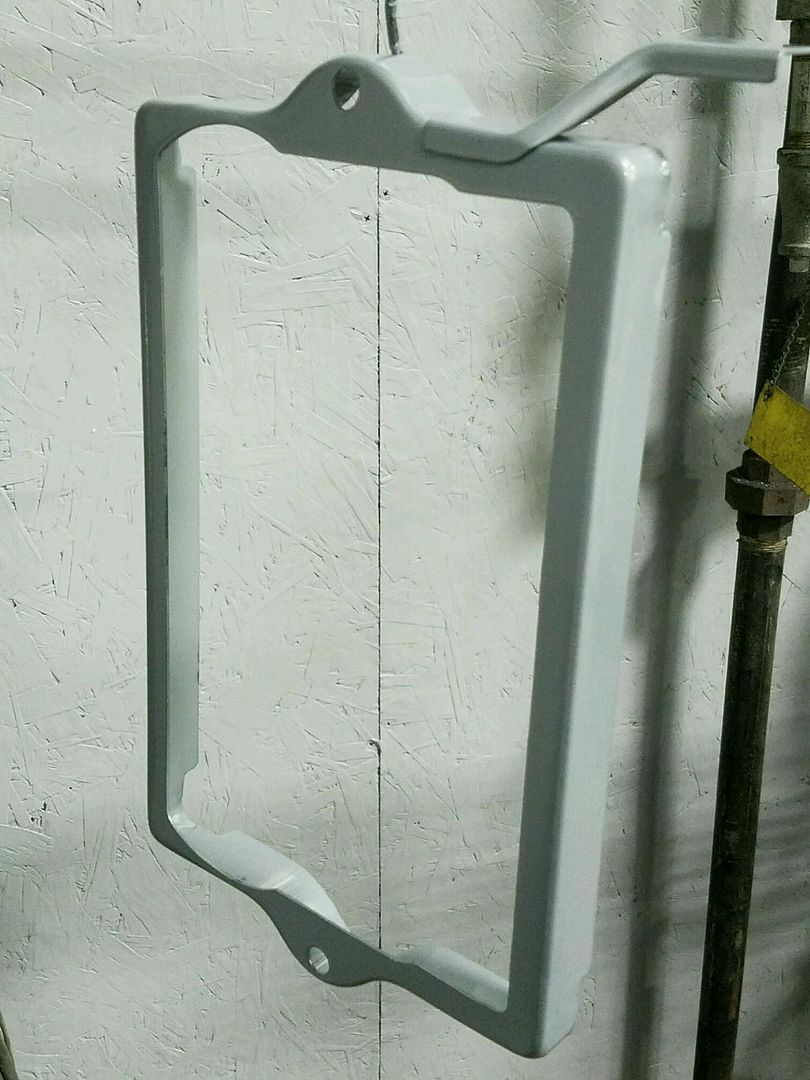
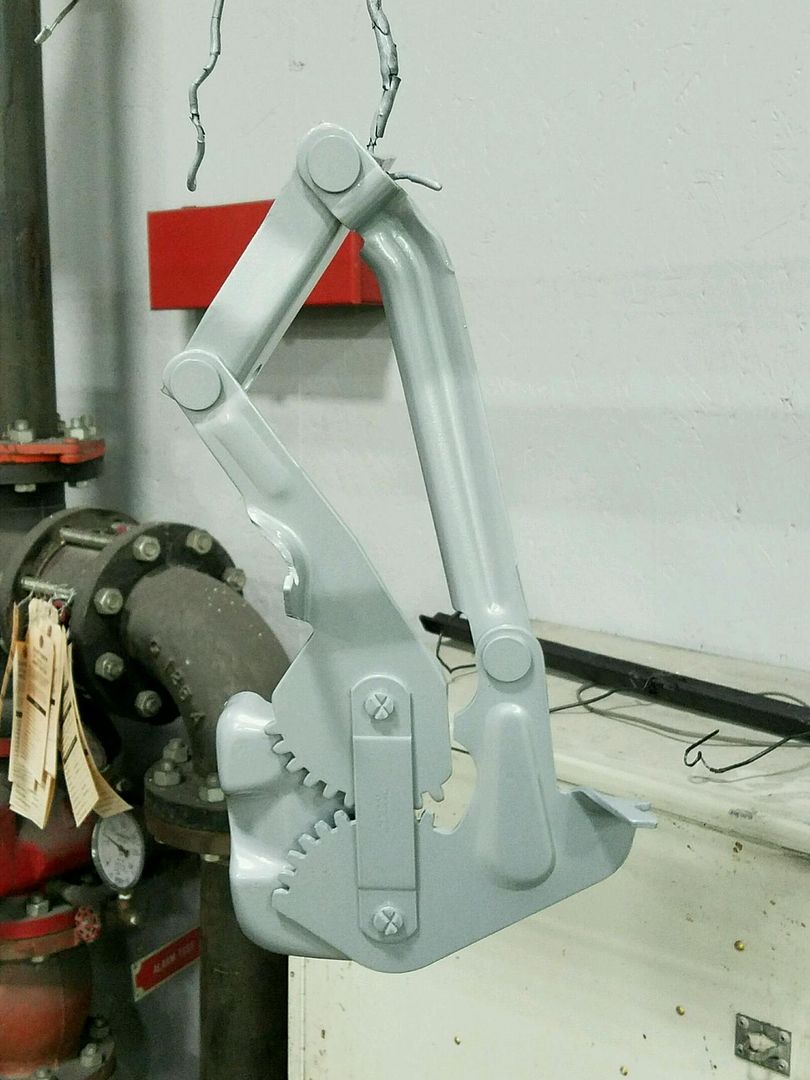
Thanks for the kind words fellas.. Well last night's efforts saw us media blasting, hanging the next batch of small parts for epoxy primer, and general cleanup.......which has been sorely needed. So we don't have much of interest to show, so let's turn it over to Dana (the owner) who got these parts powder coated yesterday for us...
__________________
Robert |
|
|
|
|
05-20-2016, 03:34 PM
|
#712 |
|
Registered User
Join Date: May 2010
Location: Lawrenceville, Ga
Posts: 2,640
|
Re: 55 Wagon Progress
You guys are magic. Thanks for explaining what you are doing and how you do it as you go.
|
|
|
|
|
05-21-2016, 09:31 AM
|
#713 |
|
Registered User
Join Date: Apr 2011
Location: .
Posts: 3,104
|
Re: 55 Wagon Progress
You make it look so easy.
What is the name of the tool pictured with the door? I've searched with no luck. |
|
|
|
|
05-21-2016, 10:56 AM
|
#714 |
|
Registered User
Join Date: Jan 2013
Location: Leonardtown, MD
Posts: 1,633
|
Re: 55 Wagon Progress
That's a tipping tool for folding a flange. It has a stop built in for setting a consistent depth. Saw the question on FB but was not part of the group to respond, got enough groups to keep up with now, haha. I did send you a link in FB message on how to build it, if that went through...
Posted via Mobile Device |
|
|
|
|
05-21-2016, 06:19 PM
|
#715 |
|
Registered User
Join Date: Apr 2011
Location: .
Posts: 3,104
|
Re: 55 Wagon Progress
Thank you but haven't seen it.
linky to my fb page Oh wait,,,,, enough surfing the Interweb found me a page you had posted. http://www.chevytalk.org/fusionbb/sh...hp?tid/291495/ Thank you for putting it out there. Last edited by Bomp; 05-21-2016 at 08:44 PM. Reason: Cause this build is so cool. |
|
|
|
|
05-22-2016, 12:53 AM
|
#716 |
|
Registered User
Join Date: Oct 2007
Location: Spanaway
Posts: 8,451
|
Re: 55 Wagon Progress
I just noticed the screw stops and bracket stop on your tweaking tool (lack of proper term) i like that, controlling the depth can come in handy I'm sure, i have wrestled with that a few times with my home made jobbers.
__________________
Mike. Swamp Rat build thread : http://67-72chevytrucks.com/vboard/s...d.php?t=595019 72 3/4T 4X4 4" BDS Lift 33" BFG's |
|
|
|
|
05-23-2016, 07:02 AM
|
#717 |
|
Registered User
Join Date: Jan 2013
Location: Leonardtown, MD
Posts: 1,633
|
Re: 55 Wagon Progress
It does come in handy for folding a flange where you can't use a brake, like around wheel openings, etc..
I've got a pretty good selection of dies for the bead roller and thought these may come in handy if we could adapt them to the lower anvil cradle on the Wheeling Machine.. I've got a couple dies I use for tipping, and you never know when some other odd shape may help out in a pinch. The Fasti bead roller uses a .94 shaft for the dies, so we started with an oilite bearing, 15/16 outer to 3/4 inner diameter, then a 3/4 outer to 1/2 inner, supported on a piece of 1/2" diameter hardened Stainless.. 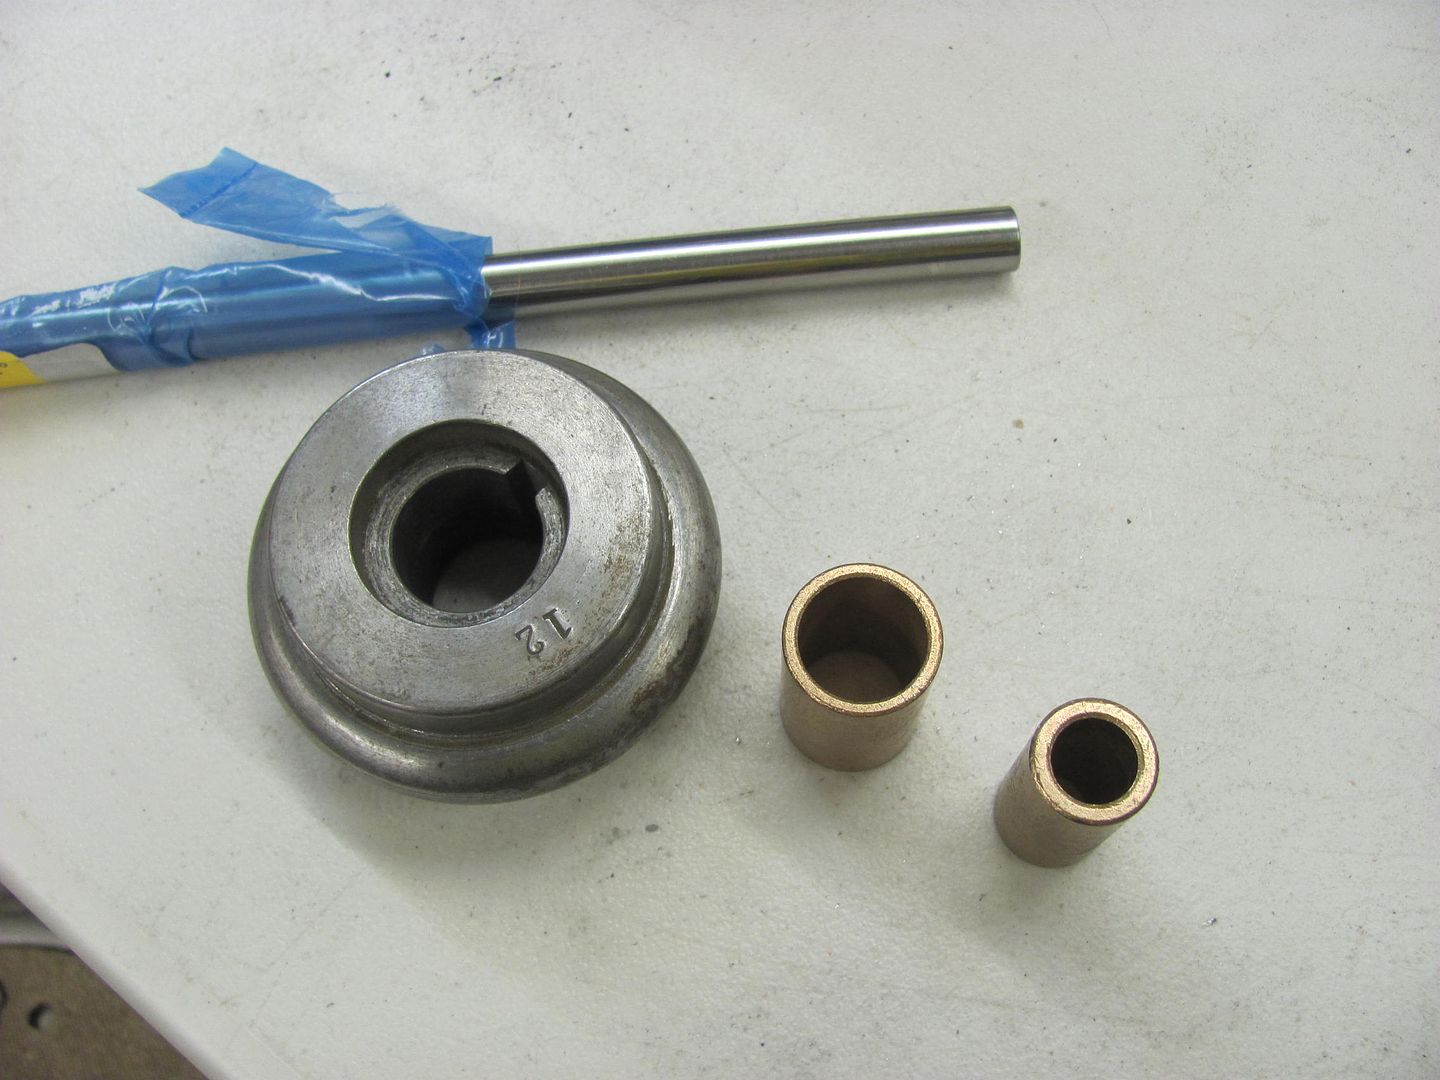 The two oilites were a tight fit, so they were "pressed" together in the vise.. 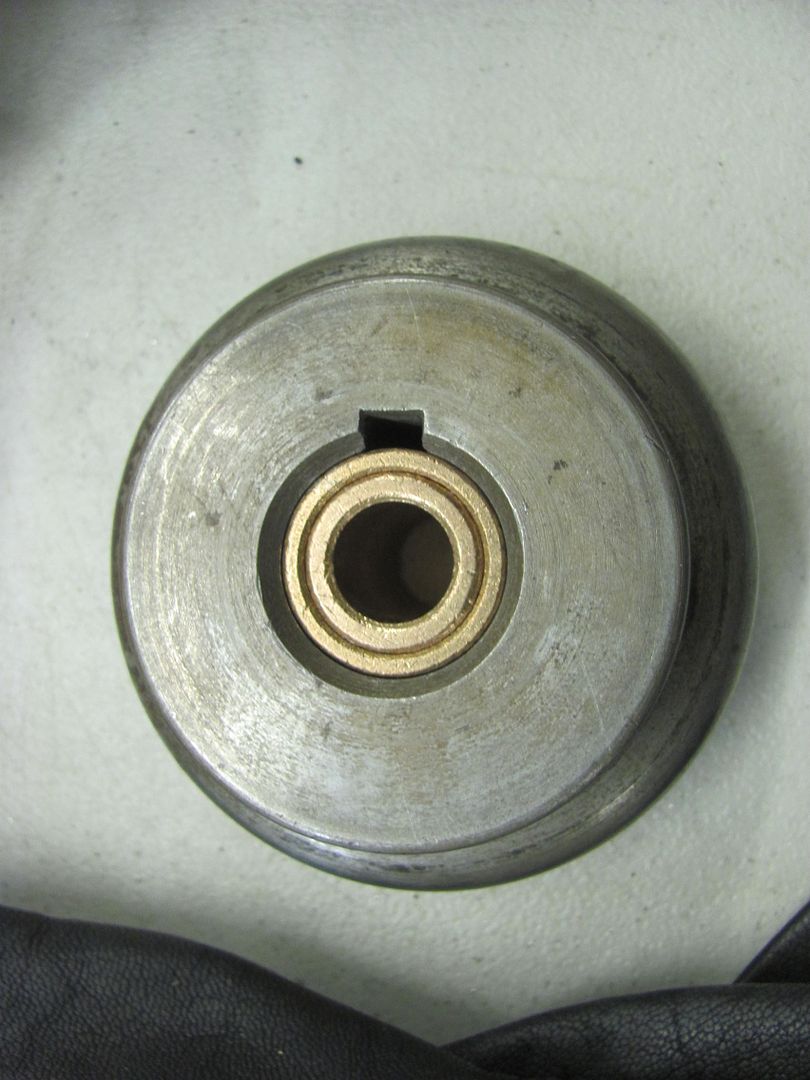  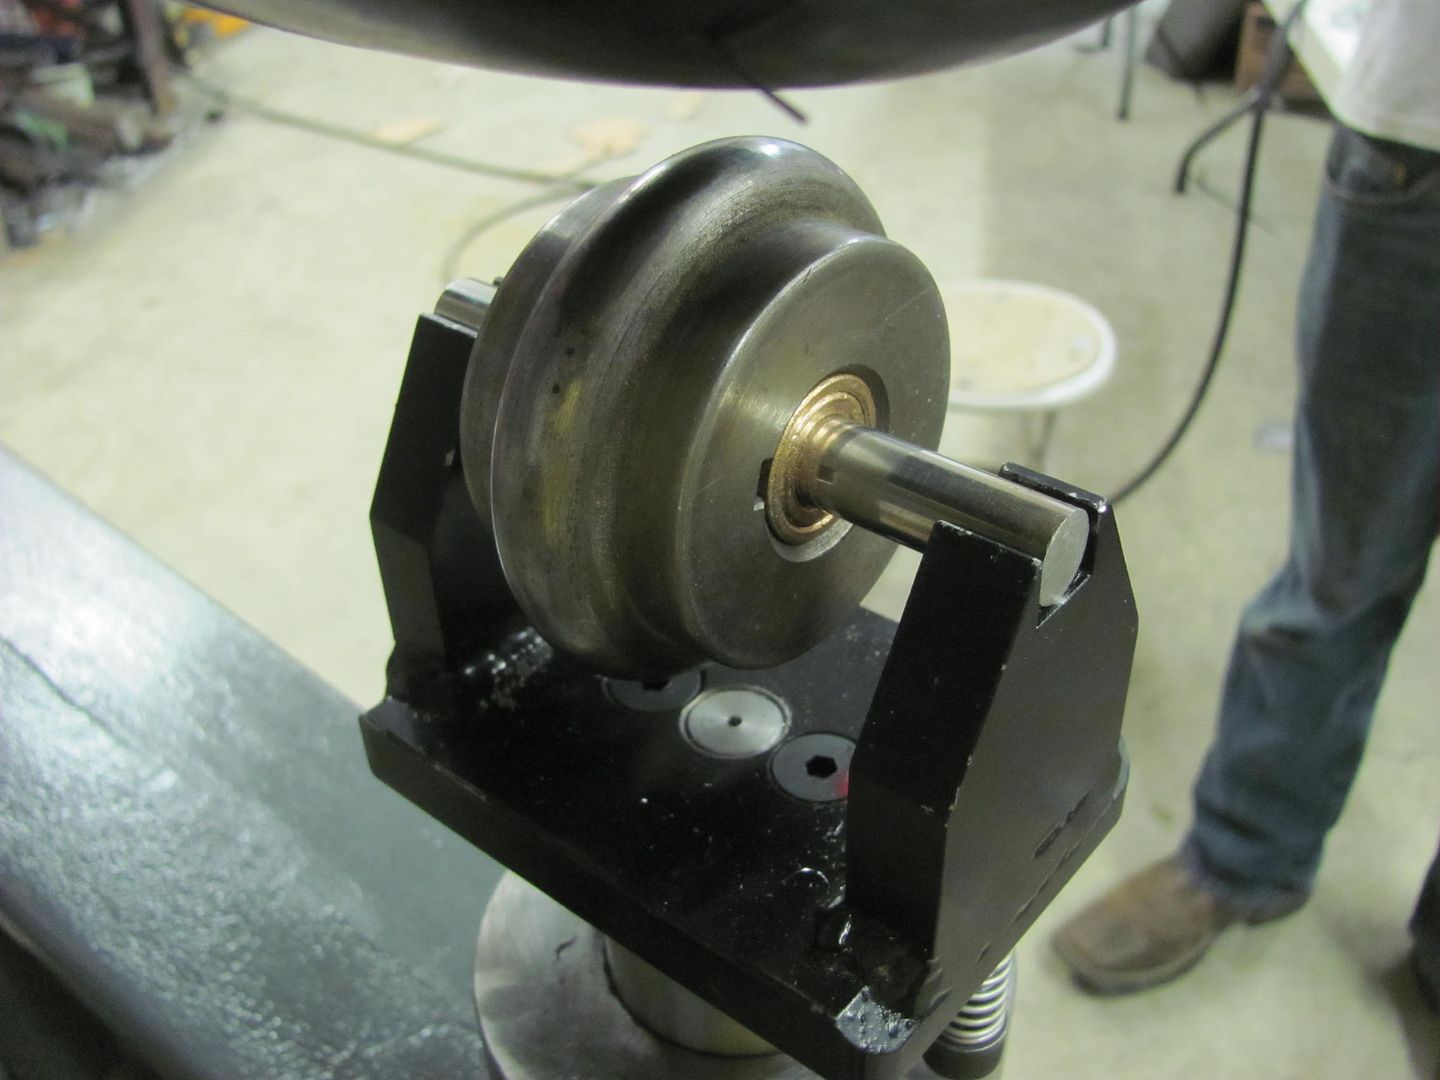 And to finish it off we have a couple of shaft collars on the way so the die won't walk on us while in use.. Saturday had us performing major shop cleanup so we could better get to an assembly line efficiency in polishing stainless trim and block sanding painted parts. I guess we walked past this one too many times...  ....and since the Lennox still had some dies in it from last week....  The outer perimeter will get trimmed a bit more and we'll add a small bead detail on the very edge prior to bolting it on... 
__________________
Robert |
|
|
|
|
05-26-2016, 10:49 PM
|
#718 |
|
Registered User
Join Date: Jan 2013
Location: Leonardtown, MD
Posts: 1,633
|
Re: 55 Wagon Progress
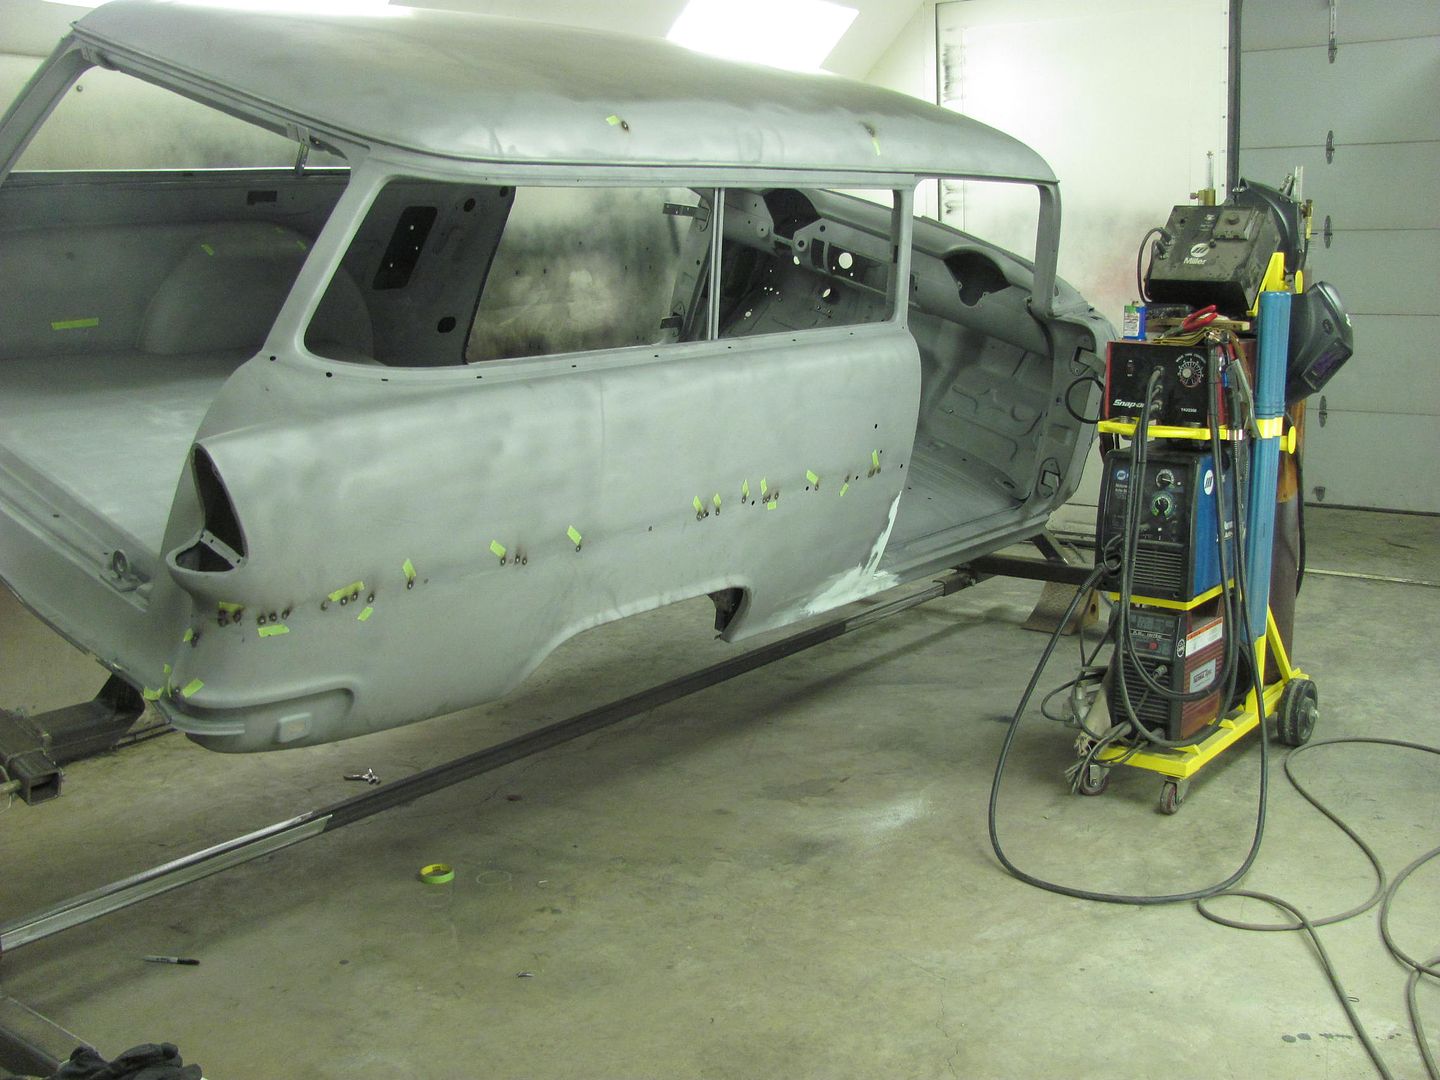
Well the two weeks plus of non stop rain has finally subsided where the media blasting could commence. Got a phone call today that the car was ready to pick up.. Here it is before we loaded it up..
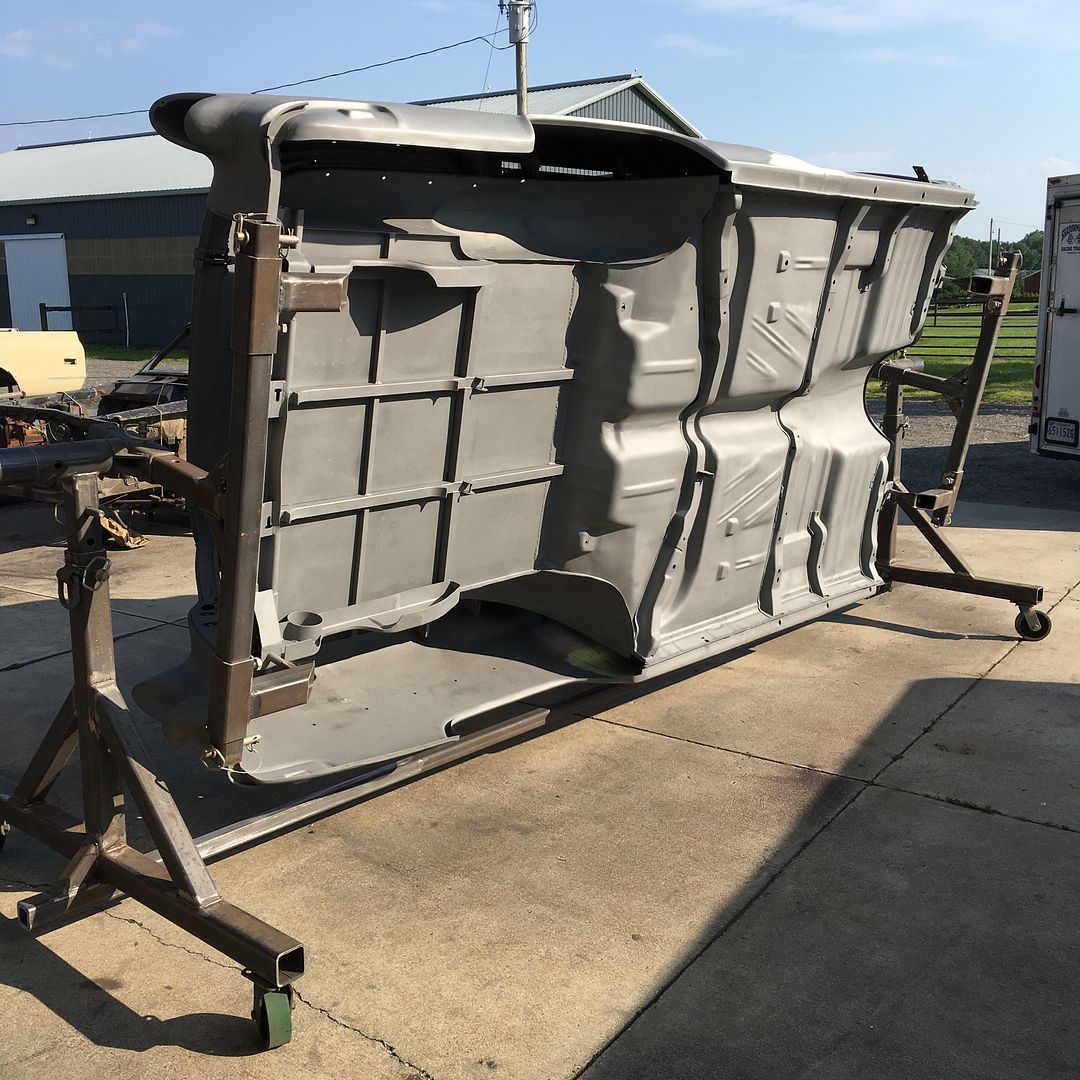  This is the part where you wish you had a tilt bed trailer so any media residue would be persuaded on out on the return trip home... But alas, we found a combination of using the air hose and a shop vac best to evacuate most of the media. That and about 50 or so revolutions on the rotisserie..... 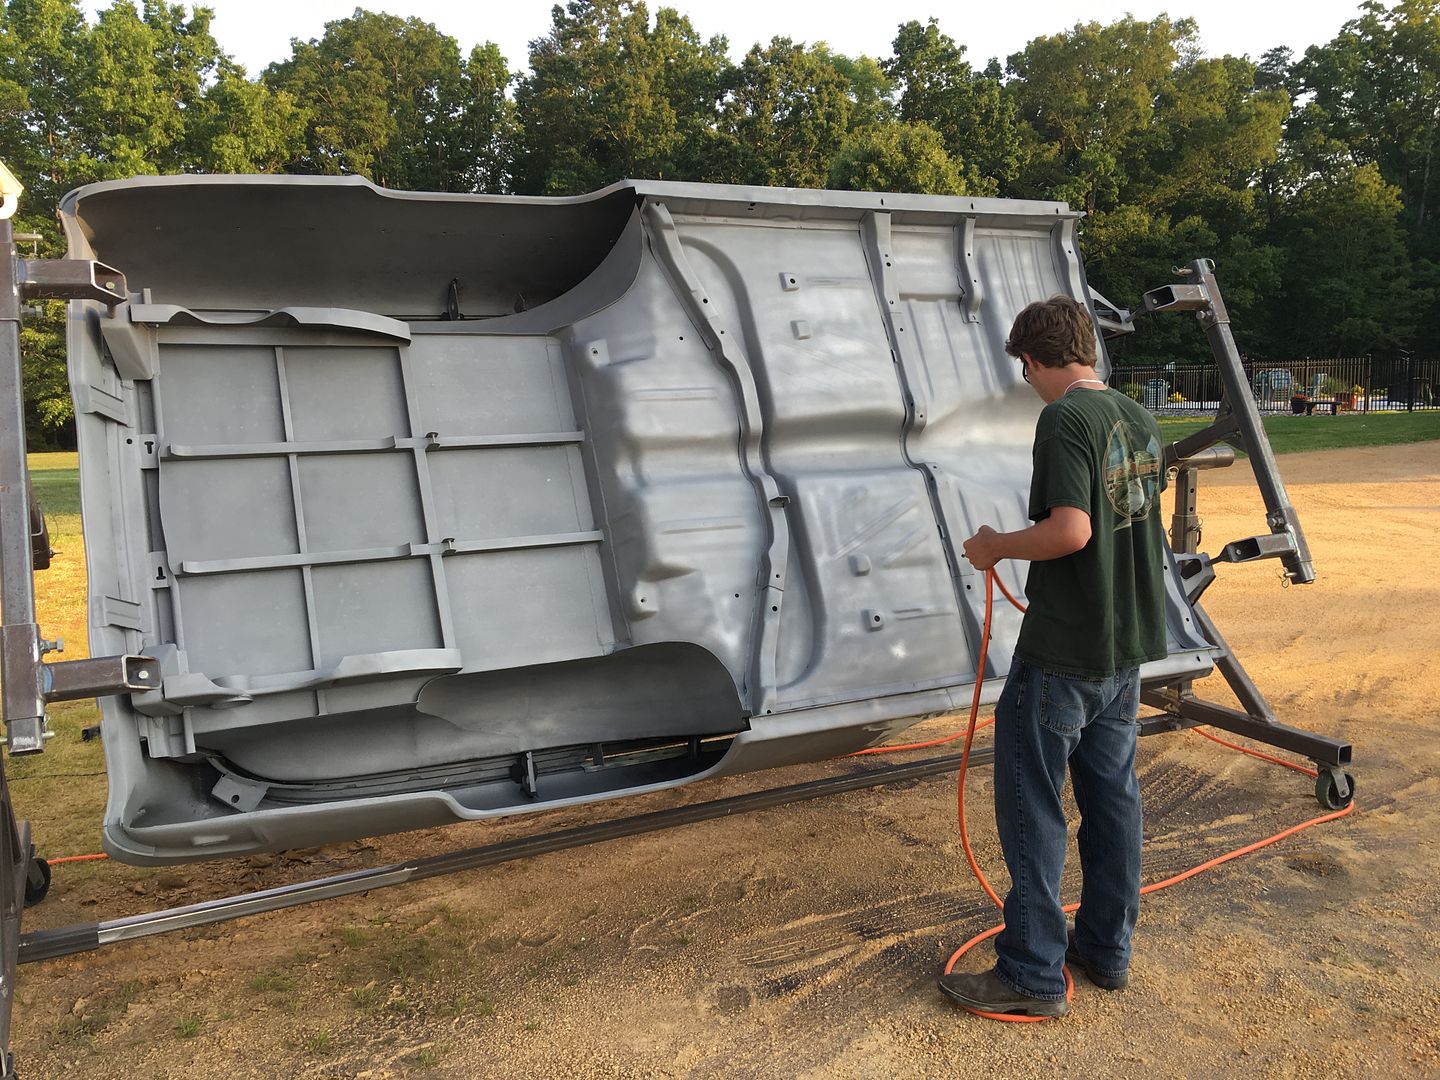 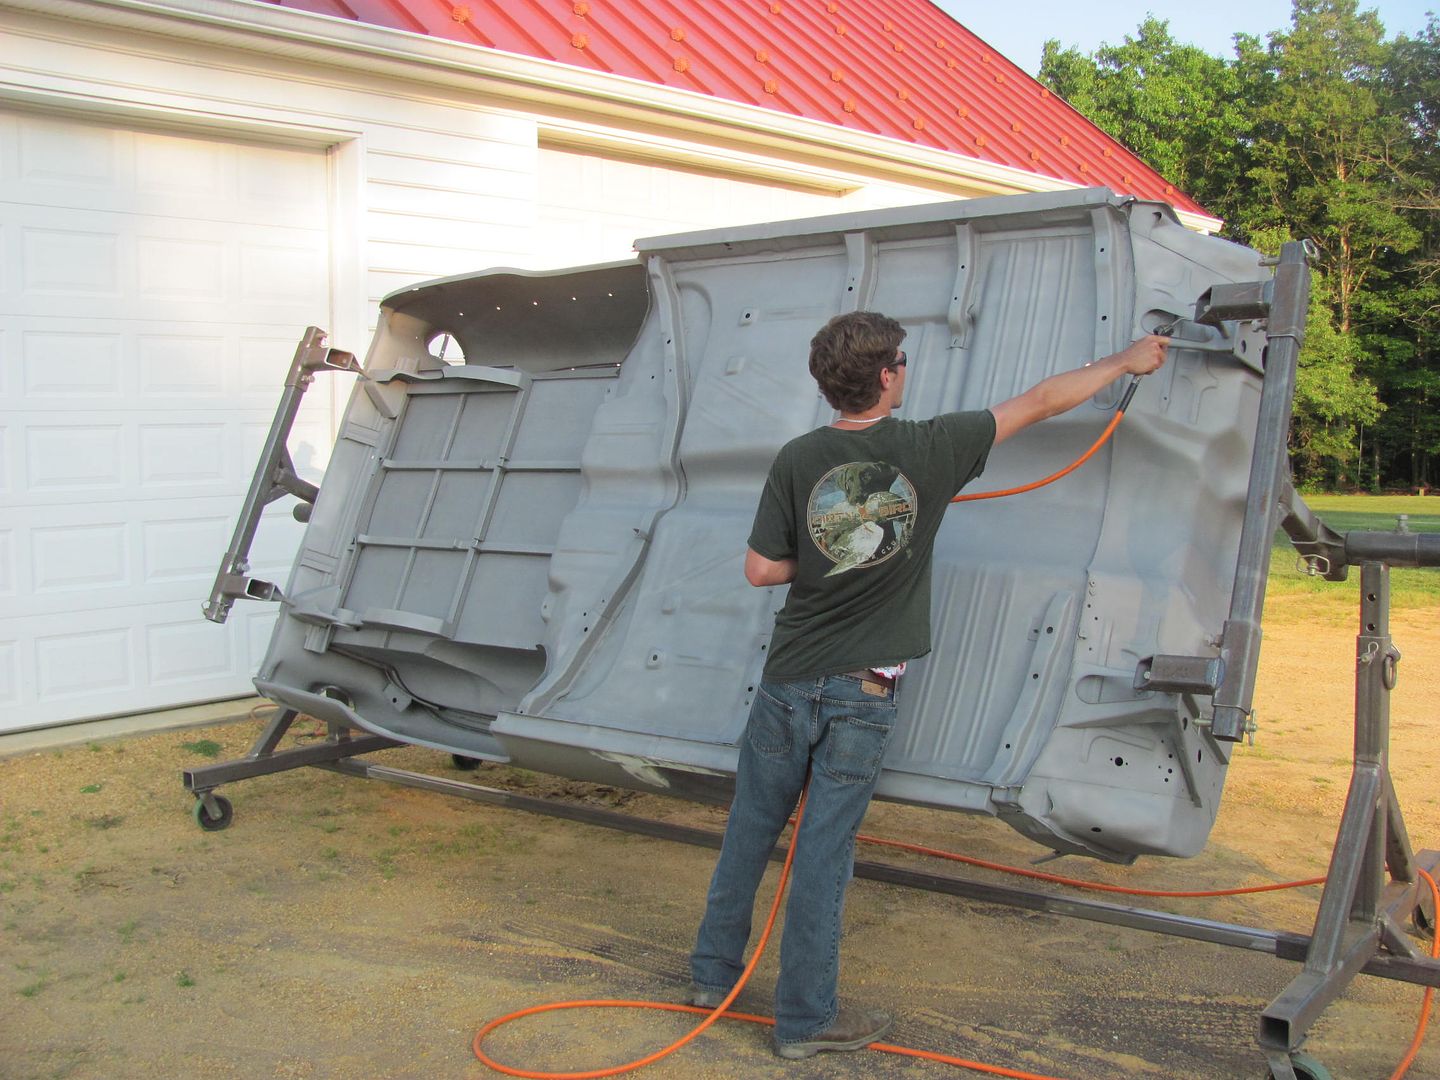 Real pleased with how well it turned out... here moved into the booth and the dehumidifier energized. 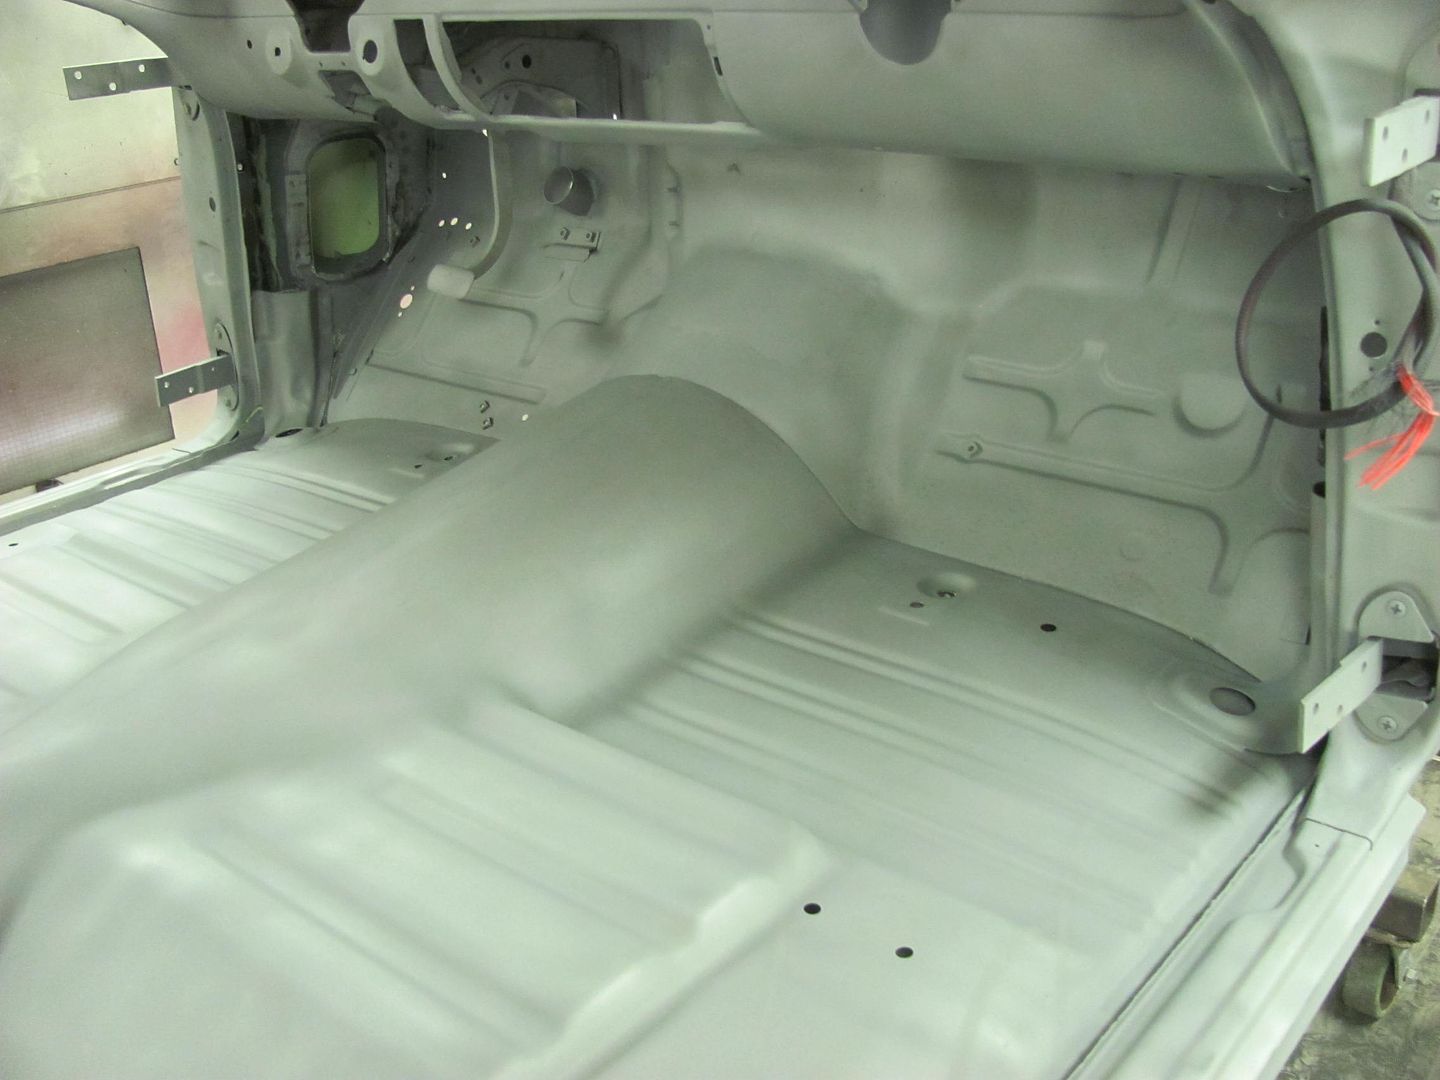 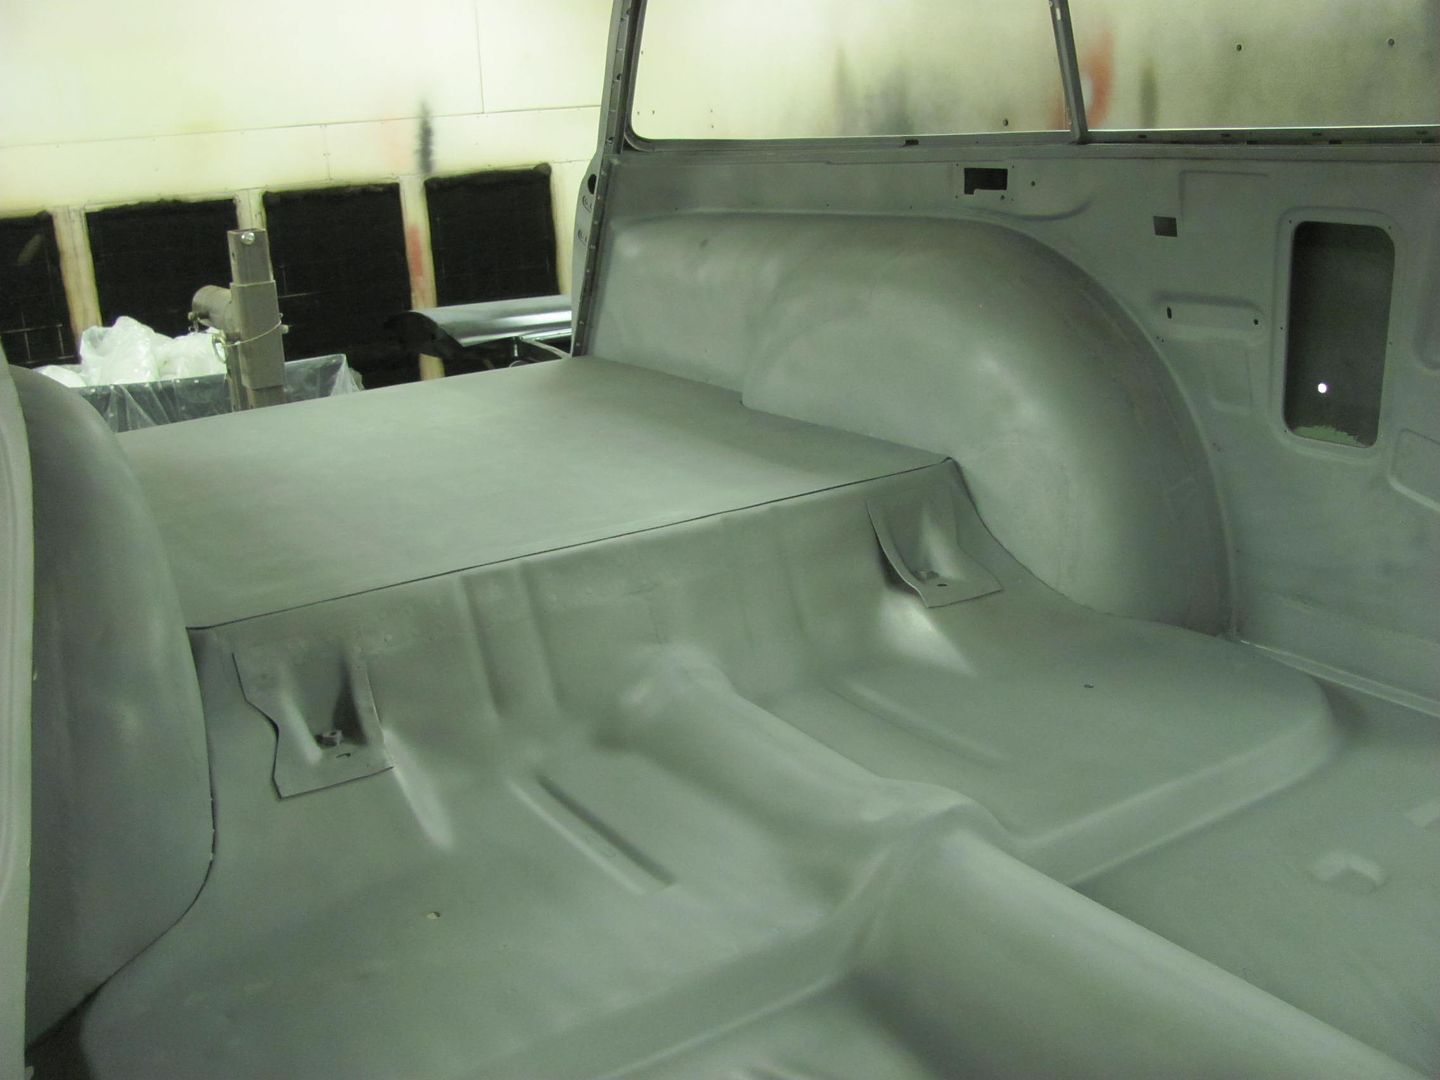  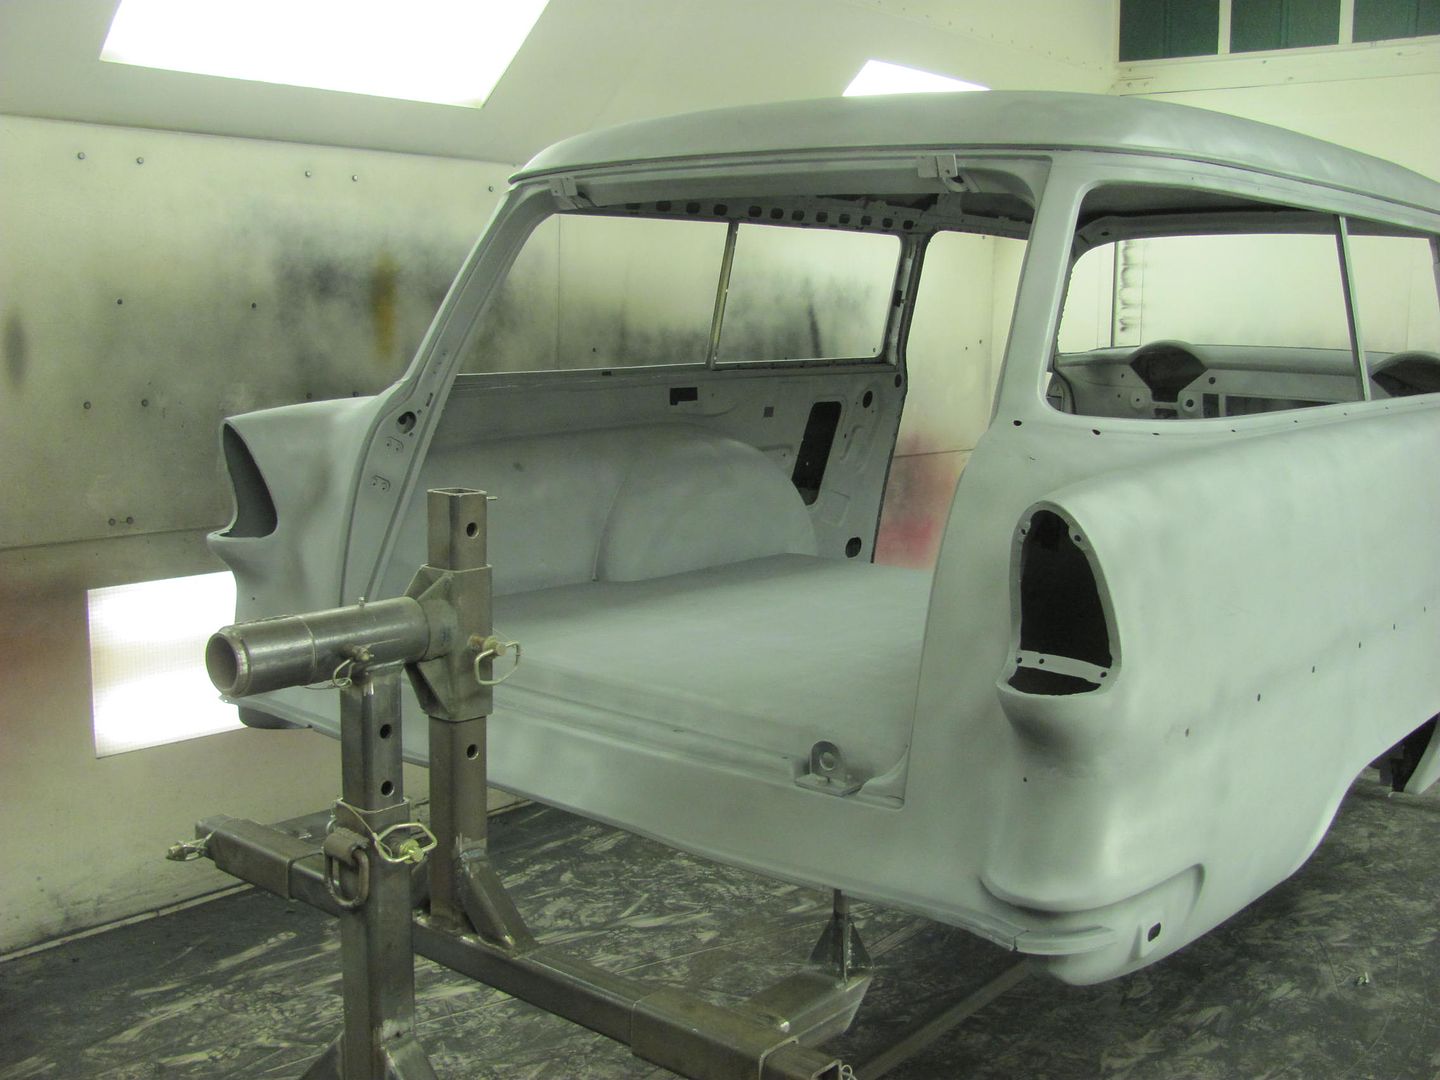 We do have some pin holes that are more apparent now, so we'll get those fixed Saturday morning and see how the weather looks for priming in the afternoon..
__________________
Robert |
|
|
|
|
05-26-2016, 11:37 PM
|
#719 |
|
Senior Member
Join Date: Mar 2011
Location: West Plains, Missouri
Posts: 7,553
|
Re: 55 Wagon Progress
Body looks great. We have about a weeks worth of rain starting here in Missouri...Jim
__________________
my build thread: http://67-72chevytrucks.com/vboard/s...d.php?t=459839 Jimbo's long bed step build:http://67-72chevytrucks.com/vboard/s...t=464626<br /> |
|
|
|
|
05-27-2016, 07:53 AM
|
#720 |
|
Registered User
Join Date: Jan 2013
Location: Leonardtown, MD
Posts: 1,633
|
Re: 55 Wagon Progress
Thanks Jim, definitely glad to share the rain with others..

__________________
Robert |
|
|
|
|
05-27-2016, 08:23 PM
|
#721 |
|
Registered User
Join Date: Apr 2011
Location: .
Posts: 3,104
|
Re: 55 Wagon Progress
Looks great.
No warpage in any of the panels? |
|
|
|
|
05-28-2016, 12:31 AM
|
#722 |
|
Registered User
Join Date: Jan 2013
Location: Leonardtown, MD
Posts: 1,633
|
Re: 55 Wagon Progress
Not that I've seen anywhere, he did a real nice job on it..
__________________
Robert |
|
|
|
|
05-28-2016, 02:57 PM
|
#723 | |
|
Registered User
Join Date: May 2007
Location: Deale Md
Posts: 4,663
|
Re: 55 Wagon Progress
Quote:
__________________
James 63 GMC V6 4speed carryall 65 chevy swb bbw V8 auto 68 K20 327/4 speed, buddy buckets 2002 GMC CC Dually Duramax 64 GMC lwb 3/4 V6 4speed SOLD 66 GMC swb bbw buddy buckets SOLD IG duallyjams The only thing that stays the same is constant change! |
|
|
|
|
|
05-30-2016, 01:18 AM
|
#724 |
|
Registered User
Join Date: Jan 2013
Location: Leonardtown, MD
Posts: 1,633
|
Re: 55 Wagon Progress
Well, no primer just yet, while Kyle was taking care of some pin holes that became more obvious after media blasting...
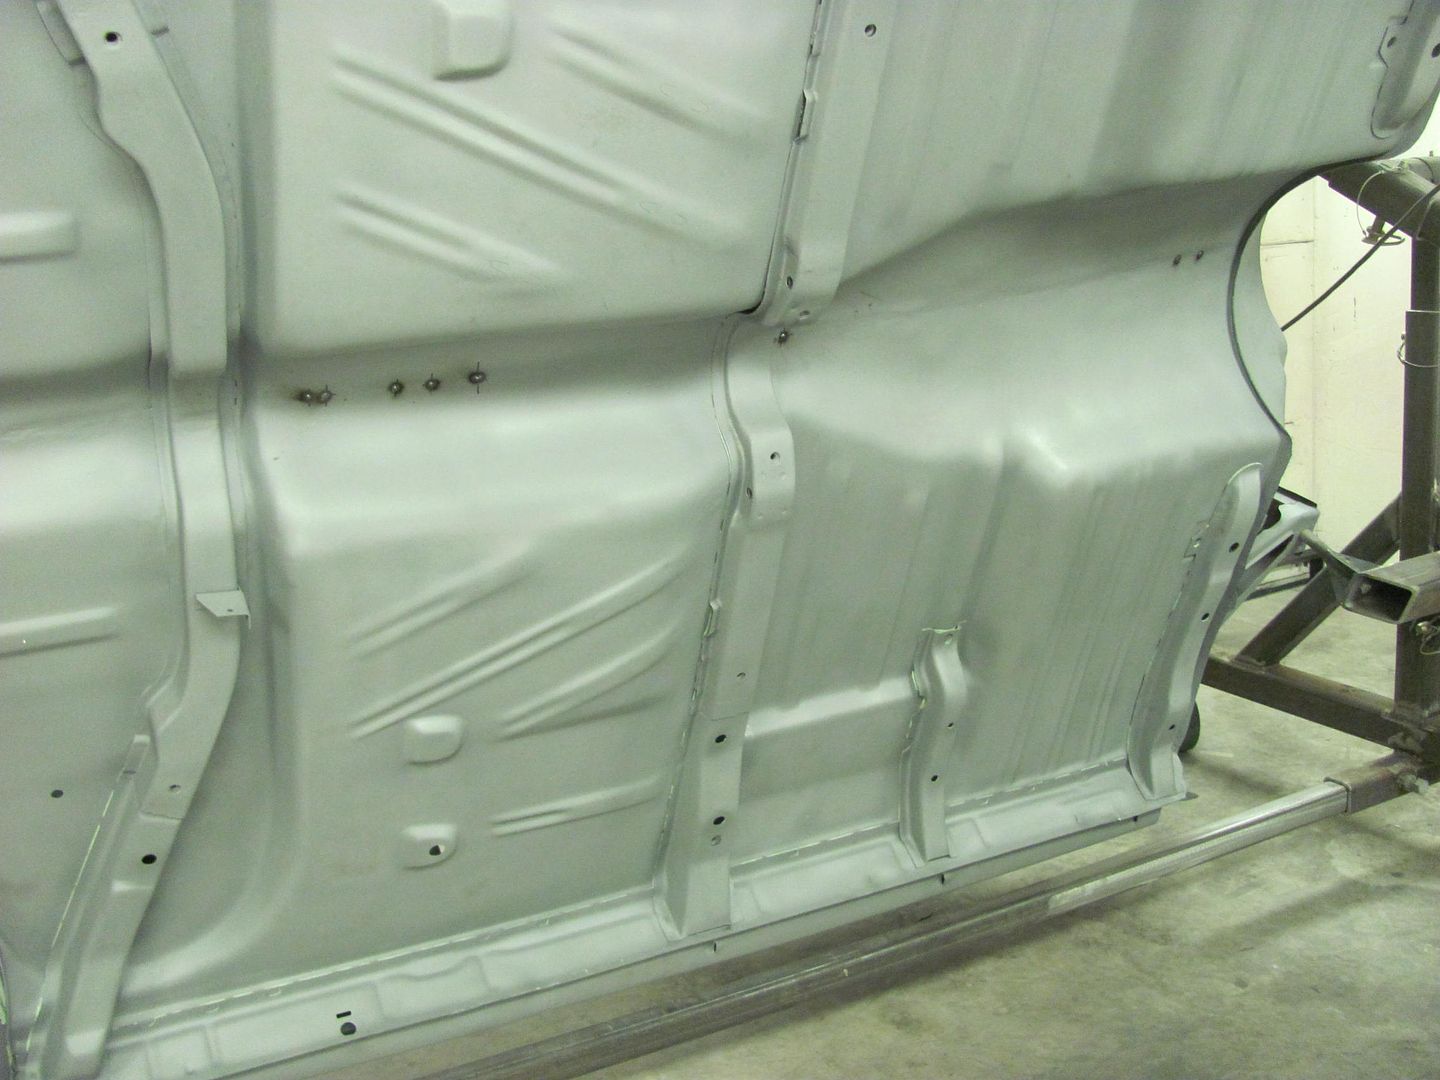  I ran across this... 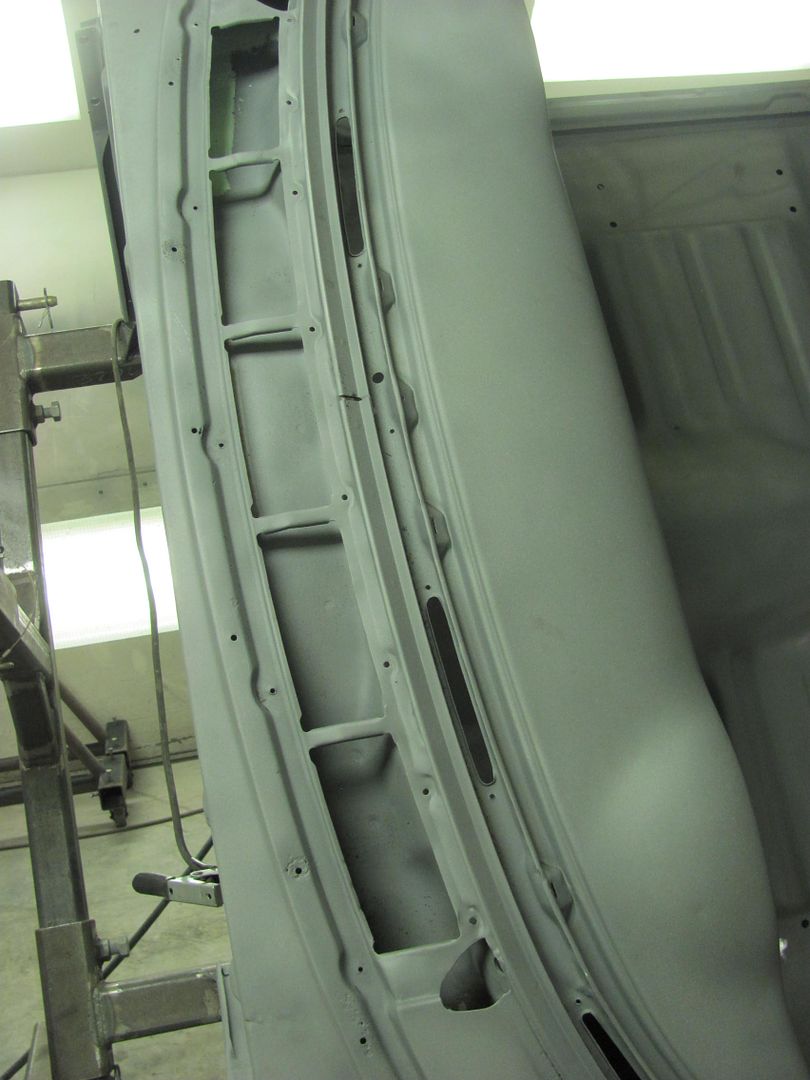 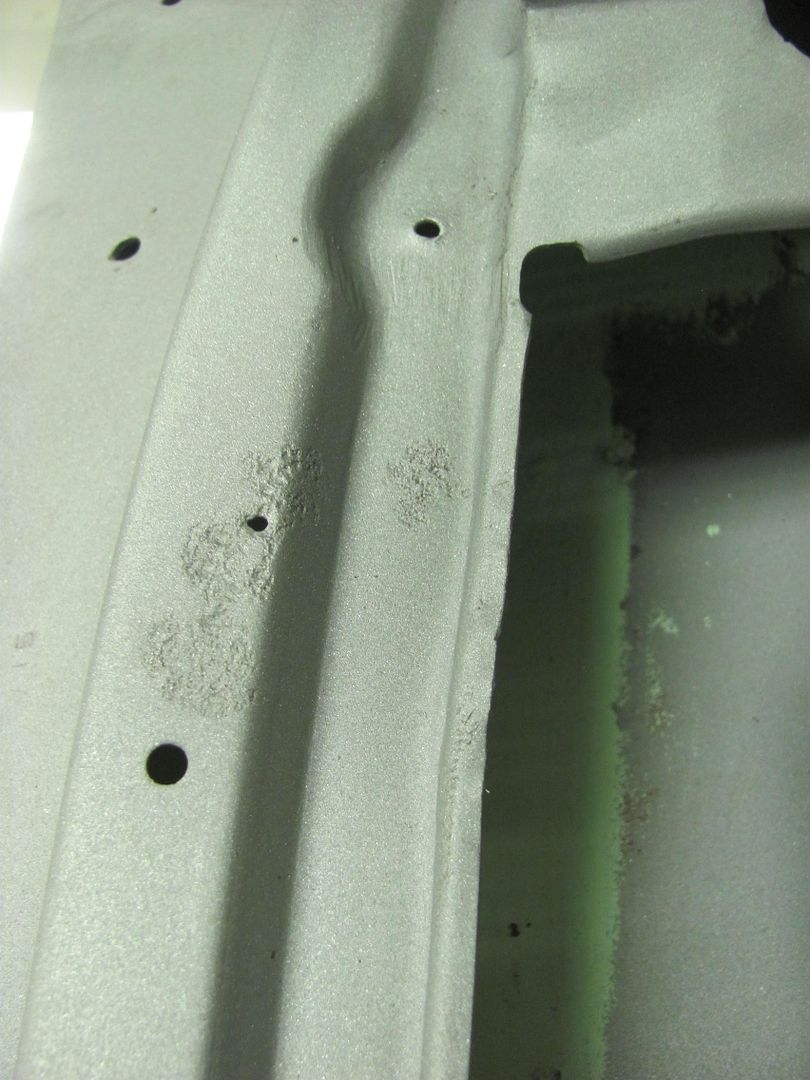 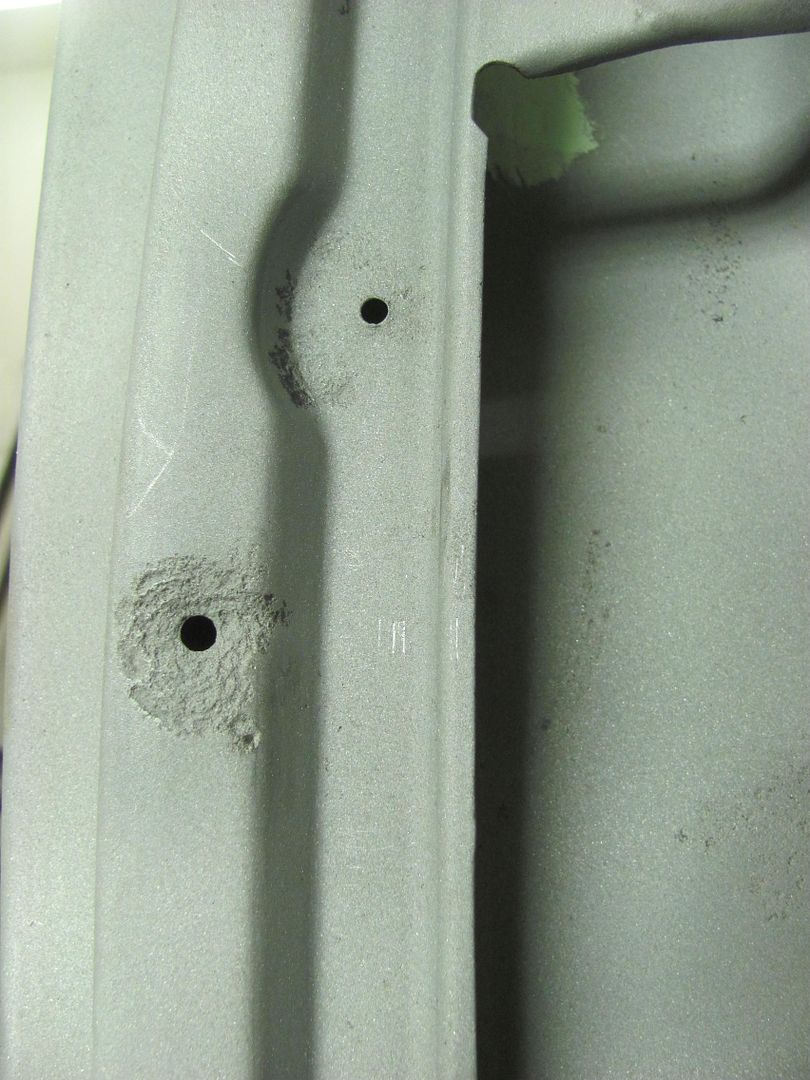 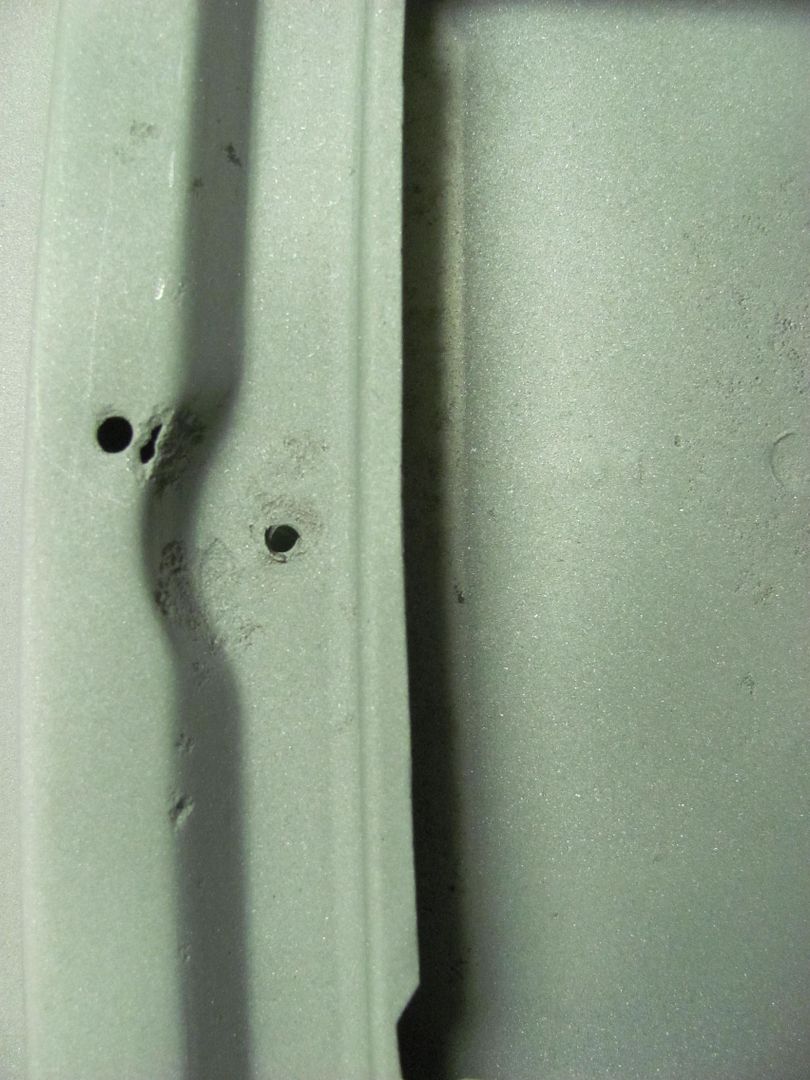 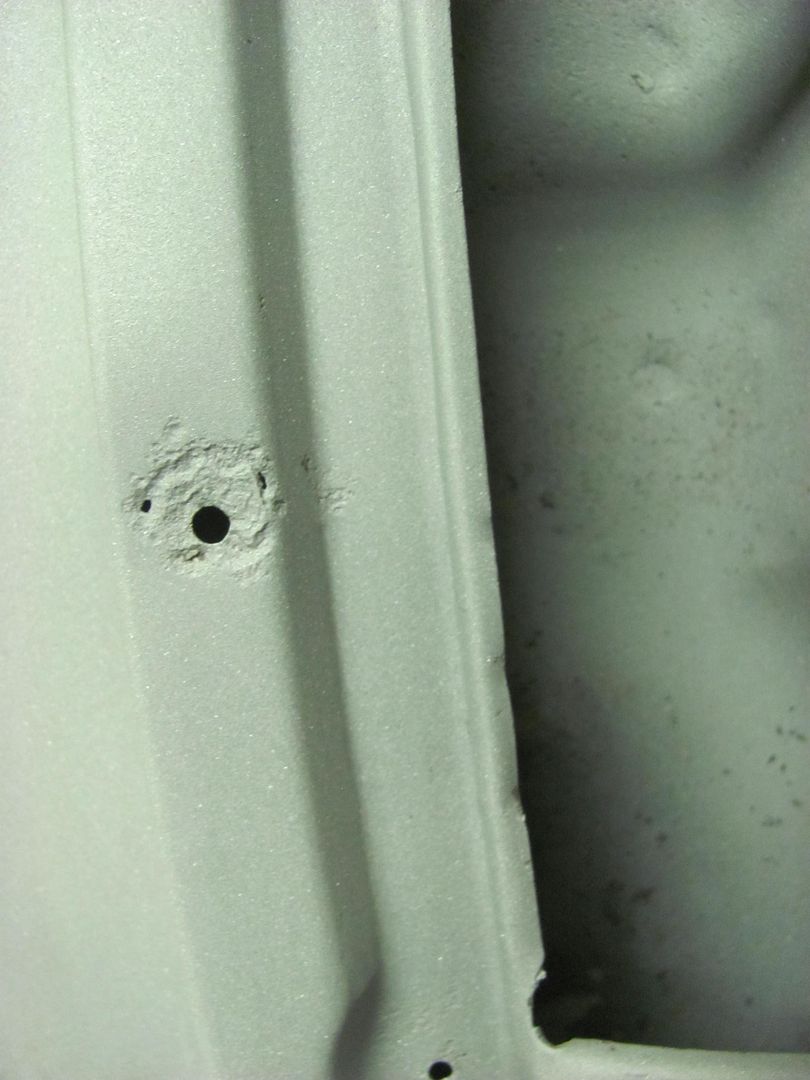 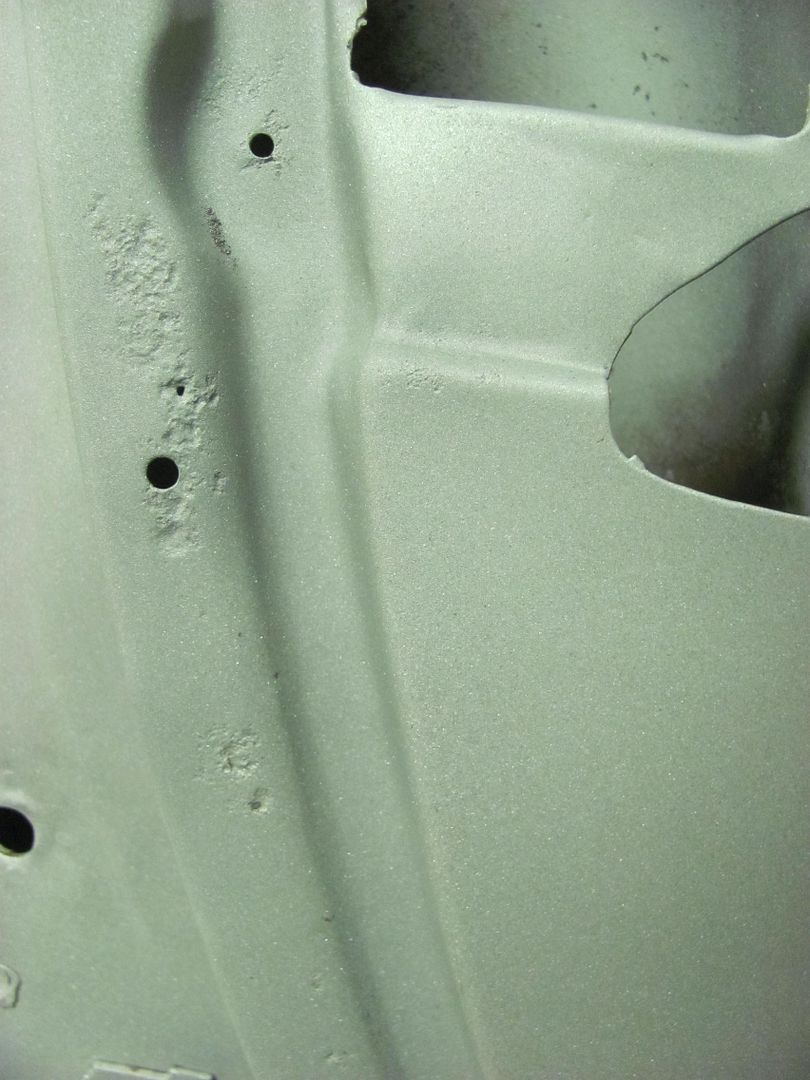 With so much widespread "issues", let's see if we can come close to duplicating this.. Taking a paper pattern.. 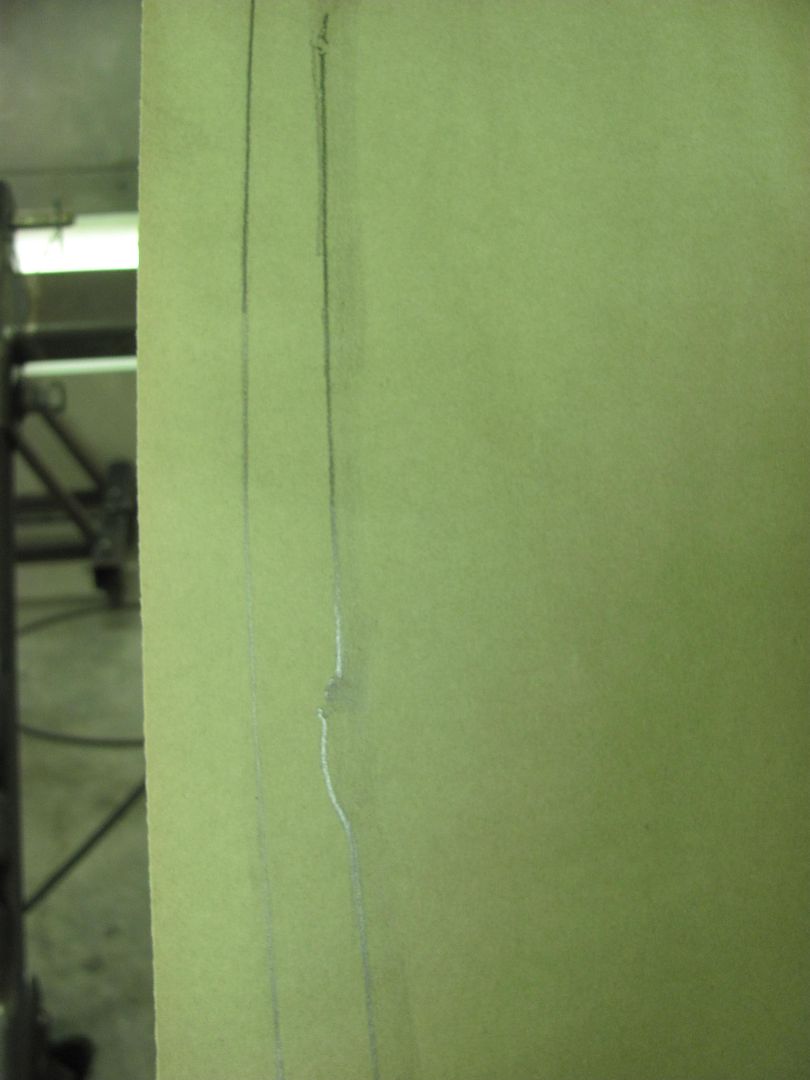 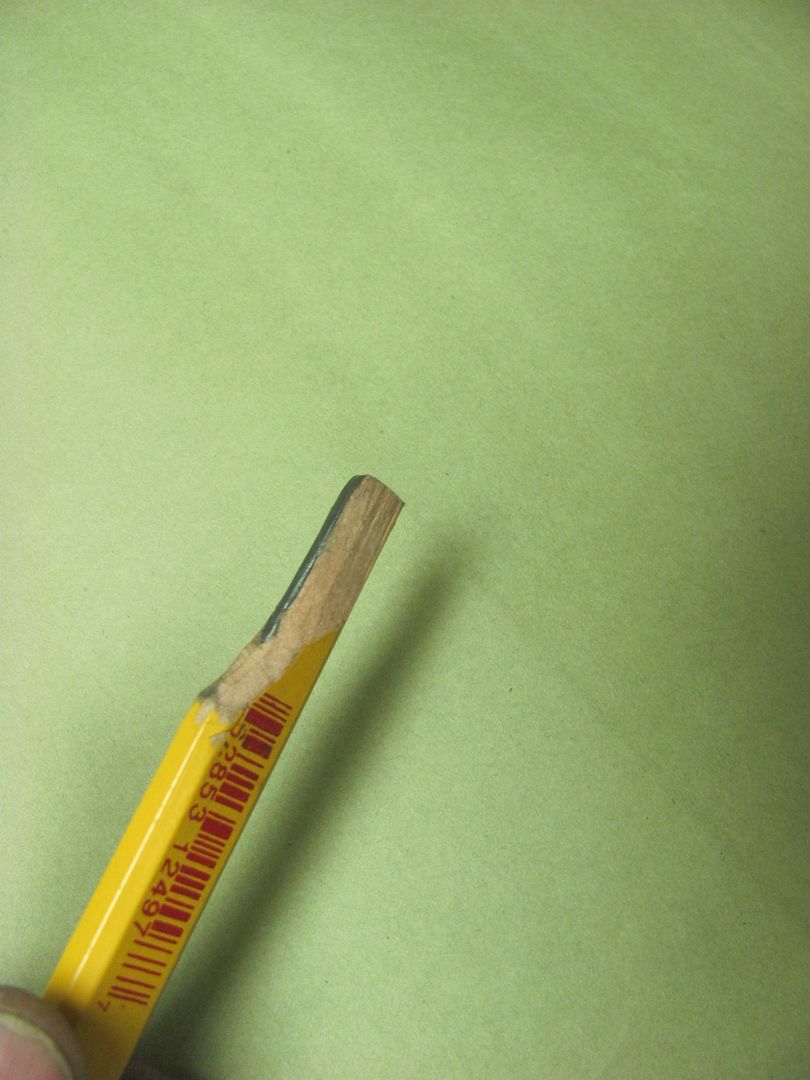 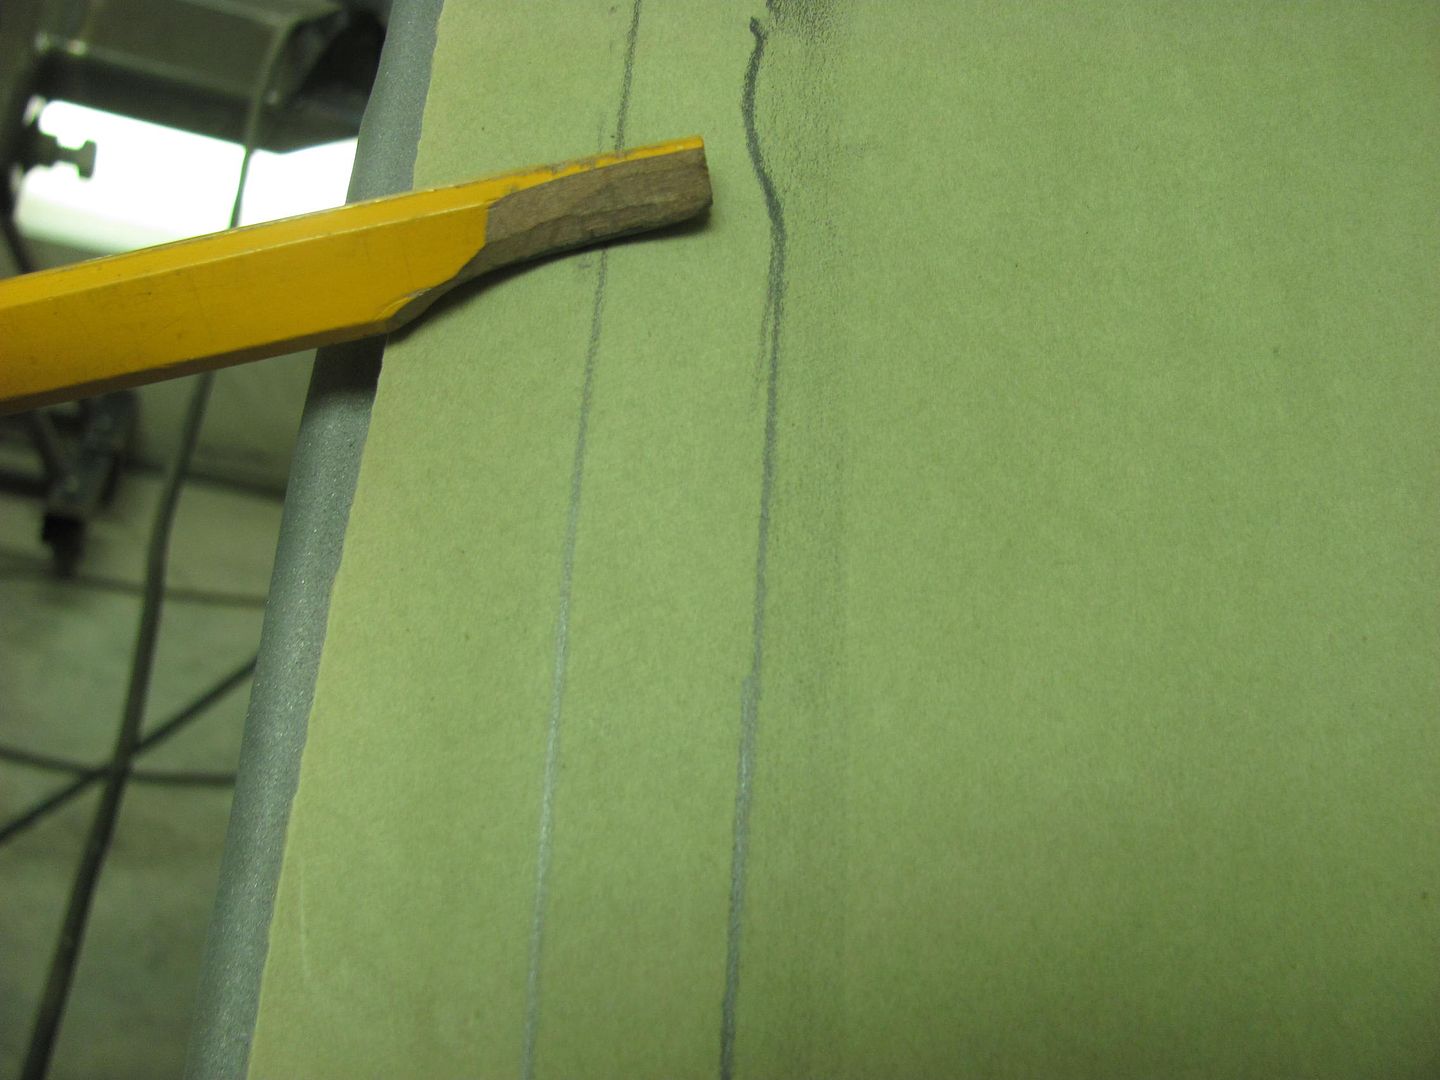 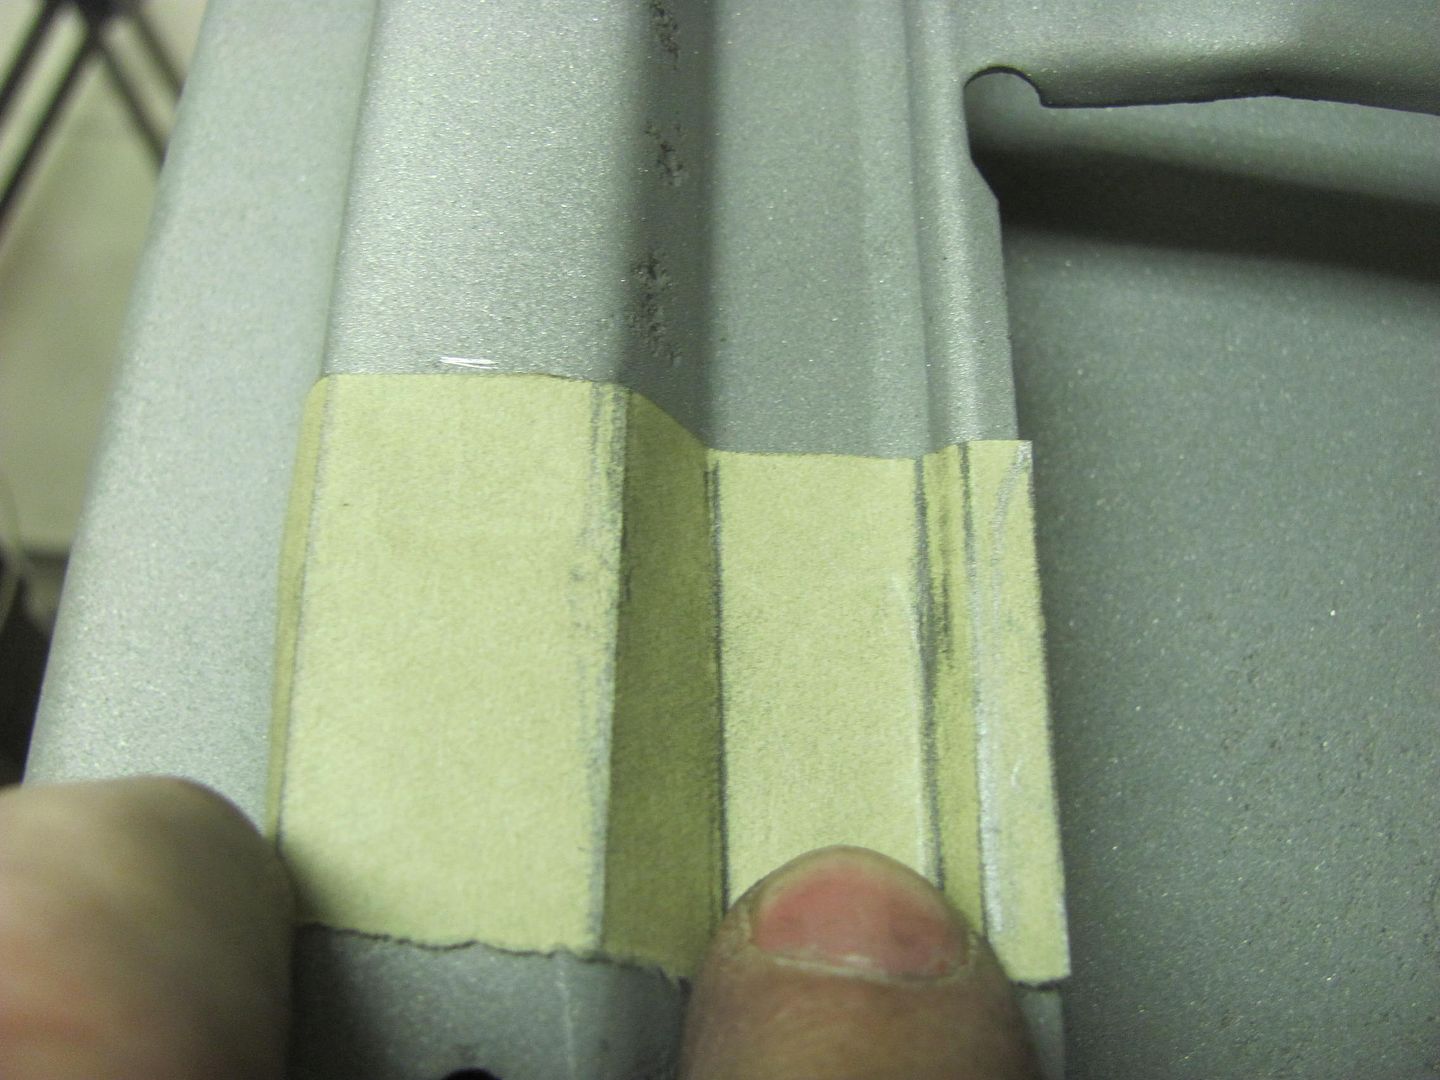 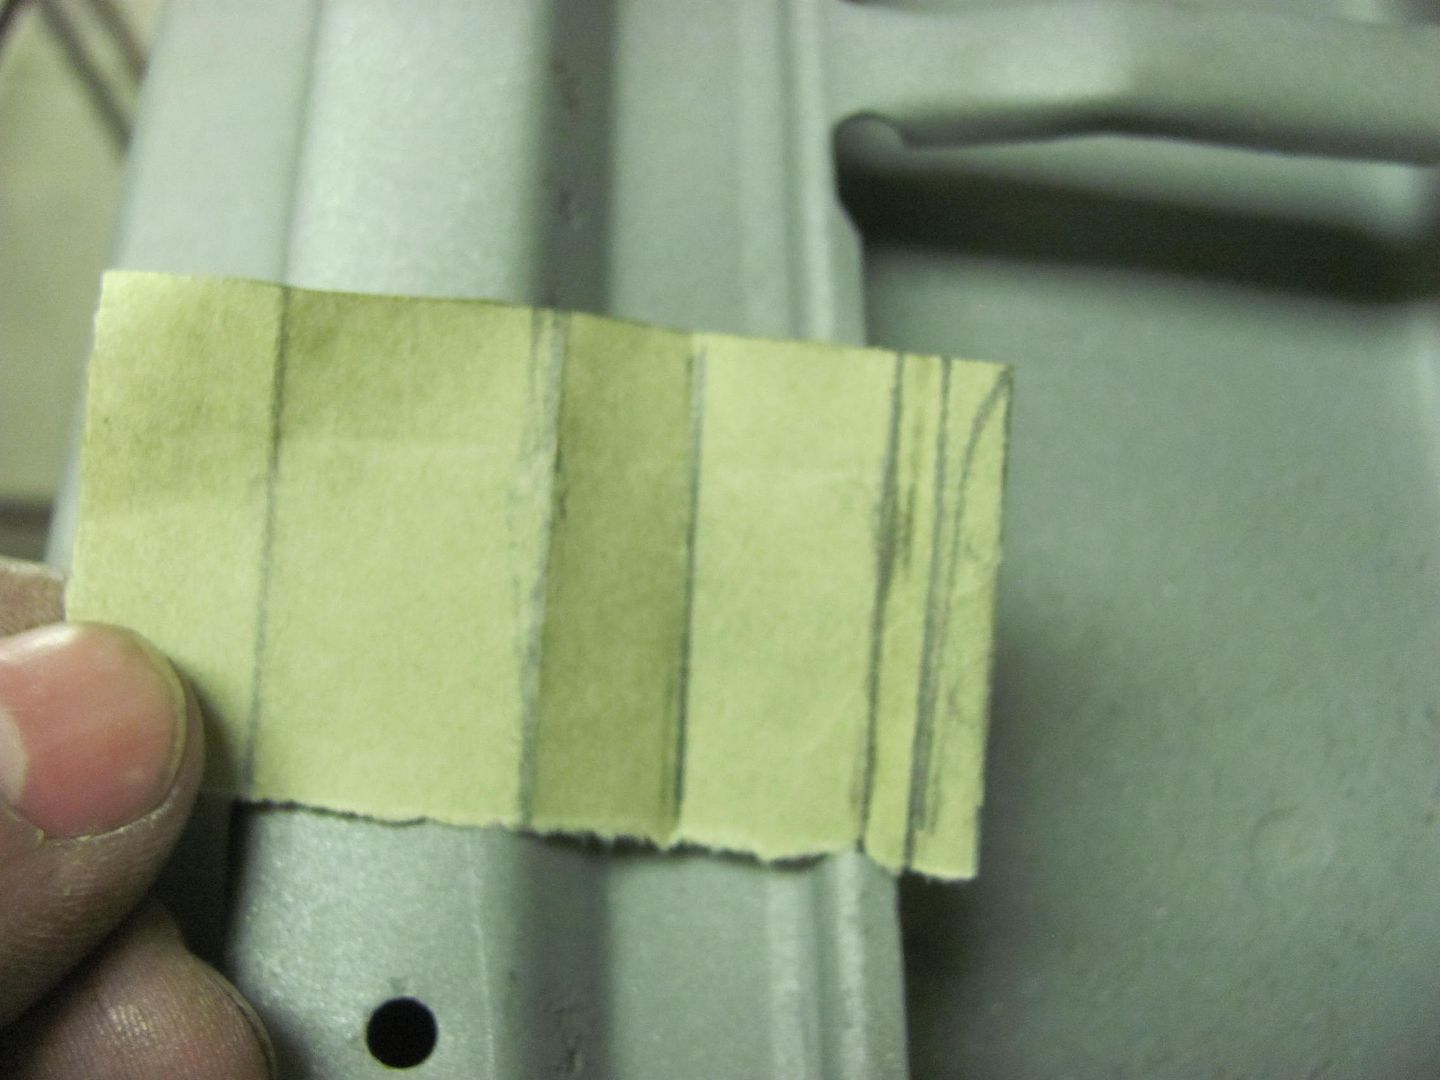 Here laid out on some 19 gauge AKDQ... 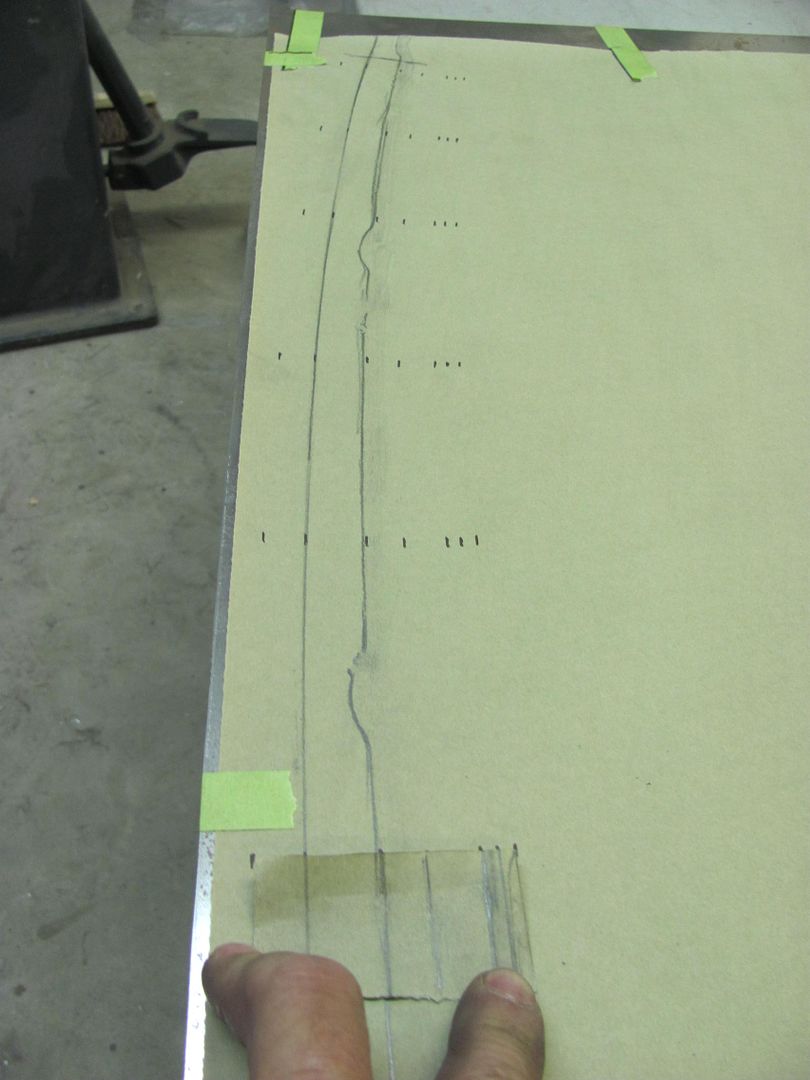 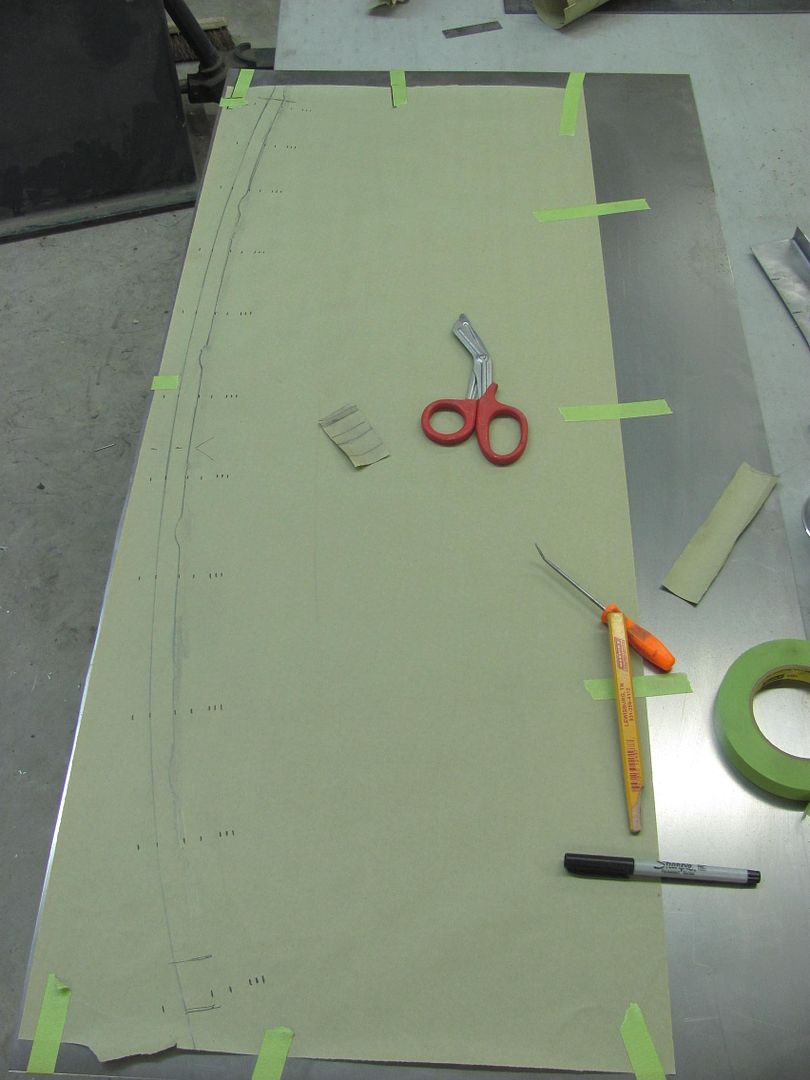 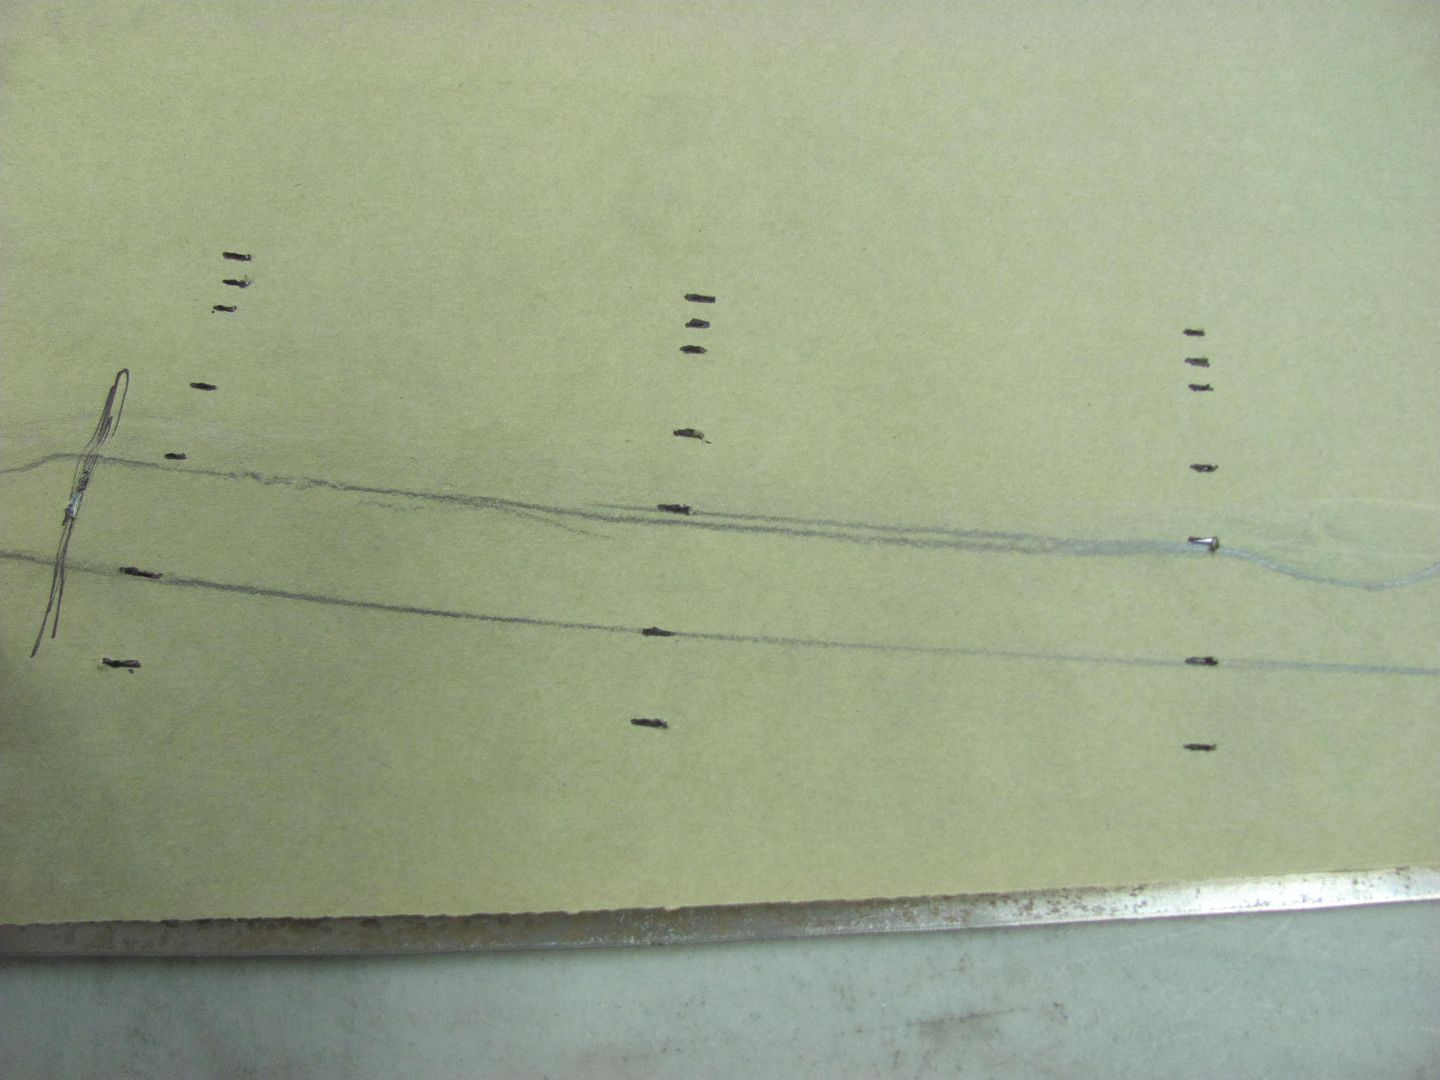 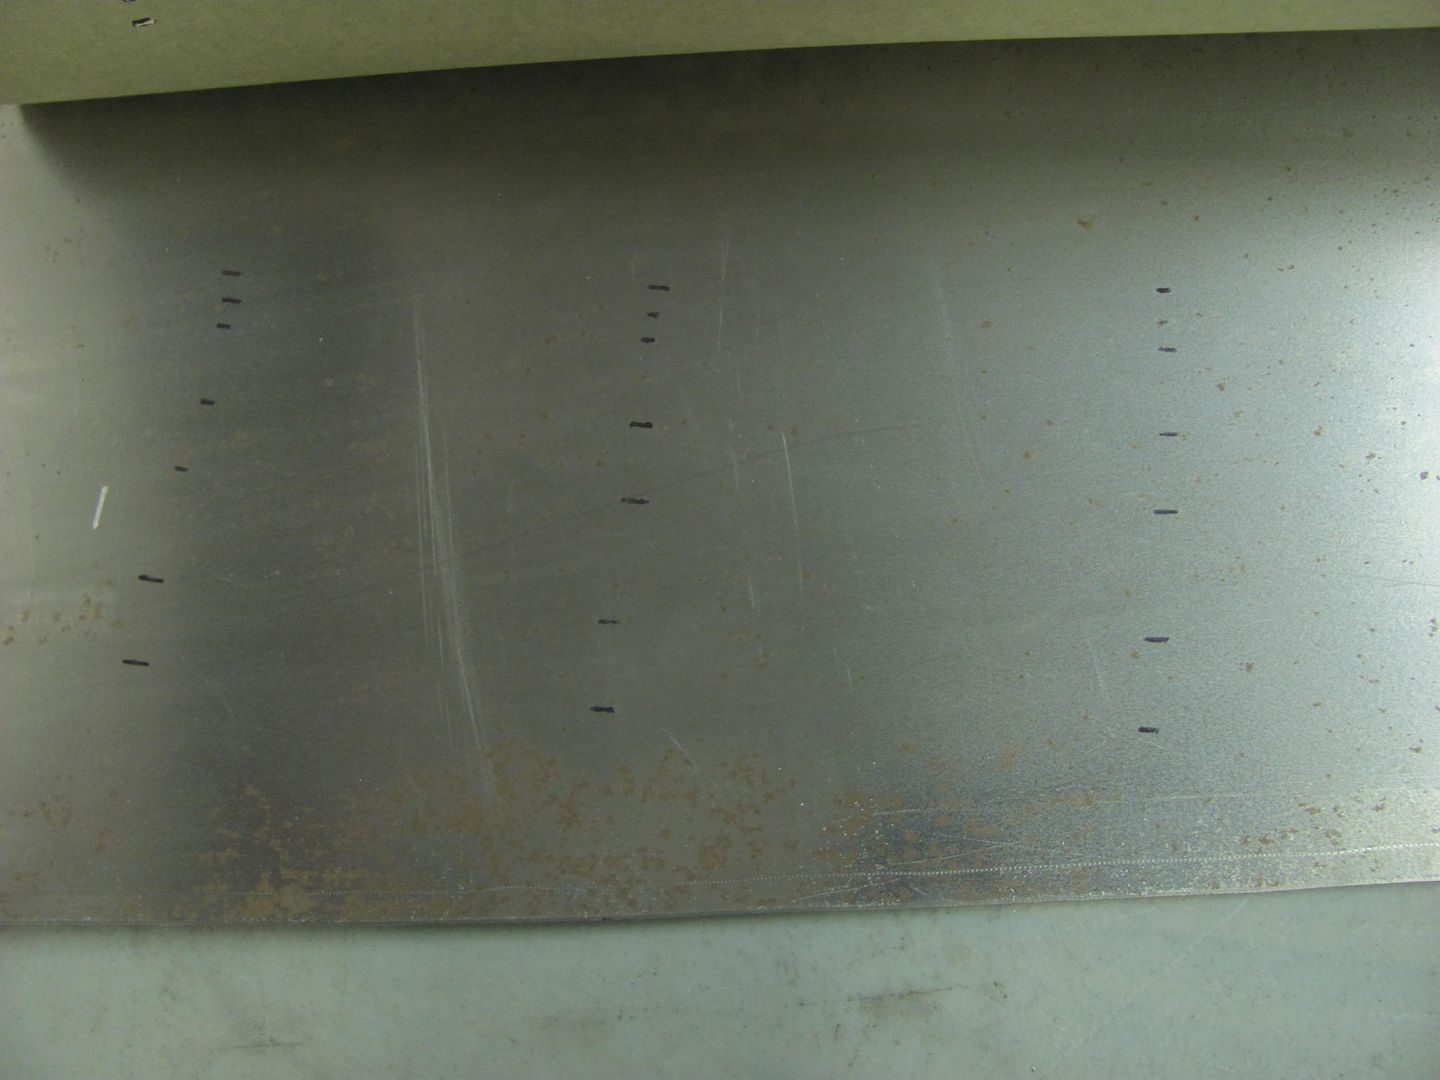 Trimming... 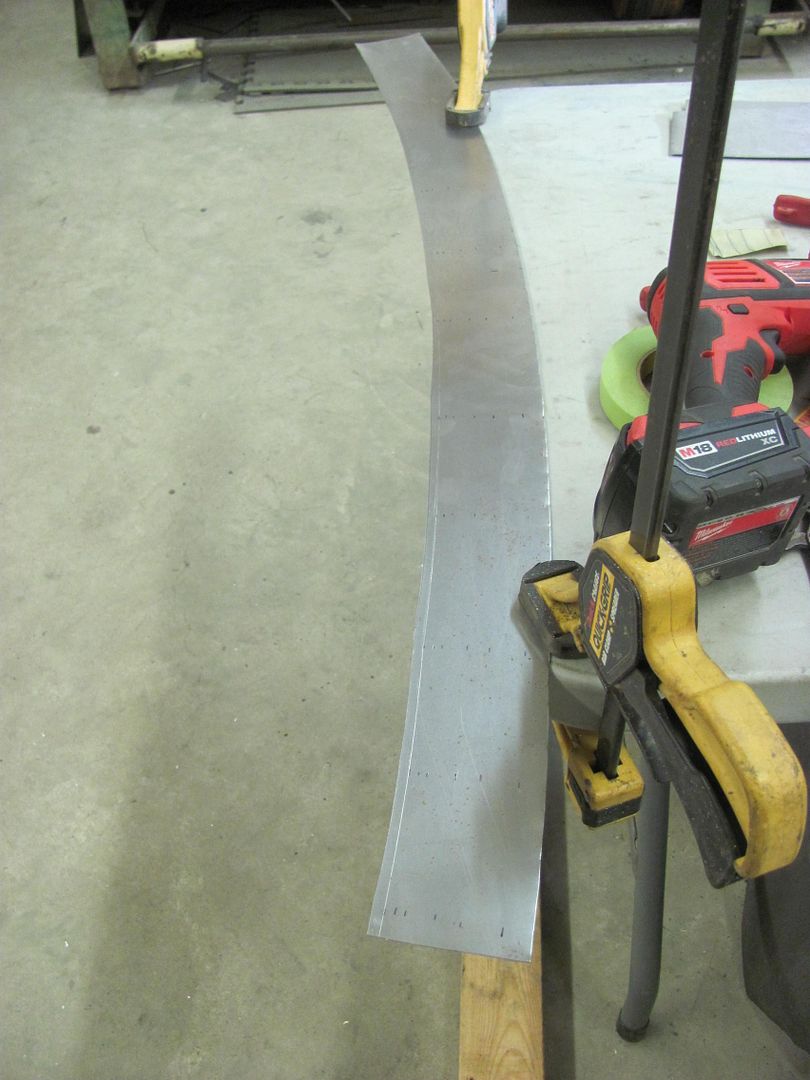 But I always prefer a test sample first... this done on the tipping wheel 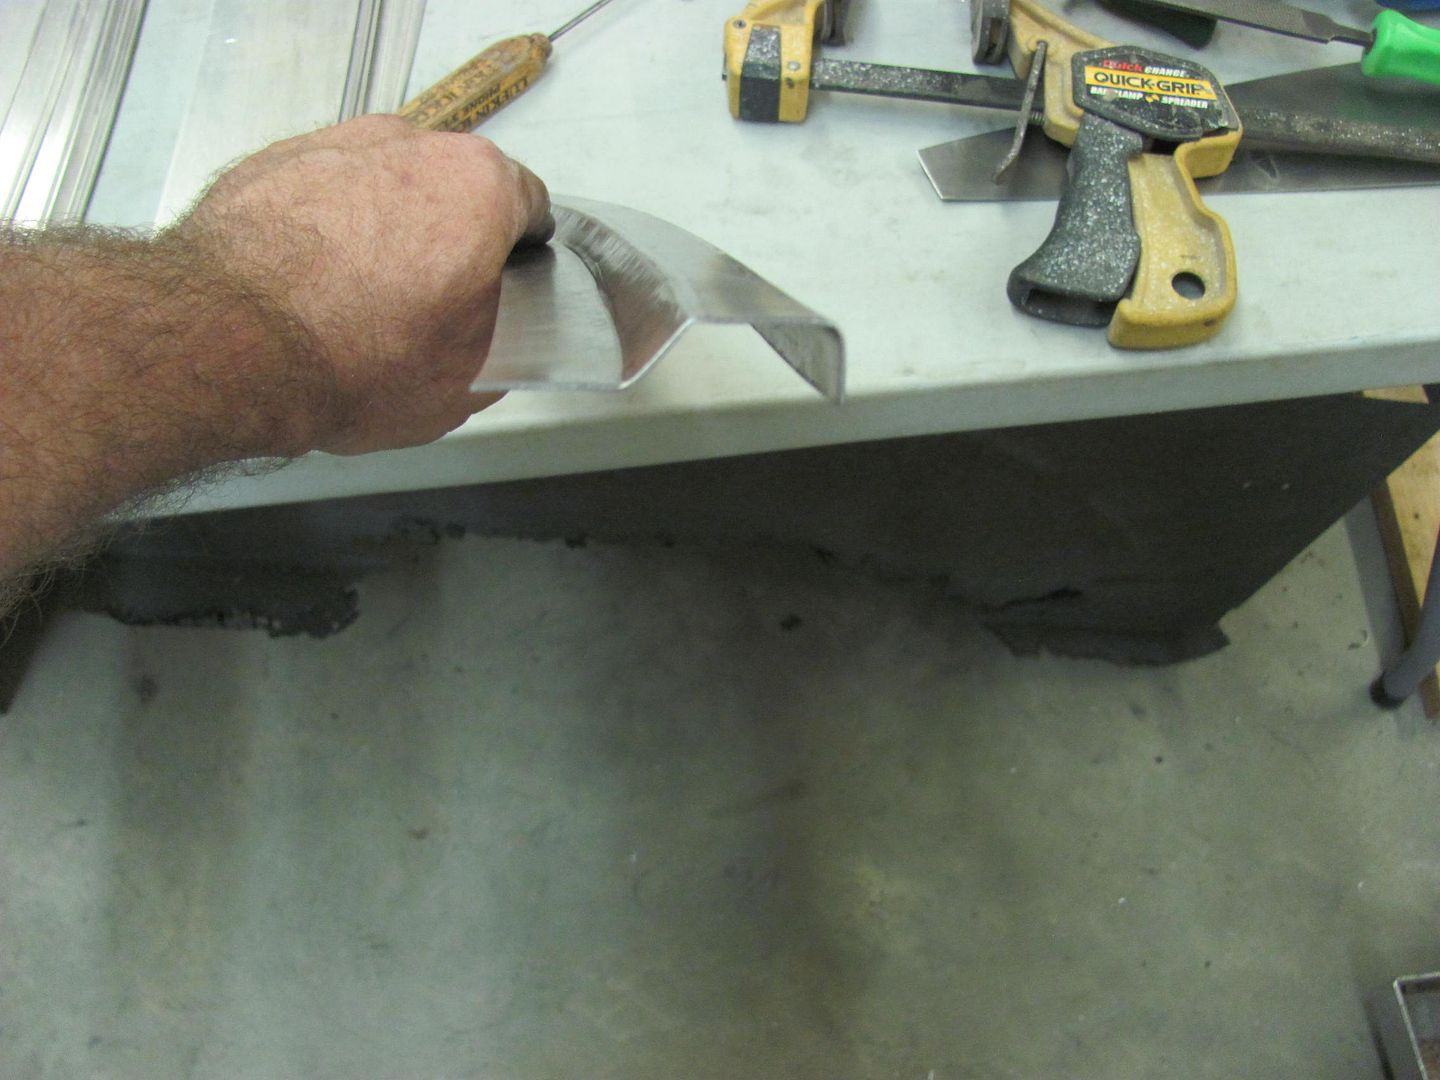 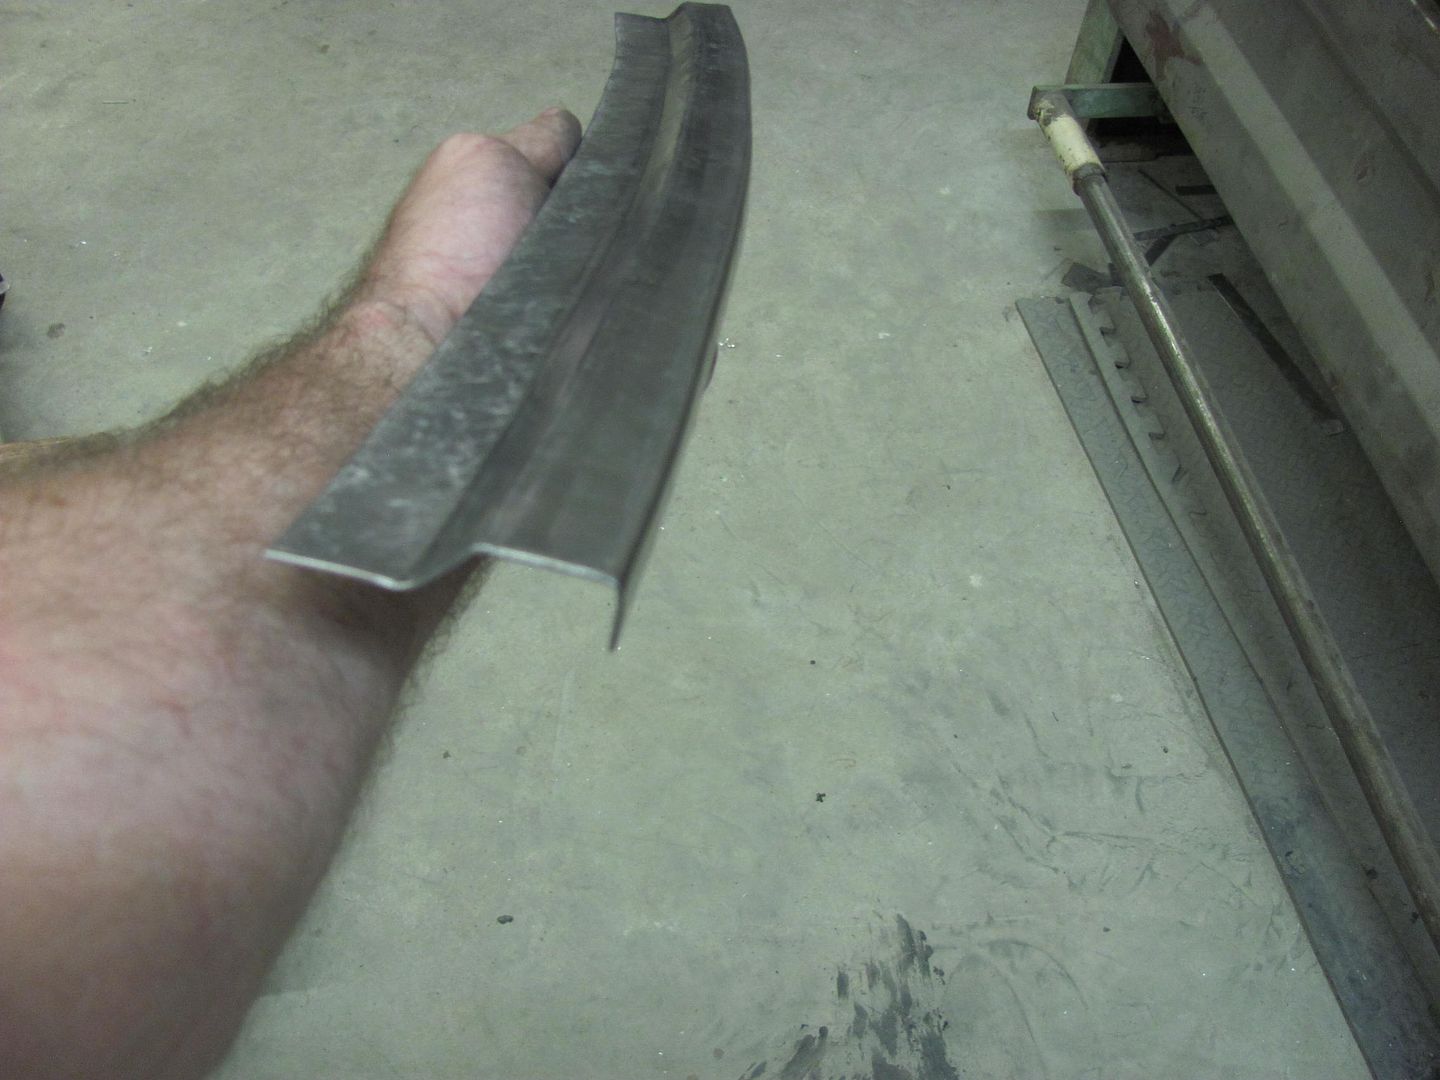 Step dies on the Lennox add the final detail... 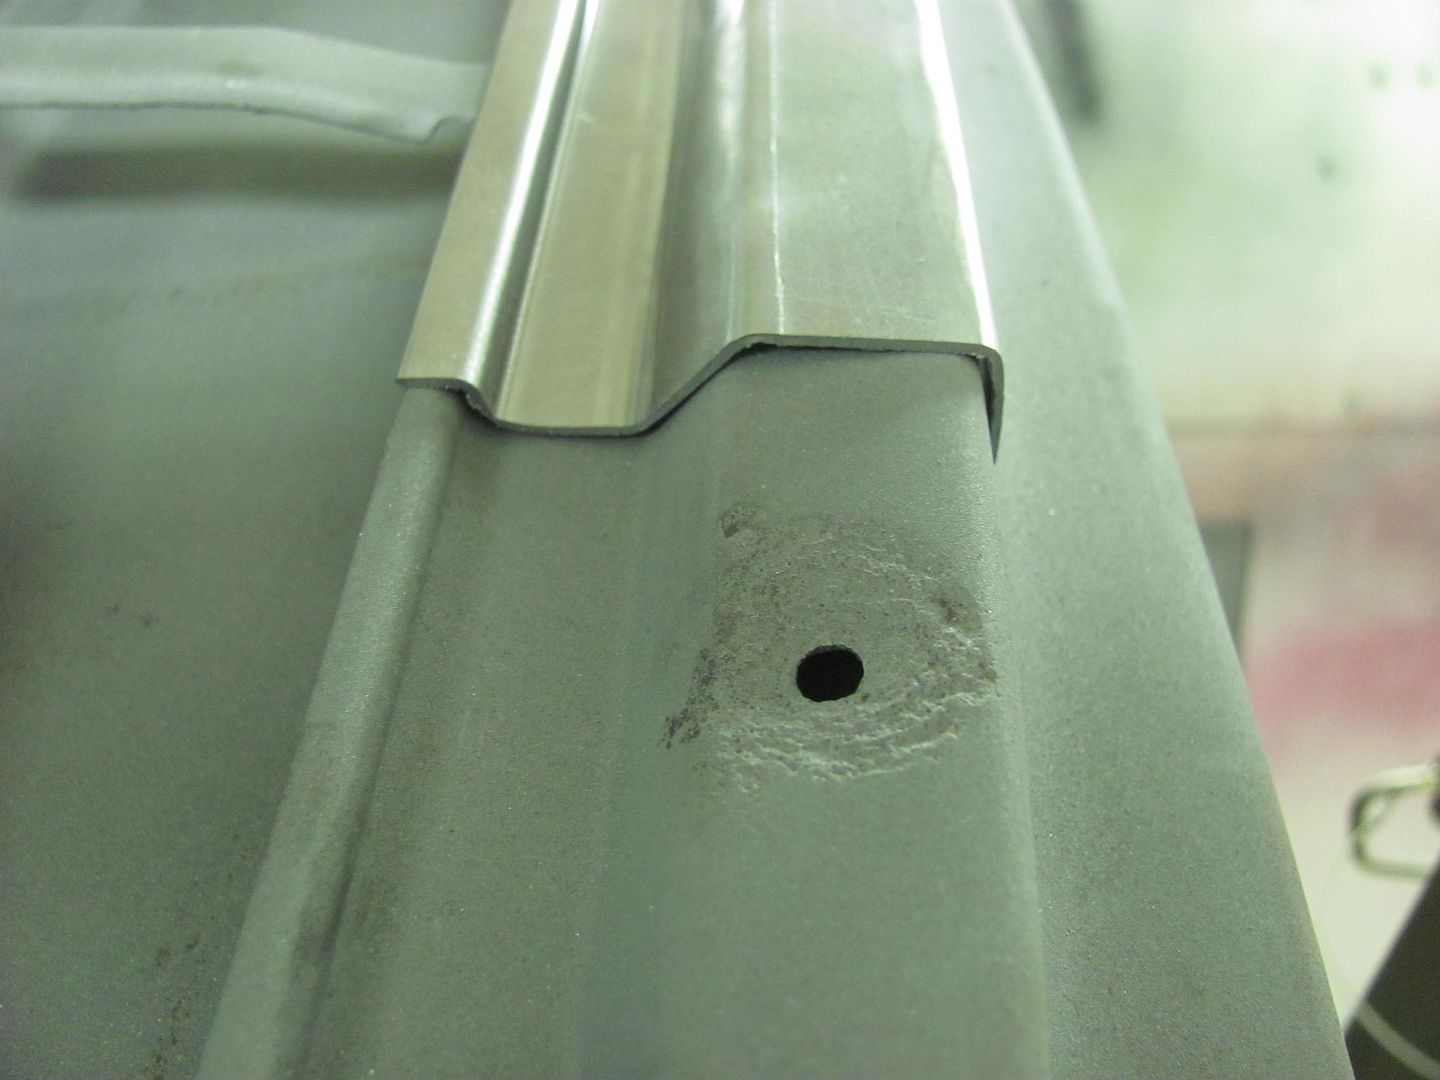 Need to fine tune the dimensions, but this looks close. I think I'll make up some dies for the Lennox for better consistency on the good piece.. 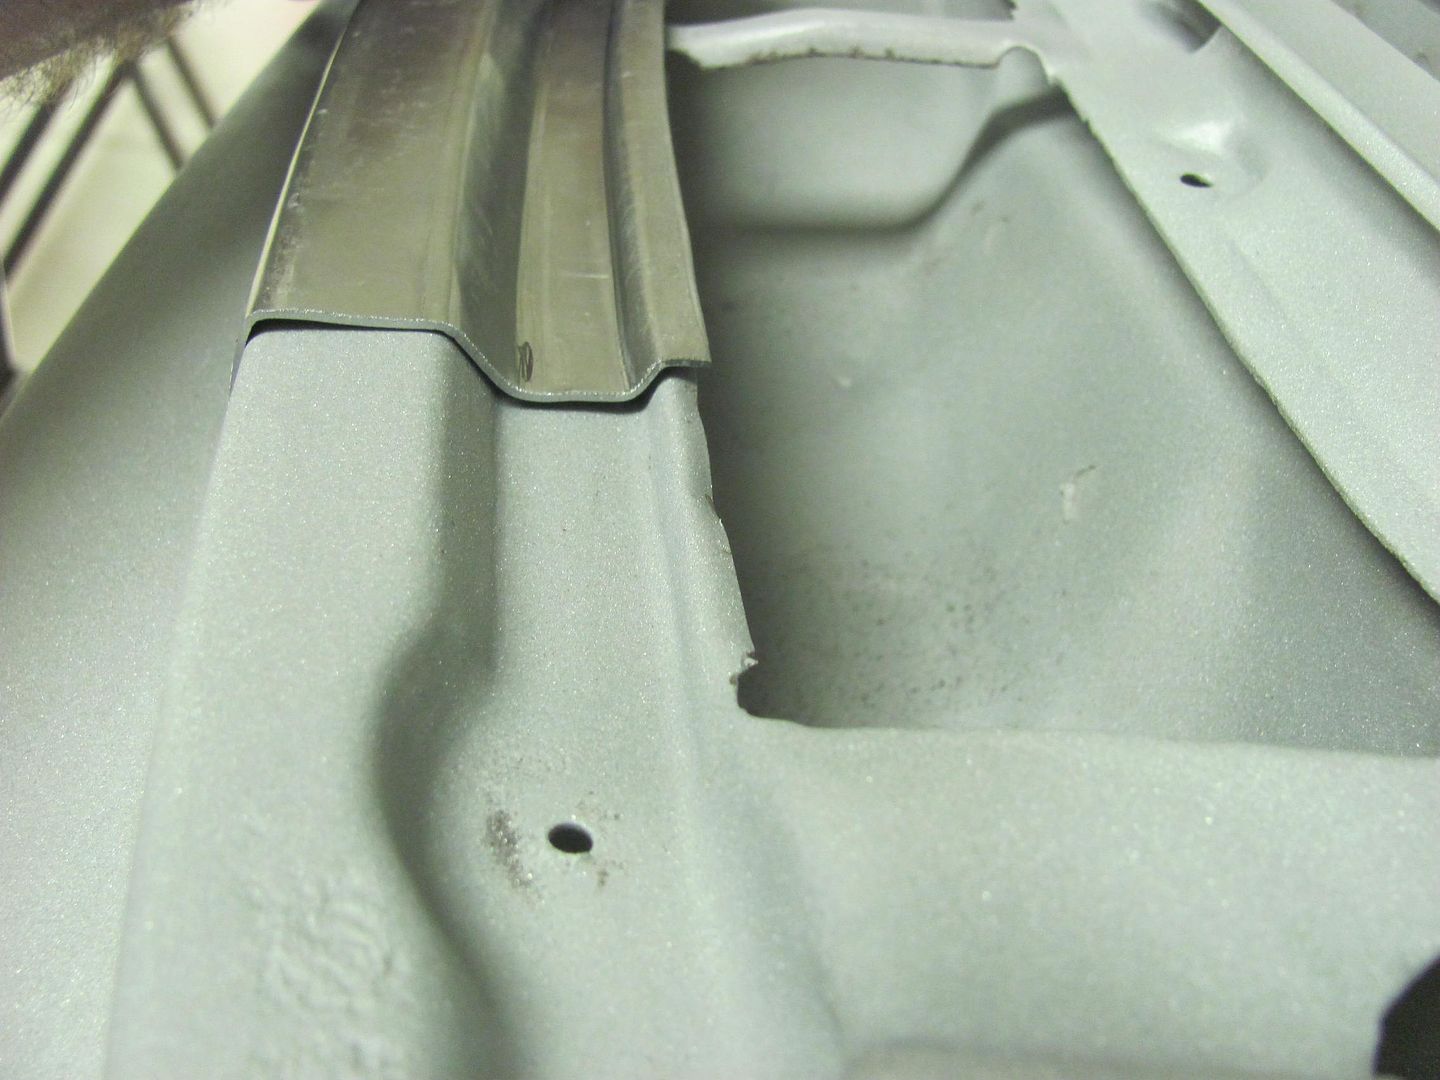 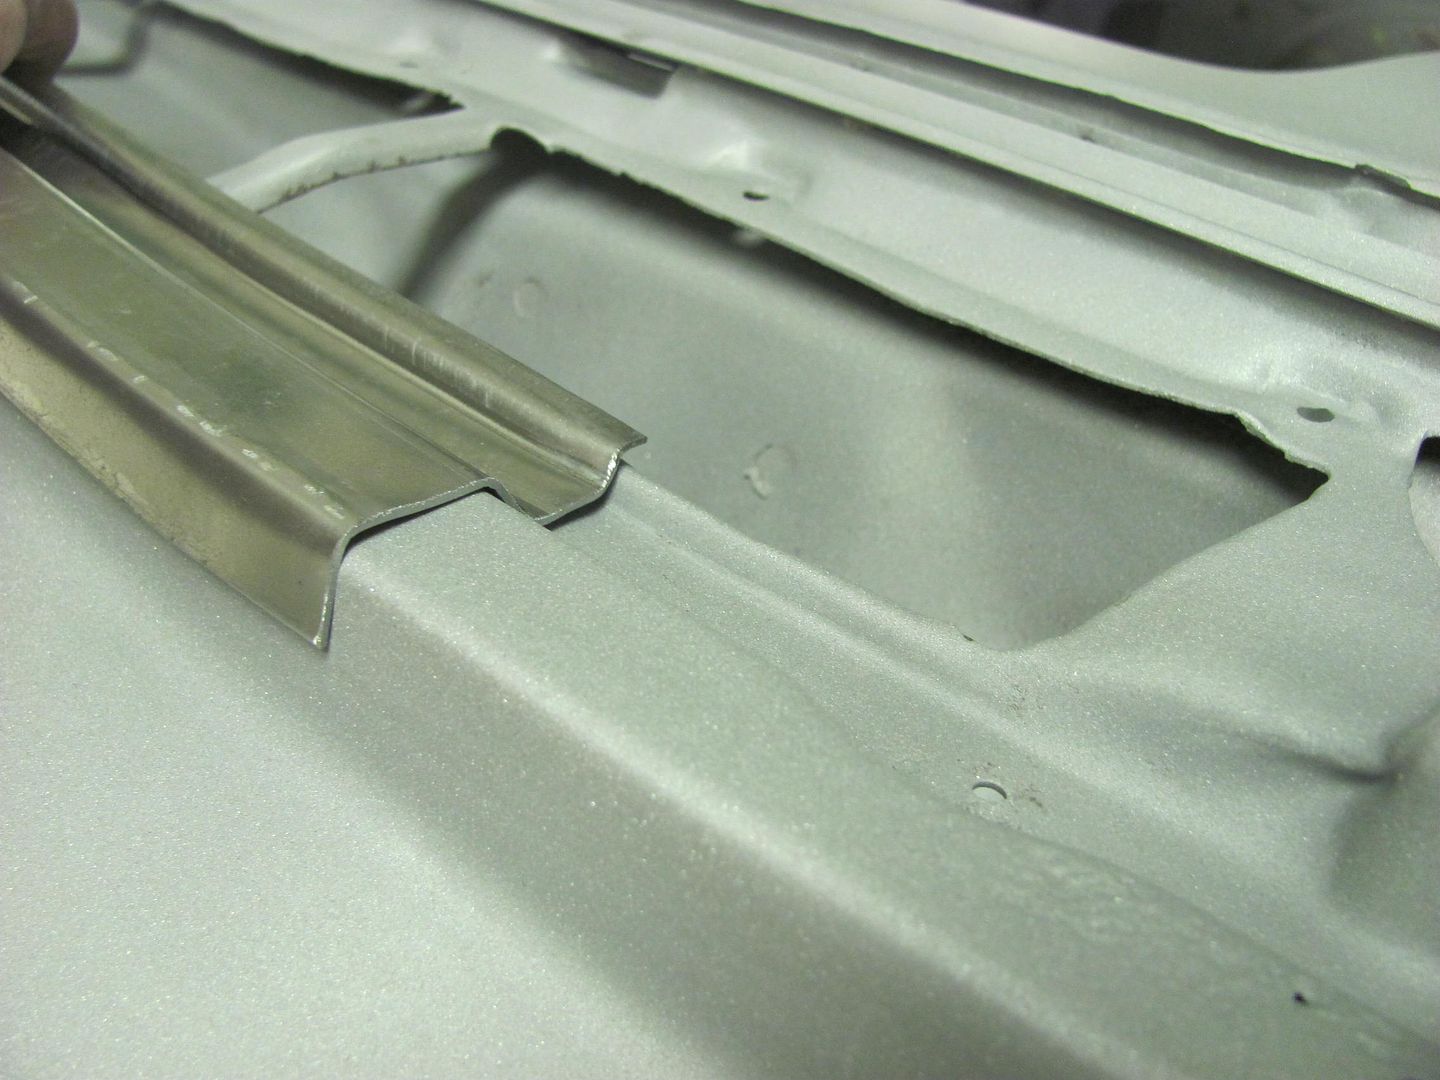 Should be priming soon... once the dominos stop falling.
__________________
Robert |
|
|
|
|
05-30-2016, 09:29 AM
|
#725 |
|
Senior Member
Join Date: Mar 2011
Location: West Plains, Missouri
Posts: 7,553
|
Re: 55 Wagon Progress
Robert, most people would have put a thin layer of filler and called it good. You my man are in a class all your own...Jim
__________________
my build thread: http://67-72chevytrucks.com/vboard/s...d.php?t=459839 Jimbo's long bed step build:http://67-72chevytrucks.com/vboard/s...t=464626<br /> |
|
|
|
 |
| Bookmarks |
|
|


 Linear Mode

