
|
Register or Log In To remove these advertisements. |
|
|
|
|||||||
 |
|
|
Thread Tools | Display Modes |
 04-04-2020, 01:19 AM
|
#1 |
|
Registered User
Join Date: Oct 2017
Location: Fort Worth Texas
Posts: 88
|
Help! Modification of Floor Support
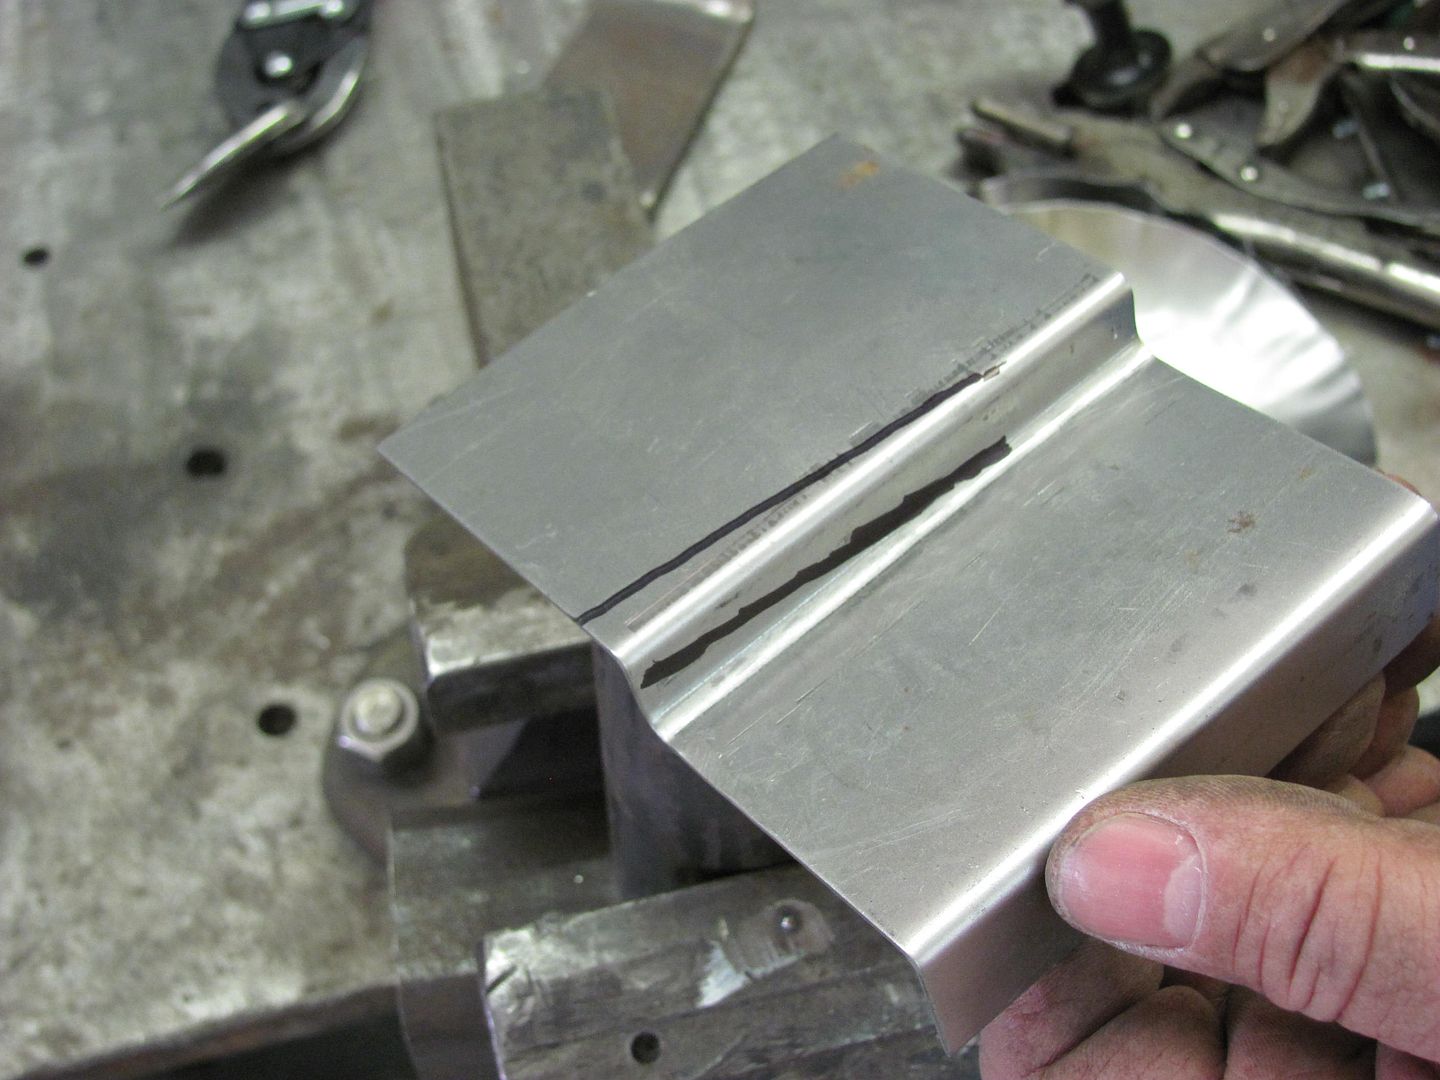
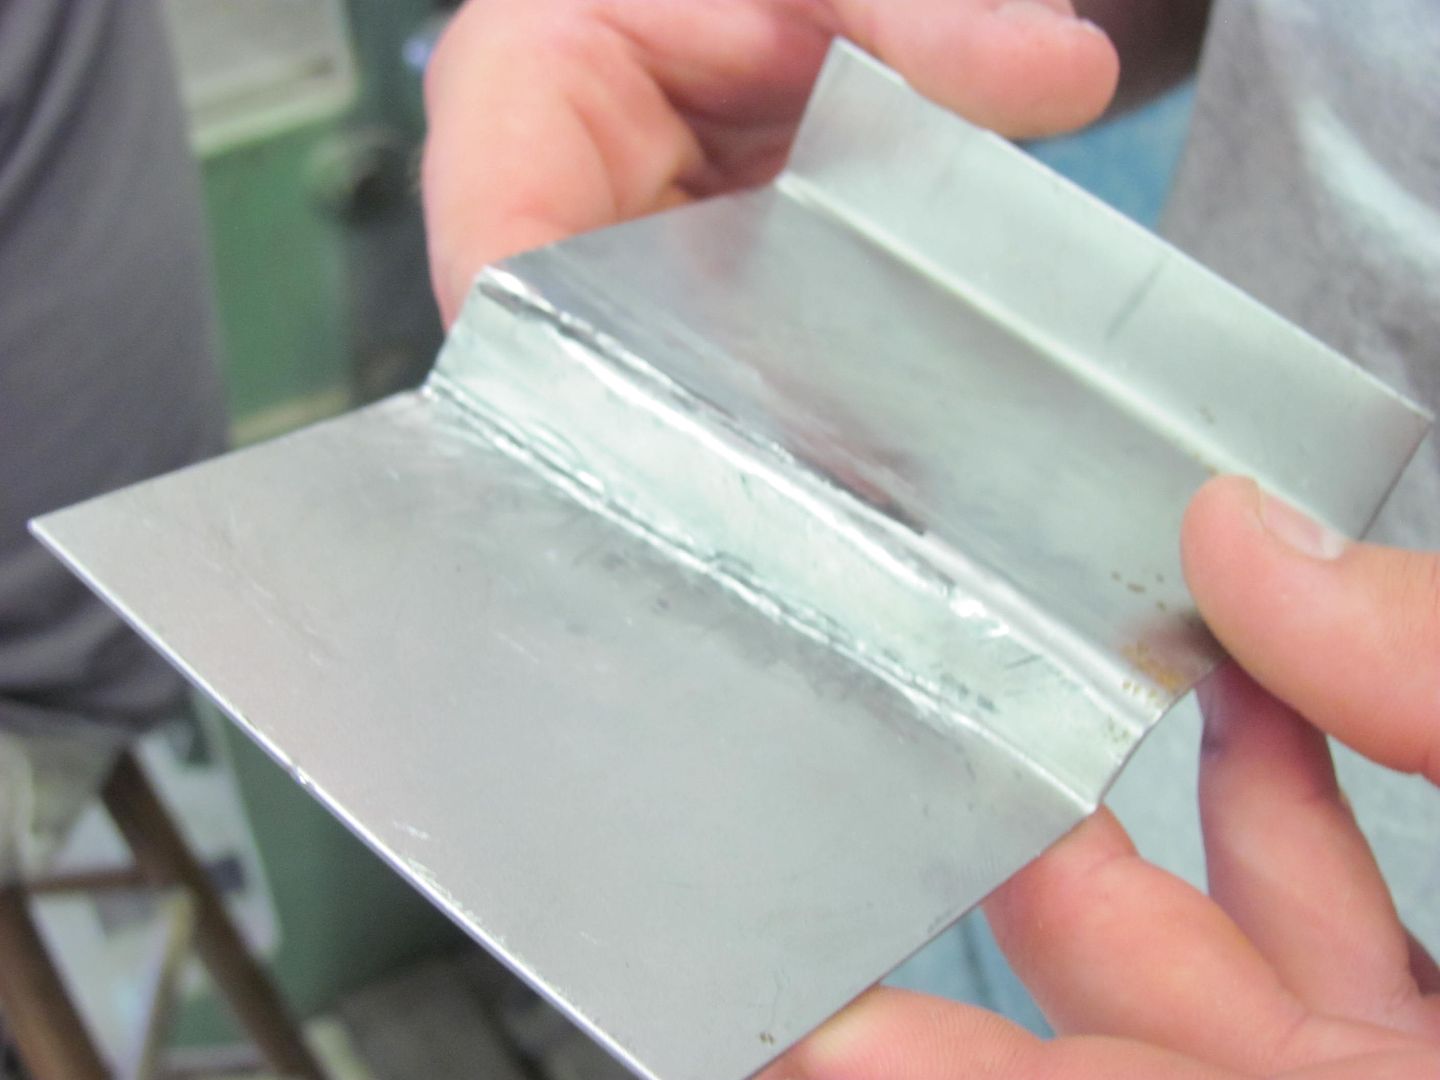
Hey Guys, I have installed a new passenger floor panel and am ready to install the floor support. When I position it the end of the floor support nearest the rocker panel doesn't seat very well. It has a step in it (see picture) that is intended to accommodate the rocker panel but it is too short and rides up on the panel.
Does anyone have suggestions on how to move the step in the floor support about a 1/4 inch? Im not a metal worker so this is all new to me. Thanks! |

|

|
|
04-04-2020, 03:16 AM
|
#2 |
|
Post Whore
  Join Date: May 2015
Location: Alabama
Posts: 14,583
|
Re: Help! Modification of Floor Support
Robert (MP&C) may can give you a better answer....but heres what I'd do with limited tools.
Option 1 Get on the edge of a steel table (red)...figure how much the offset is...say its 1/4"..have that under the lip (blue)....clamp it all down on the table like a sandwich....take and hammer the offset (green arrow) to move it back.. Have the blue piece back far enough from the lip so you have room to move the offset.. It will probably pooch out the web part but i dont think thatd be a issue ...
__________________
Mongo...aka Greg RIP Dad RIP Jesse 1981 C30 LQ9 NV4500..http://67-72chevytrucks.com/vboard/s...d.php?t=753598 Mongos AD- LS3 TR6060...http://67-72chevytrucks.com/vboard/s...34#post8522334 Columbus..the 1957 IH 4x4...http://67-72chevytrucks.com/vboard/s...63#post8082563 2023 Chevy Z71..daily driver Last edited by mongocanfly; 04-04-2020 at 03:25 AM. |
|
|
|
|
04-04-2020, 03:23 AM
|
#3 |
|
Post Whore
Join Date: May 2015
Location: Alabama
Posts: 14,583
|
Re: Help! Modification of Floor Support
Option 2
Take a cutoff disc and cut on the red line,..cut the lip loose at the bend ...rebend the lip (blue line)to where you want it..reweld it and dress it up
__________________
Mongo...aka Greg RIP Dad RIP Jesse 1981 C30 LQ9 NV4500..http://67-72chevytrucks.com/vboard/s...d.php?t=753598 Mongos AD- LS3 TR6060...http://67-72chevytrucks.com/vboard/s...34#post8522334 Columbus..the 1957 IH 4x4...http://67-72chevytrucks.com/vboard/s...63#post8082563 2023 Chevy Z71..daily driver |
|
|
|
|
04-04-2020, 10:08 AM
|
#4 | |
|
Registered User
Join Date: Jan 2013
Location: Leonardtown, MD
Posts: 1,633
|
Re: Help! Modification of Floor Support
Here's a similar feat that I did at a metalshaping demo I gave at the shop. An almost identical question as yours was posed... how to address poorly fitting reproduction parts..
In most cases it is a simple case of bends or profiles slightly off in position. If you think about it, the bends are already there, just in the wrong position. So a gradual hammering to relocate is what's in order. Here's the tutorial in moving a bend line: Quote:
Original thread: http://www.67-72chevytrucks.com/vboa...d.php?t=564637 I did have a small piece of solid round stock I was using in the vise to hammer against, but looking at your profile and the limited return on the bends, and all STRAIGHT bends, you should be able to do this hammering against a simple flat bar..
__________________
Robert |
|
|
|
|
|
04-04-2020, 10:42 AM
|
#5 |
|
Registered User
Join Date: Jan 2013
Location: Leonardtown, MD
Posts: 1,633
|
Re: Help! Modification of Floor Support
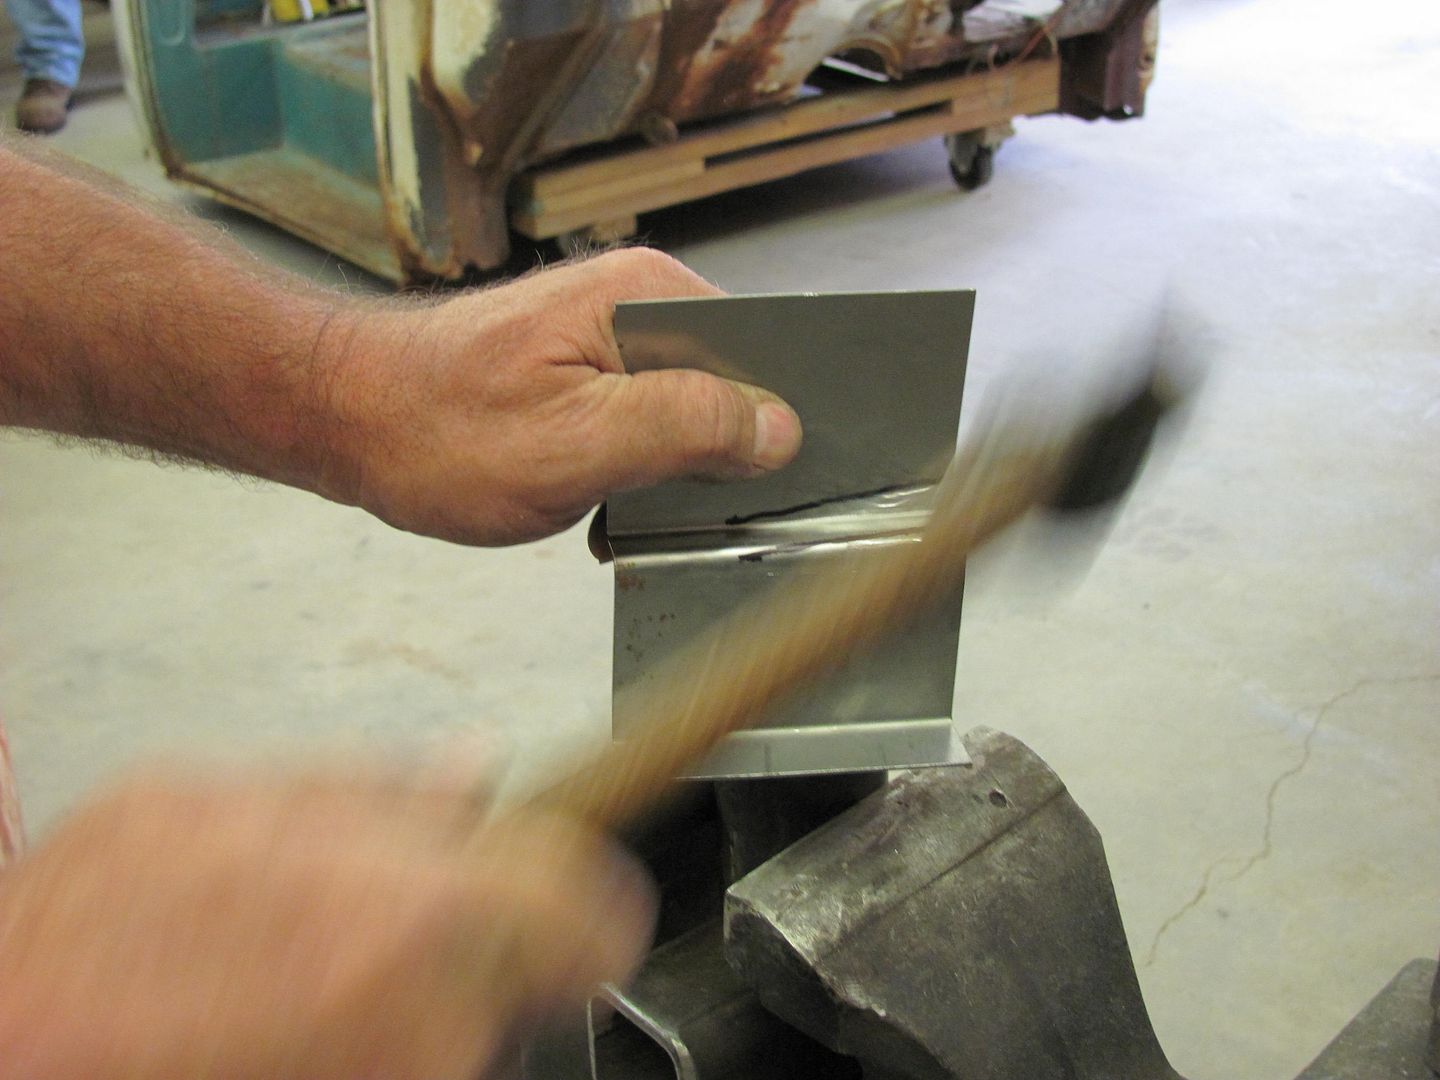
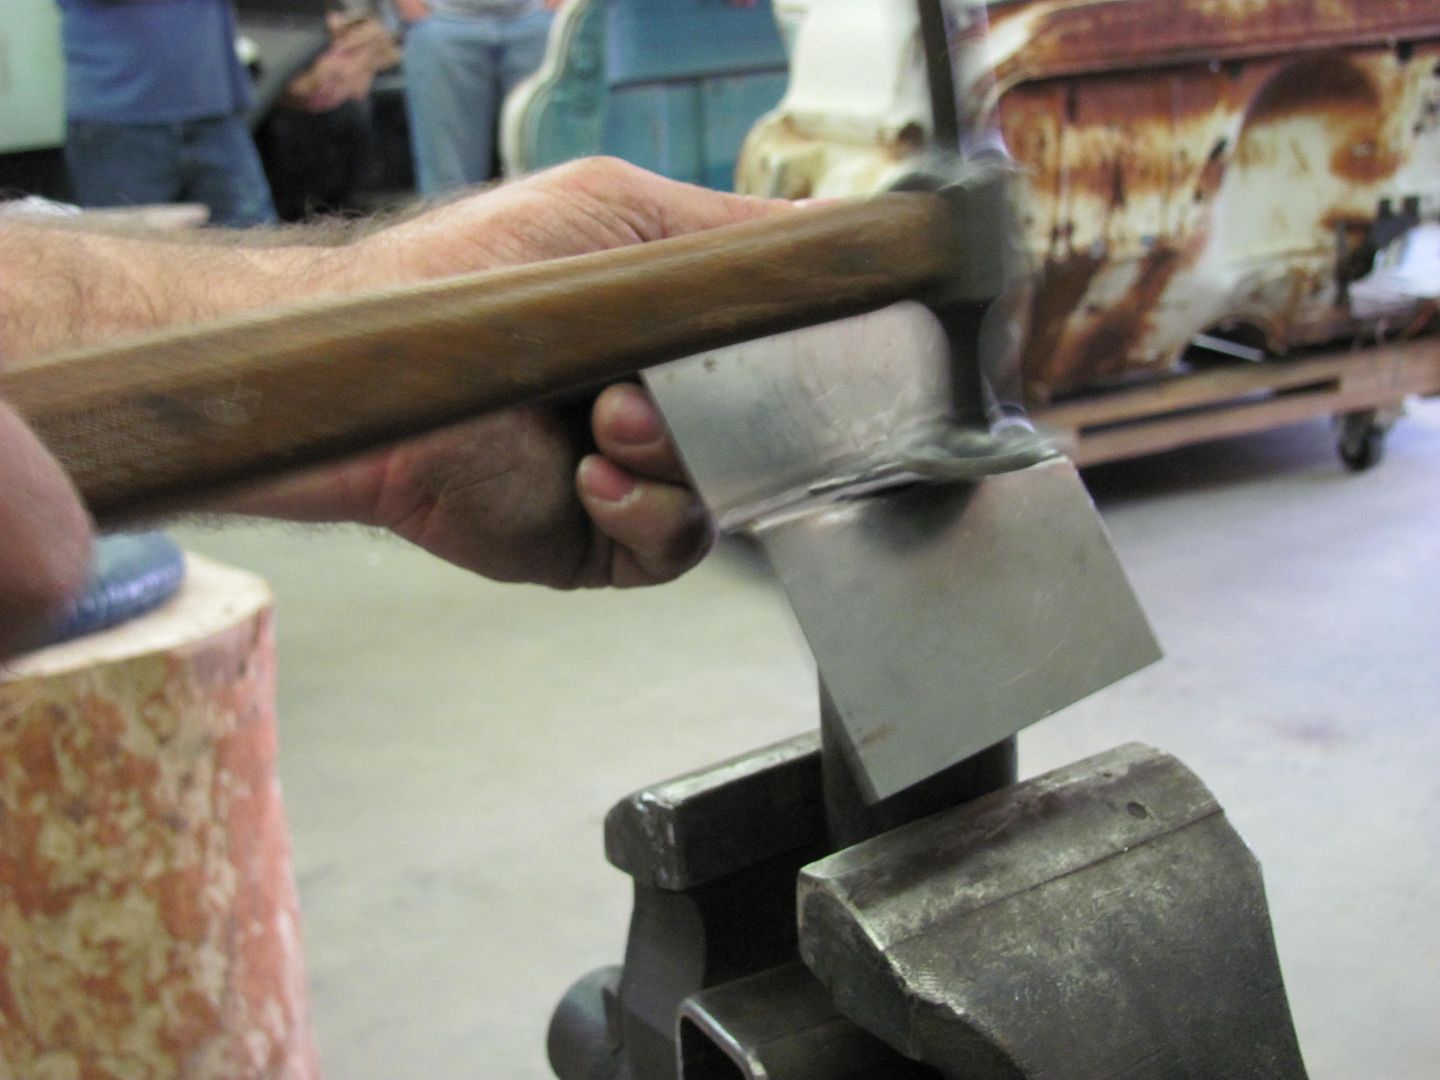
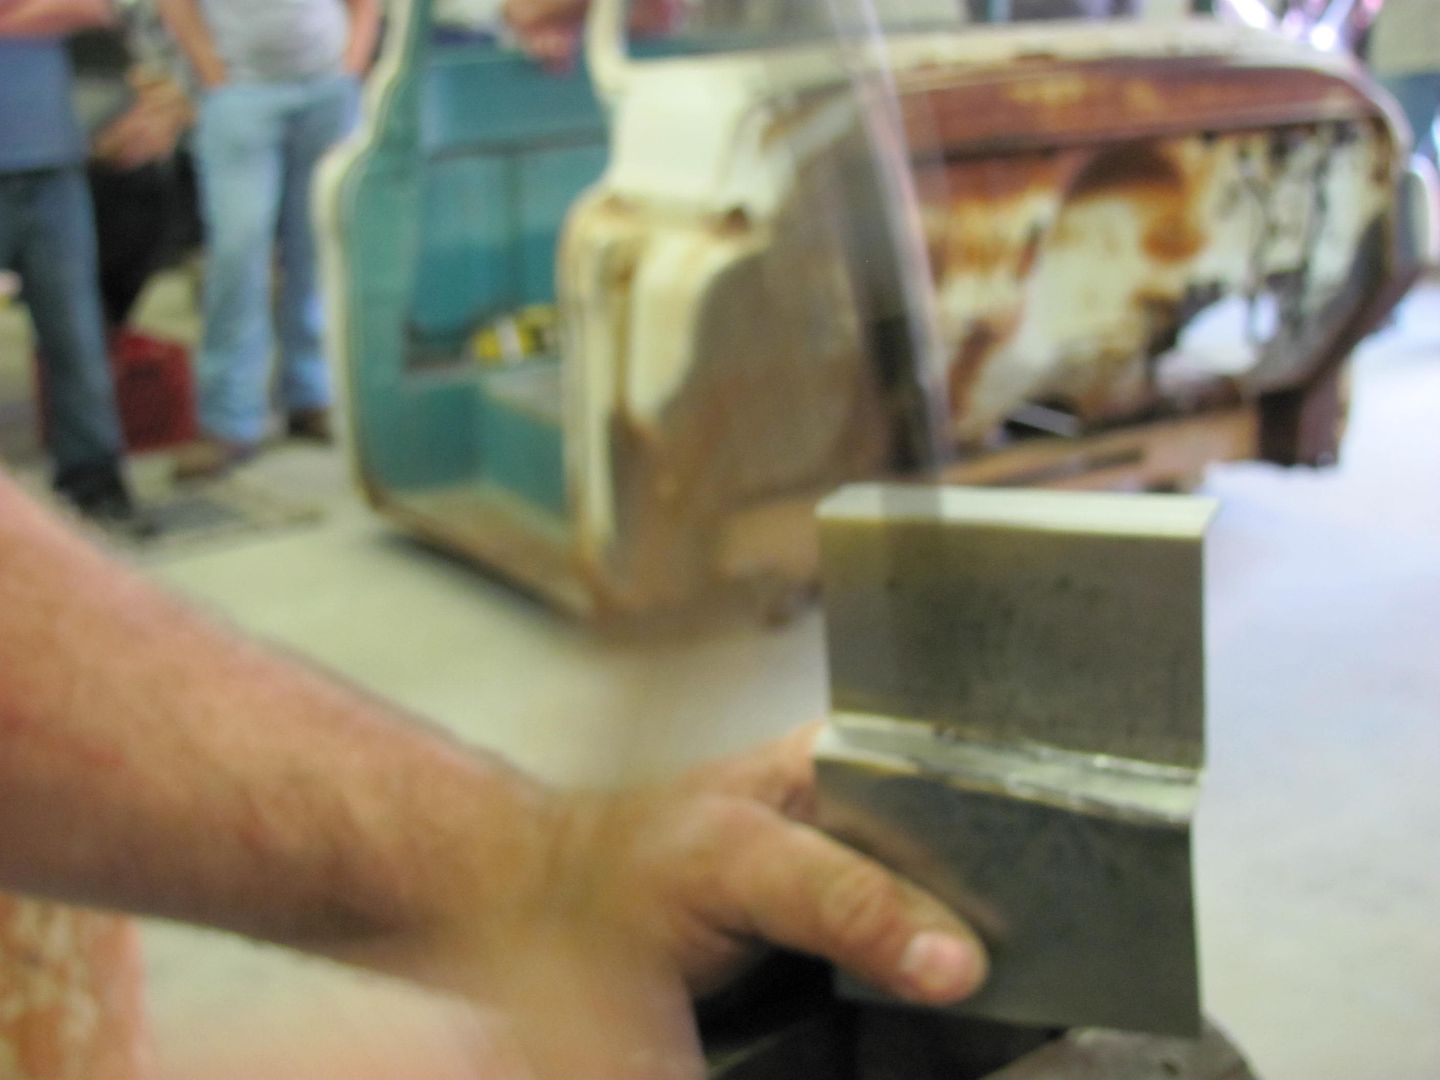
helpful hints part 2:
Using a piece of flat bar as an anvil, position where you want your new bend and hammer as shown (red arrow) All we are doing here is to define where the new bend should go.. It doesn't necessarily need to be done all at once, sometimes it works better if you do incremental bends between steps and just keep repeating the process between all the different steps until you get to where you need to be. Next, position the anvil where the new angled bend needs to be (ramps up) and here you hammer on the side (hidden in this view) to manipulate the ramp bend to the new location needed.. Next, position the anvil to be able to hammer the last crease detail.. Keep in mind this process is never a one and your done. It would take multiple passes back and forth based on how the material reacts. You other options are those that Greg pointed out, or even cutting out the ramp part altogether, moving where it needs to be, welding in place, and welding a filler piece at the end where it now is short.
__________________
Robert |
|
|
|
|
| Bookmarks |
|
|


 Linear Mode

