
|
 11-07-2015, 06:40 PM
|
#551 |
|
Registered User
Join Date: Jan 2013
Location: Leonardtown, MD
Posts: 1,635
|
Re: 55 Wagon Progress
The more I looked at our panel with the spot weld carnage, the more I disliked the result, so with new linear guides installed, we made all new today using stainless pop rivets to hold the guides in place. This will leave a few 1/8" holes to fill, but should be much less issue than cleaning up after the spot welds...
We needed just a bit more throat for this set of "lengthened" hood sides, so one bolt was removed from the material clamp and then rotated the clamp inward 90". This lets the panel pass through rather than bottom out in the clamp. 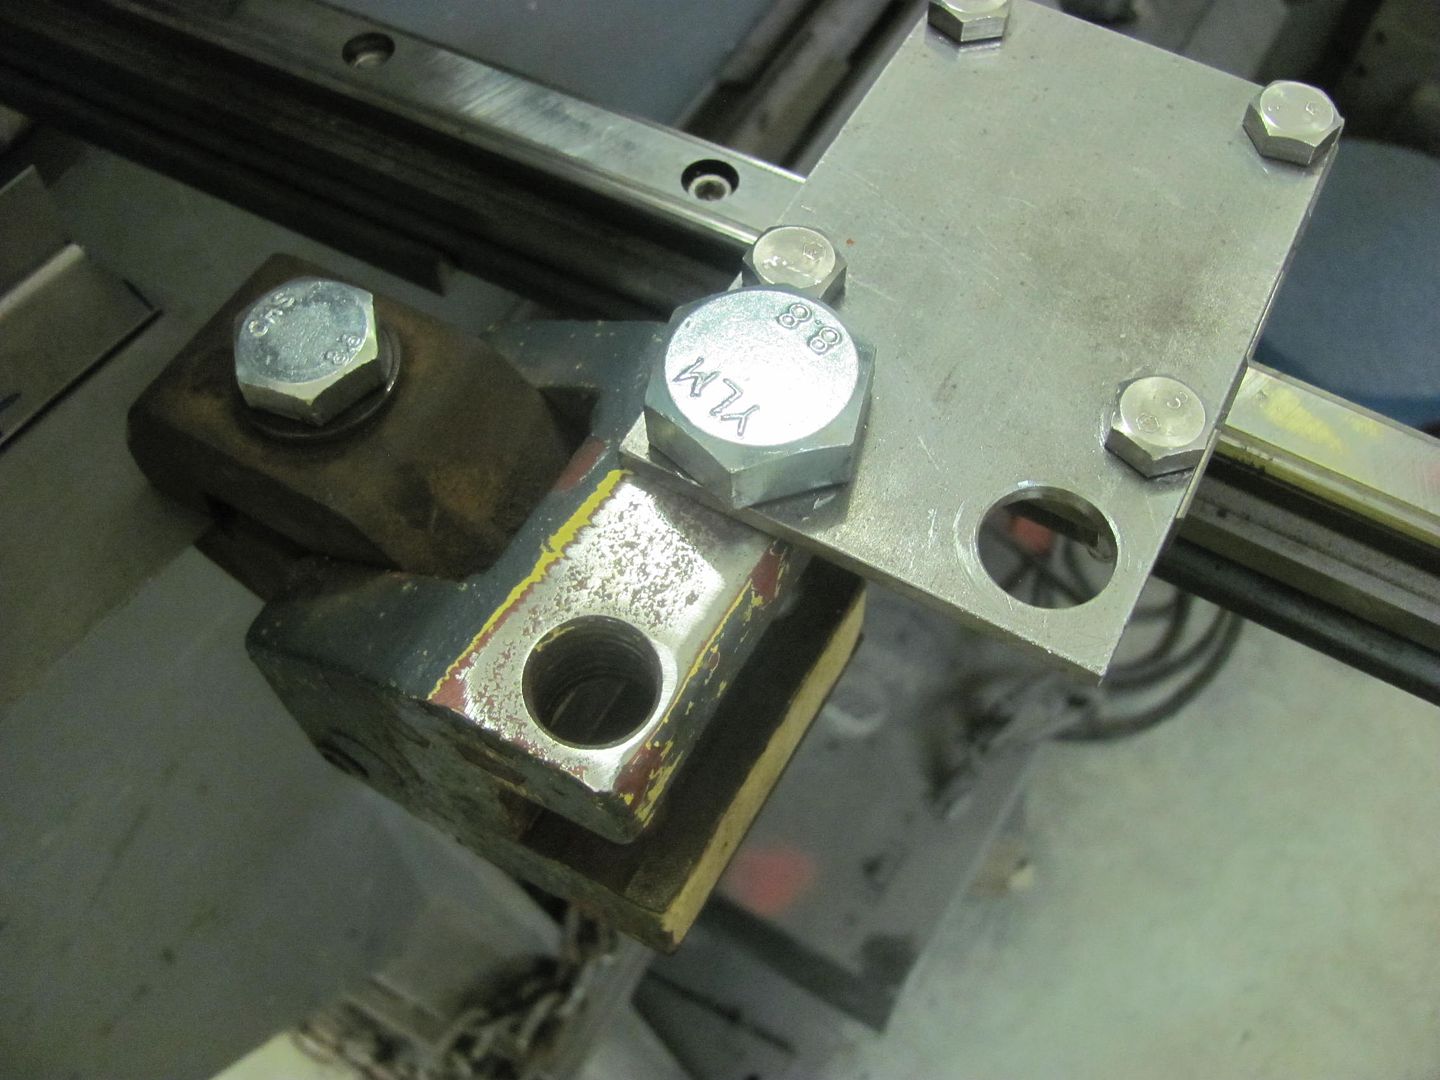 Guides riveted in place.... 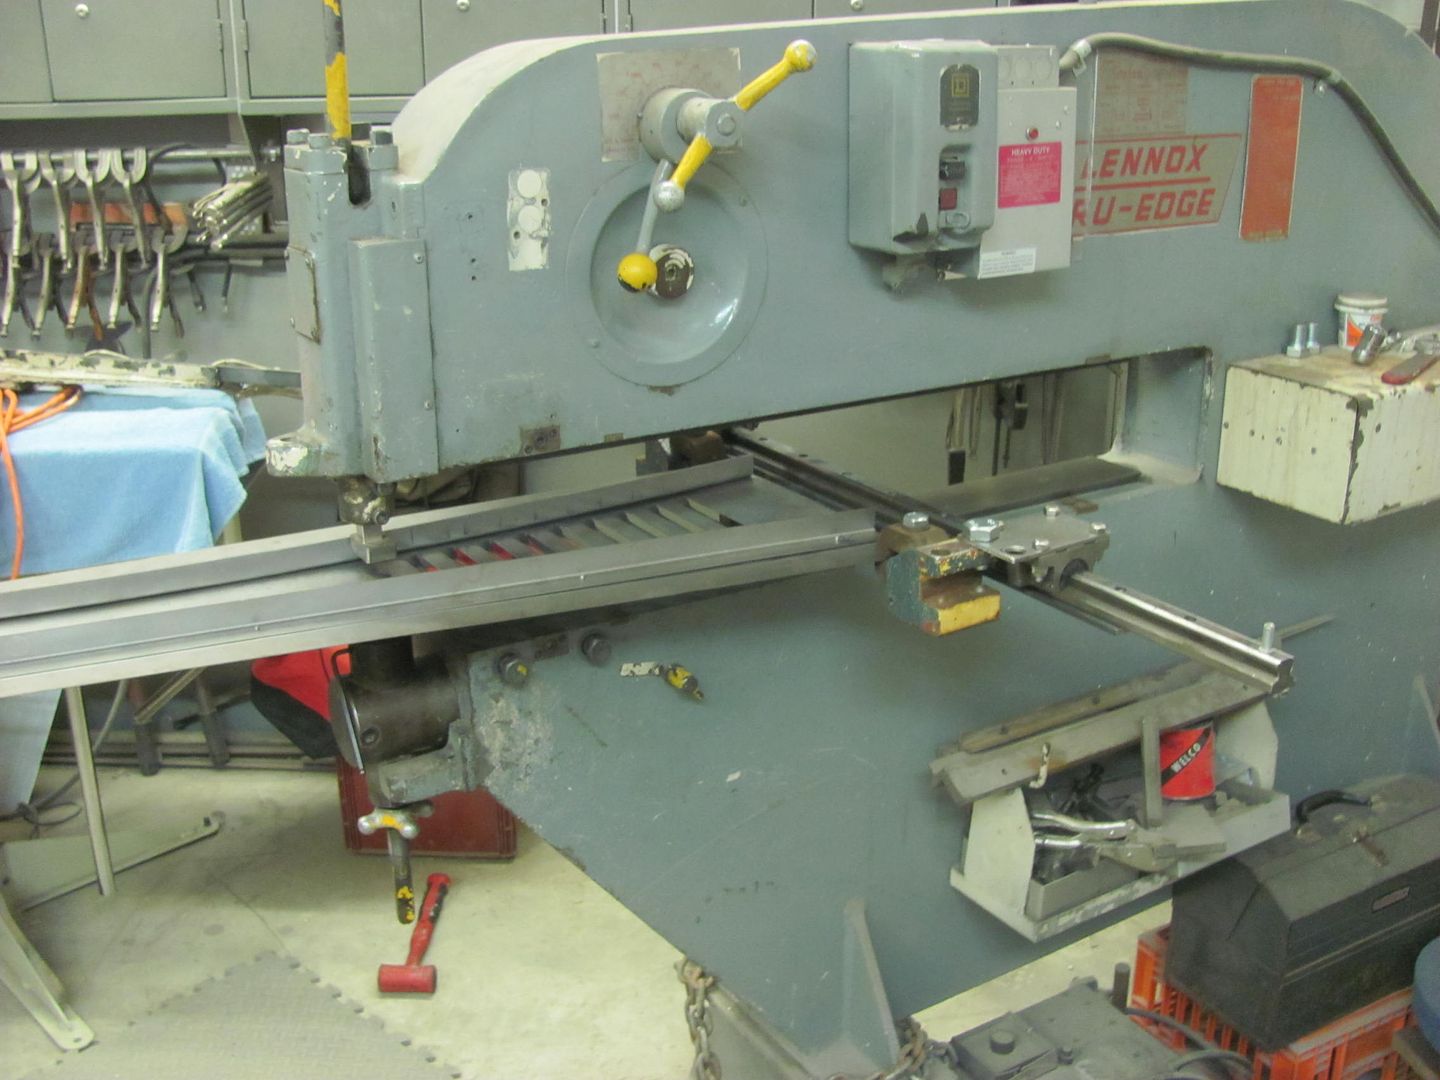   Here's the new version 1, much cleaner, less distortion, and we can re-use the guides... 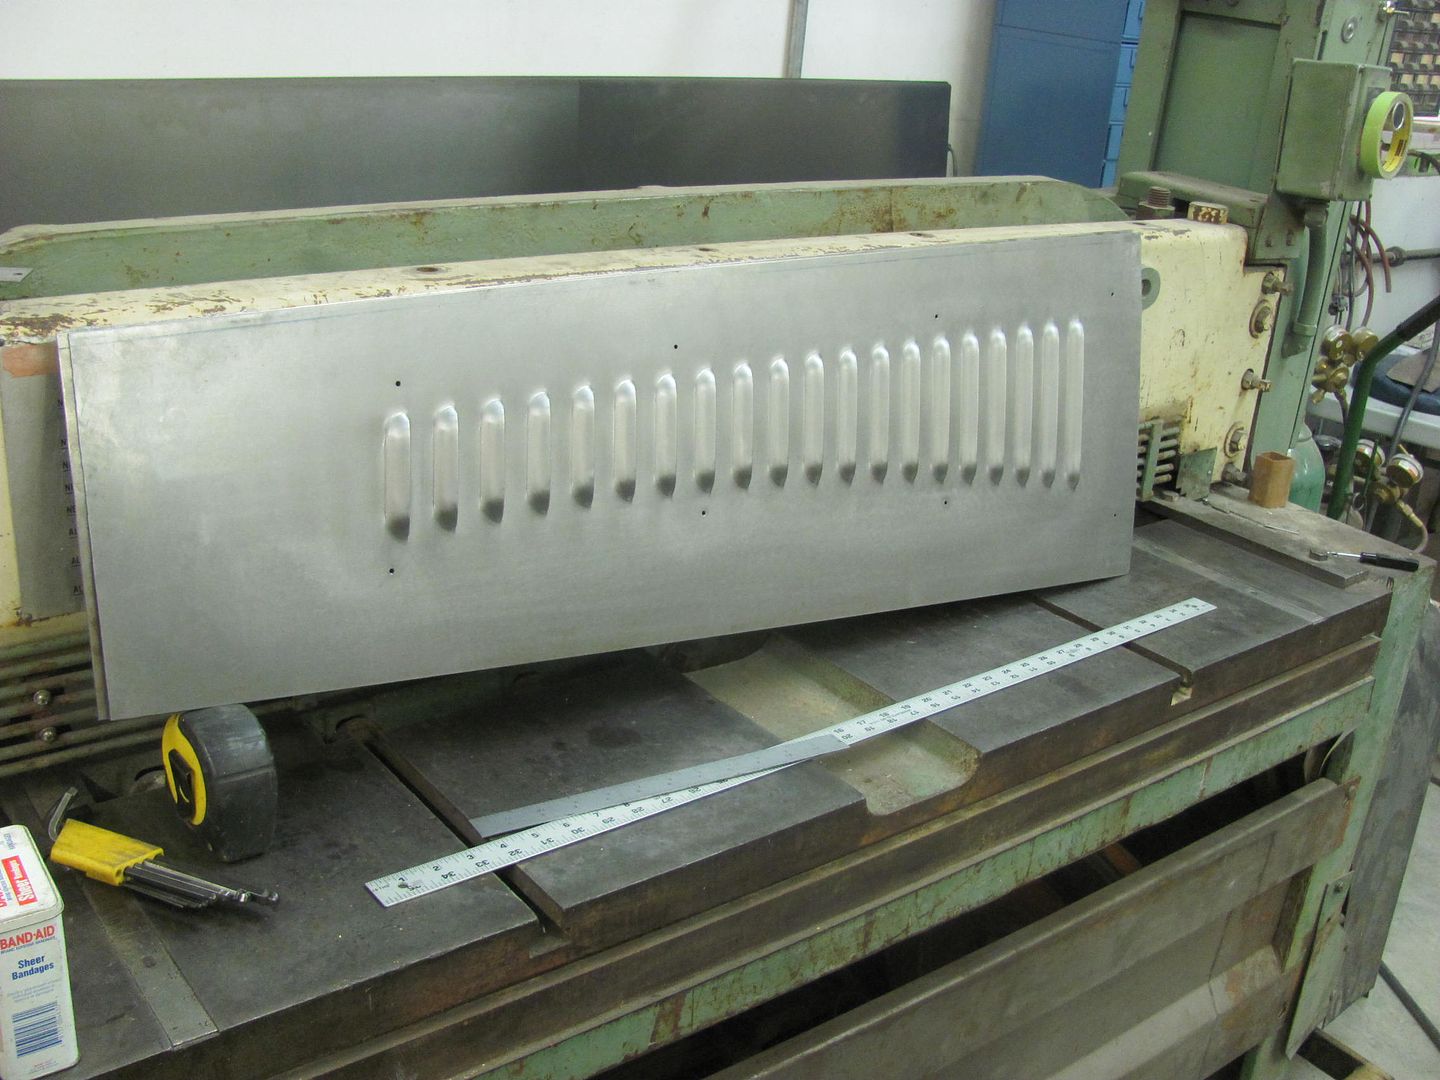 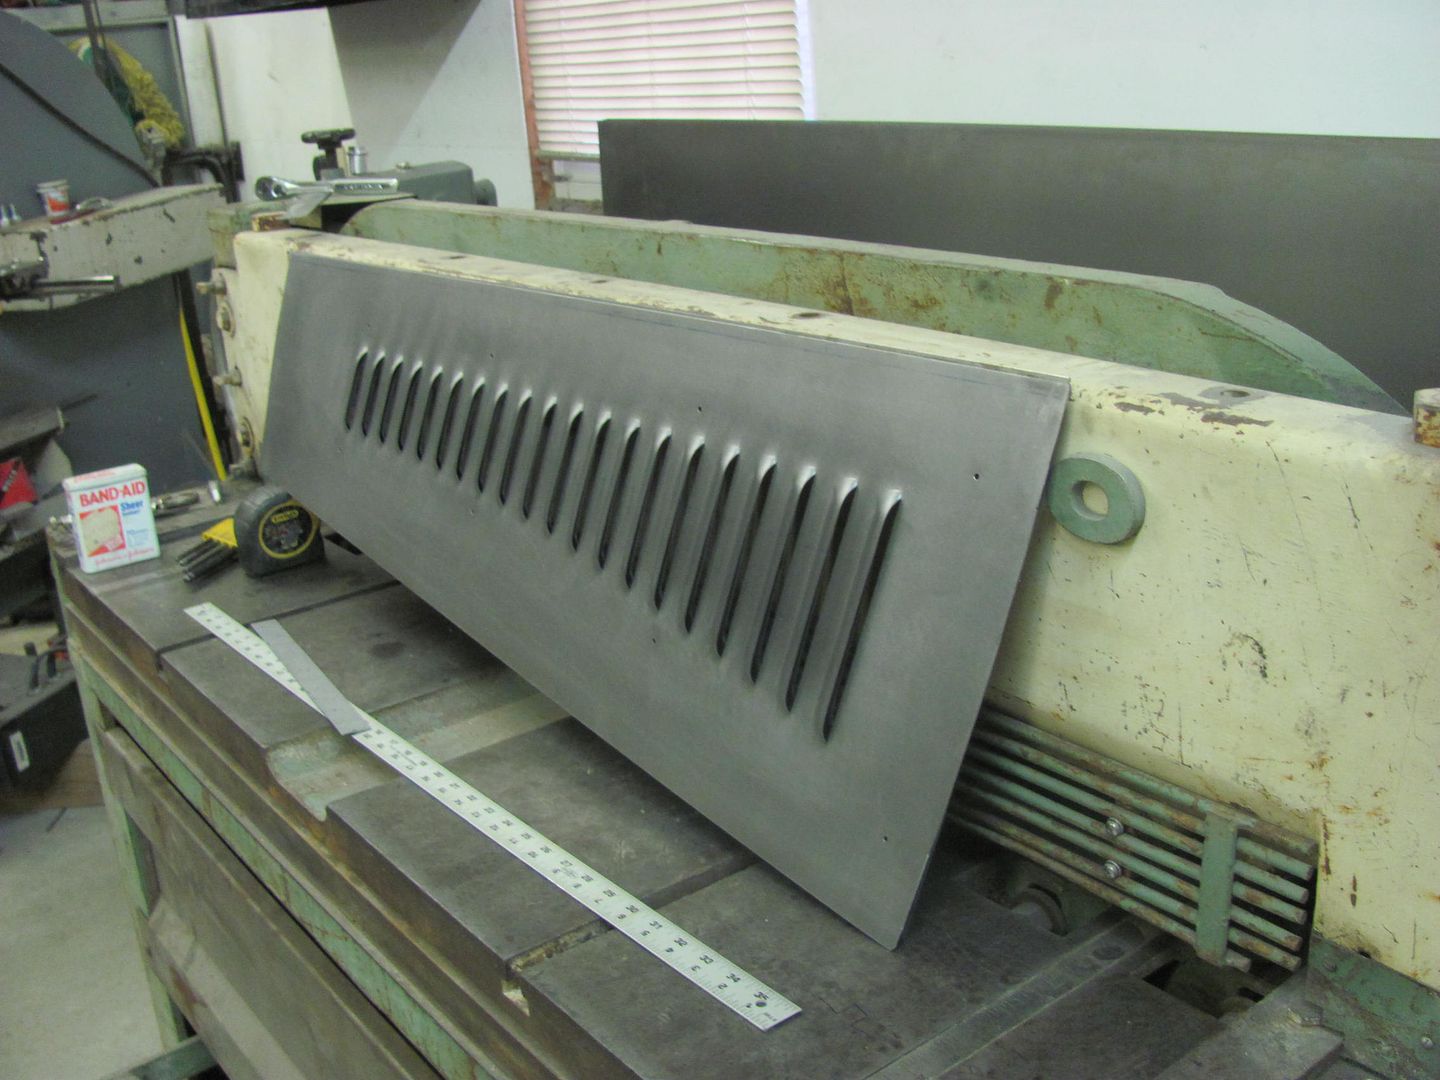 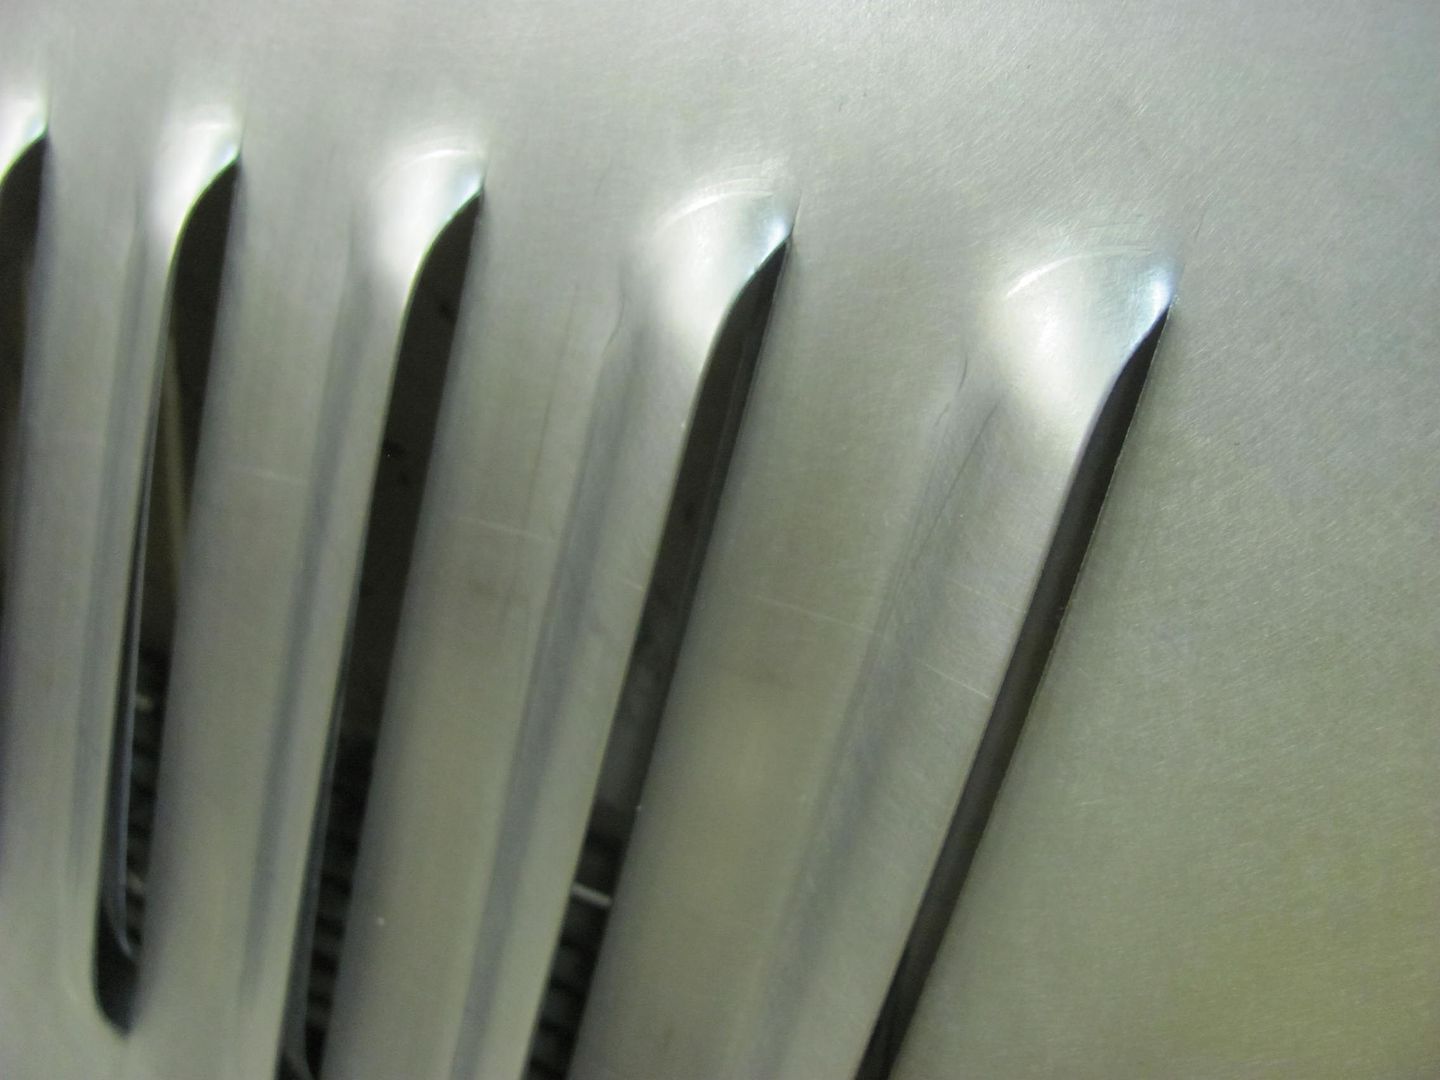 The cowl piece was done without guides....  And version 2 with the cowl piece..... 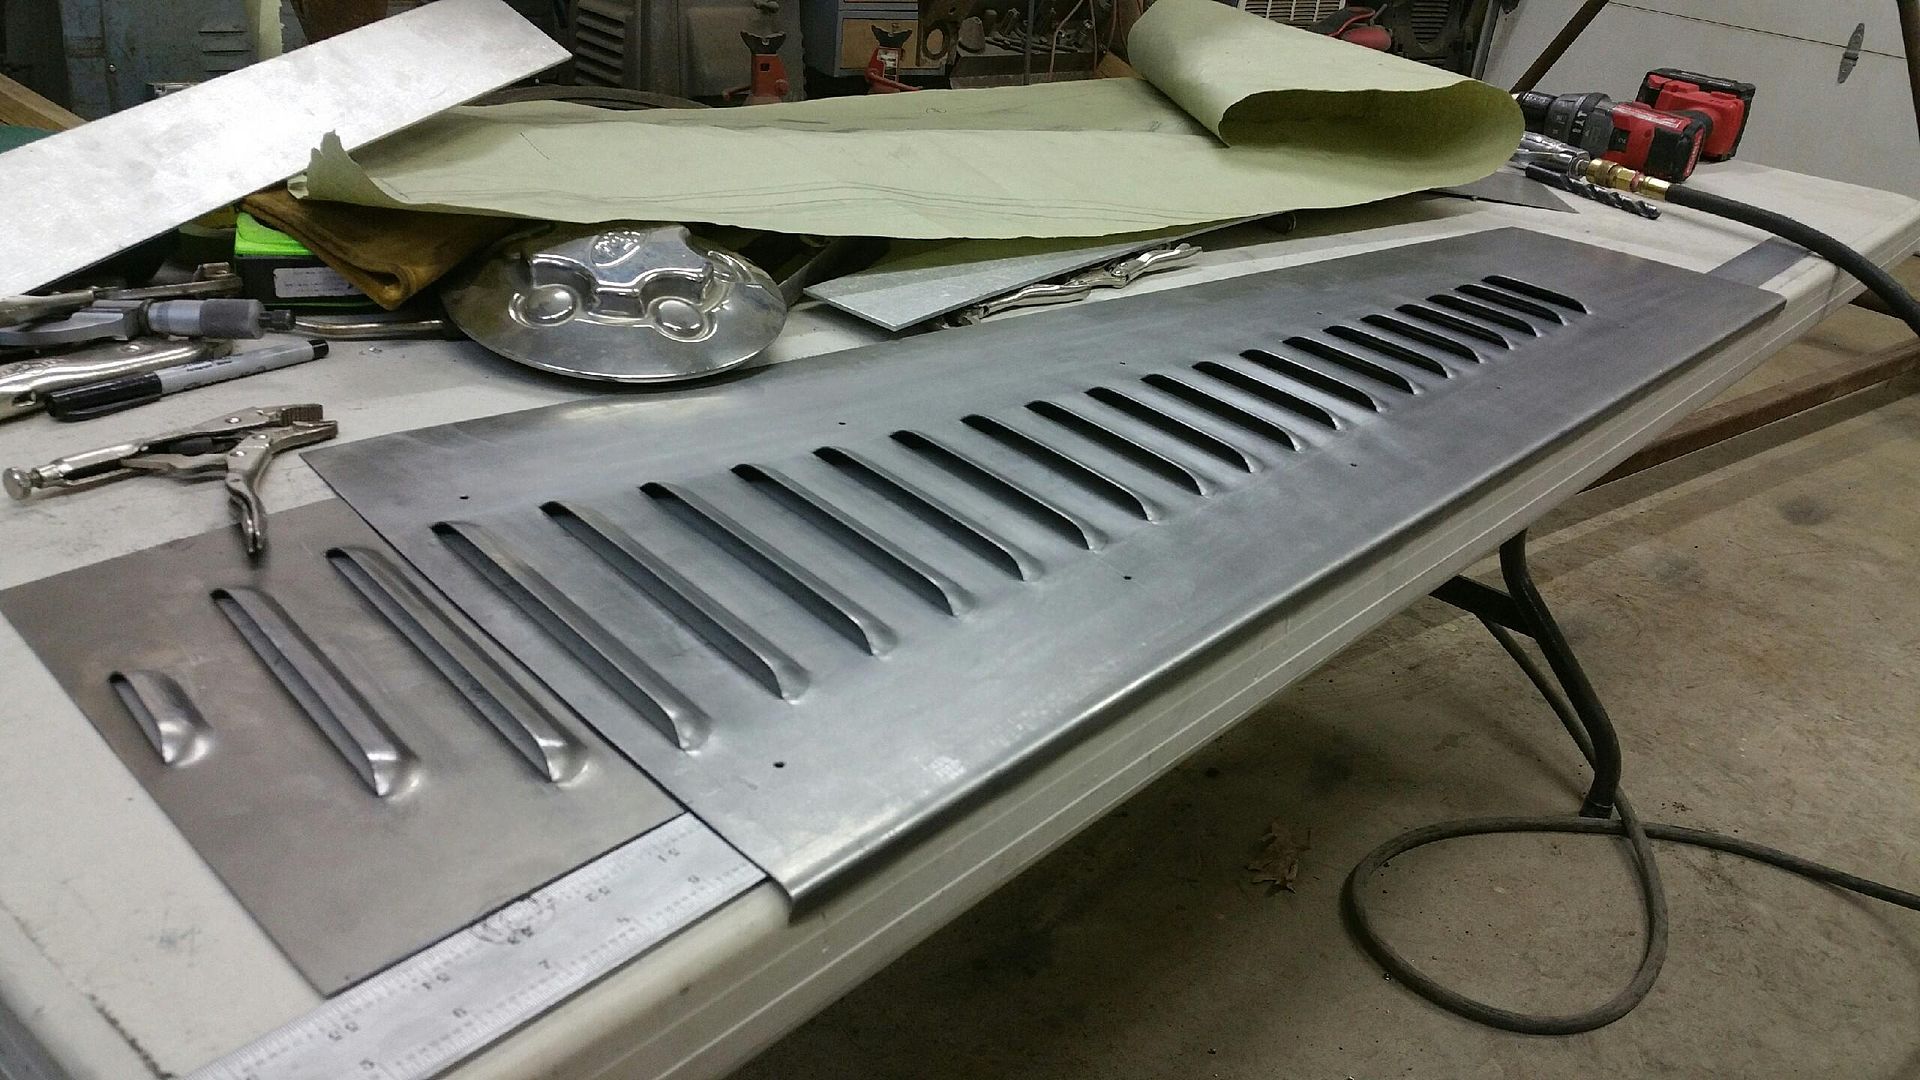 Dave (the car owner) stopped by this afternoon and picked up the samples, and indicated he was being over-ruled by most parties on louvers in the cowl, so likely that version won't be used...
__________________
Robert |

|

|
|
11-09-2015, 01:34 PM
|
#552 |
|
Registered User
Join Date: Jan 2013
Location: Leonardtown, MD
Posts: 1,635
|
Re: 55 Wagon Progress
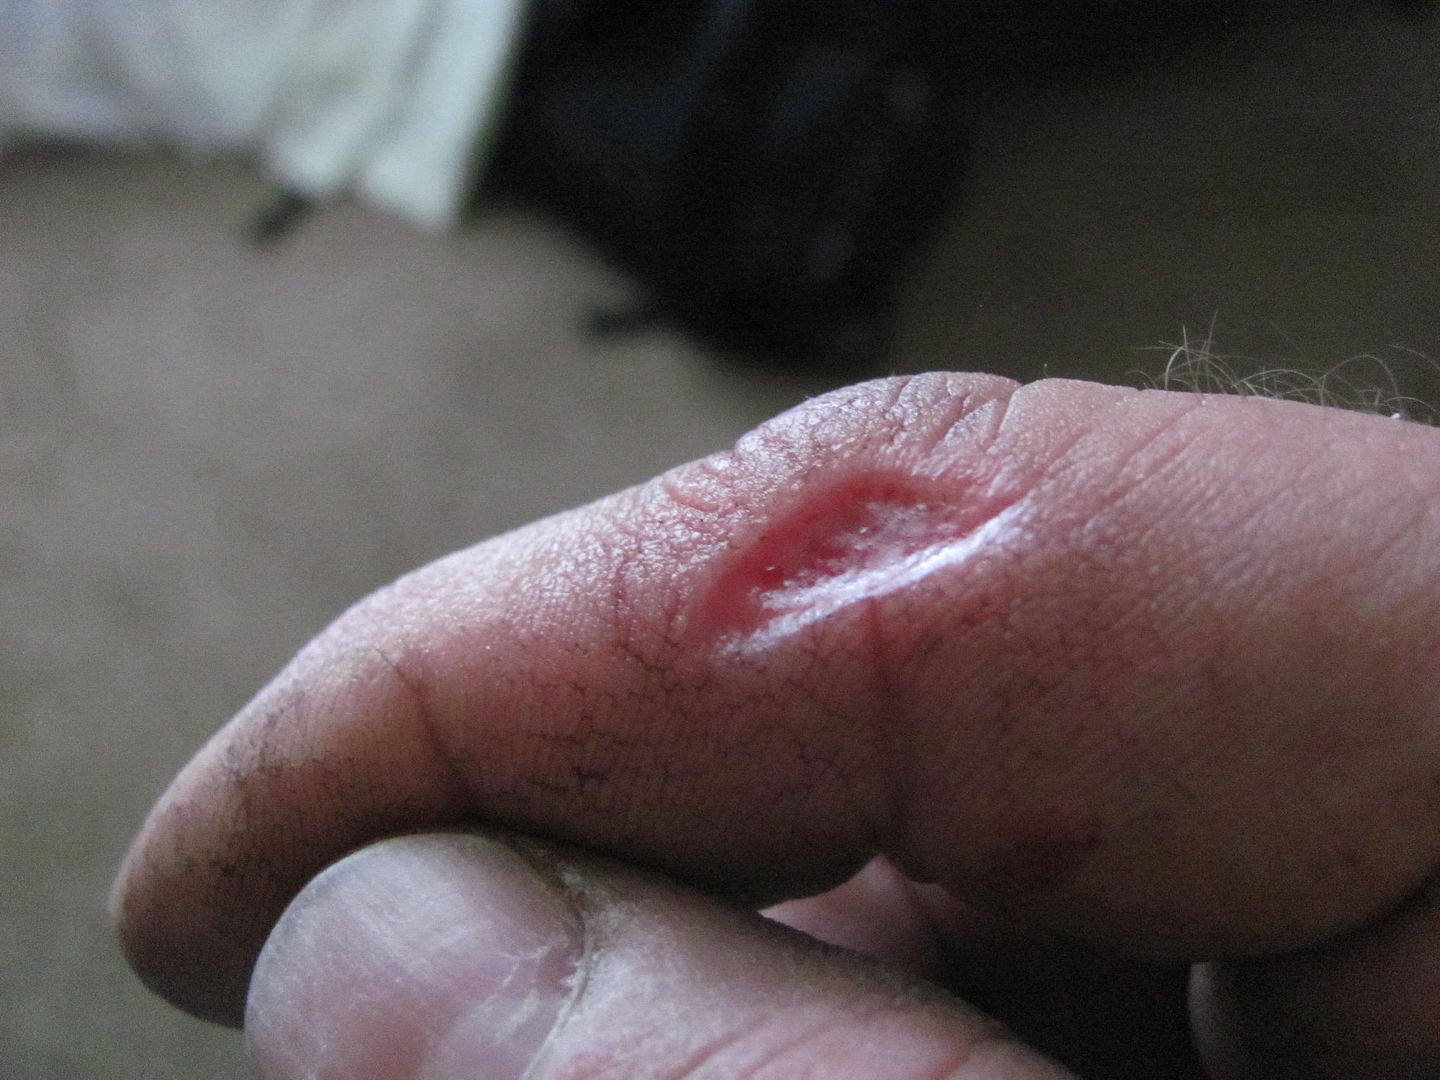
....And, in the interest of showing the good with the bad, the lessons learned if you will, Safety tip of the day is to deburr your sheet metal even if it's only for practice pieces....
__________________
Robert |
|
|
|
|
11-09-2015, 07:43 PM
|
#553 |
|
Senior Member
 Join Date: Mar 2011
Location: West Plains, Missouri
Posts: 7,555
|
Re: 55 Wagon Progress
OUCH!!!!!!...Jim
__________________
my build thread: http://67-72chevytrucks.com/vboard/s...d.php?t=459839 Jimbo's long bed step build:http://67-72chevytrucks.com/vboard/s...t=464626<br /> |
|
|
|
|
11-09-2015, 09:00 PM
|
#554 |
|
Registered User
Join Date: May 2007
Location: Deale Md
Posts: 4,663
|
Re: 55 Wagon Progress
That's a good chunk, keep it clean my brother inlaw just spent a week in the hospital for a infection in hes finger.
__________________
James 63 GMC V6 4speed carryall 65 chevy swb bbw V8 auto 68 K20 327/4 speed, buddy buckets 2002 GMC CC Dually Duramax 64 GMC lwb 3/4 V6 4speed SOLD 66 GMC swb bbw buddy buckets SOLD IG duallyjams The only thing that stays the same is constant change! |
|
|
|
|
11-10-2015, 11:48 PM
|
#555 |
|
Registered User
Join Date: Jan 2013
Location: Leonardtown, MD
Posts: 1,635
|
Re: 55 Wagon Progress
So far so good, nothing oozing..
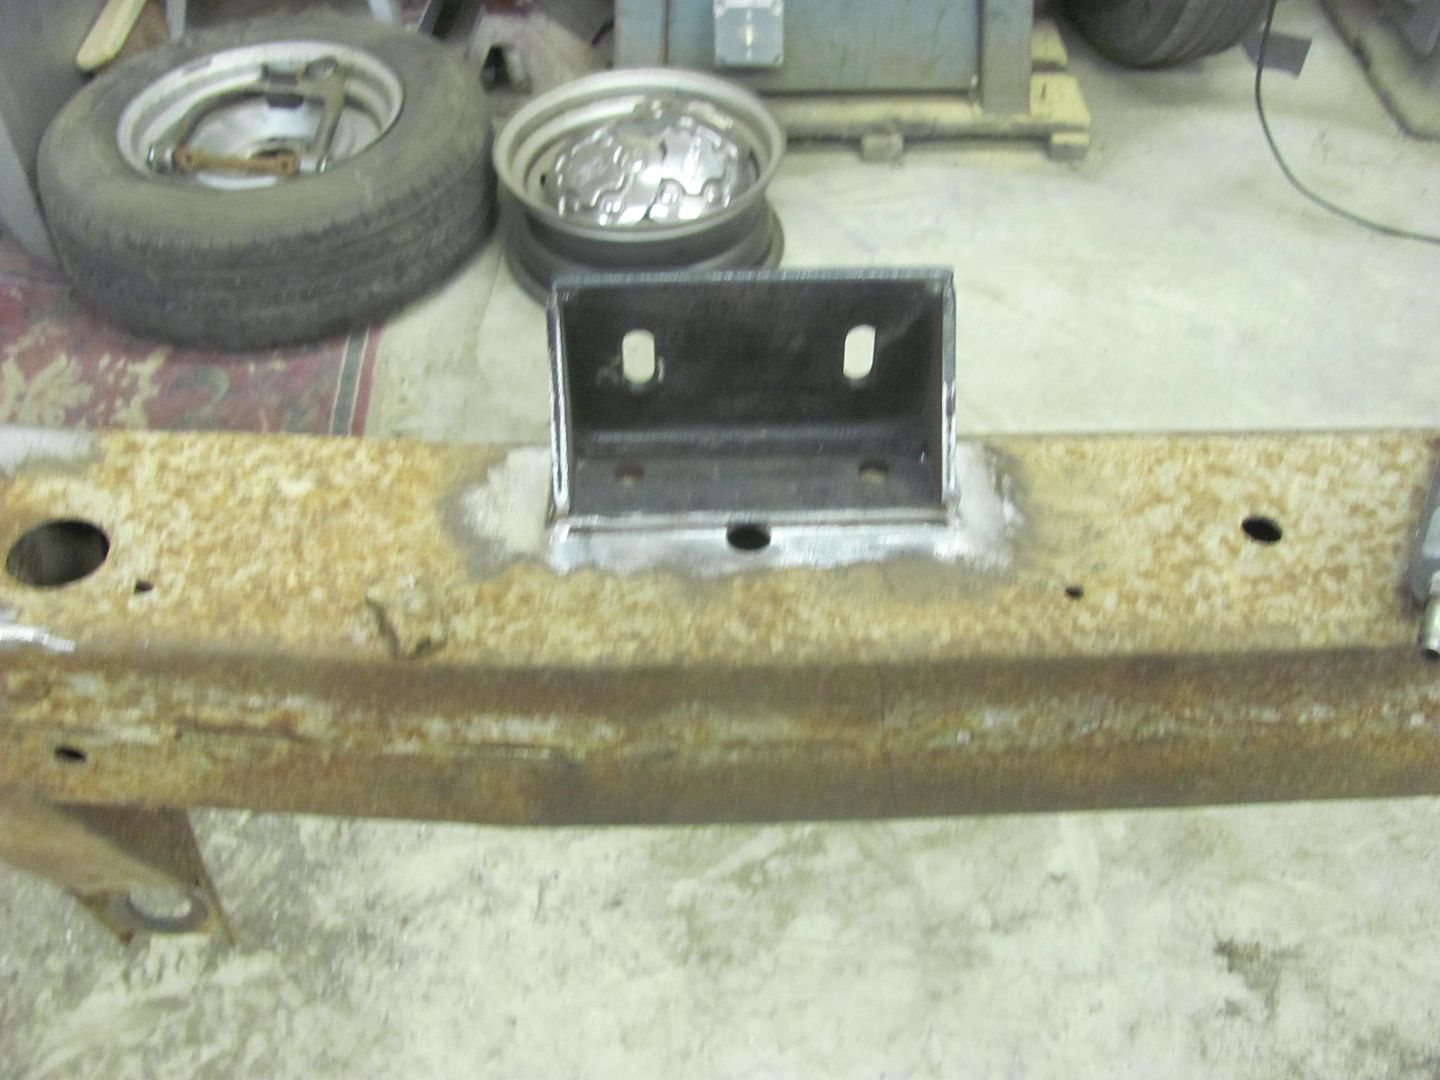
 Tonight we worked on the frame, used some poster board to make a pattern for a strengthening plate to span the pocket kit on each frame rail..  While Kyle filled in some frame holes by plug welding to the pocket kit, I cut out the frame plates... 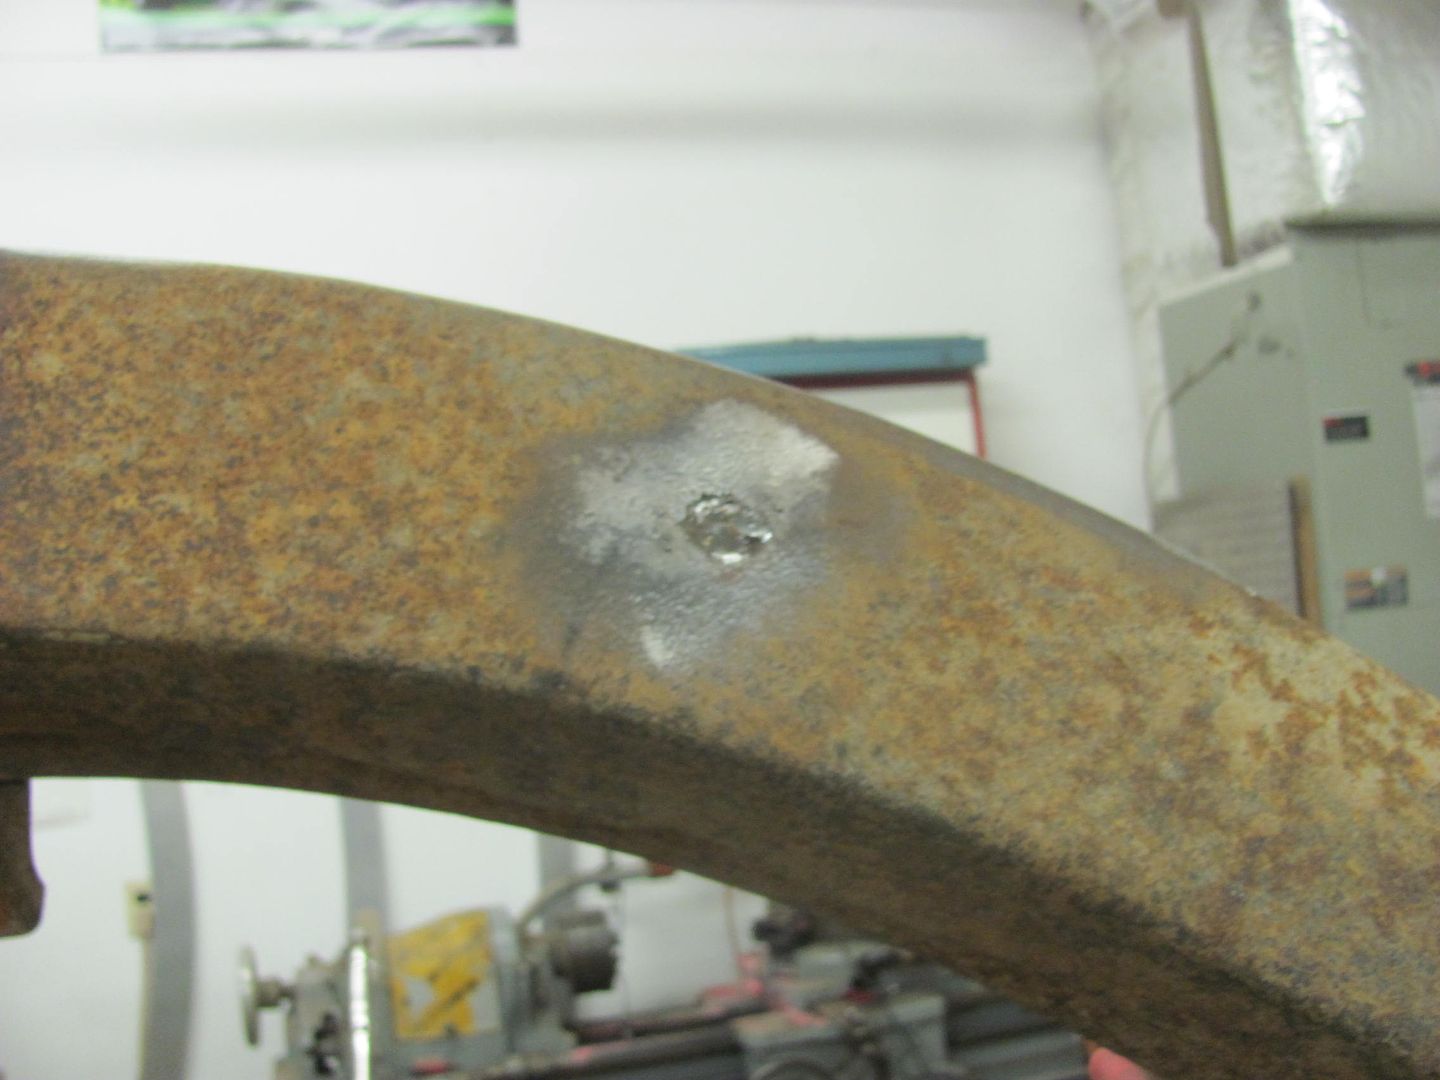   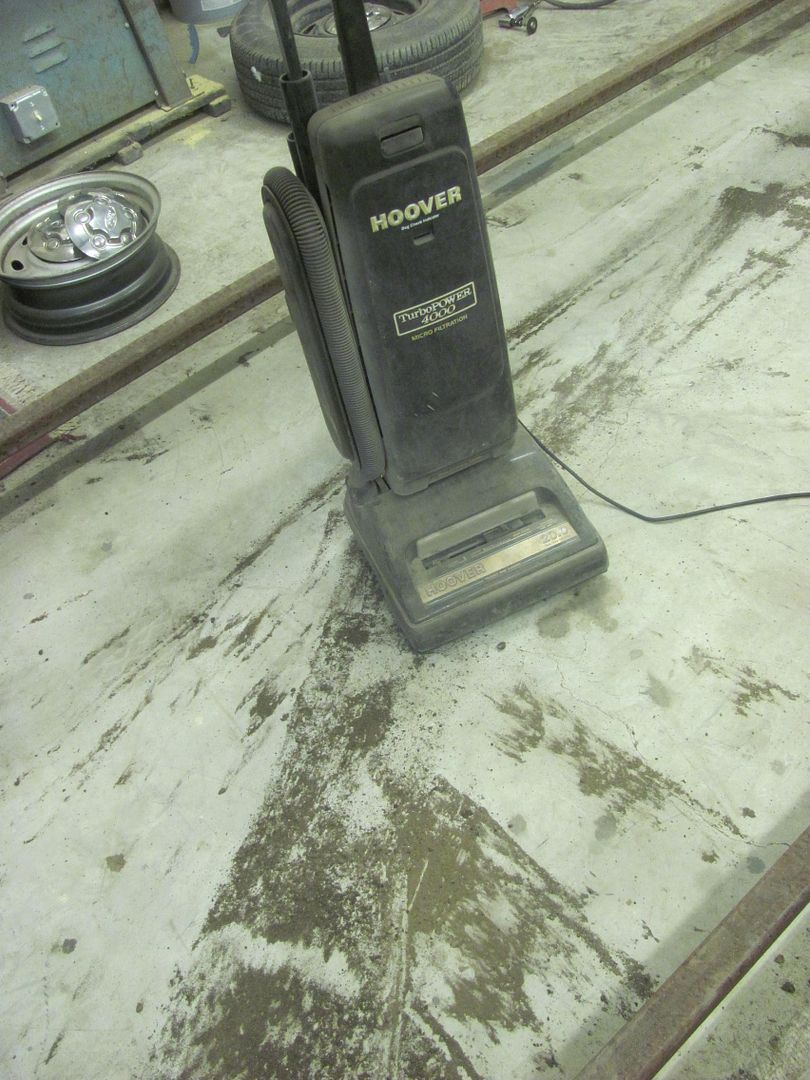 And the shop vacuum is about on it's last leg, it leaves behind about as much as it picks up. For anyone at DYSON or SHARK vacuum that would like to send a test sample, we can sure do a stress analysis on your product.. 
__________________
Robert |
|
|
|
|
11-13-2015, 12:08 AM
|
#556 |
|
Registered User
Join Date: Jan 2013
Location: Leonardtown, MD
Posts: 1,635
|
Re: 55 Wagon Progress
More prep and welding on the frame....
 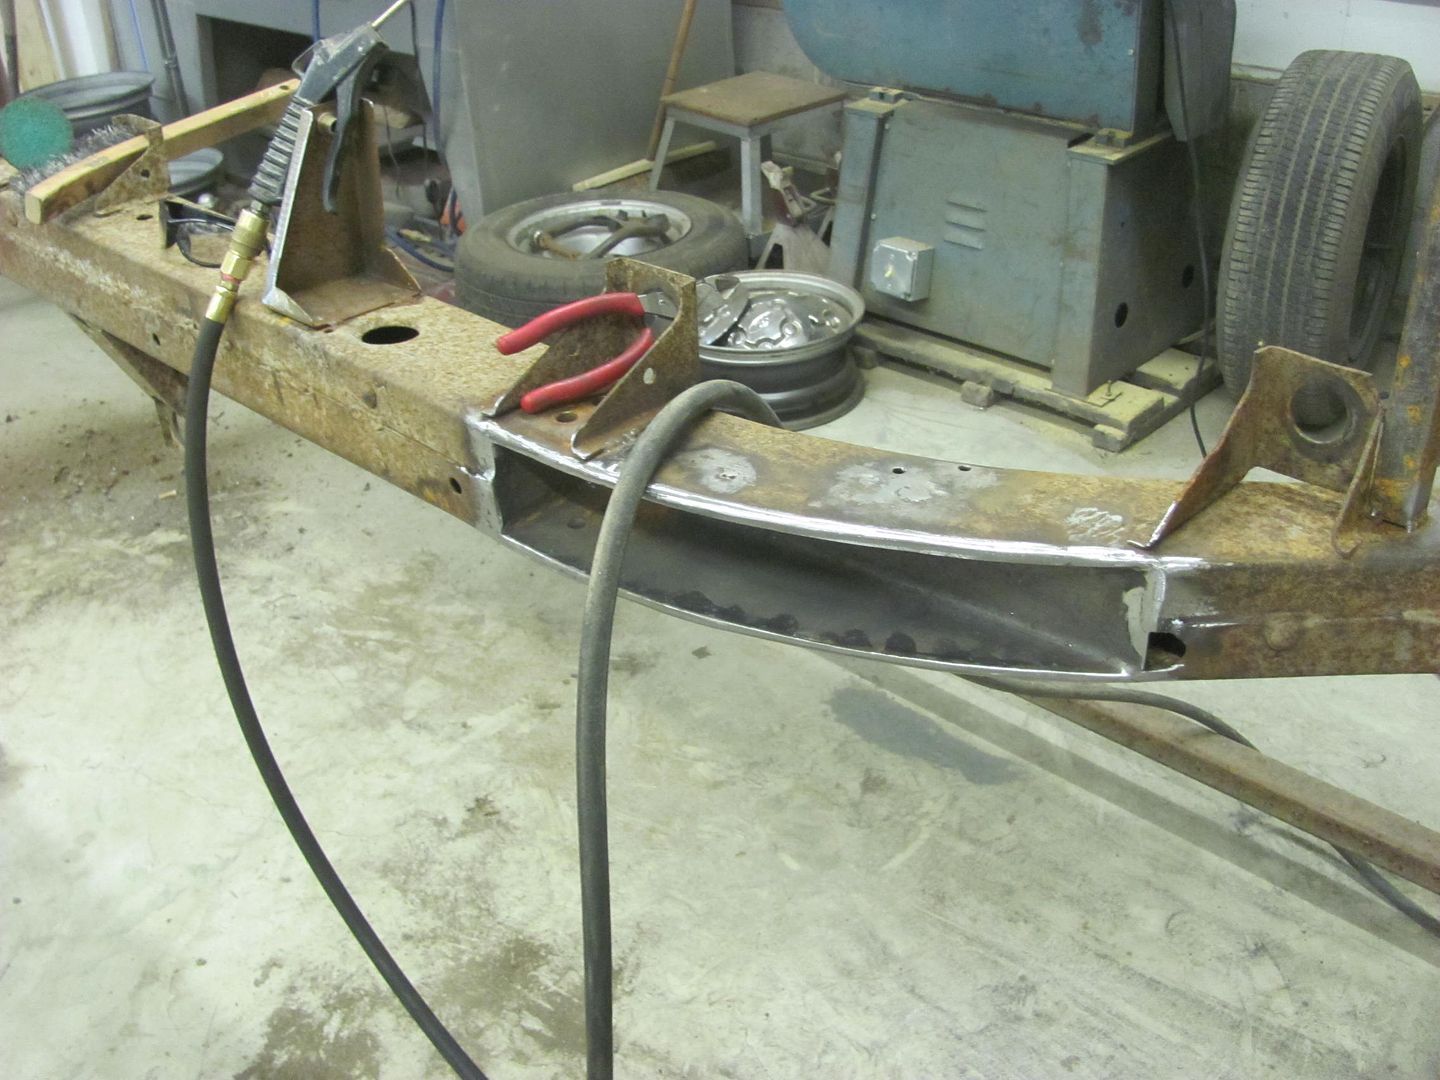   and we cleared out the remaining vacuum inventory from the yard sale pile.. This one is working a bit better! 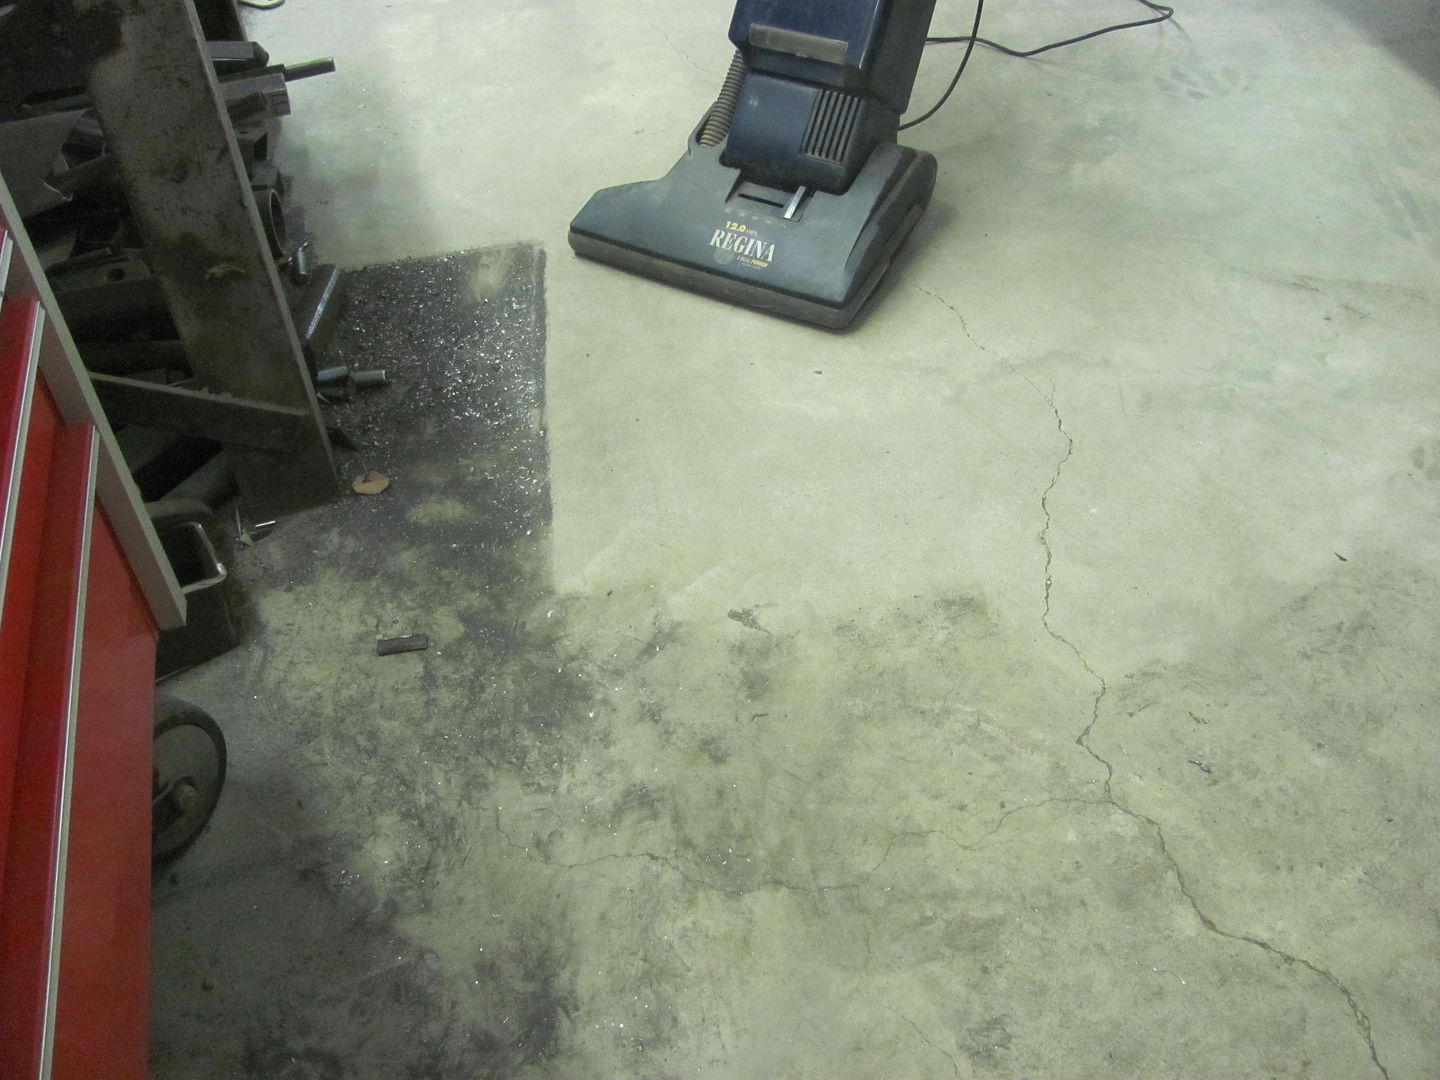 We've been going through a dry spell here in the shop, it's been quite some time since we've seen any yellow body panels. Soon to change.... 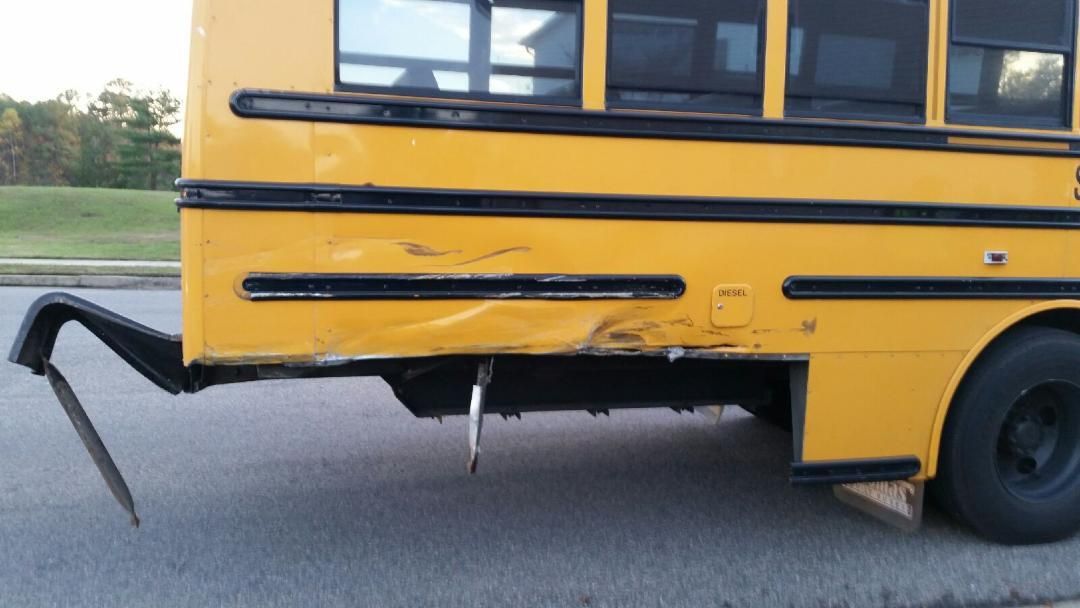 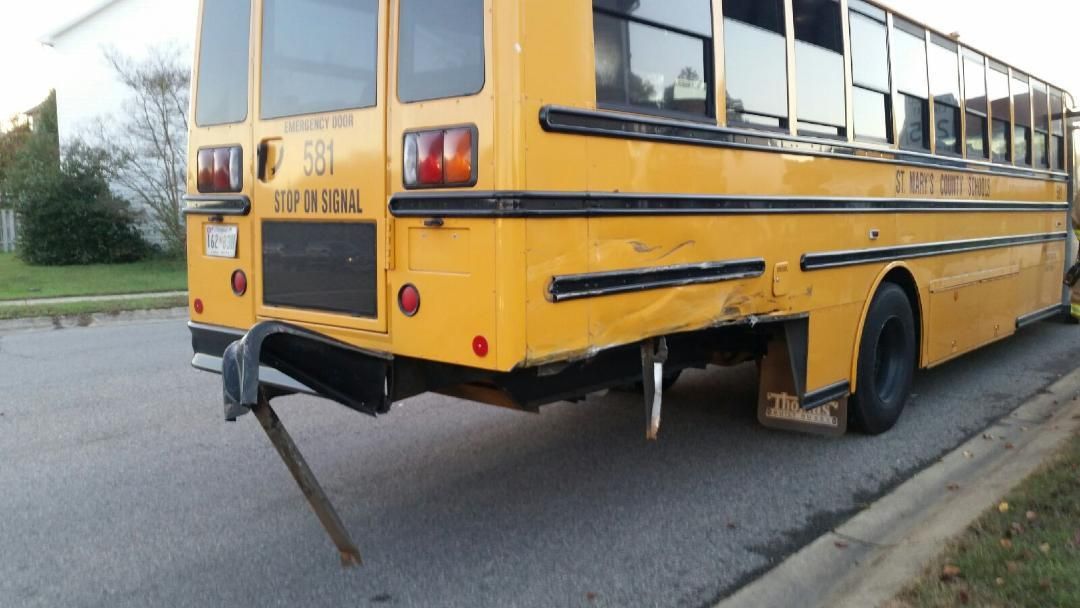
__________________
Robert |
|
|
|
|
11-13-2015, 09:12 AM
|
#557 |
|
Registered User
Join Date: May 2013
Location: Centerville,Ma.
Posts: 1,223
|
Re: 55 Wagon Progress
My first summer working in a body shop was spent sandblasting school buses from the cowl back. I think we did 5 that summer. That was 1974
|
|
|
|
|
11-13-2015, 09:53 AM
|
#558 |
|
Registered User
Join Date: Jan 2013
Location: Leonardtown, MD
Posts: 1,635
|
Re: 55 Wagon Progress
Were they trying to keep ahead of the salt corrosion in stripping/repainting?
__________________
Robert |
|
|
|
|
11-13-2015, 02:24 PM
|
#559 |
|
Registered User
Join Date: May 2013
Location: Centerville,Ma.
Posts: 1,223
|
Re: 55 Wagon Progress
We were stripping and repainting due to old paint peeling in spots. We did one every two weeks. It took as long to tape the windows with cardboard as it did to actually blast them. The paint blew right off. Then sanding ,priming painting plus the two tone. All in Dupont Dulux enamel
|
|
|
|
|
11-13-2015, 02:30 PM
|
#560 |
|
Registered User
Join Date: Apr 2003
Location: Indep, MO
Posts: 5,893
|
Re: 55 Wagon Progress
Lovin' the louvers. What is the pocket kit for? Will this one be going bags and a 4-link?
__________________
Boppa's Old Yeller Truck Build, Old Yeller's New Heart! Project Buzz Bomb Flyin' Low! |
|
|
|
|
11-13-2015, 02:42 PM
|
#561 |
|
Registered User
Join Date: Jan 2013
Location: Leonardtown, MD
Posts: 1,635
|
Re: 55 Wagon Progress
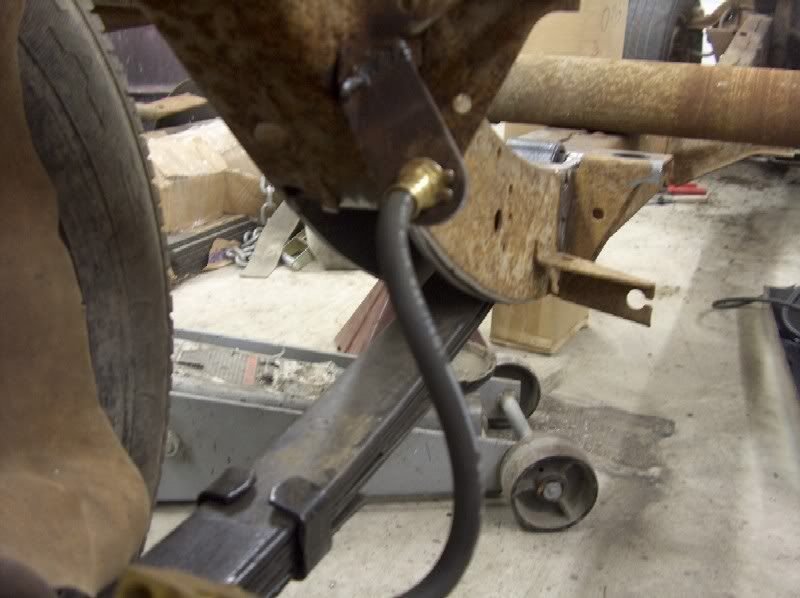
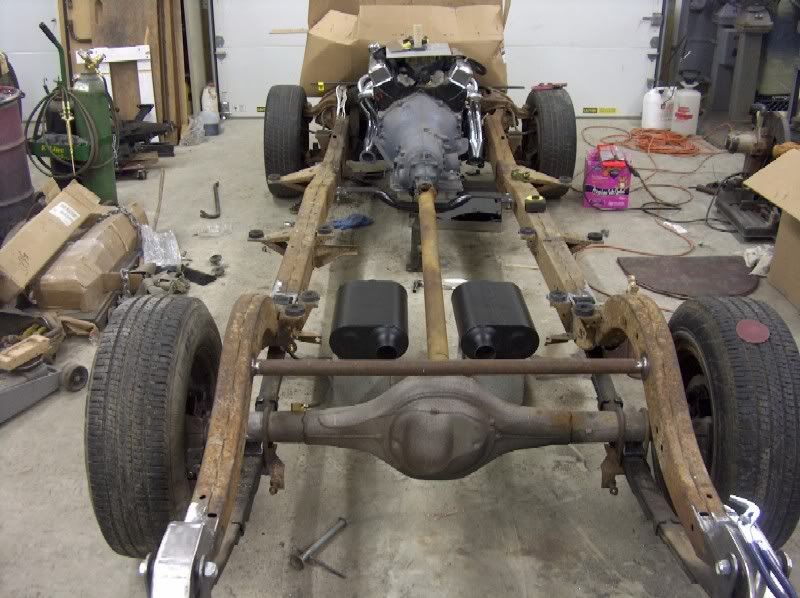
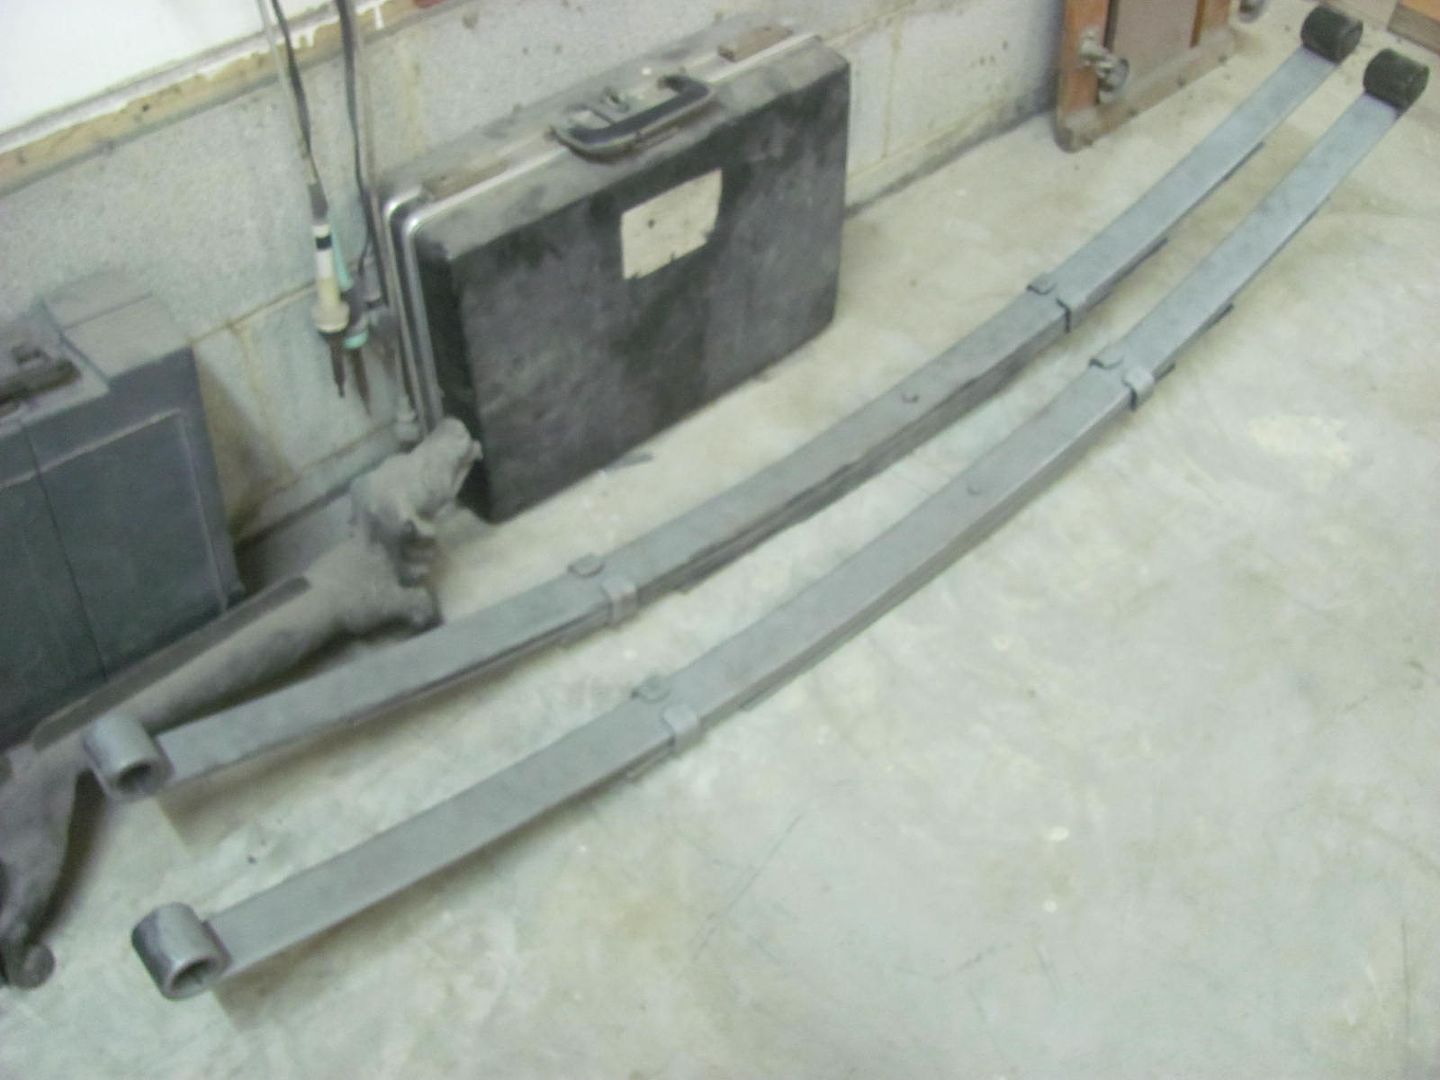
They make a pocket kit for the tri five Chevy that allows moving the leafs into/suspended under the frame for additional tire clearance for those larger meats and still leaves the room between the rails for fuel tank/exhaust.. Like here:
__________________
Robert |
|
|
|
|
11-16-2015, 01:42 AM
|
#562 |
|
Registered User
Join Date: Oct 2007
Location: Spanaway
Posts: 8,451
|
Re: 55 Wagon Progress
Love that spring mod! Great idea.
__________________
Mike. Swamp Rat build thread : http://67-72chevytrucks.com/vboard/s...d.php?t=595019 72 3/4T 4X4 4" BDS Lift 33" BFG's |
|
|
|
|
11-17-2015, 11:58 PM
|
#563 |
|
Registered User
Join Date: Jan 2013
Location: Leonardtown, MD
Posts: 1,635
|
Re: 55 Wagon Progress
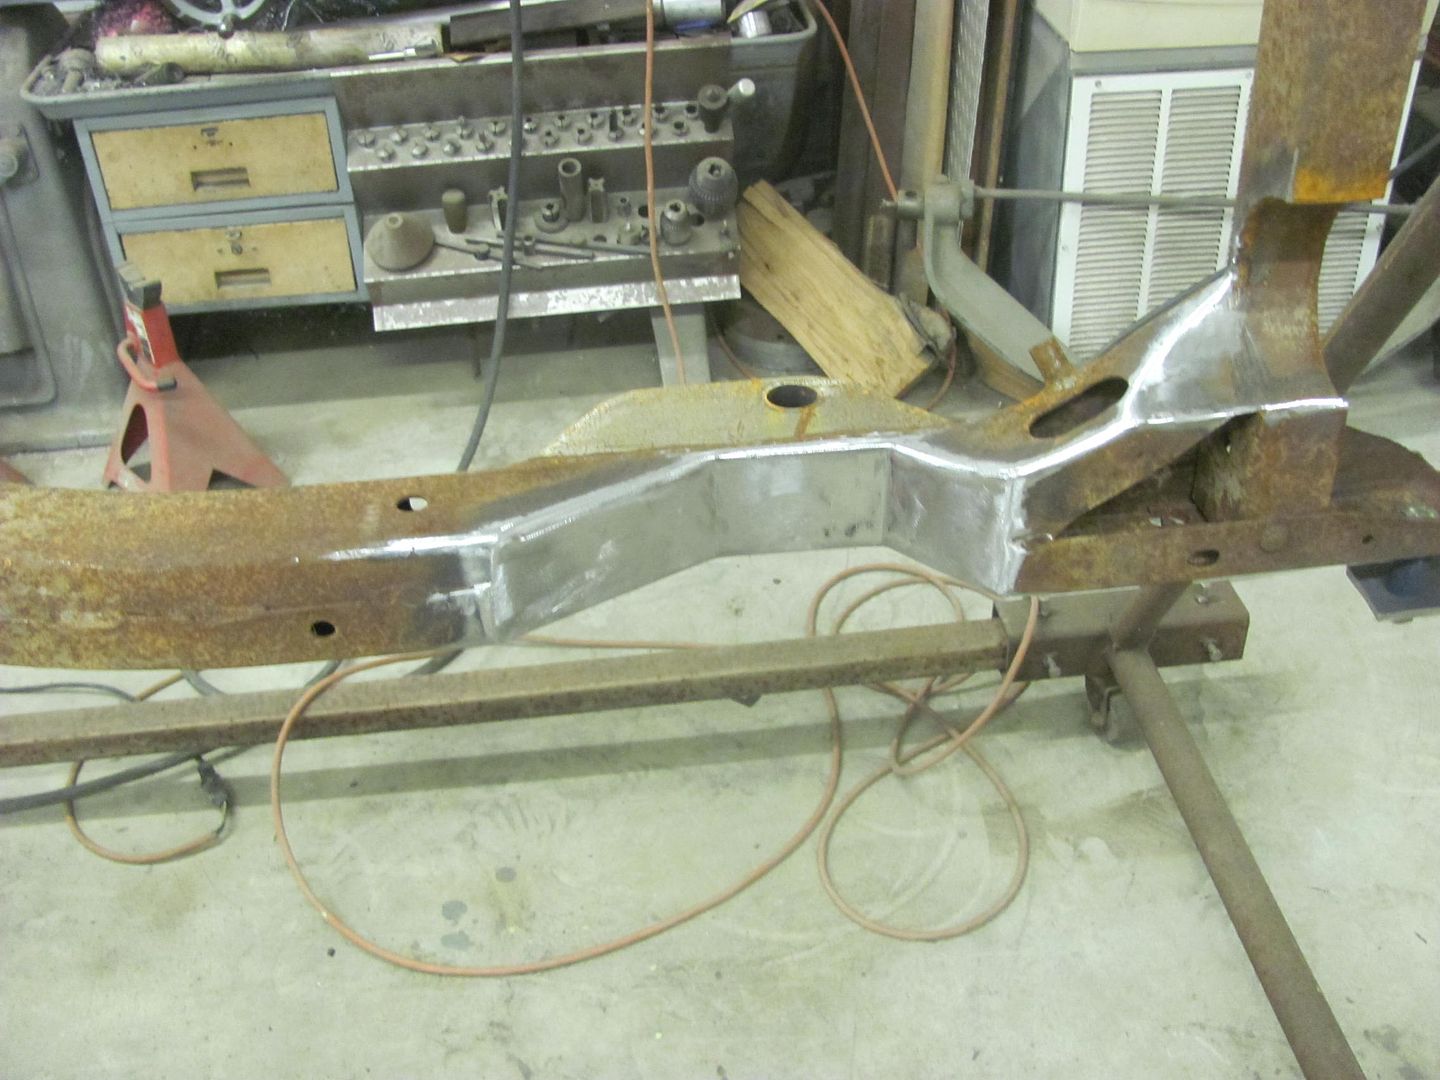
Still working on the frame, Kyle was prepping the frame for welding on the strengthening plates while I drilled the plates for plug welds..
Plug welding.... 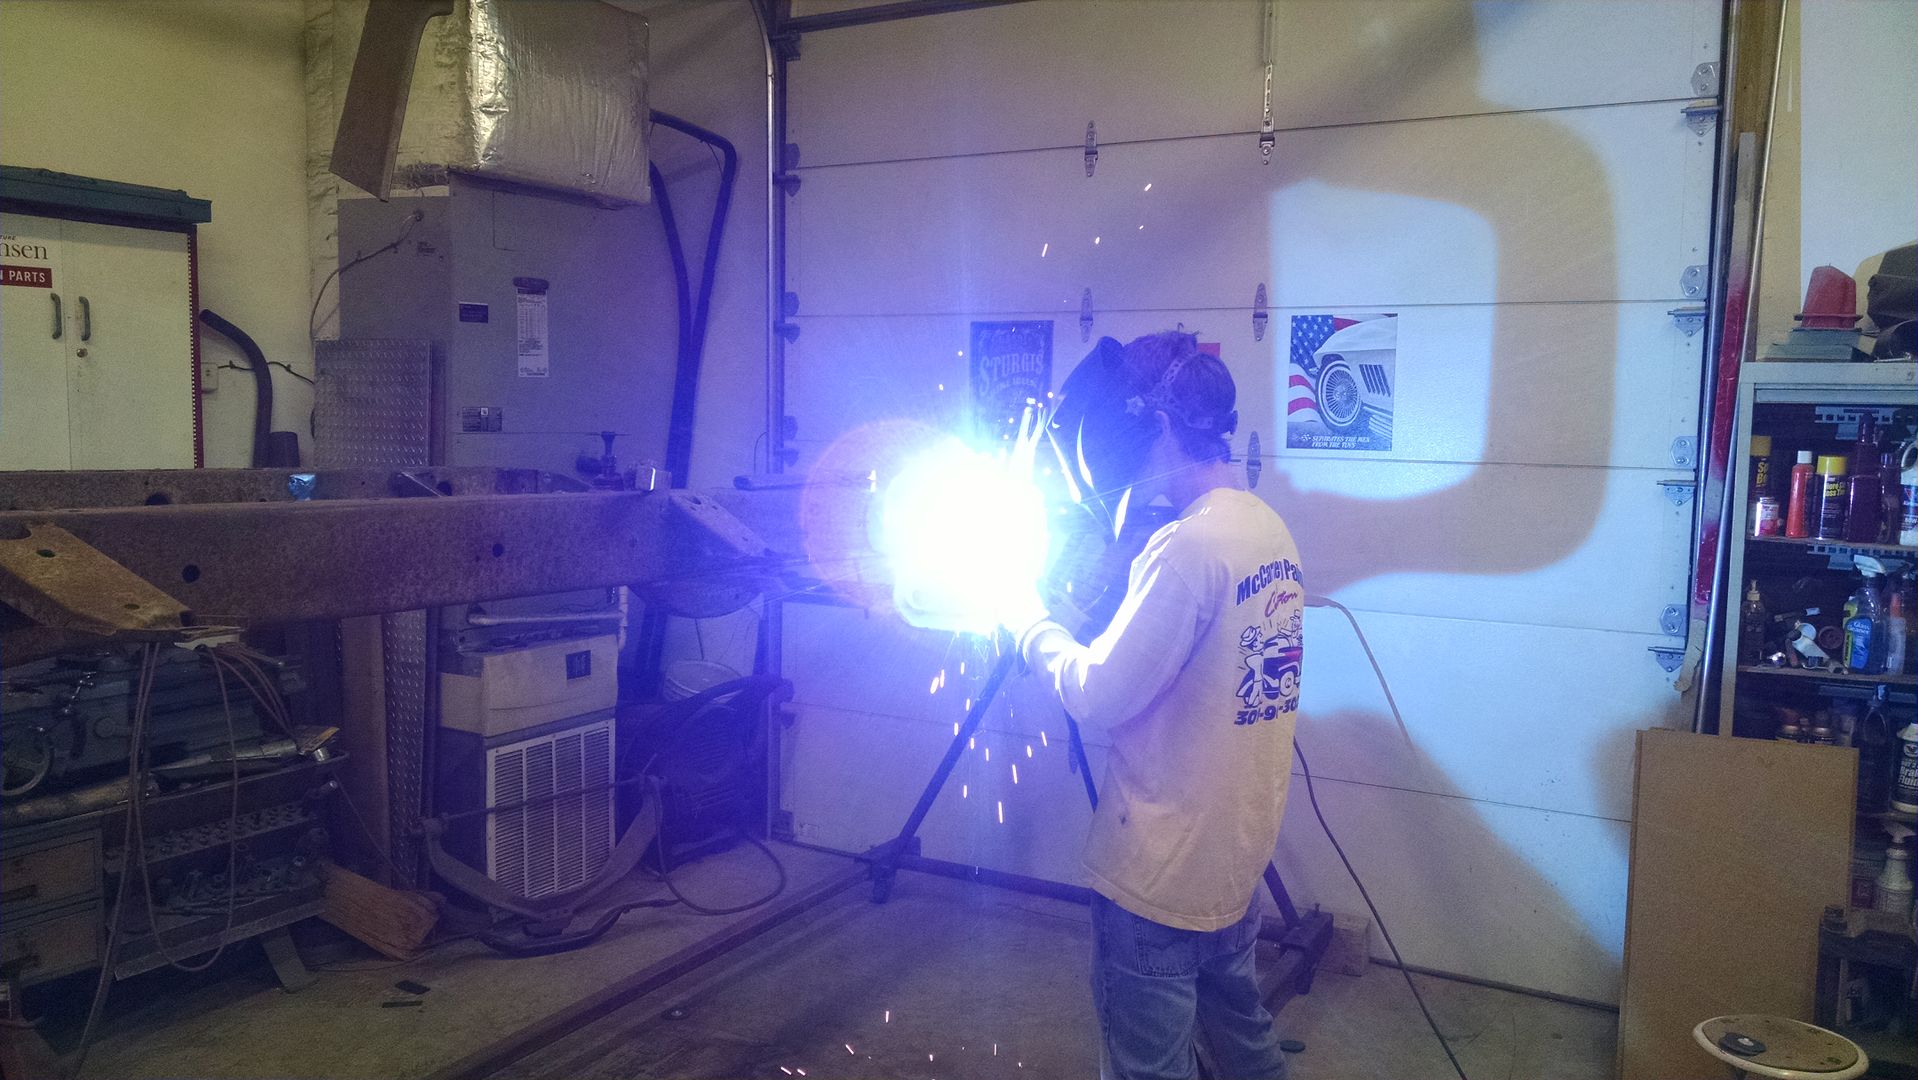 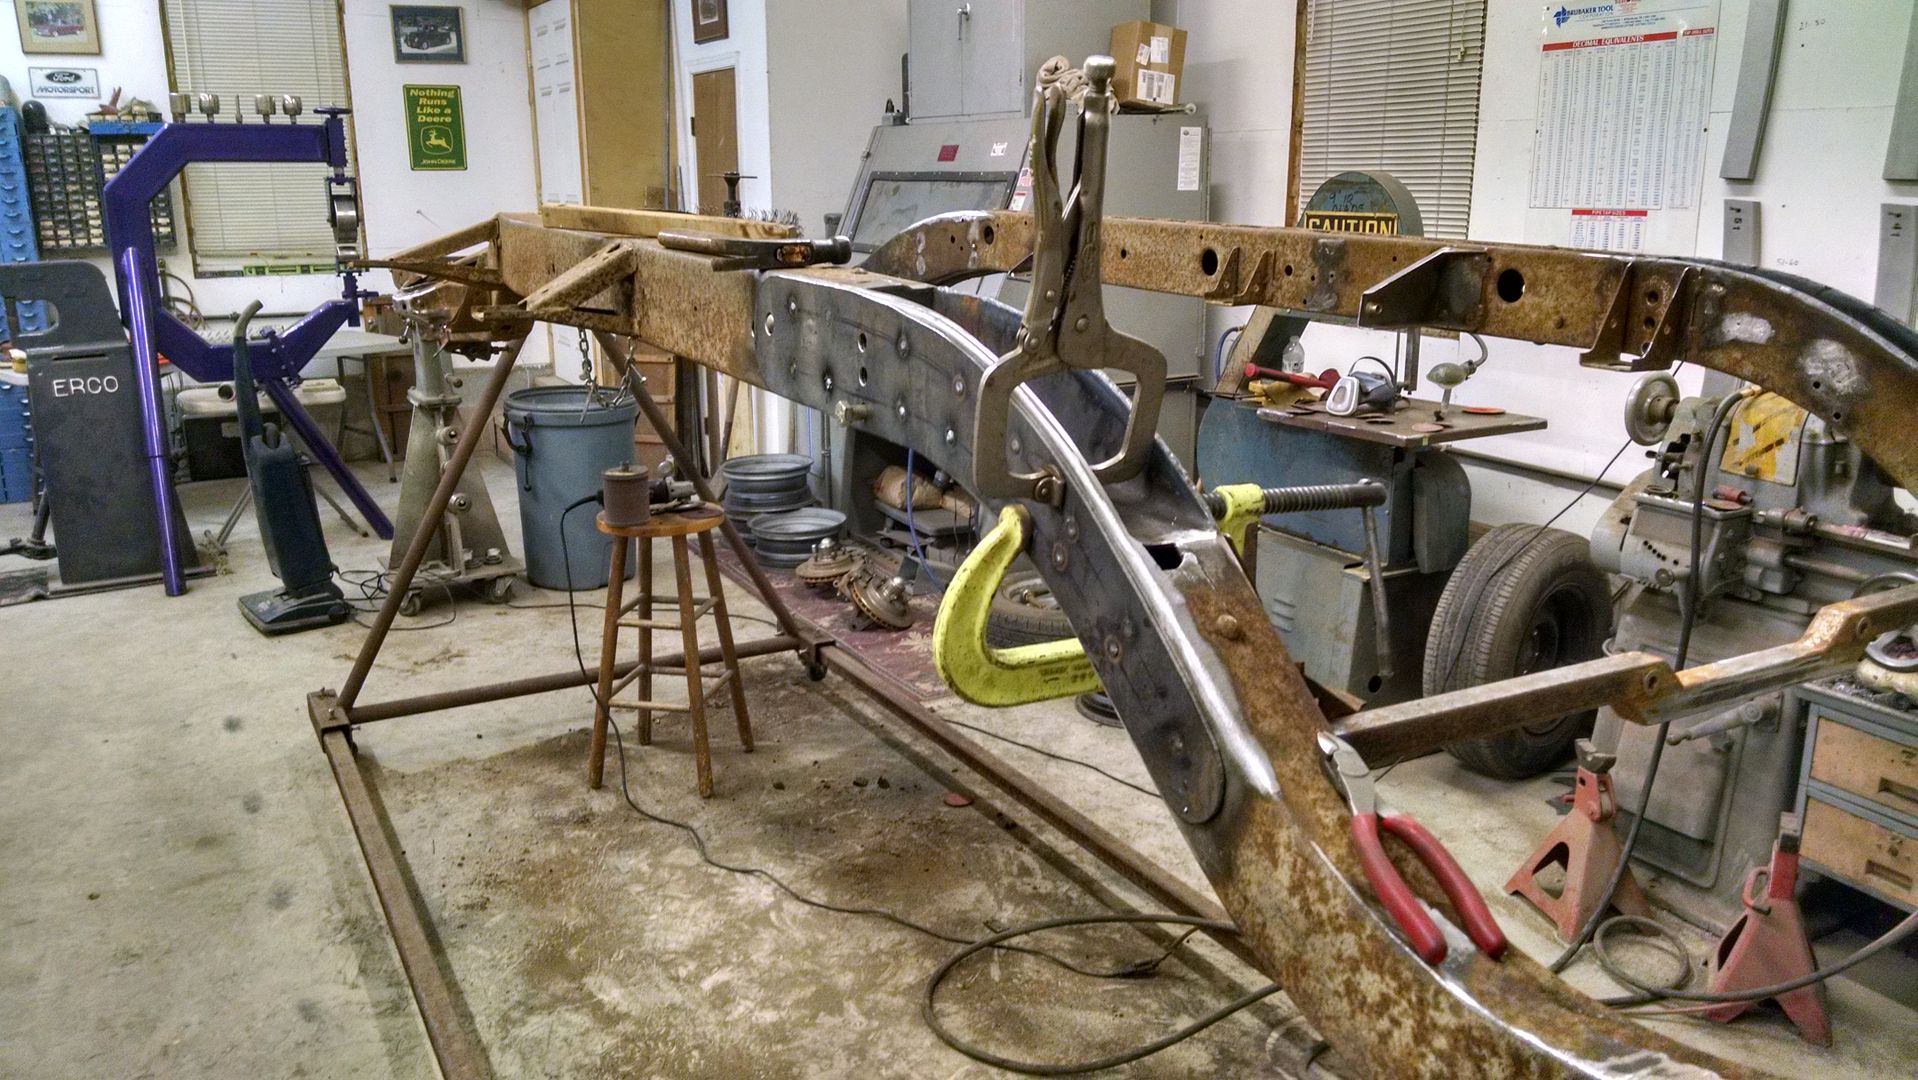 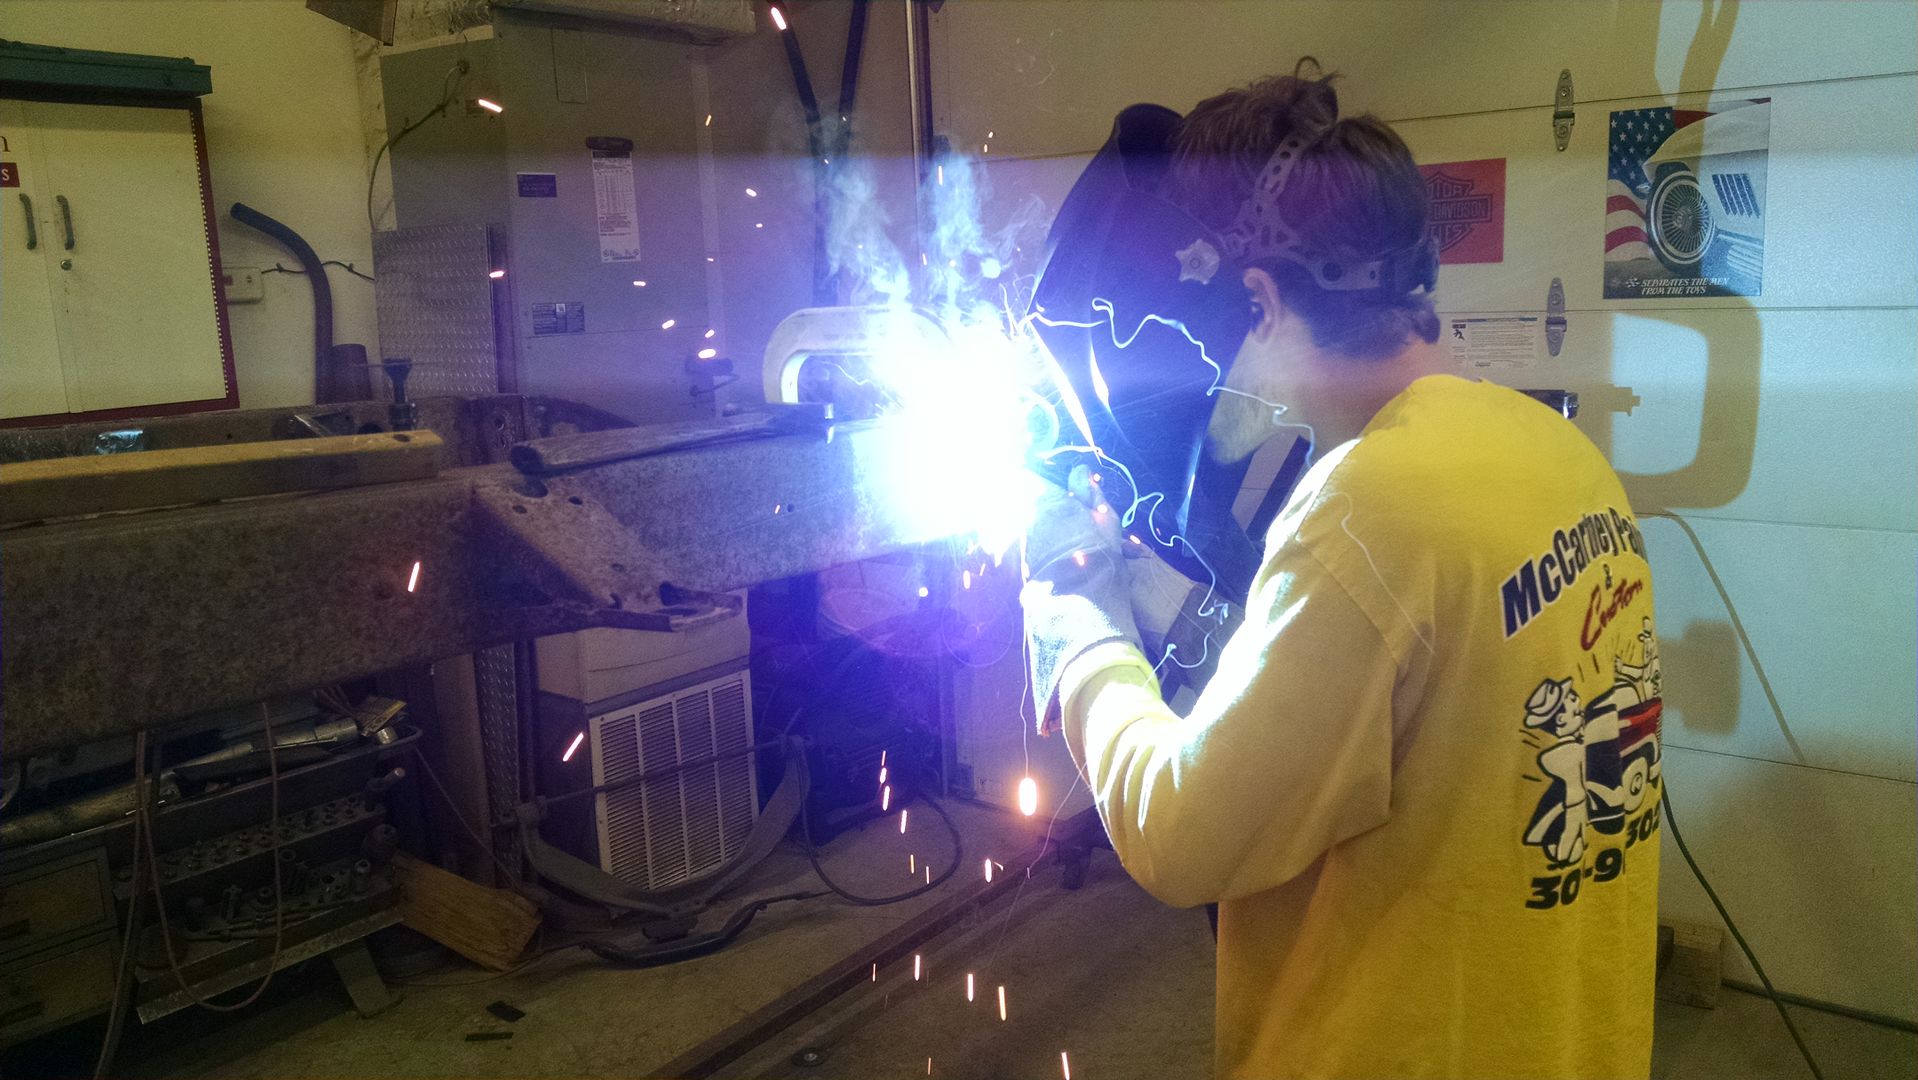 The outer perimeter will be Tig welded...
__________________
Robert |
|
|
|
|
11-18-2015, 08:57 PM
|
#564 |
|
Senior Member
Join Date: Jul 2012
Location: Oblong, Illinois
Posts: 7,017
|
Re: 55 Wagon Progress
Continued nice work. Reinforcing the frame along the pocket is a good idea. Logical and I haven't noticed it done before.
|
|
|
|
|
11-20-2015, 12:54 AM
|
#565 |
|
Registered User
Join Date: Jan 2013
Location: Leonardtown, MD
Posts: 1,635
|
Re: 55 Wagon Progress
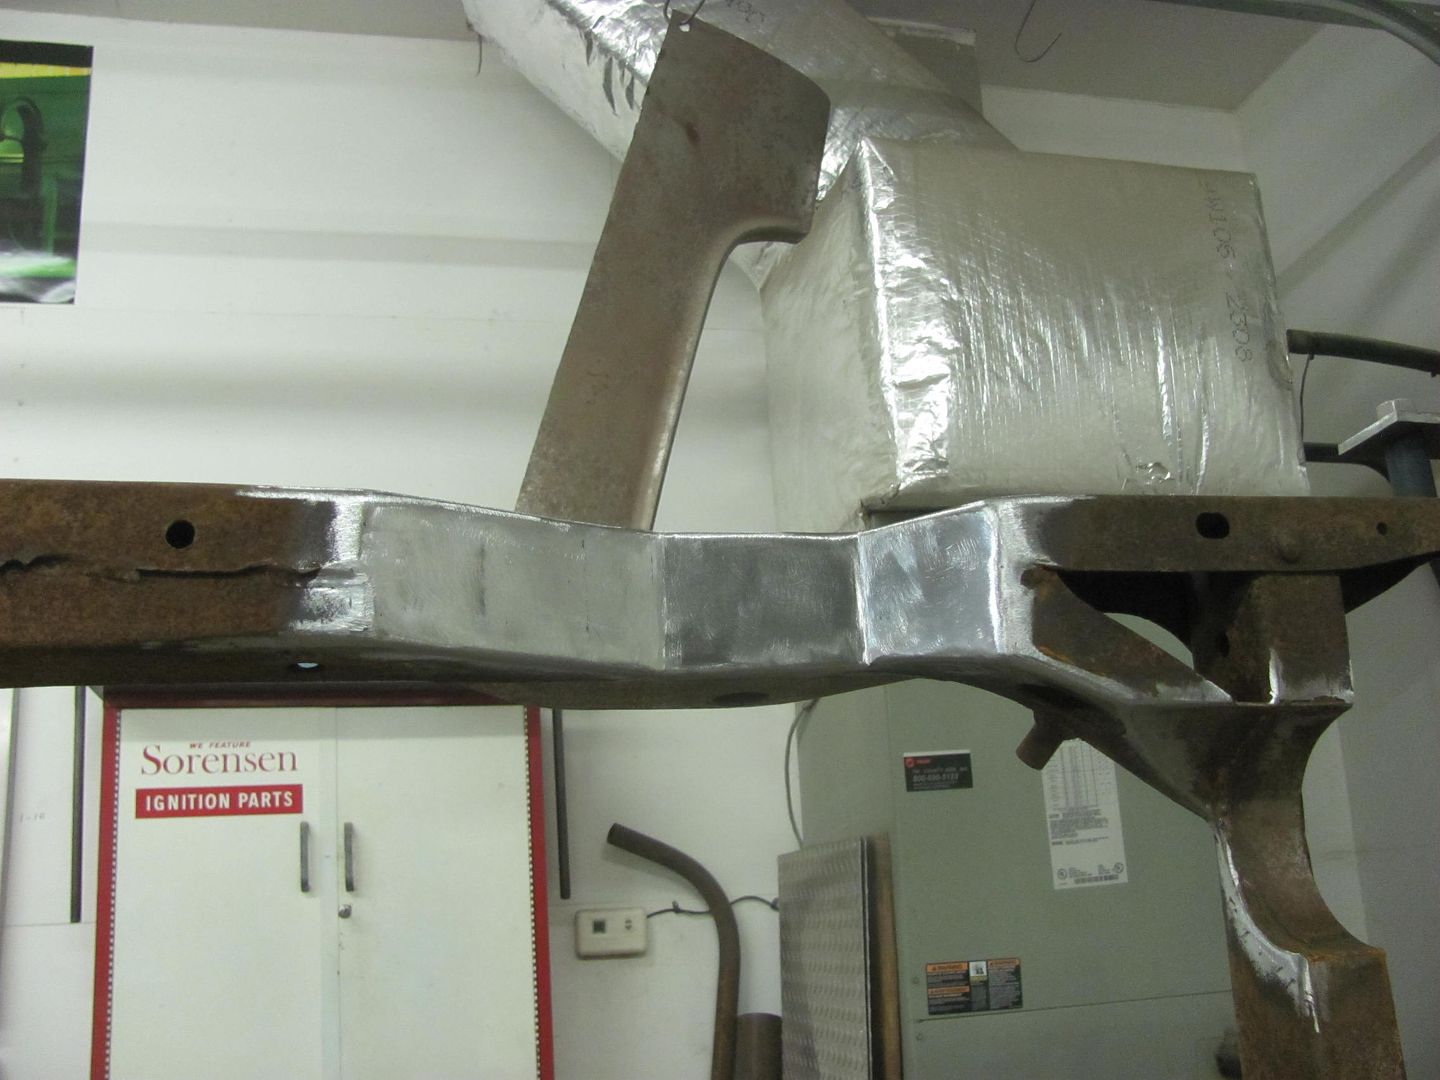
Thanks, I just wasn't keen on the pocket kit alone, a little added security blanket, if you will..
Still working the frame, here's the driver's side plate all clamped up and ready to go.. Hindsight and all that, should have made the plates about 2" longer and we wouldn't have those pesky holes in the way at the front end.. 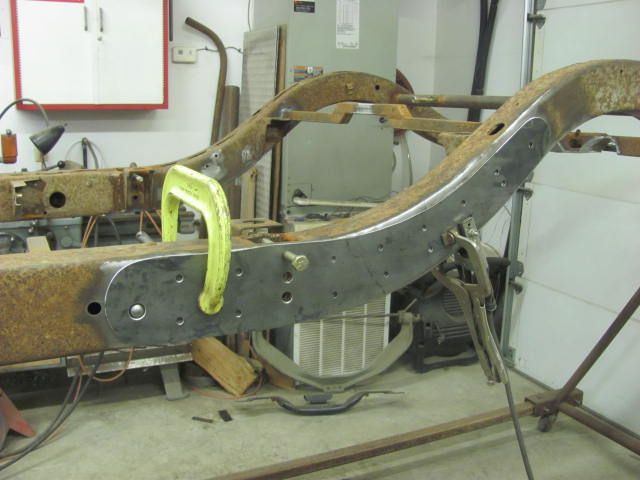 So we decided to cut out some 14 gauge and fill in those holes. Cut a piece the same width as the hole, and rounded the end. Then used the band saw to cut a vee on the back side of the "plugs" and continued to clean up the radius with the 3" Roloc sander. Once close, a bit more on the band saw and break off the remaining, then fine tune with the sander.. 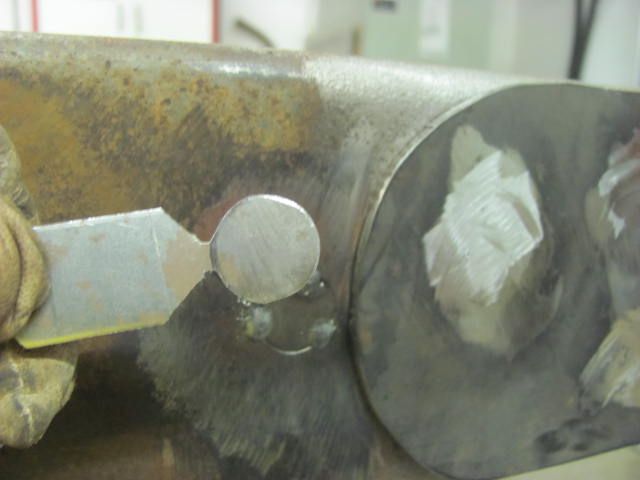 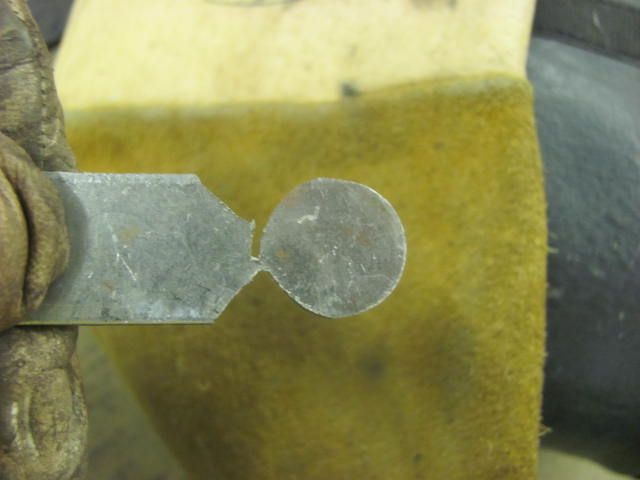 Magnet used to hold in place for tacking.. 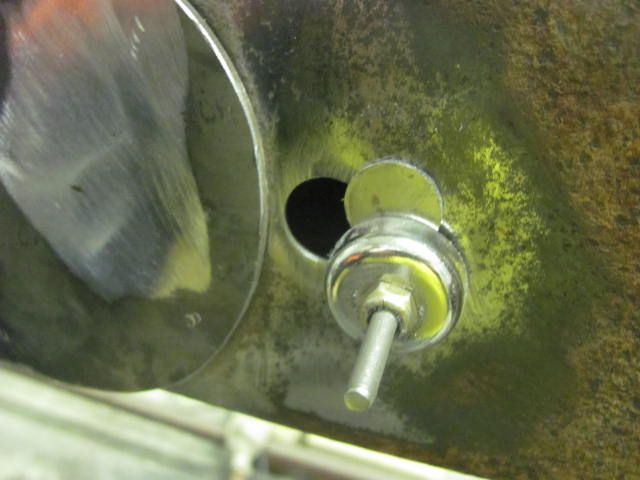 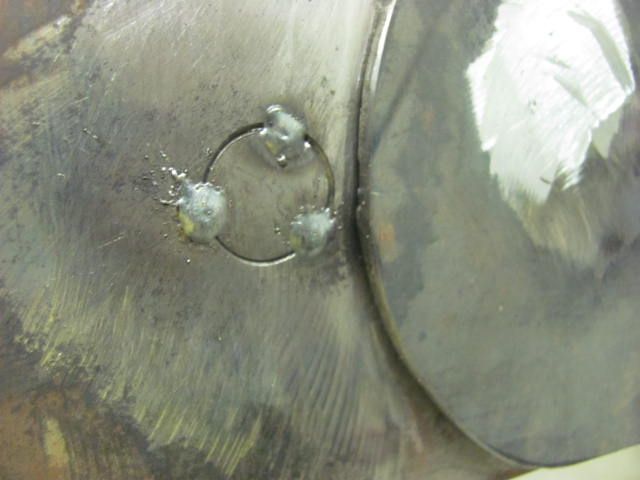 For TIG welding the perimeter of the plates, we decided to make up a "crutch" that we could rest our hand on for better holding the torch... 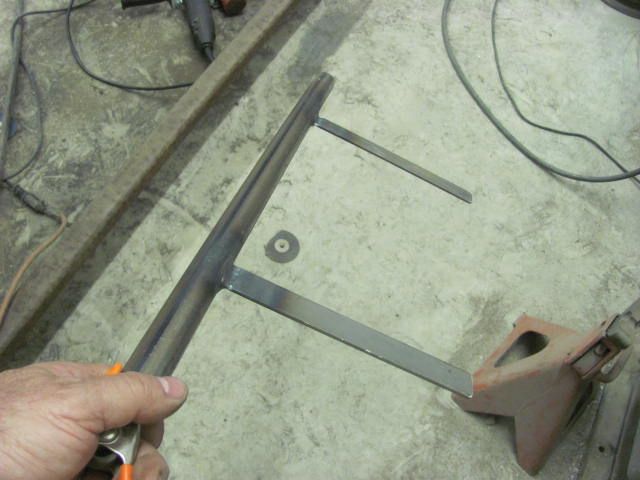 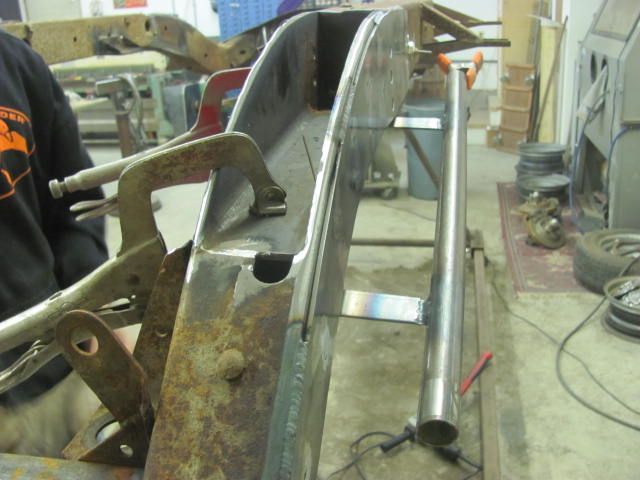 Kyle is getting a pretty good hold on this welding stuff... 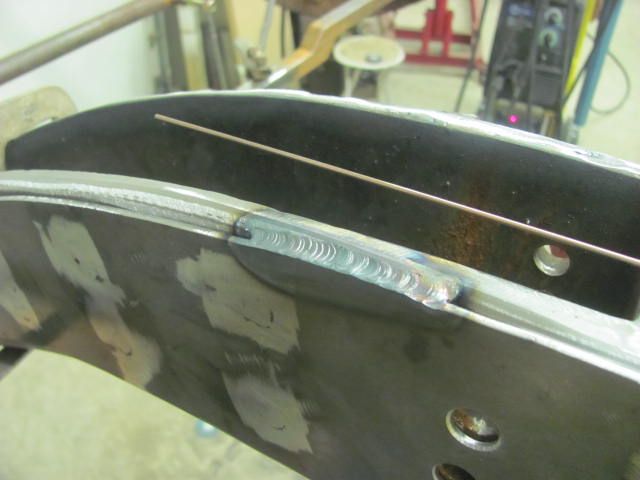 He even let me get in some practice.... 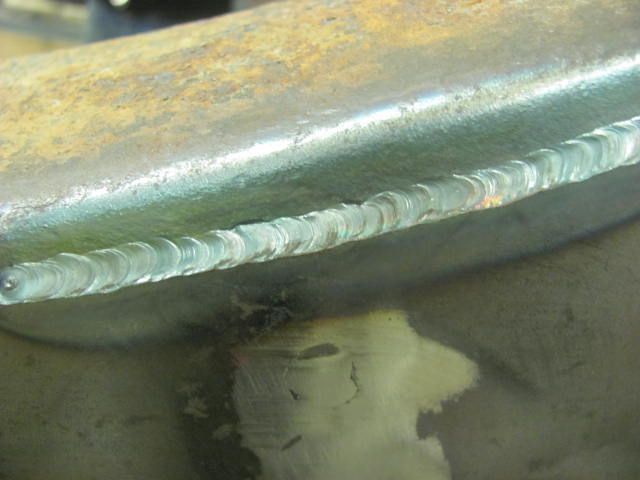
__________________
Robert |
|
|
|
|
11-20-2015, 10:22 AM
|
#566 |
|
Senior Member
Join Date: Mar 2011
Location: West Plains, Missouri
Posts: 7,555
|
Re: 55 Wagon Progress
Looking great as always...Jim
__________________
my build thread: http://67-72chevytrucks.com/vboard/s...d.php?t=459839 Jimbo's long bed step build:http://67-72chevytrucks.com/vboard/s...t=464626<br /> |
|
|
|
|
11-21-2015, 07:54 PM
|
#567 | |
|
Registered User
Join Date: Sep 2013
Location: Glendale, AZ
Posts: 289
|
Re: 55 Wagon Progress
Quote:
I just read the whole thread.. Really nice attention to details, I've learned allot,, thank you for the time it takes to do the images and post the information also |
|
|
|
|
|
12-02-2015, 12:19 AM
|
#568 |
|
Registered User
Join Date: Jan 2013
Location: Leonardtown, MD
Posts: 1,635
|
Re: 55 Wagon Progress
No, they are dragging their feet and in the meantime the dirt is piling up
Kyle got the welds finished up on the frame plates... 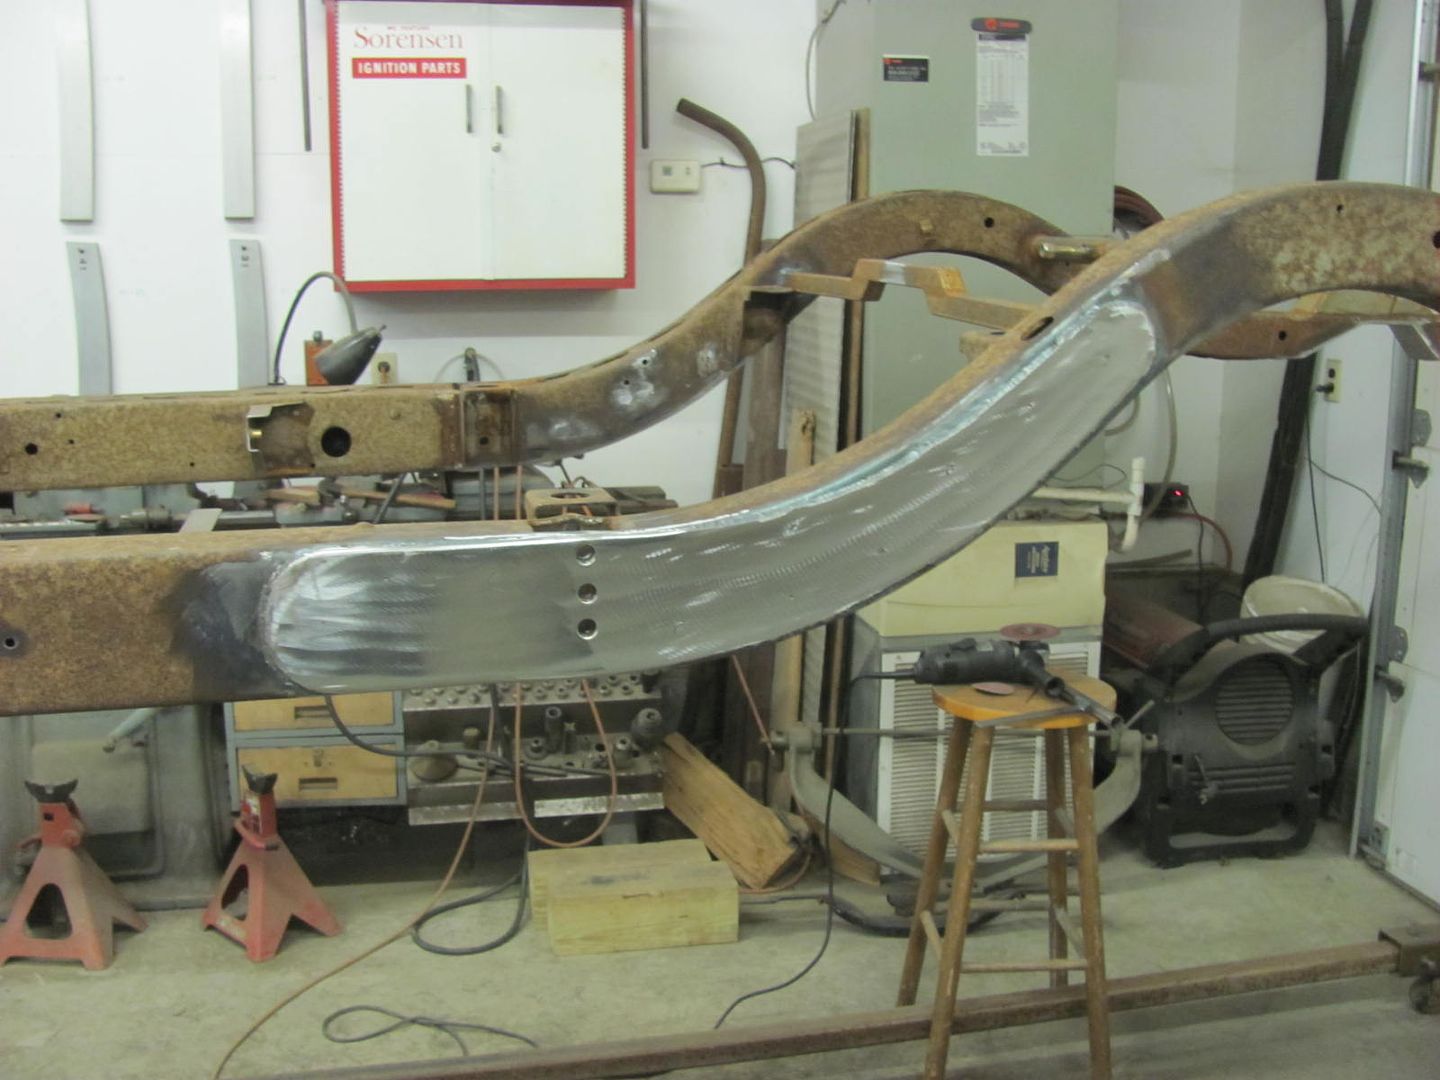  Frame is ready to send to get media blasted... 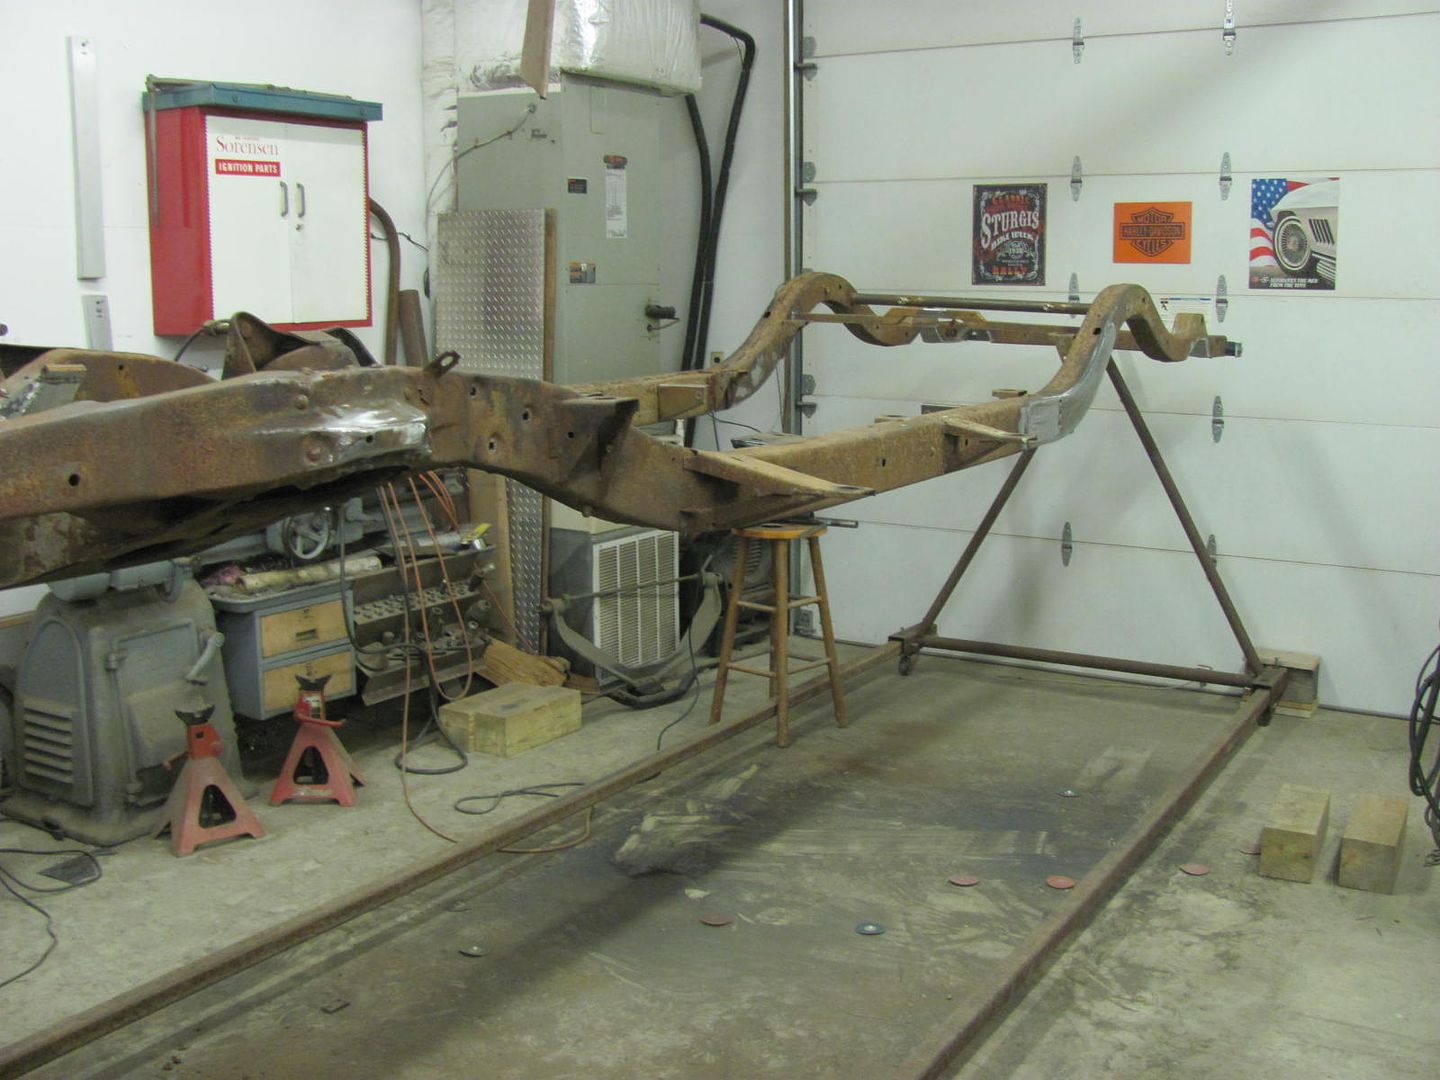 And the rear was busted apart for some media blasting as well 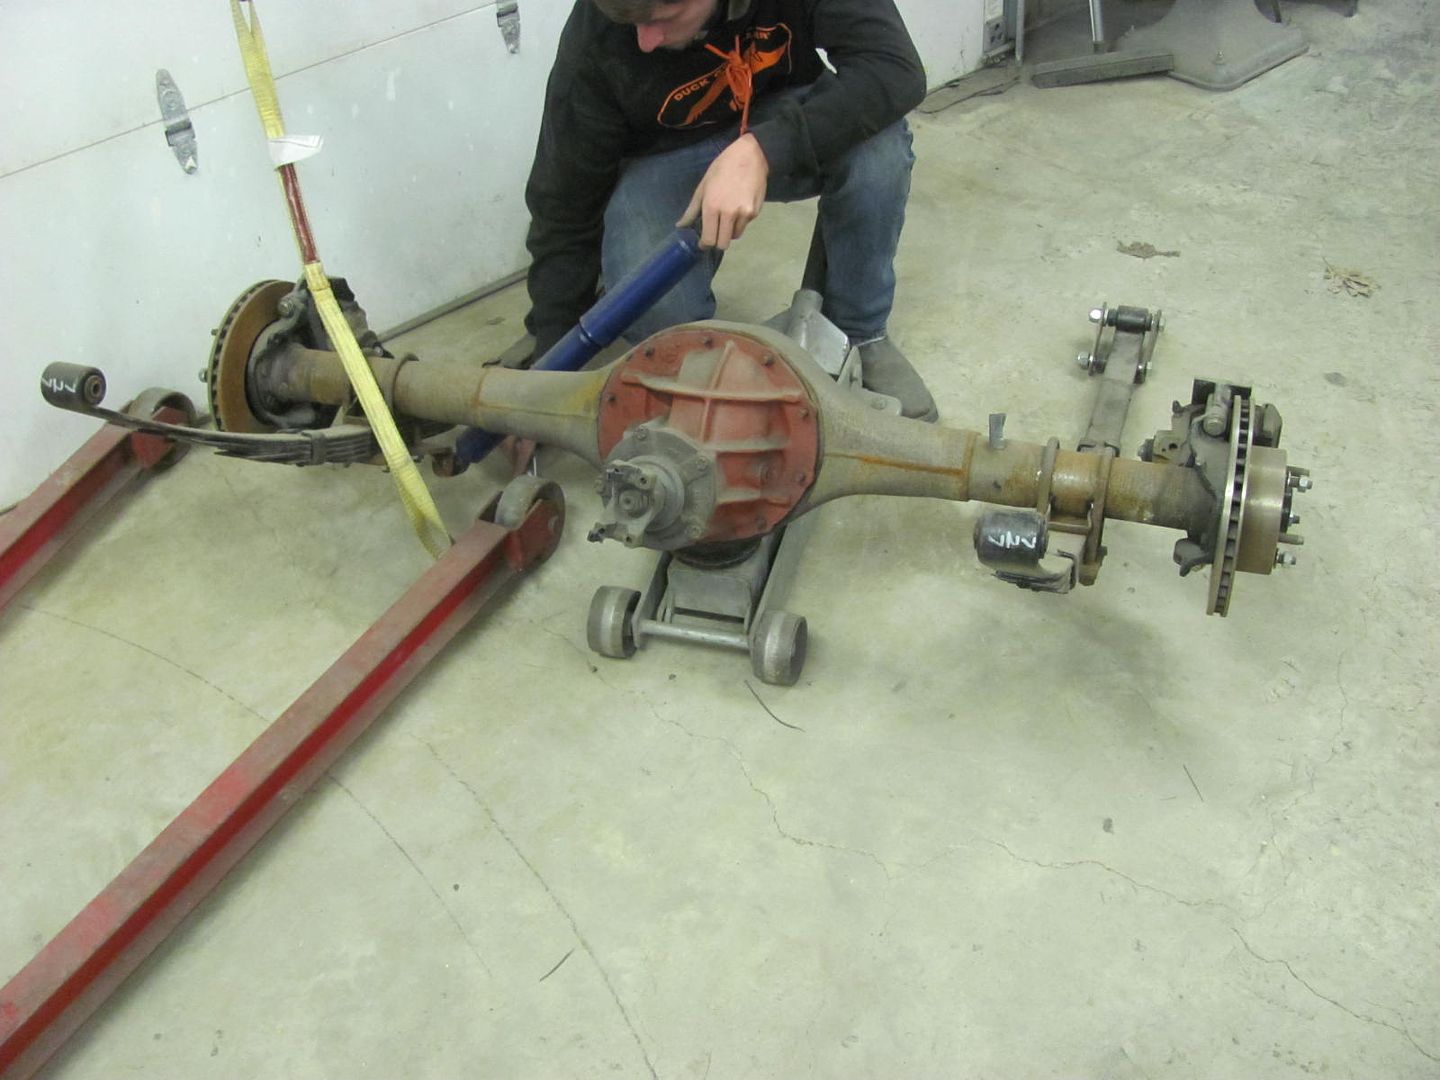 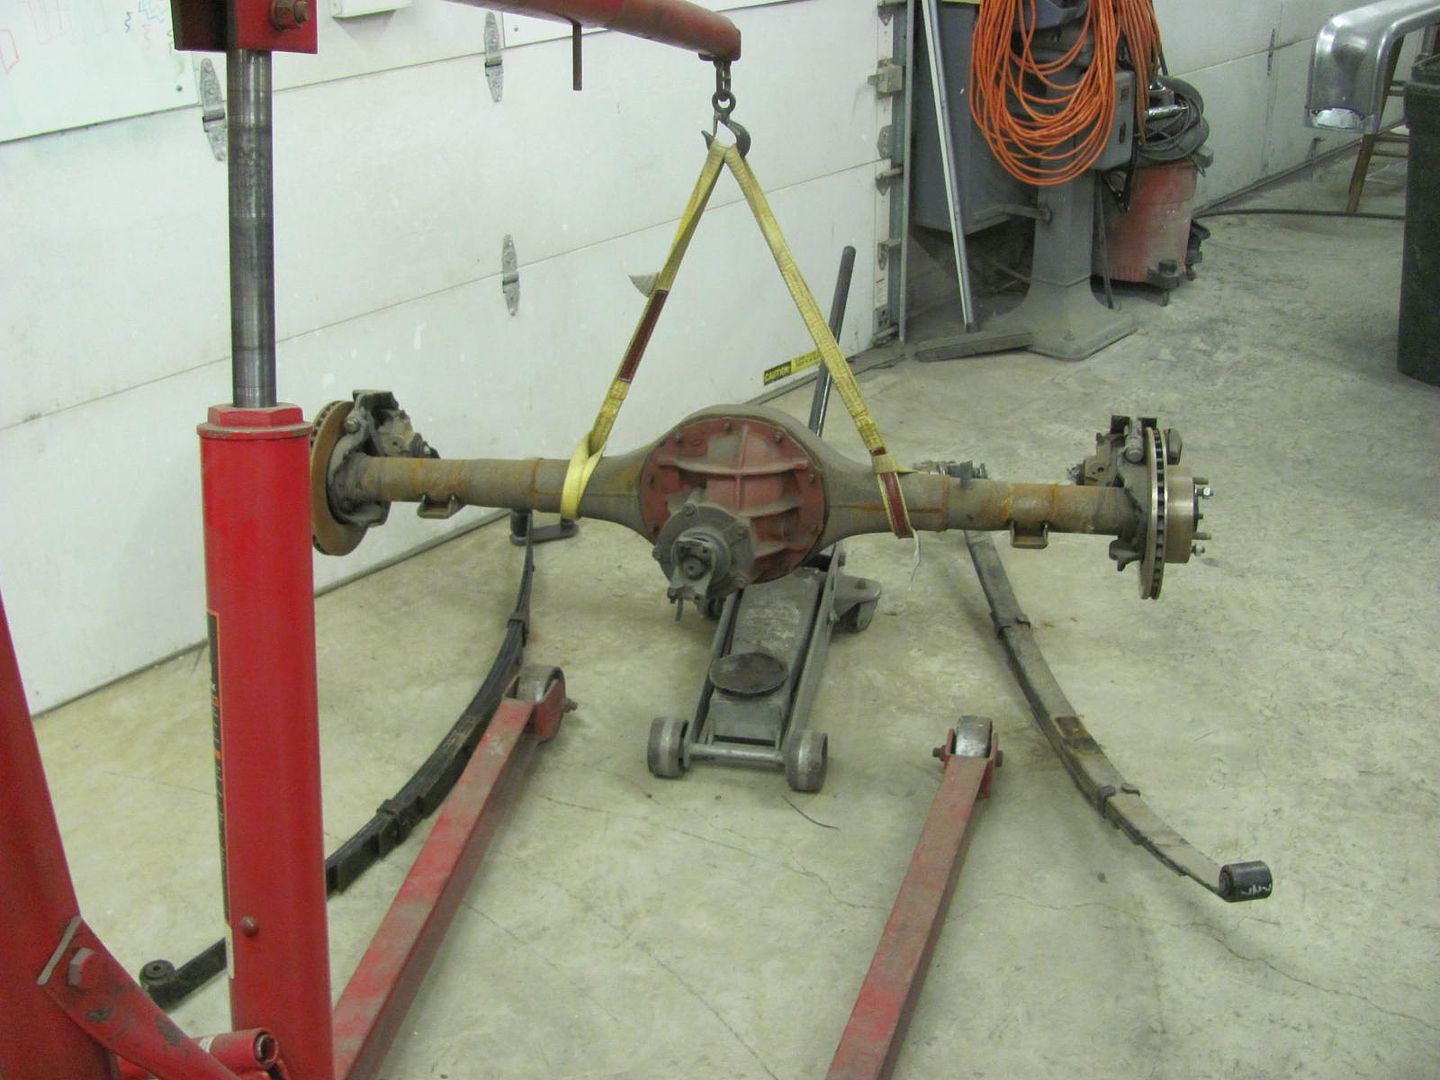 Getting the bus parts prepped for paint, the owner had a used bumper in stock so it will get repainted... 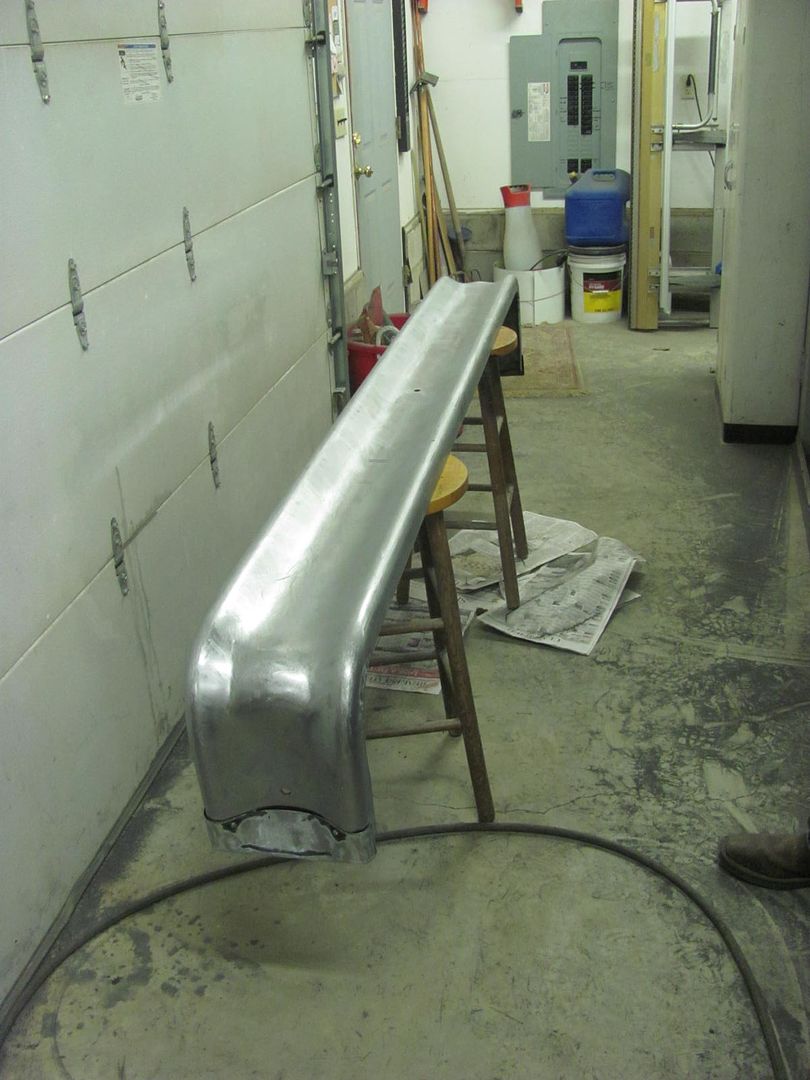 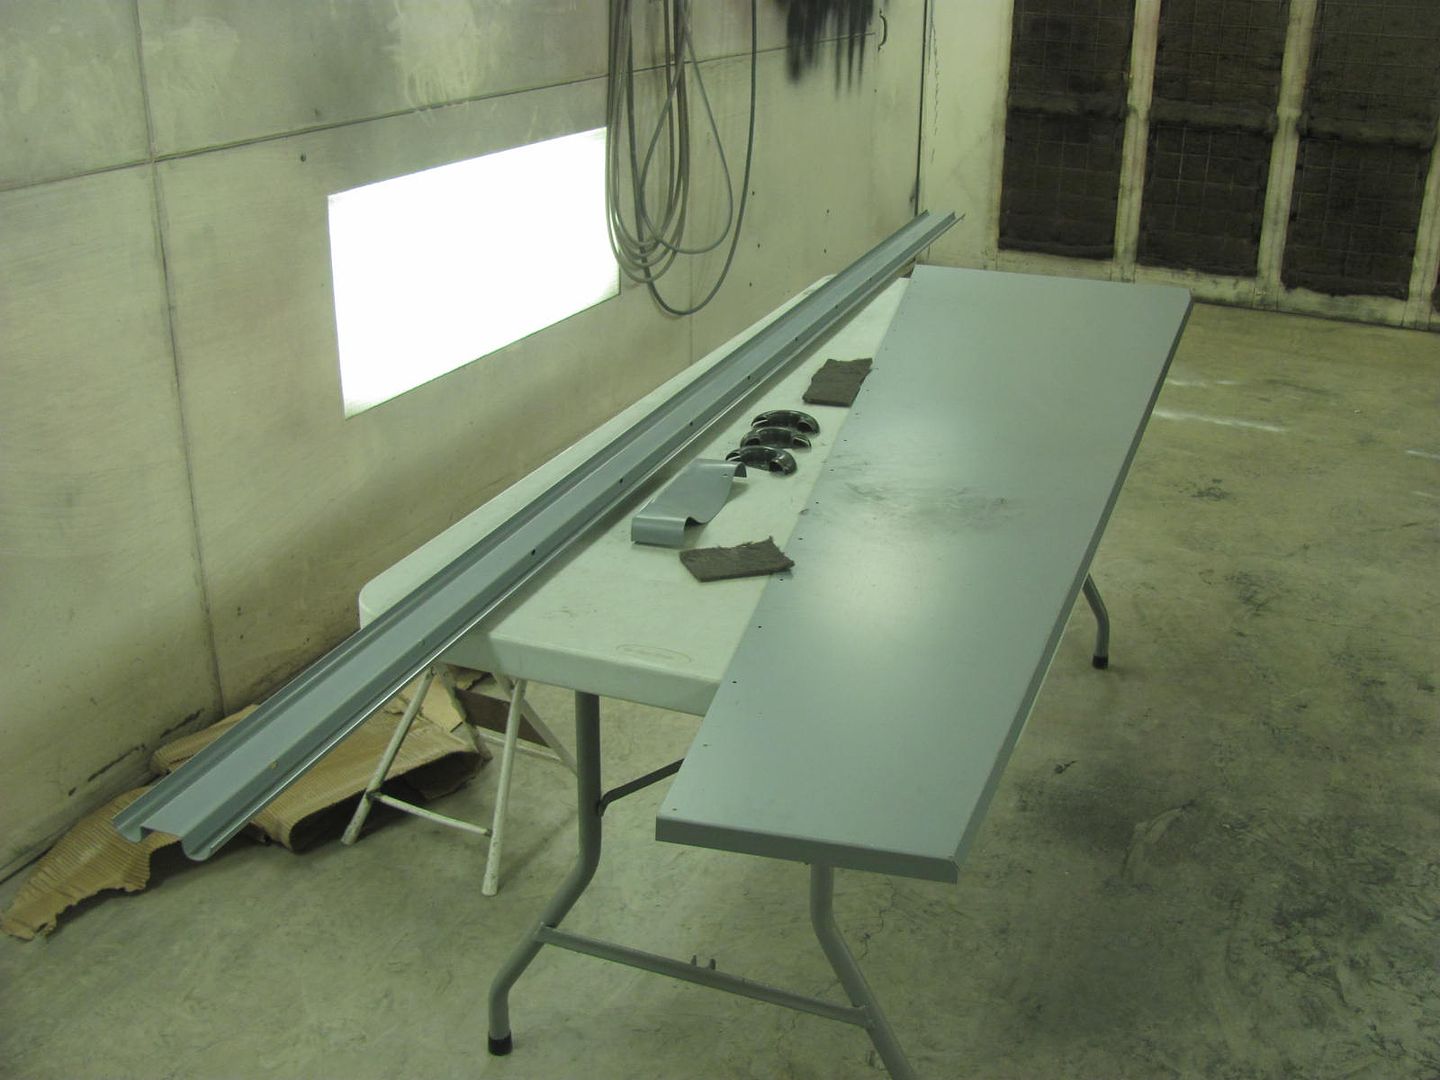
__________________
Robert |
|
|
|
|
12-05-2015, 12:26 AM
|
#569 |
|
Registered User
Join Date: Jan 2013
Location: Leonardtown, MD
Posts: 1,635
|
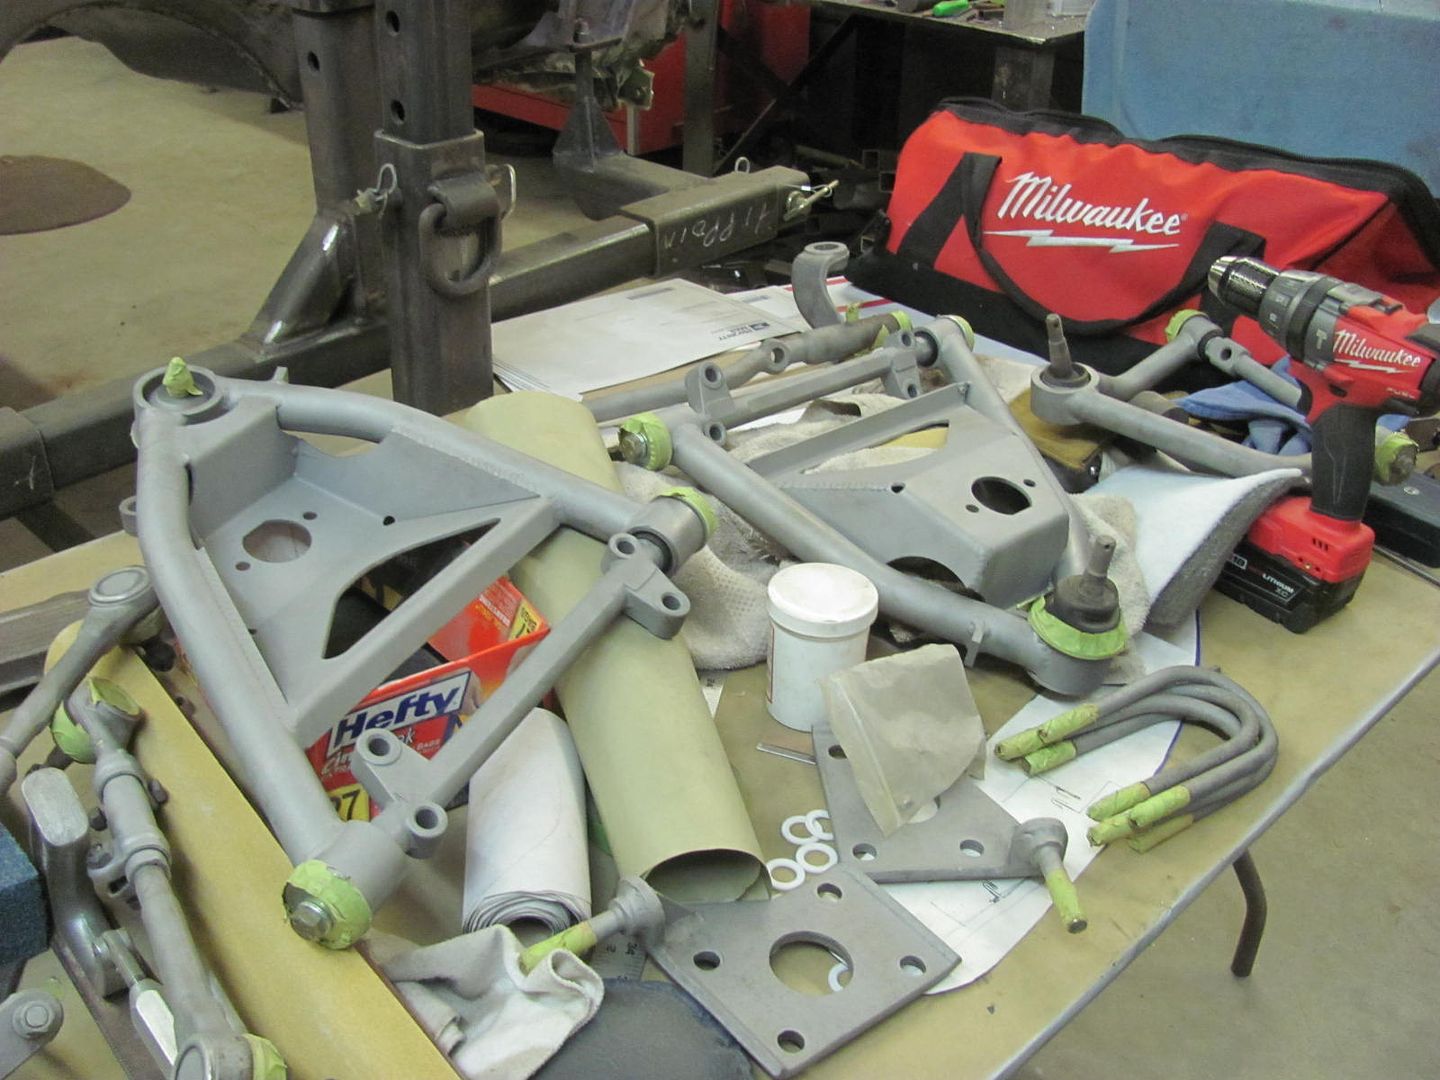
Re: 55 Wagon Progress
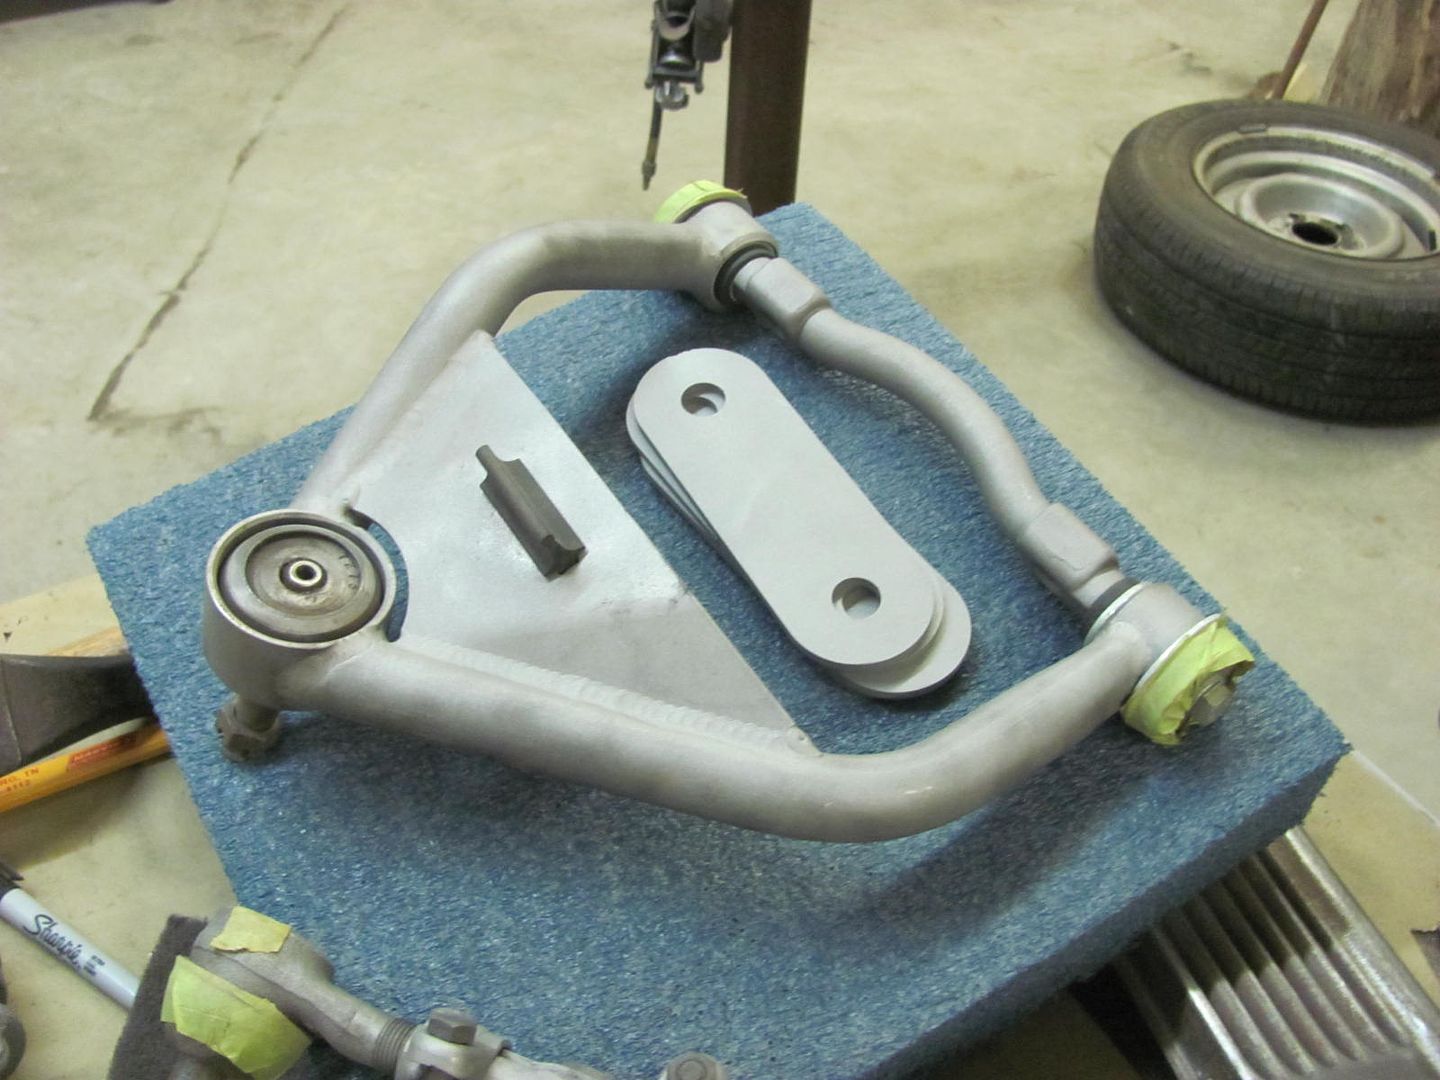
We've been waiting for an opening at the machine shop's blasting booth, we're going to get the frame done first. They have some large platform in there now for the US Navy, so it looks like another couple weeks.. So in the meantime, Kyle has been prepping some front end components for paint..
 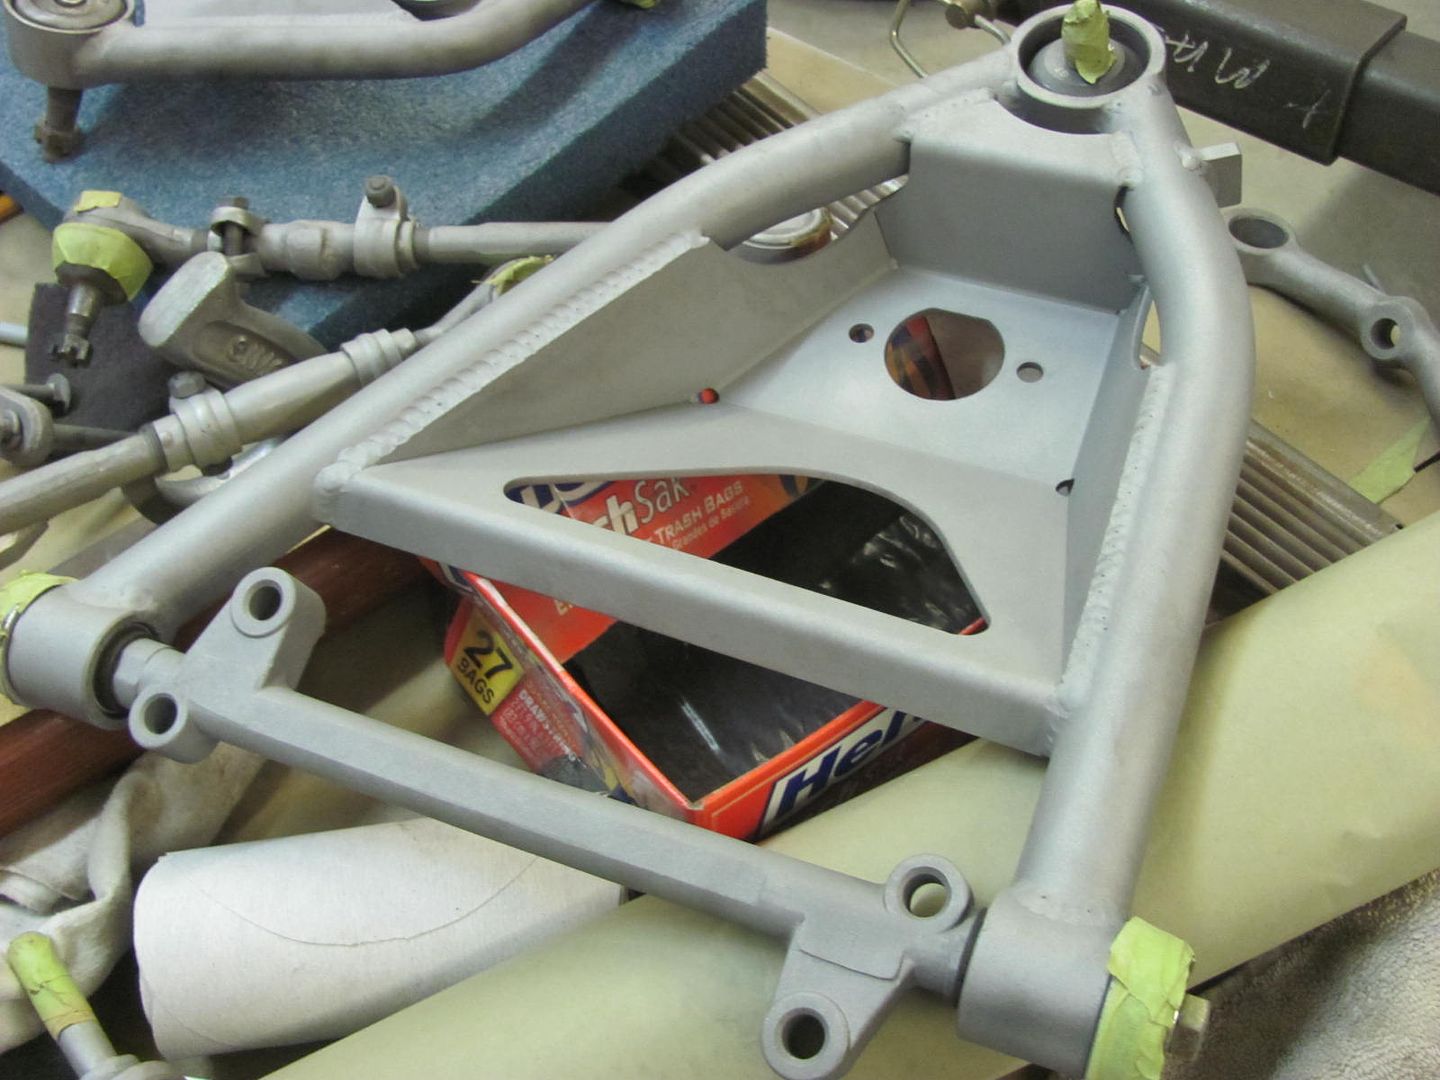   ......and we should have this showing up tomorrow, need to get some metal cut out of the side and new replacement made up...
__________________
Robert |
|
|
|
|
12-05-2015, 10:24 PM
|
#570 |
|
Registered User
Join Date: Jan 2013
Location: Leonardtown, MD
Posts: 1,635
|
Re: 55 Wagon Progress
Here's what we had to contend with on the bus. Some can opener effect going on....
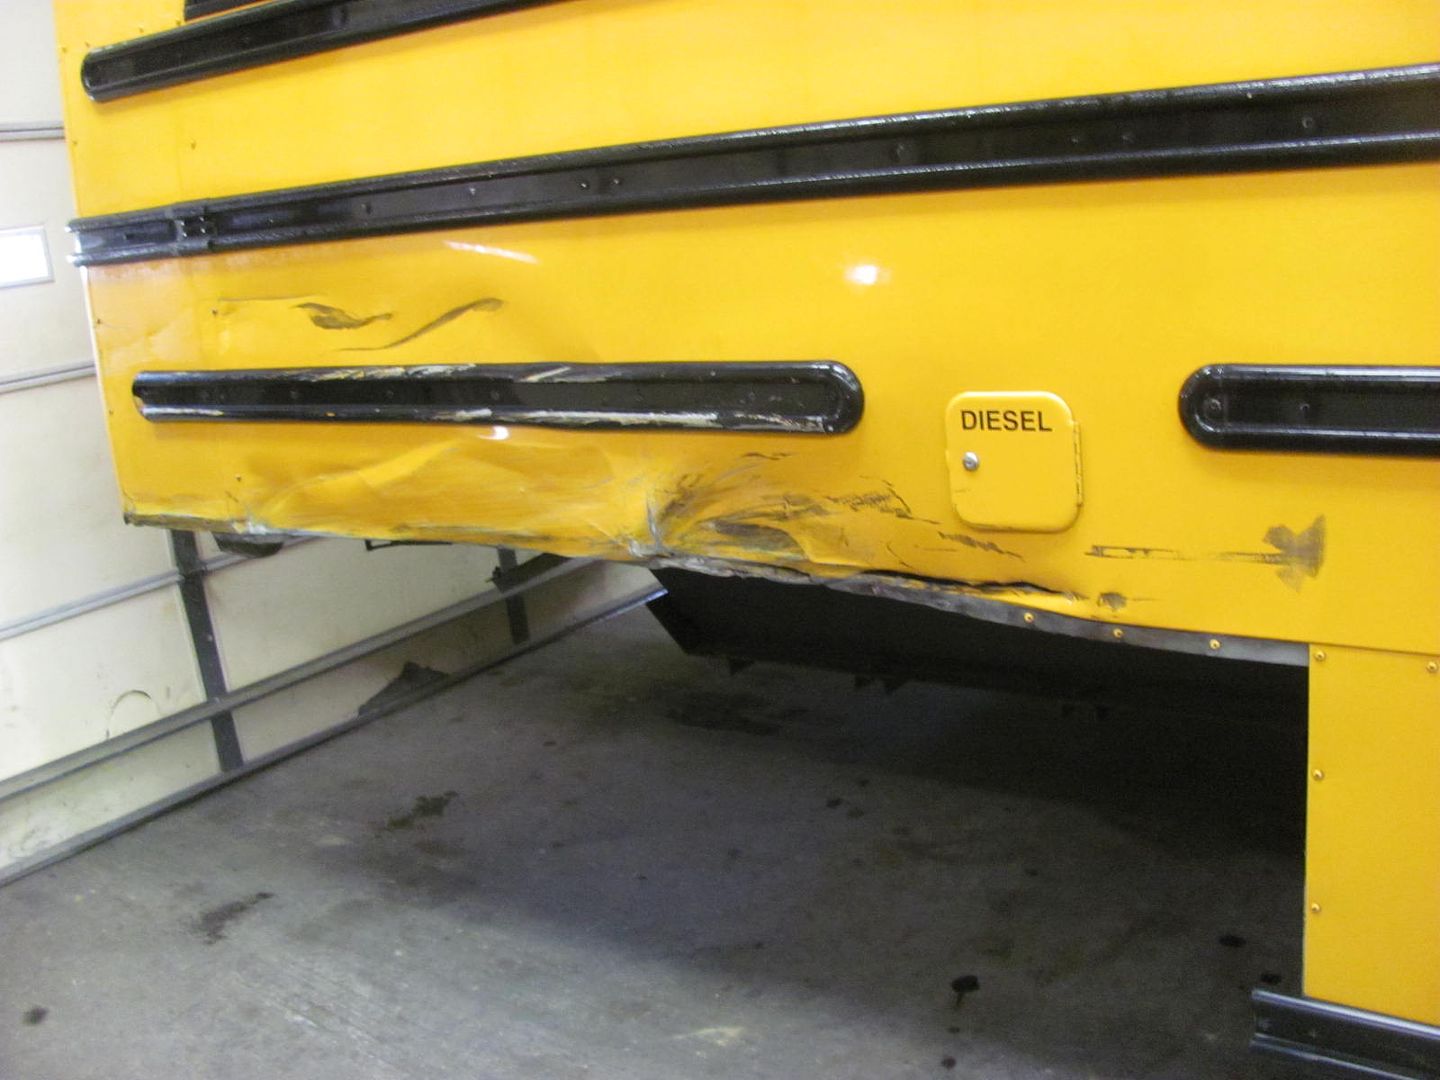  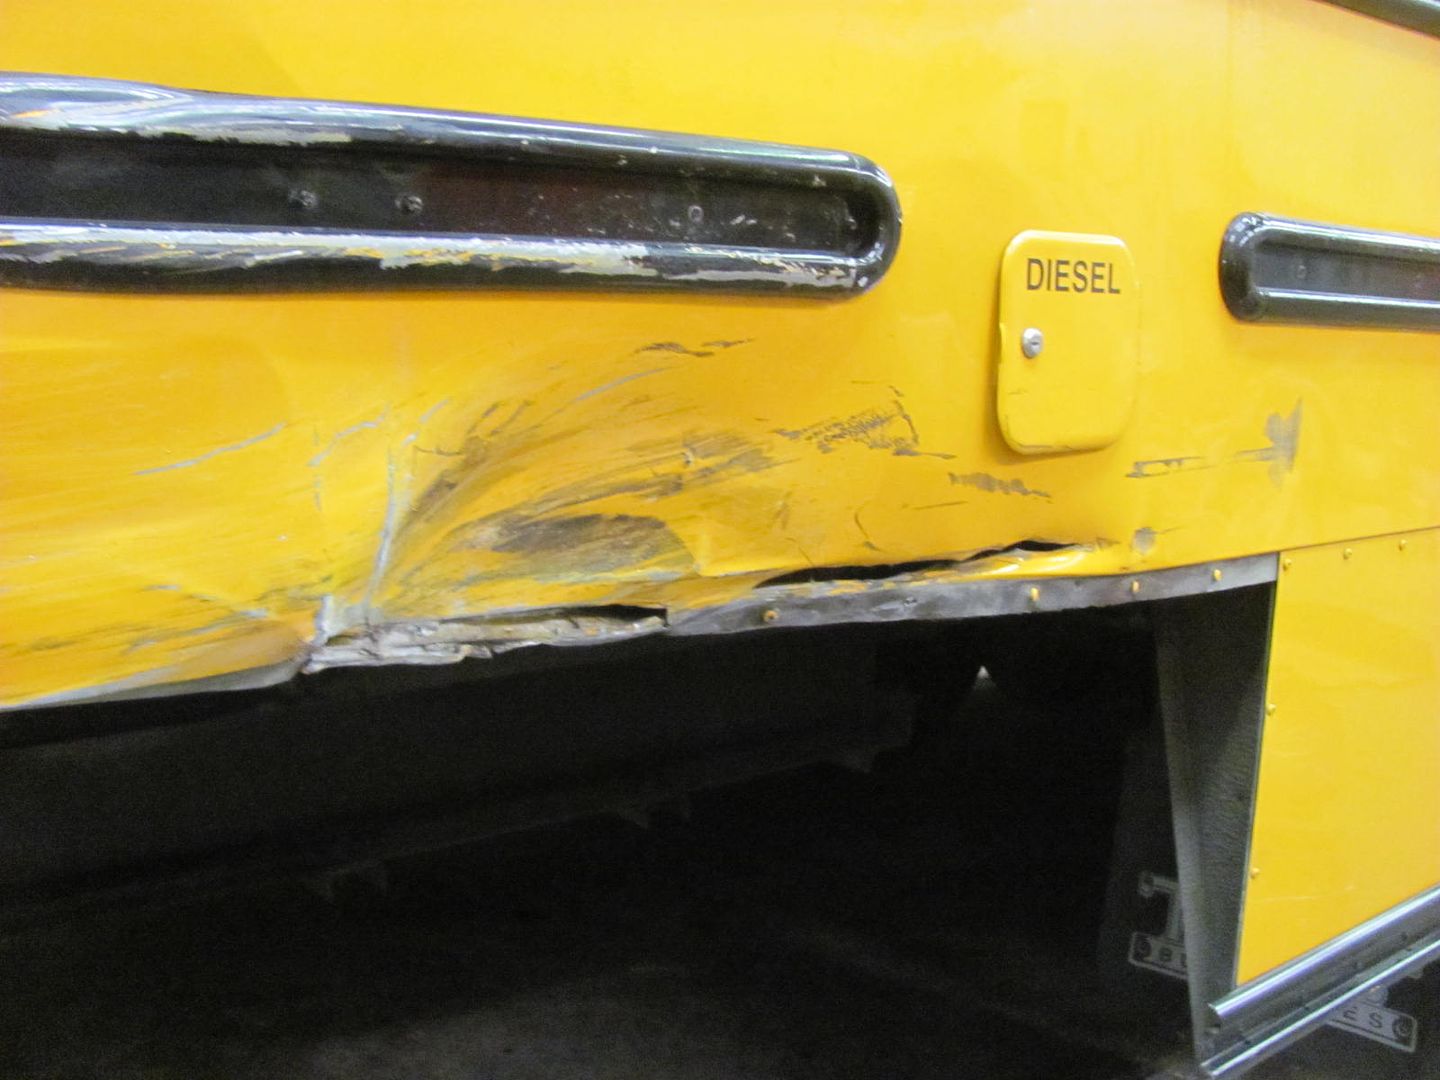 After cutting some of the mangled mess out of the way.........  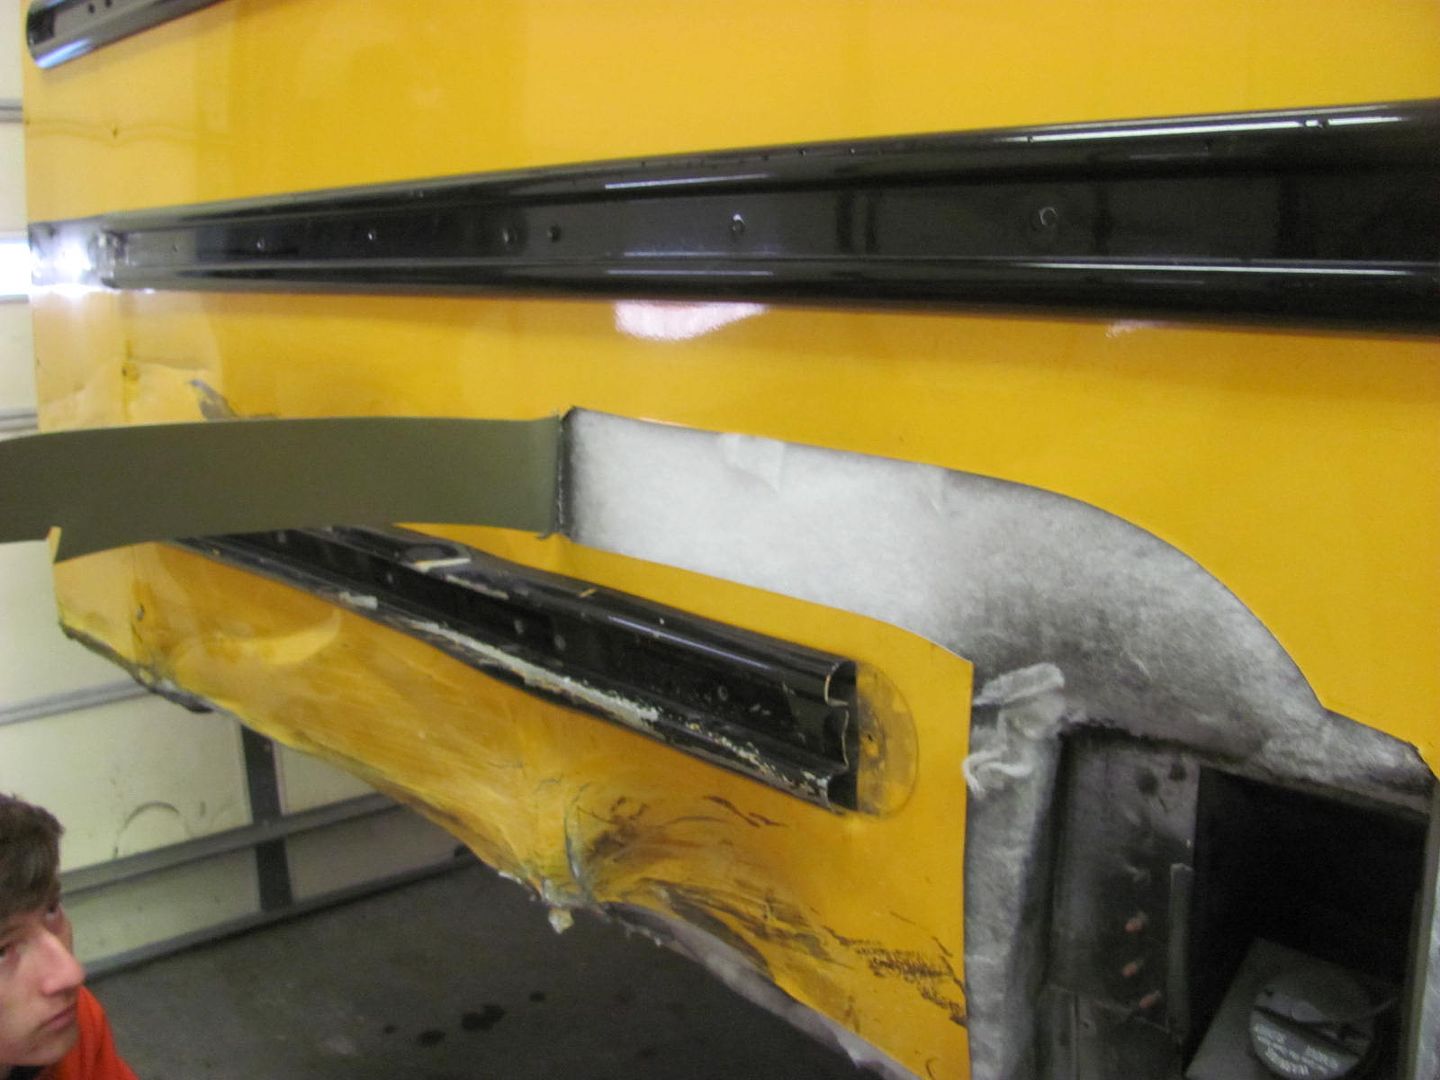  ......we saw that the bottom structural member was not going to cooperate. The horizontal section behind the weld tear at the top used to be vertical... So to save some time, we'll cut this out and make a replacement. This is 16 ga, and is there to keep vehicles out of the passenger compartment. It did it's job, so let's put in a new one to restore the integrity.. 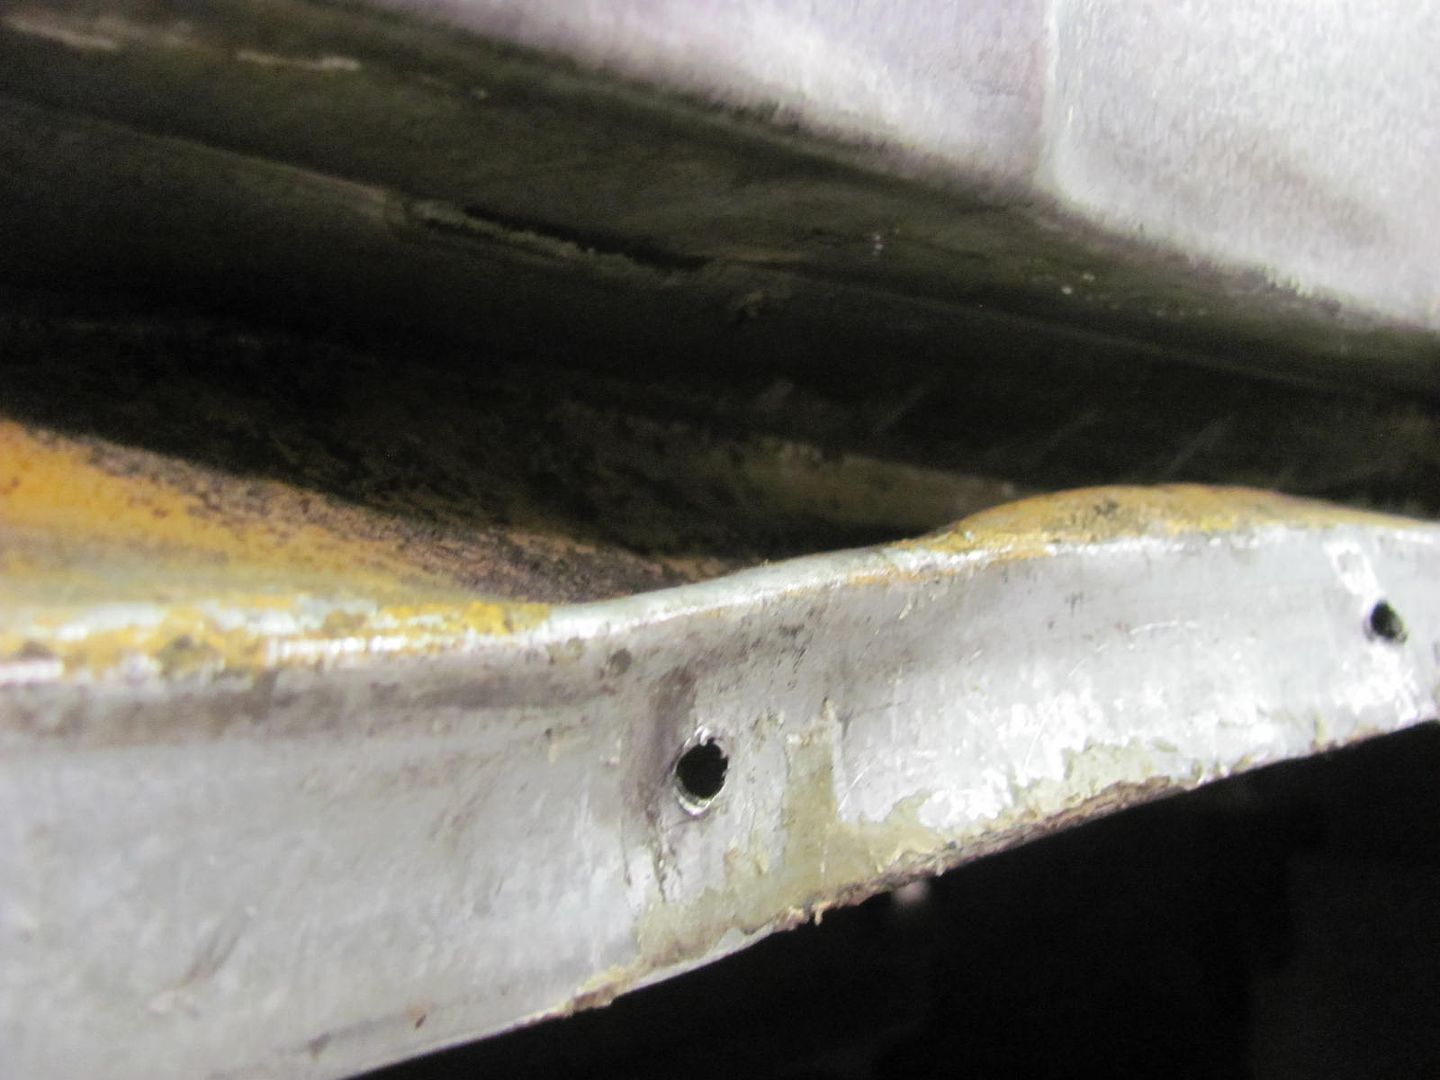 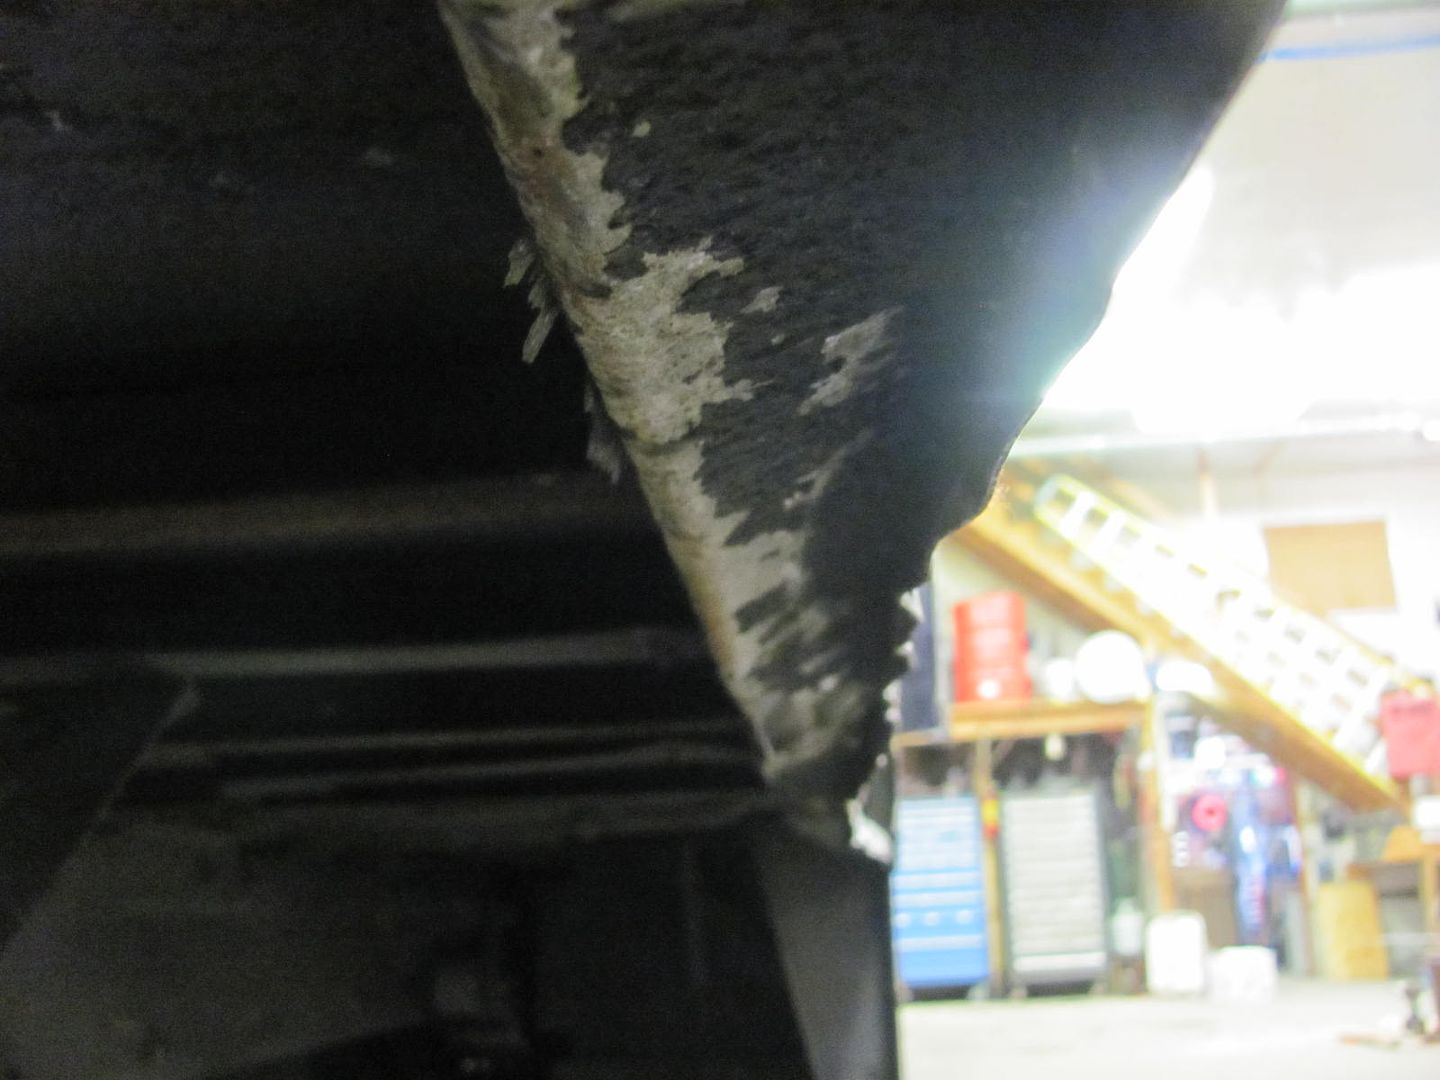 Here the bottom flange is pushed in over an inch..  Here's the replacement we made up.. 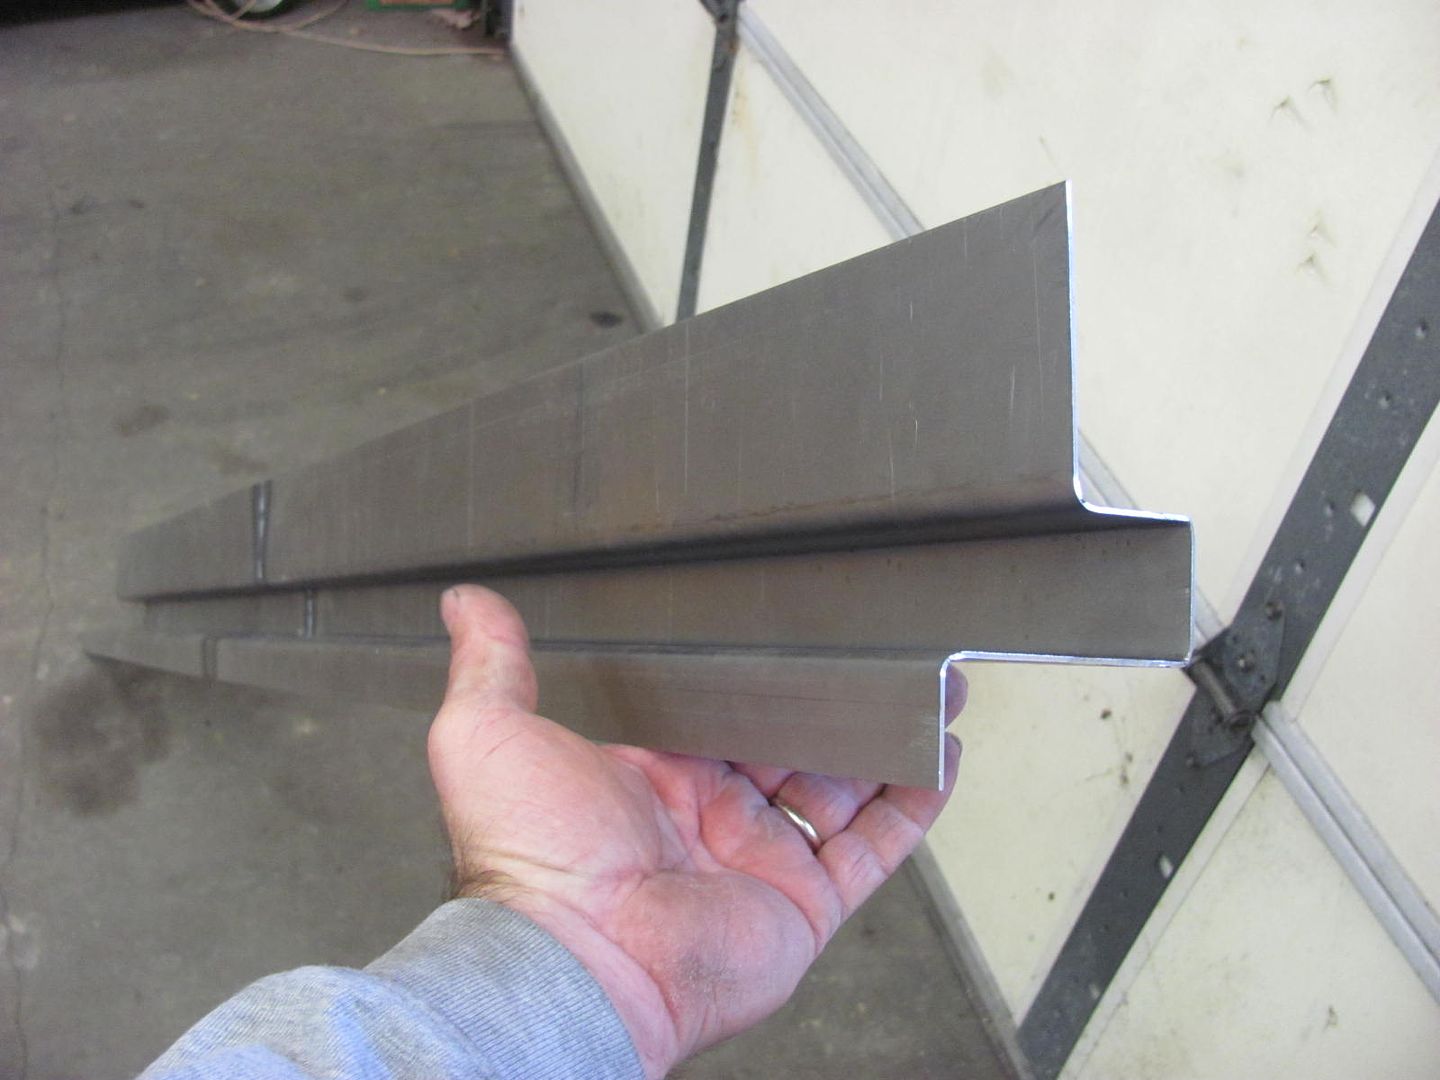 Comparison.... 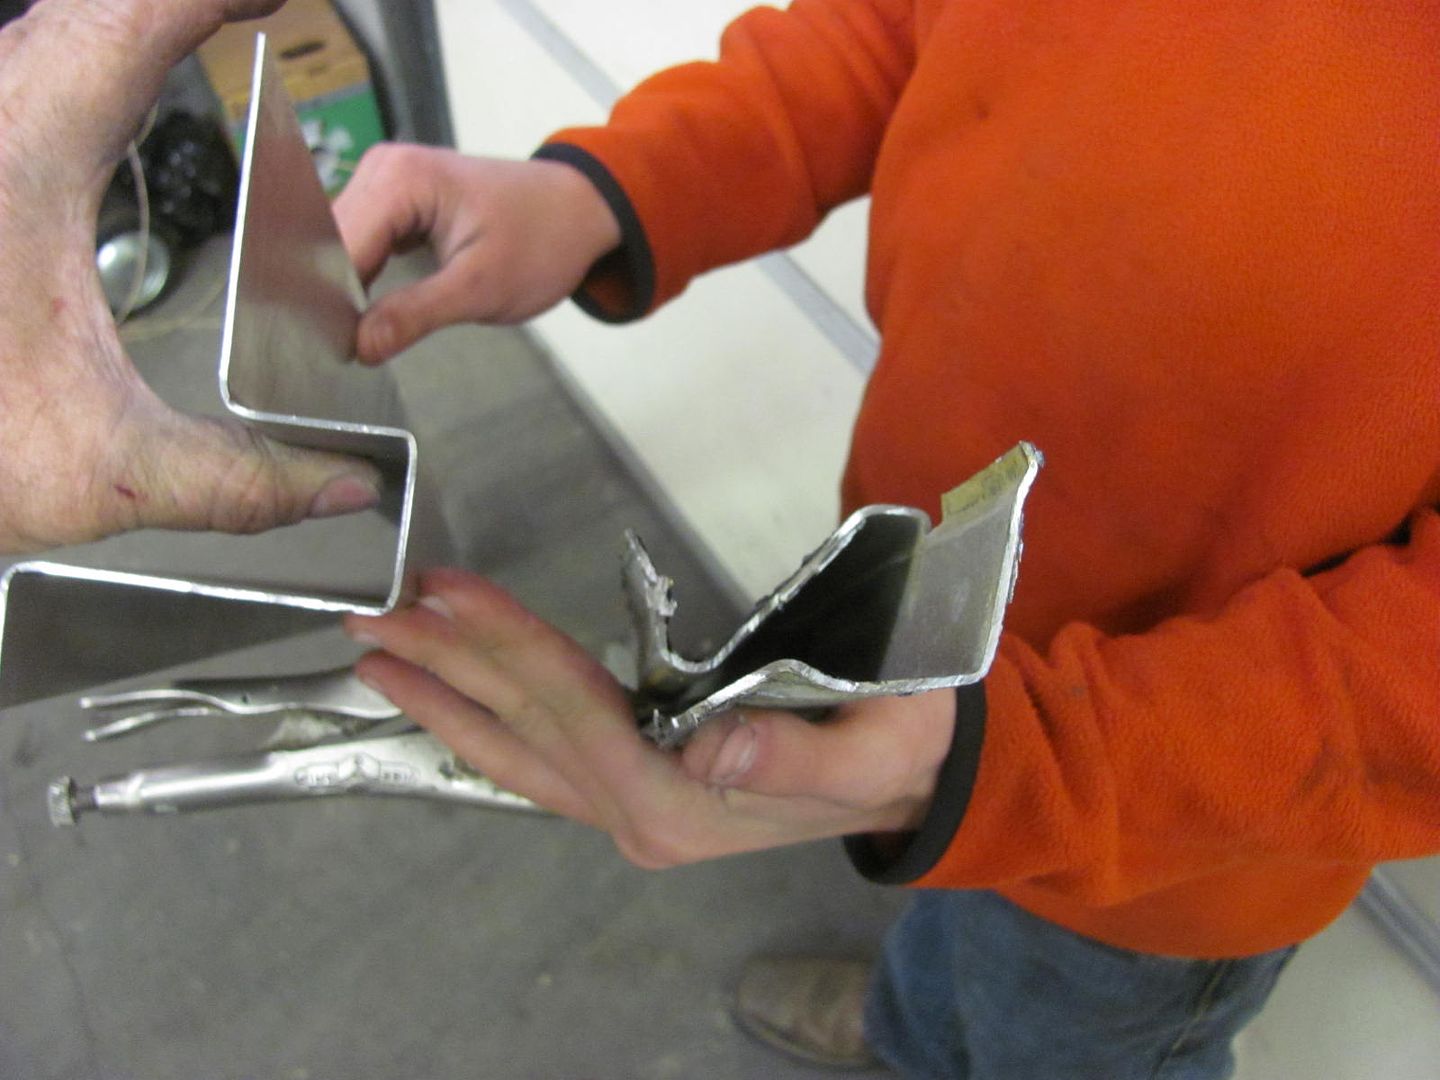 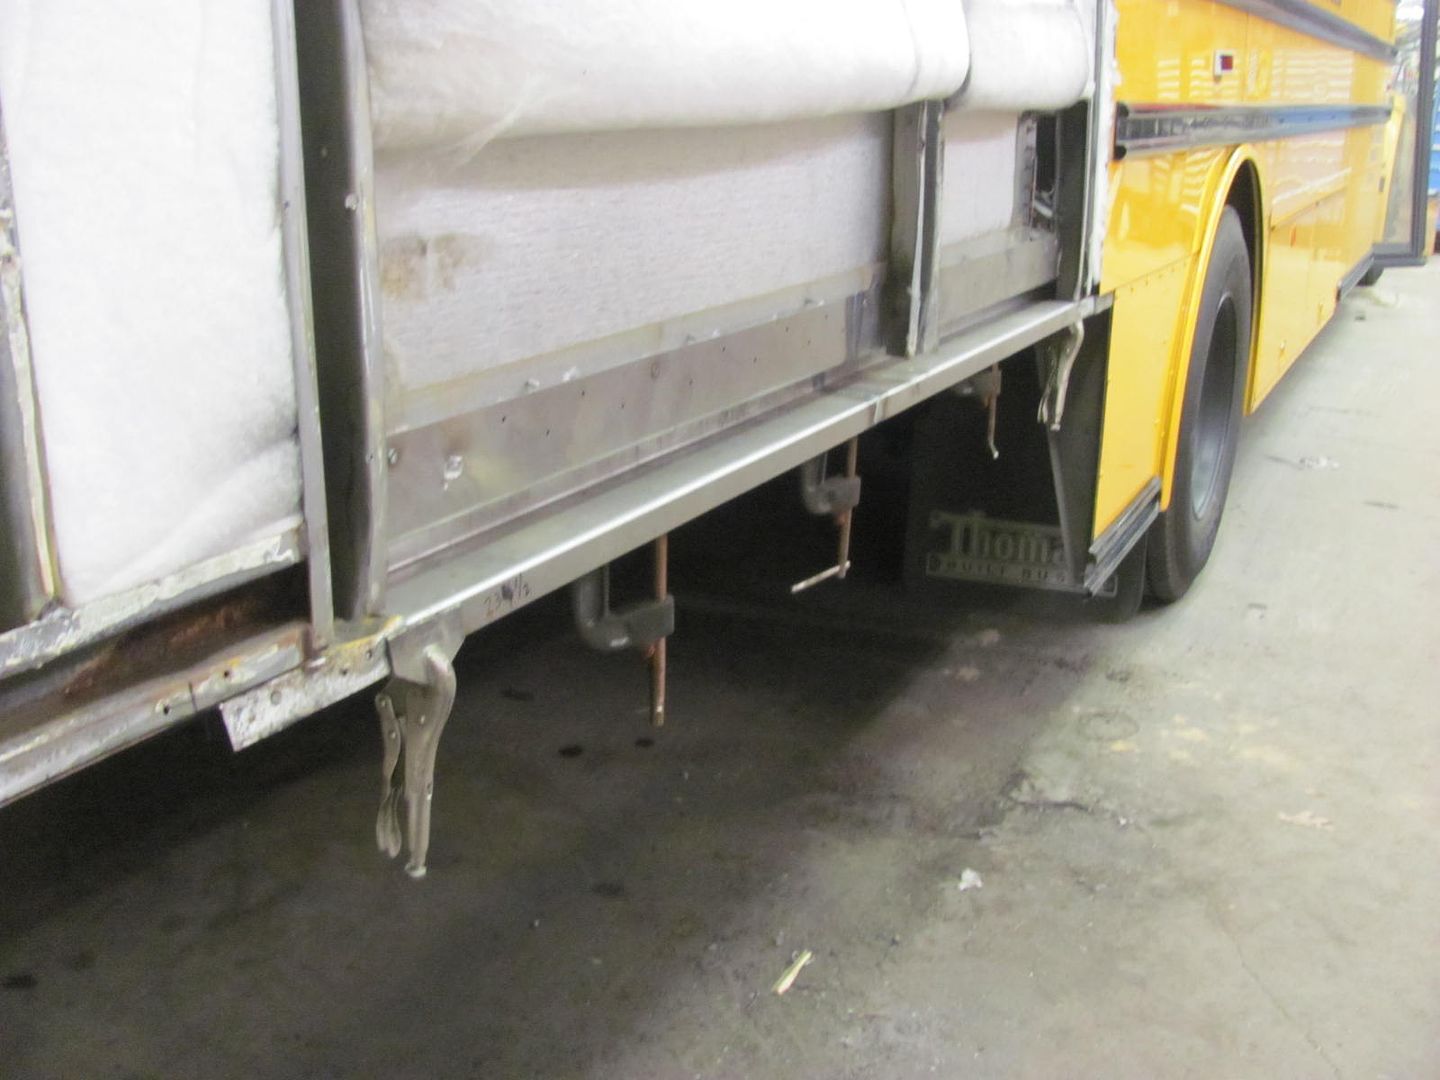 All trimmed, we'll get the replacement panel formed and fitted Tuesday.. 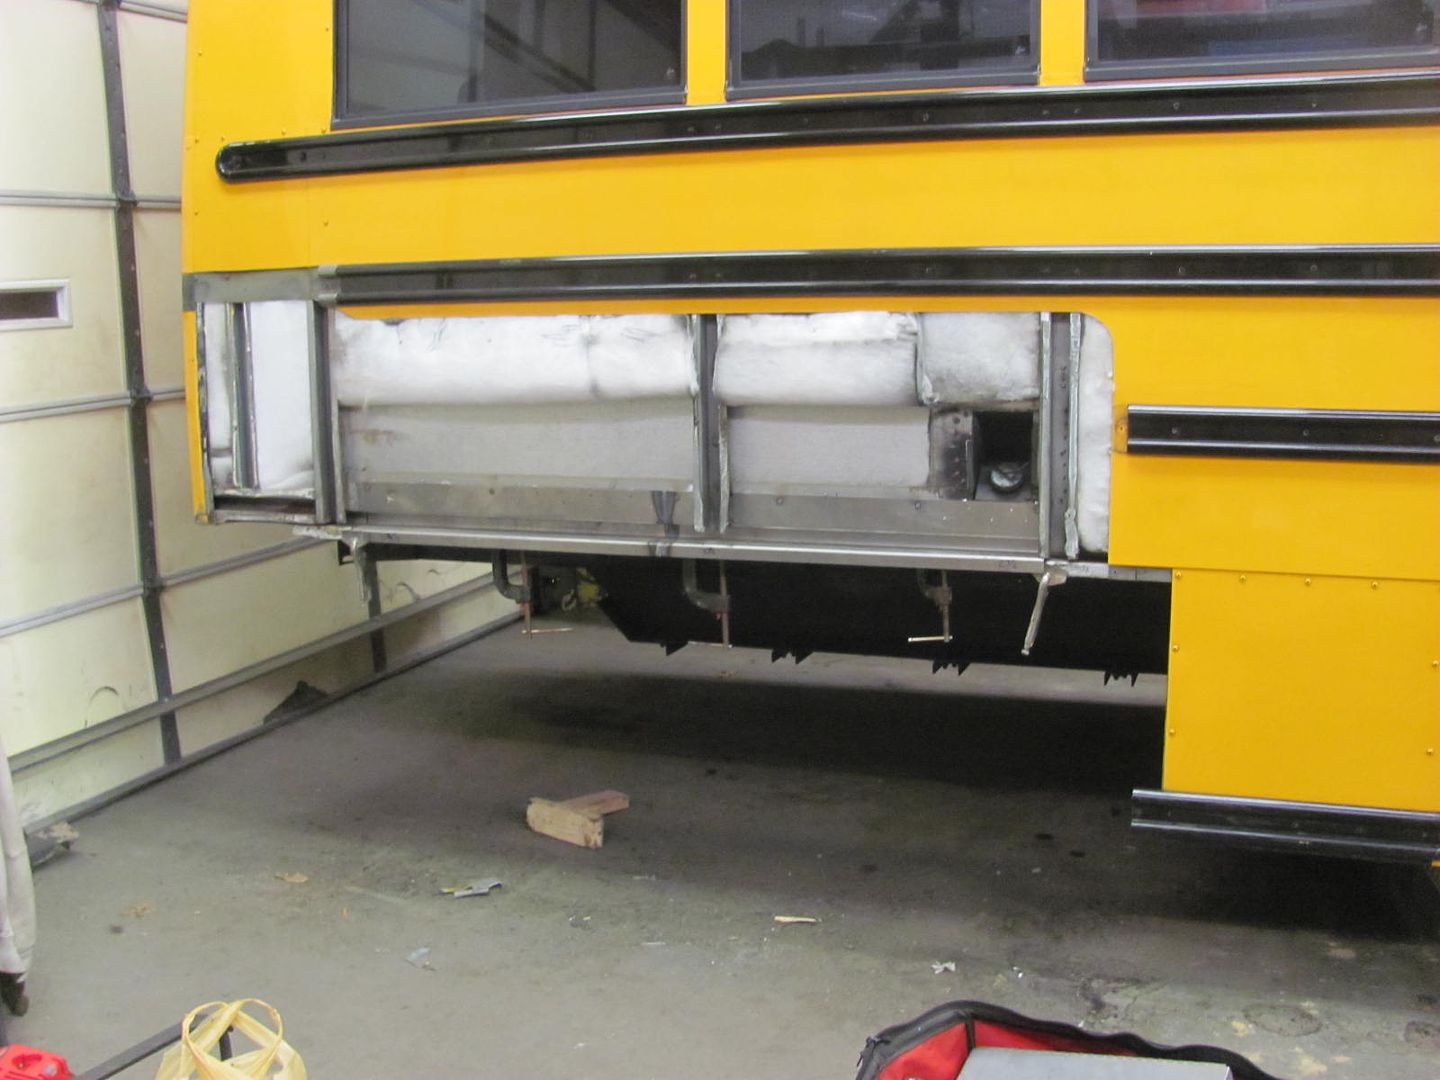 Spare parts... 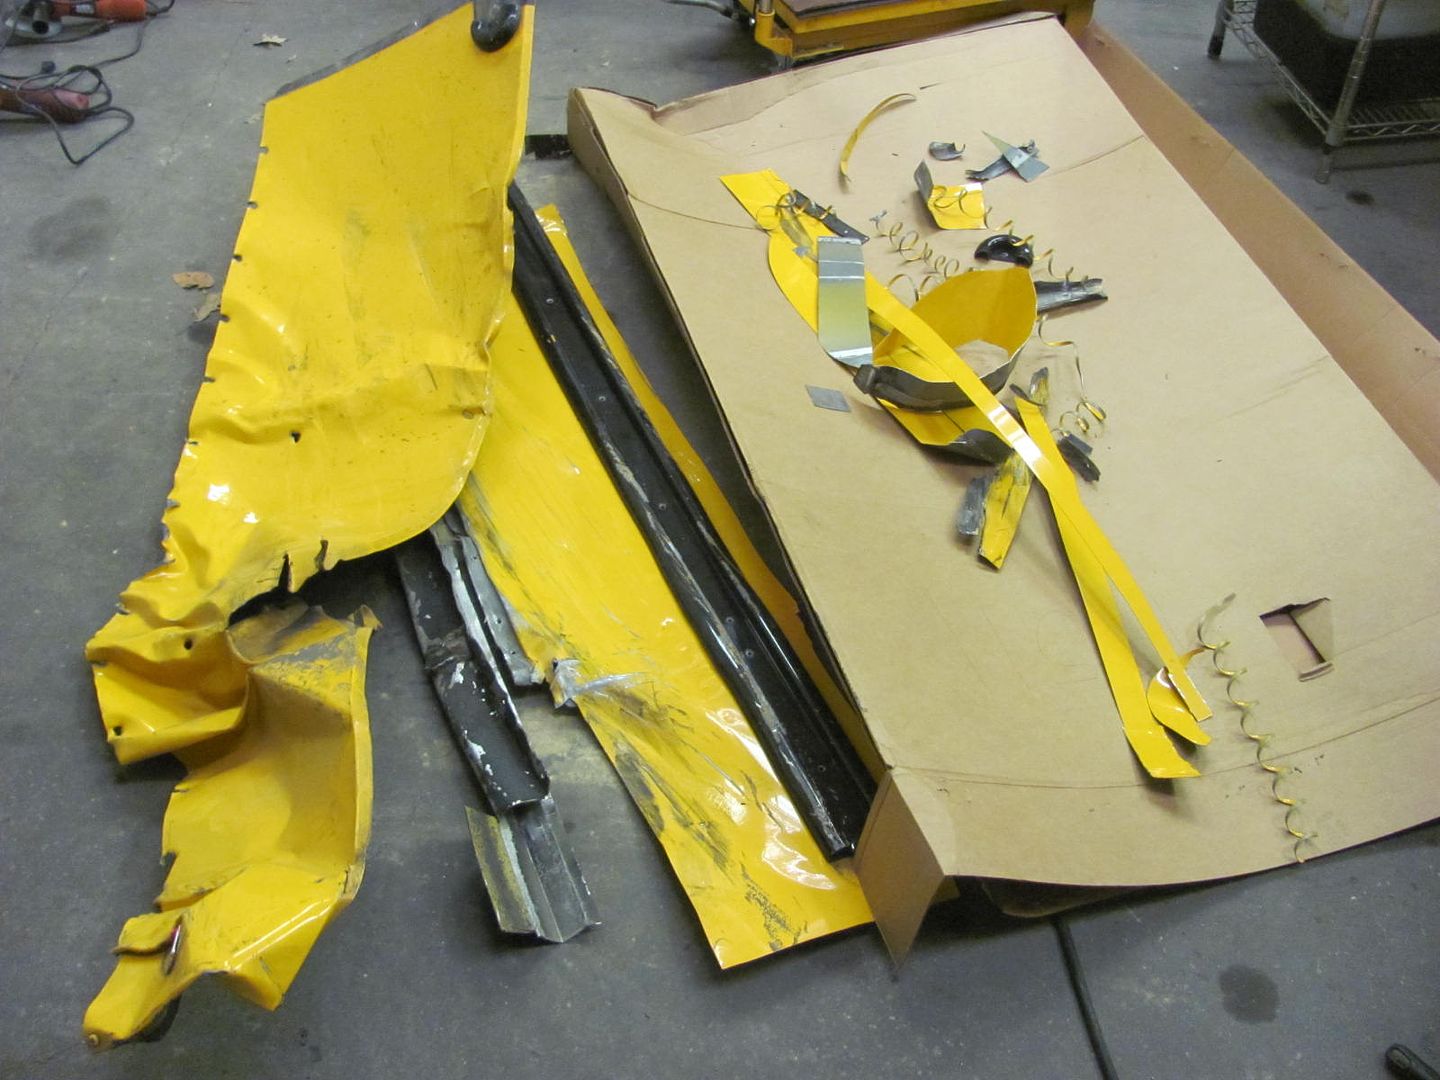
__________________
Robert |
|
|
|
|
12-08-2015, 12:03 AM
|
#571 |
|
Registered User
Join Date: Jan 2013
Location: Leonardtown, MD
Posts: 1,635
|
Re: 55 Wagon Progress
Well our bus side panel is just shy of 8' long and about 24" wide. We did a light pass on the wheeling machine just enough to break the grain, figured it would have less chance of waves that way... We found out real quick that 8' is a bit long, so some 1x2's were pony-clamped under the outside edges to provide a bit of support. We tried to make a pass through the bead roller for the stepped flange at the bottom, with less than stellar results, a bit wavy up and down. Good thing we had the other half of the sheet. More wheeling, and used the offset / step dies in the Lennox Tru-Edge.
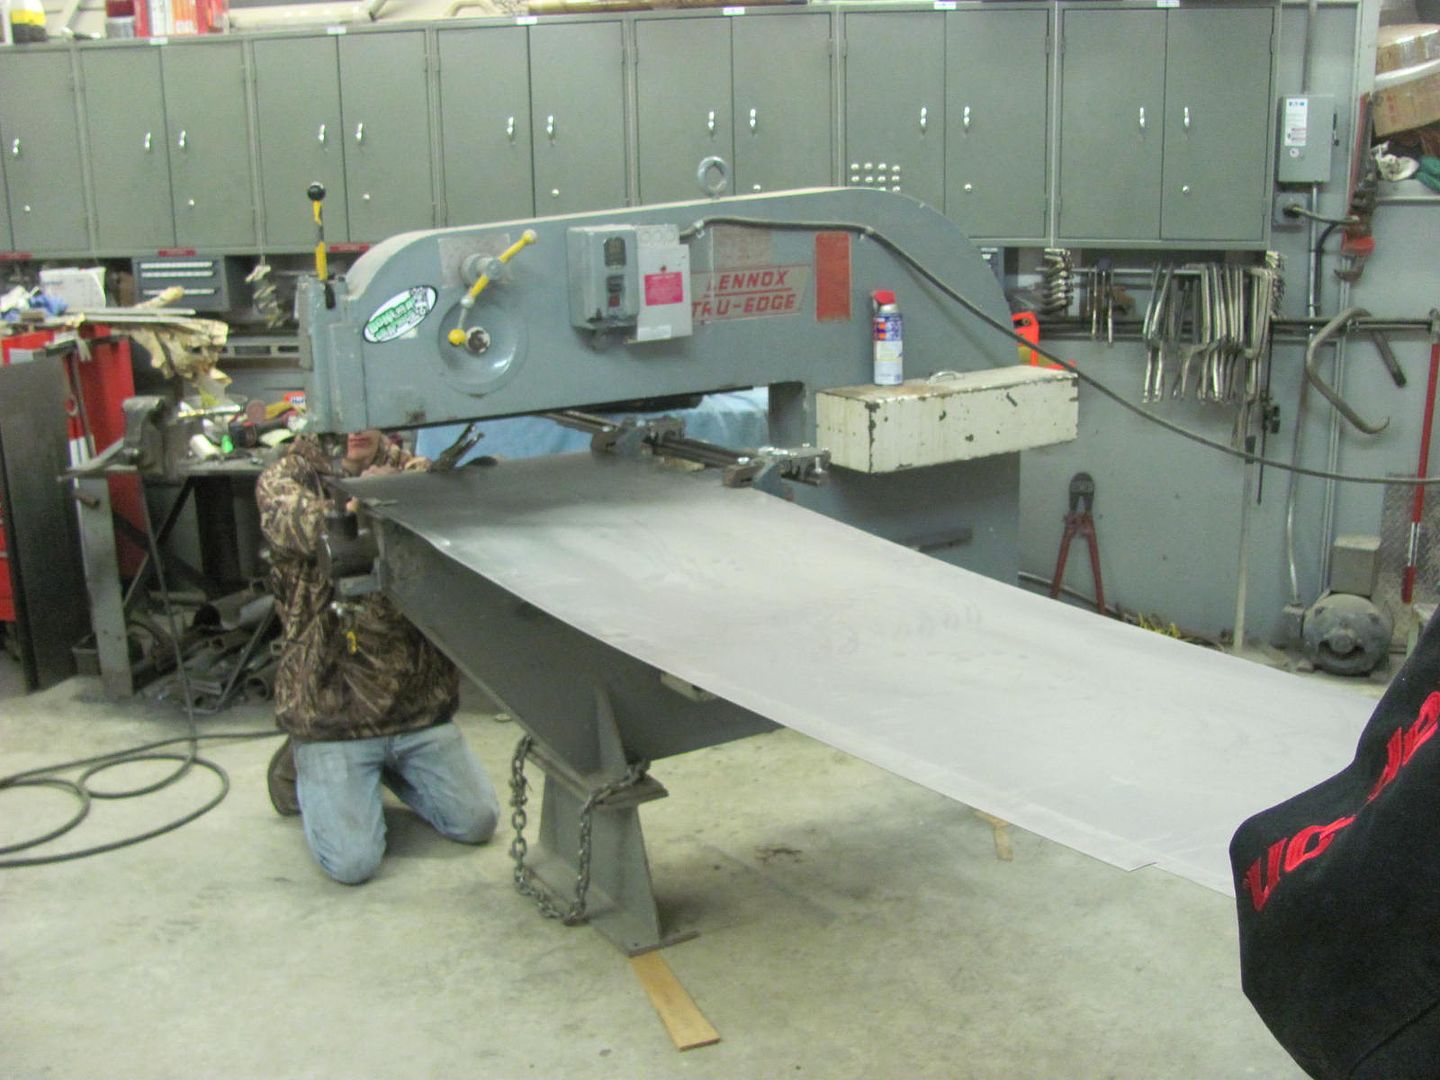 Given our challenges with the long panels, we had to call in reinforcements. Regardless of the late hour that Scott's attire suggests, it was only 8 at night! 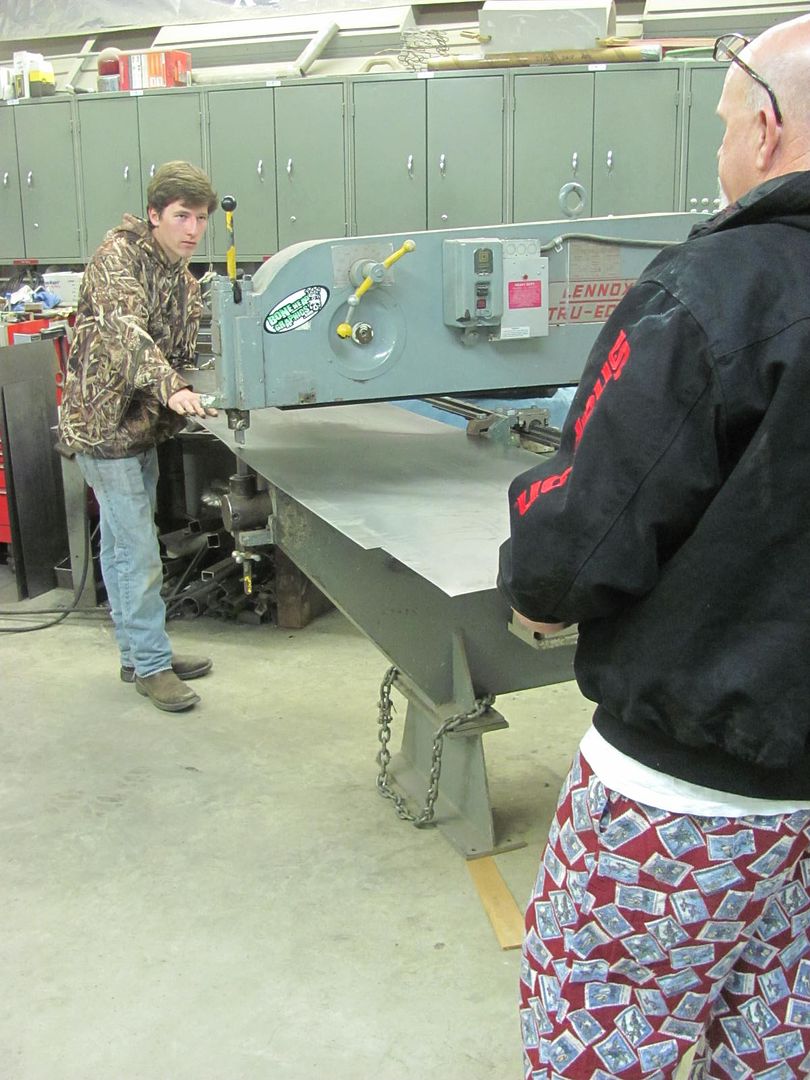 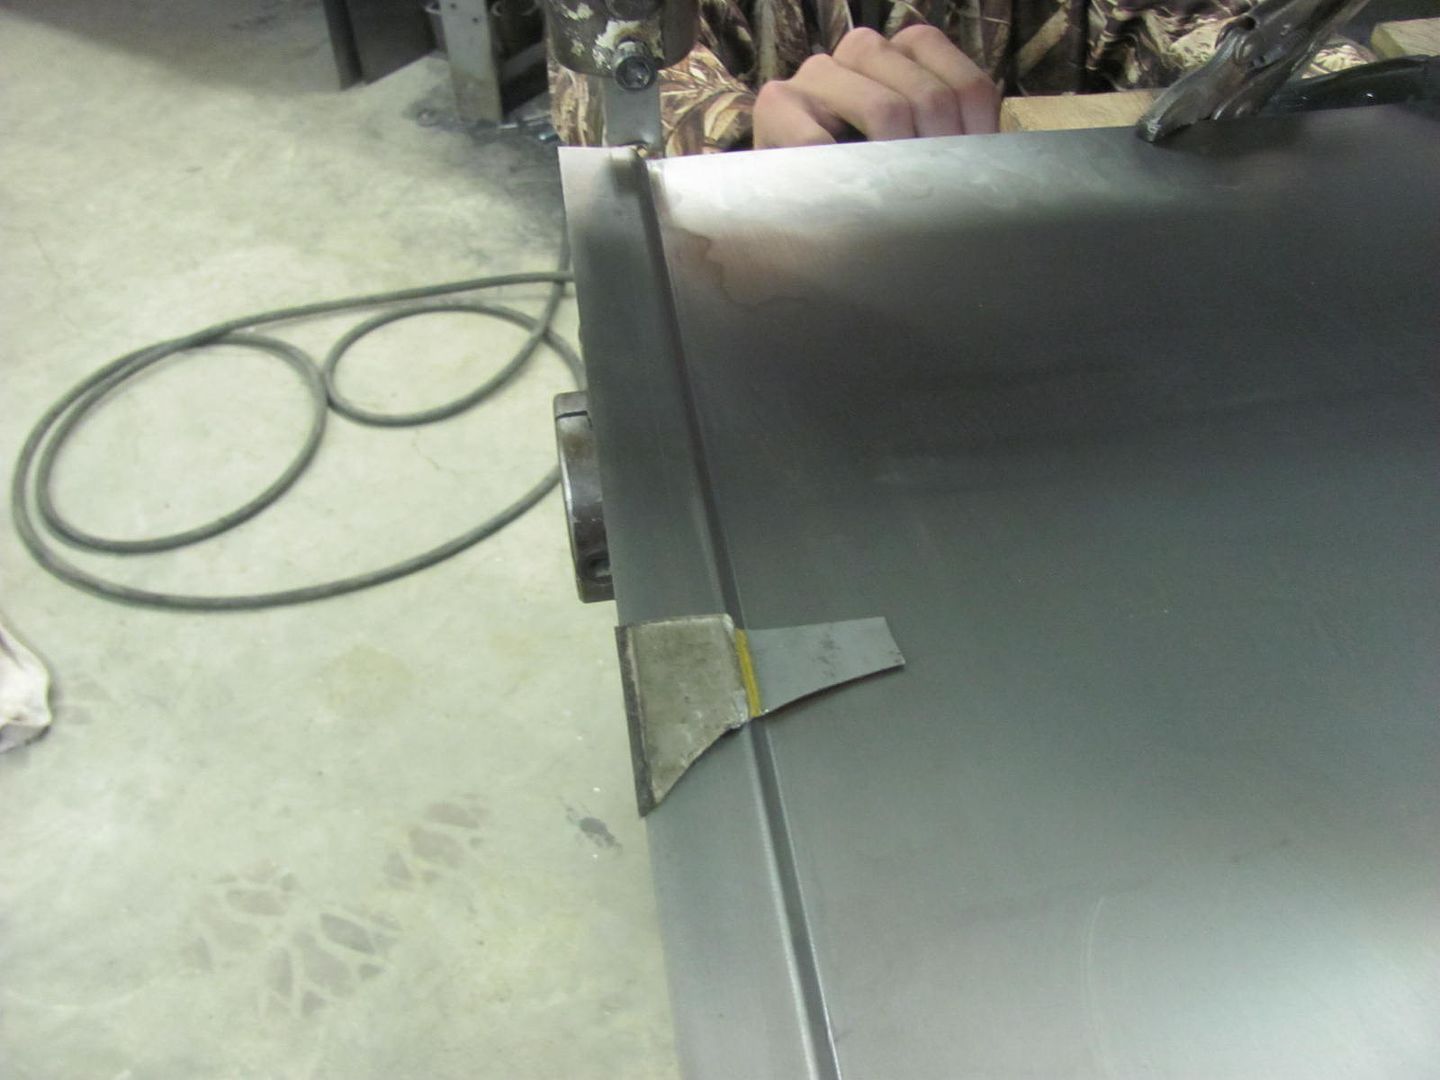 Linear slides really came in handy, nice straight detail this go round.. 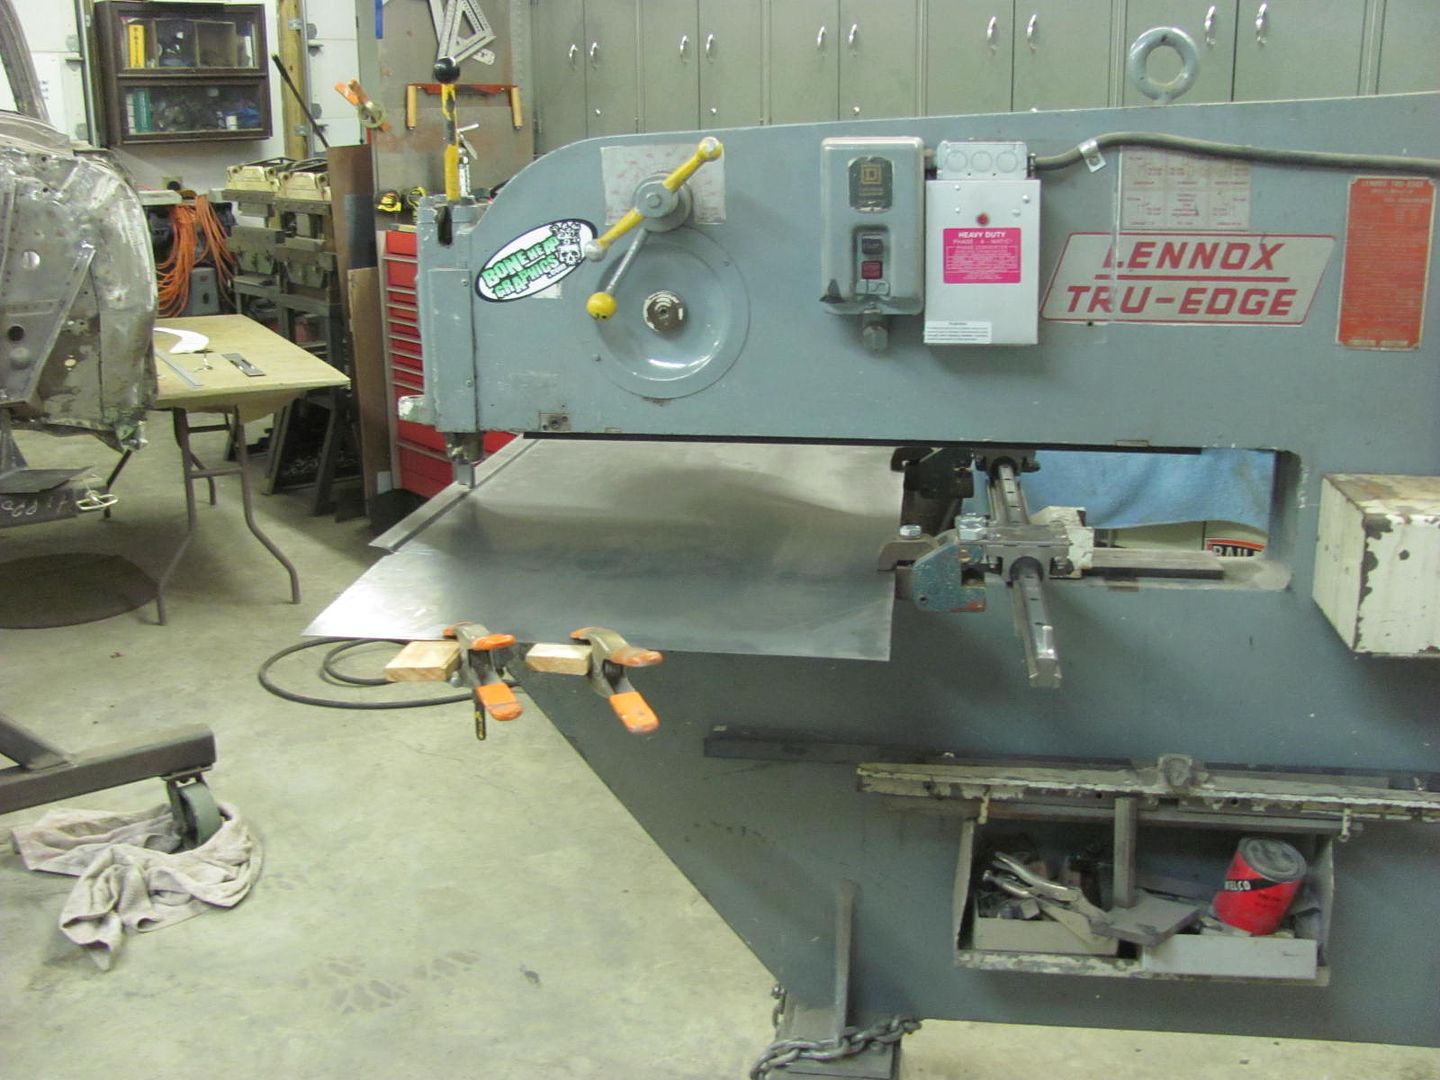 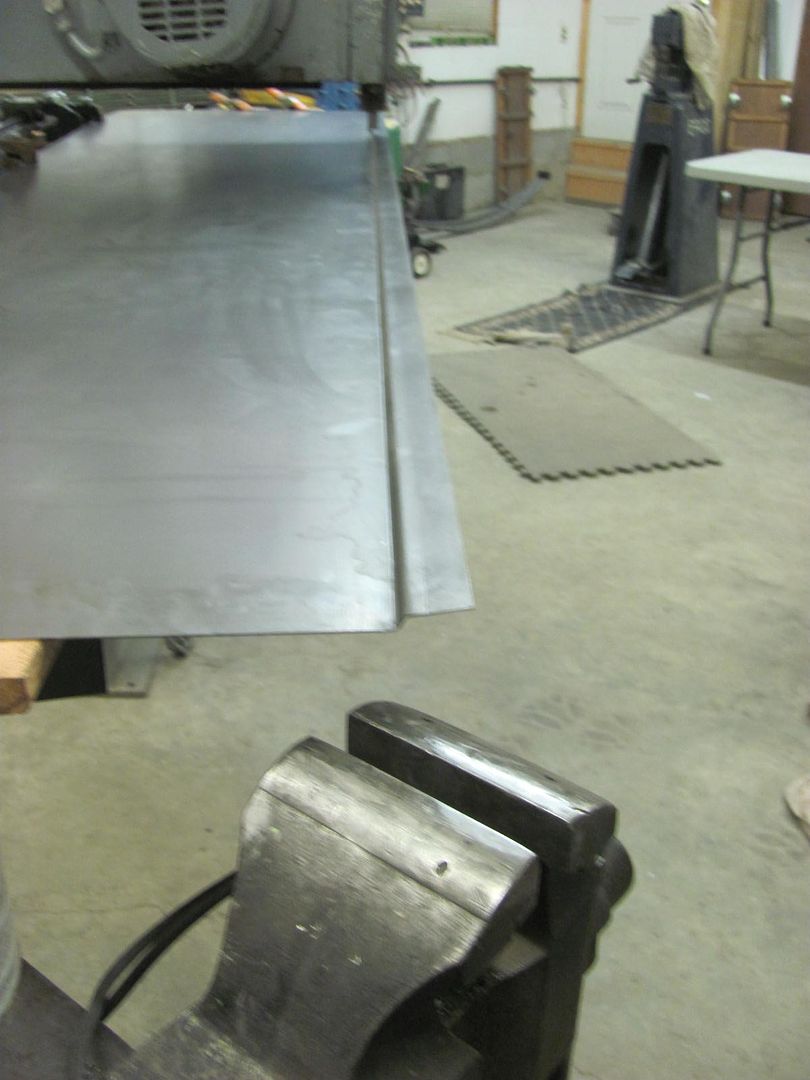 Comparing the bend relief above the rear bumper ear... 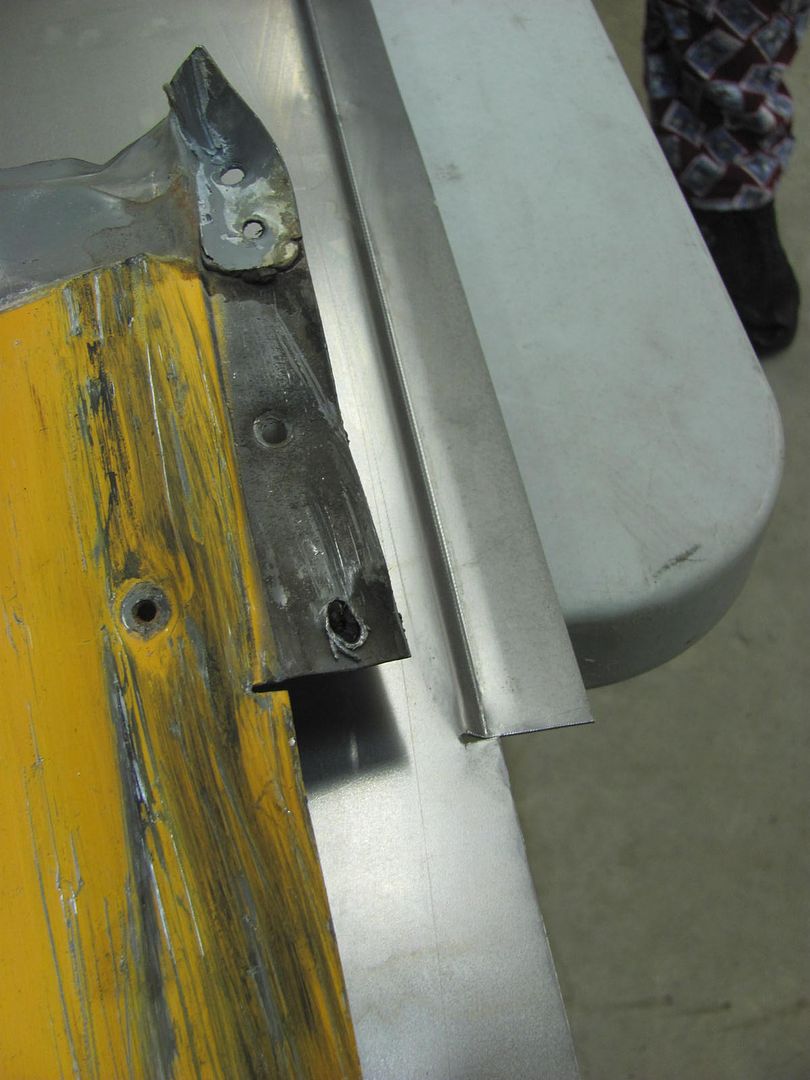 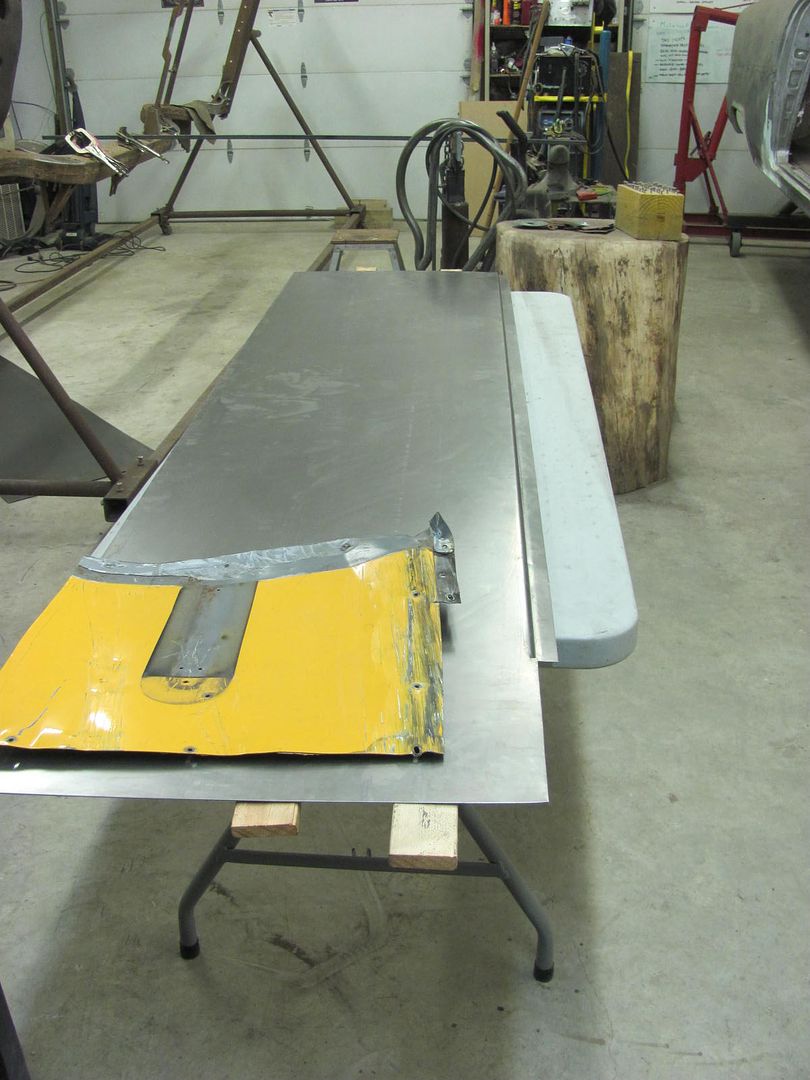 Tomorrow evening well get it fitted to the bus and final trimmed..
__________________
Robert |
|
|
|
|
12-09-2015, 12:22 AM
|
#572 |
|
Registered User
Join Date: Jan 2013
Location: Leonardtown, MD
Posts: 1,635
|
Re: 55 Wagon Progress
Finished the welding of the lower structural member on the bus repair...
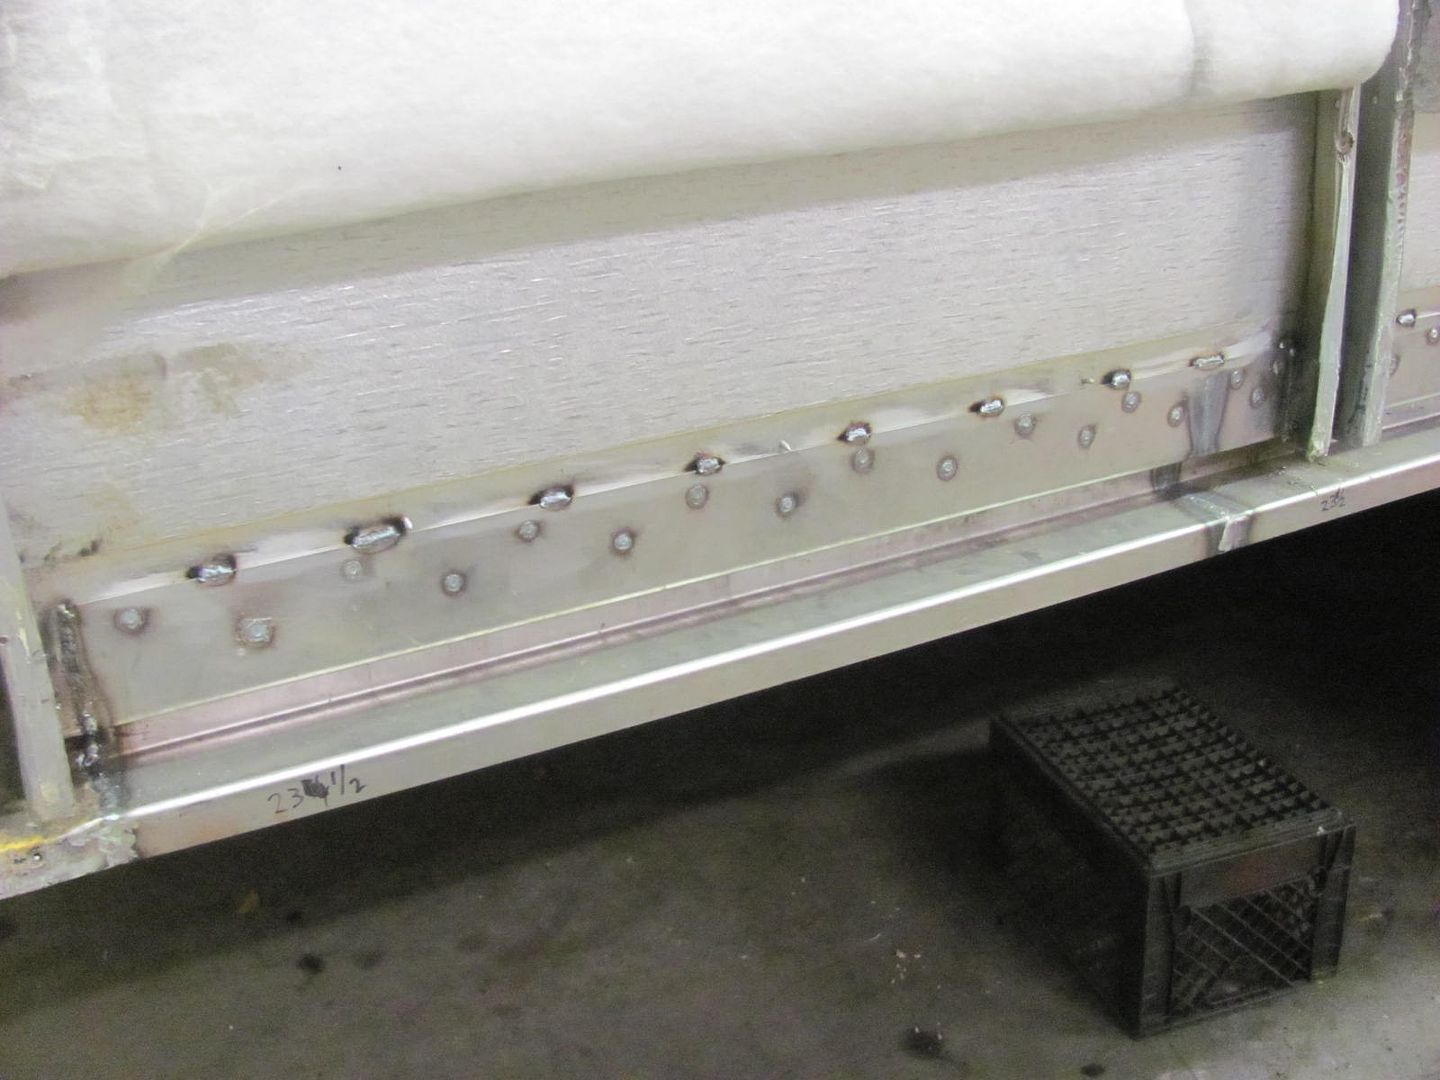 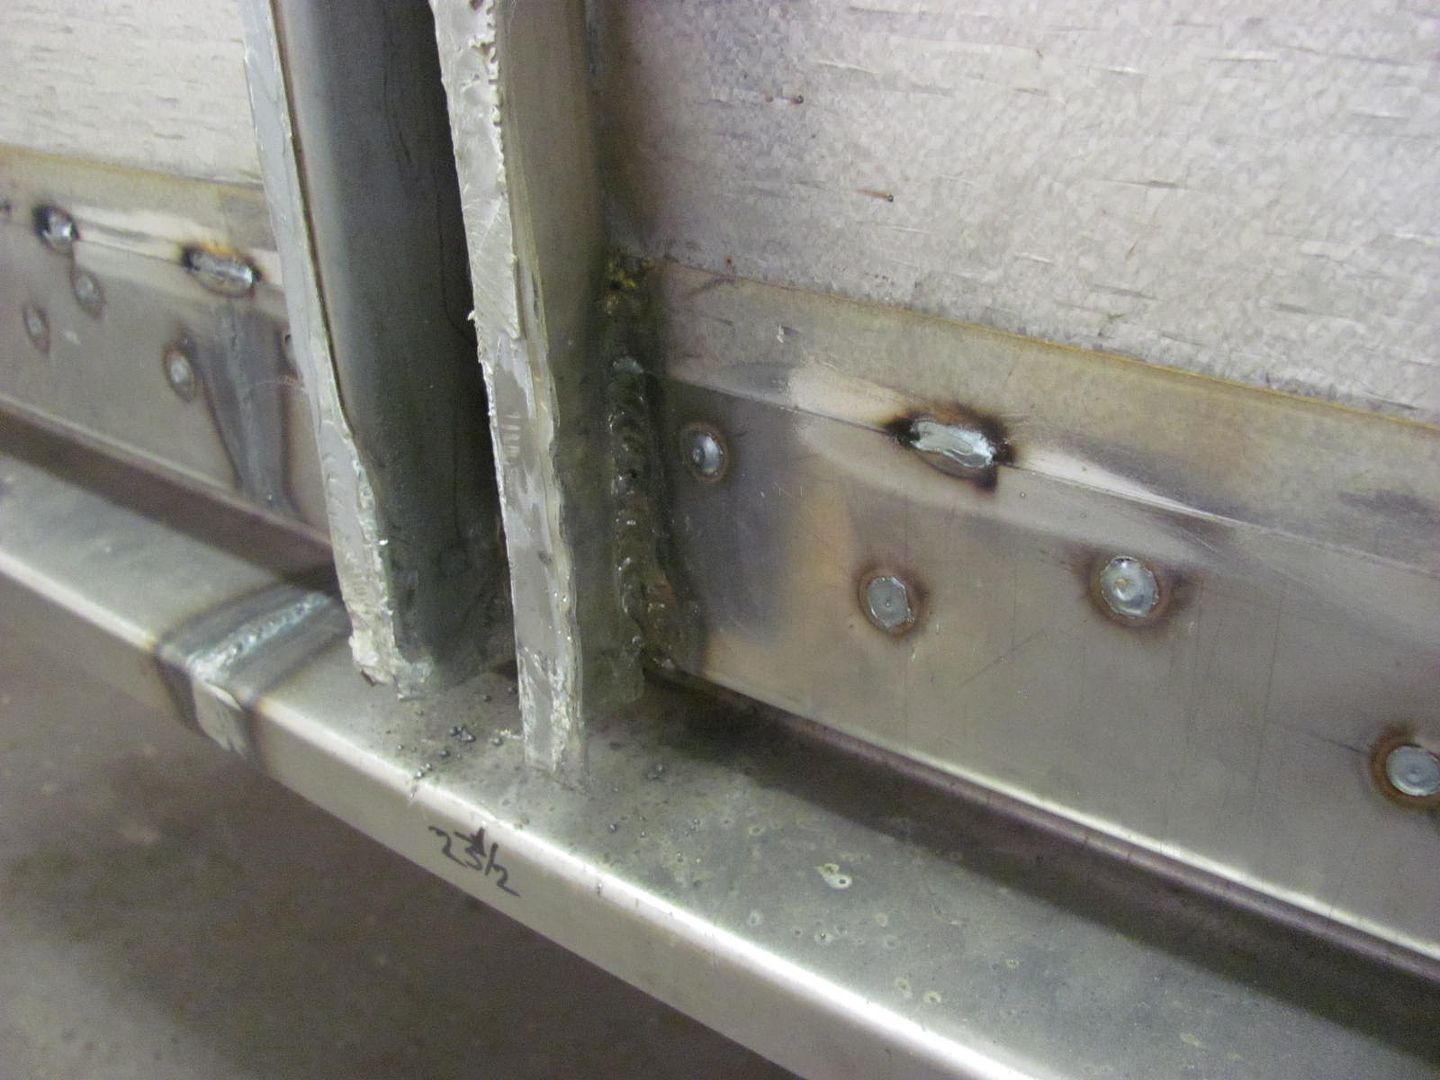 .....and underneath it is tied to the floor cross members 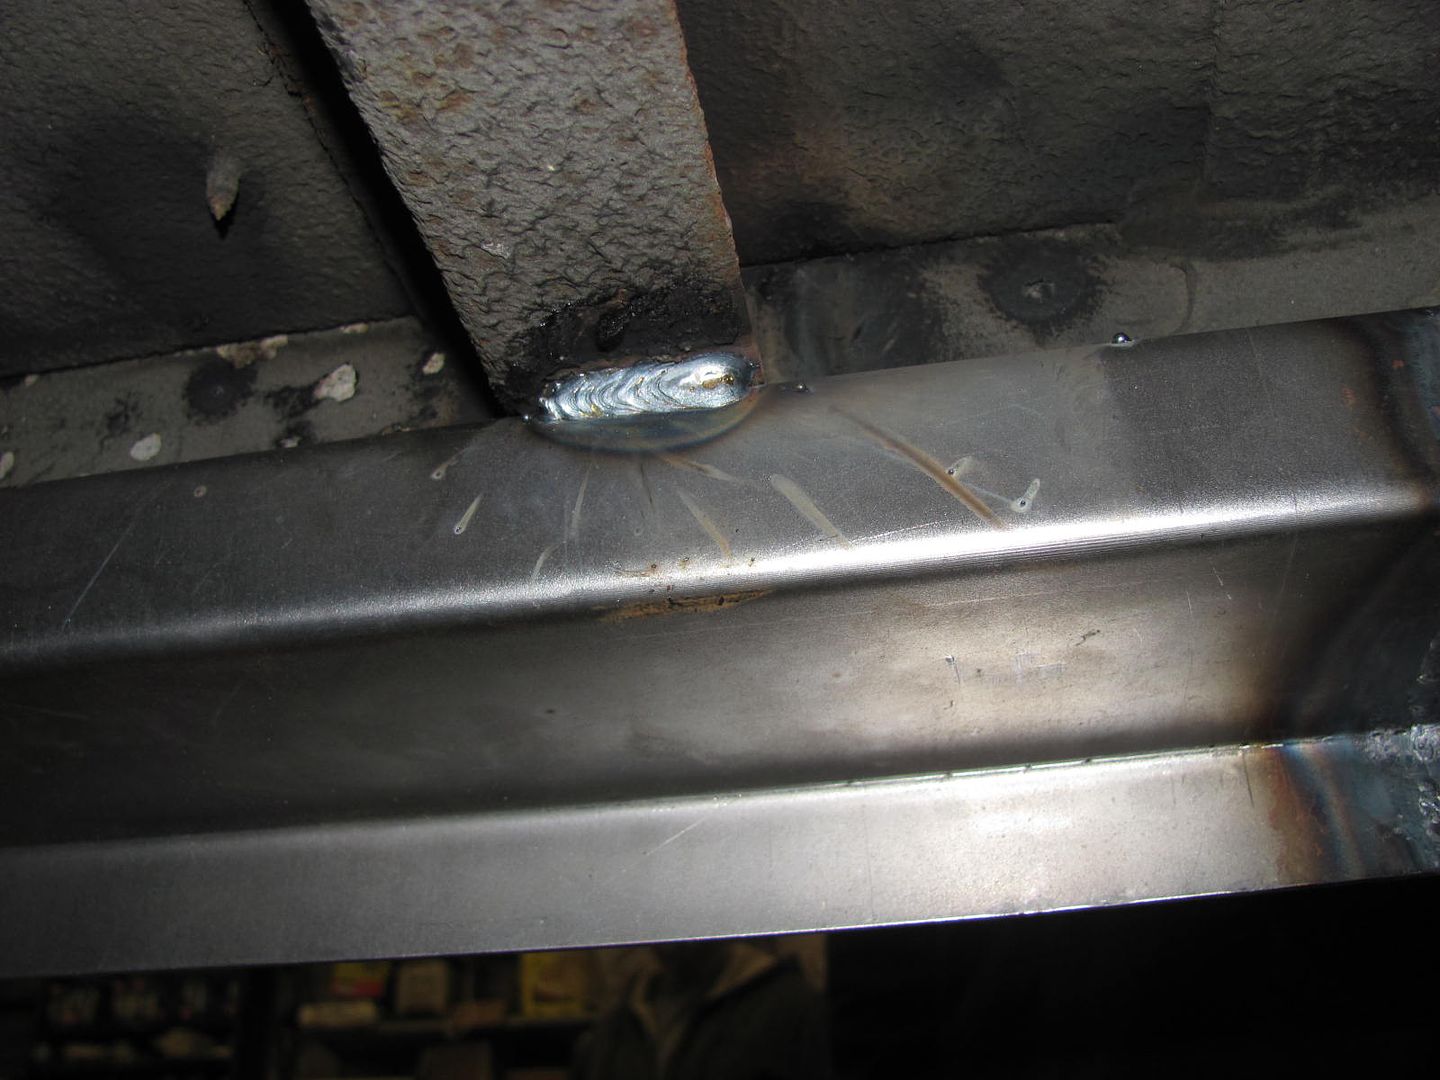 Added the frame around the fuel door, this helps prevent the side panel from flopping around as the fuel door is pushed closed.. 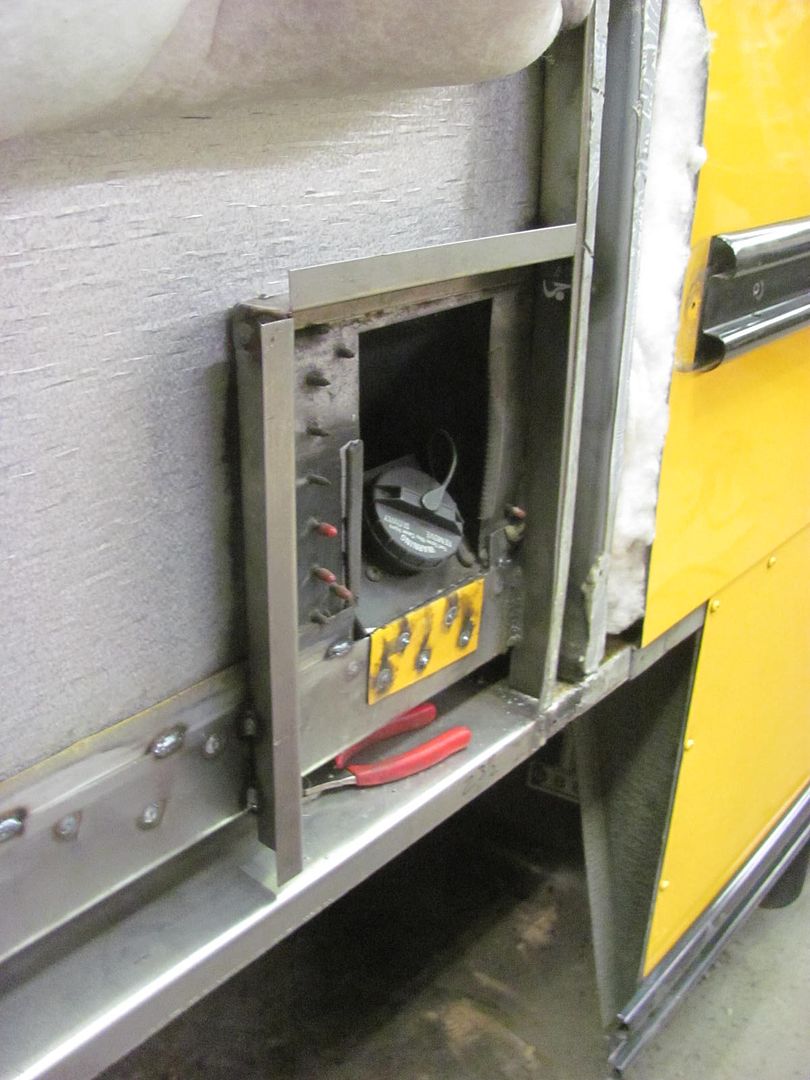 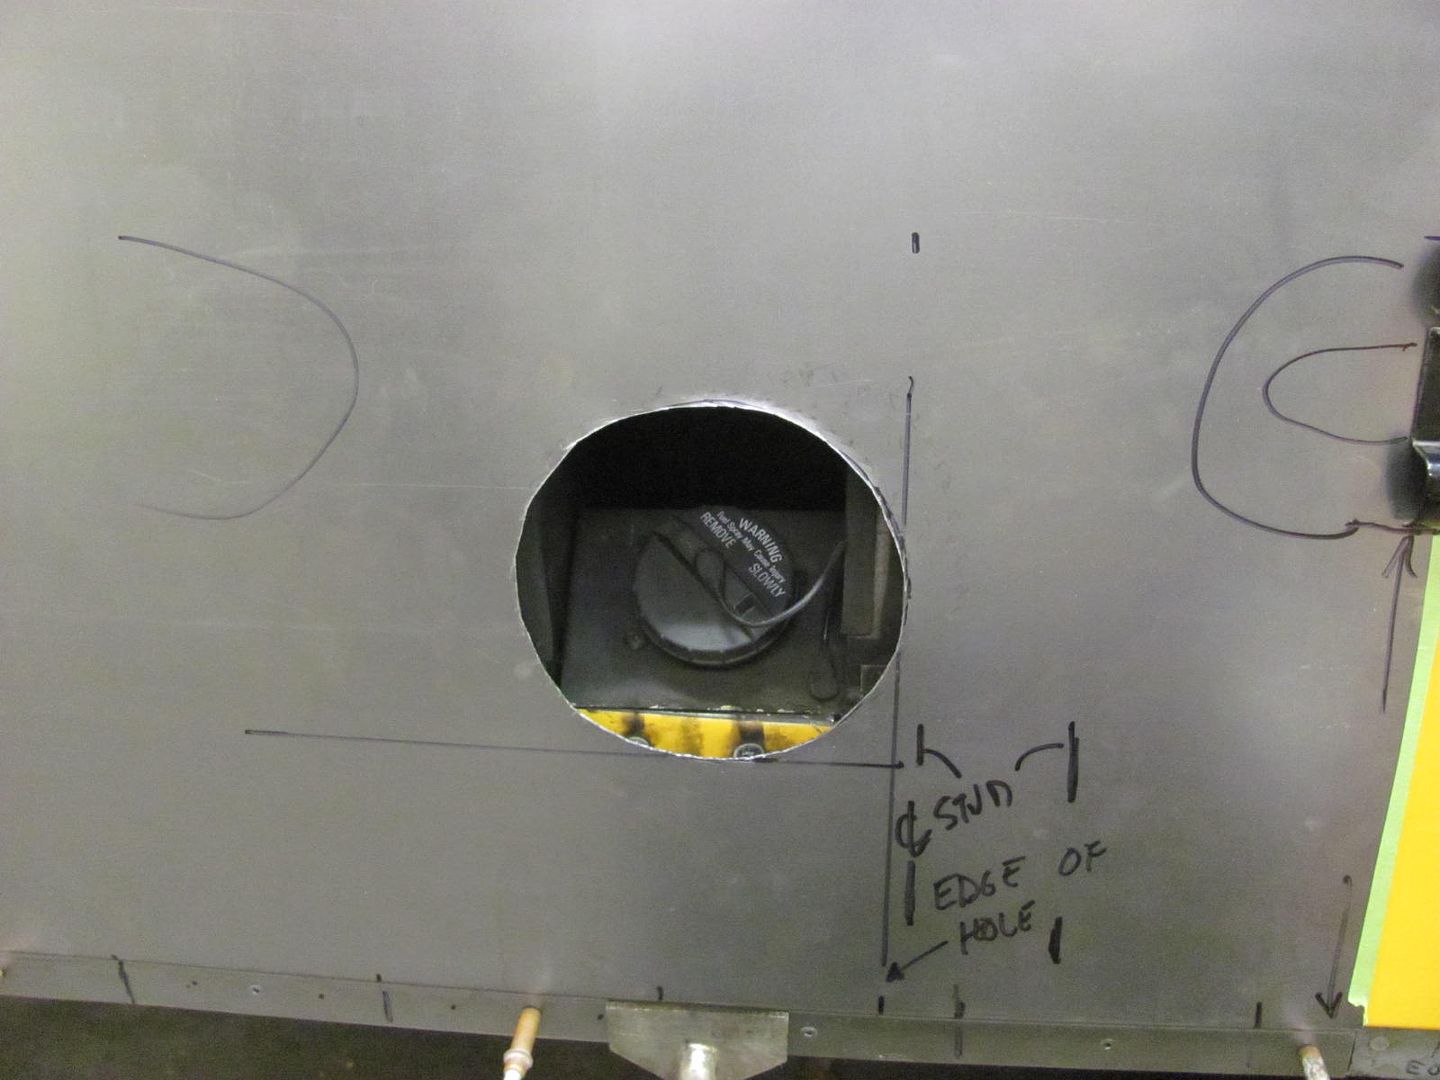 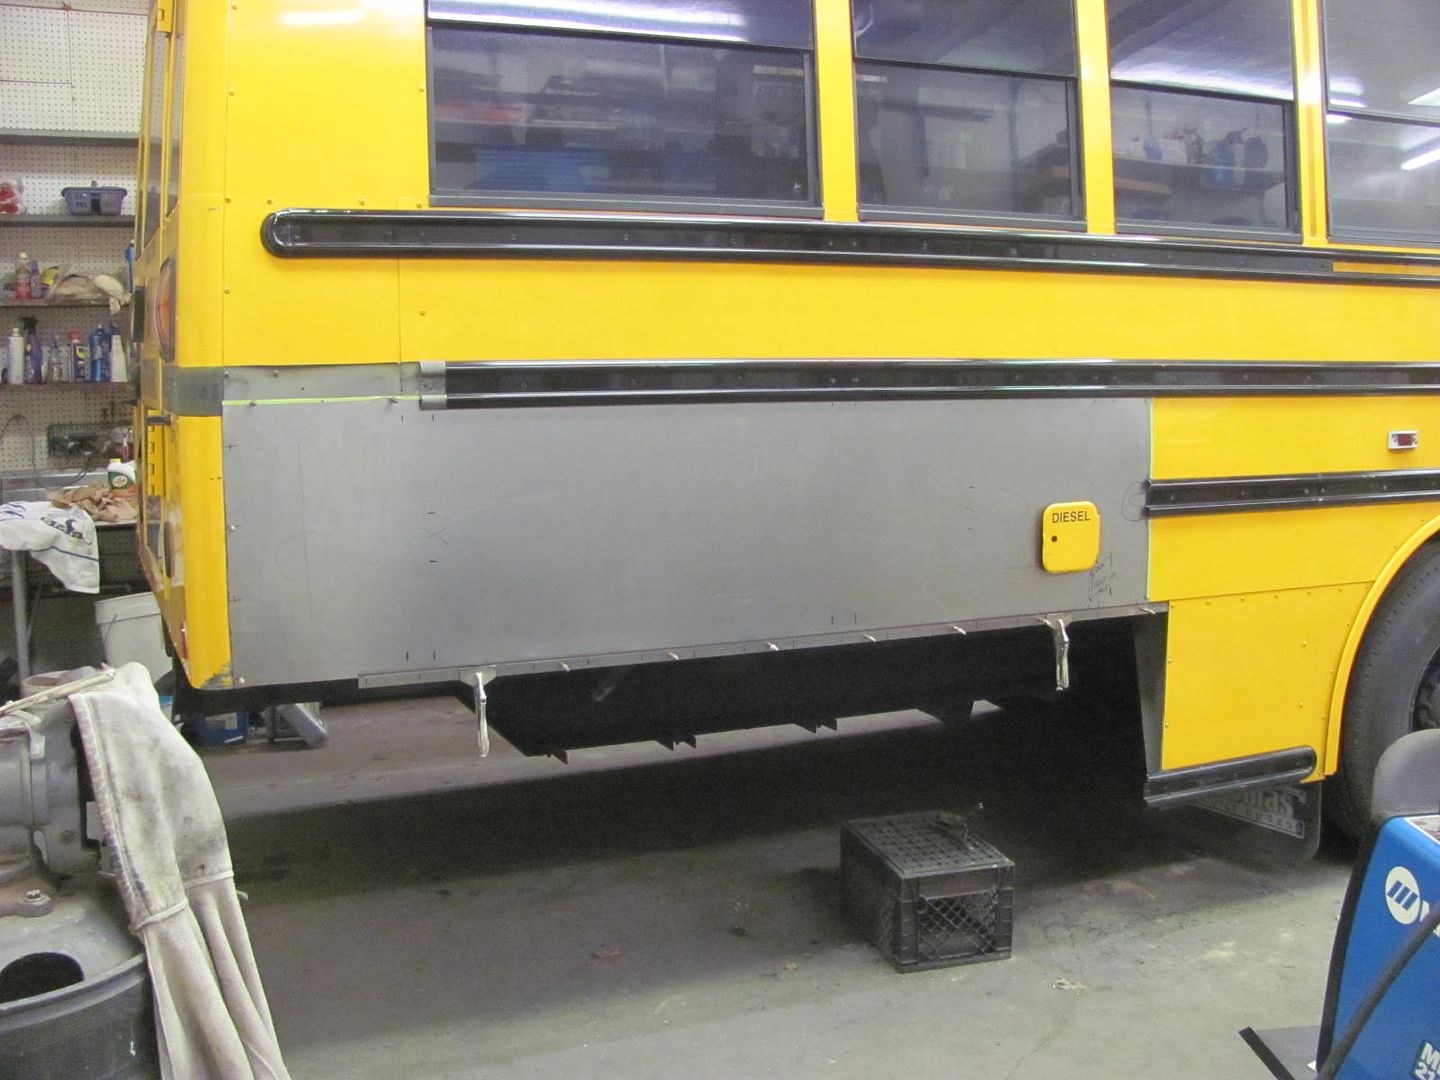 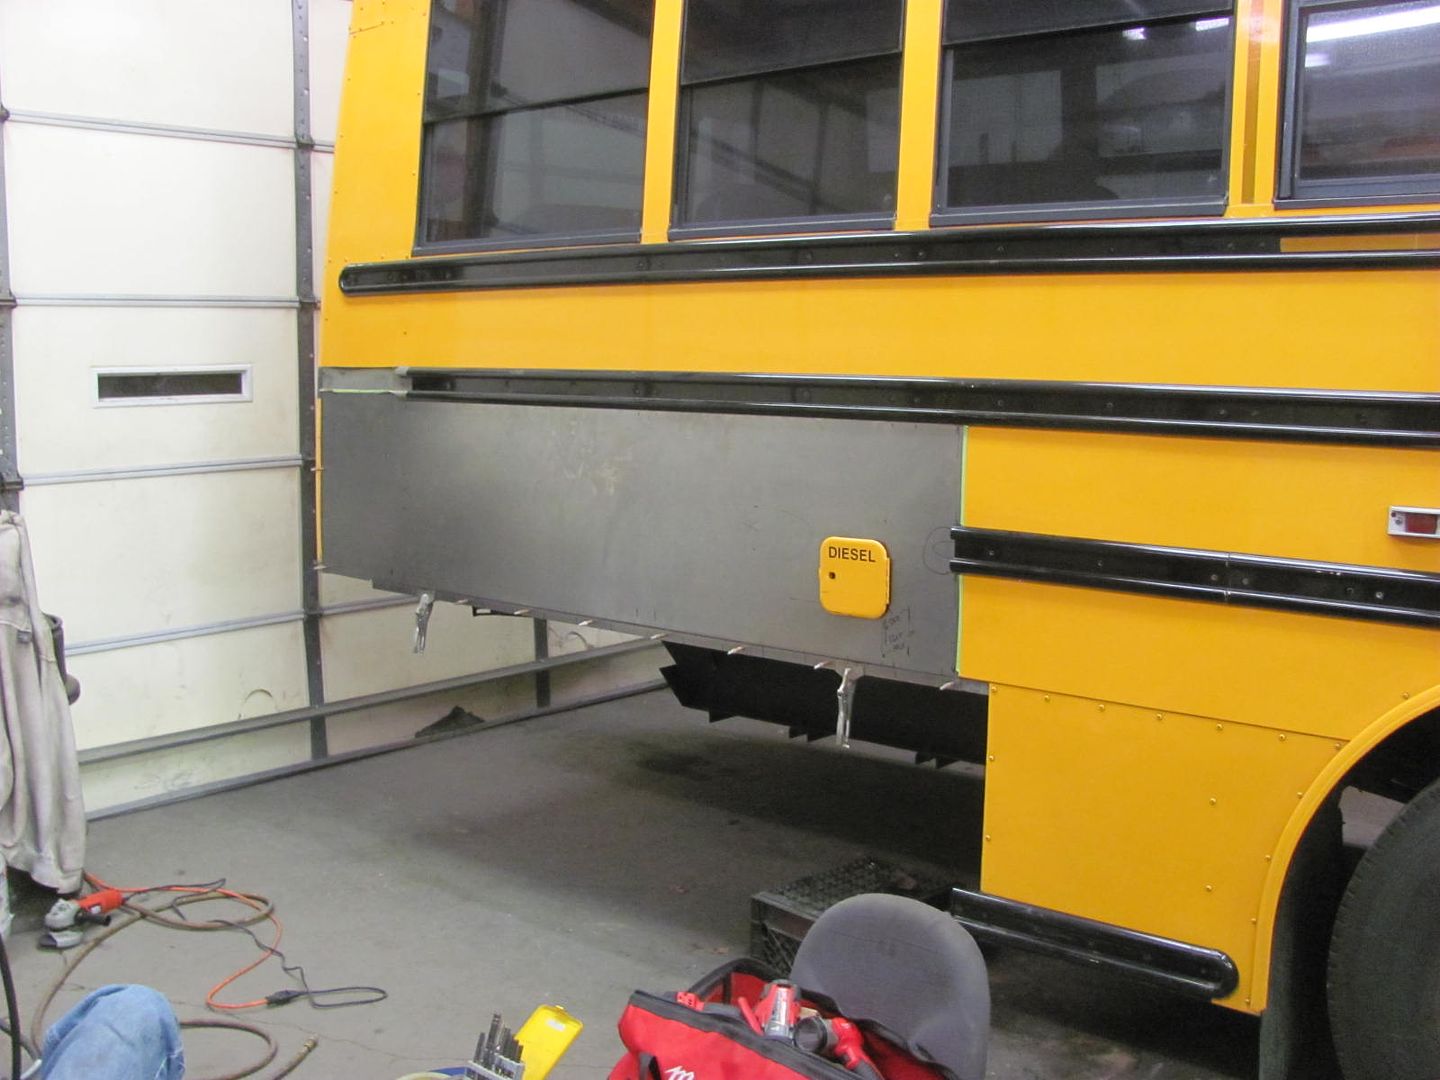 Thursday evening we'll get all the holes pre-drilled for the skirting and start prepping for paint..
__________________
Robert |
|
|
|
|
12-09-2015, 02:28 AM
|
#573 |
|
Senior Member
Join Date: Jul 2012
Location: Oblong, Illinois
Posts: 7,017
|
Re: 55 Wagon Progress
Nice clean fix going on there. The channels came out really well. How did you make them? Almost looks like press brake work and am thinking they are too narrow for that.
|
|
|
|
|
12-09-2015, 07:36 AM
|
#574 |
|
Registered User
Join Date: Jan 2013
Location: Leonardtown, MD
Posts: 1,635
|
Re: 55 Wagon Progress
The channels are 16 ga cold rolled, they were bent on the Baileigh magnetic brake.
__________________
Robert |
|
|
|
|
12-10-2015, 09:02 AM
|
#575 |
|
Registered User
Join Date: Jan 2013
Location: Leonardtown, MD
Posts: 1,635
|
Re: 55 Wagon Progress
Took delivery yesterday of a Blocking Hammer from Peter Tommasini. To give you an idea of the size of this beast, the stump is 24" in diameter..
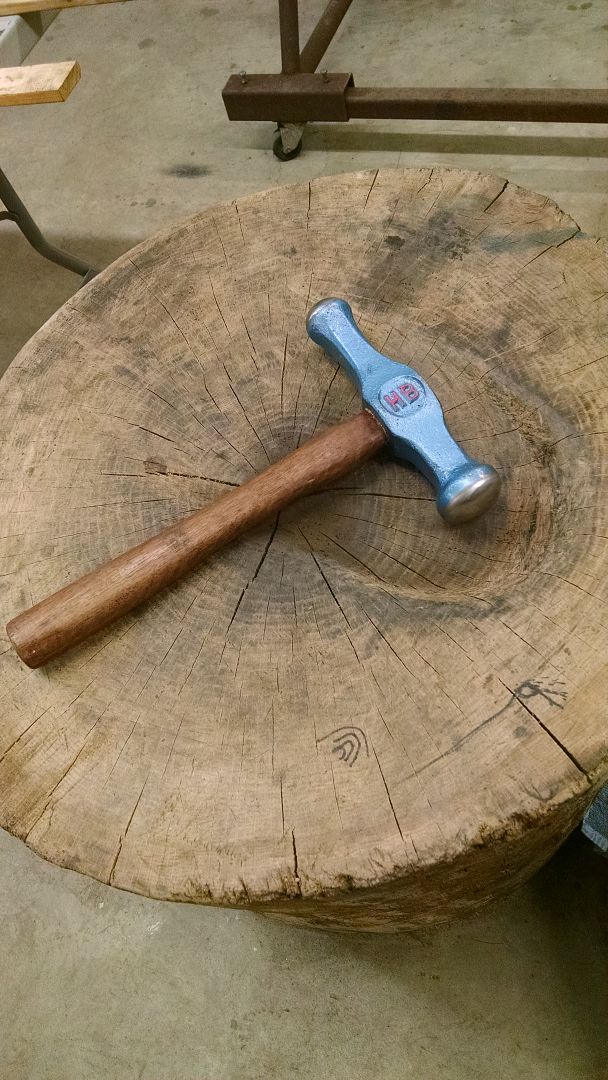 This should come in handy in making the 16 ga repair panels for the front fenders on John's Beiderman truck.. 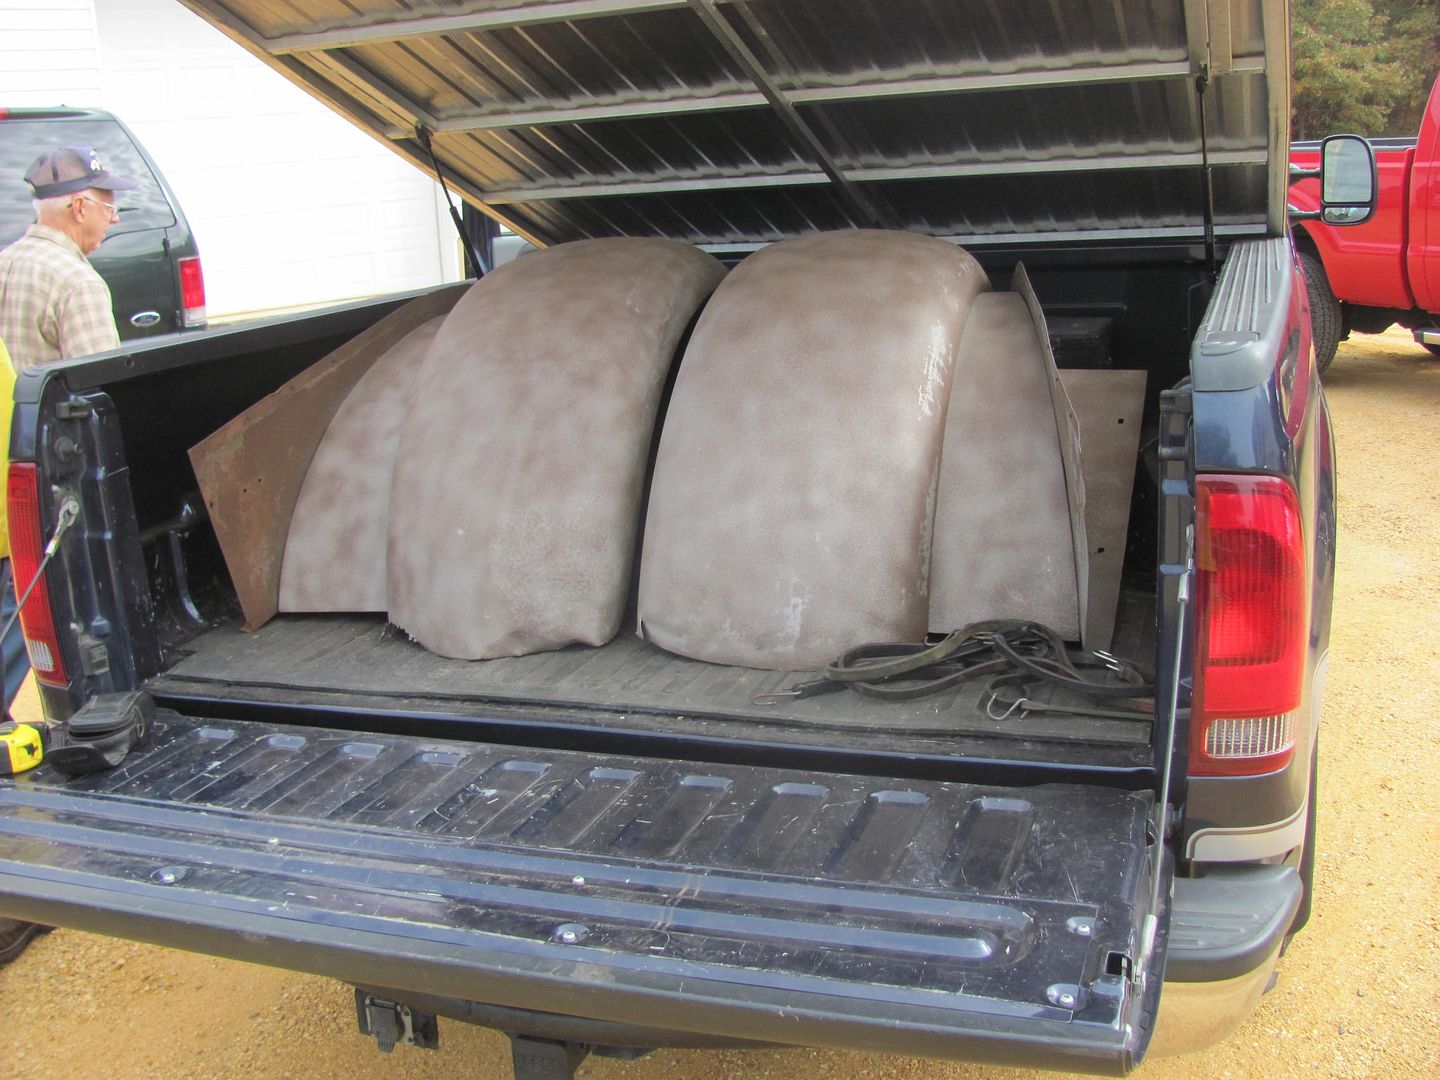 
__________________
Robert |
|
|
|
 |
| Bookmarks |
|
|


 Linear Mode

