
|
 12-30-2015, 12:34 AM
|
#601 |
|
Registered User
Join Date: Jan 2013
Location: Leonardtown, MD
Posts: 1,636
|
Re: 55 Wagon Progress
Made another trip to the car wash tonight. Tire soak, high pressure soap, and a rinse...
   While Kyle was media blasting, I used the 36" AFS to block the tail gate. 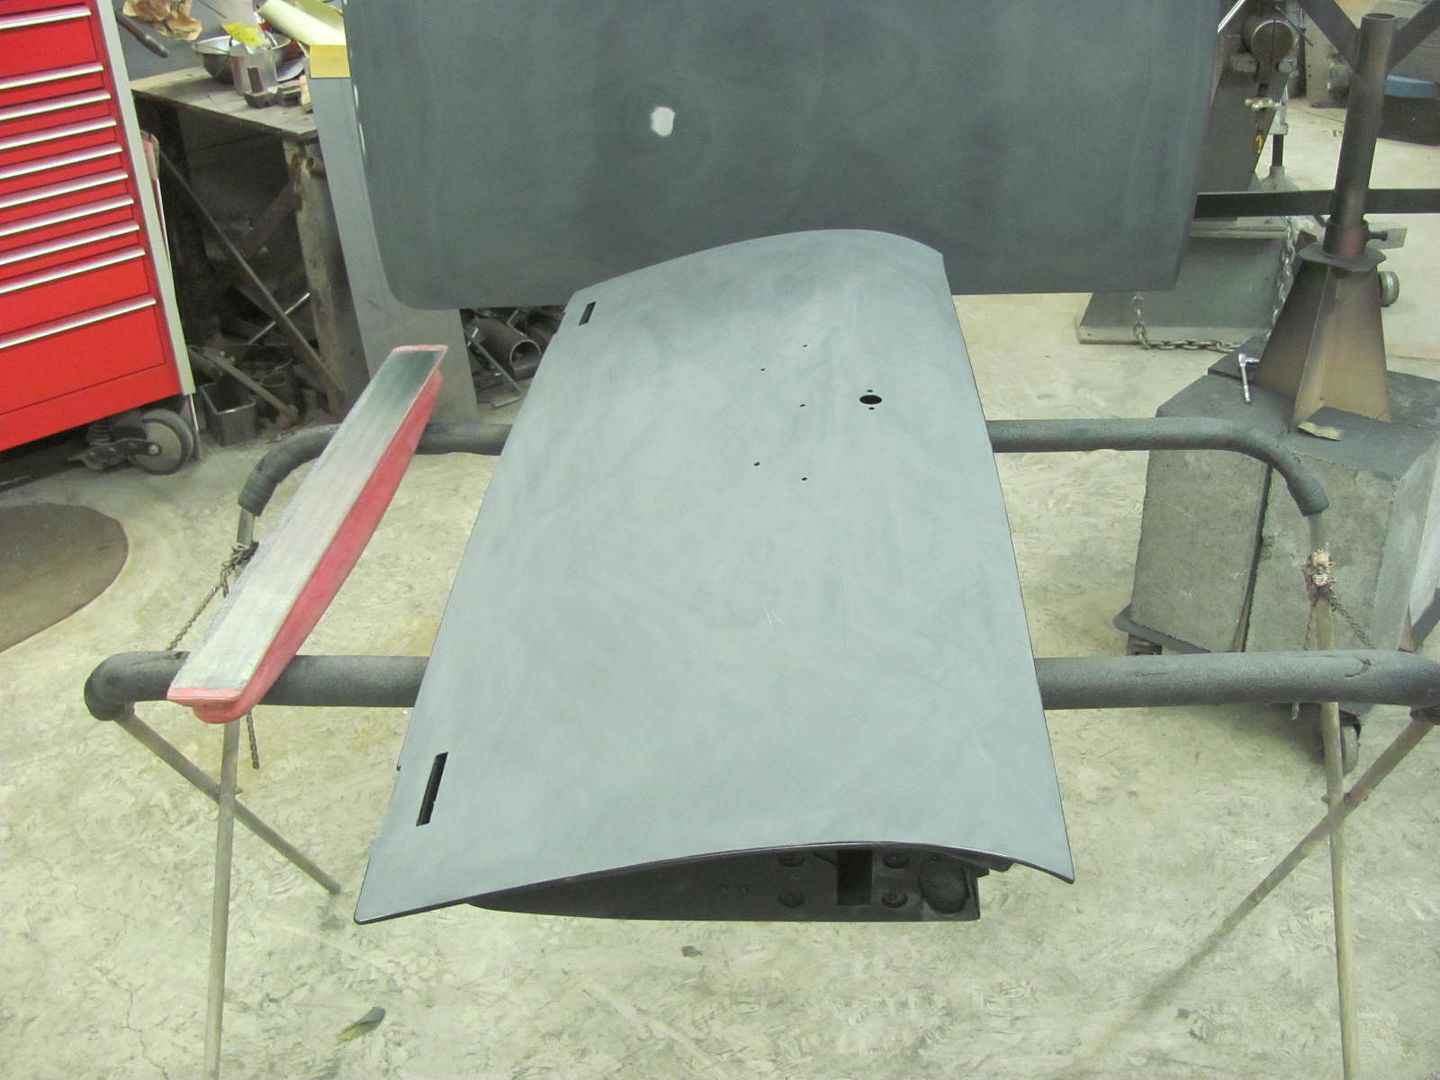 This had been blocked a couple times before and never seemed to come out right. Of course, I was using a shorter block as well. The 36 really did the trick in getting things nice and flat... 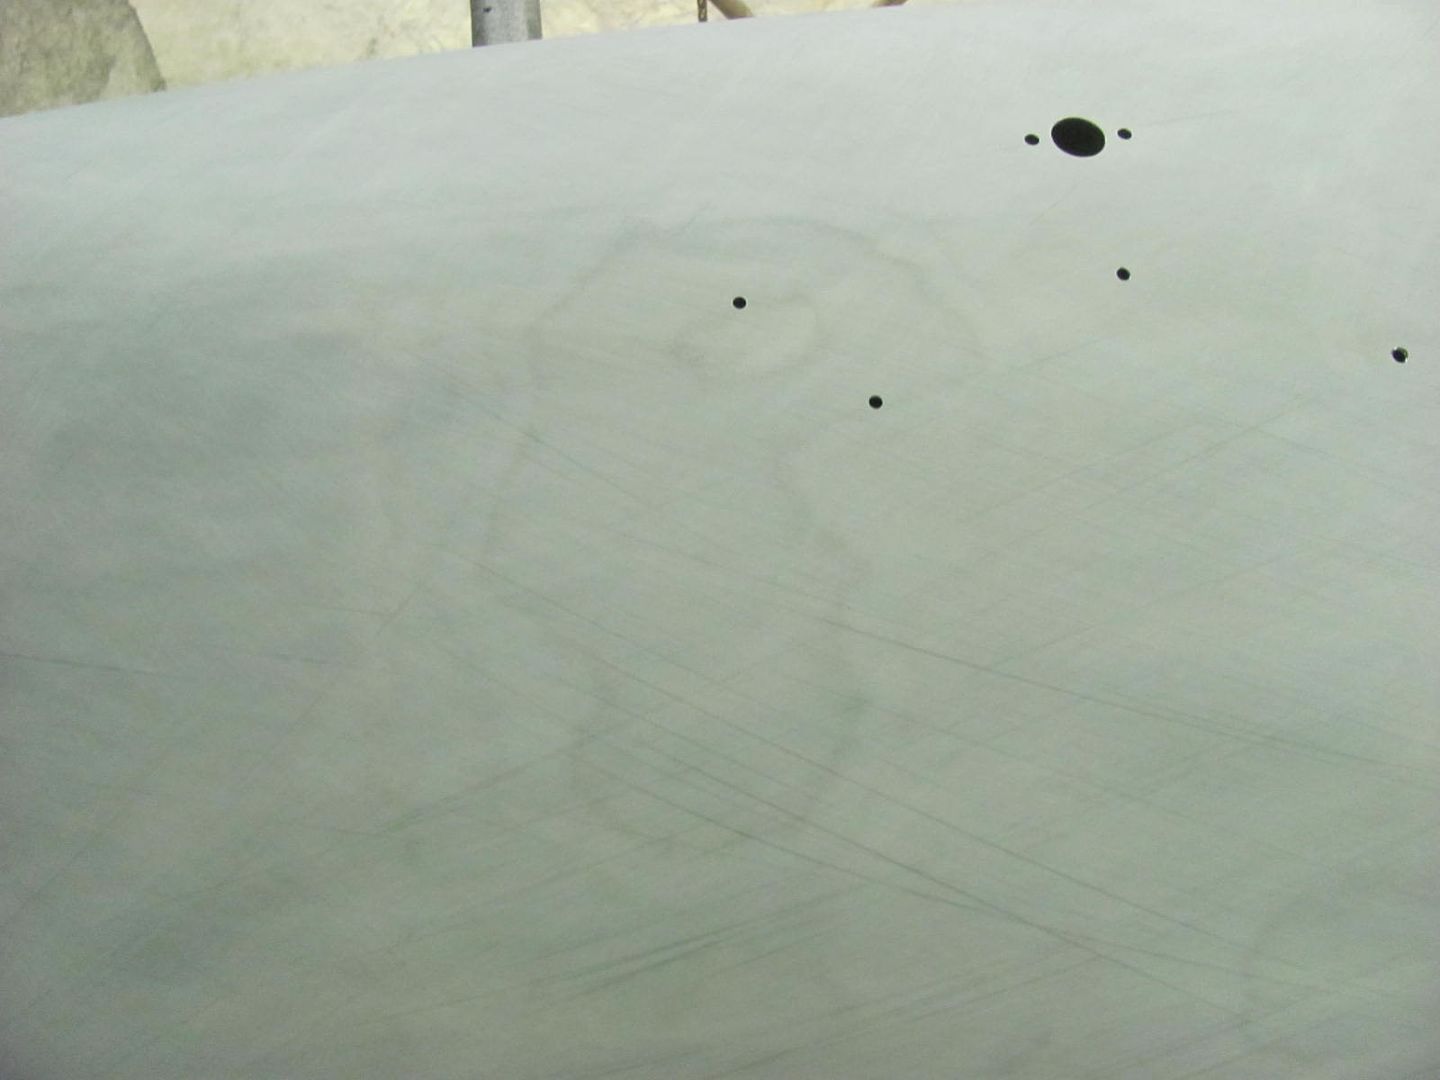 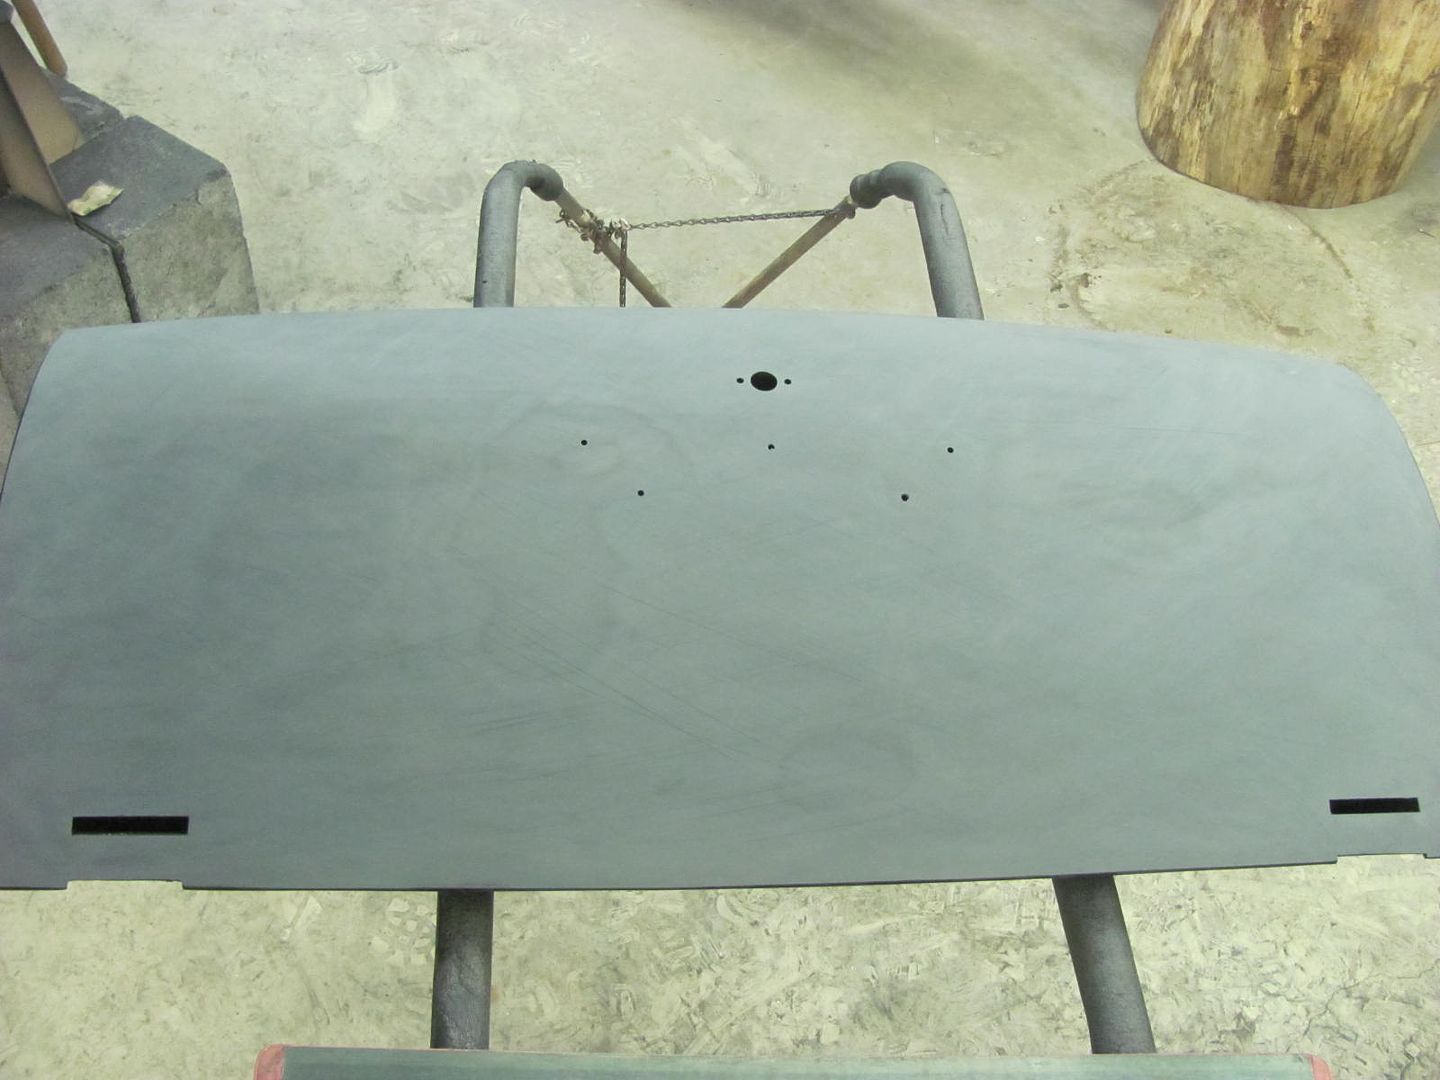 .....and getting things ready for another epoxy session... 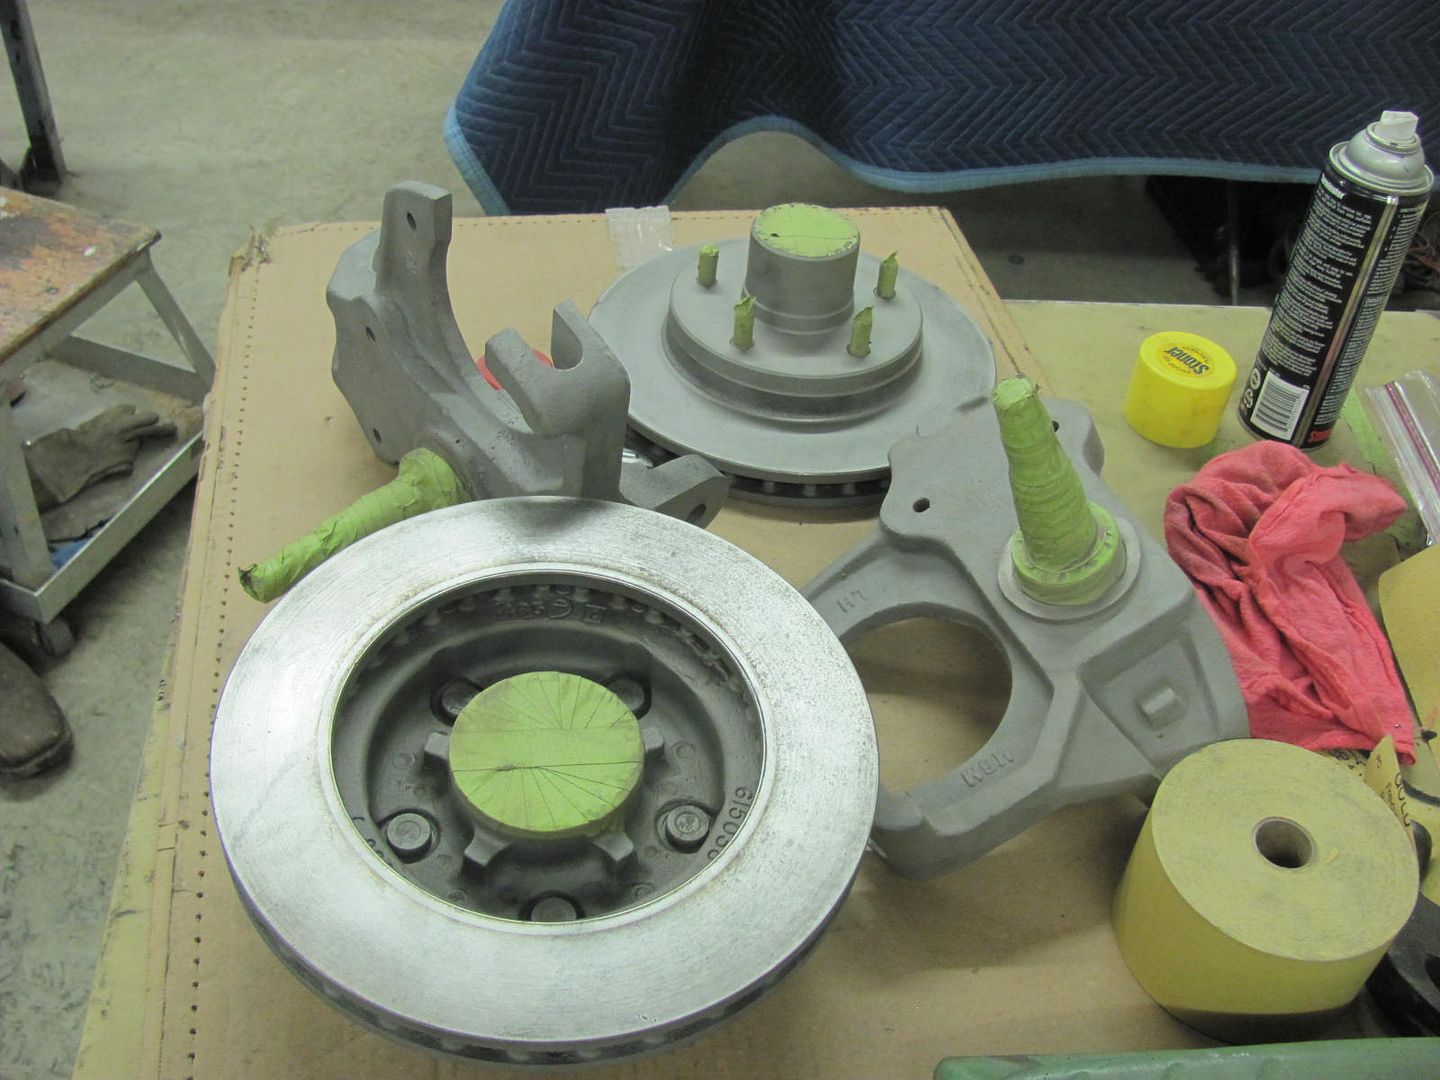 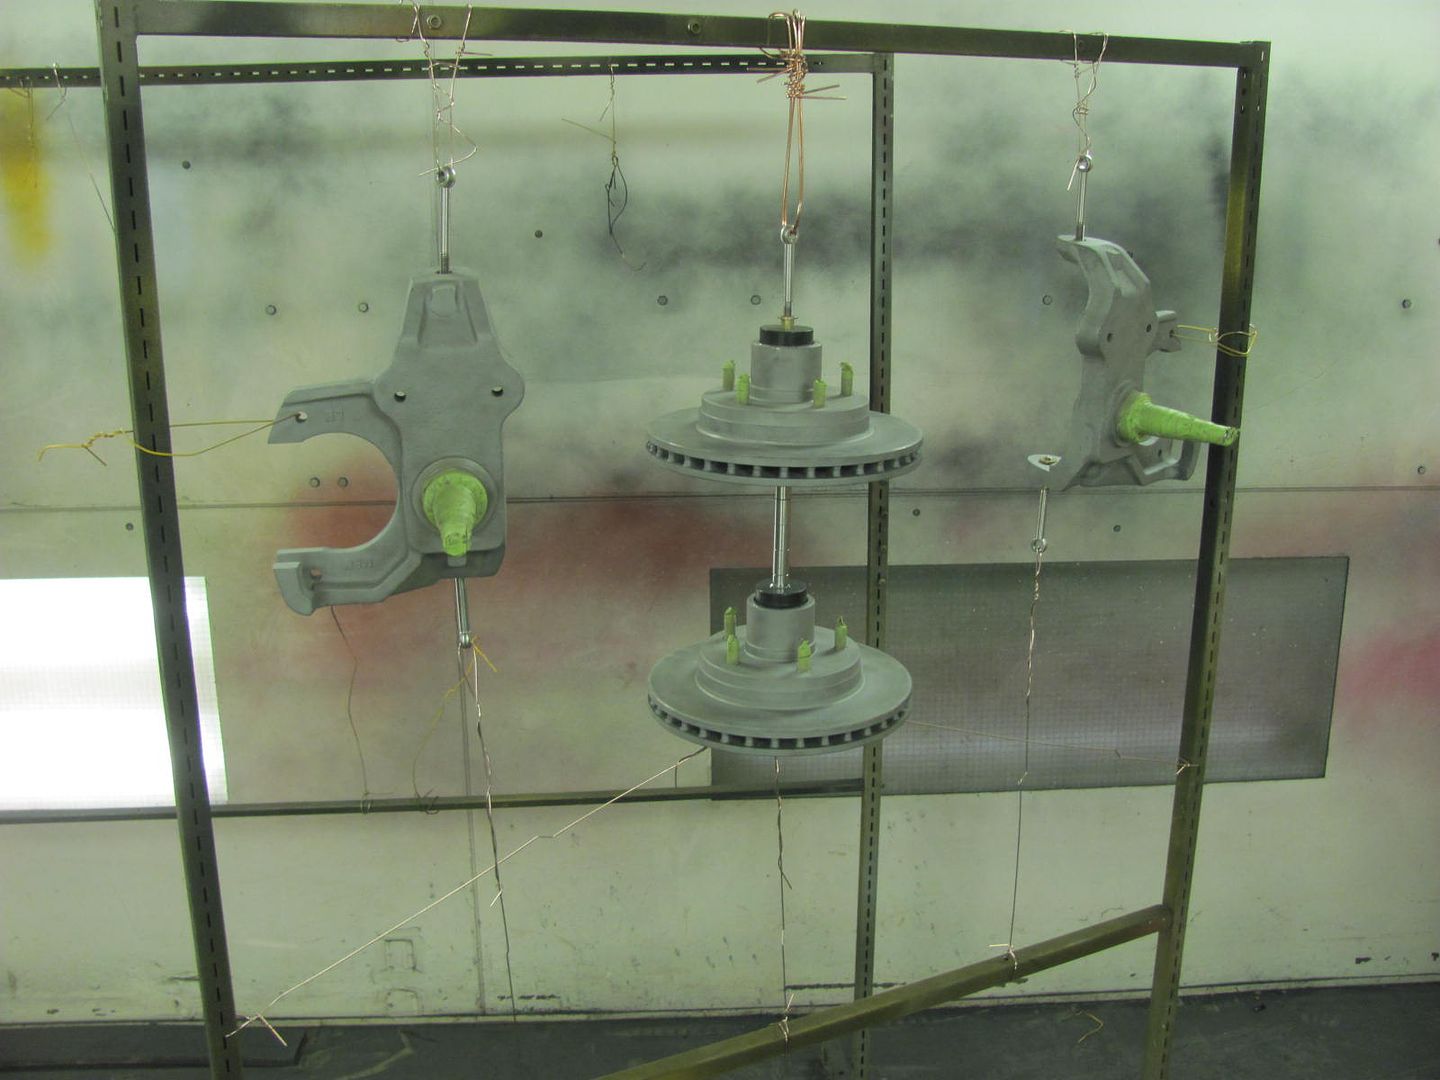 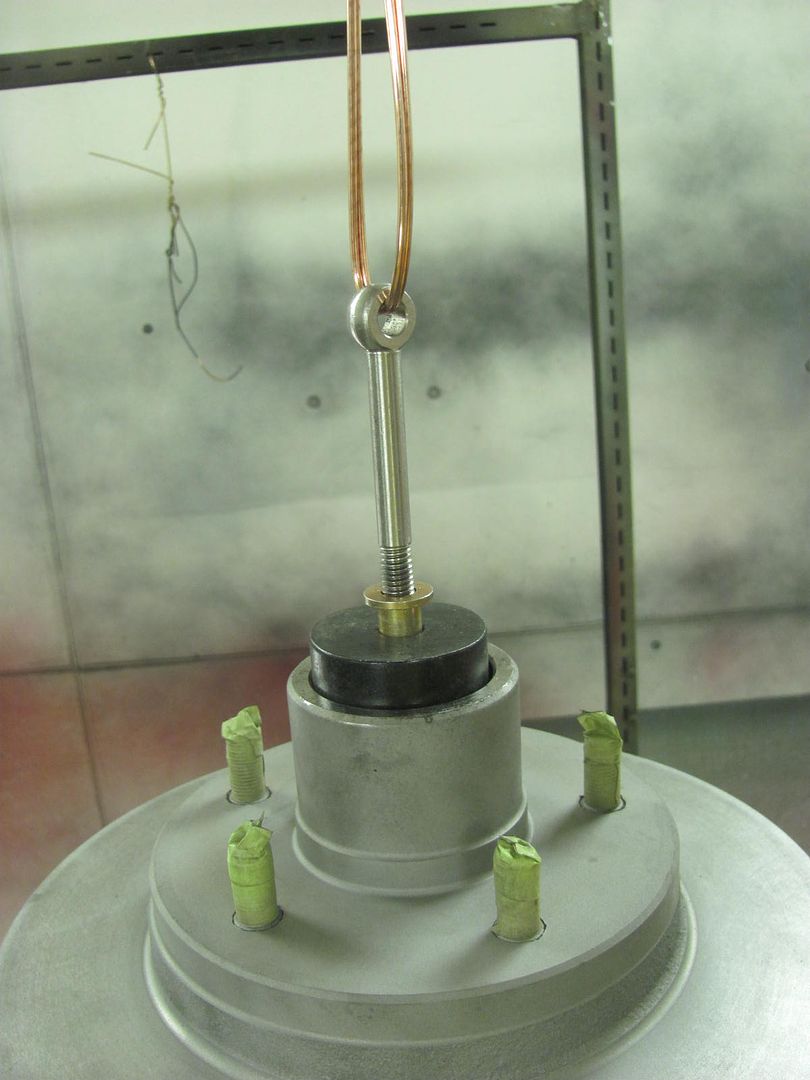 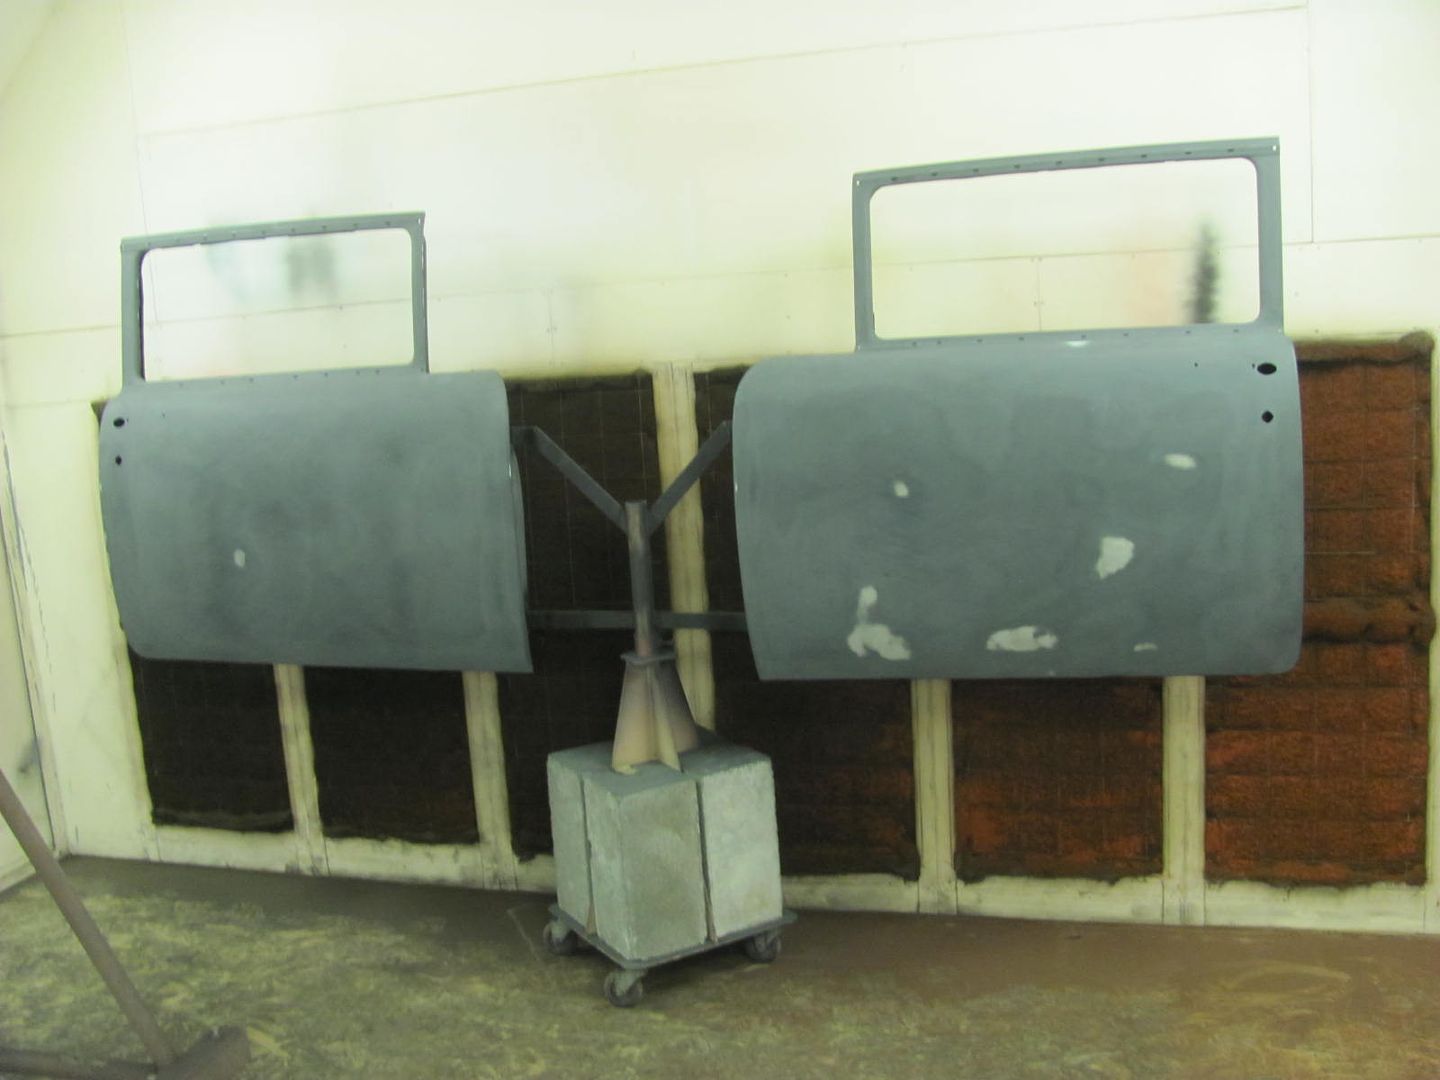 Moved these out of the way, closer to the door so we can get tires on this weekend. Order trim rings today, now for some baby moons that fit... I swear they get brighter every time I look at them.. 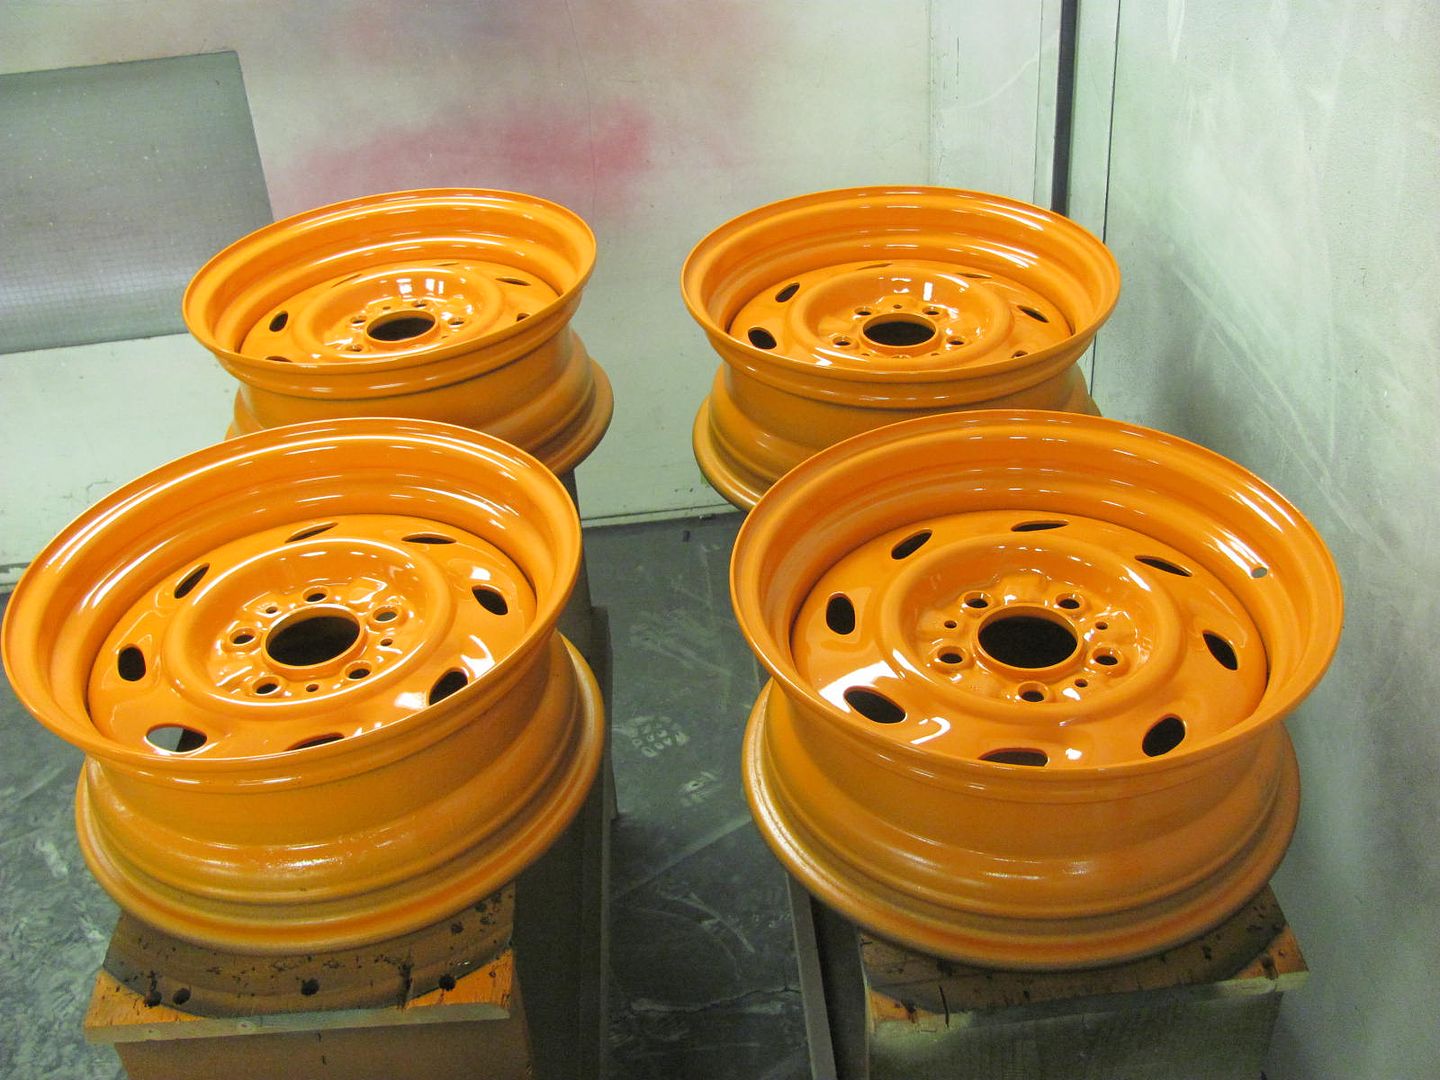
__________________
Robert |

|

|
|
12-30-2015, 02:03 AM
|
#602 |
|
Registered User
Join Date: Apr 2011
Location: .
Posts: 3,104
|
Re: 55 Wagon Progress
Looks great.
How many times, or what's the deciding factor from laying down epoxy vs primer or high build primer? Must forgive my questions,,, I'm in class here learning from the master. : ) |
|
|
|
|
12-30-2015, 06:55 PM
|
#603 |
|
Registered User
Join Date: Jan 2013
Location: Leonardtown, MD
Posts: 1,636
|
Re: 55 Wagon Progress
I used slick sand on the last car we did, the 65 Fairlane:
http://www.garagejournal.com/forum/s...ad.php?t=86935 It does have a couple spots that look like some shrinking took place. One of those I see it but the owner doesn't but I need to improve the next one kinda things. I think the epoxy will give a much better base than the slick sand as epoxy doesn't have the porosity that the SS does. So other than some spots of evercoat 416, most everything on this build has been epoxy. Just wanted to try it and see if it held up any better.
__________________
Robert |
|
|
|
|
01-01-2016, 09:37 PM
|
#604 |
|
Registered User
Join Date: Jan 2013
Location: Leonardtown, MD
Posts: 1,636
|
Re: 55 Wagon Progress
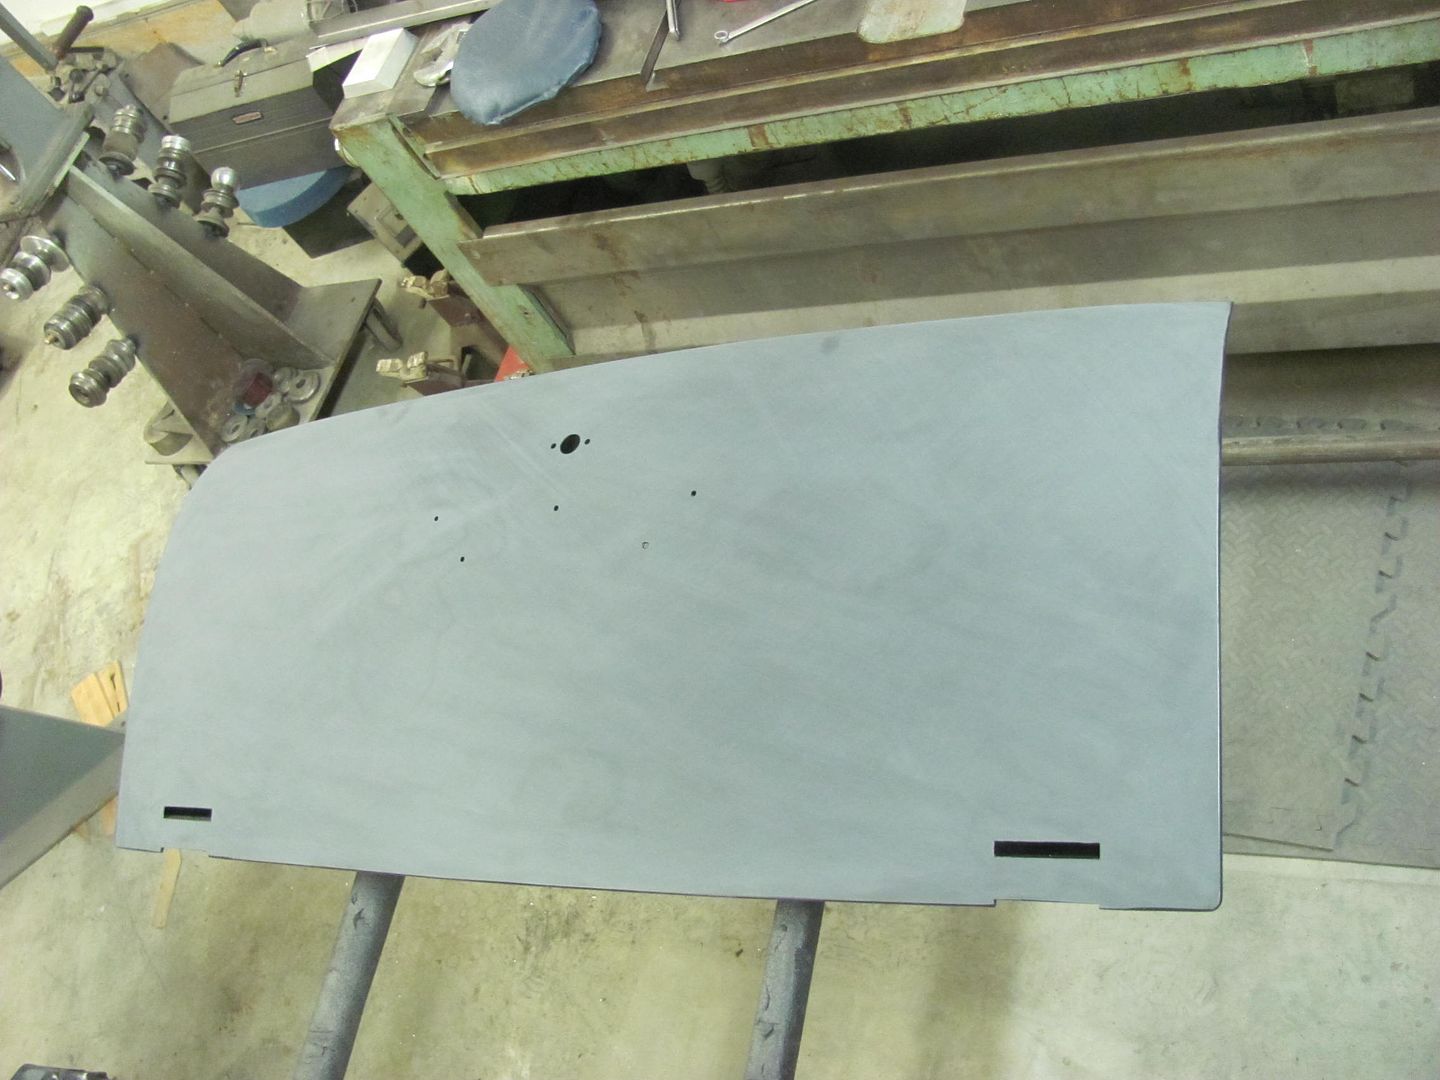
Picked up some 400 grit PSA paper yesterday, used it this evening to get the tail gate finished to 400 grit, next week we'll wet sand to 600 grit.
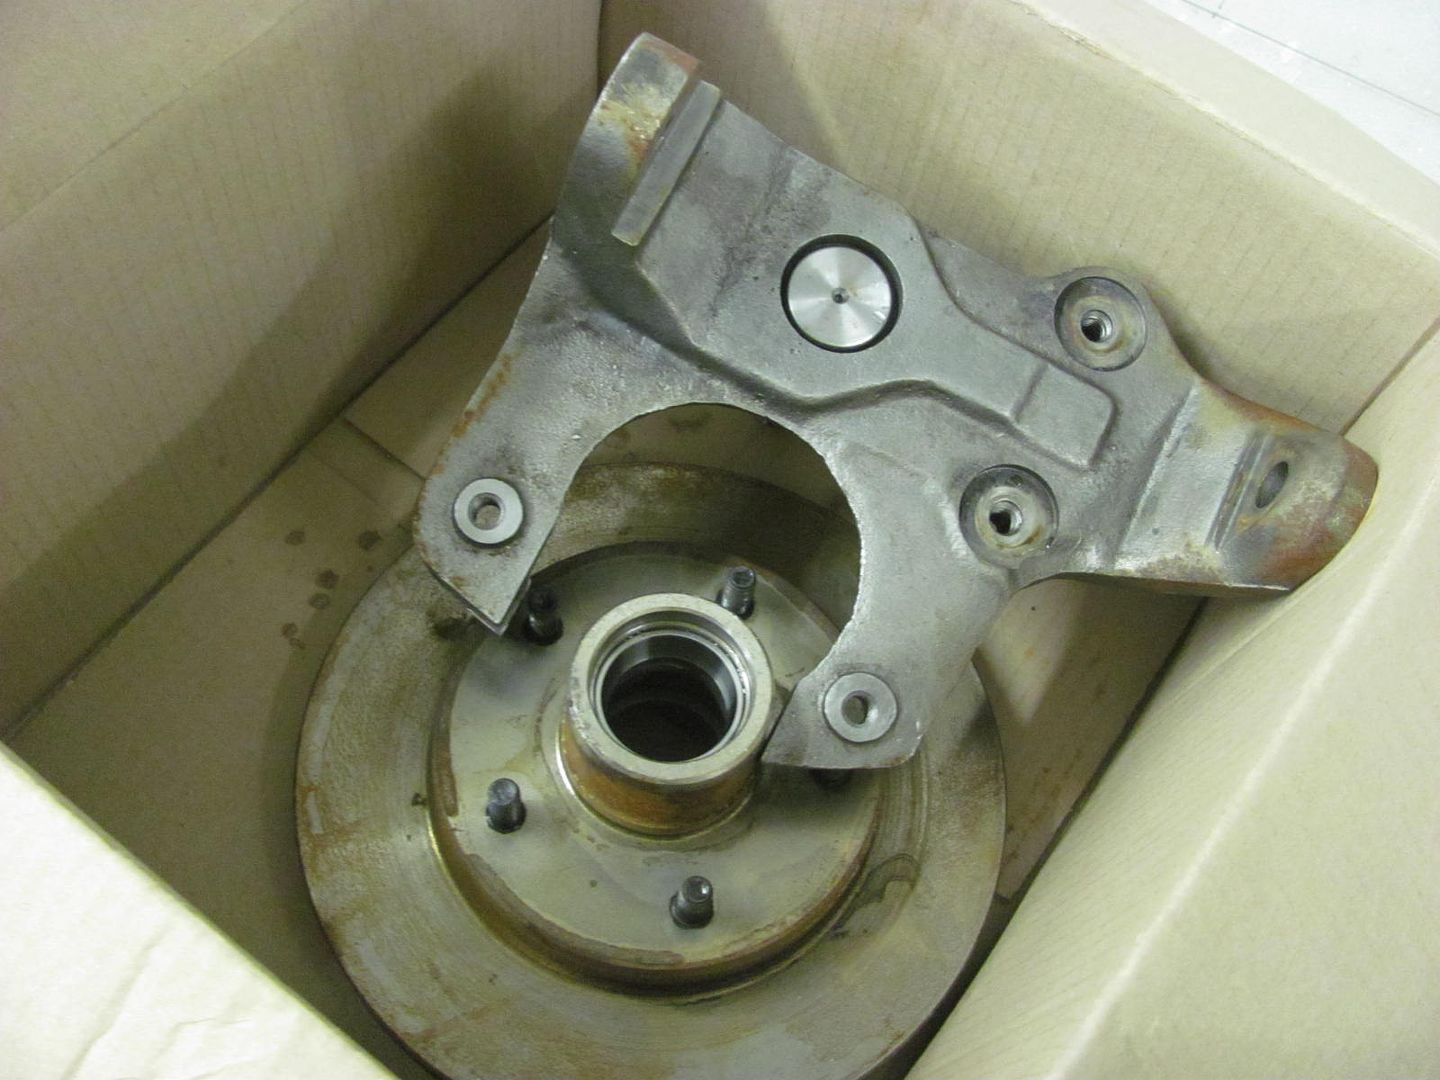
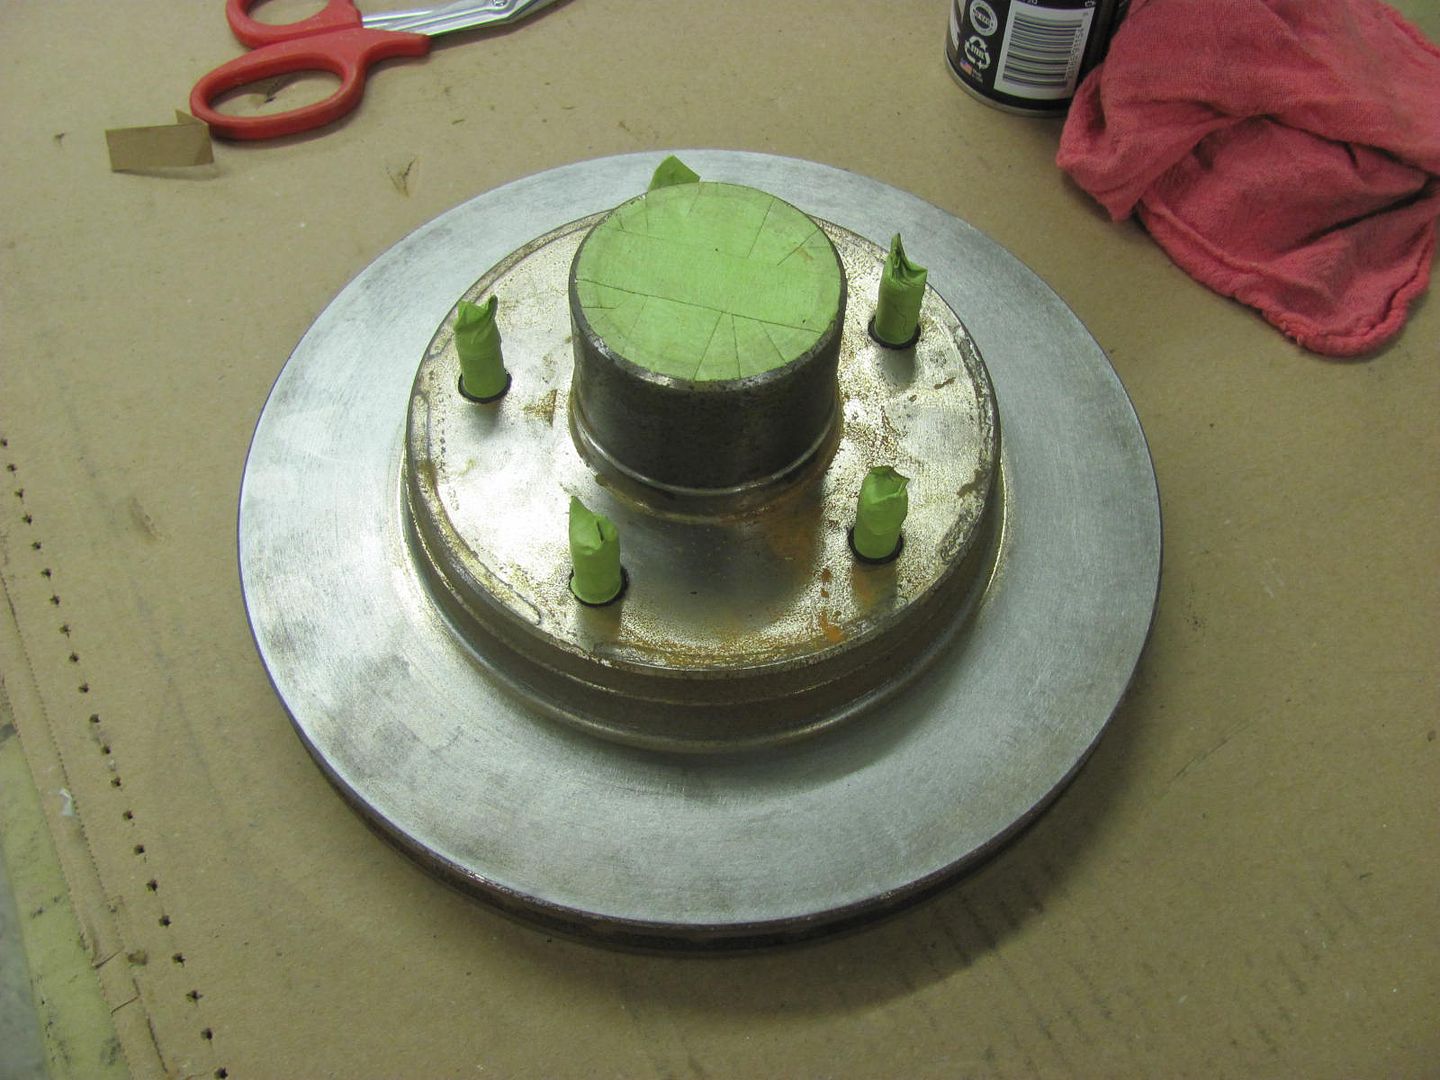
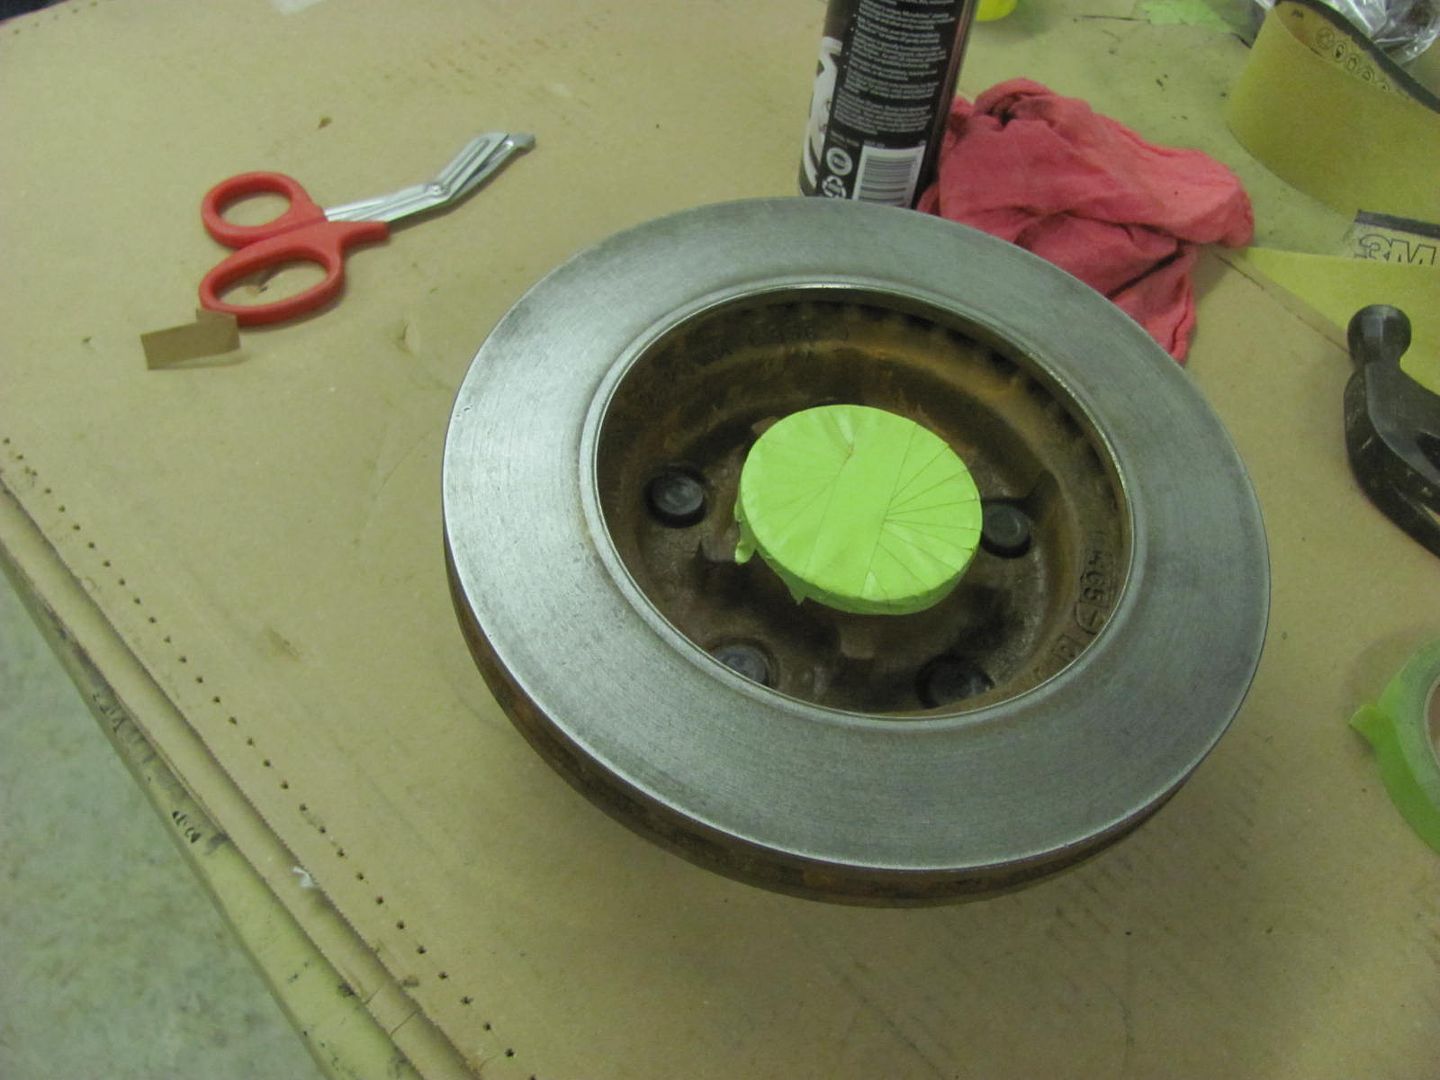
 Nephew Chris came over and helped Kyle and I get the frame off the rotisserie and back on the floor.. 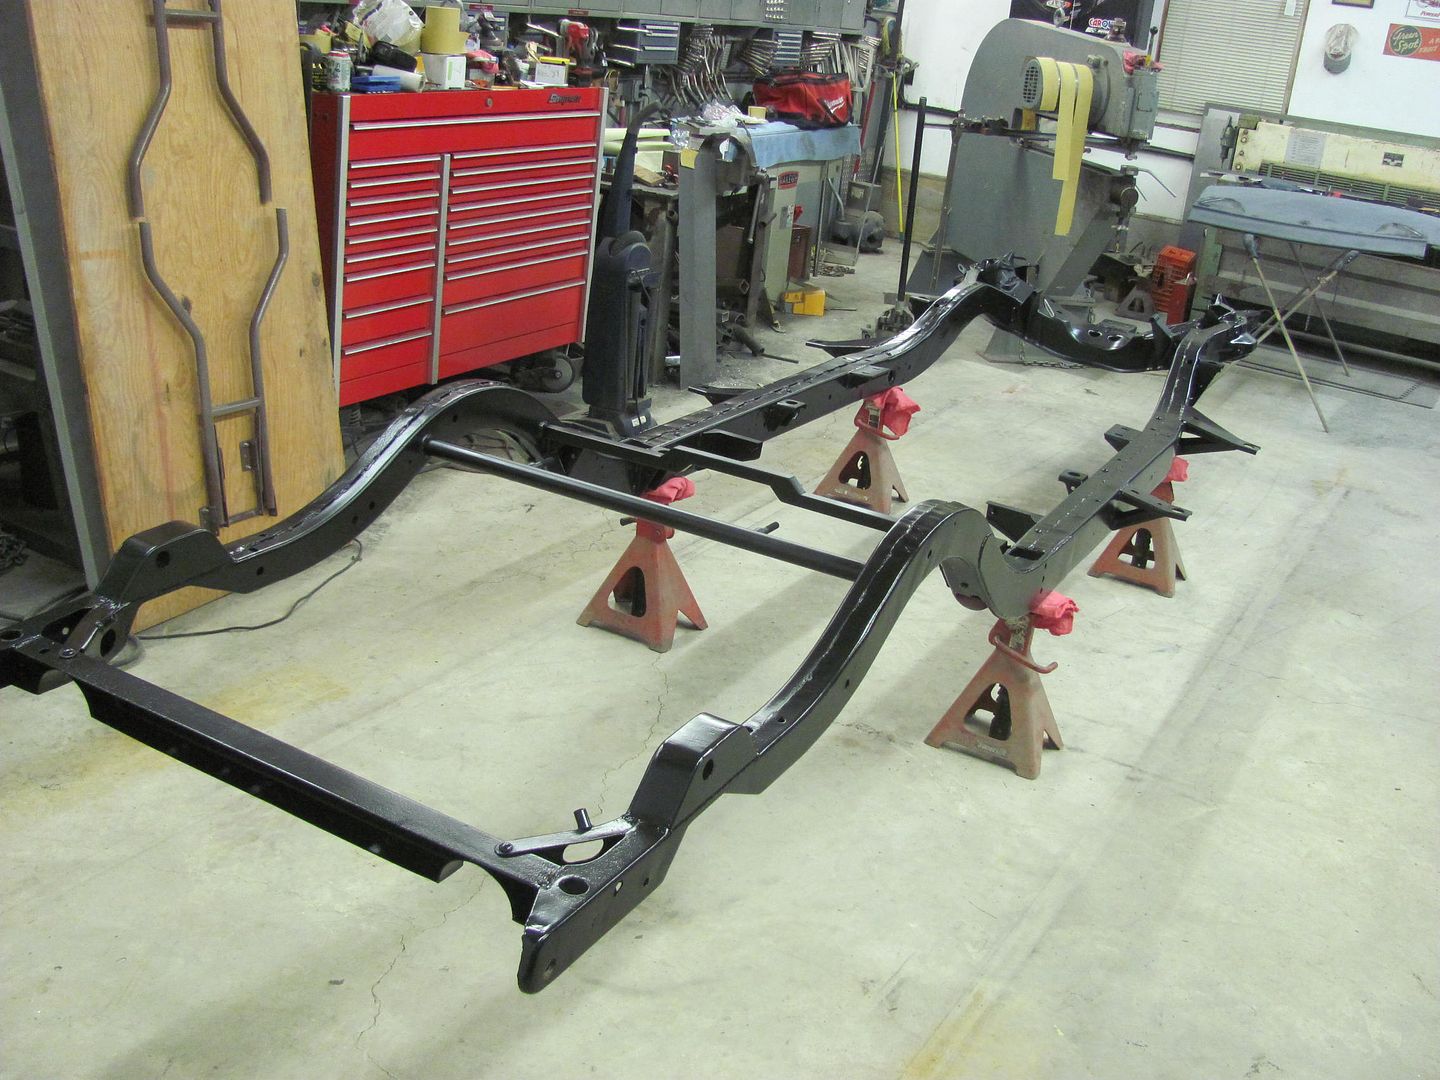 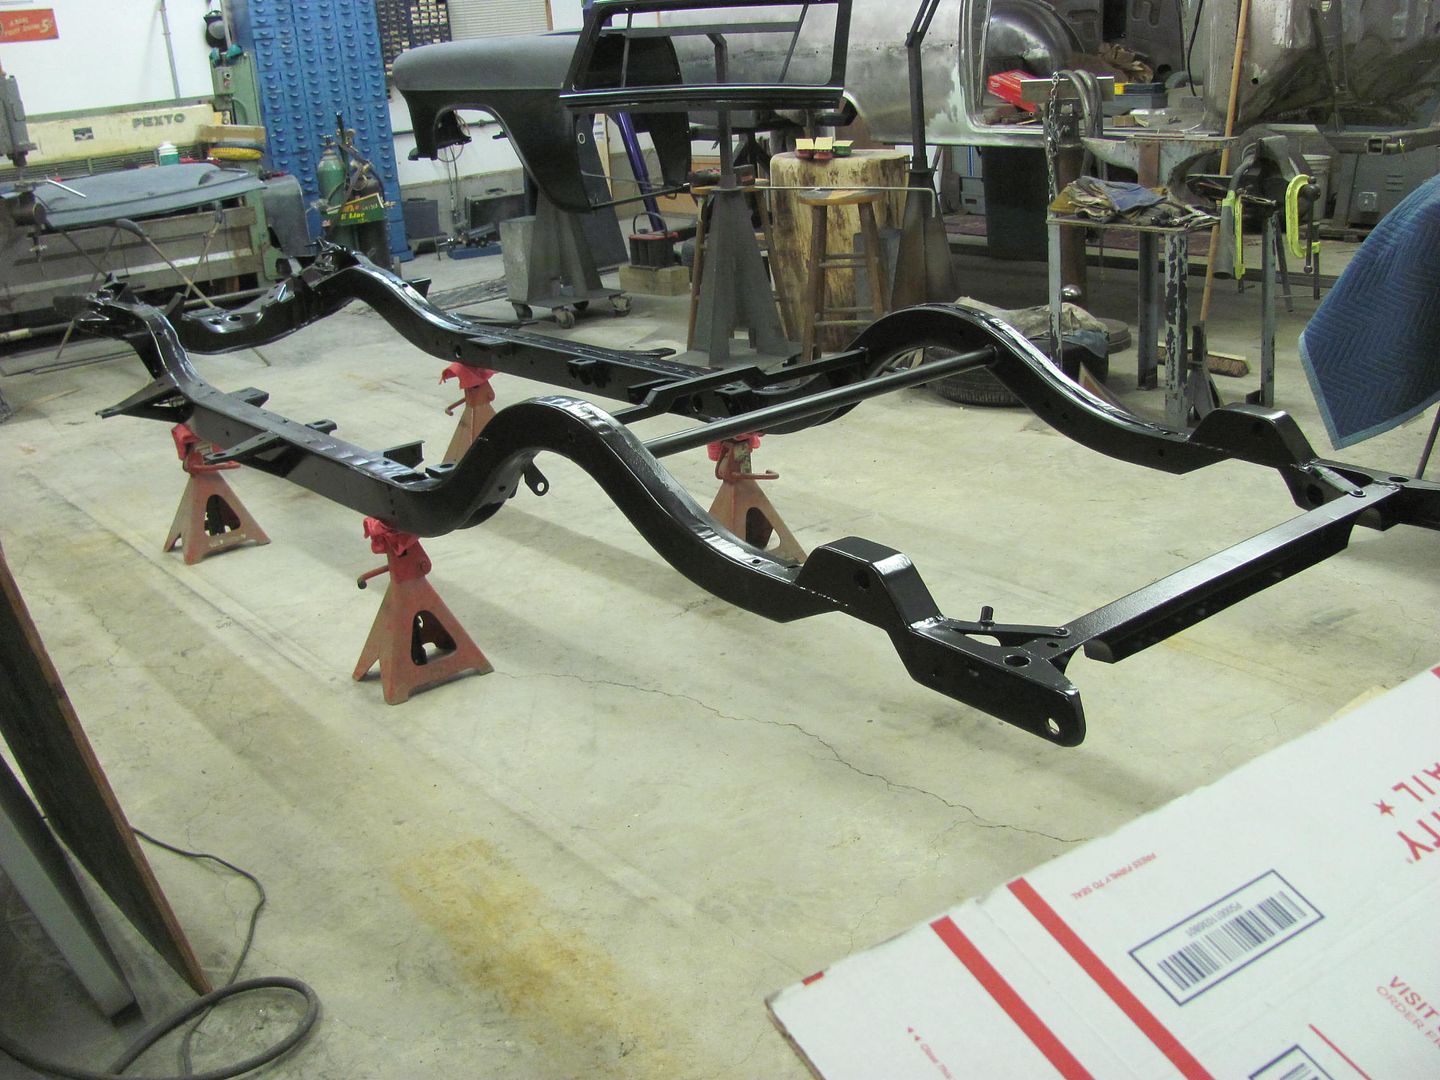 With the rotisserie freed up, we now have a new paint fixture... 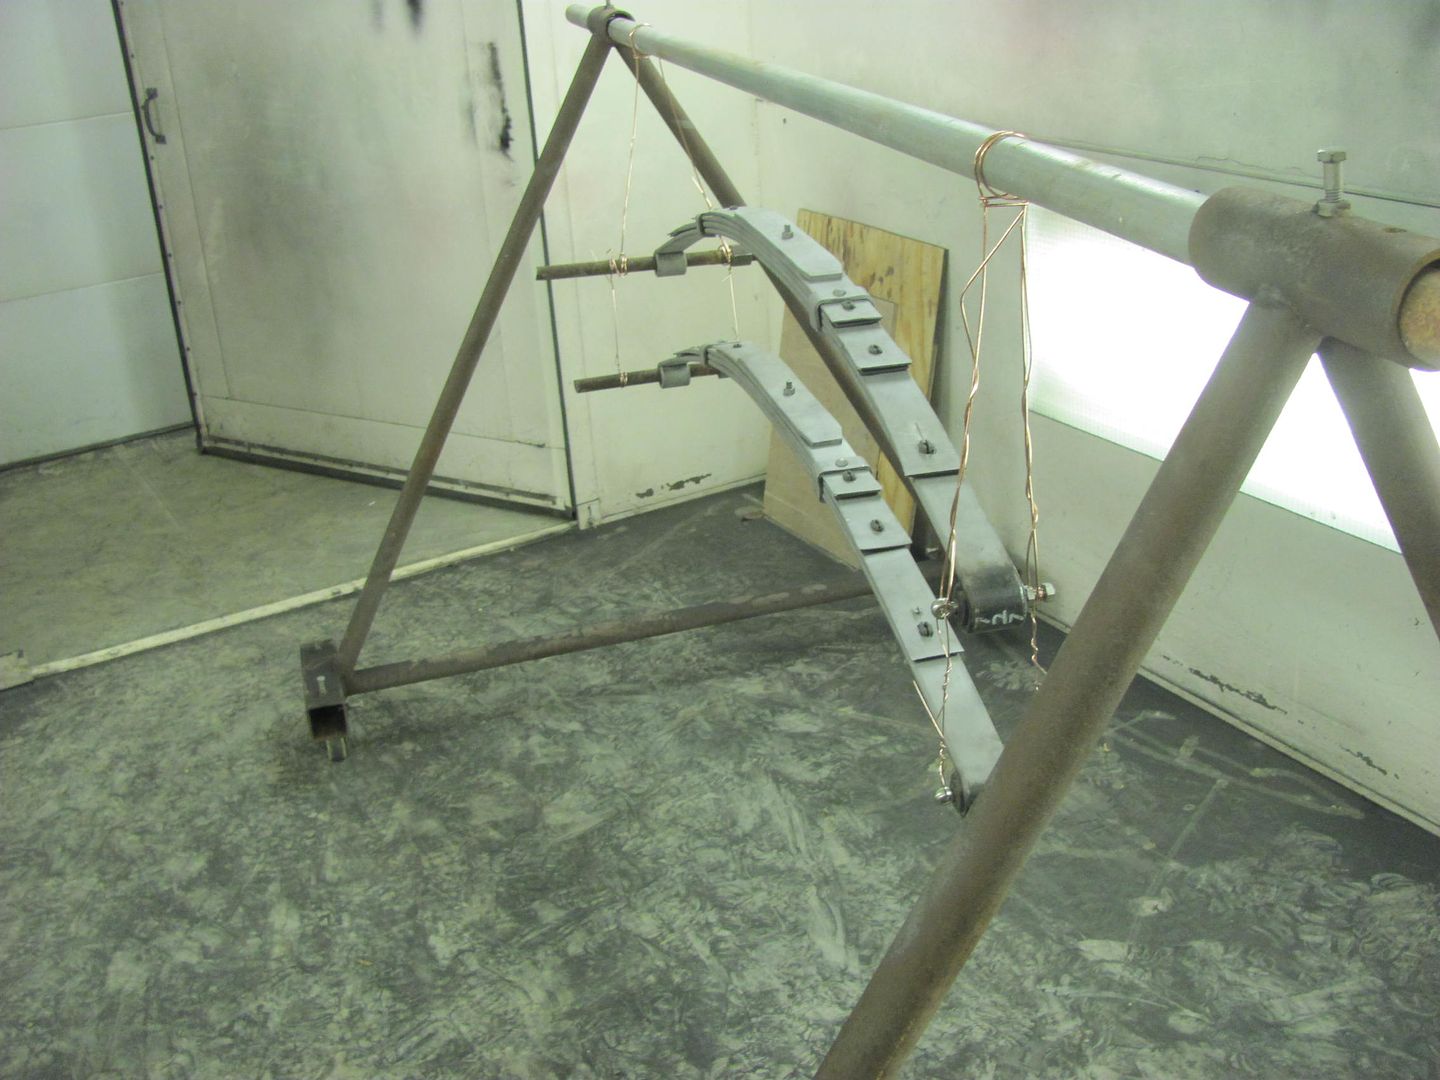 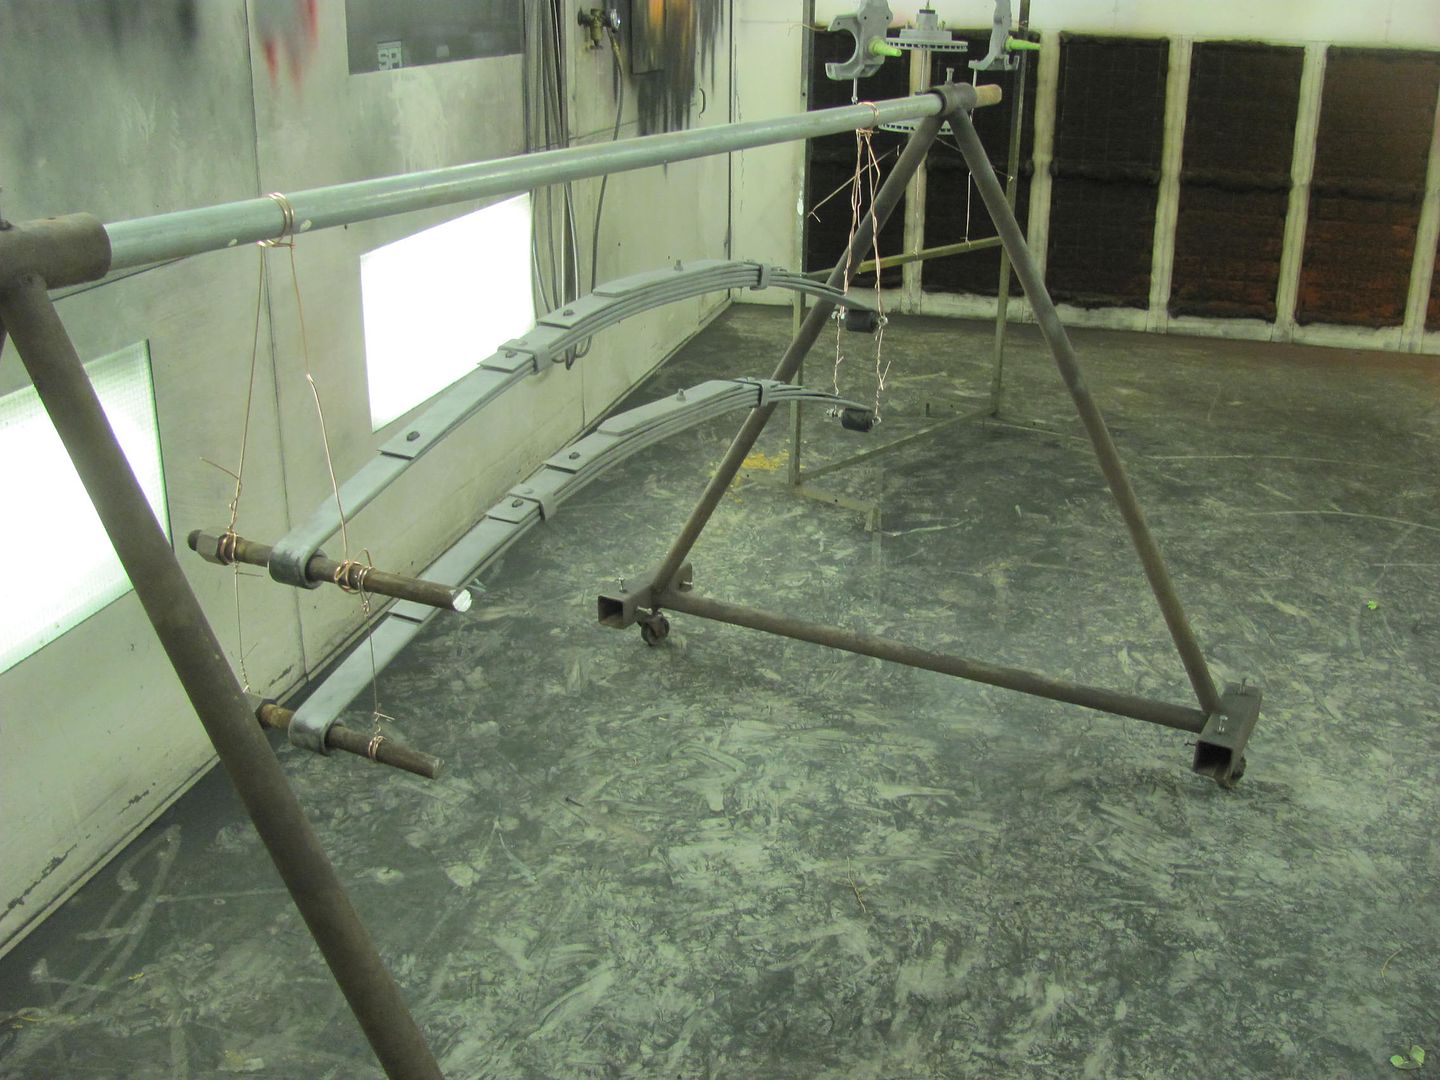 Parts prepped for epoxy primer tomorrow... 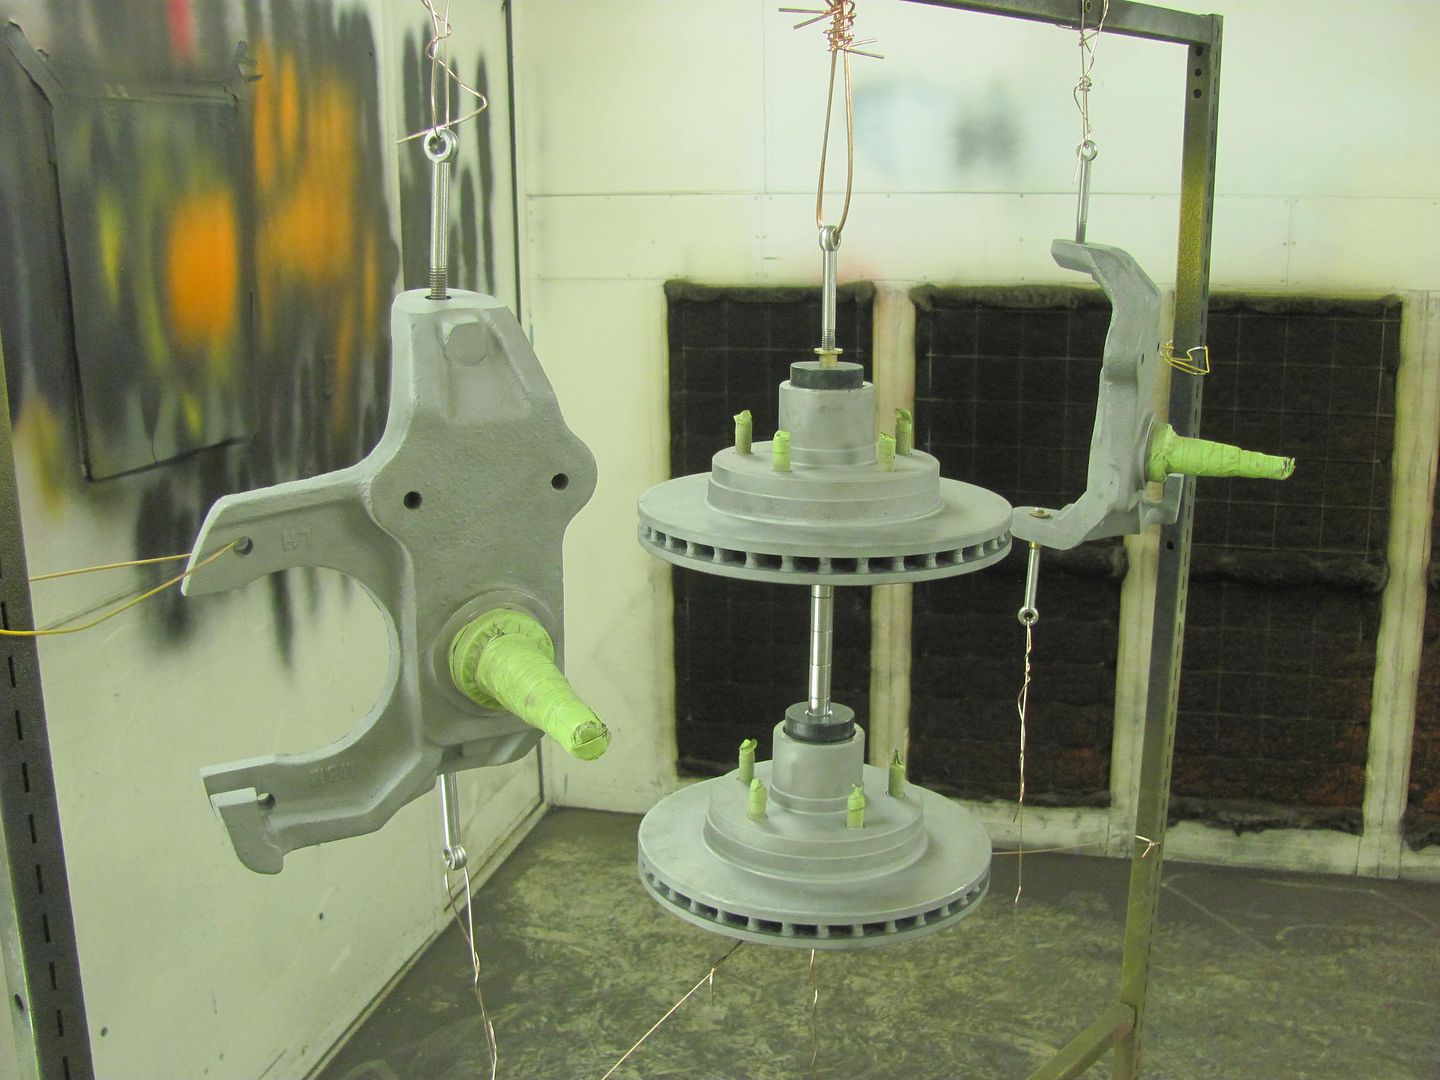 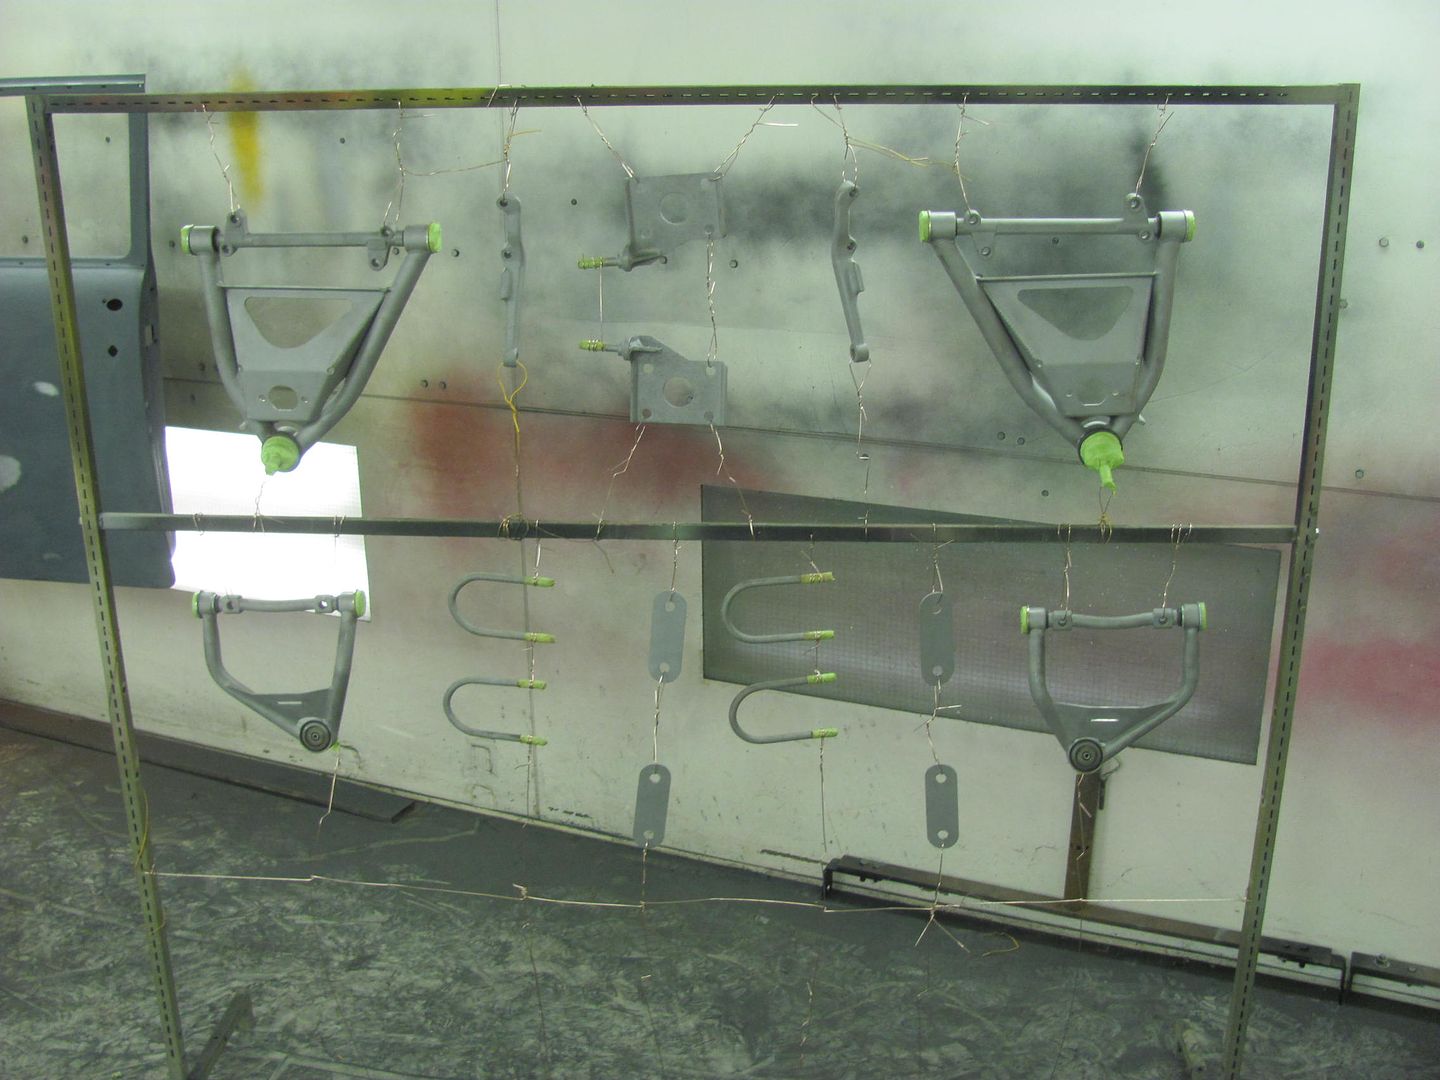 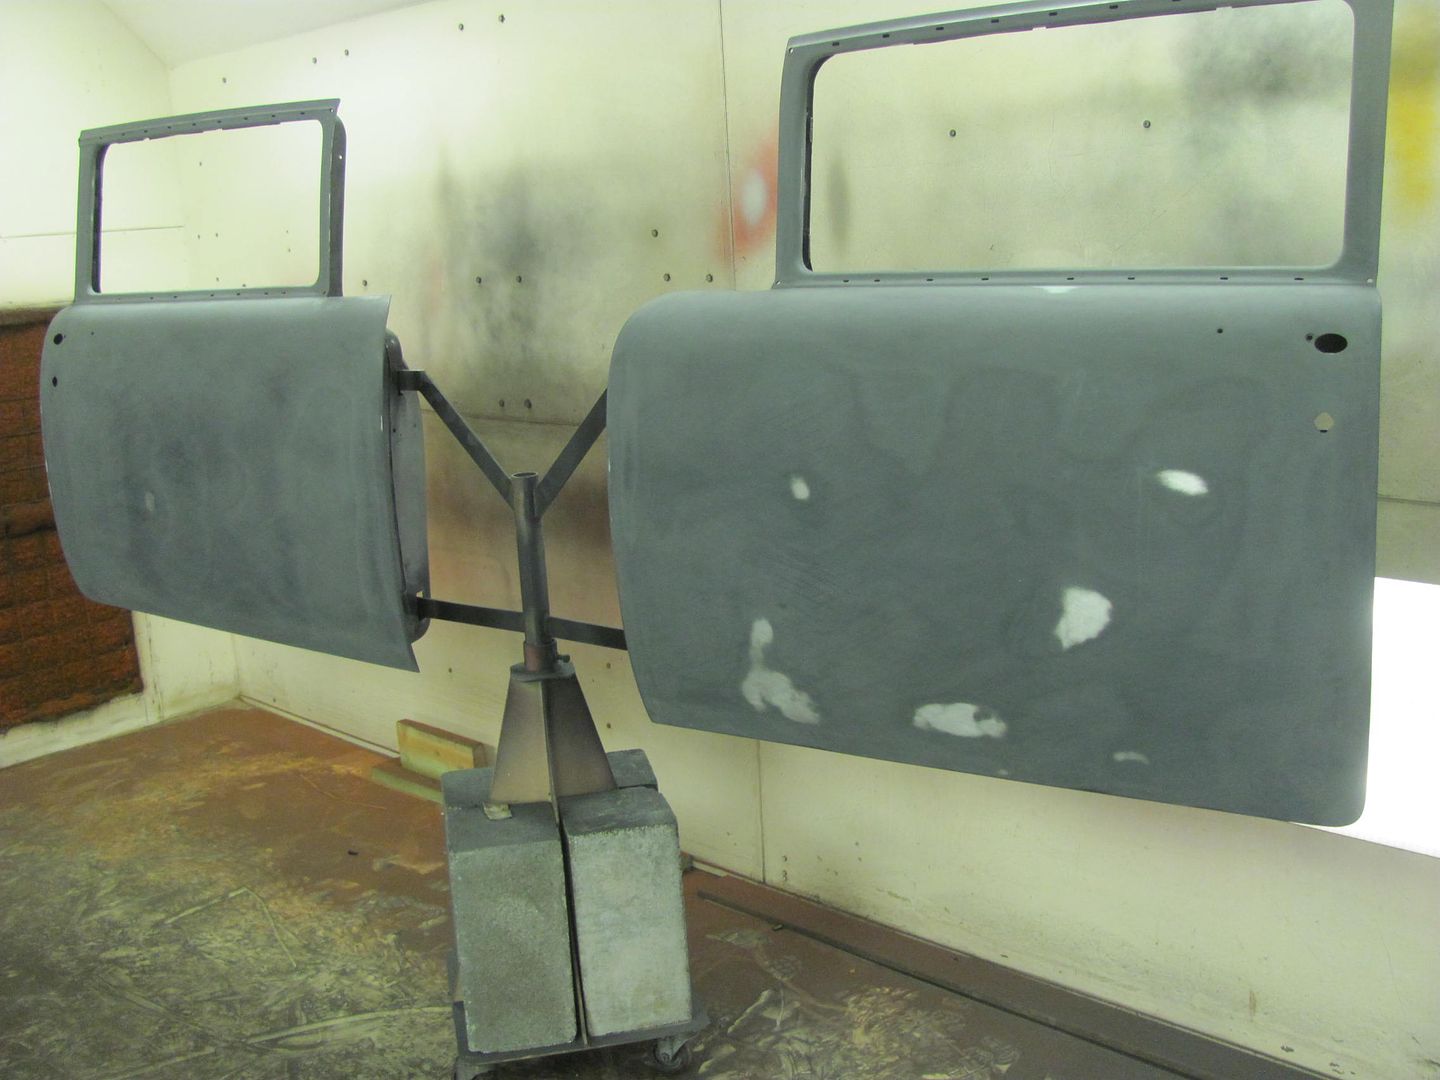 While I was getting these parts taped off, Kyle started blowing apart the rear end for media blasting.. 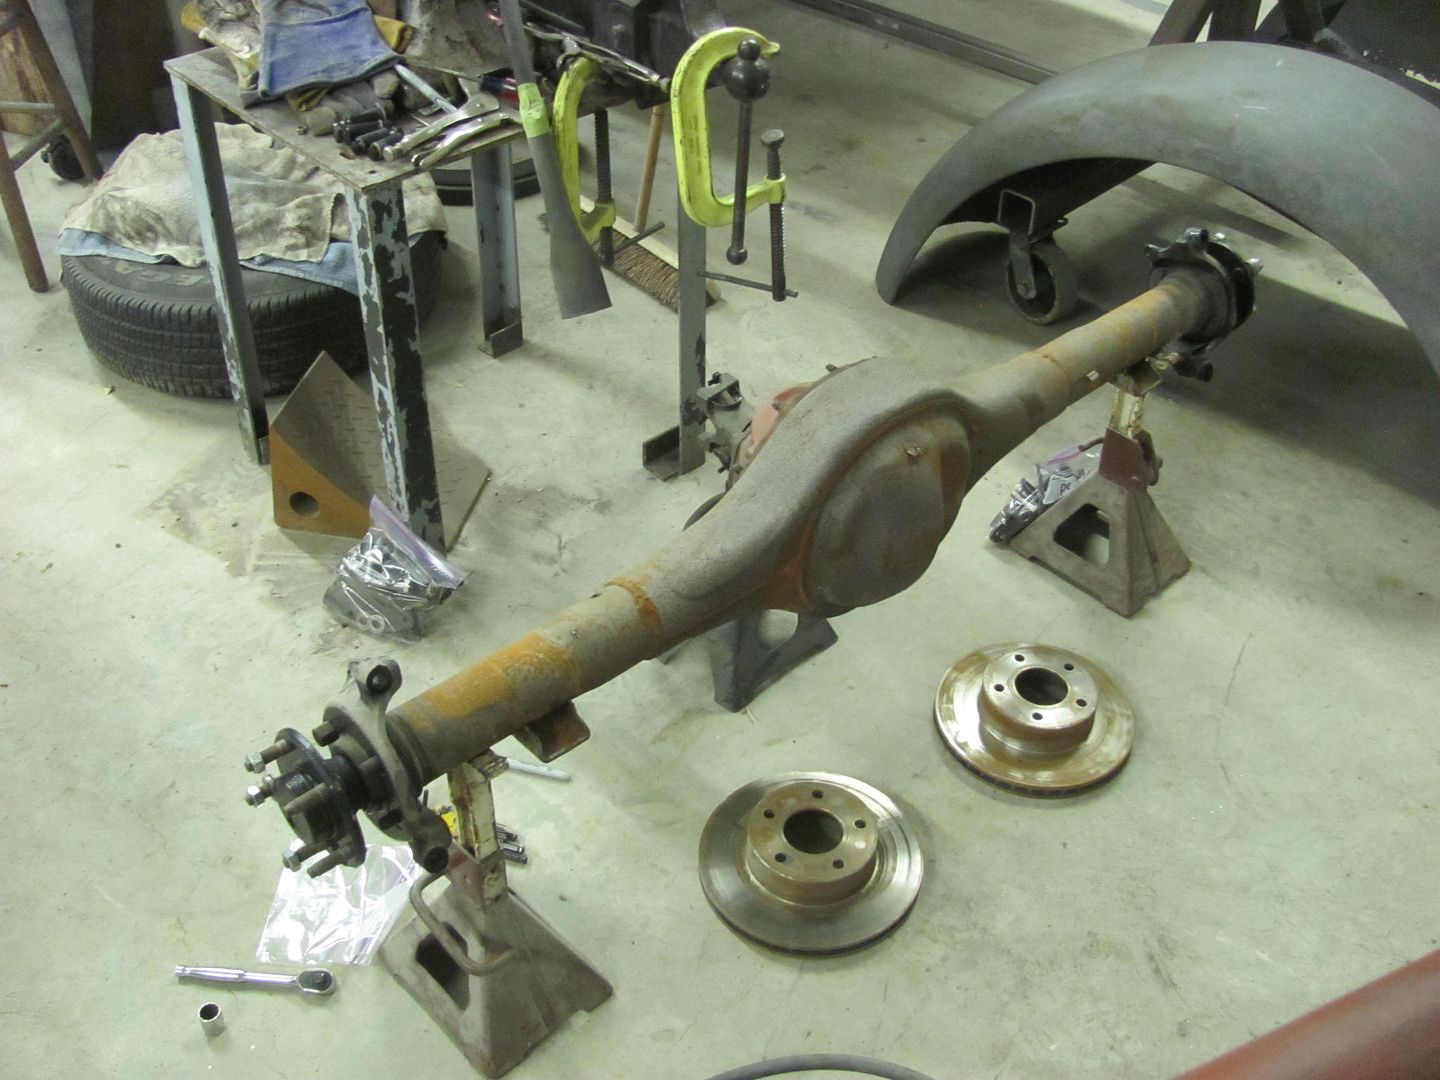
__________________
Robert |
|
|
|
|
01-01-2016, 10:07 PM
|
#605 |
|
Senior Member
 Join Date: Jul 2012
Location: Oblong, Illinois
Posts: 7,017
|
Re: 55 Wagon Progress
I like the way you have tied off the small pieces side to side so they don't move around when painting. A simple yet great idea.
Progress and parts are looking really good. |
|
|
|
|
01-03-2016, 12:15 AM
|
#606 |
|
Registered User
Join Date: Jan 2013
Location: Leonardtown, MD
Posts: 1,636
|
Re: 55 Wagon Progress
yeah, that's one thing I can't stand is parts spinning around while you're trying to spray them..
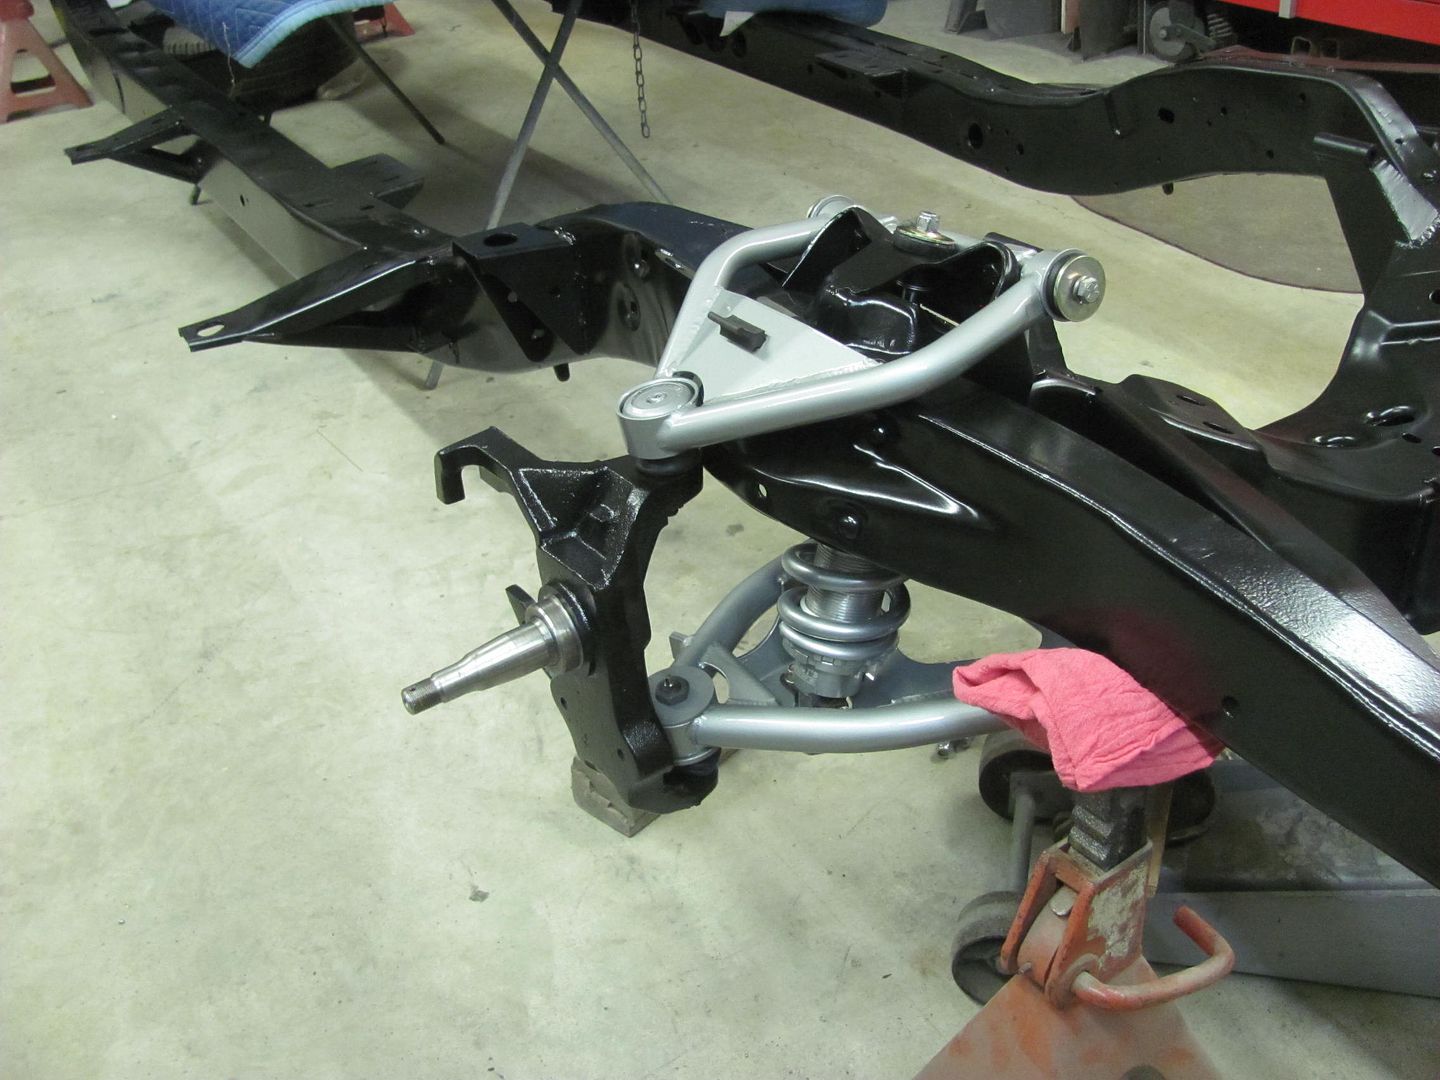
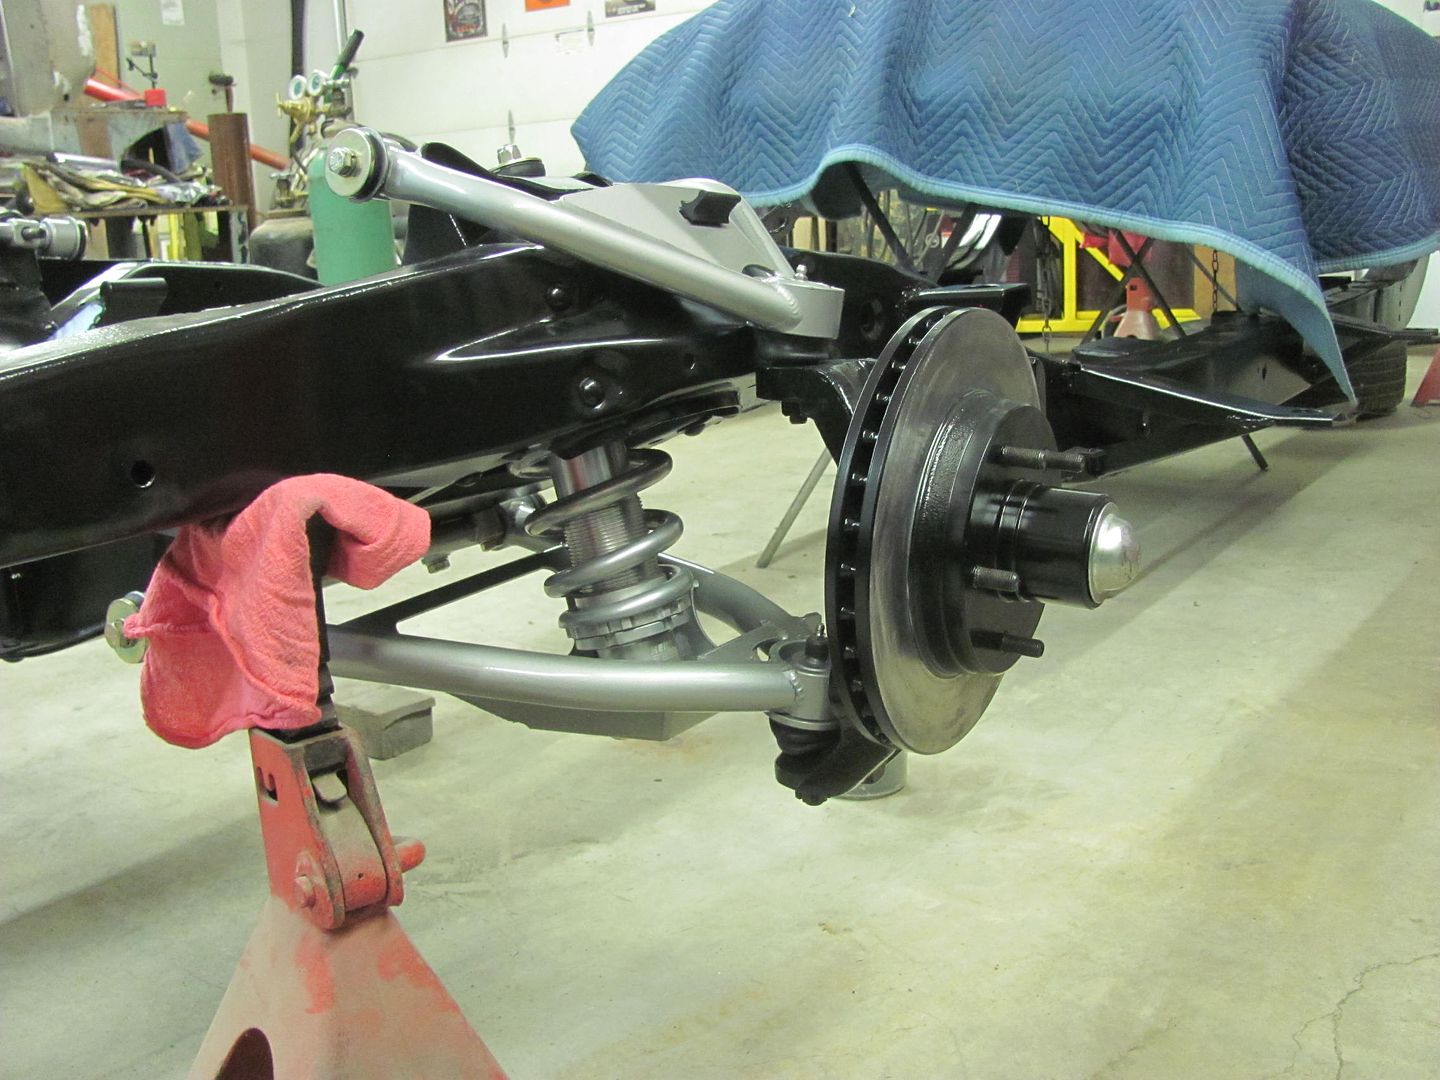
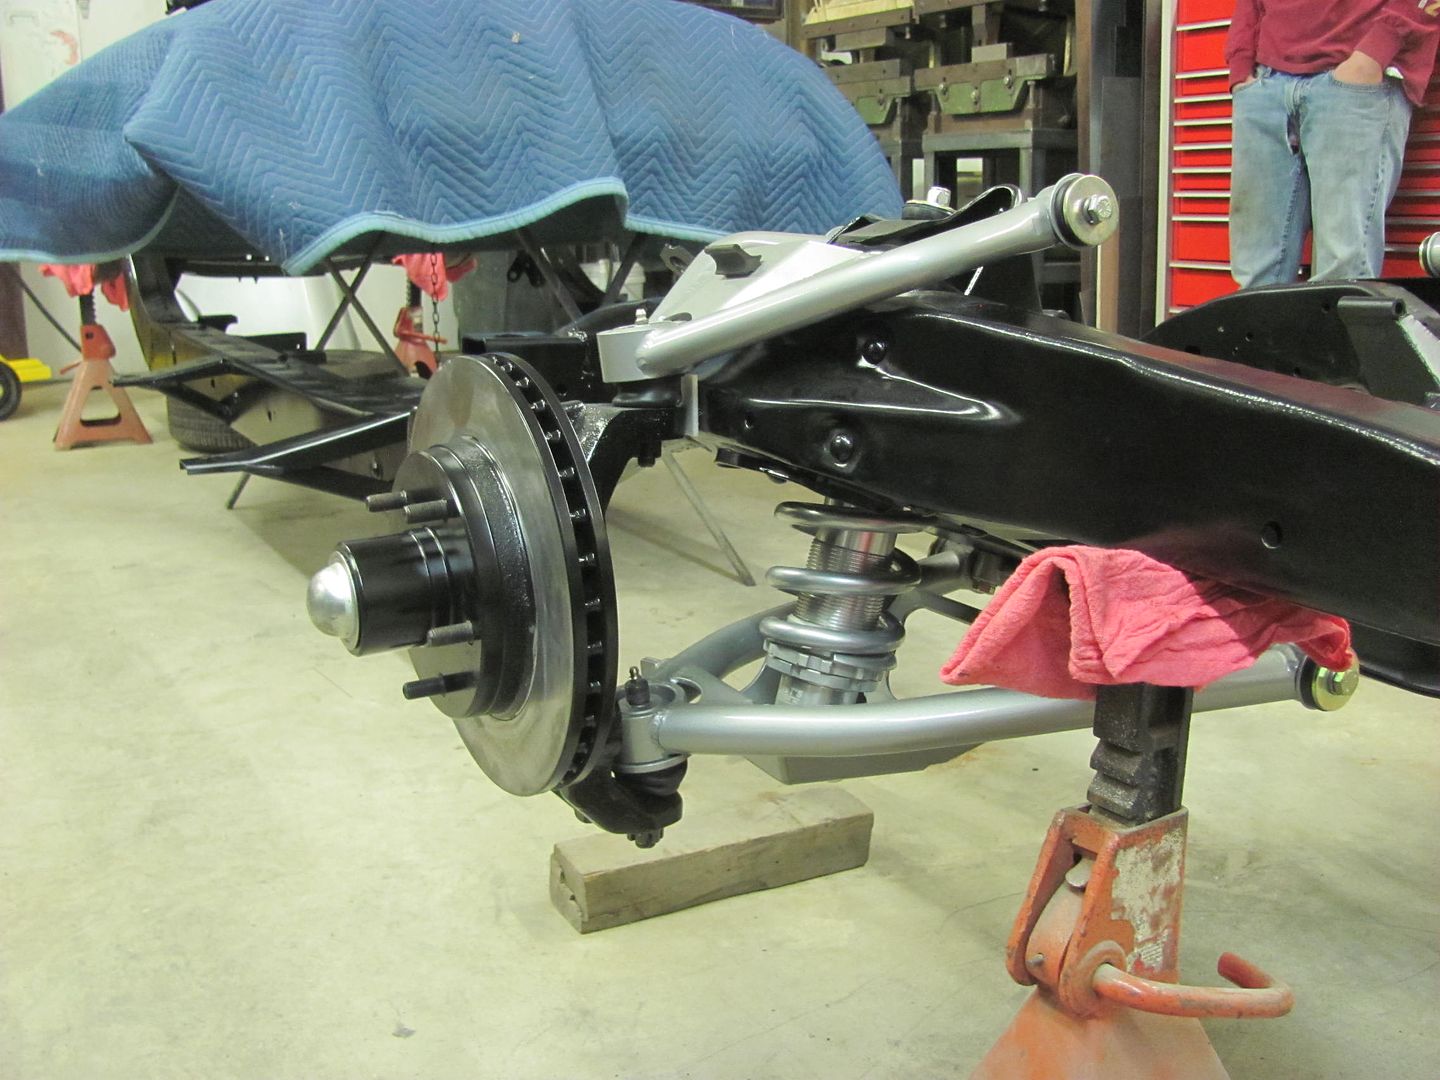
Today Kyle worked on getting the axle pads welded on.... 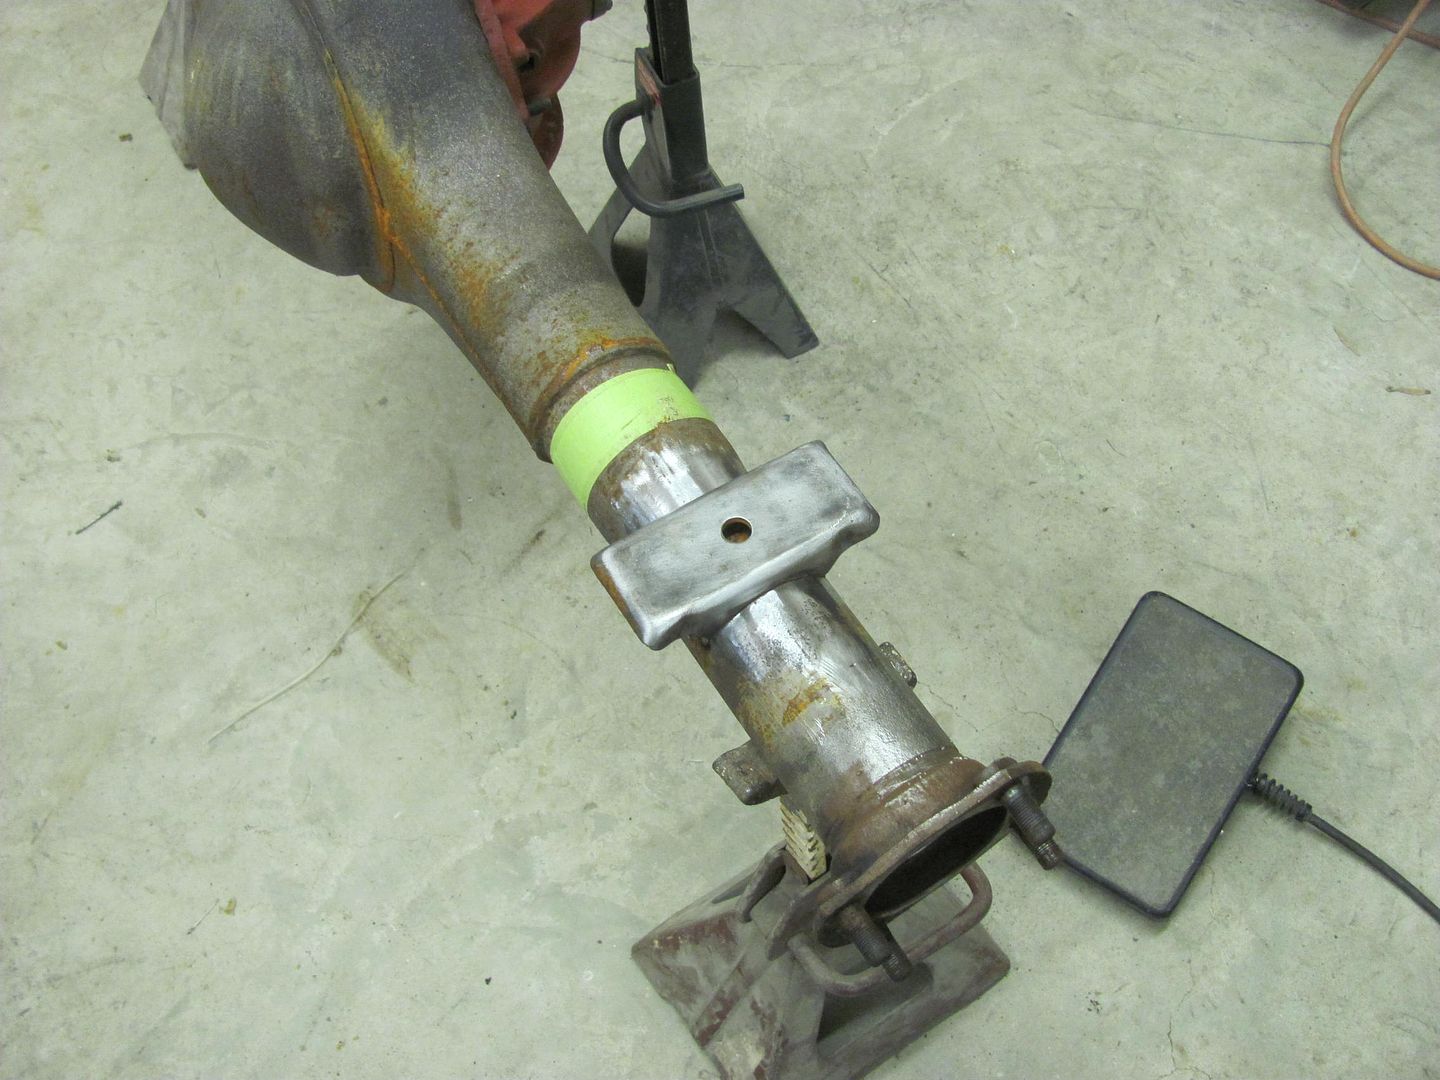 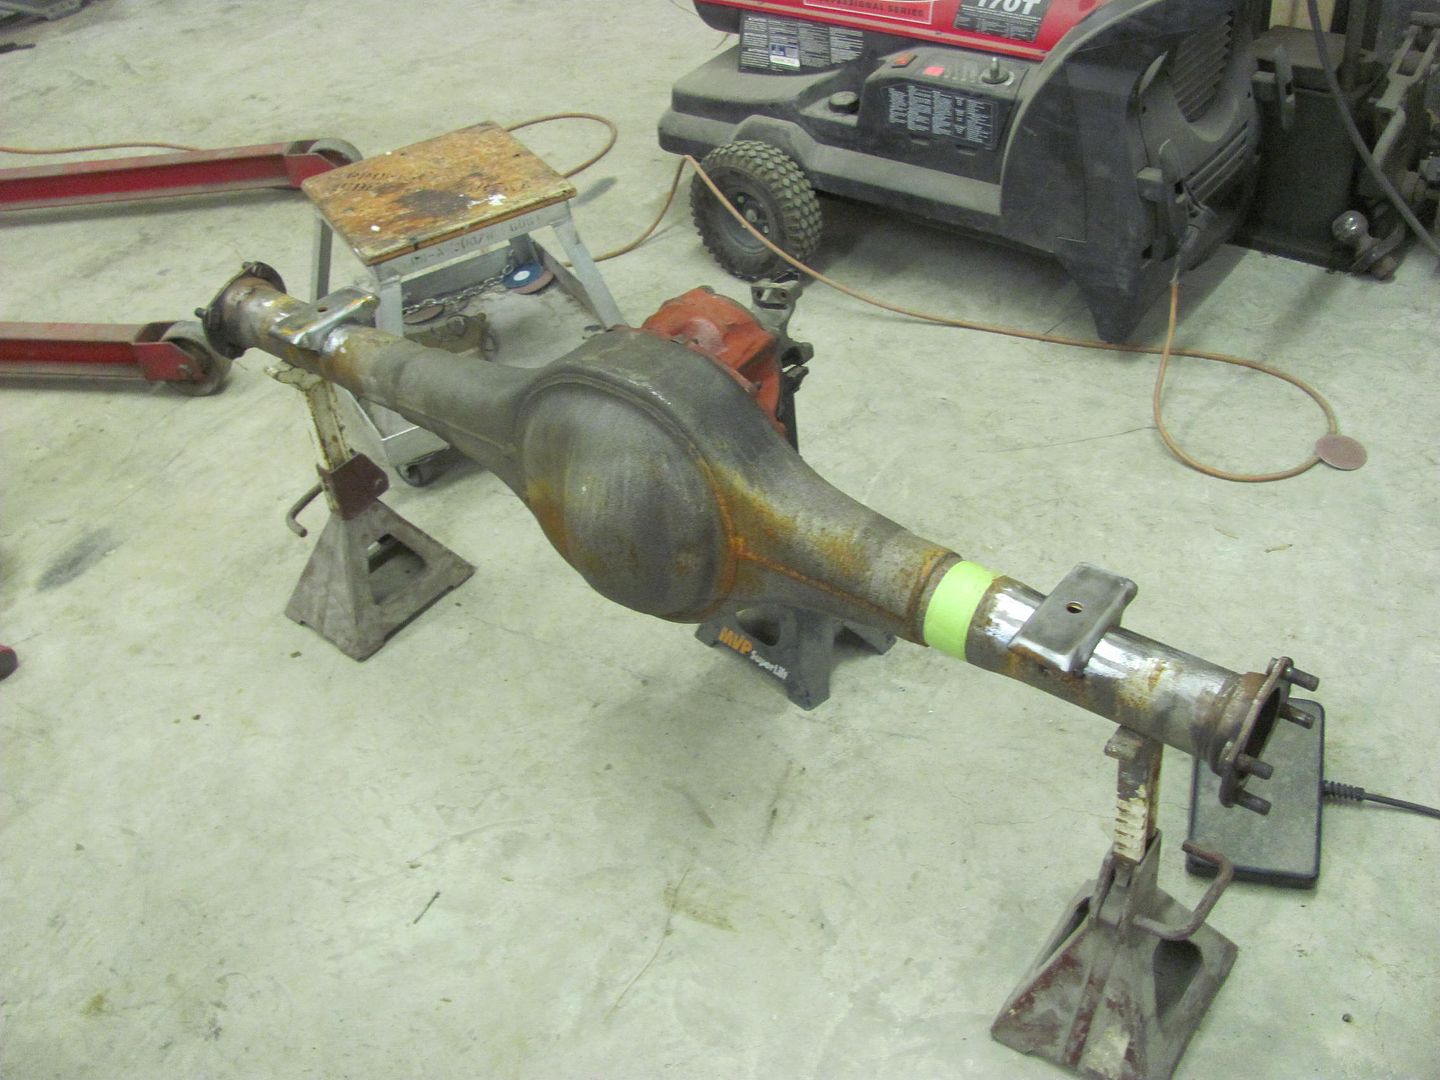 .....while I was spraying some SPI epoxy.... 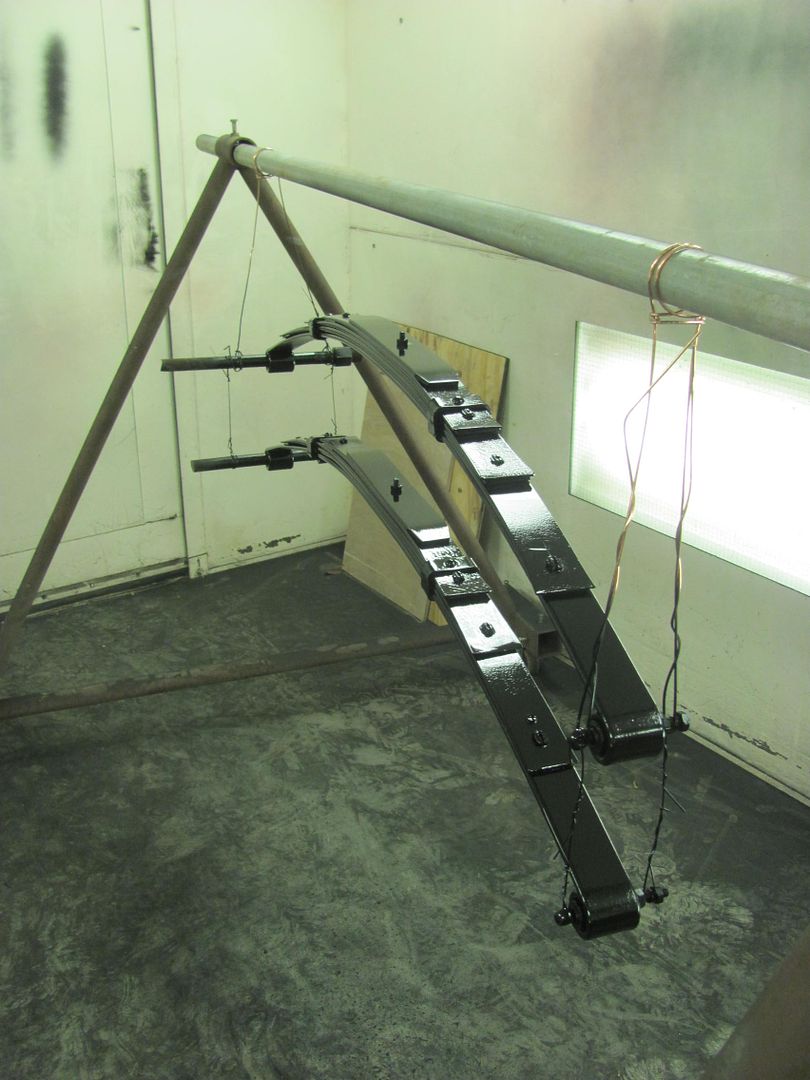 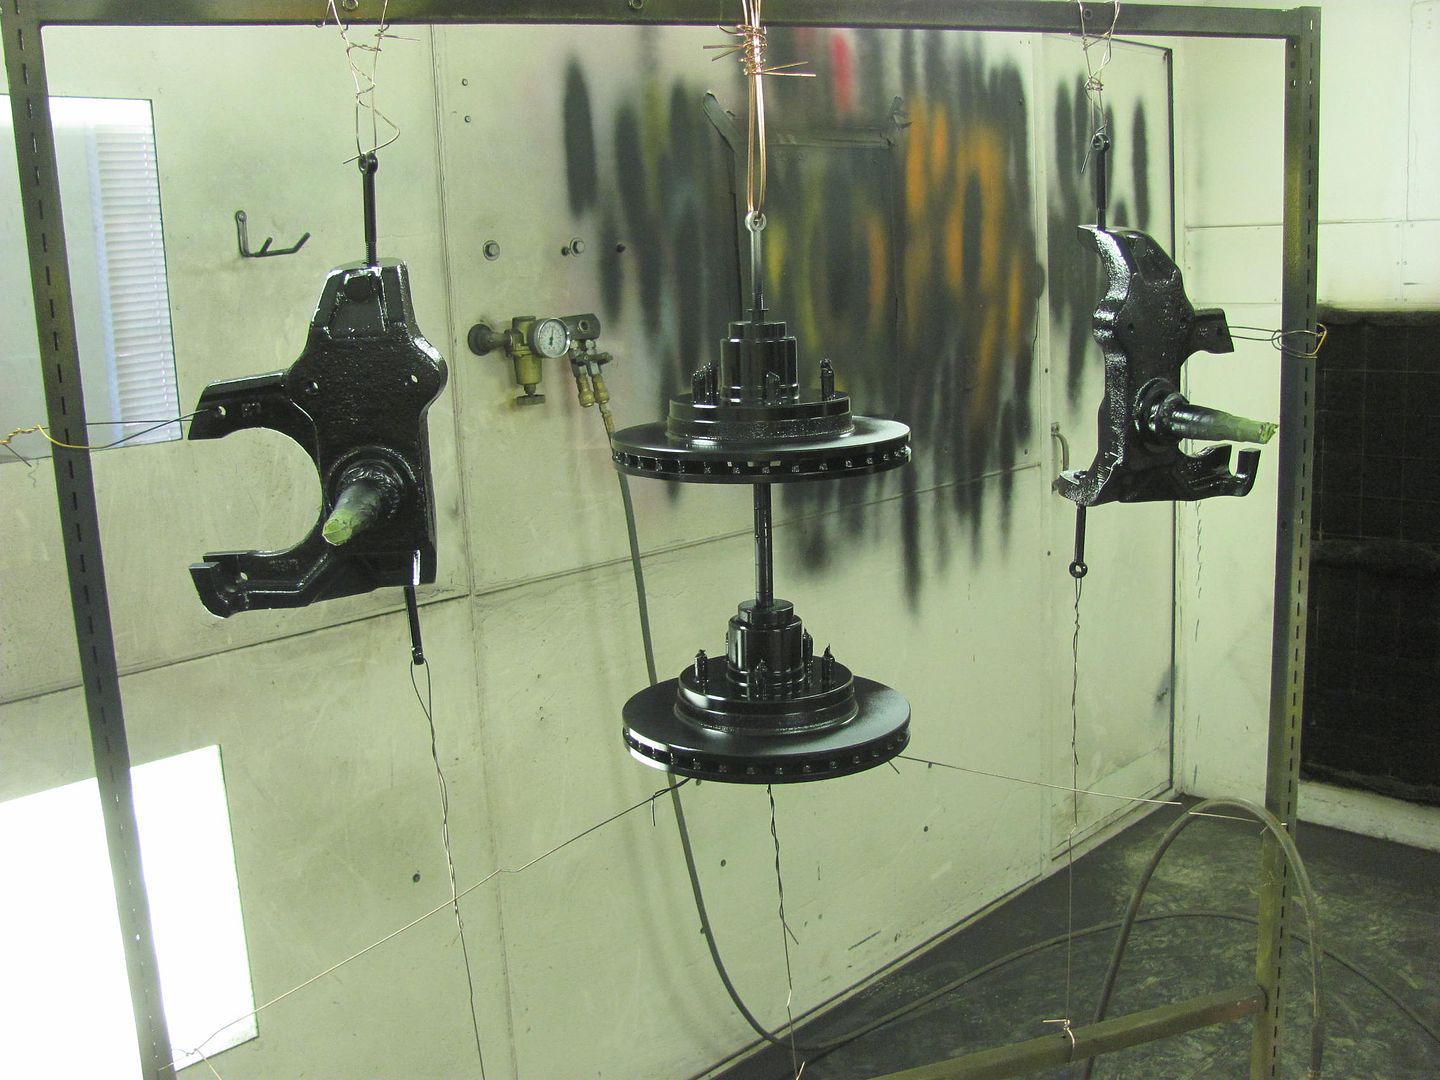 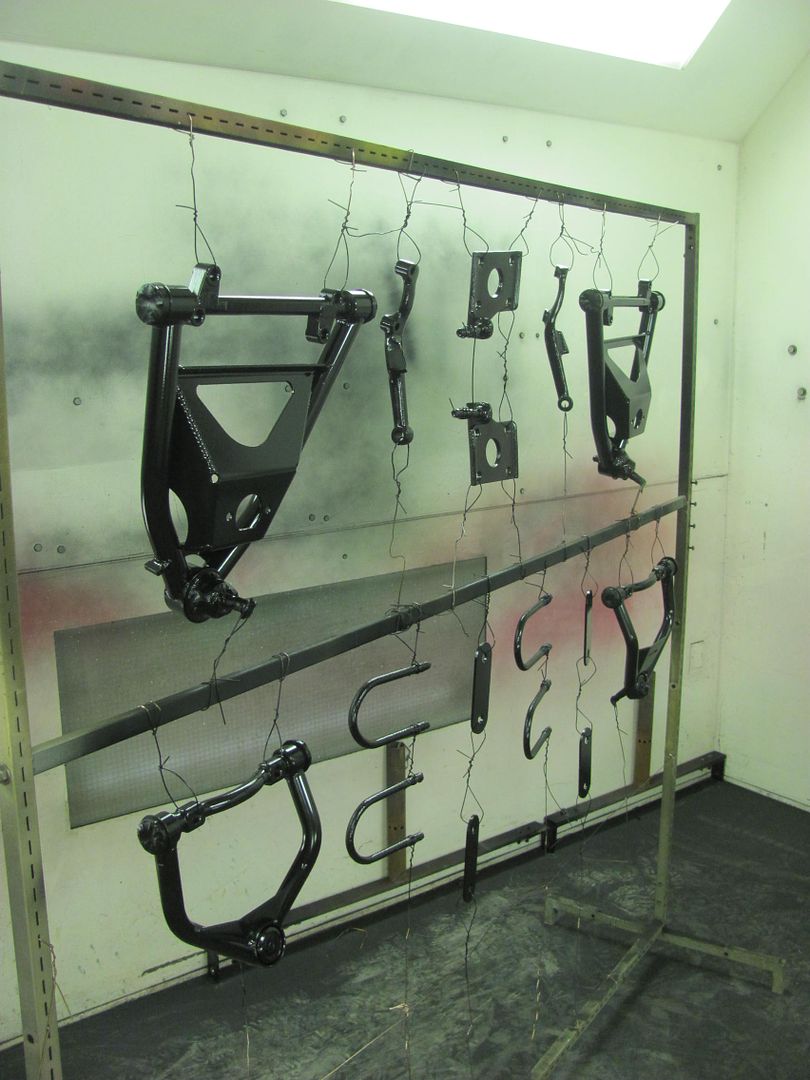 .....and while I had some epoxy mixed, we poured some inside the tailgate to seal the inner and outer skins .. 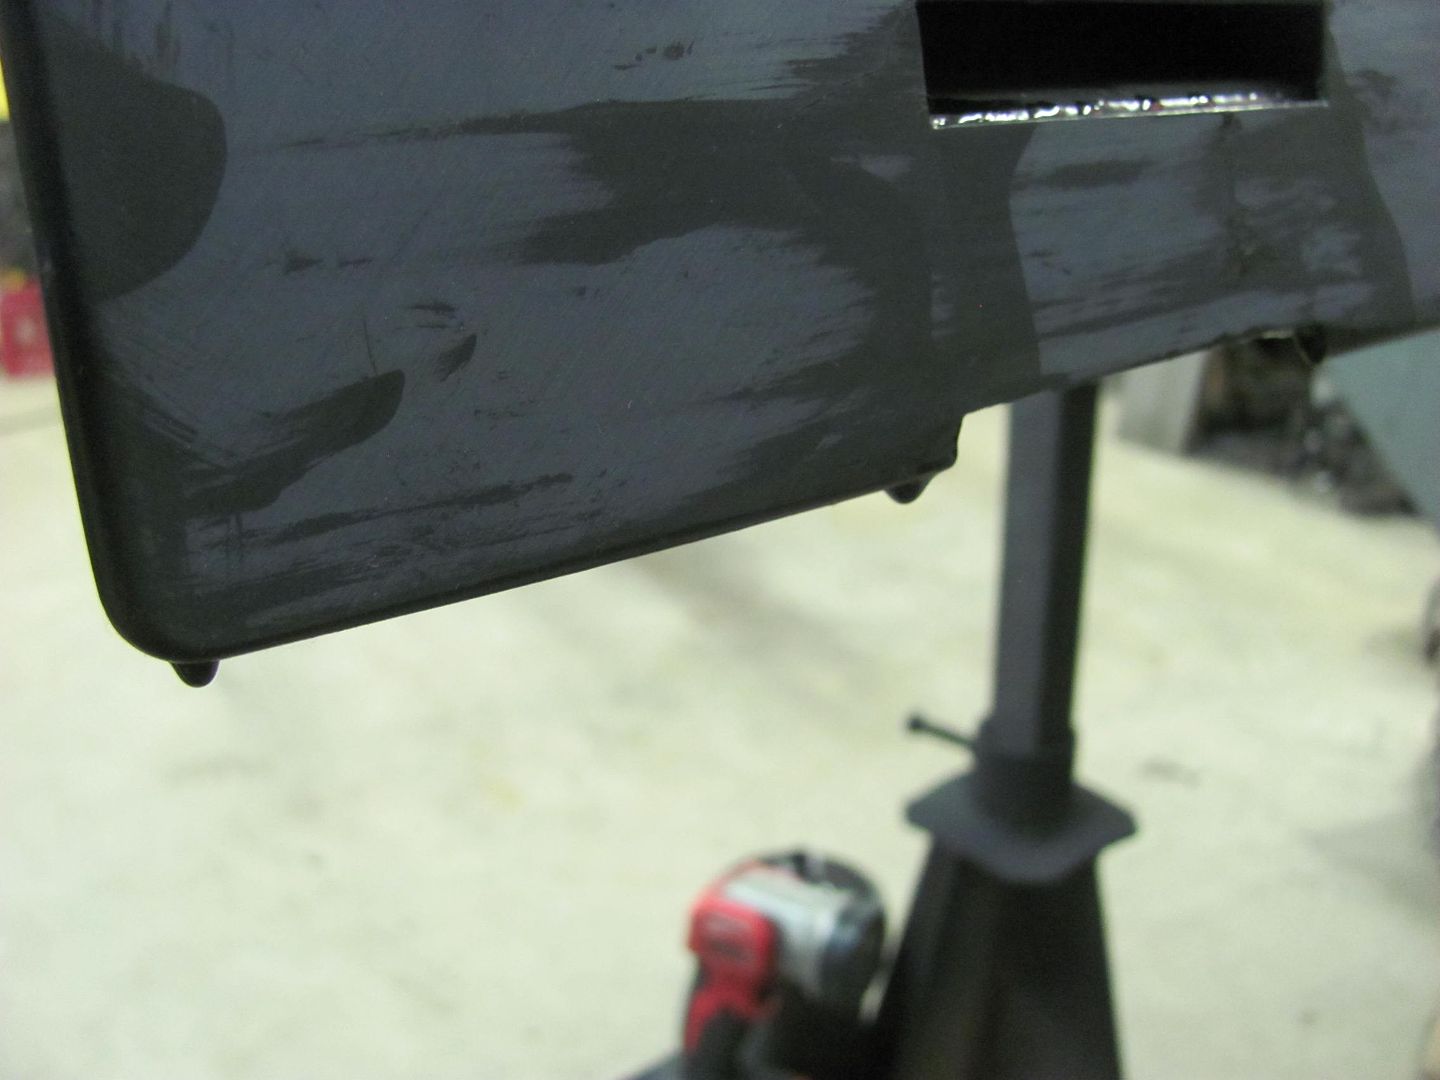 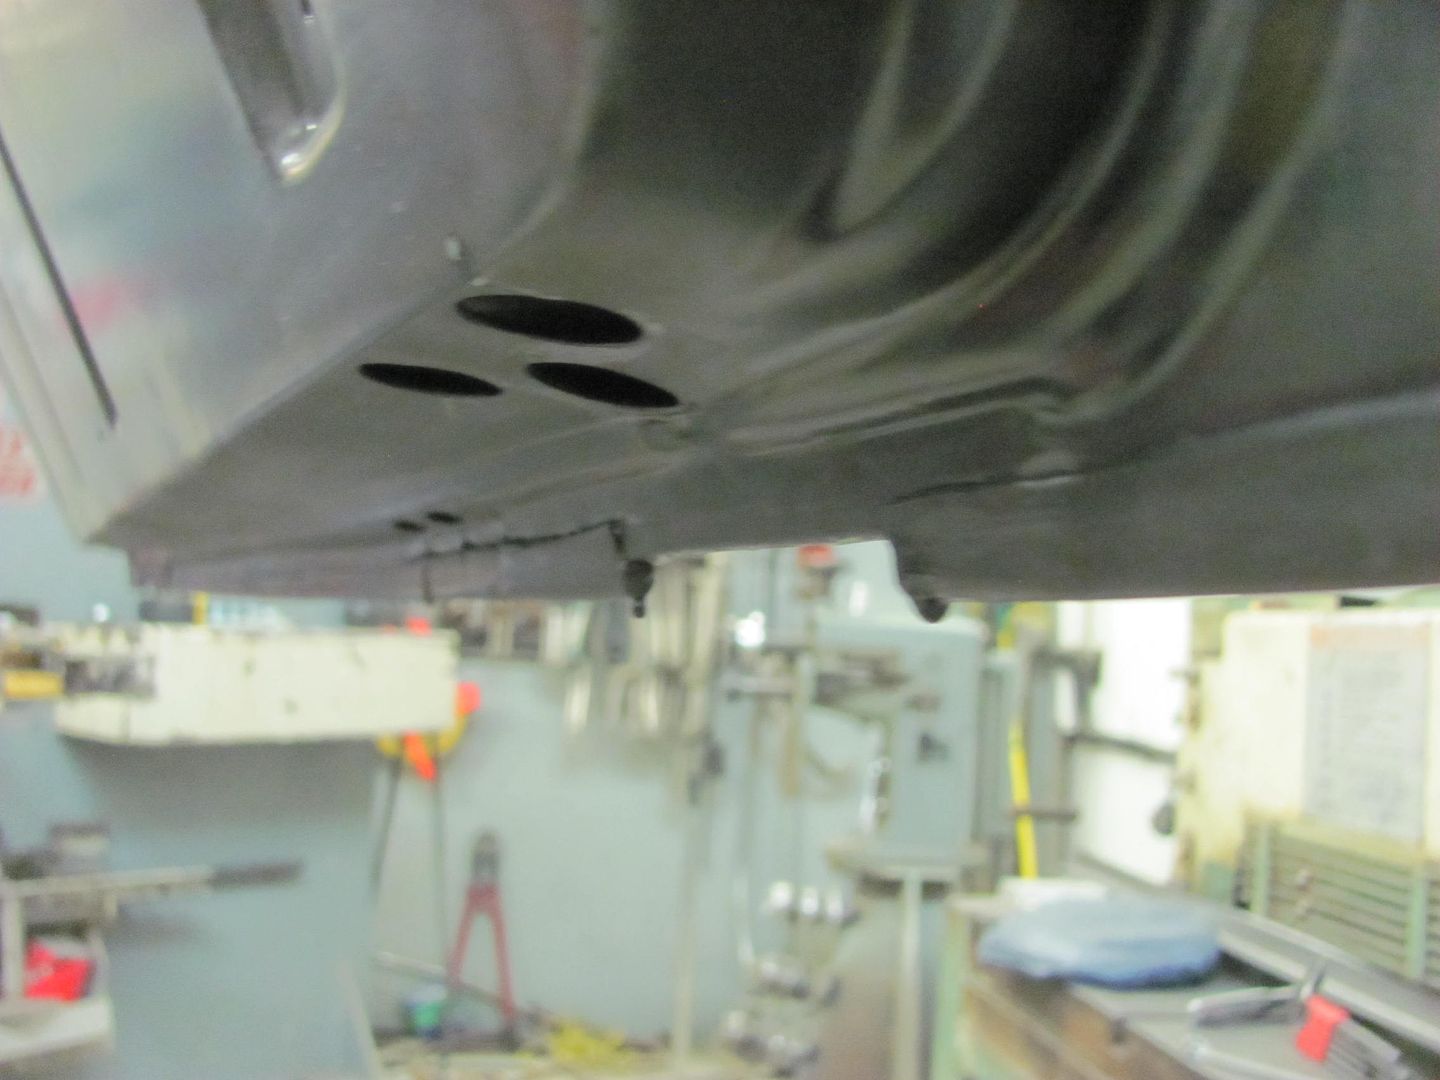  Axle pads done, then heated the opposite side to counter the weld shrinking... 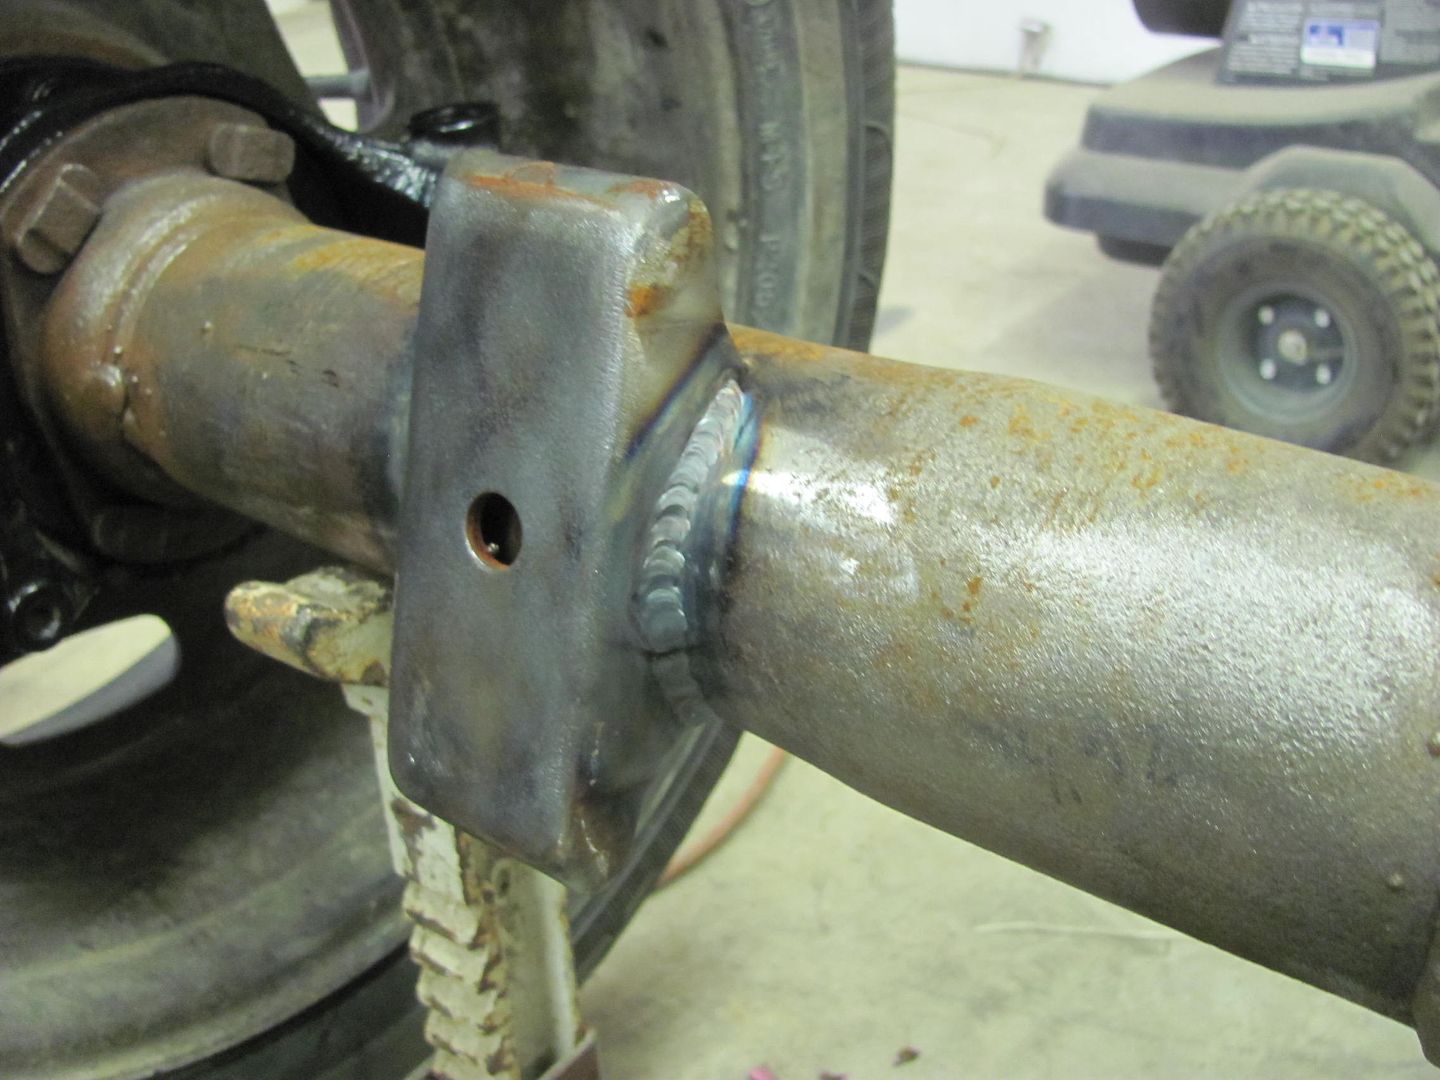 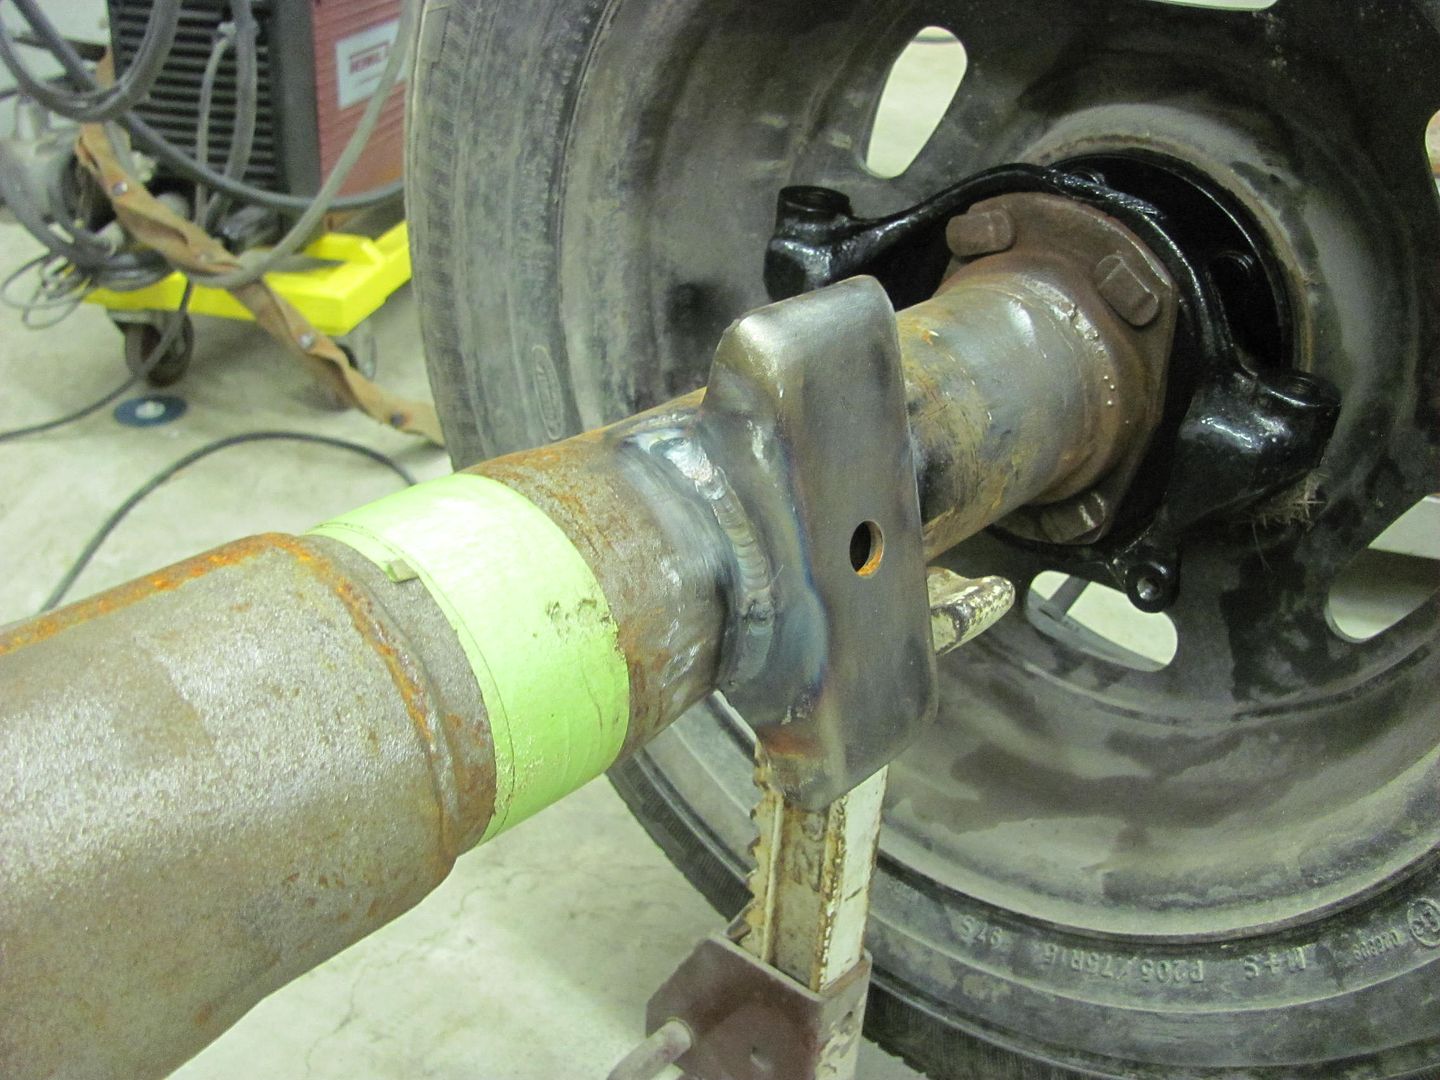 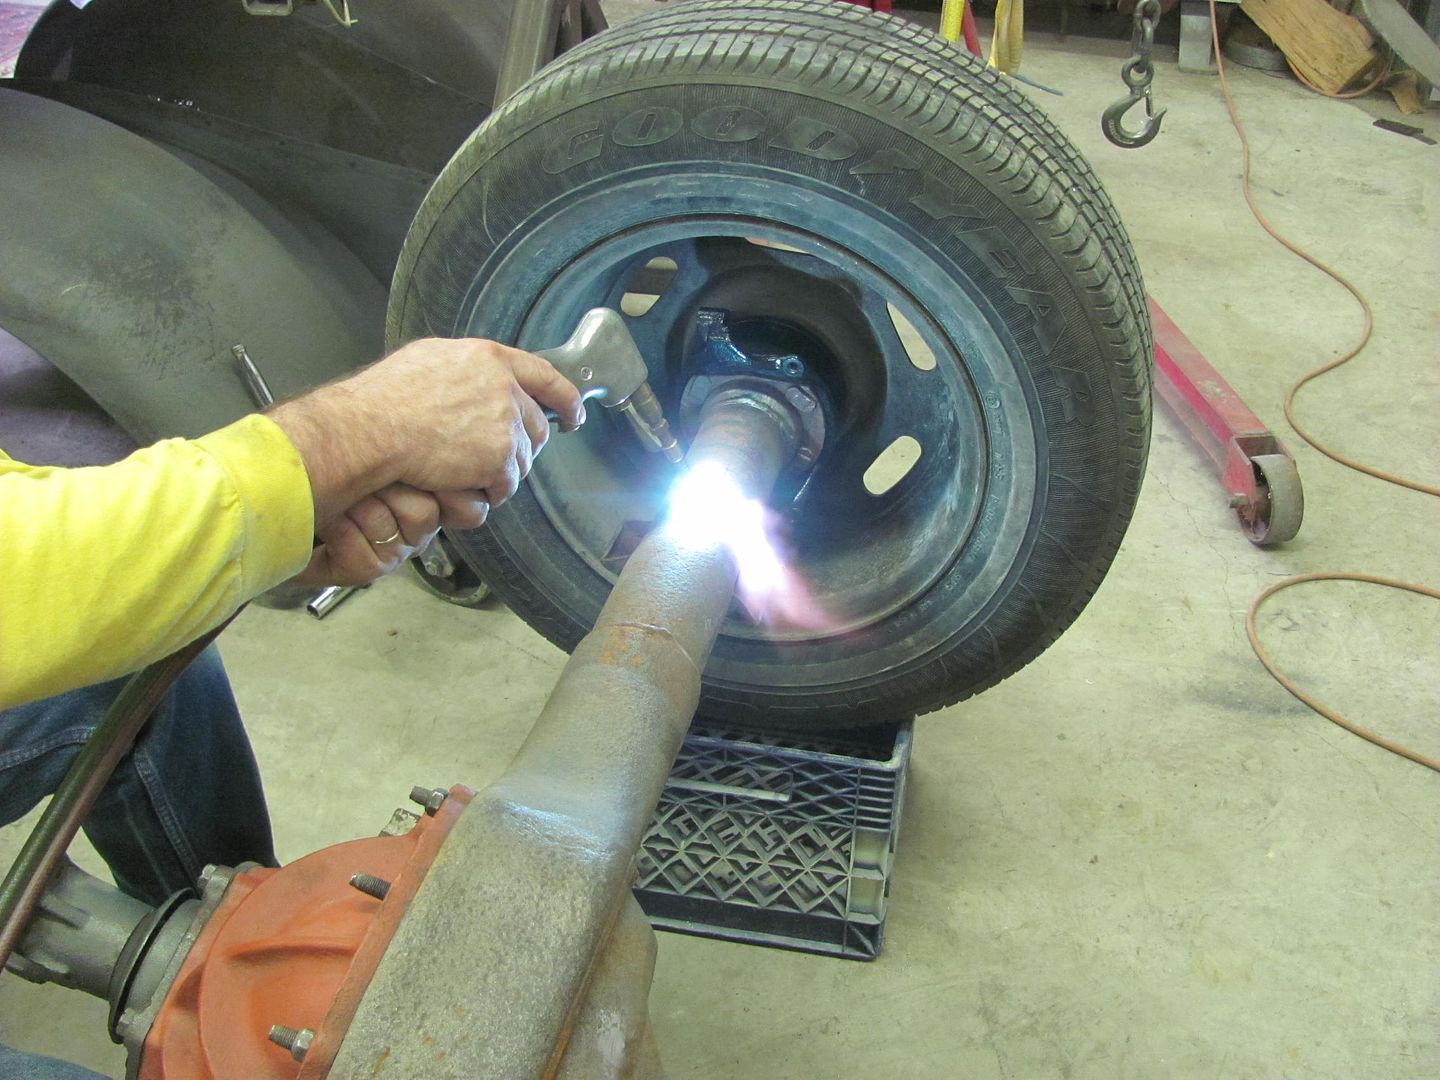 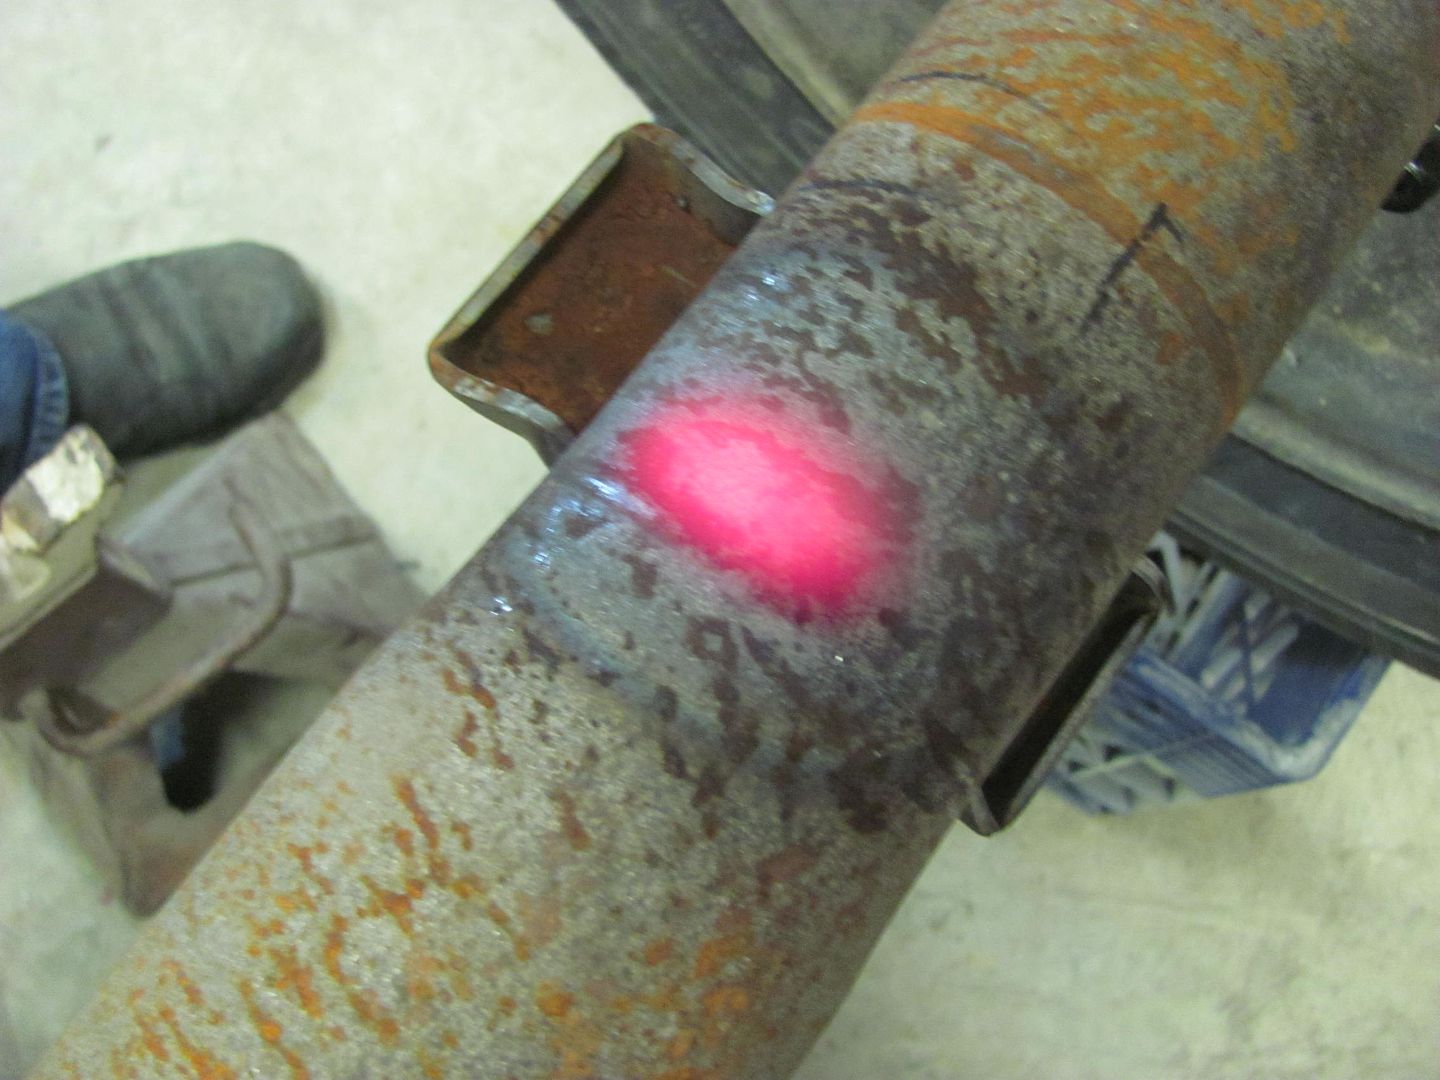 It's real close, just a little more straightening to do... other parts from the booth today.... 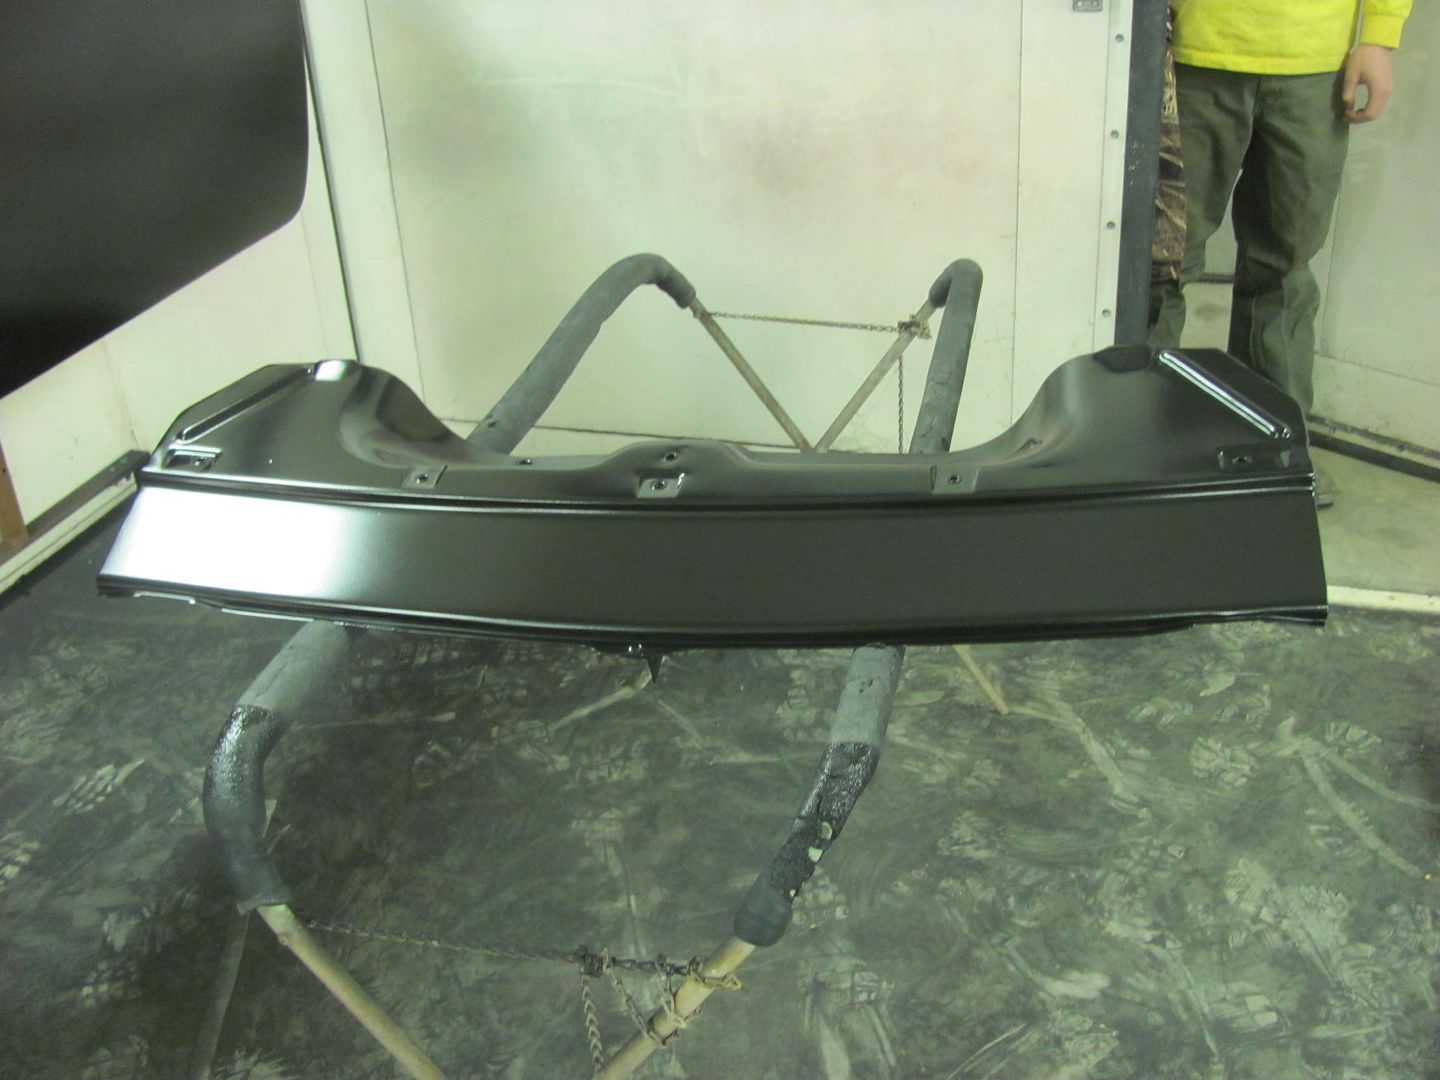 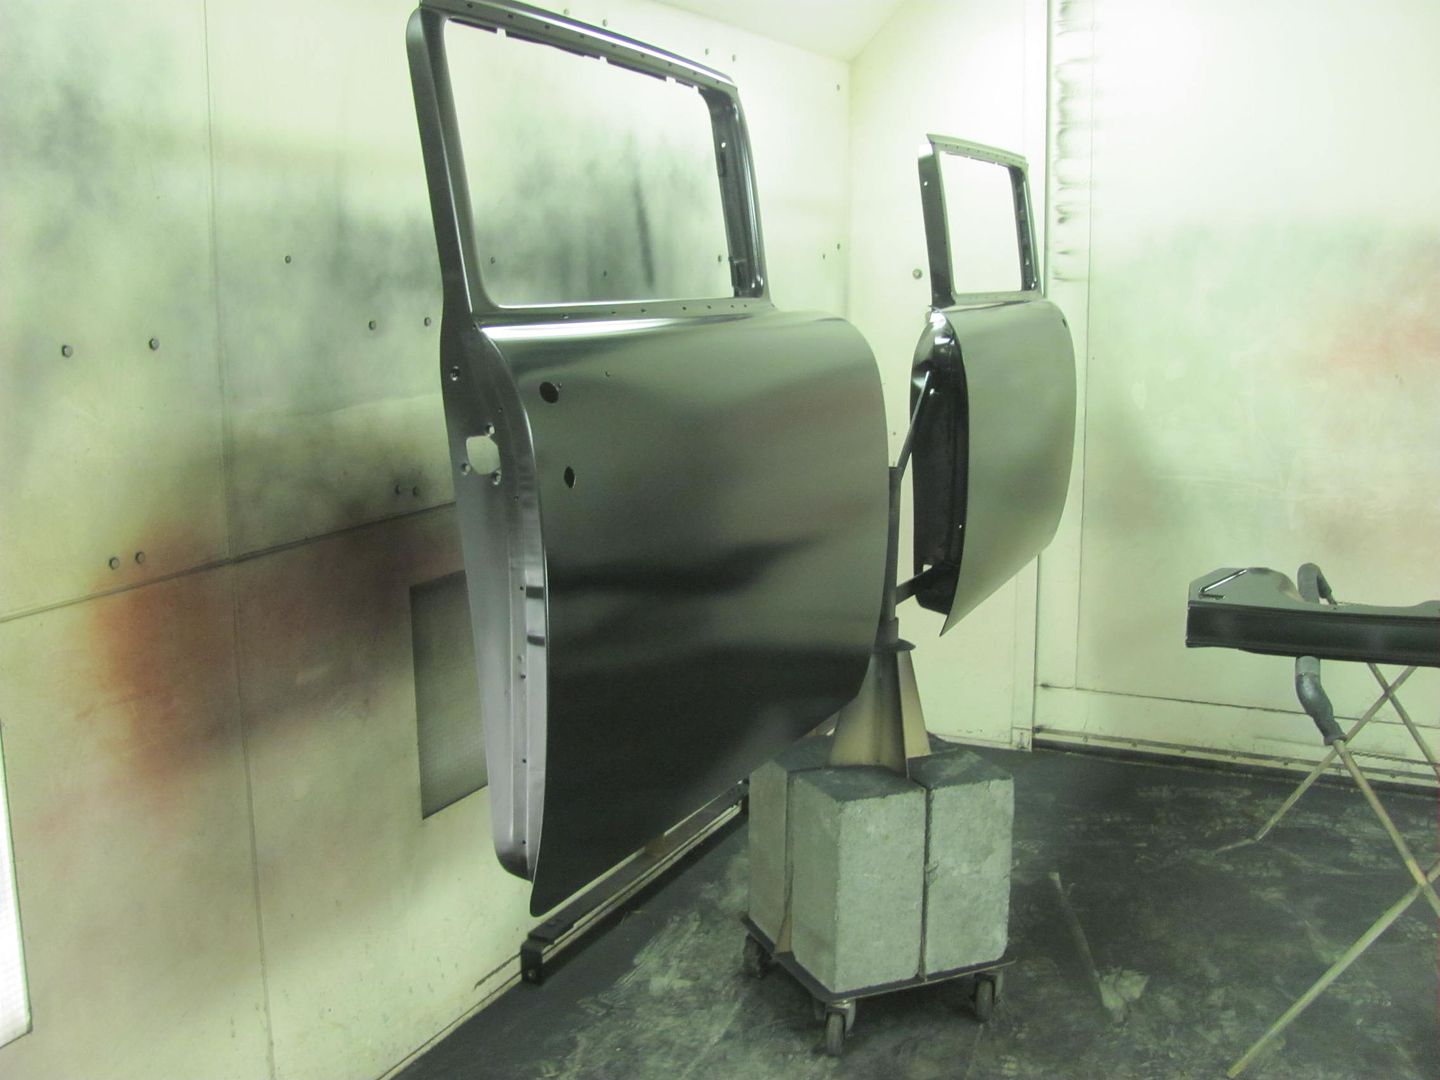 ....and then sprayed some silver metallic Imron on the A-arms.. 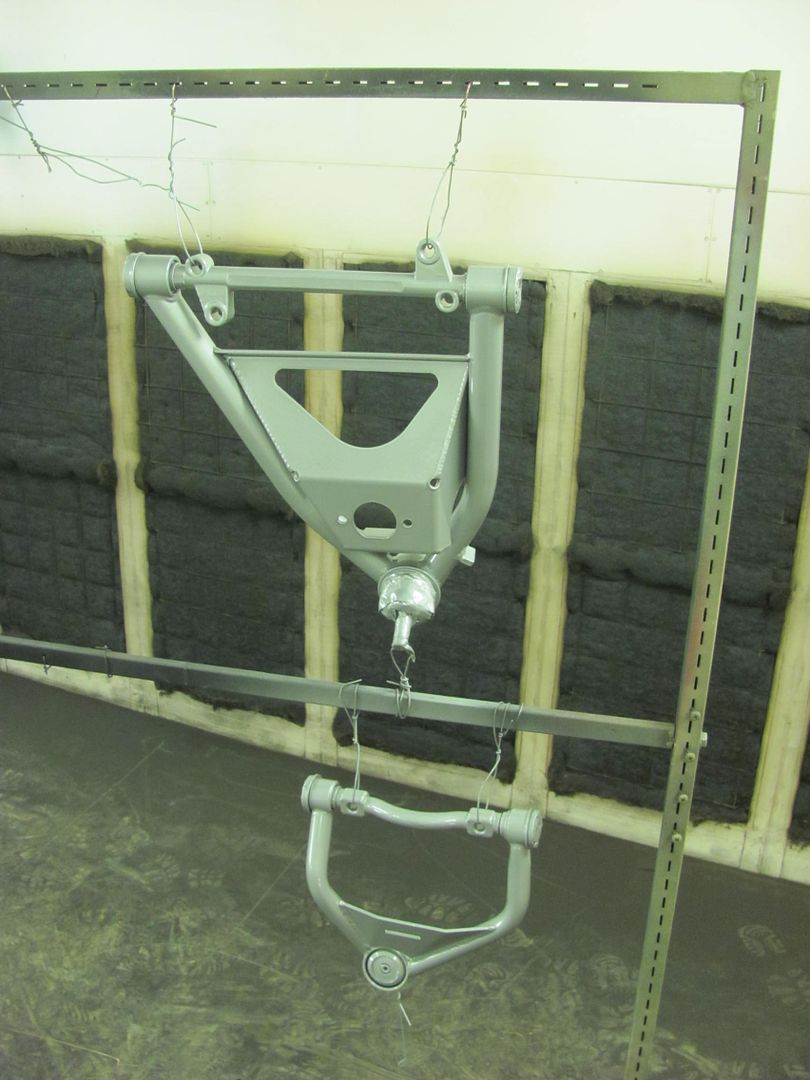 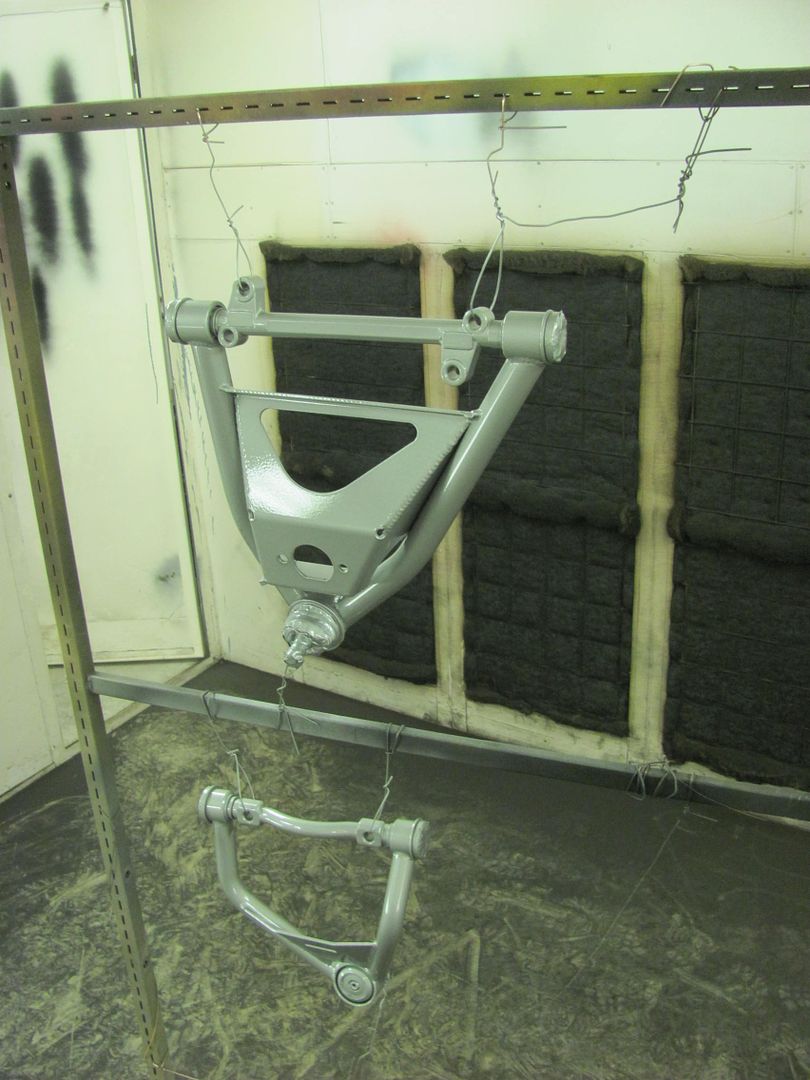
__________________
Robert |
|
|
|
|
01-03-2016, 10:49 AM
|
#607 |
|
Registered User
Join Date: Sep 2013
Location: Glendale, AZ
Posts: 289
|
Re: 55 Wagon Progress
Imron!!.......... ACKKkkkkkk......... I use to paint Aircraft with that... yuck!
(Great Product though) |
|
|
|
|
01-03-2016, 11:06 AM
|
#608 | |
|
Senior Member
Join Date: Mar 2011
Location: West Plains, Missouri
Posts: 7,555
|
Re: 55 Wagon Progress
Quote:
__________________
my build thread: http://67-72chevytrucks.com/vboard/s...d.php?t=459839 Jimbo's long bed step build:http://67-72chevytrucks.com/vboard/s...t=464626<br /> |
|
|
|
|
|
01-03-2016, 11:13 AM
|
#609 |
|
Registered User
Join Date: Jan 2013
Location: Leonardtown, MD
Posts: 1,636
|
Re: 55 Wagon Progress
this gallon can has been sitting around for quite awhile (going on 20 years). Can't bring myself to throw it away, for things like these a-arms it gives a tough as nails finish...
__________________
Robert |
|
|
|
|
01-03-2016, 03:06 PM
|
#610 |
|
Registered User
Join Date: Oct 2007
Location: Spanaway
Posts: 8,451
|
Re: 55 Wagon Progress
I am curious on the heating of the opposite side of the perches, was there a visible amount of warpage after welding or was this step more just precautionary?
__________________
Mike. Swamp Rat build thread : http://67-72chevytrucks.com/vboard/s...d.php?t=595019 72 3/4T 4X4 4" BDS Lift 33" BFG's |
|
|
|
|
01-03-2016, 03:43 PM
|
#611 |
|
Registered User
Join Date: Jan 2013
Location: Leonardtown, MD
Posts: 1,636
|
Re: 55 Wagon Progress
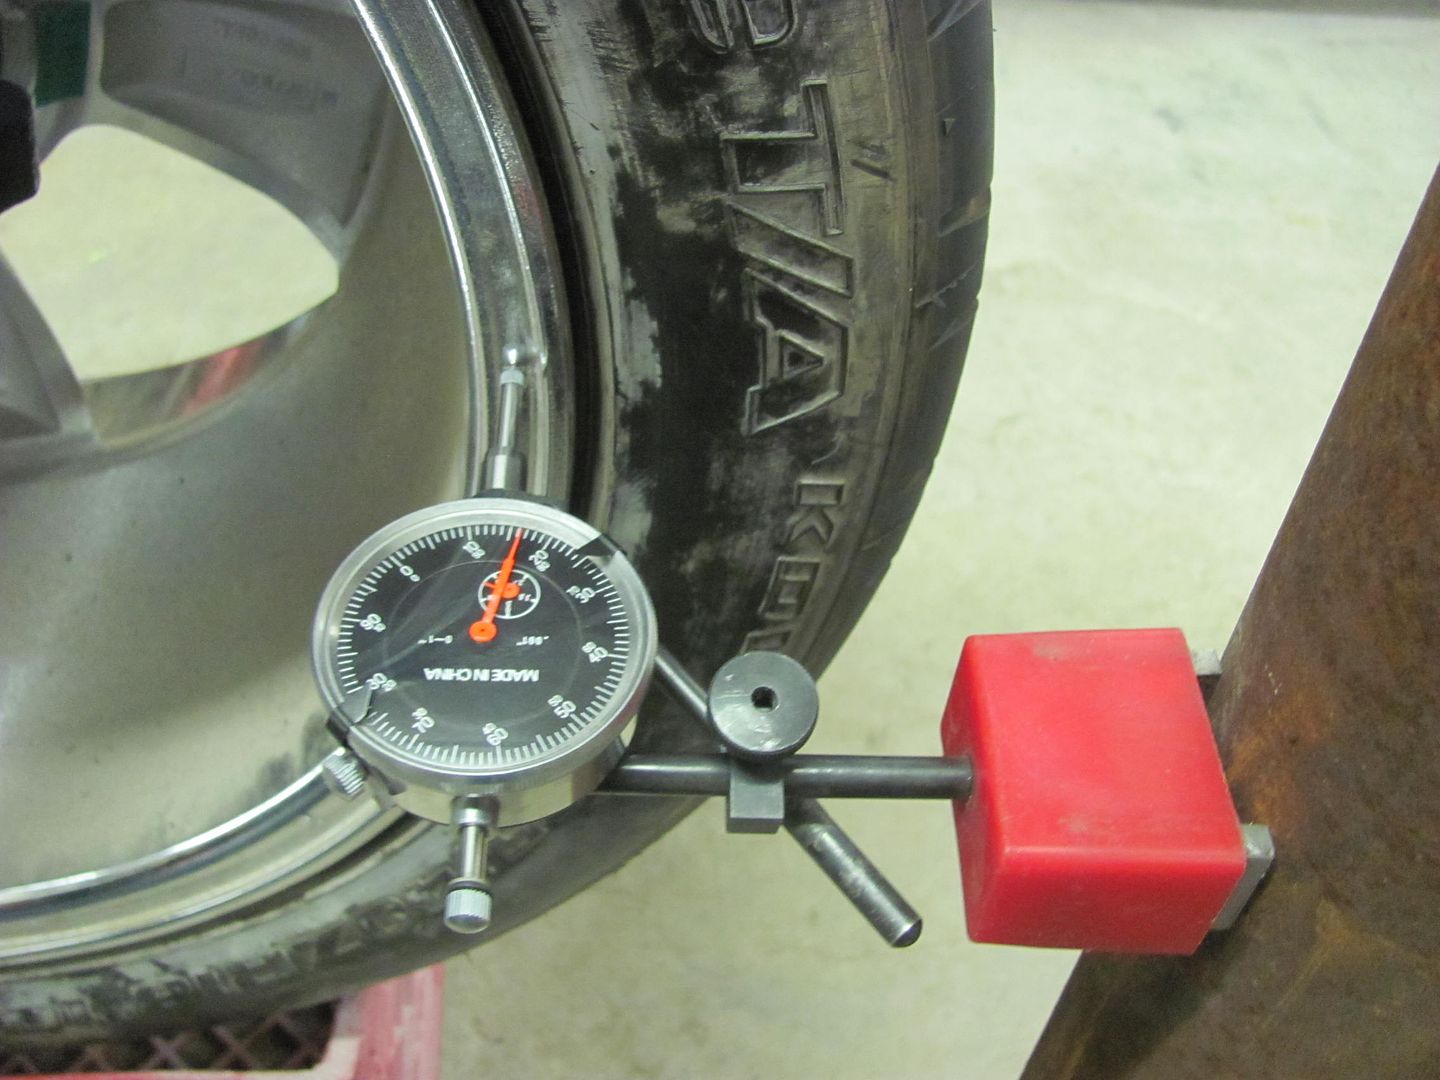
OK, here's the backwoods method of checking the rear for any weld distortion. Bolt everything back together, including wheels. Rotate the wheels to insure they are indeed NOT BENT. Now raise the rear up in the air and place tires down on top of a couple milk crates. Now grab the third member and rotate around, looking for any wobble in the wheels. Typically with the welding process causing some shrinking, you will notice a wider area opposite the pads. We used a tape measure between the wheel edges, and notated the dimensions taken after rotating the axle in 90 degree increments. Heat up the long side to add some shrink there. Let manually cool and check again..
__________________
Robert |
|
|
|
|
01-04-2016, 01:58 AM
|
#612 | |
|
Registered User
Join Date: Oct 2007
Location: Spanaway
Posts: 8,451
|
Re: 55 Wagon Progress
Quote:
__________________
Mike. Swamp Rat build thread : http://67-72chevytrucks.com/vboard/s...d.php?t=595019 72 3/4T 4X4 4" BDS Lift 33" BFG's |
|
|
|
|
|
01-06-2016, 12:24 AM
|
#613 |
|
Registered User
Join Date: Jan 2013
Location: Leonardtown, MD
Posts: 1,636
|
Re: 55 Wagon Progress
Well tonight we worked on getting the parts out of the booth so we can get the next load of parts ready for epoxy, and in between spent some more time on straightening the rear. In measuring at the bead of the 18" wheels, we had a +/- .020 on the passenger side and a +/- .035 on the drivers side.
 ....and more heat applied for some shrink.. 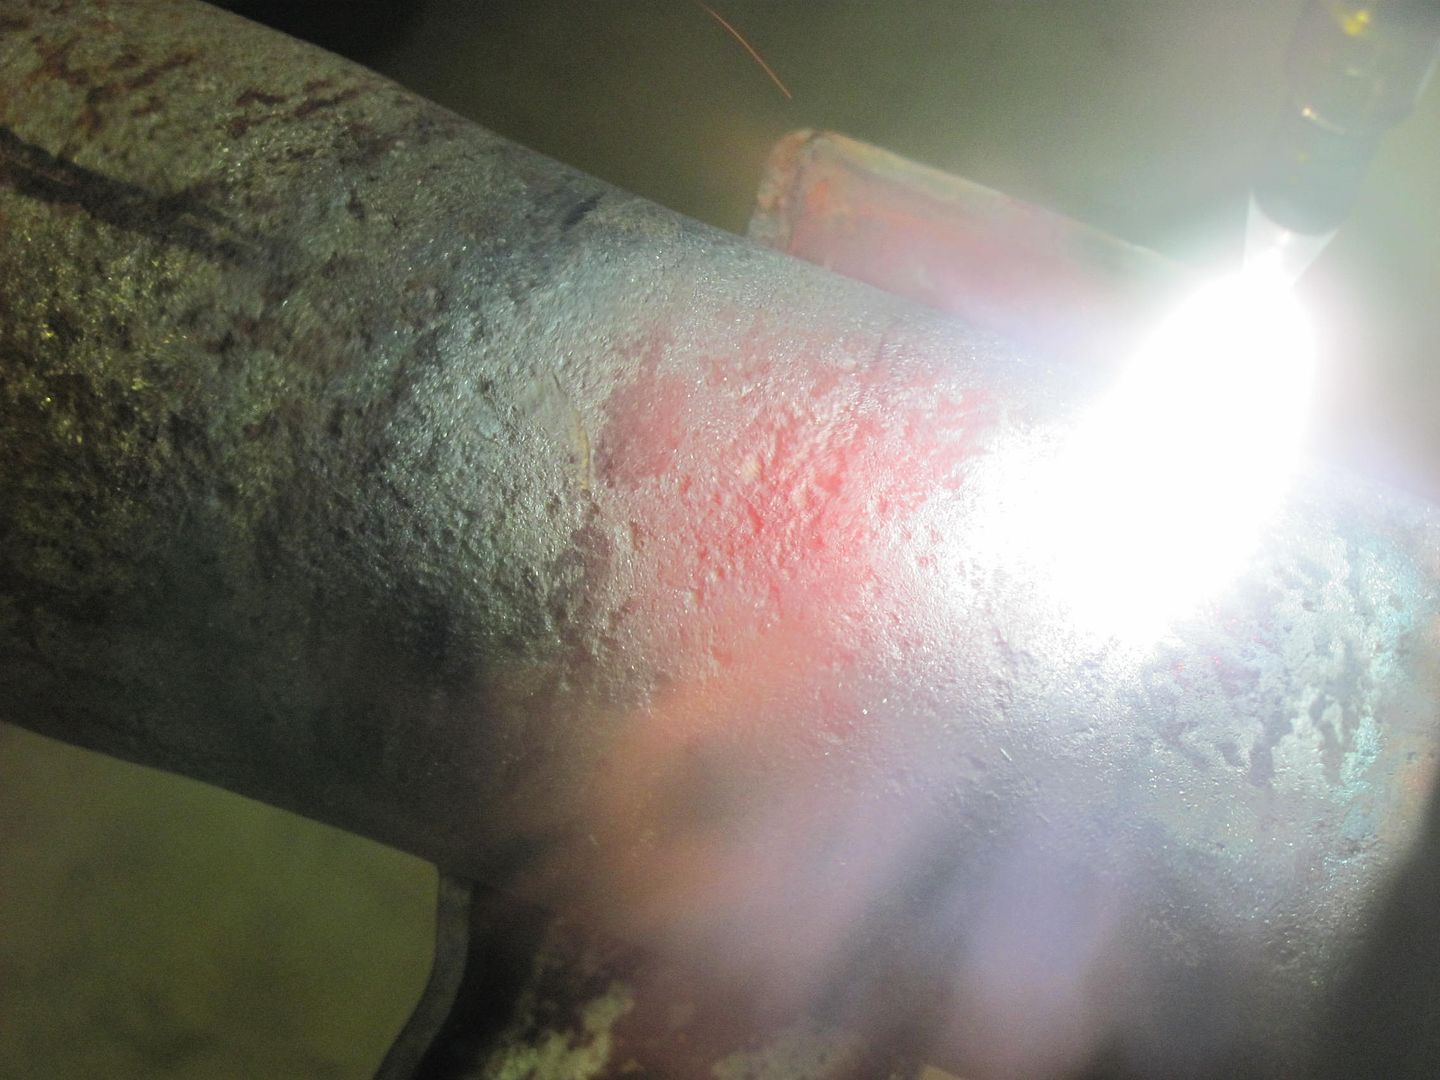 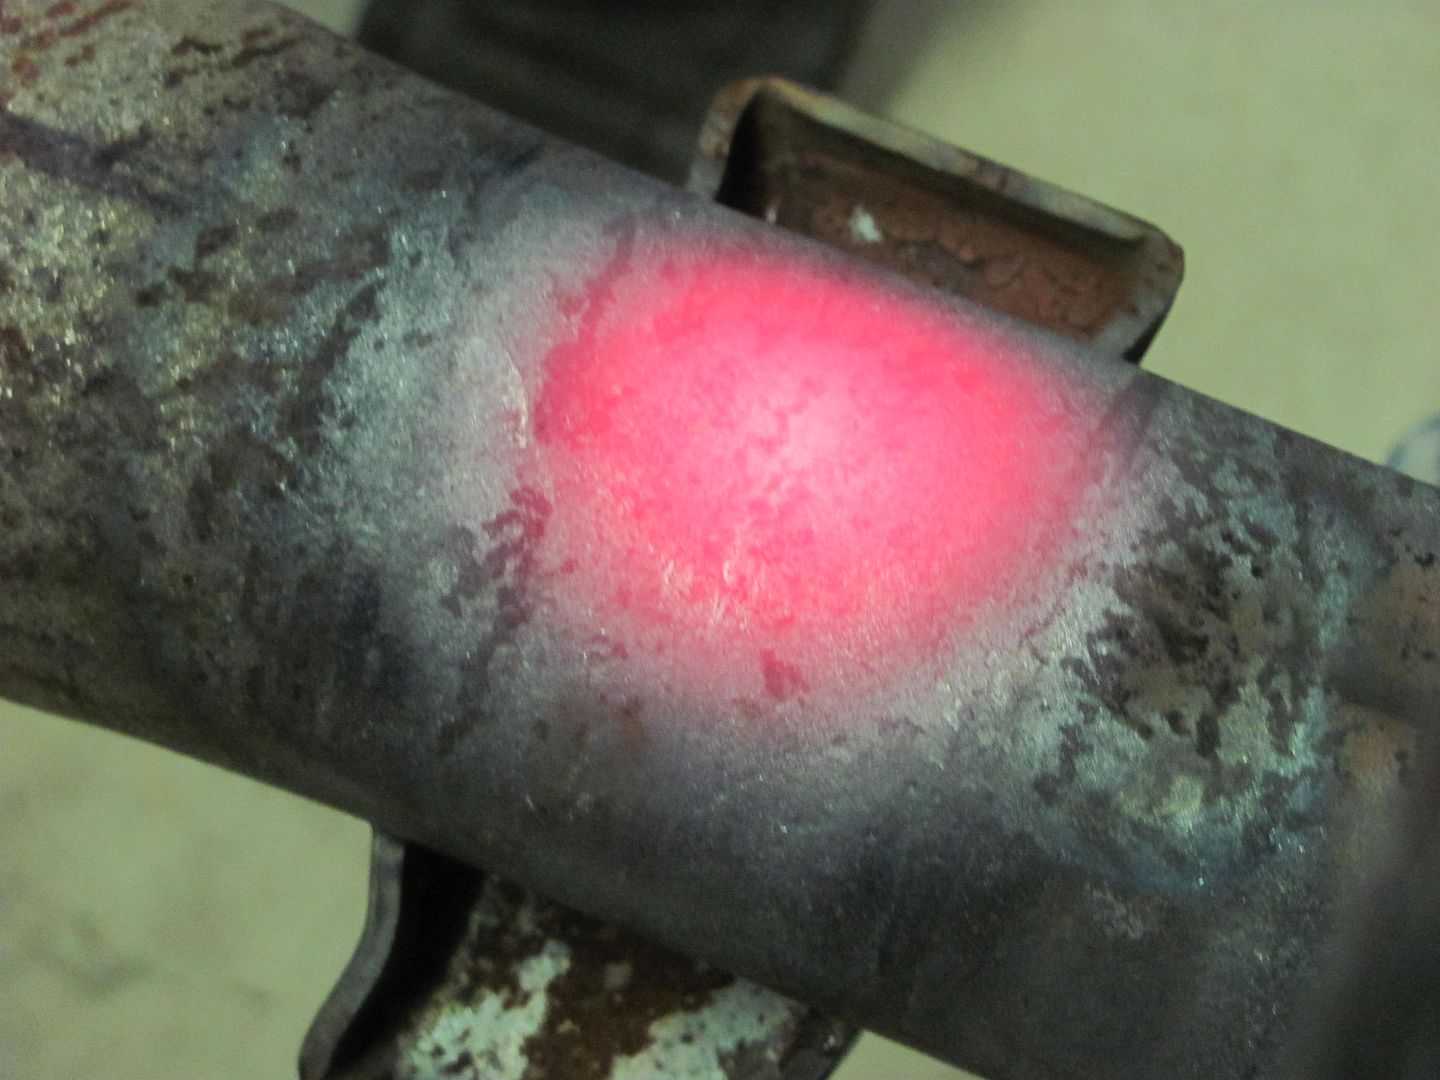 We'll let that cool and get some of the front end parts bolted up.. 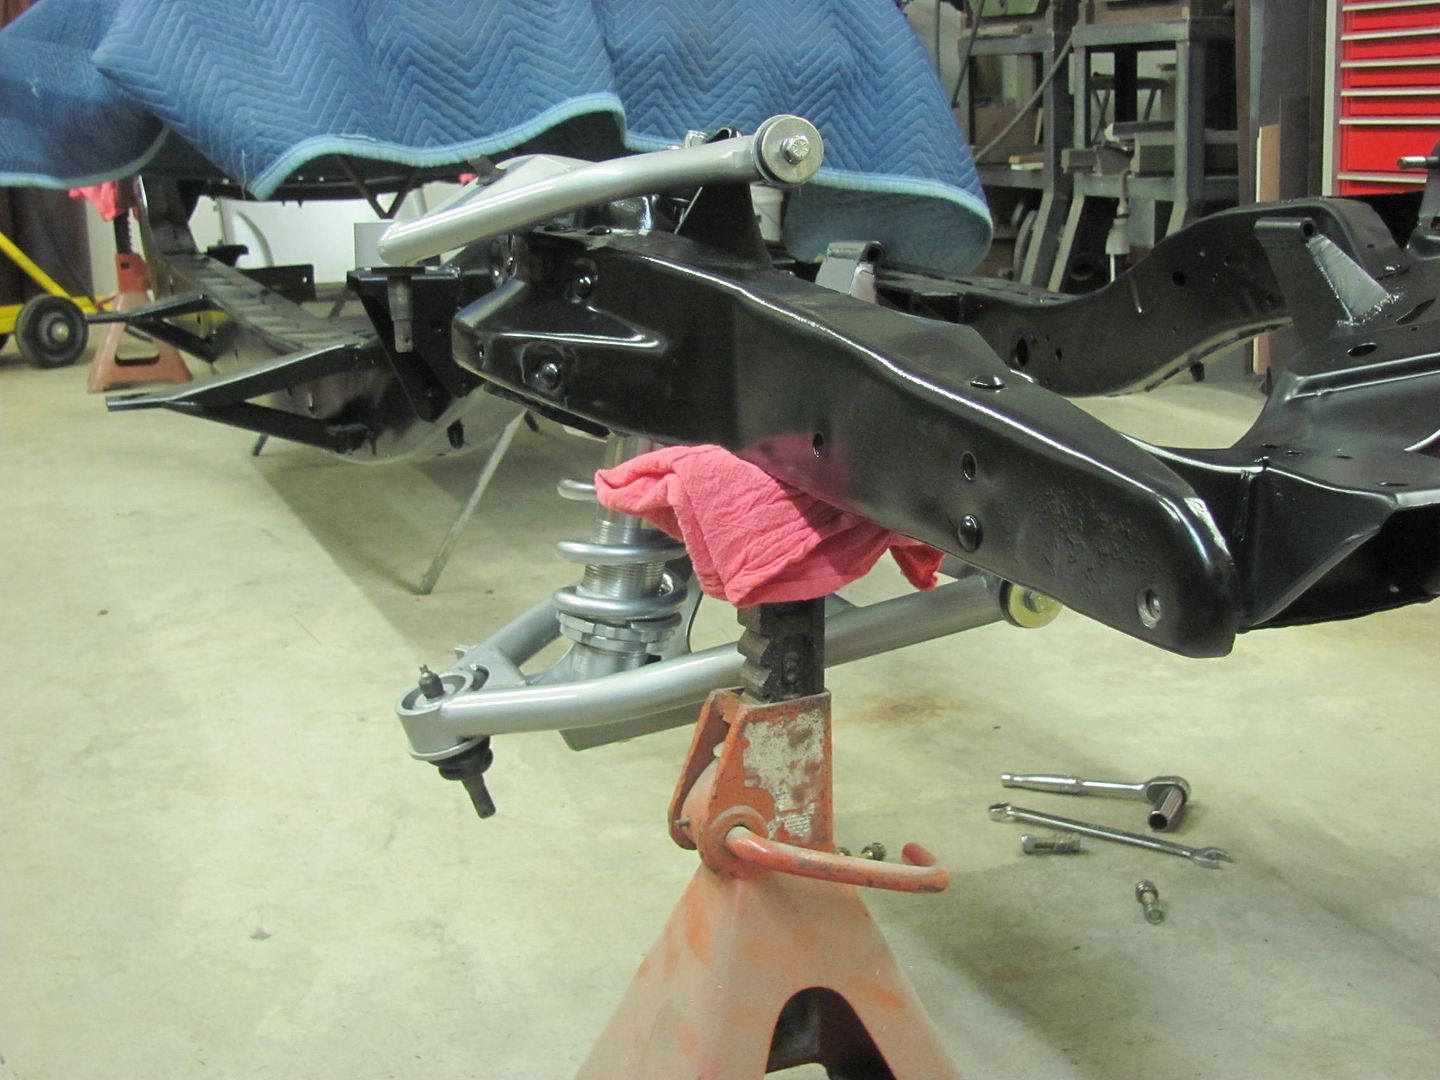 
__________________
Robert |
|
|
|
|
01-10-2016, 01:49 AM
|
#614 |
|
Registered User
Join Date: Jan 2013
Location: Leonardtown, MD
Posts: 1,636
|
Re: 55 Wagon Progress
Getting the front end put together...
   ....and more blocking and hanging parts in prep for the next round of epoxy... 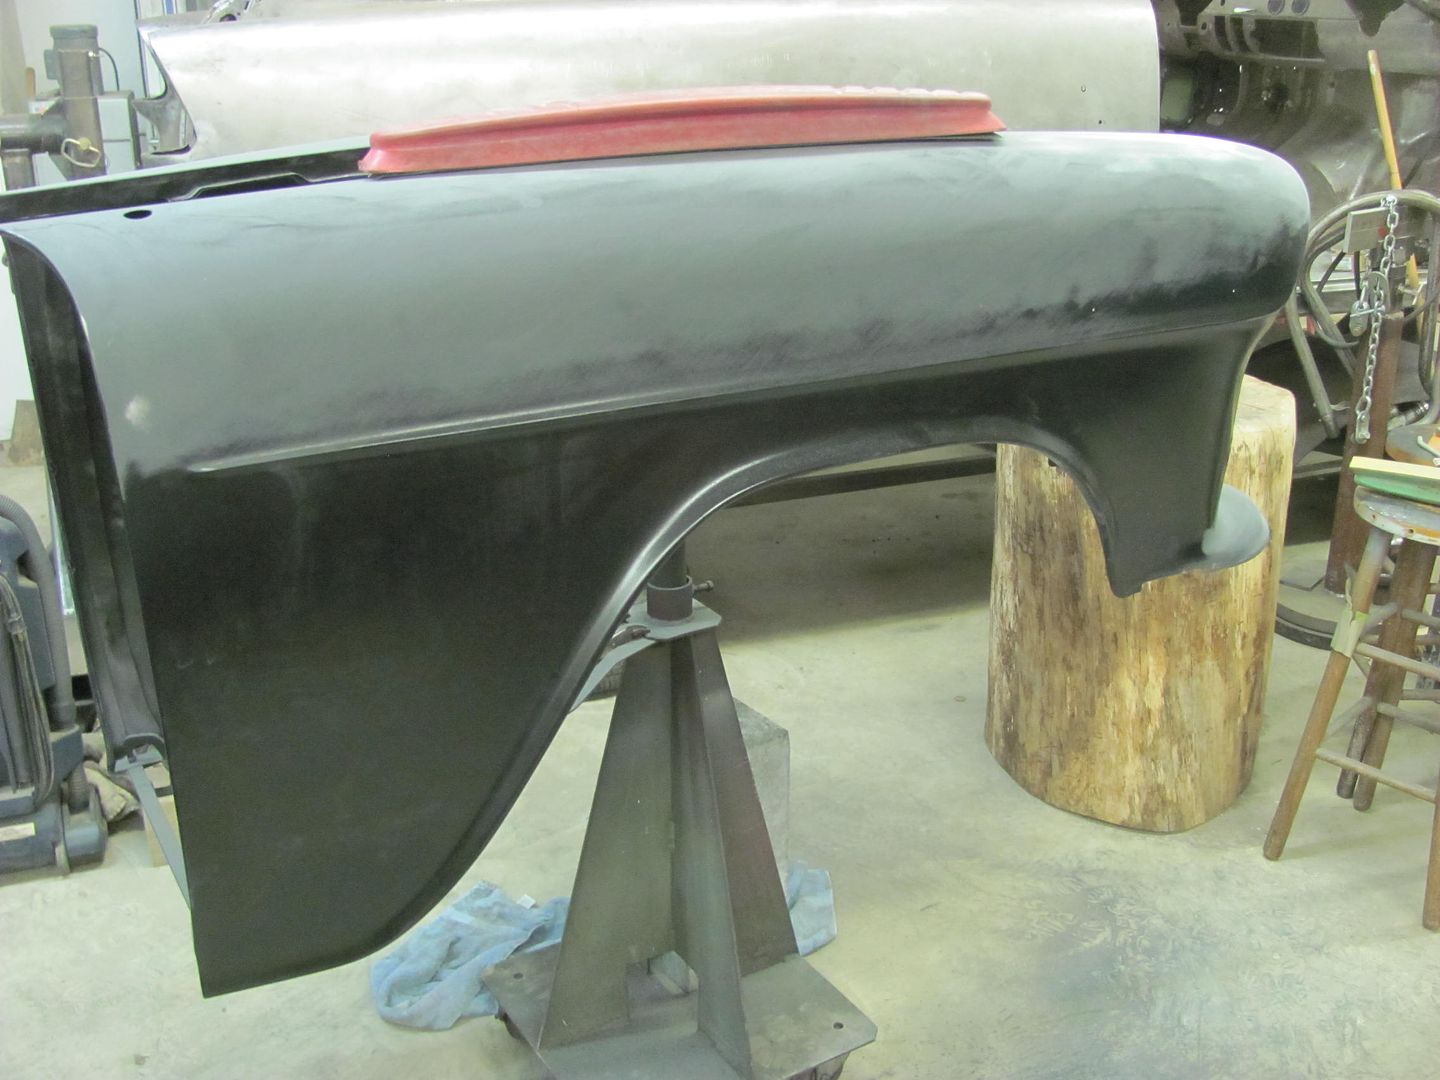 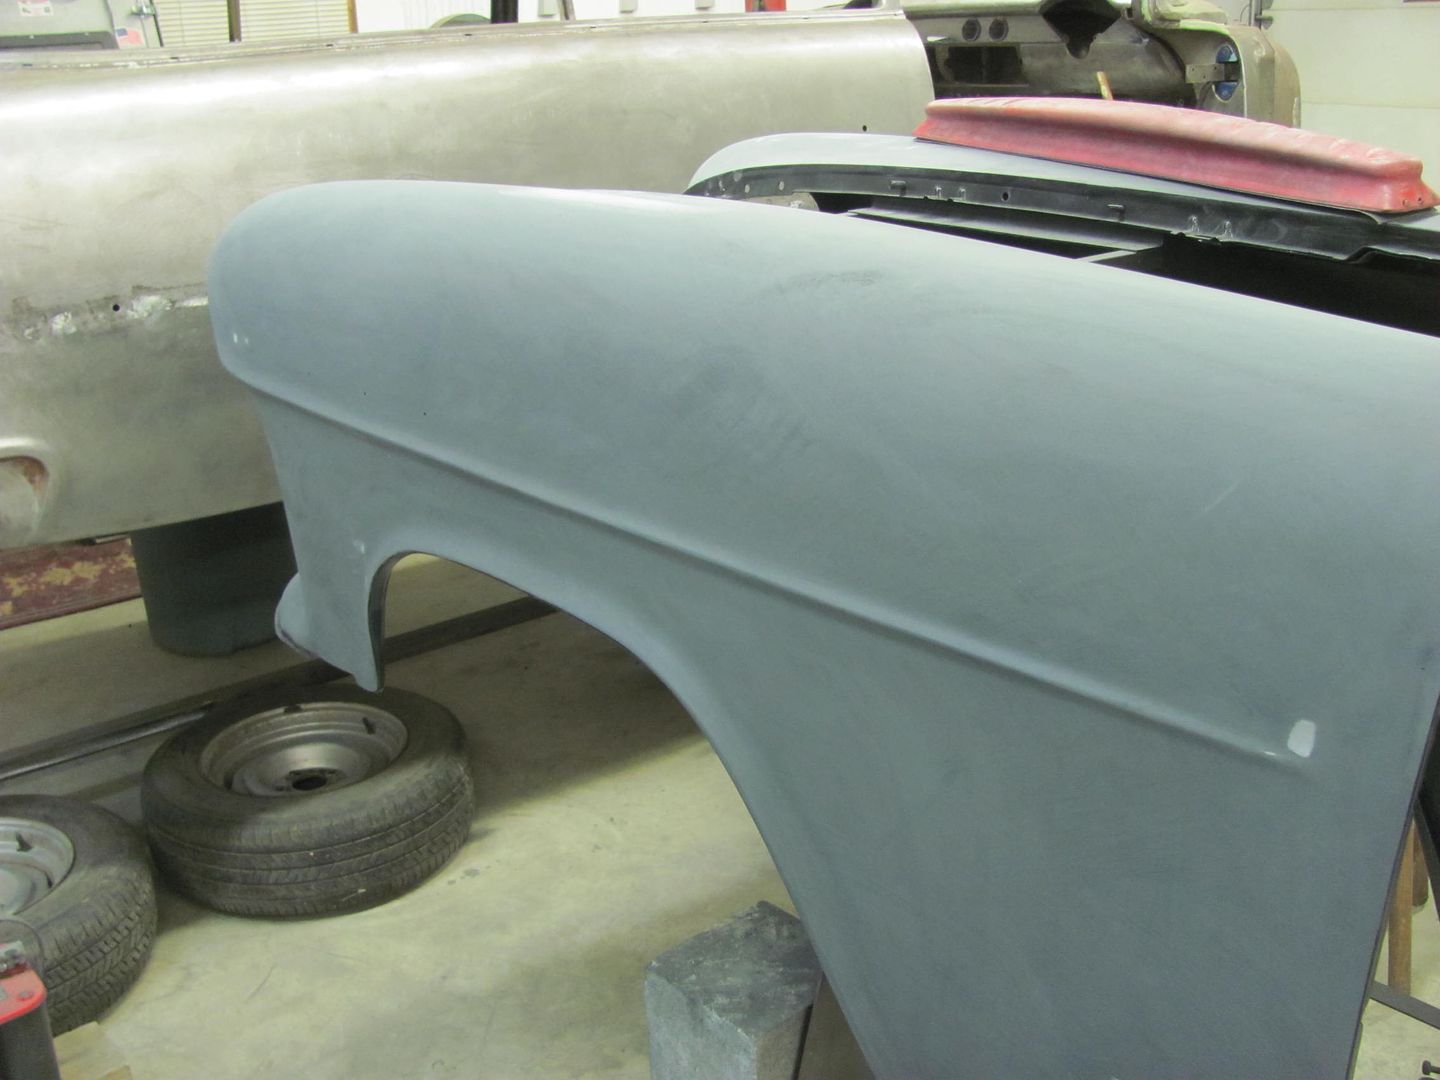 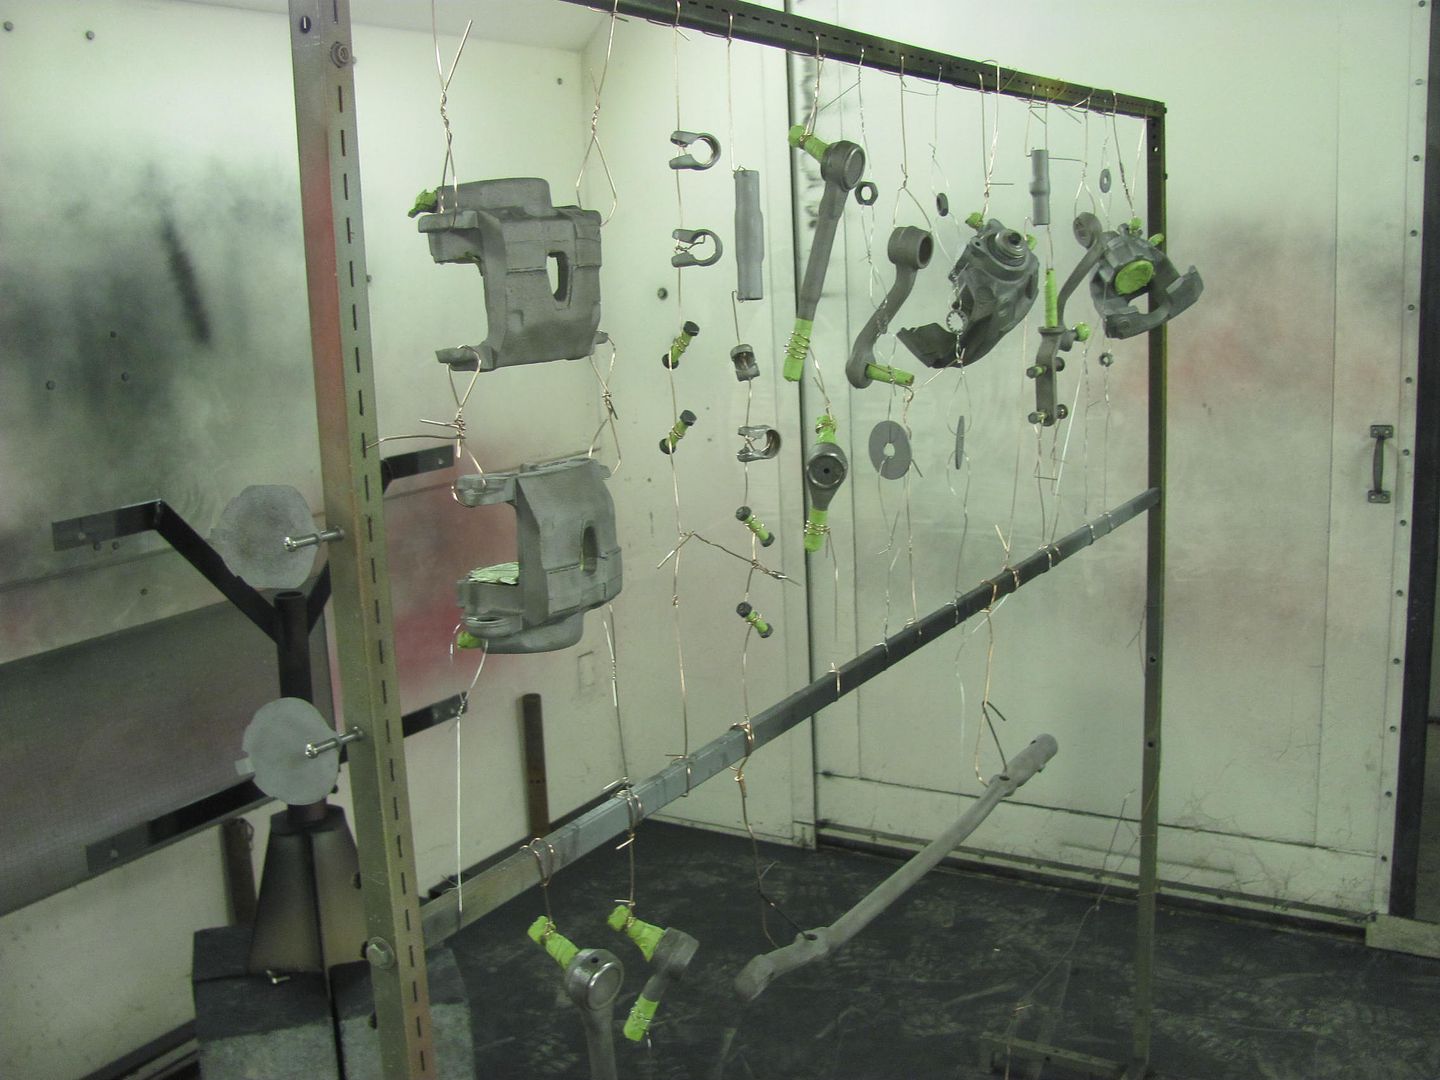 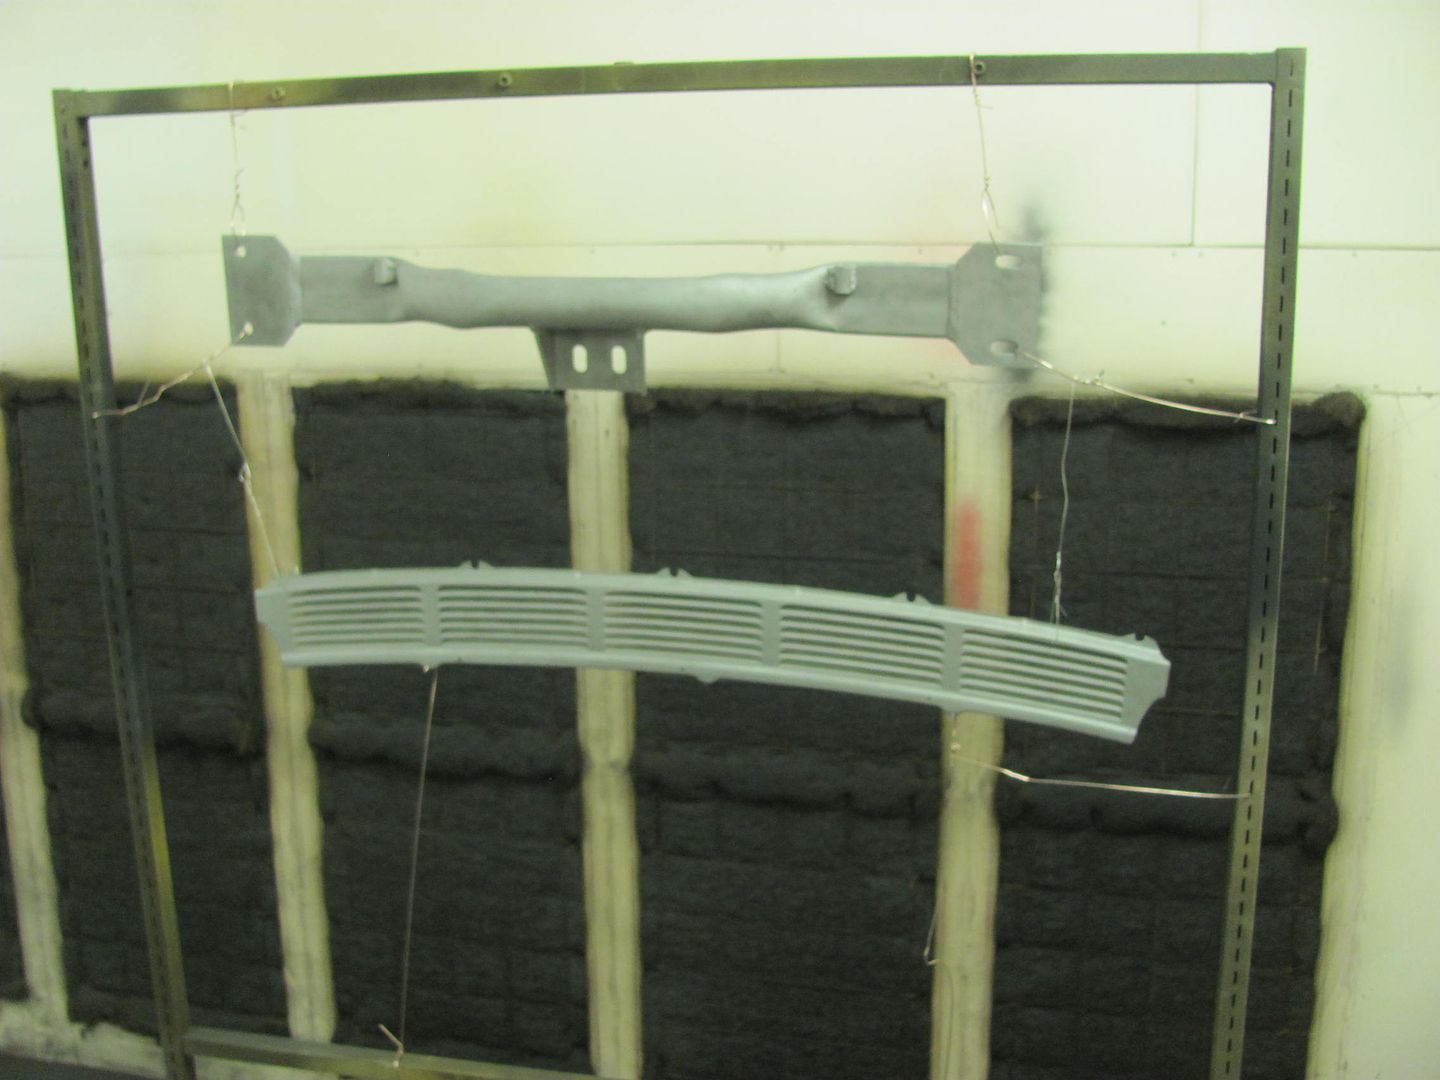 The doors are getting real close to needing wet sanding.. 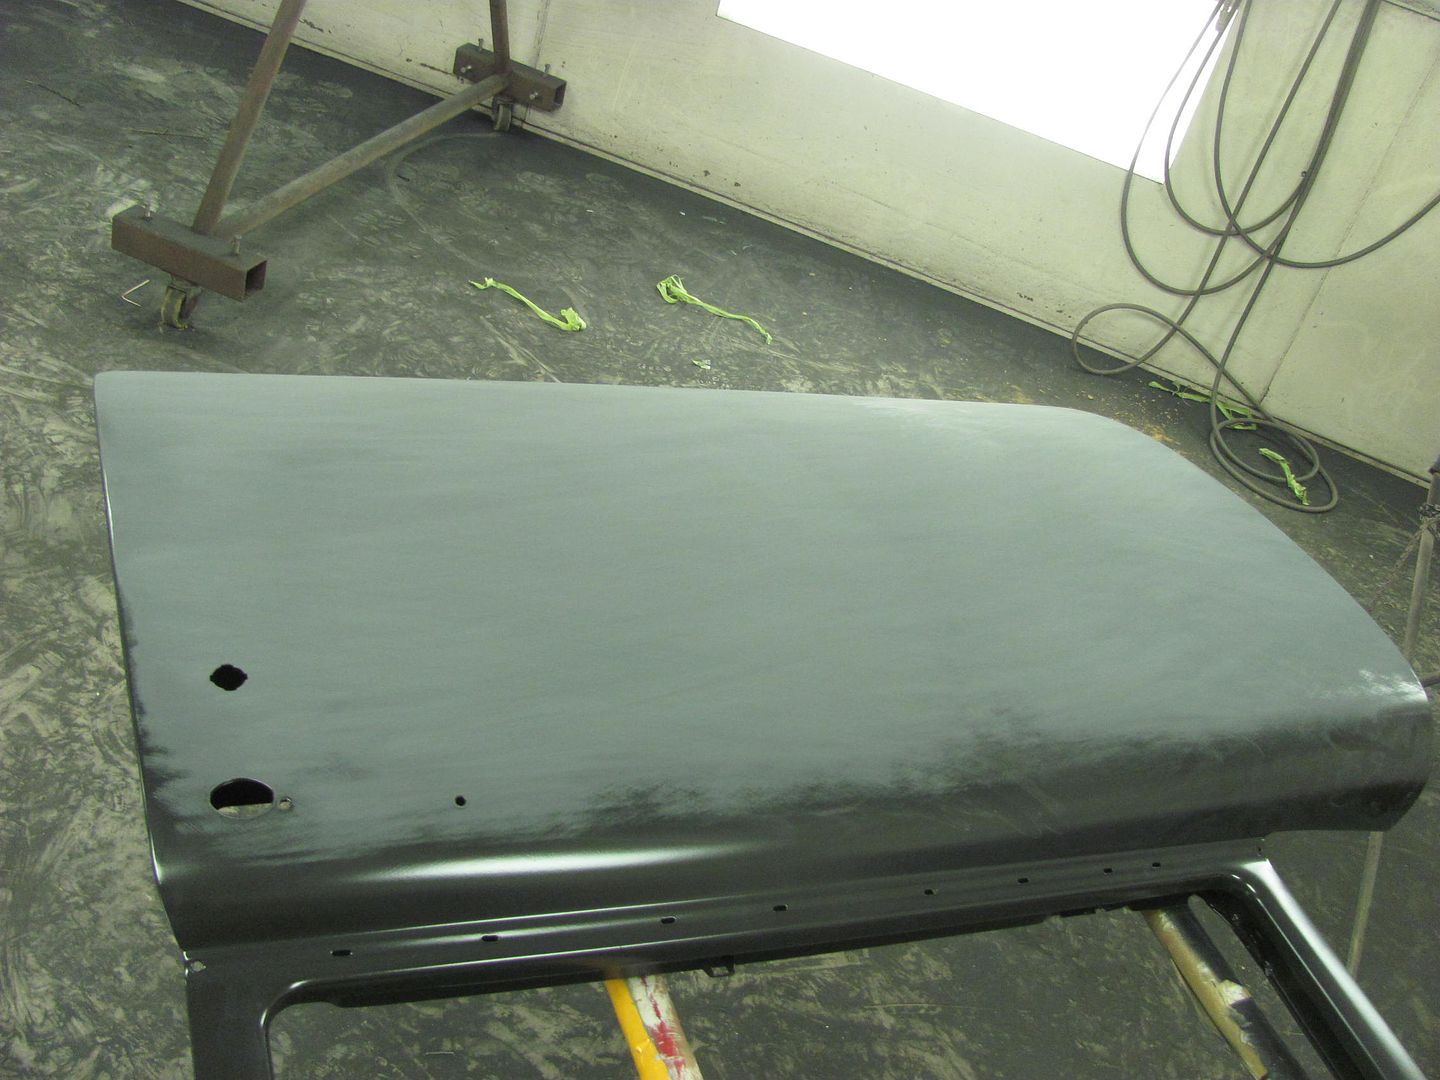
__________________
Robert |
|
|
|
|
01-10-2016, 09:33 AM
|
#615 |
|
Active Member
Join Date: Aug 2012
Location: East Hartford, CT
Posts: 159
|
Re: 55 Wagon Progress
This project is simply fantastic! Always wanted a 55 wagon. Thank you very much for sharing this great build and your metal working skills!
|
|
|
|
|
01-10-2016, 10:13 AM
|
#616 |
|
Senior Member
Join Date: Mar 2011
Location: West Plains, Missouri
Posts: 7,555
|
Re: 55 Wagon Progress
Looks great...Jim
__________________
my build thread: http://67-72chevytrucks.com/vboard/s...d.php?t=459839 Jimbo's long bed step build:http://67-72chevytrucks.com/vboard/s...t=464626<br /> |
|
|
|
|
01-10-2016, 12:16 PM
|
#617 |
|
Registered User
Join Date: Jan 2013
Location: Leonardtown, MD
Posts: 1,636
|
Re: 55 Wagon Progress
Thanks for the comments guys!
Here's a video taken yesterday using the 36" AFS sander. Note how the sander is grasped and the fact that this promotes letting the sandpaper do the work without "leaning" on it. Applying downward force through your palm to get the job done more quickly runs the risk of deflecting the sander downward at that point, causing low spots... Block Sanding Video
__________________
Robert |
|
|
|
|
01-10-2016, 02:00 PM
|
#618 |
|
Senior Member
Join Date: Jul 2012
Location: Oblong, Illinois
Posts: 7,017
|
Re: 55 Wagon Progress
Great video Robert. The tutorial on checking and correcting rear axle tube deflection is good too. In checking the run out at the wheel, is there possibility some of the run out is the wheel? One set I bought once had 0.040" run out mounted on the wheel balancer.
|
|
|
|
|
01-10-2016, 02:06 PM
|
#619 |
|
I have no time for this
Join Date: Dec 2002
Location: Fort St John B.C. CANADA
Posts: 434
|
Re: 55 Wagon Progress
I am curious why you aren't using a good 2k primer over the SPI epoxy then sanding the 2k and finishing withe epoxy then wet sand to finish. Is it to keep mil thickness to a minimum? With the amount of time you put into metal work it wouldn't take much 2k to finish your panels. I'm not bashing in any way I'm just wondering. I was in the trade for a lot of years and am a huge fan of your skills and patience.
__________________
1986 Chevy short box ( PROJECT ) 1994 Chevy Blazer lifted 6" 2009 Gmc 2500 HD 1999 Hugger orange Camaro SS 2007 BMW X5 Sport |
|
|
|
|
01-10-2016, 04:11 PM
|
#620 |
|
Registered User
Join Date: Jan 2013
Location: Leonardtown, MD
Posts: 1,636
|
Re: 55 Wagon Progress
With housing stationary and wheels rotated, we did see a bit of fluctuation of about +/- .005 to .010 in the wheels, but it was rather sporadic and not relative to the welded pads. When the tires where stationary and the housing was rotated around, before our heating efforts the runout started at about +/- .050, and was directly related to the welded pad location. At the point the housing was being rotated, the dial indicator remained in the same spot on the wheel, so although the wheel isn't perfect, the reading should have reflected housing issues only.
Our last major restoration was on a 65 Fairlane, where we did use some Slick Sand. A few years later, I now notice some slight shrinkage in areas and given SS isuch more porous and less stable IMO than epoxy, I am trying epoxy only to see if it provides better results...
__________________
Robert |
|
|
|
|
01-10-2016, 09:56 PM
|
#621 |
|
I have no time for this
Join Date: Dec 2002
Location: Fort St John B.C. CANADA
Posts: 434
|
Re: 55 Wagon Progress
I hear ya on the shrinkage of slick sand I used it a couple times and it shrank a little bit.
__________________
1986 Chevy short box ( PROJECT ) 1994 Chevy Blazer lifted 6" 2009 Gmc 2500 HD 1999 Hugger orange Camaro SS 2007 BMW X5 Sport |
|
|
|
|
01-12-2016, 11:12 PM
|
#622 |
|
Registered User
Join Date: Jan 2013
Location: Leonardtown, MD
Posts: 1,636
|
Re: 55 Wagon Progress
Well Kyle was mostly on his own tonight as I had some repairs to do on the wife's vehicle..
New U-bolts came in yesterday, they have a pretty good selection on their web site if anyone needs some....  Threads taped off and all the parts media blasted... 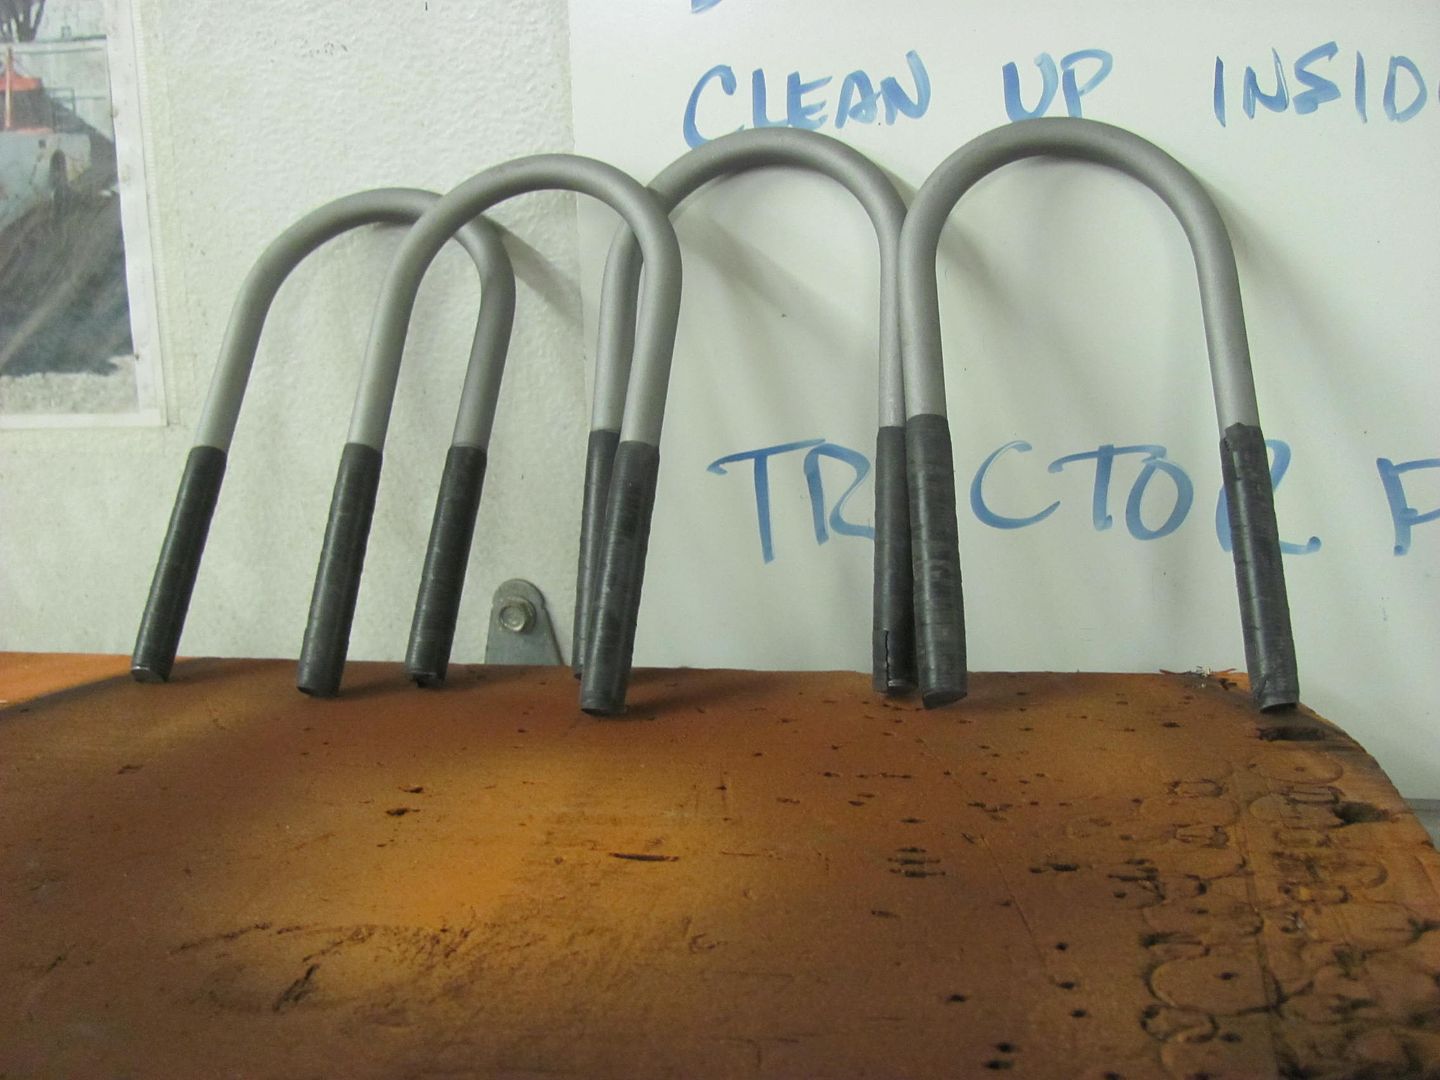 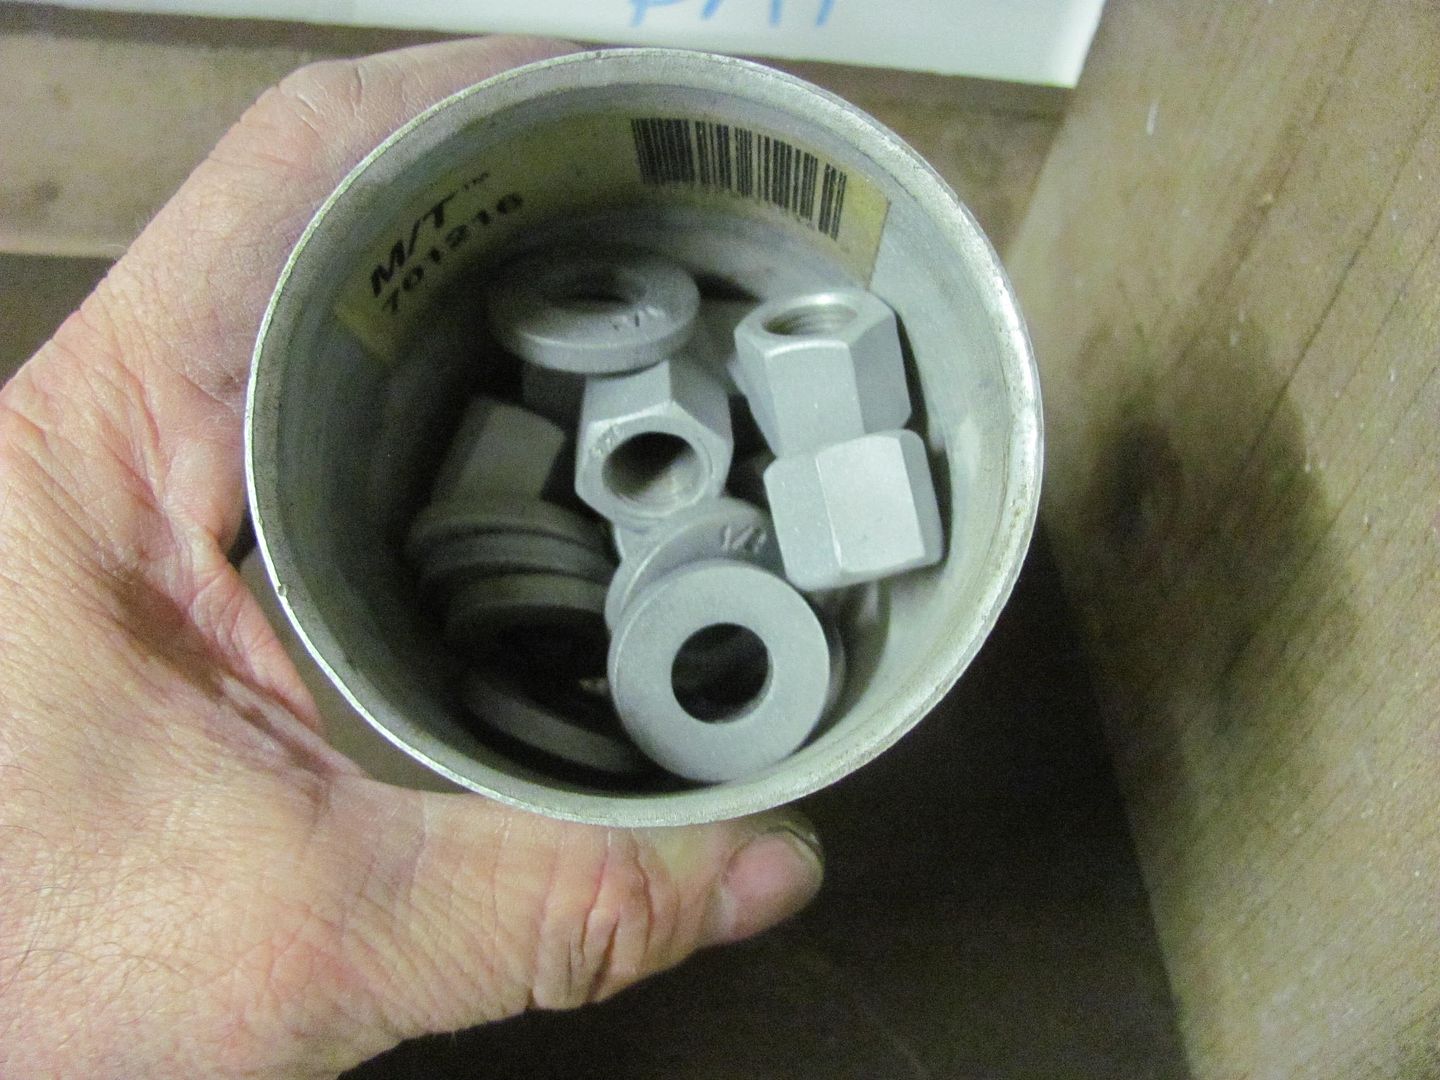 Then Kyle got the rear torn down for media blasting as well. Blast cabinet just the right size.. 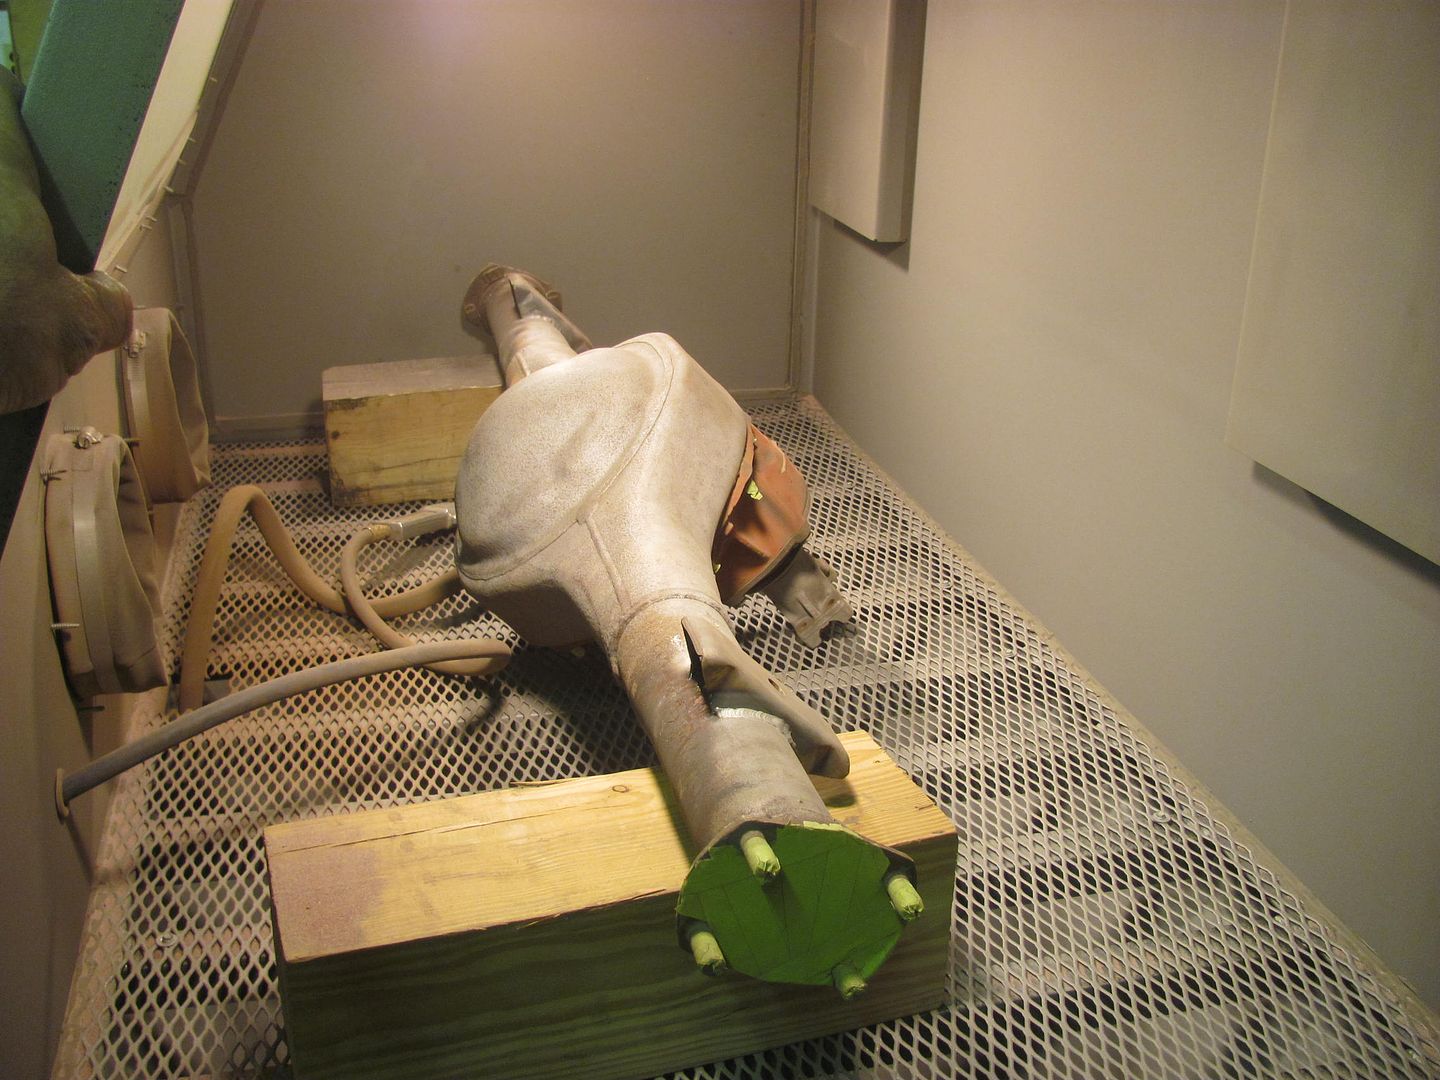 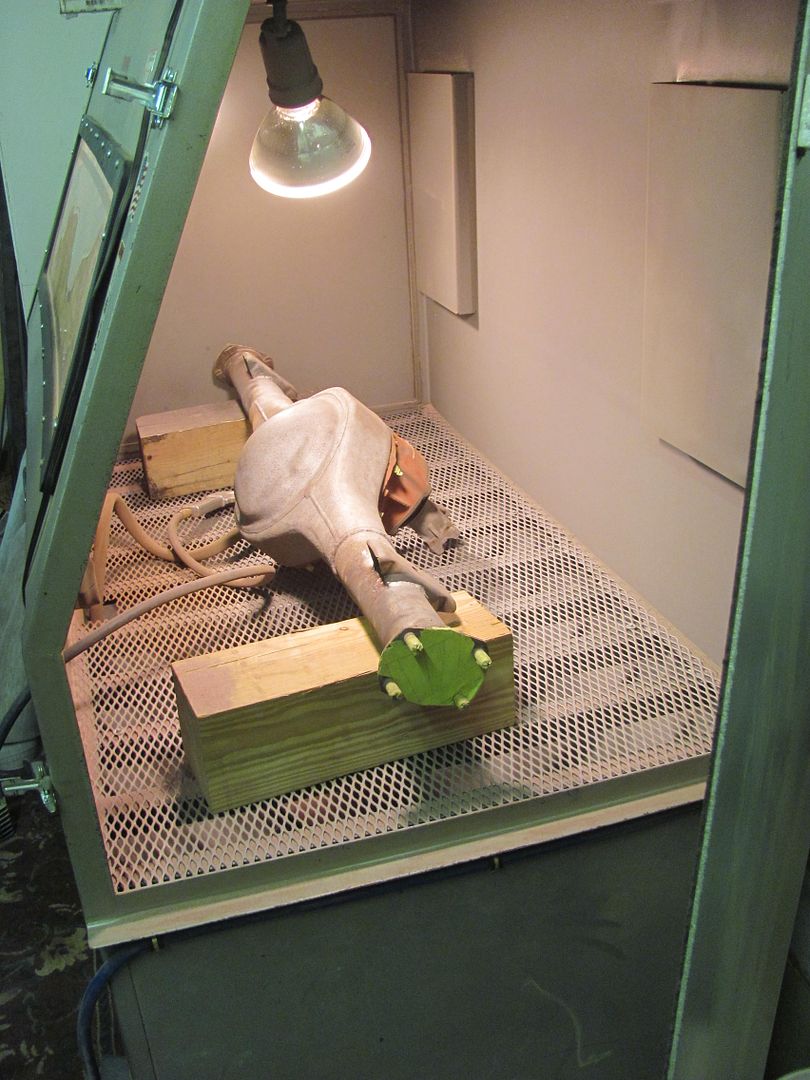
__________________
Robert |
|
|
|
|
01-13-2016, 07:38 PM
|
#623 |
|
Registered User
Join Date: Jan 2013
Location: Leonardtown, MD
Posts: 1,636
|
Re: 55 Wagon Progress
Some Hoosier Profile parts showed up for the new wheeling machine.. Joe Andrews does some real nice work..

__________________
Robert |
|
|
|
|
01-13-2016, 07:53 PM
|
#624 |
|
Senior Member
Join Date: Mar 2011
Location: West Plains, Missouri
Posts: 7,555
|
Re: 55 Wagon Progress
Whoa, those look super...Jim
__________________
my build thread: http://67-72chevytrucks.com/vboard/s...d.php?t=459839 Jimbo's long bed step build:http://67-72chevytrucks.com/vboard/s...t=464626<br /> |
|
|
|
|
01-13-2016, 08:13 PM
|
#625 |
|
Registered User
Join Date: Jan 2012
Location: Eastern Ontario, Canada
Posts: 1,041
|
Re: 55 Wagon Progress
Awesome Robert! I have a C4 IRS that is all aluminum but the input and output yokes are steel and rusty. Any recommendations on prepping the steel yokes for paint without complete disassembly of the rear end?
__________________
1952 Canadian Chevy 1300 C4 IFS & D44 IRS 5.3 HO L33 My Build: http://67-72chevytrucks.com/vboard/s...d.php?t=632938 
|
|
|
|
 |
| Bookmarks |
|
|


 Linear Mode

