
|
 05-08-2015, 07:24 PM
|
#451 |
|
Senior Member
 Join Date: Mar 2011
Location: West Plains, Missouri
Posts: 7,553
|
Re: 55 Wagon Progress
Always glad to see your post, excellent work...Jim
__________________
my build thread: http://67-72chevytrucks.com/vboard/s...d.php?t=459839 Jimbo's long bed step build:http://67-72chevytrucks.com/vboard/s...t=464626<br /> |

|

|
|
05-14-2015, 10:54 PM
|
#452 |
|
Registered User
Join Date: Jan 2013
Location: Leonardtown, MD
Posts: 1,635
|
Re: 55 Wagon Progress
Thanks for taking time to post fellas.
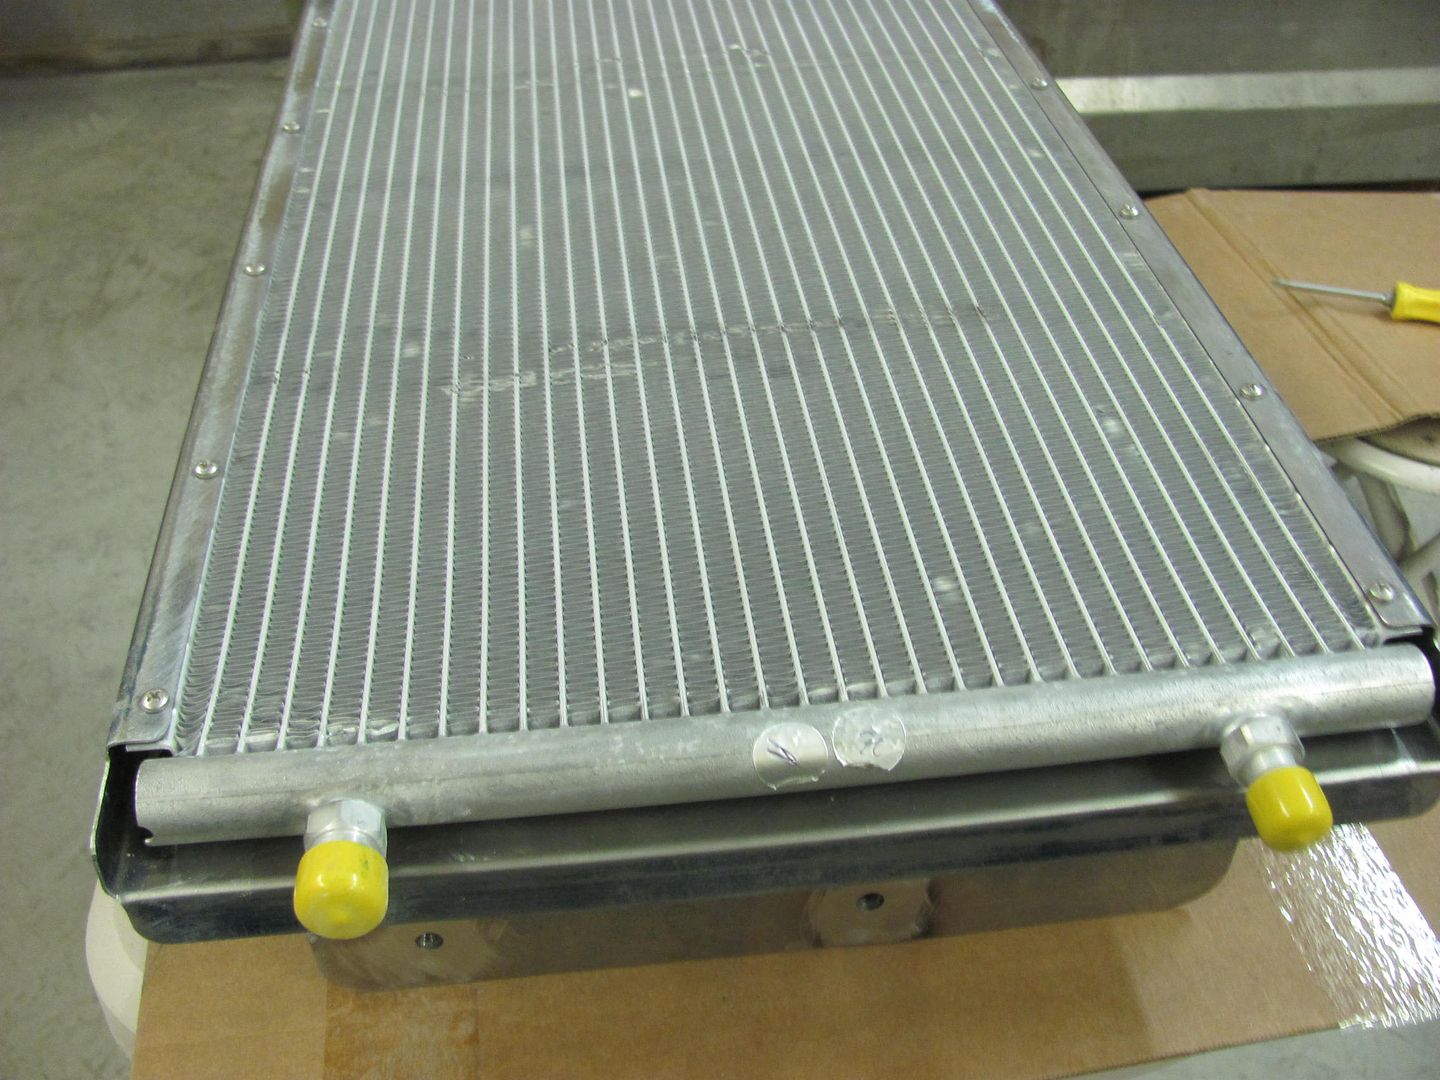
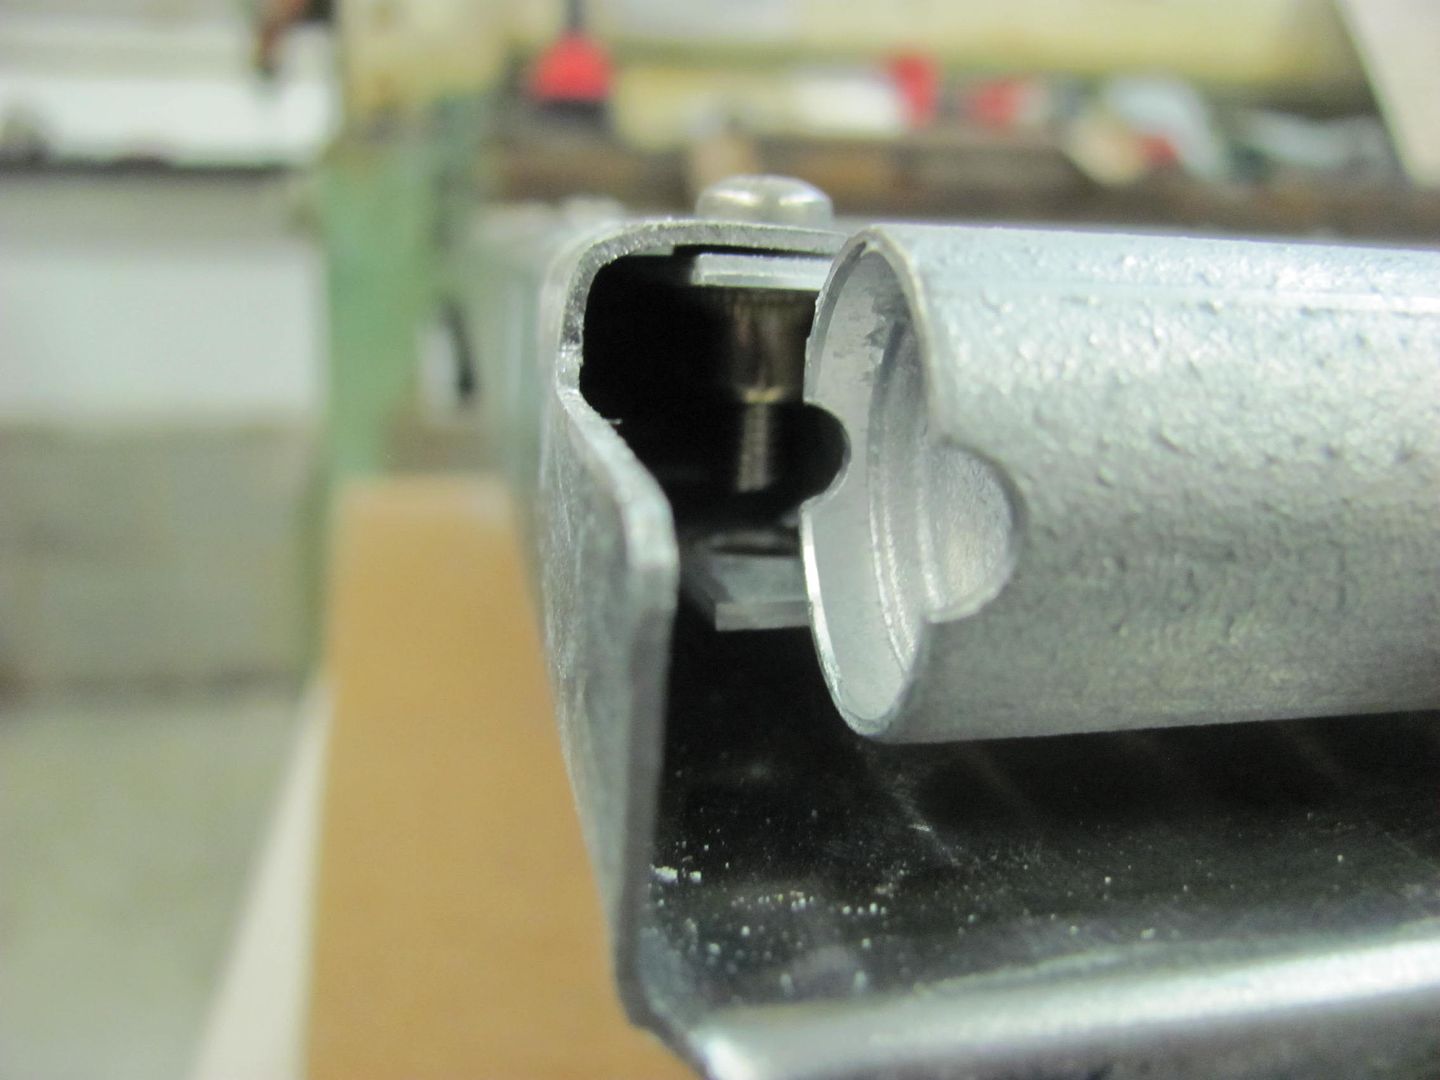
More progress on the condenser mount... The flange fold marks are run through the tipping wheel to better show the bend location. I've found that when using the press brakes this helps to "feel" when the upper die is located properly, less guesswork with the eyeballs where it's harder to see in the press brake dies.. 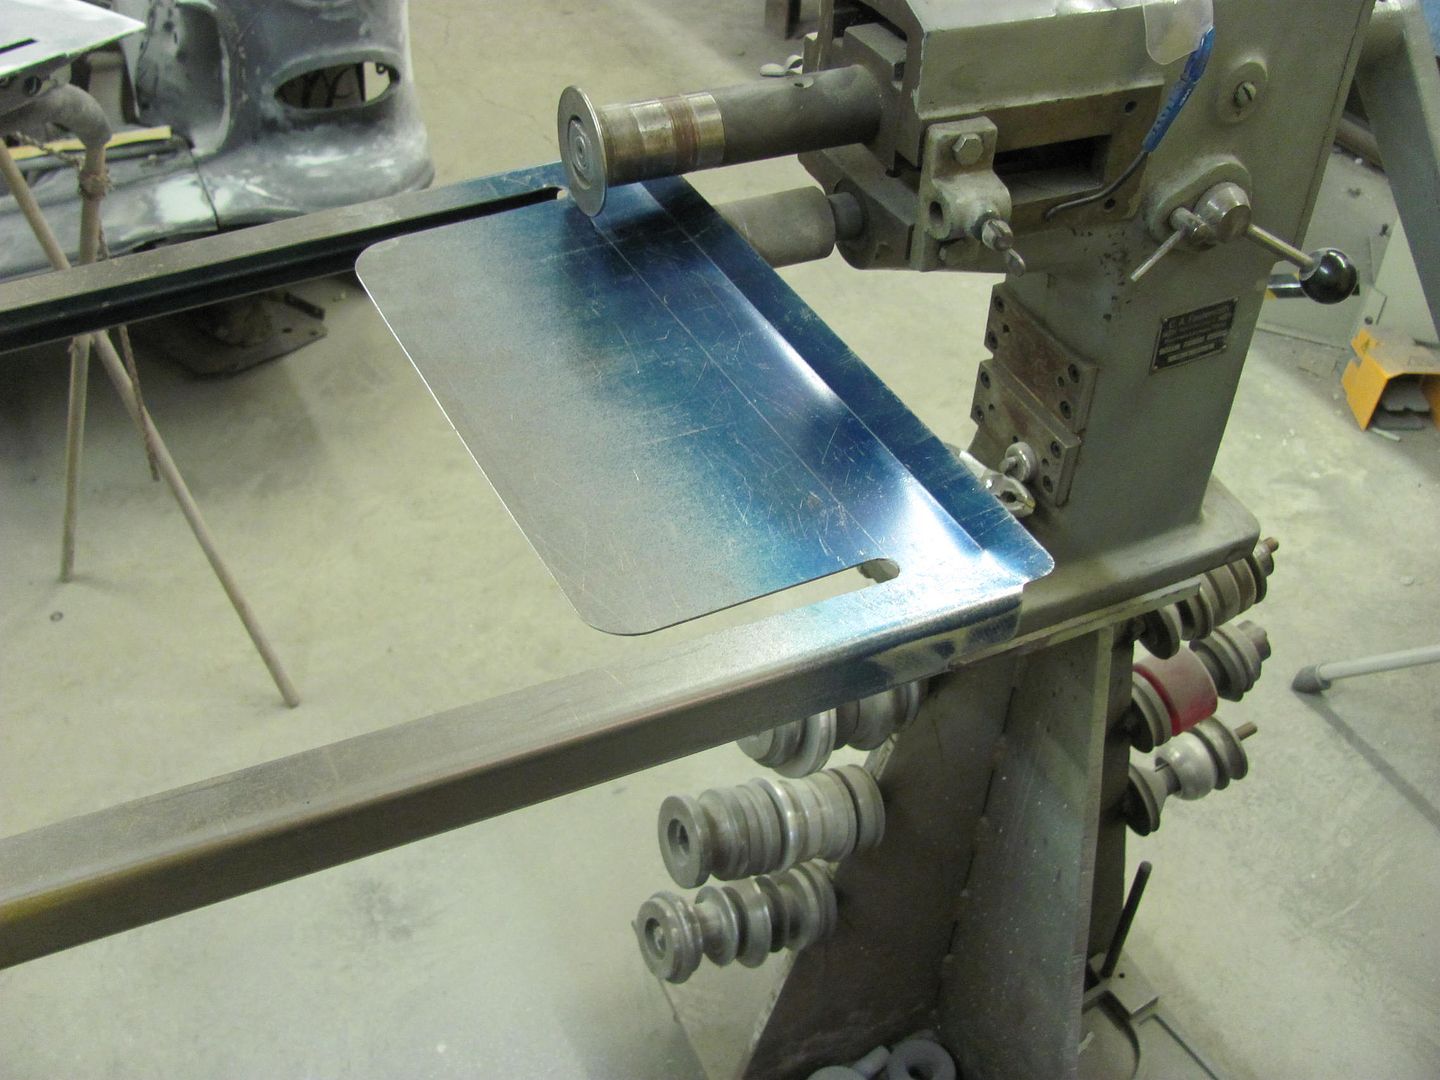 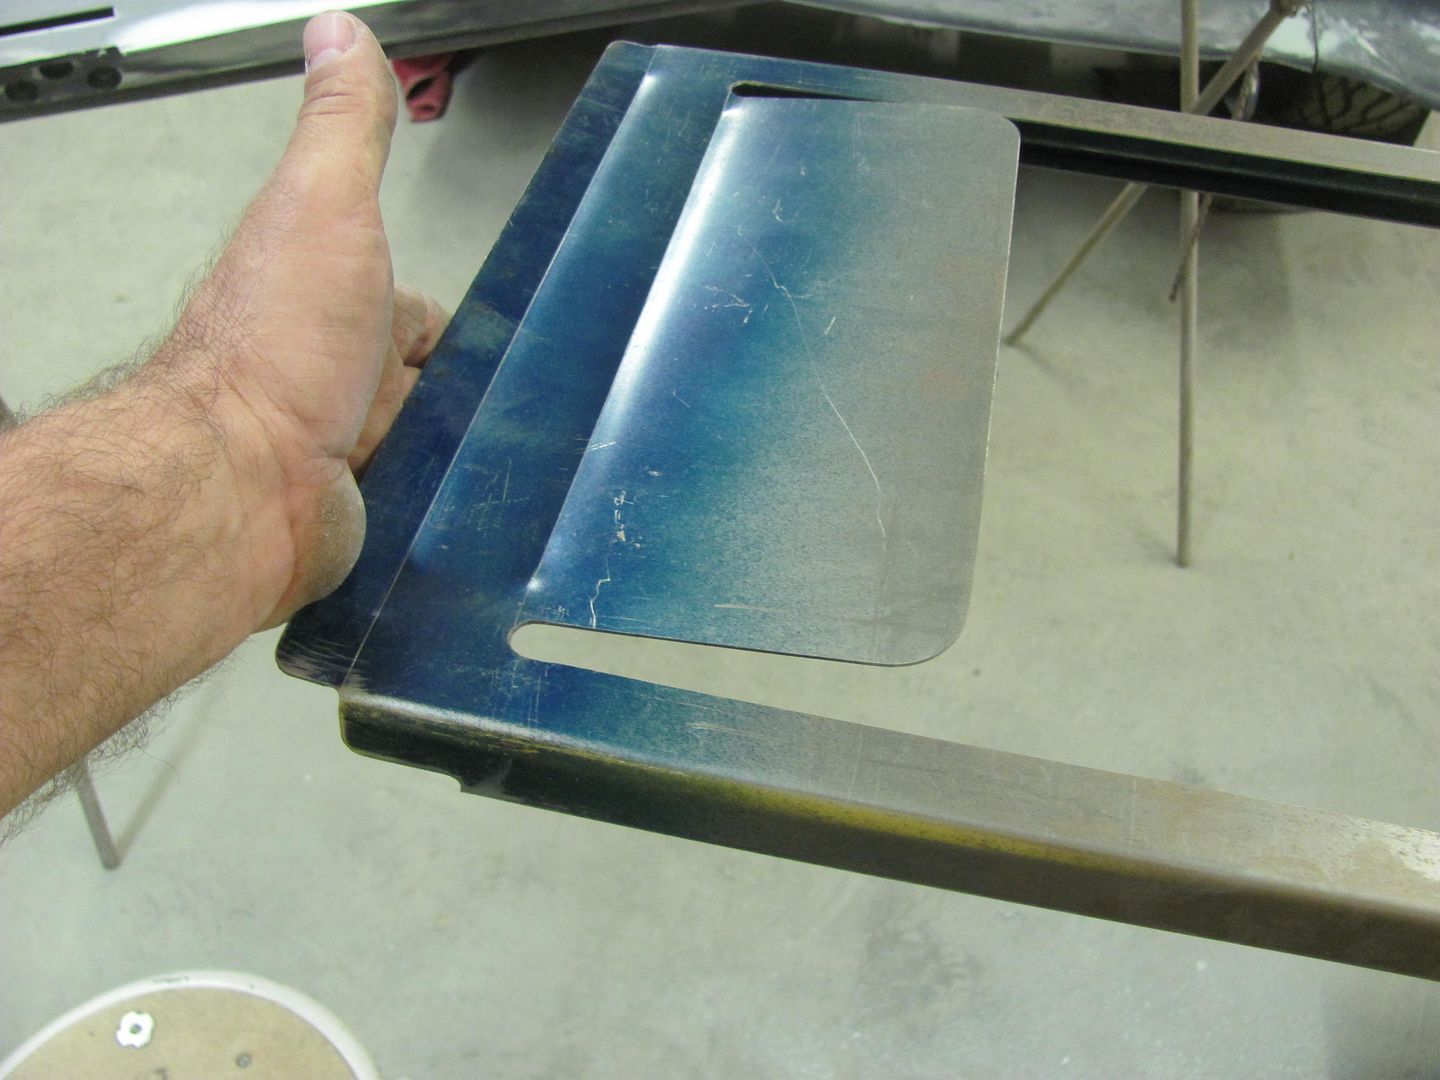 Clamped in place for a test fit.. 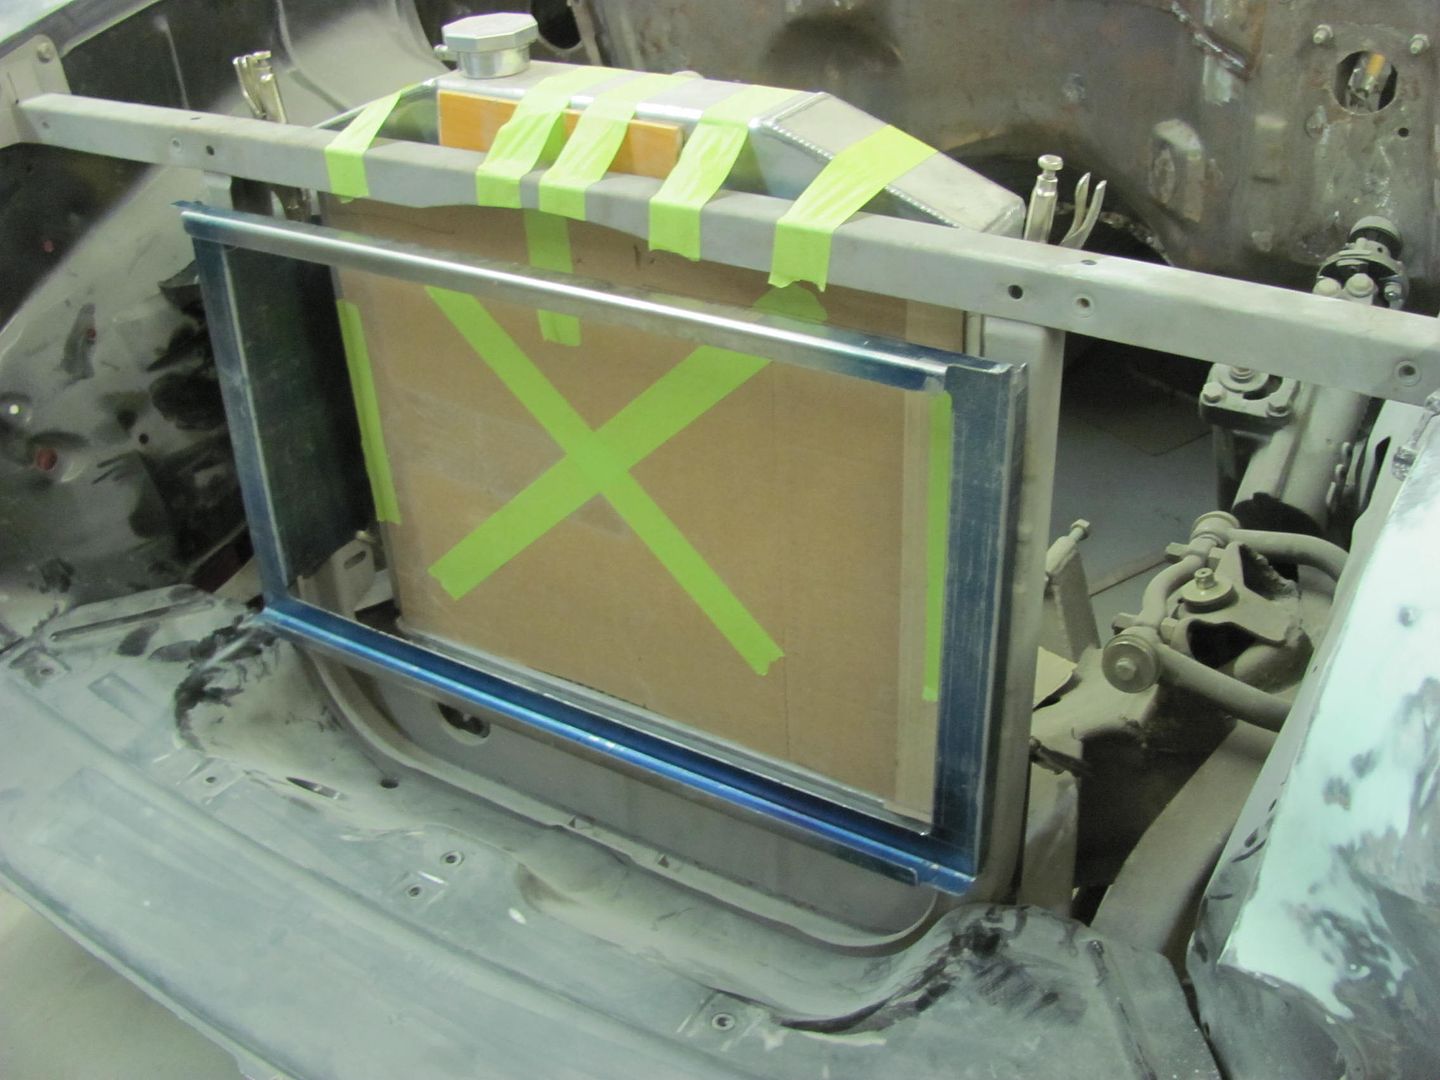 The side folds add some stiffening as well as hide the bolt heads for the core support baffle plates. 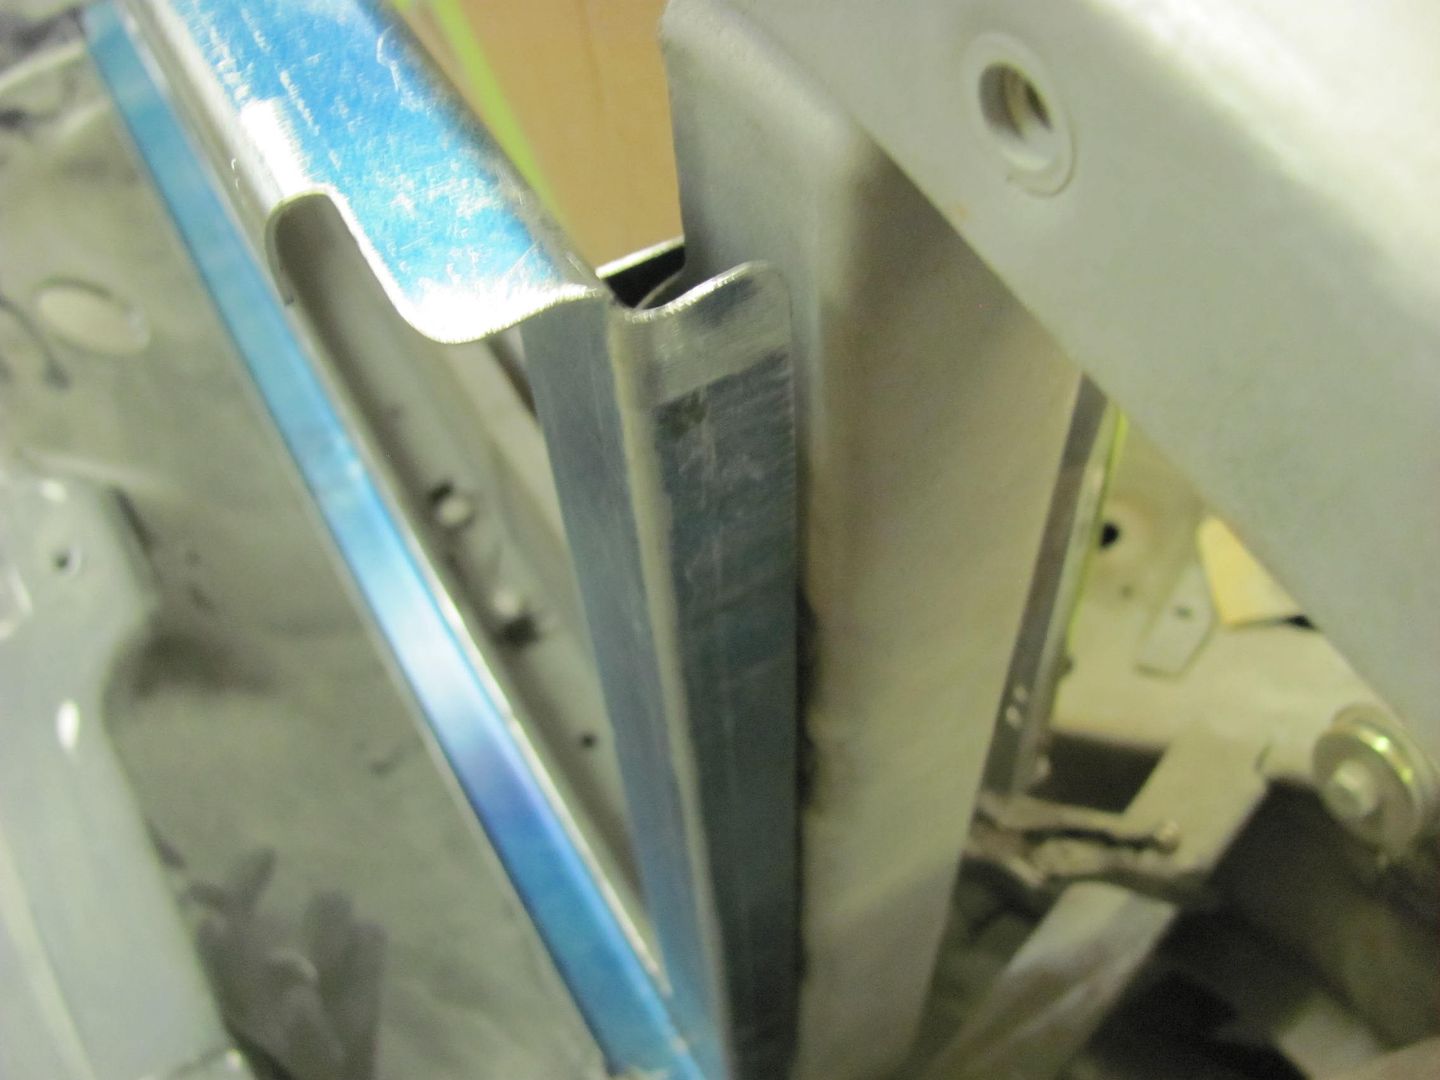 Test fit of the condenser... 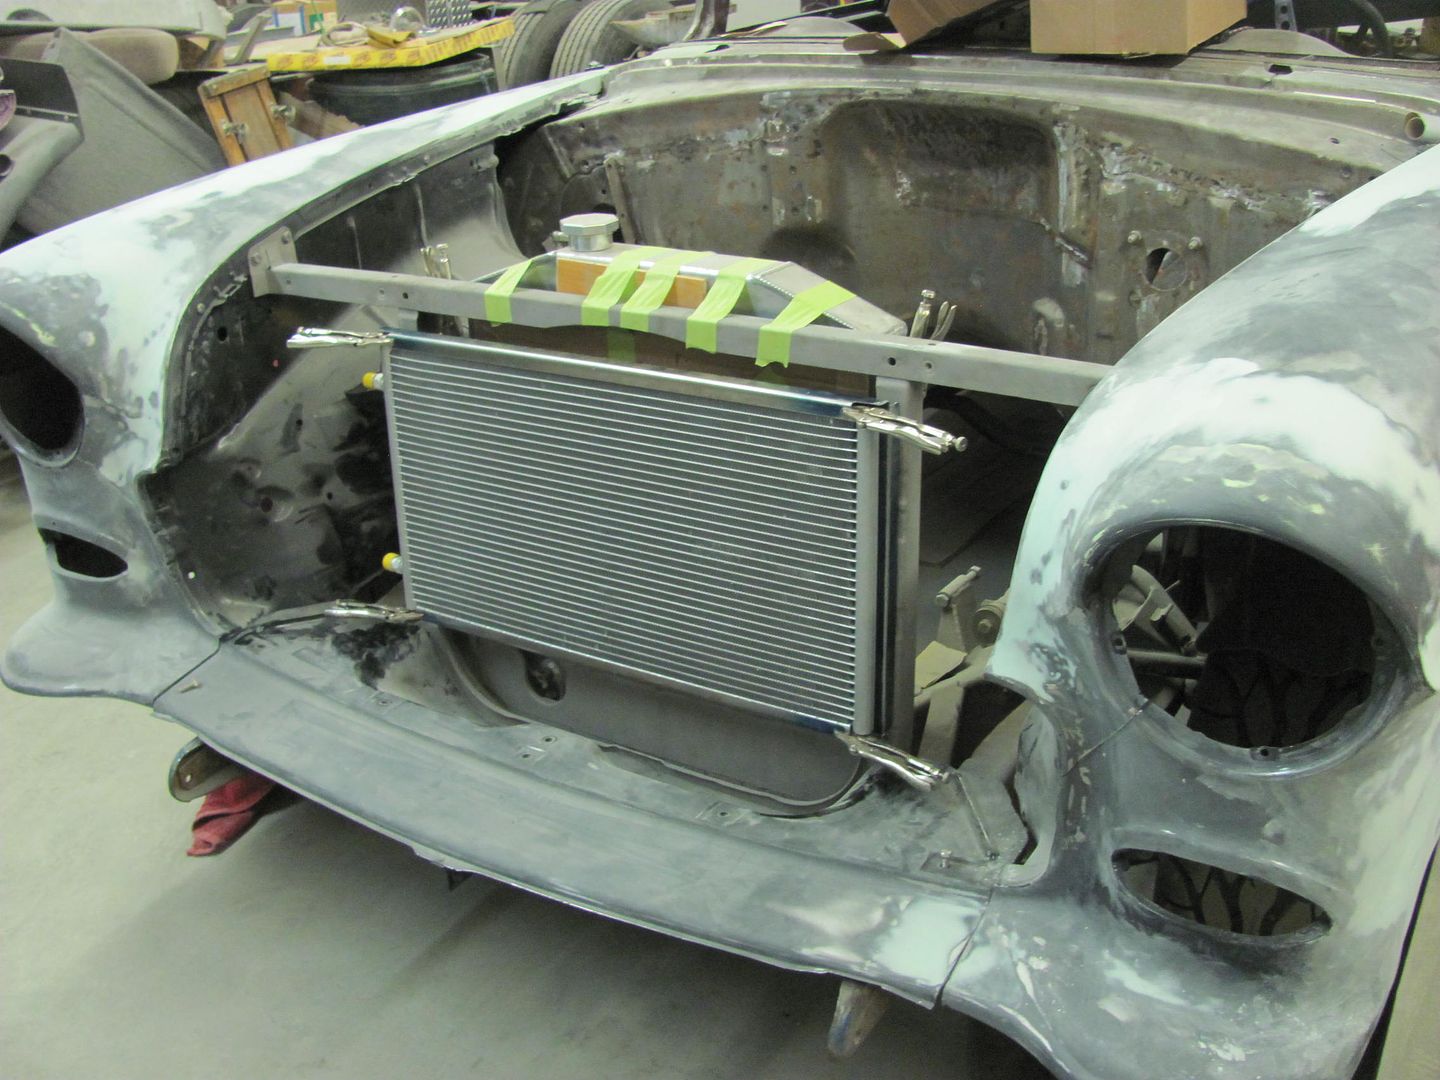 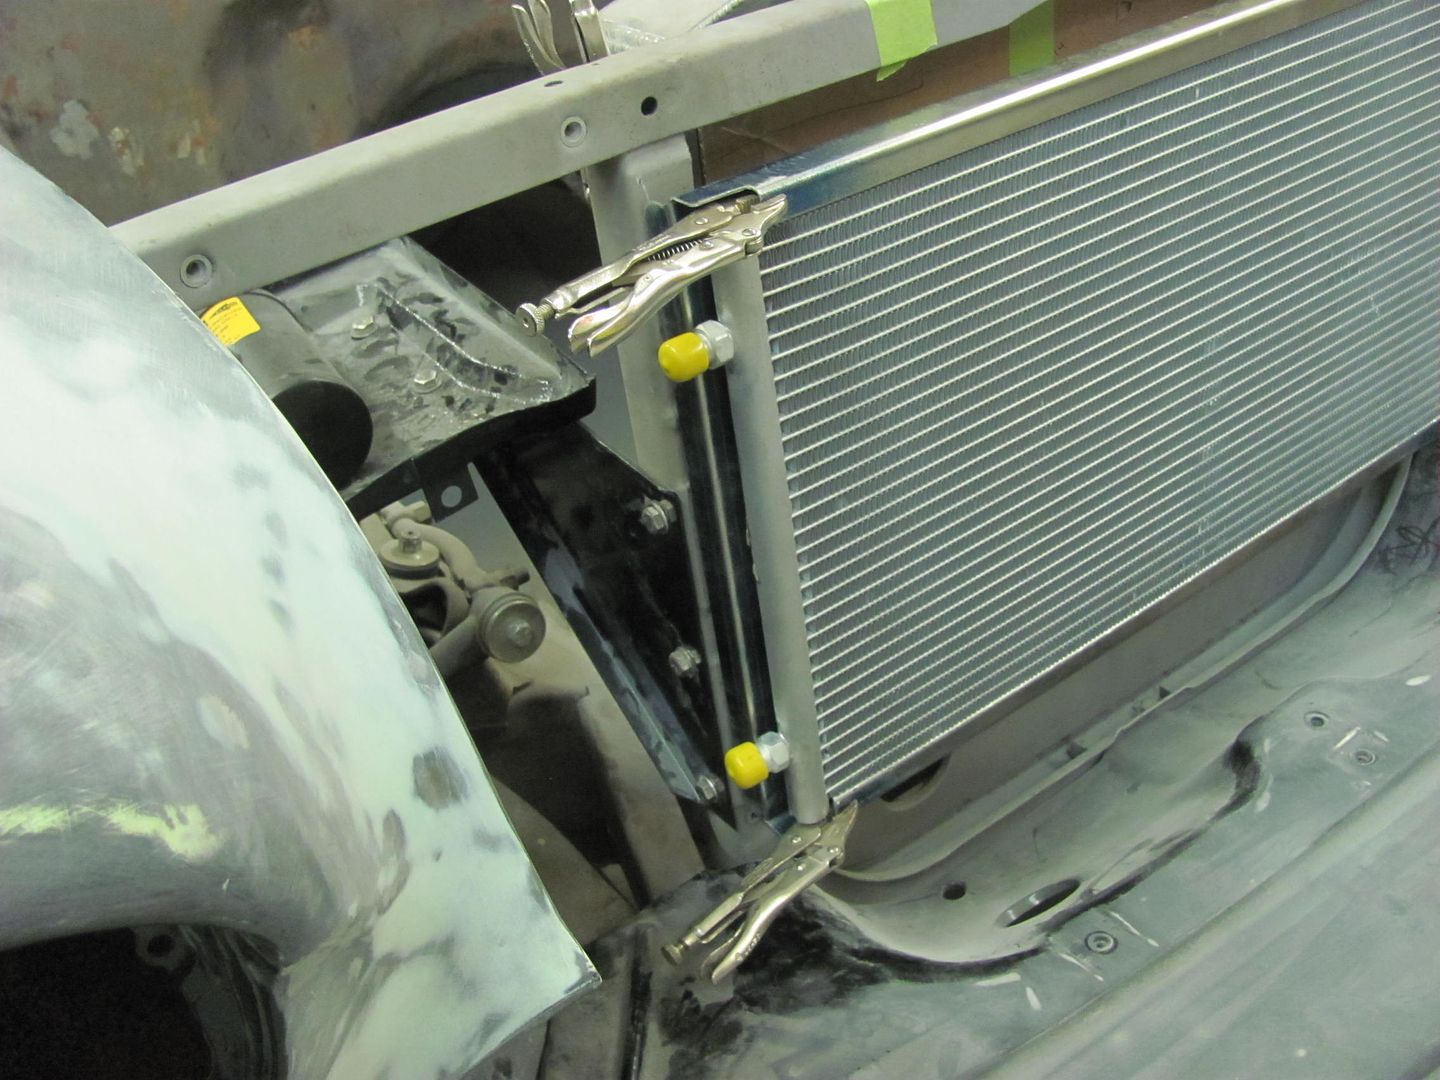 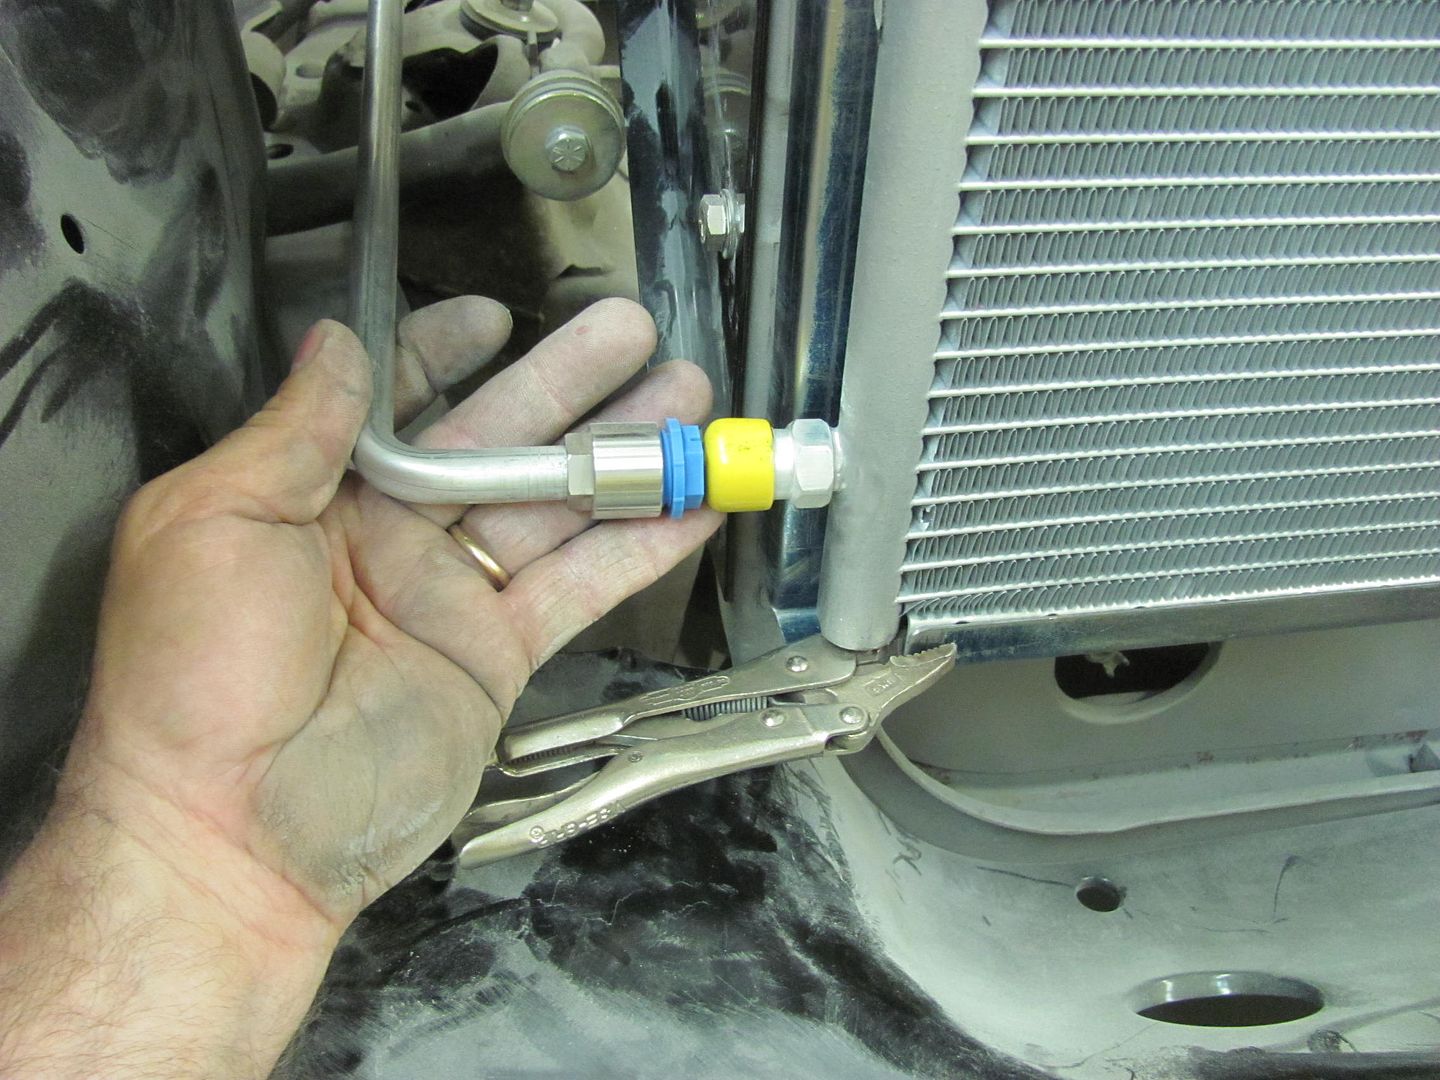 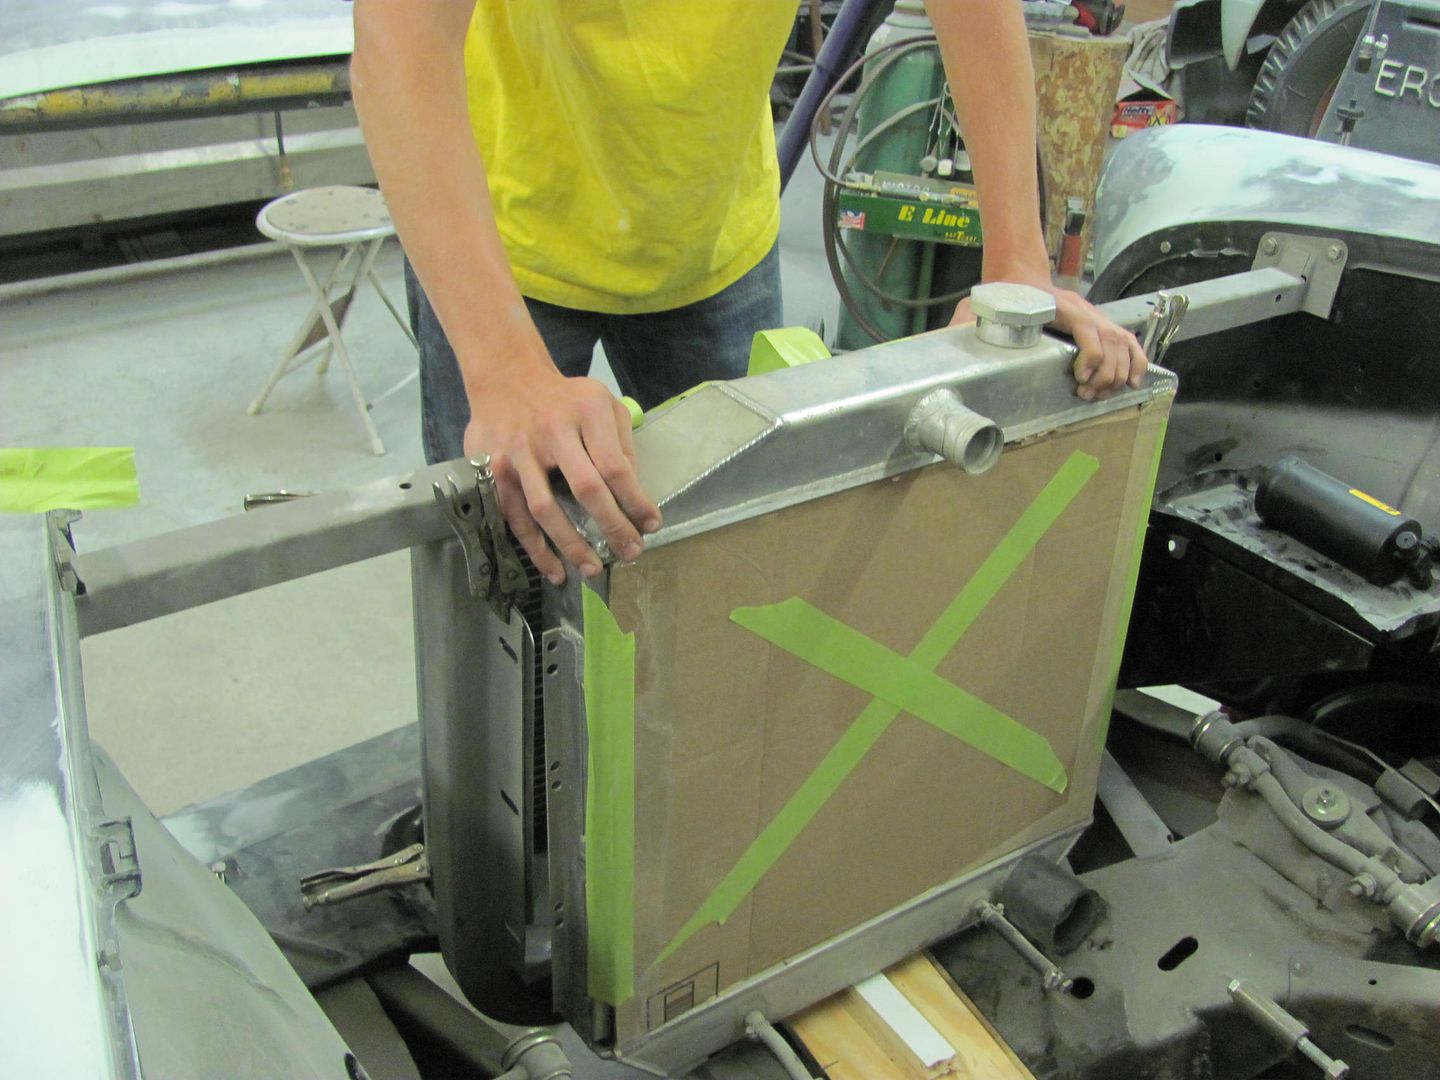 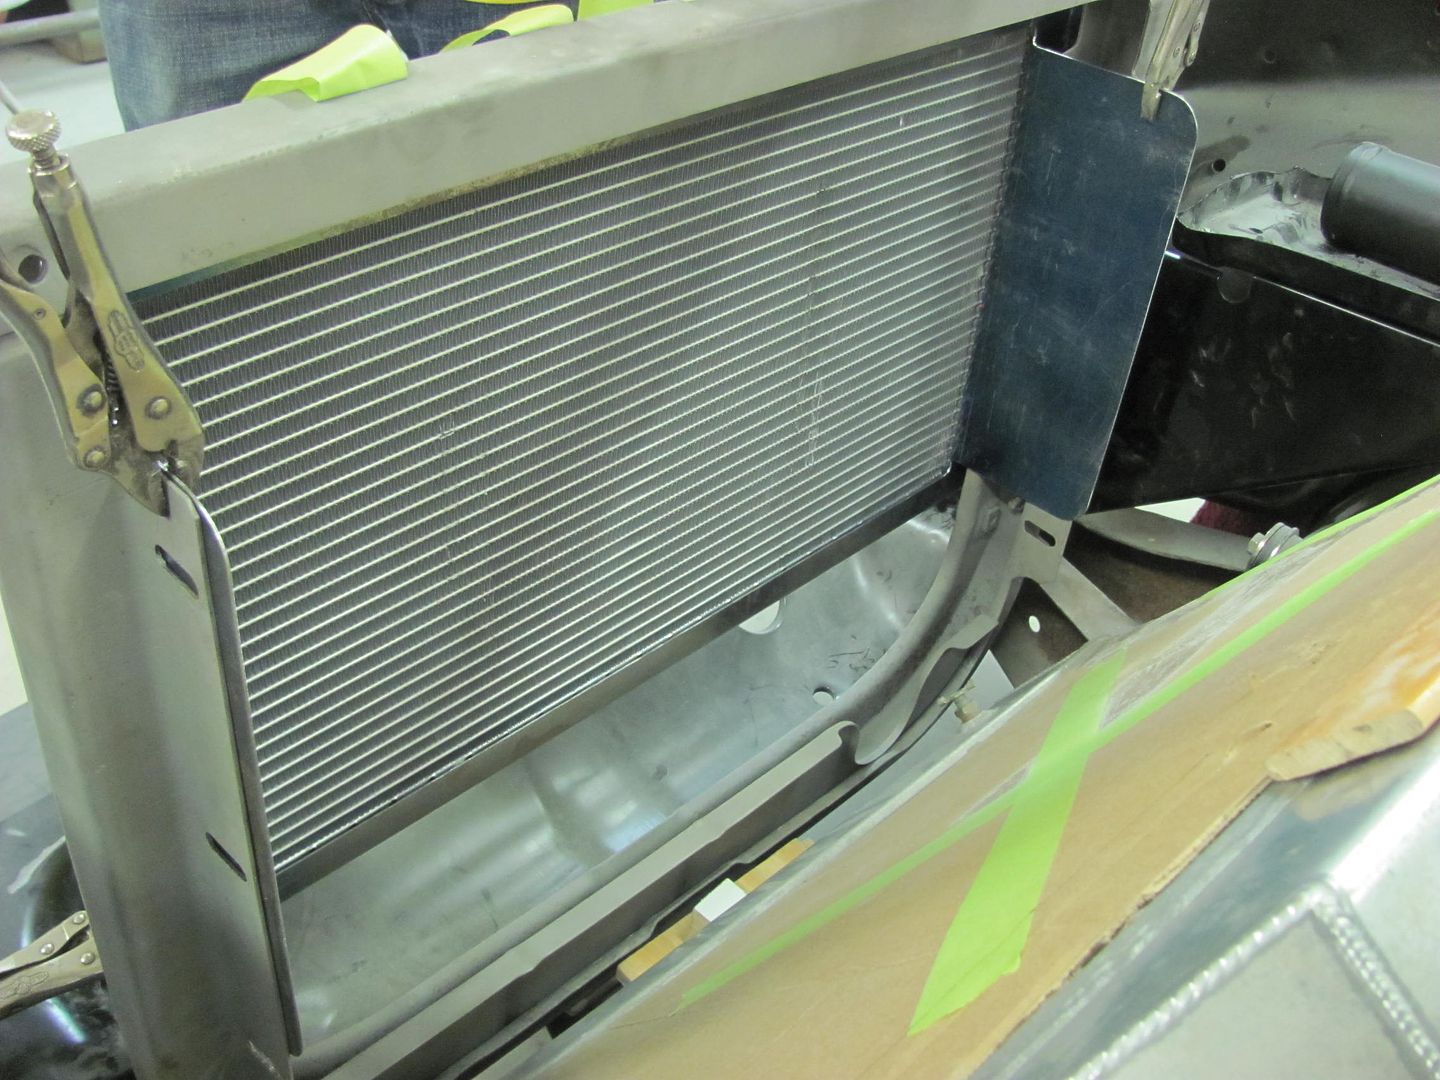 Radiator brackets got a nut welded in the bottom hole, the condenser mount will get nuts welded in place for the top 2 sets of holes, so everything will bolt in from the outside in.. 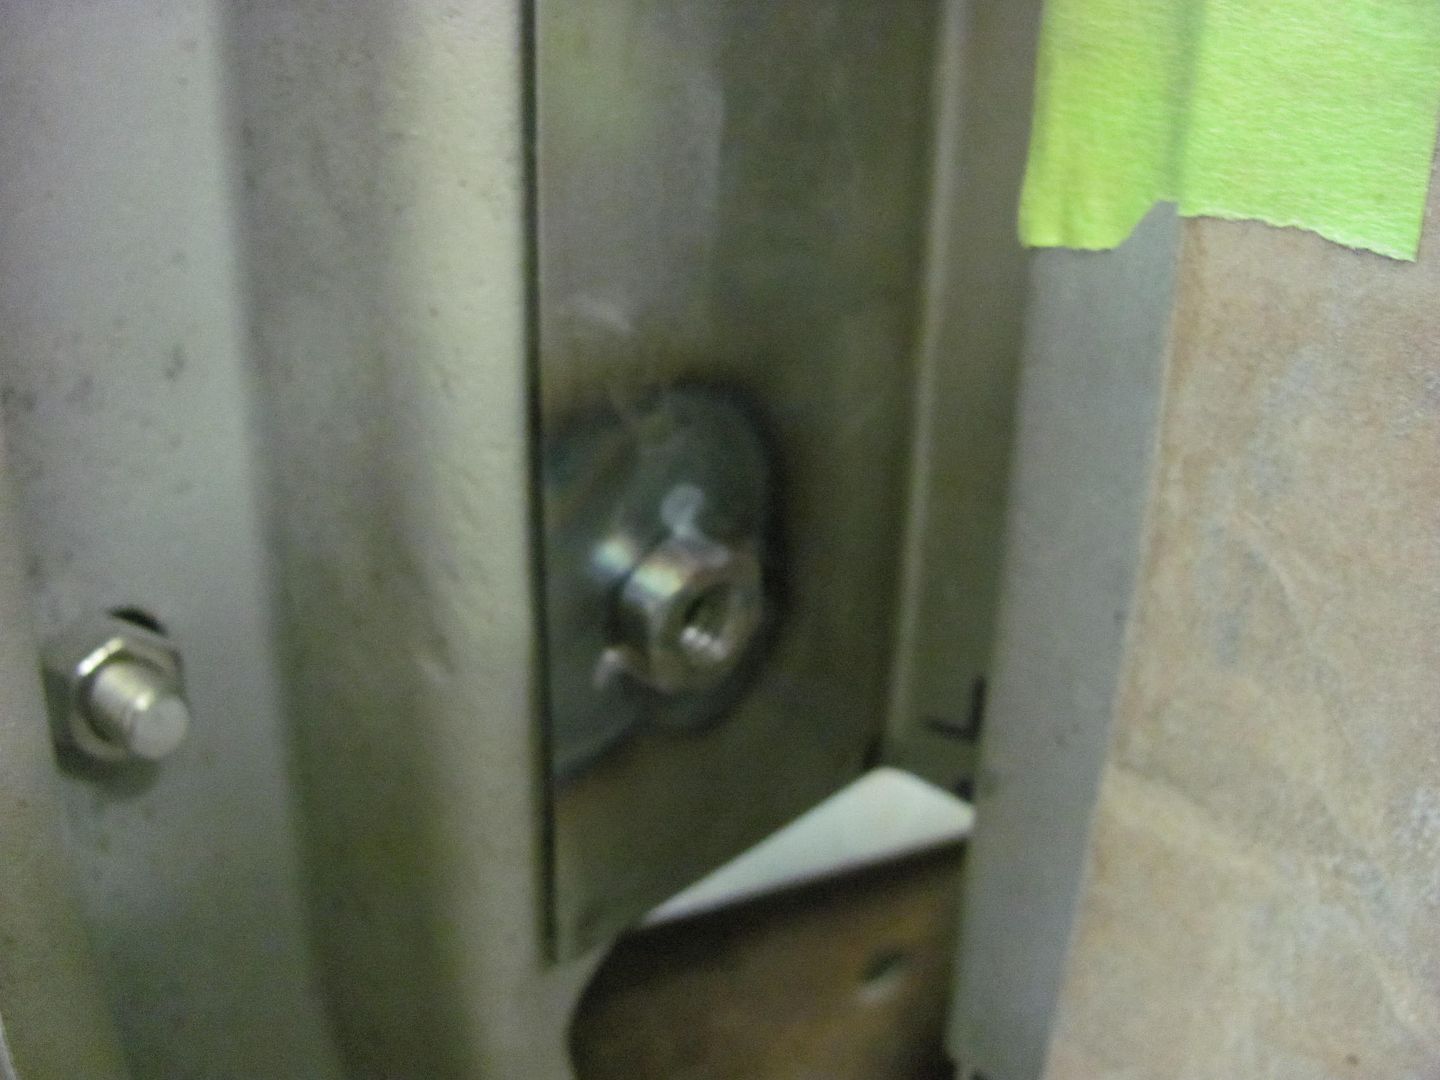 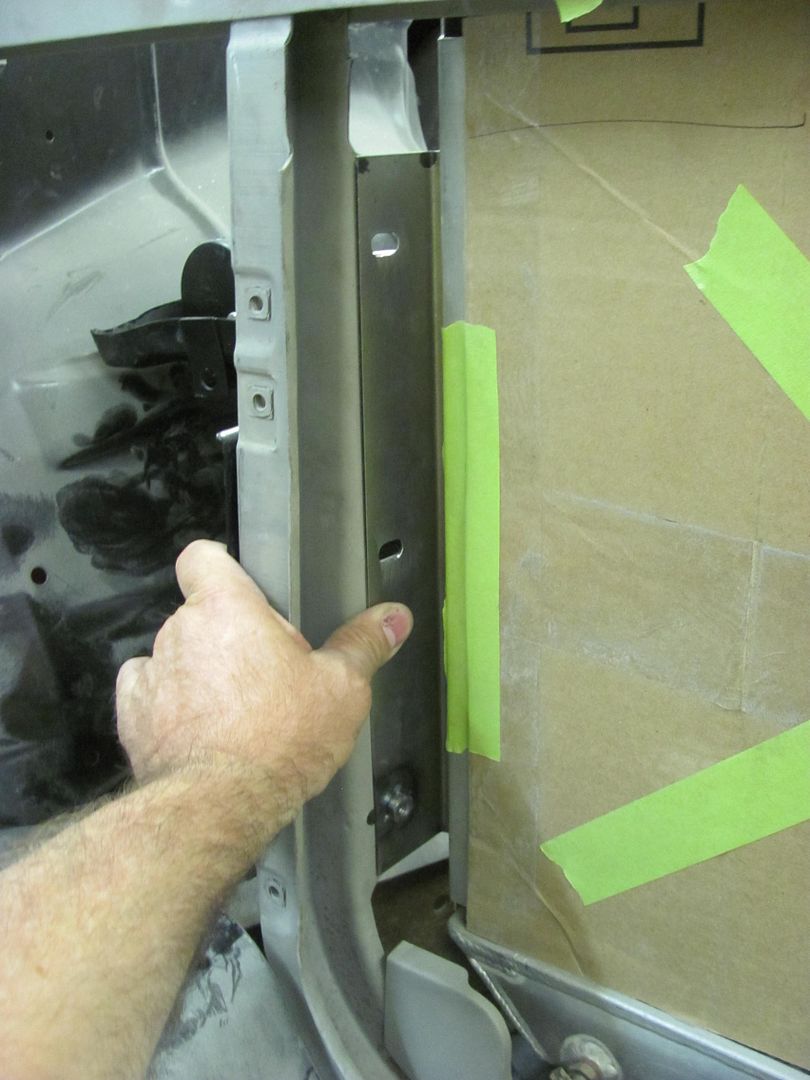 Making the slots for the radiator brackets, used a cone shaped burr.... 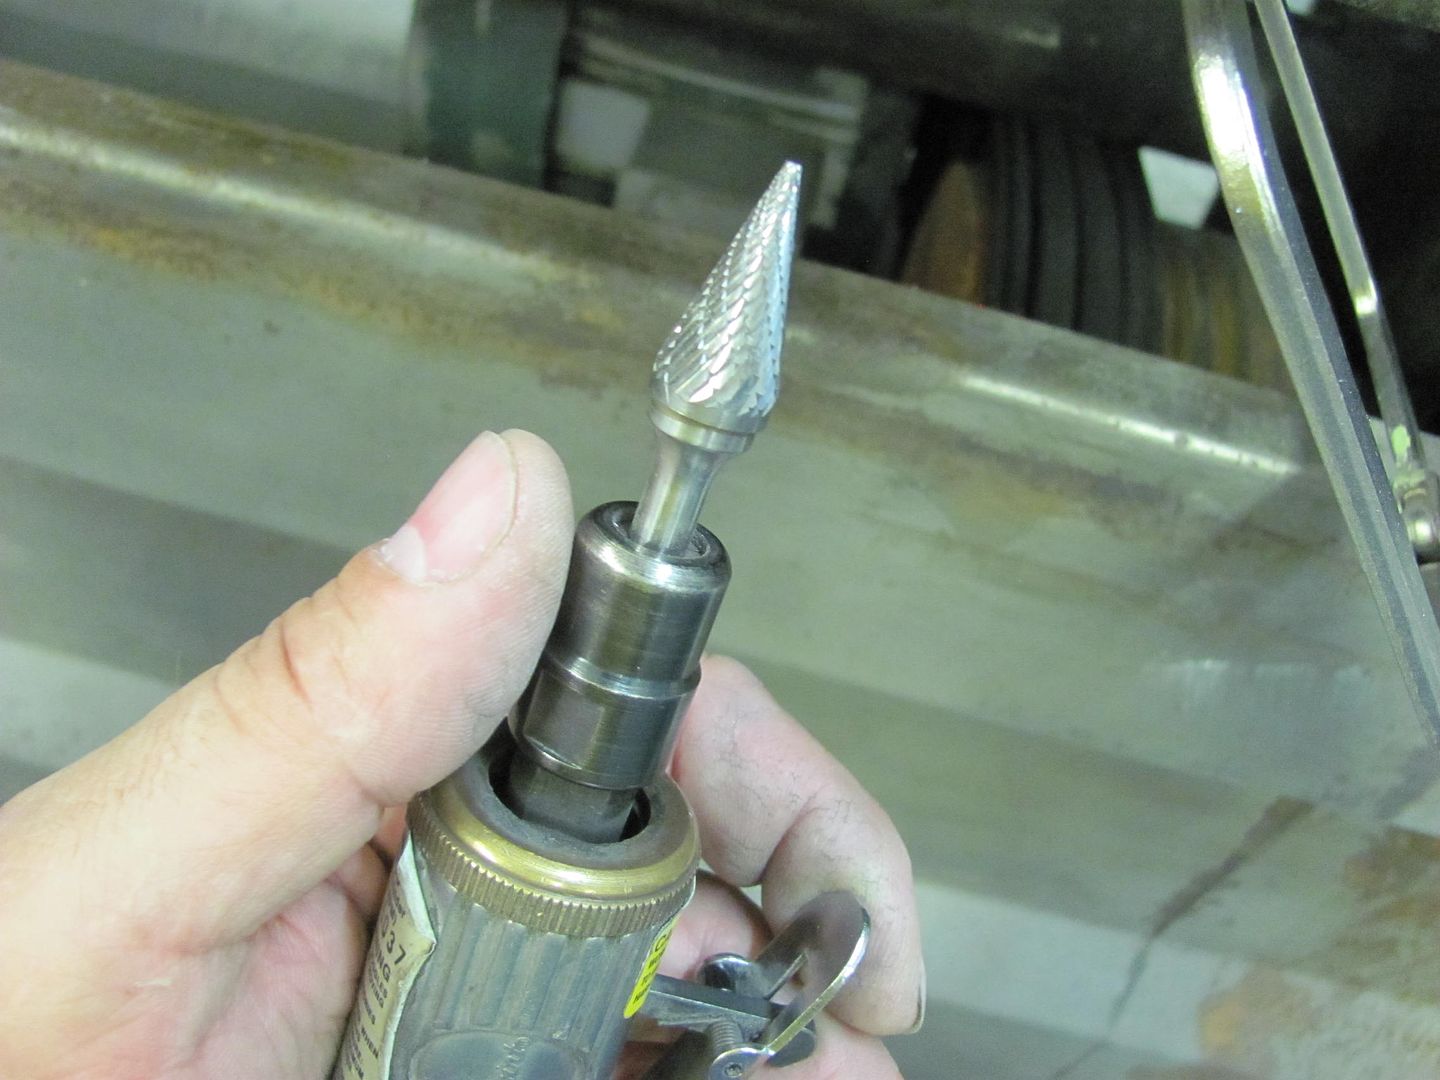 Found that this cutter had less chatter when the cutting edge was perpendicular to the hole opening... 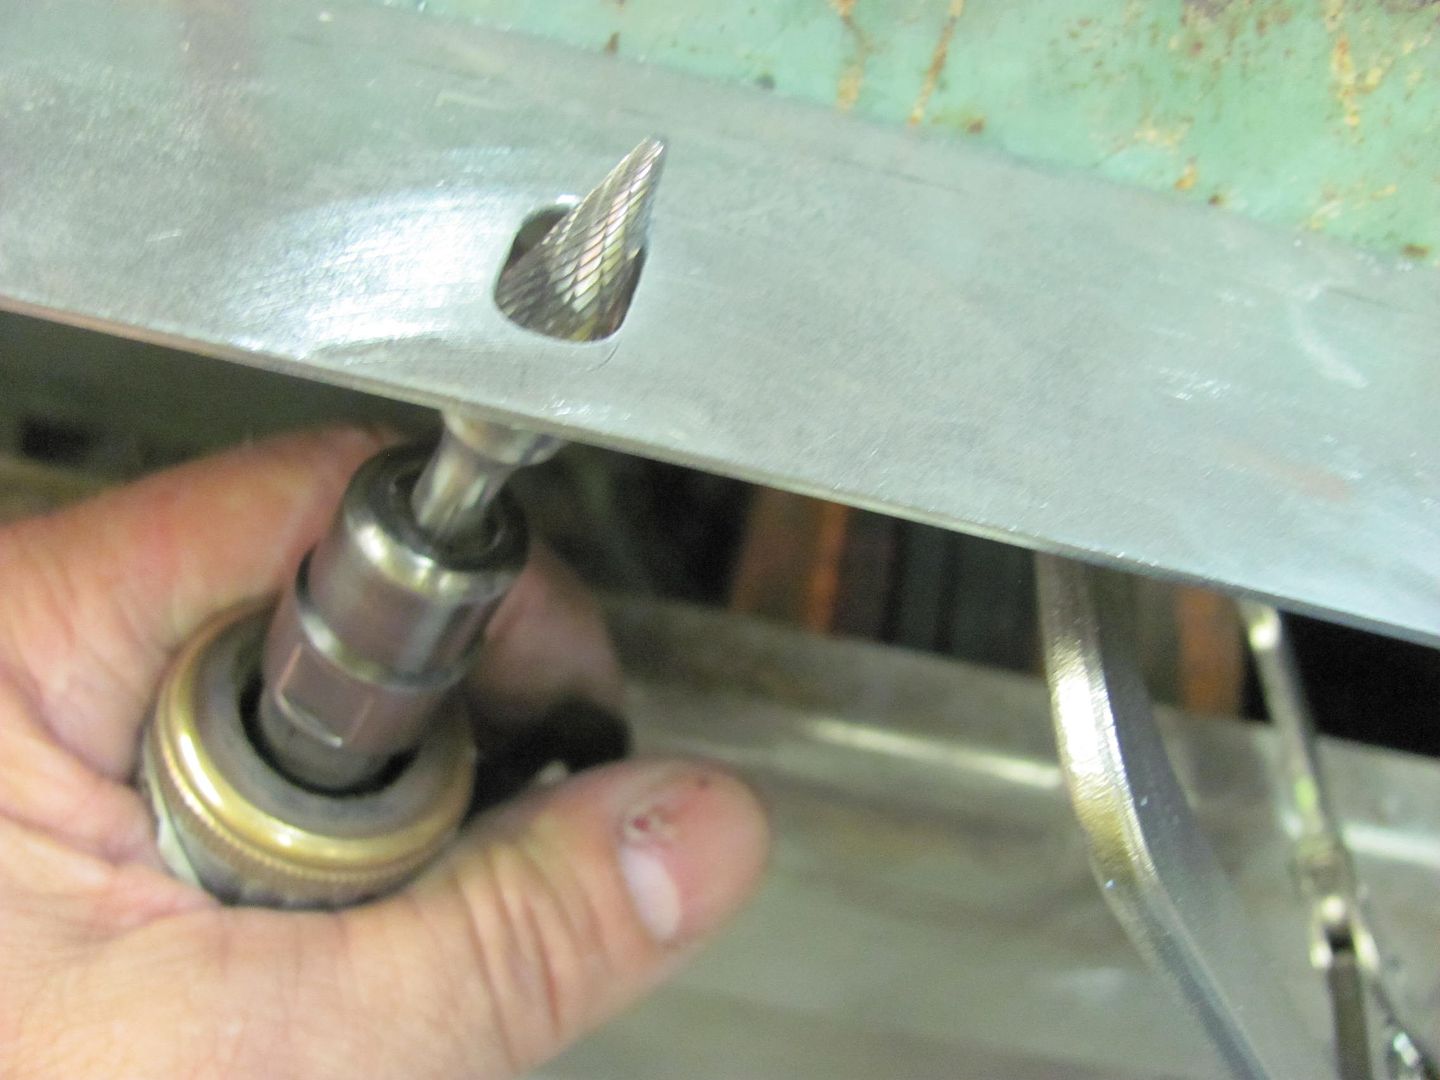 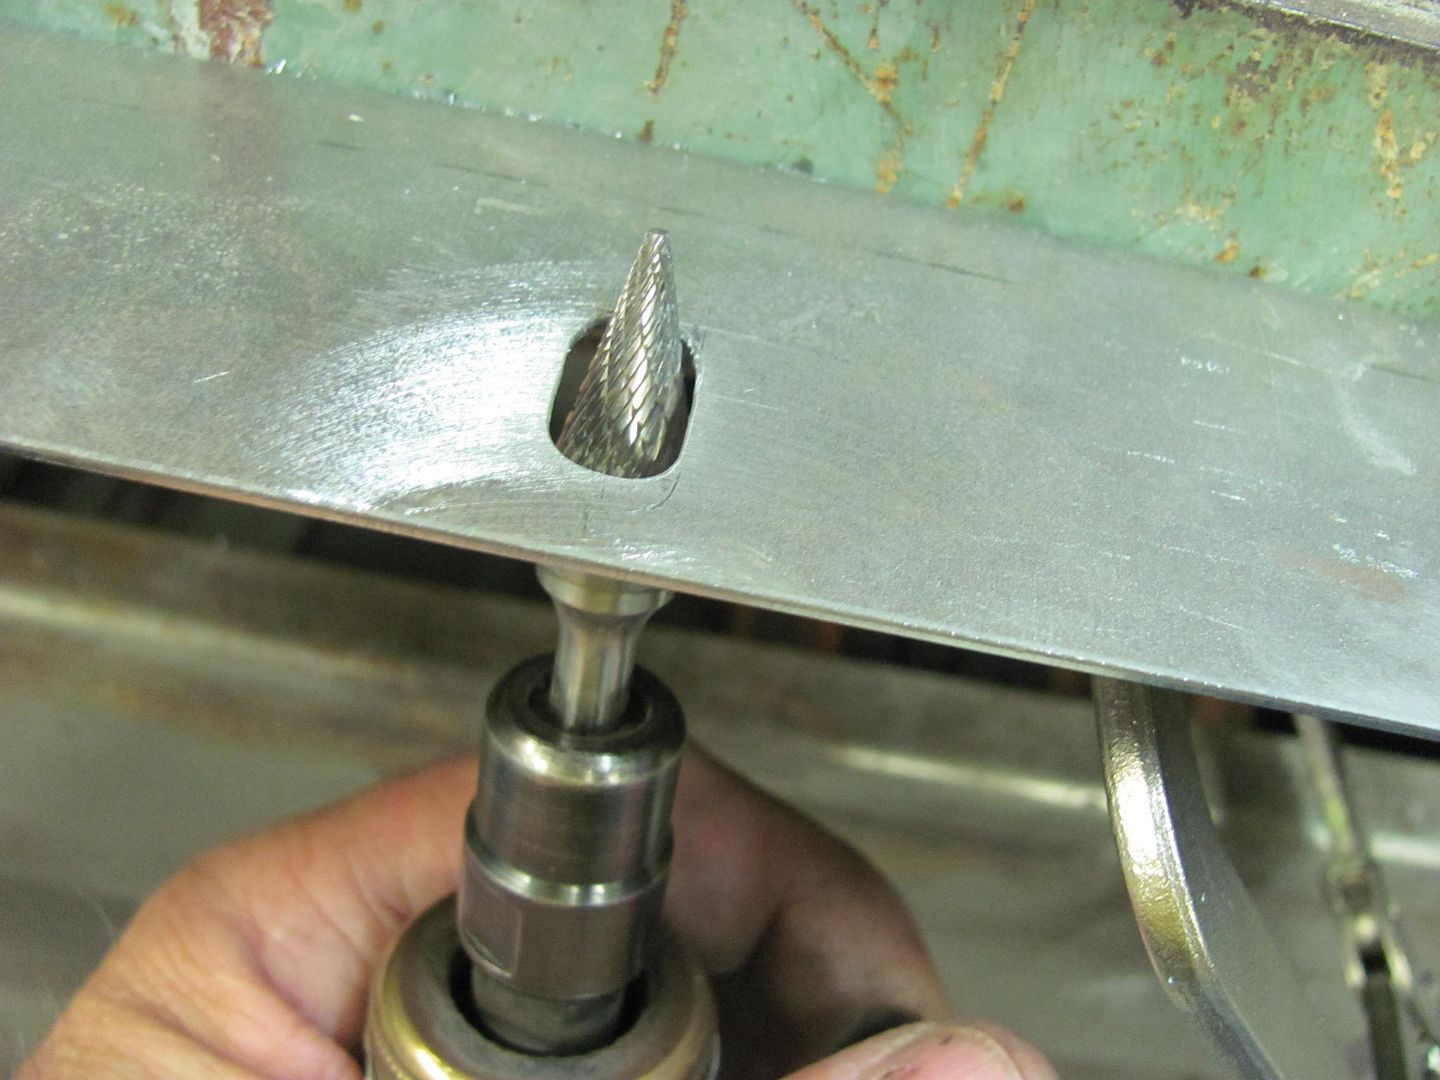 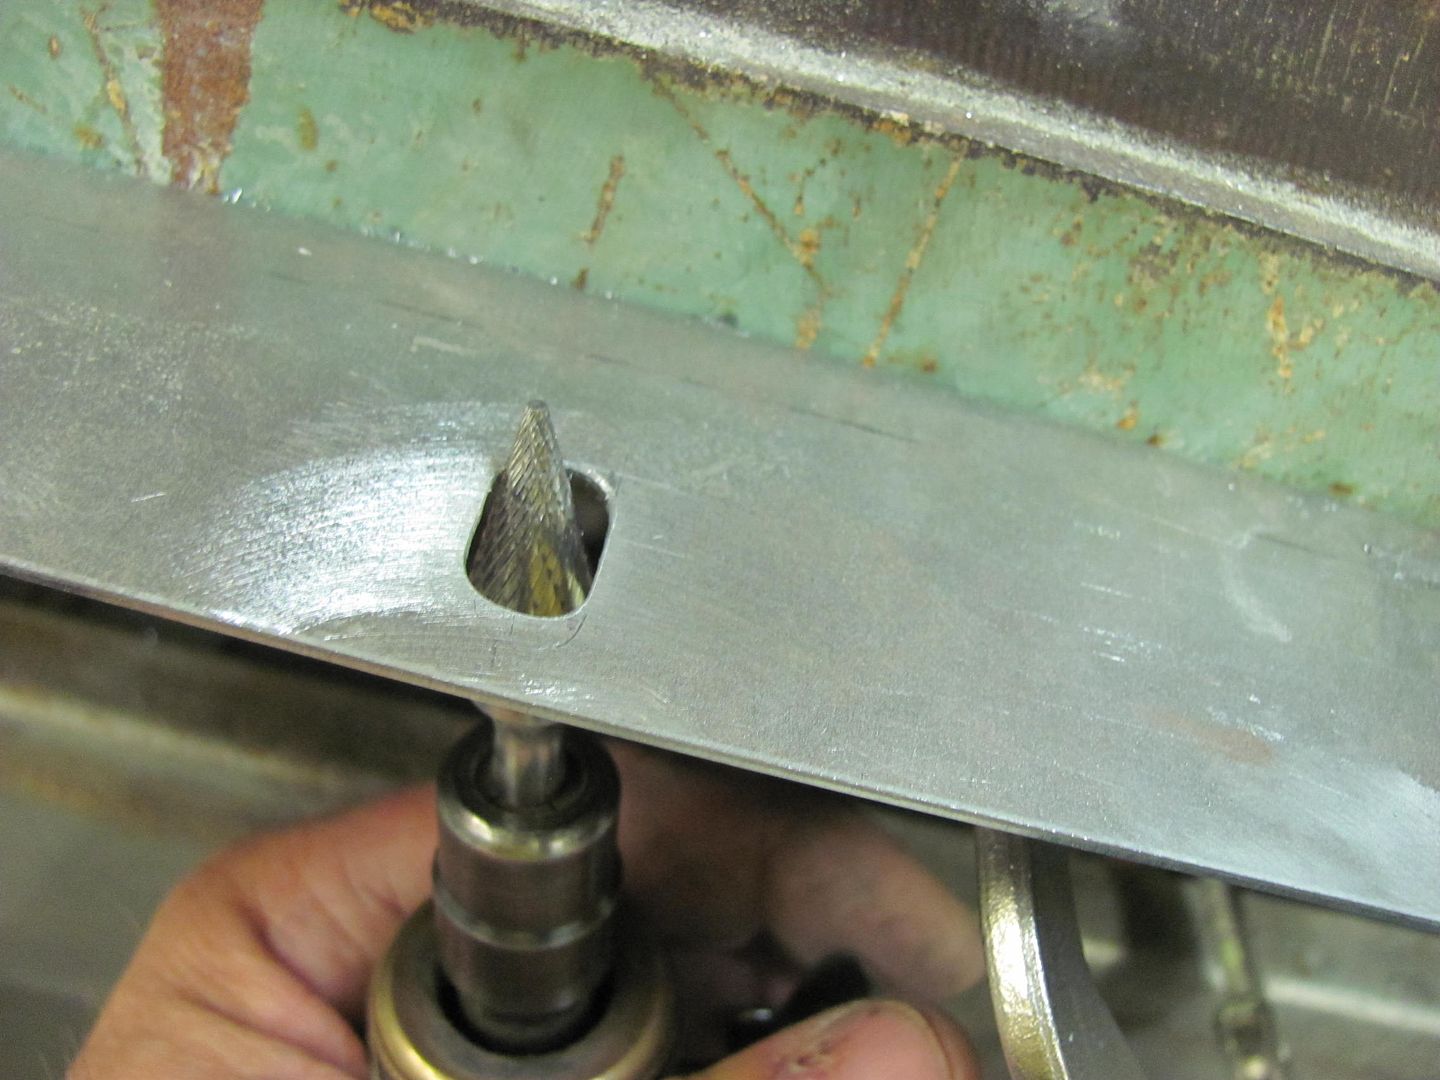 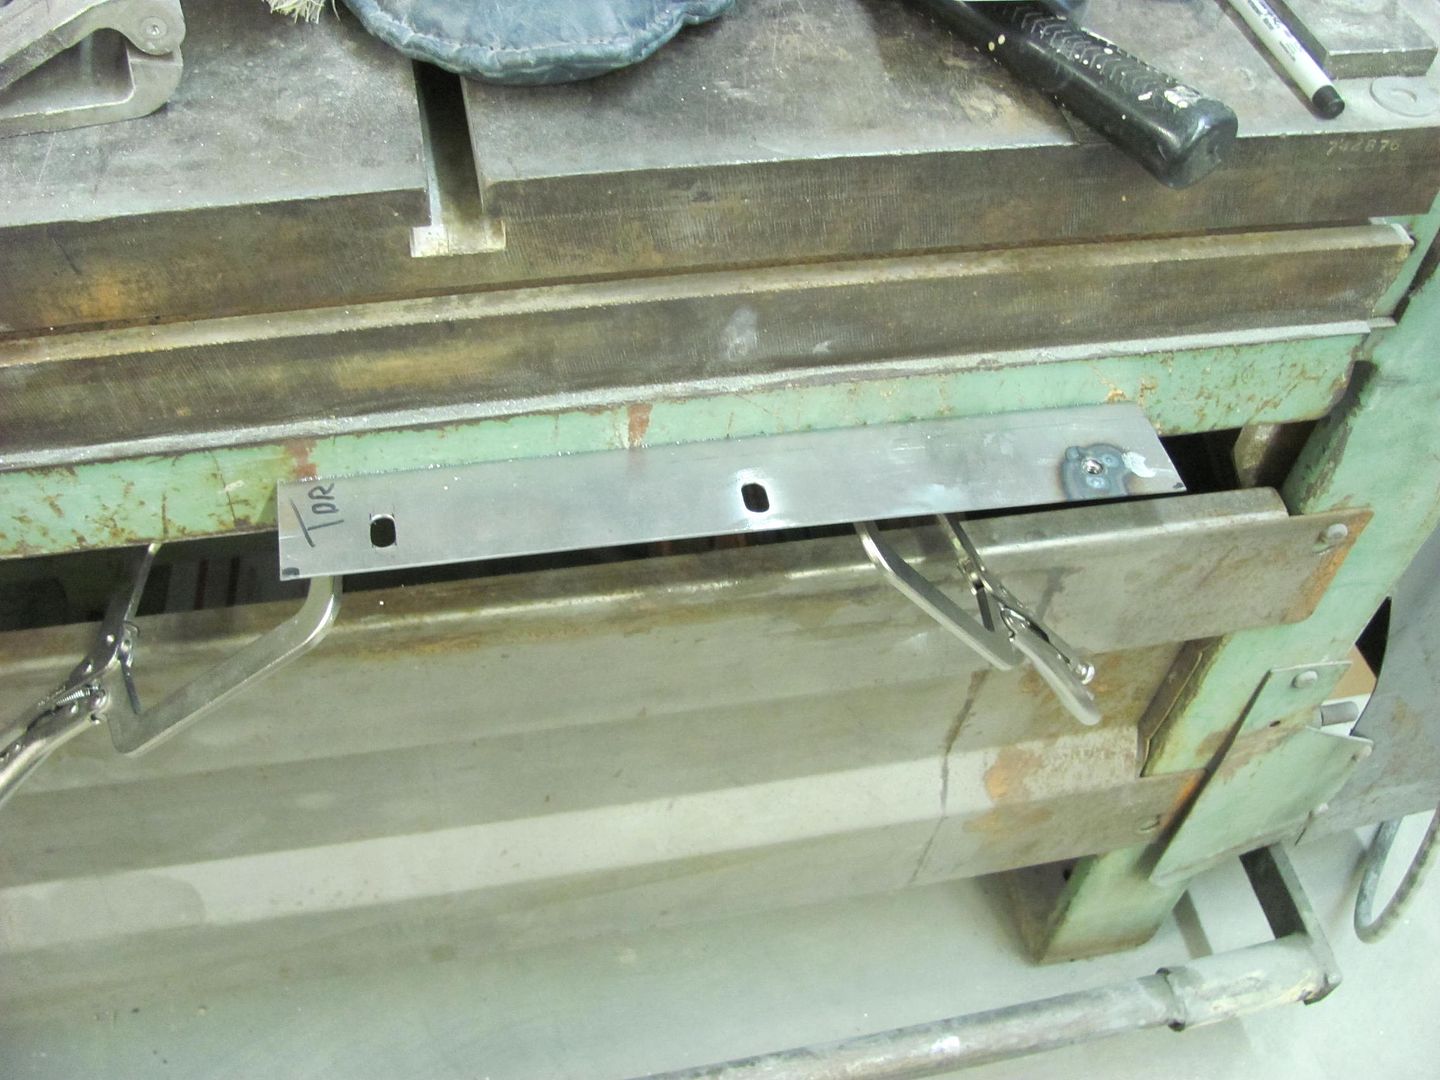
__________________
Robert |
|
|
|
|
05-18-2015, 12:33 PM
|
#453 |
|
Registered User
Join Date: Jan 2013
Location: Leonardtown, MD
Posts: 1,635
|
Re: 55 Wagon Progress
Some more details to iron out on the condenser mount, the corners seemed to "roll" a bit, so some corner braces are in order..
Using 16 gauge cold rolled, holes drilled to provide an inside radius to help prevent stress cracking.. 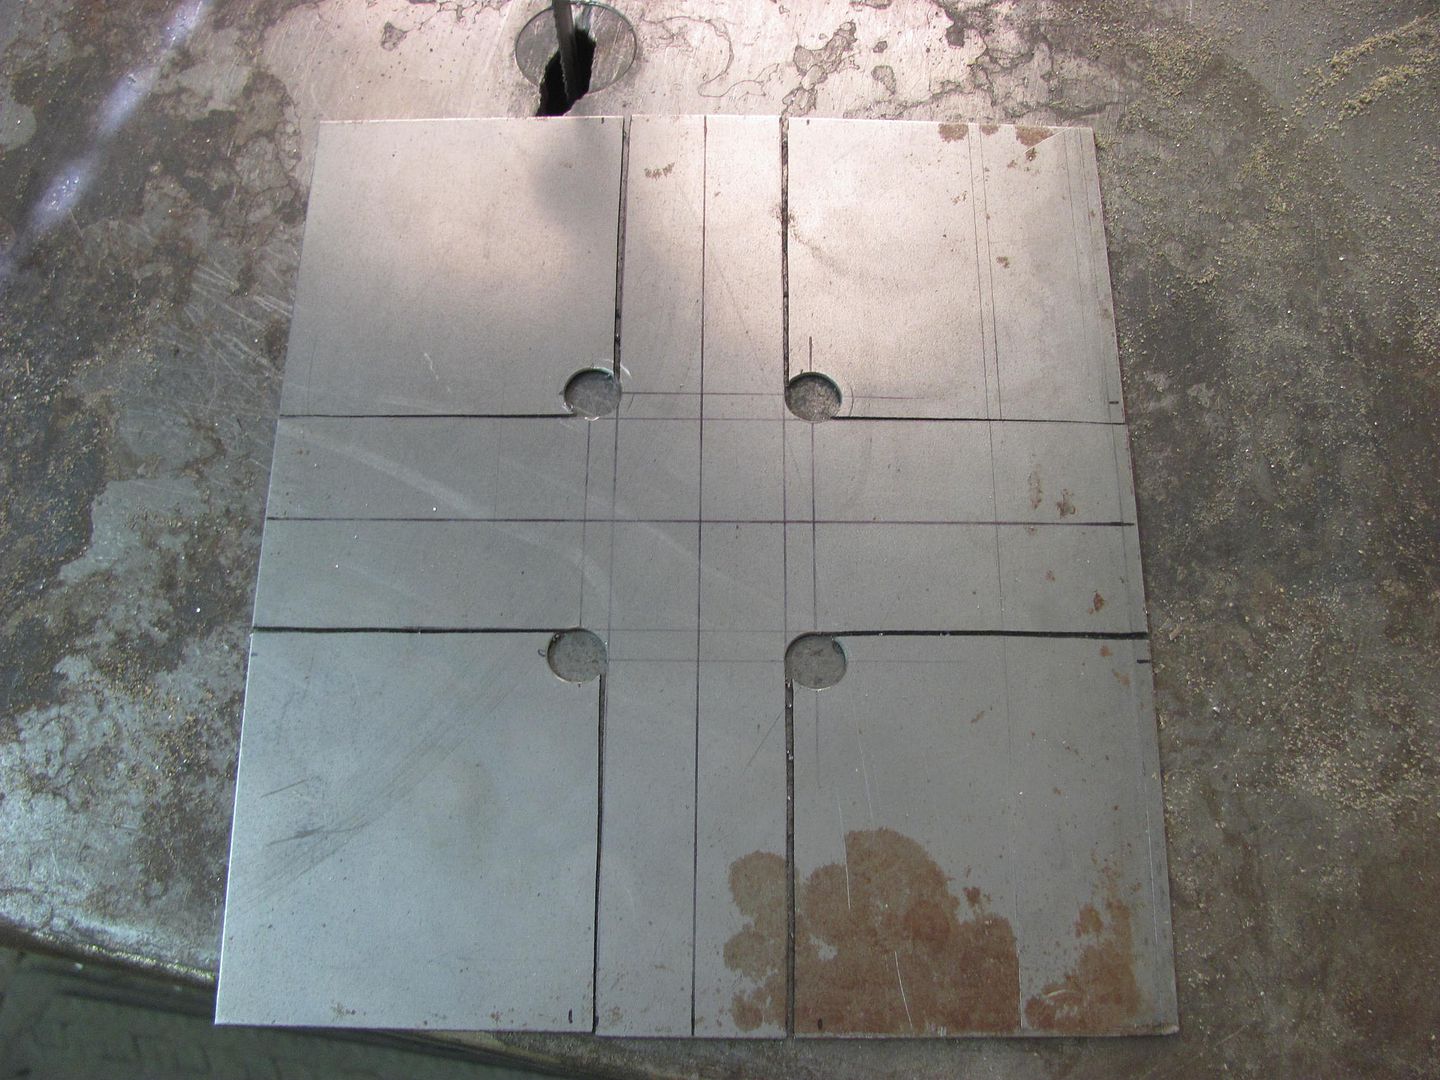 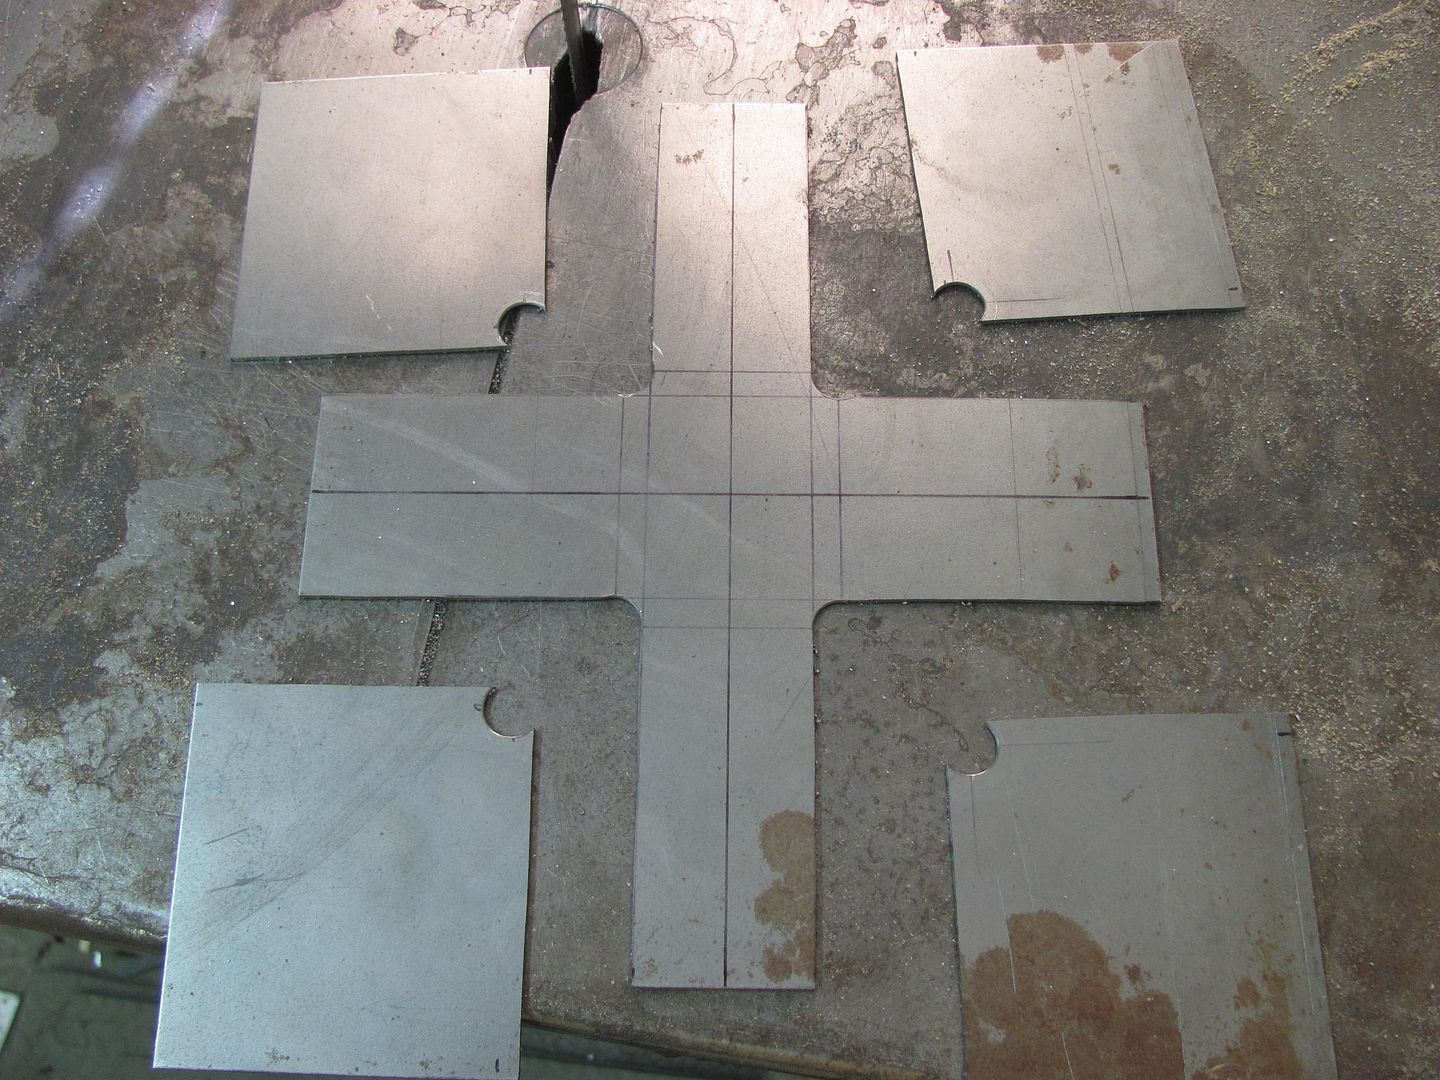  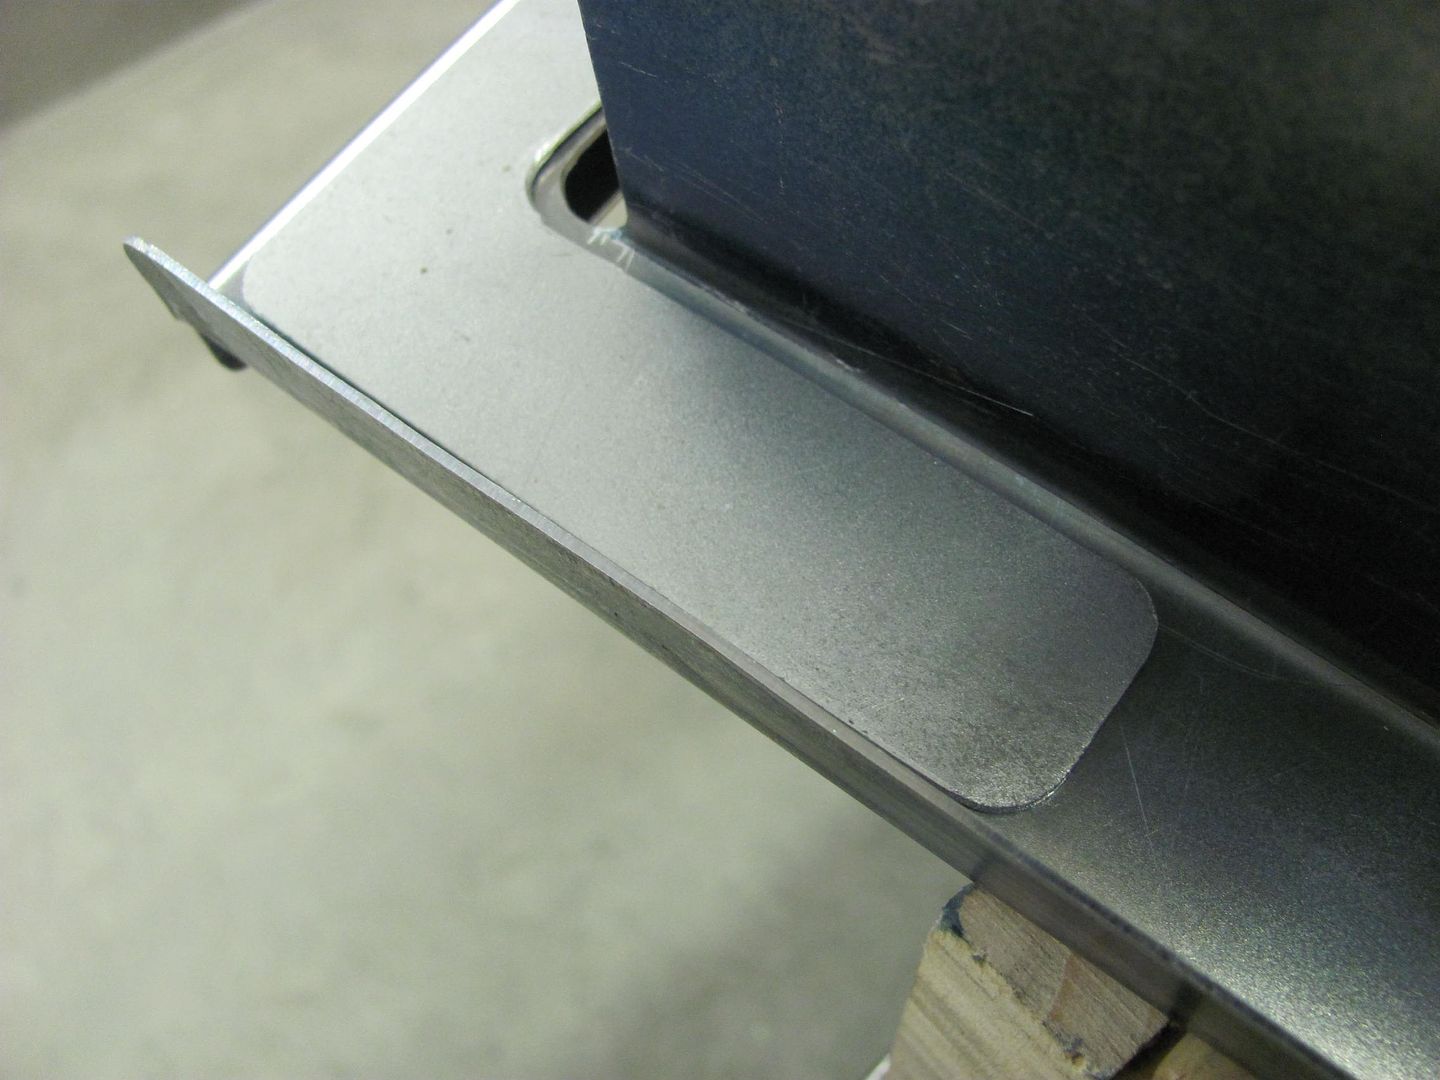 Plug welds to hold things together.. 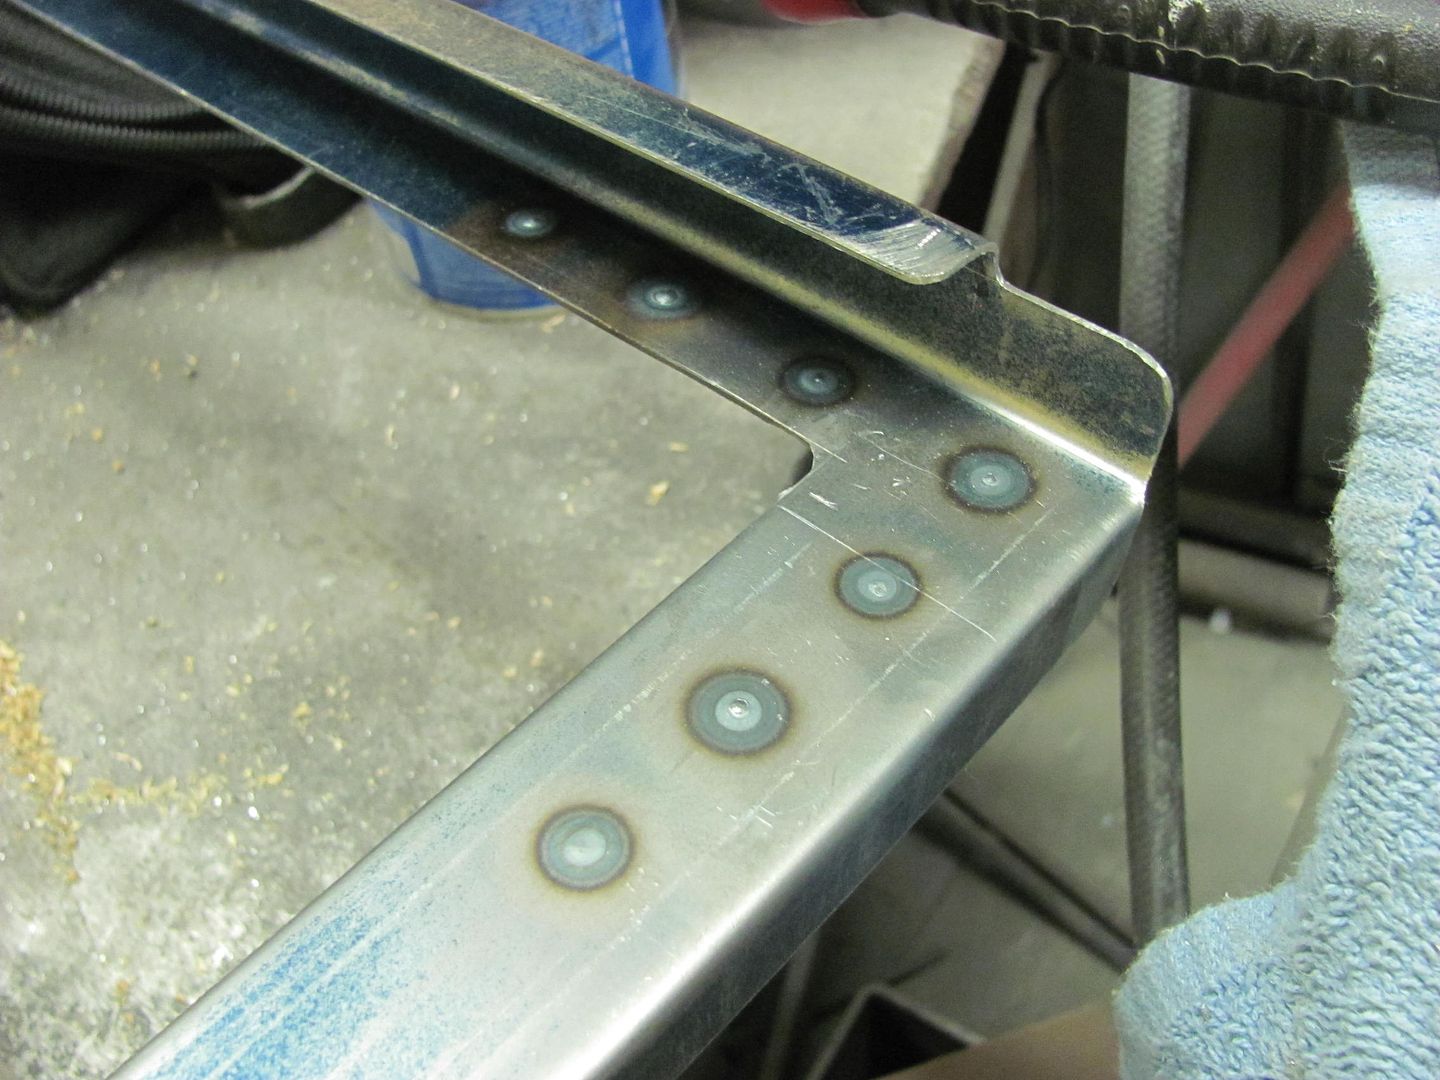 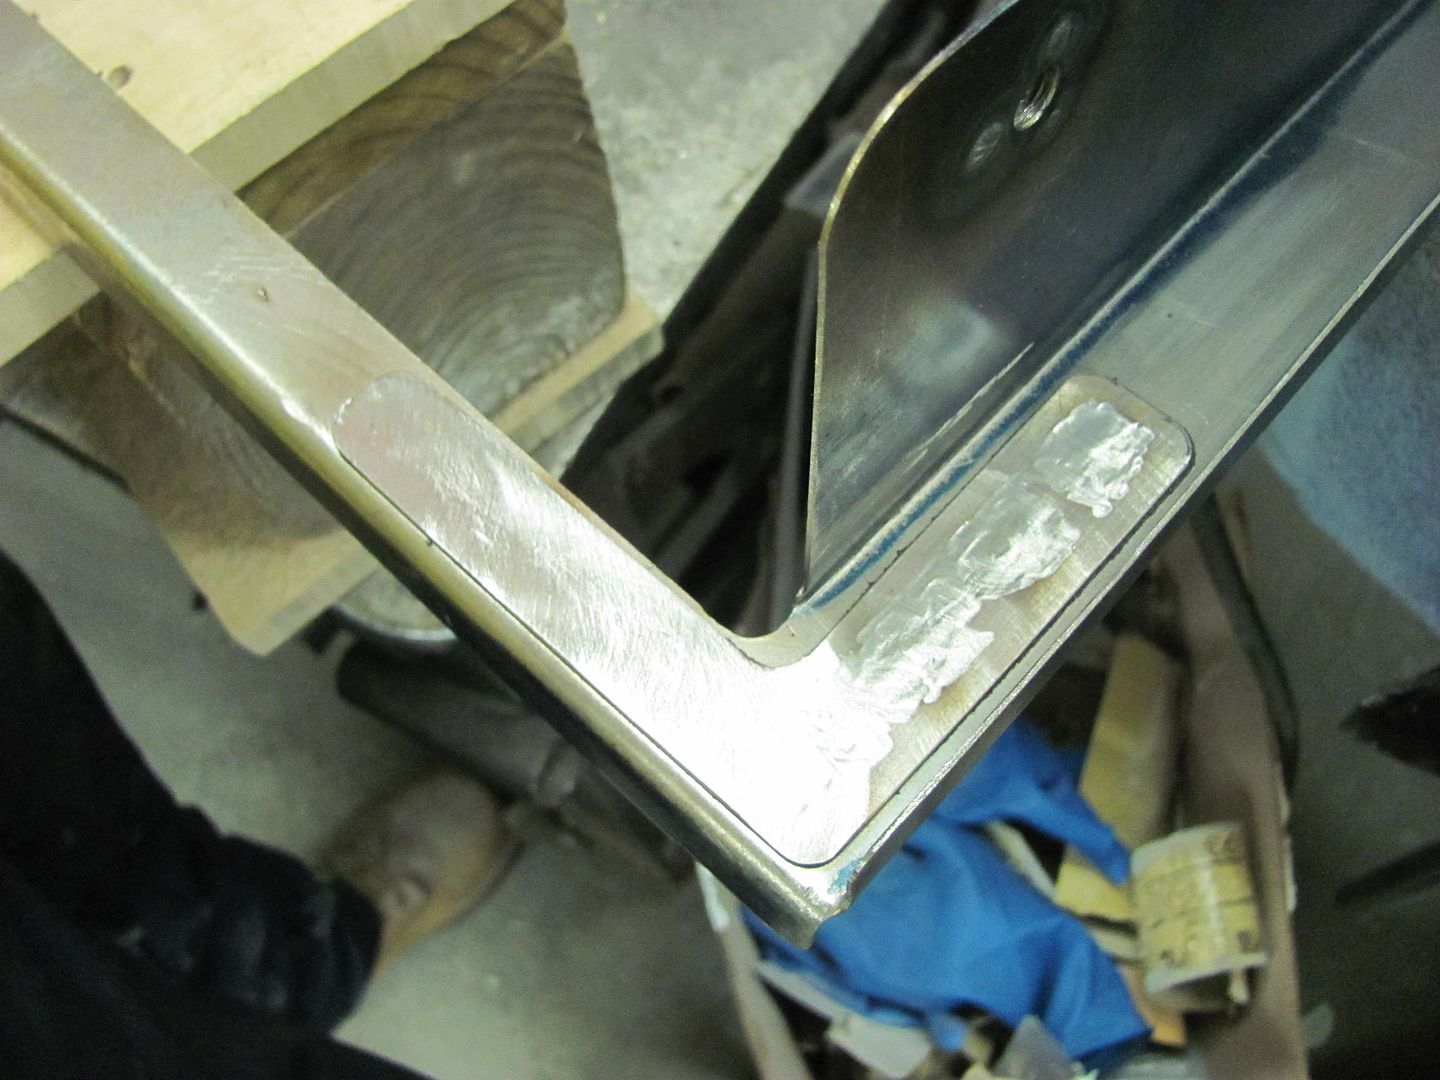 Bob Heine over on GJ suggested using a Corvette antenna as they use an escutcheon with a flush fit, so I had a Corvette part delivery over the weekend, size of the business end is rather larger than the aftermarket one we had. As this fit in the void behind the A pillar (see in background between cowl vent and A pillar) and also needs to dodge the hinges closing, this did cause some interference. Dan thought this was from a late 80's/early 90's..  The biggest issue with the universal power antenna we have is that the top of the fender is considerably rounded, and the antenna escutcheon is designed for flat. So we are also looking at the factory piece, to see if we could adapt (drill hole larger) to use with the power antenna. 
__________________
Robert |
|
|
|
|
05-18-2015, 08:21 PM
|
#454 |
|
Registered User
Join Date: May 2007
Location: Deale Md
Posts: 4,663
|
Re: 55 Wagon Progress
modify and use the stock one
__________________
James 63 GMC V6 4speed carryall 65 chevy swb bbw V8 auto 68 K20 327/4 speed, buddy buckets 2002 GMC CC Dually Duramax 64 GMC lwb 3/4 V6 4speed SOLD 66 GMC swb bbw buddy buckets SOLD IG duallyjams The only thing that stays the same is constant change! |
|
|
|
|
05-22-2015, 09:22 AM
|
#455 |
|
Registered User
Join Date: Jan 2013
Location: Leonardtown, MD
Posts: 1,635
|
Re: 55 Wagon Progress
More progress on the condenser, used some machine screws to attach to the bracket, and some AVK style rivet-nuts in the frame of the condenser to act as a captive nut.
  Bolted in place... 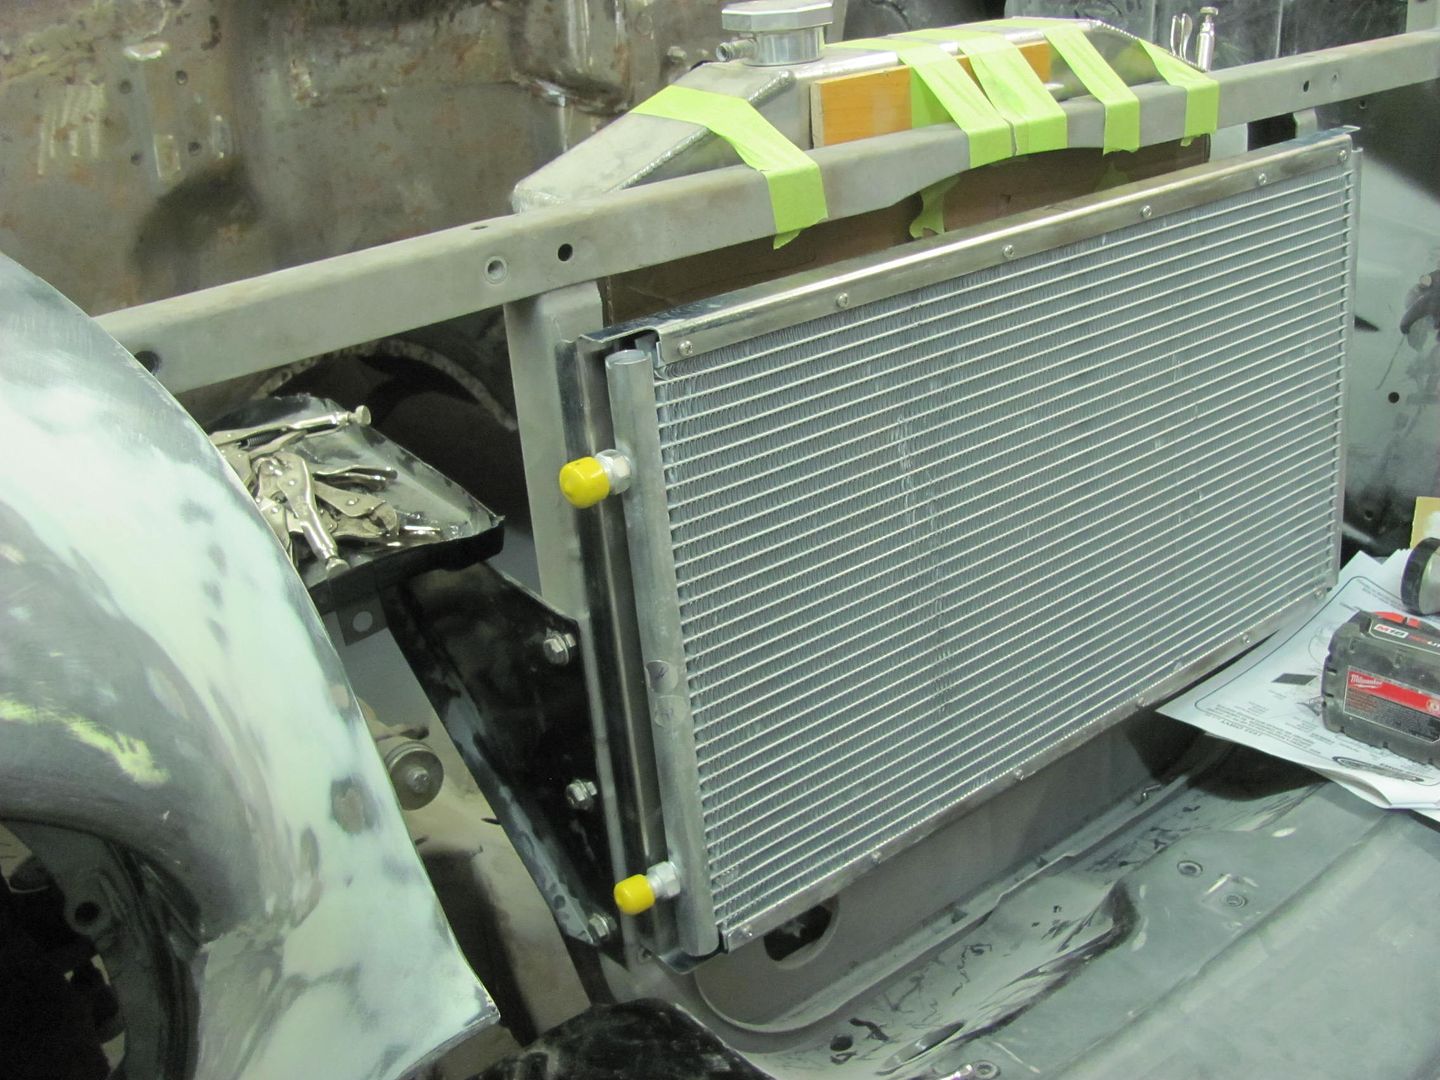 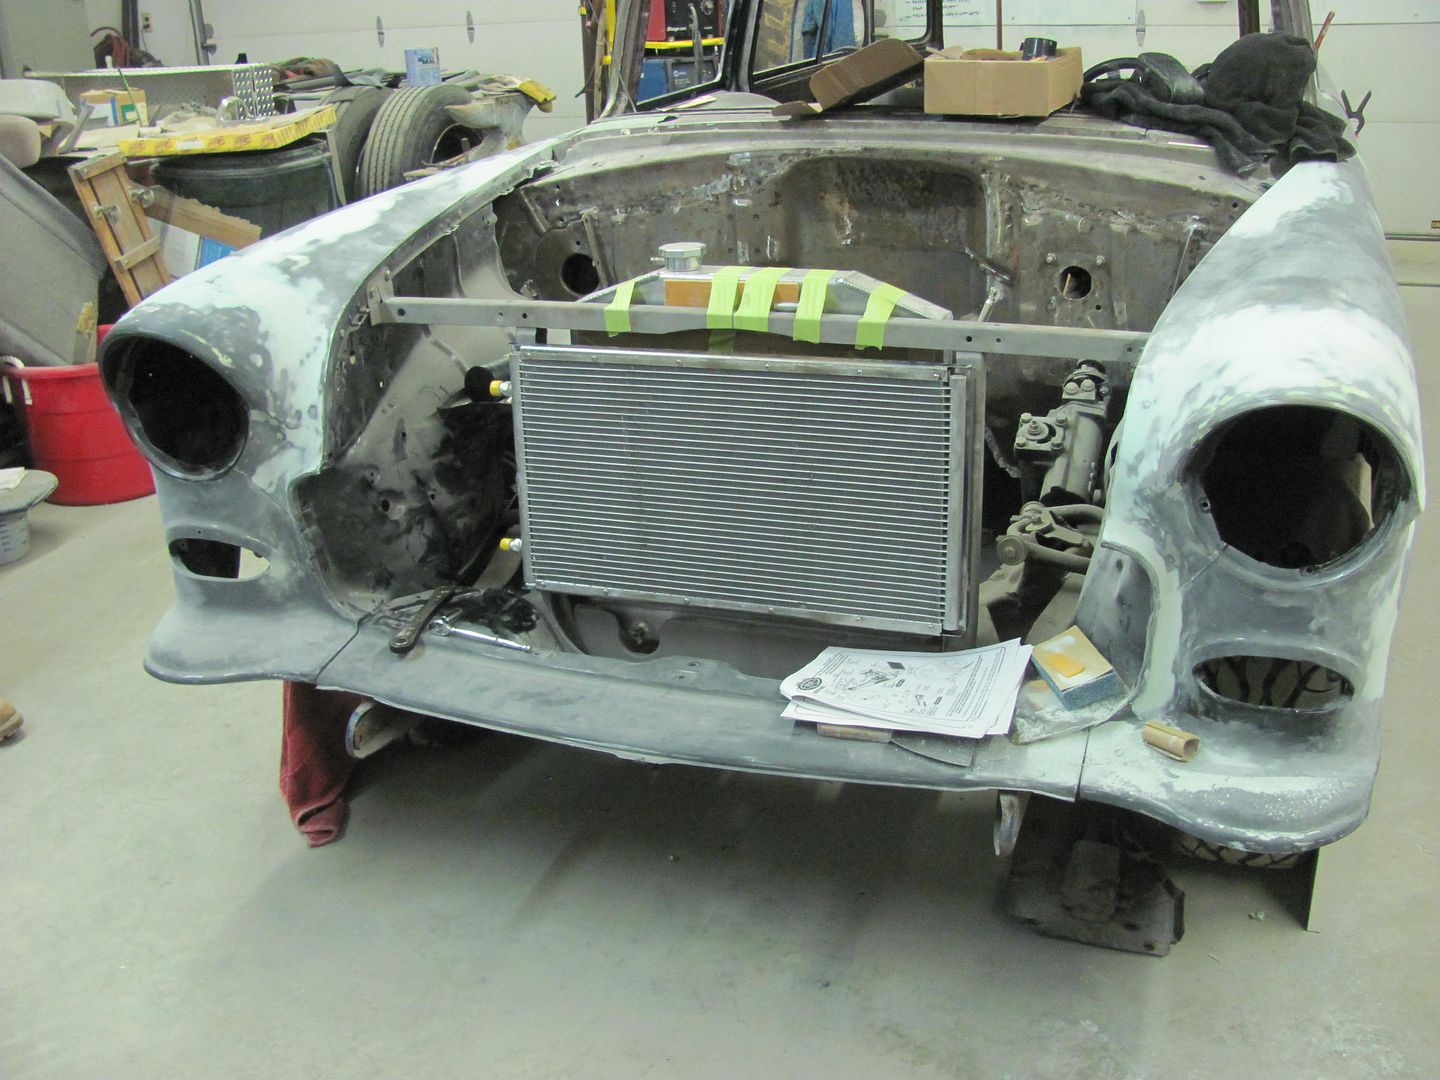 Meanwhile Kyle ties up some loose ends, finishing the weld across the remaining "shaved" lead seam on the passenger quarter.. It does need some grinding on the underside of the weld still but we'll wait for the car to be on the rotisserie for easier access.  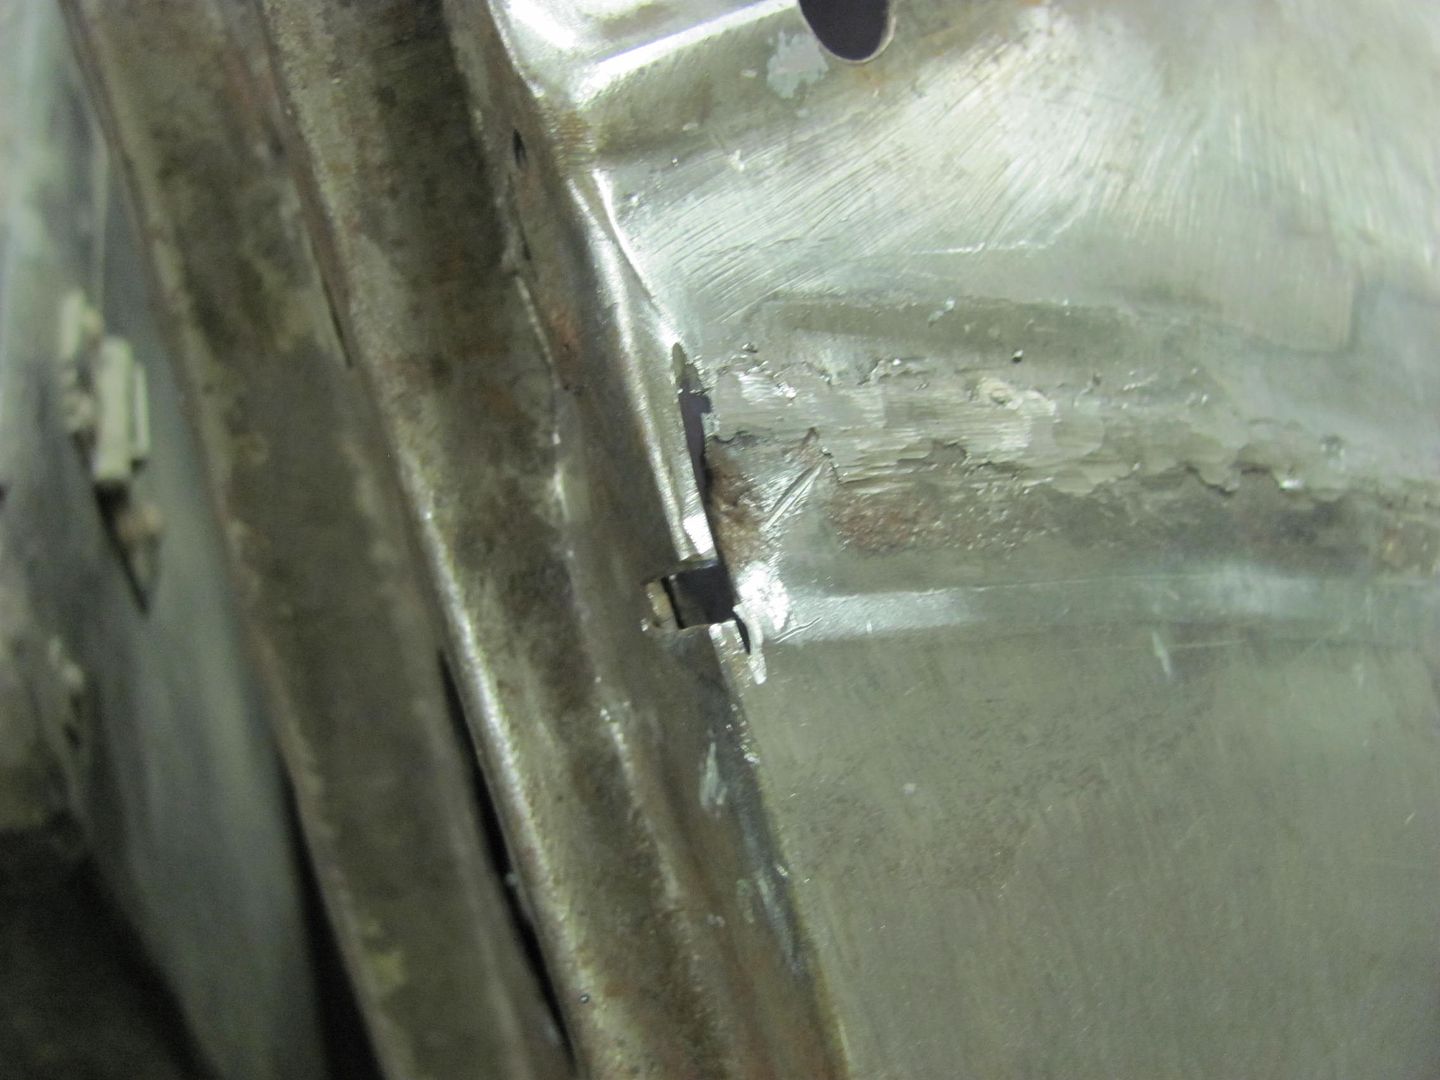 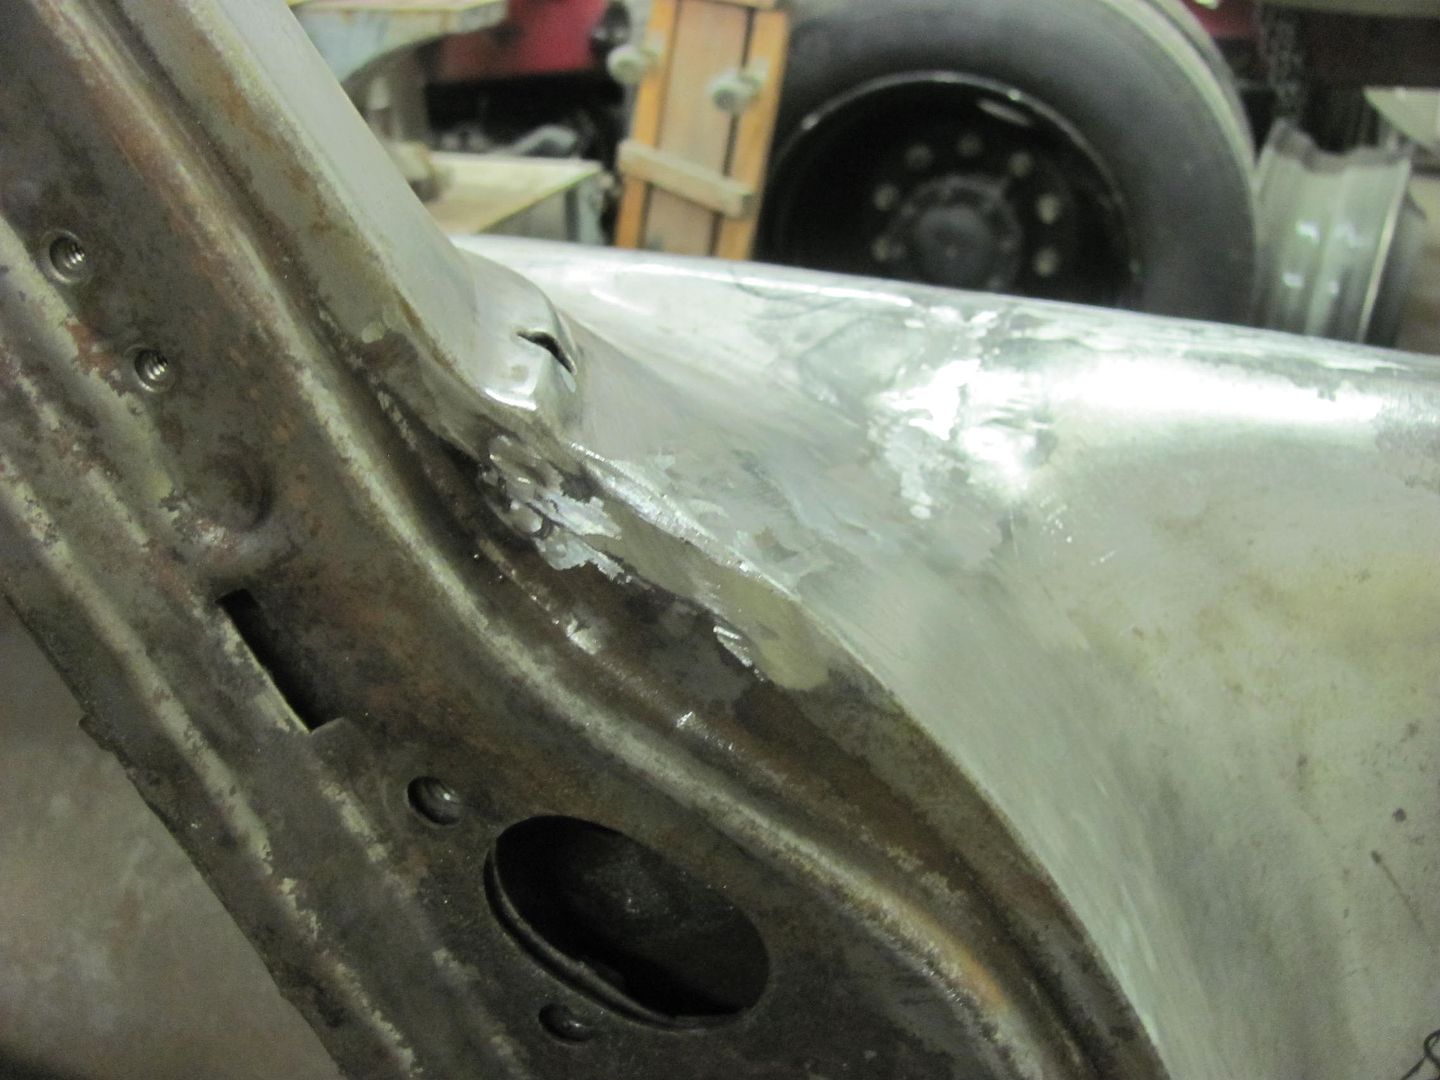 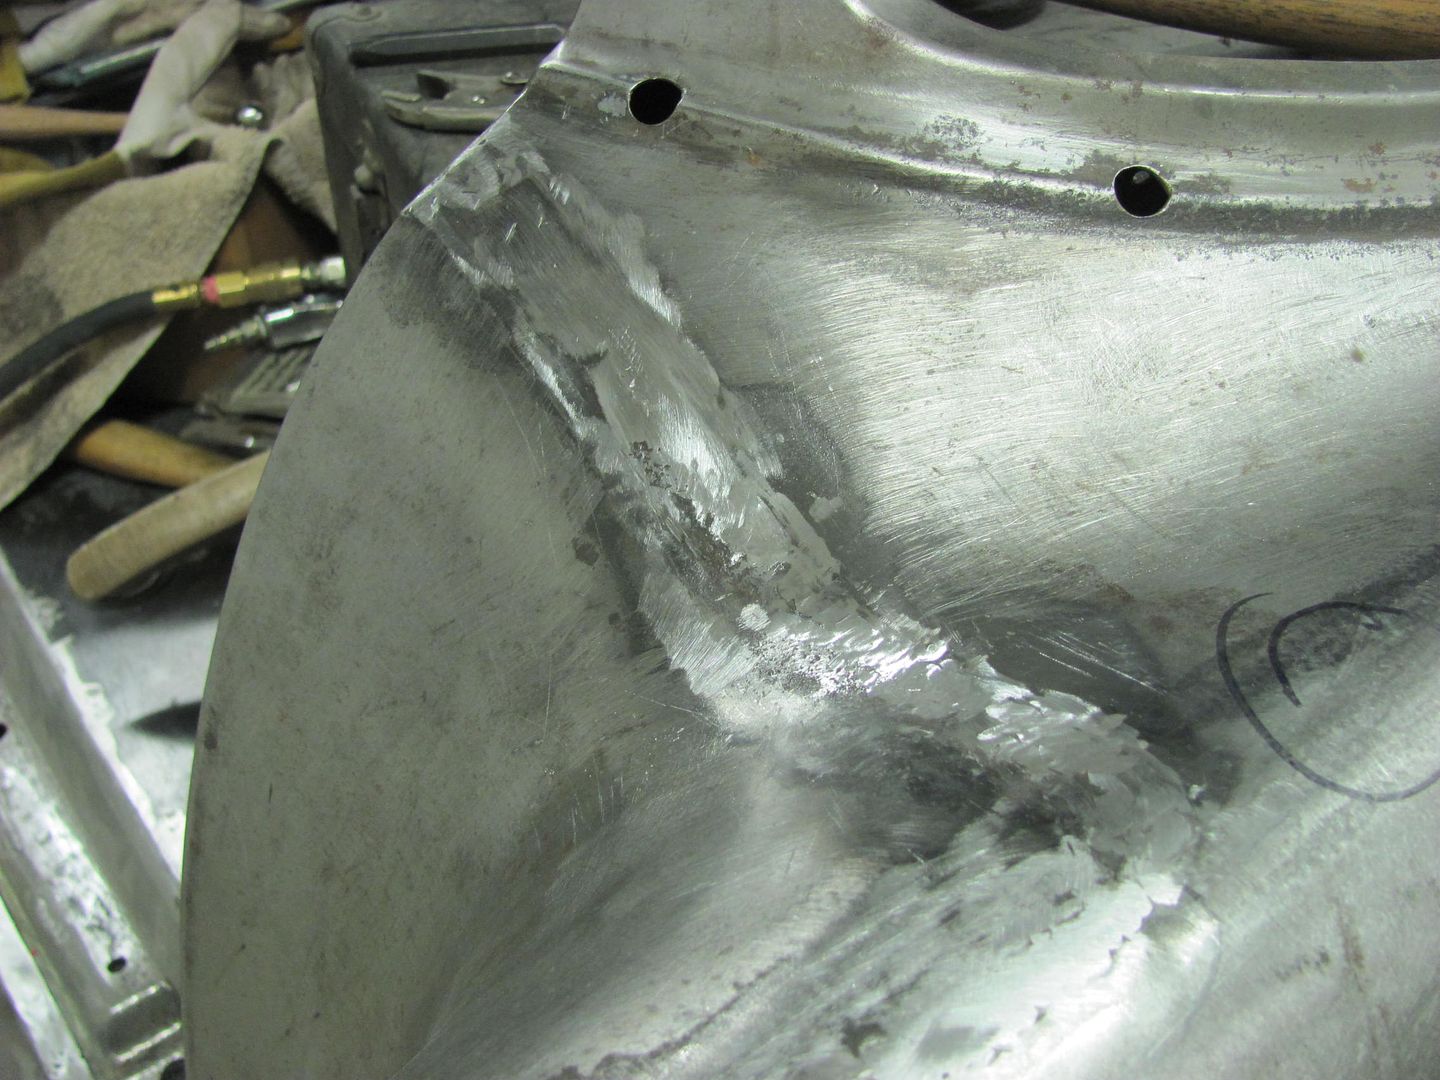 Fitment of the Driver's side tail light... this was even worse than the passenger side in fitment, and we did need to make a relief cut at the top, but after some massaging, it's getting close. A few more tweaks to get this done and then the headache of installing the motorized tail light pivot for fuel fill access.. 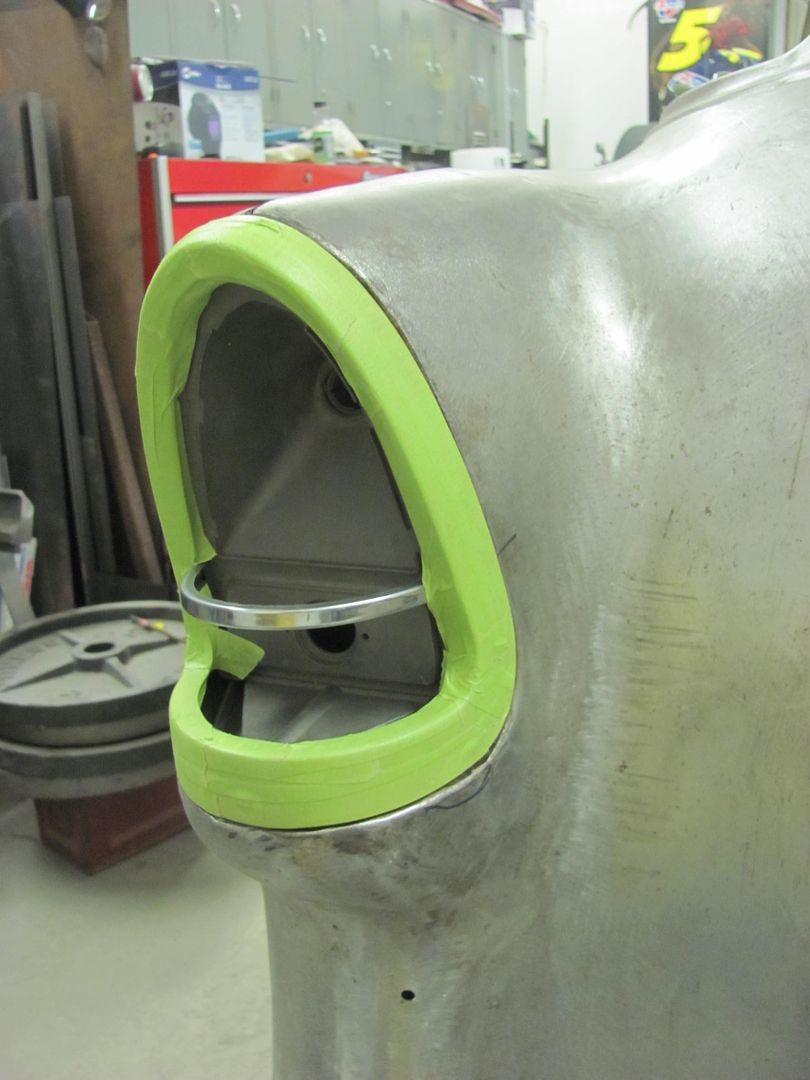 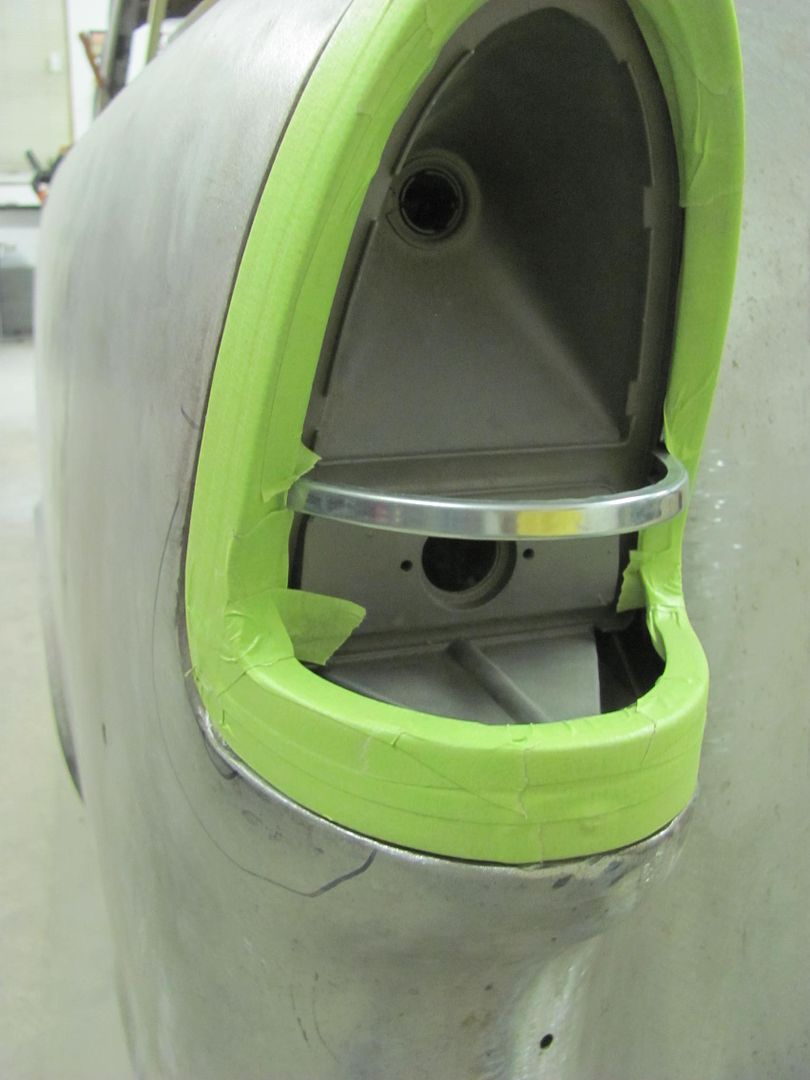
__________________
Robert |
|
|
|
|
05-23-2015, 07:22 AM
|
#456 |
|
Registered User
Join Date: Jan 2012
Location: Eastern Ontario, Canada
Posts: 1,041
|
Re: 55 Wagon Progress
Awesome as always.
__________________
1952 Canadian Chevy 1300 C4 IFS & D44 IRS 5.3 HO L33 My Build: http://67-72chevytrucks.com/vboard/s...d.php?t=632938 
|
|
|
|
|
06-01-2015, 09:55 PM
|
#457 |
|
Registered User
Join Date: Jan 2013
Location: Leonardtown, MD
Posts: 1,635
|
Re: 55 Wagon Progress
Thanks Sid!
Sorry for the slight hiatus, been in UK and just got back this past weekend. Time to catch up on what we had done before I left and what Kyle did while I was gone to take up my slack.. Part of our fitment issue with the passenger tail light was that we are installing the "hidden fuel fill" which required the removal of the brace welded in the opening. Next, when the old quarter was cut off and the new one installed, without the brace in place both pieces tended to wrap to the right, which can sort of be seen in the following picture, where its flush above the inside corner and rotates to the right upwards of that. The outer quarter was rotated in a similar fashion. We weren't having much luck in resolving the issue with the top weld seam remaining, so a relief cut was added, a restraint device employed to make use of some off dolly bumping to eliminate some of the right rotation. I didn't get a good picture of it, but you can see where the inner quarter comes in considerably upwards of the tail light right corner.. 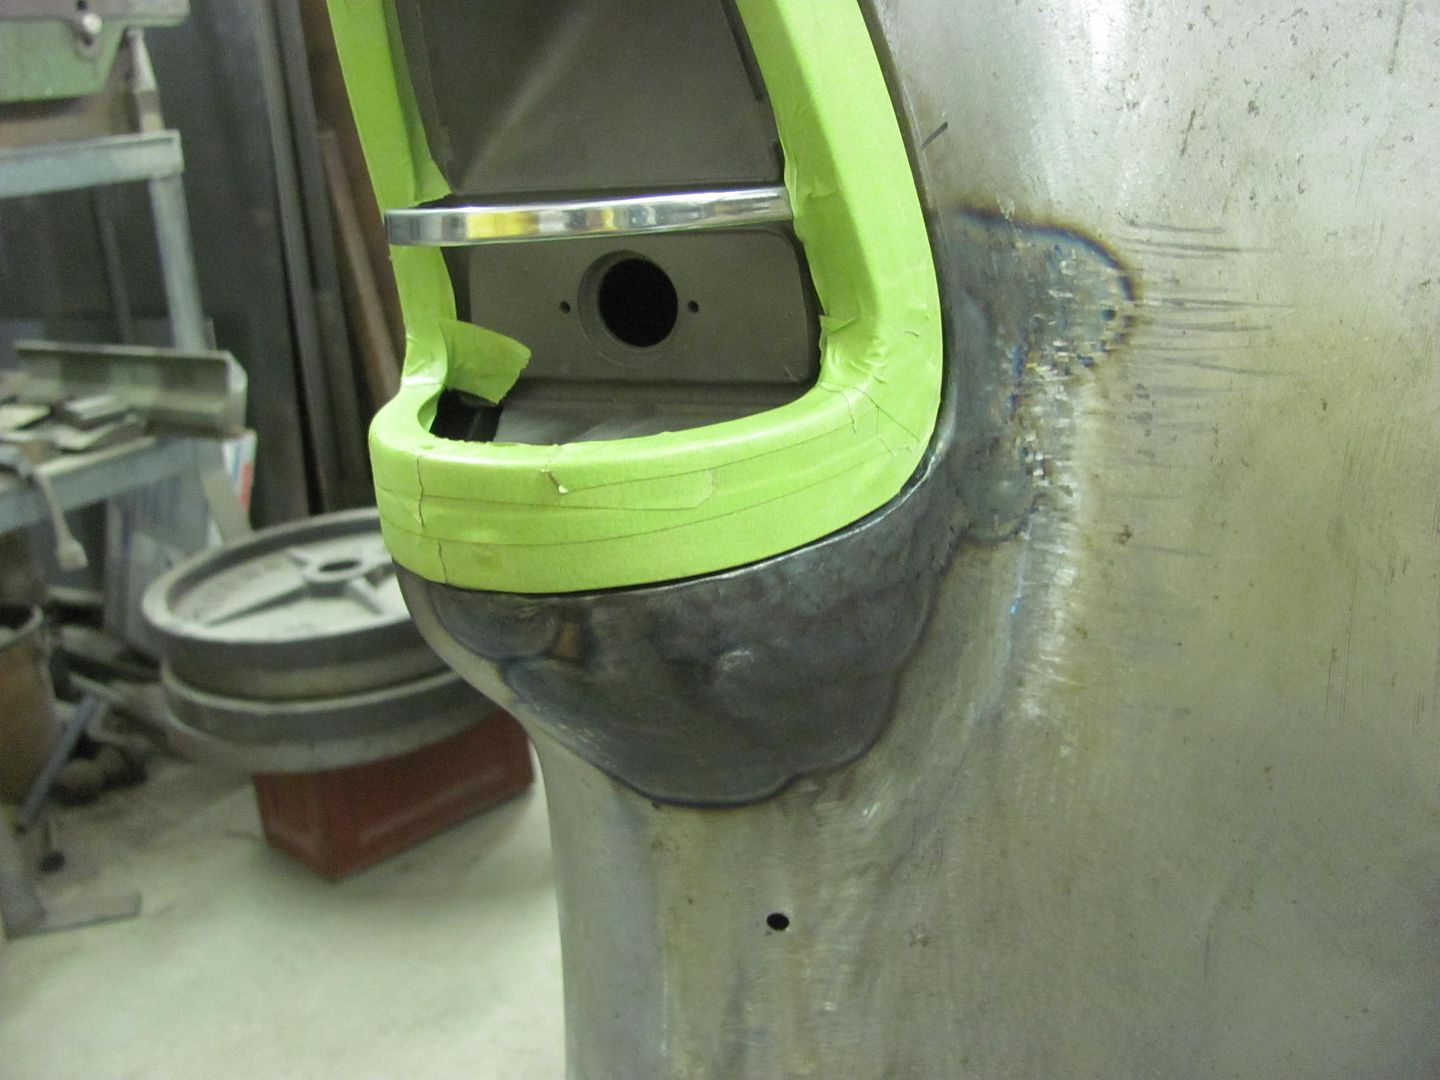 Anchor  Off-dolly bumping... 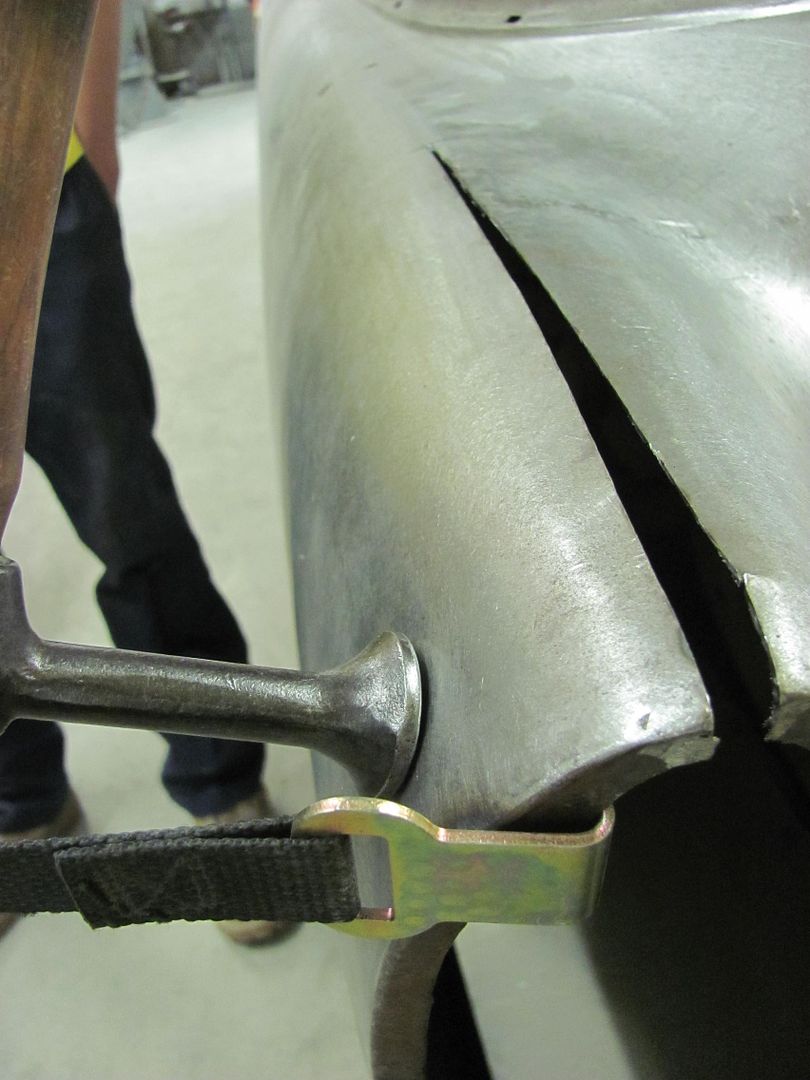 Then some shrinking was used to pull in the inner quarter, and a 16 ga plate used to hold things in place while the top seam was re-welded. 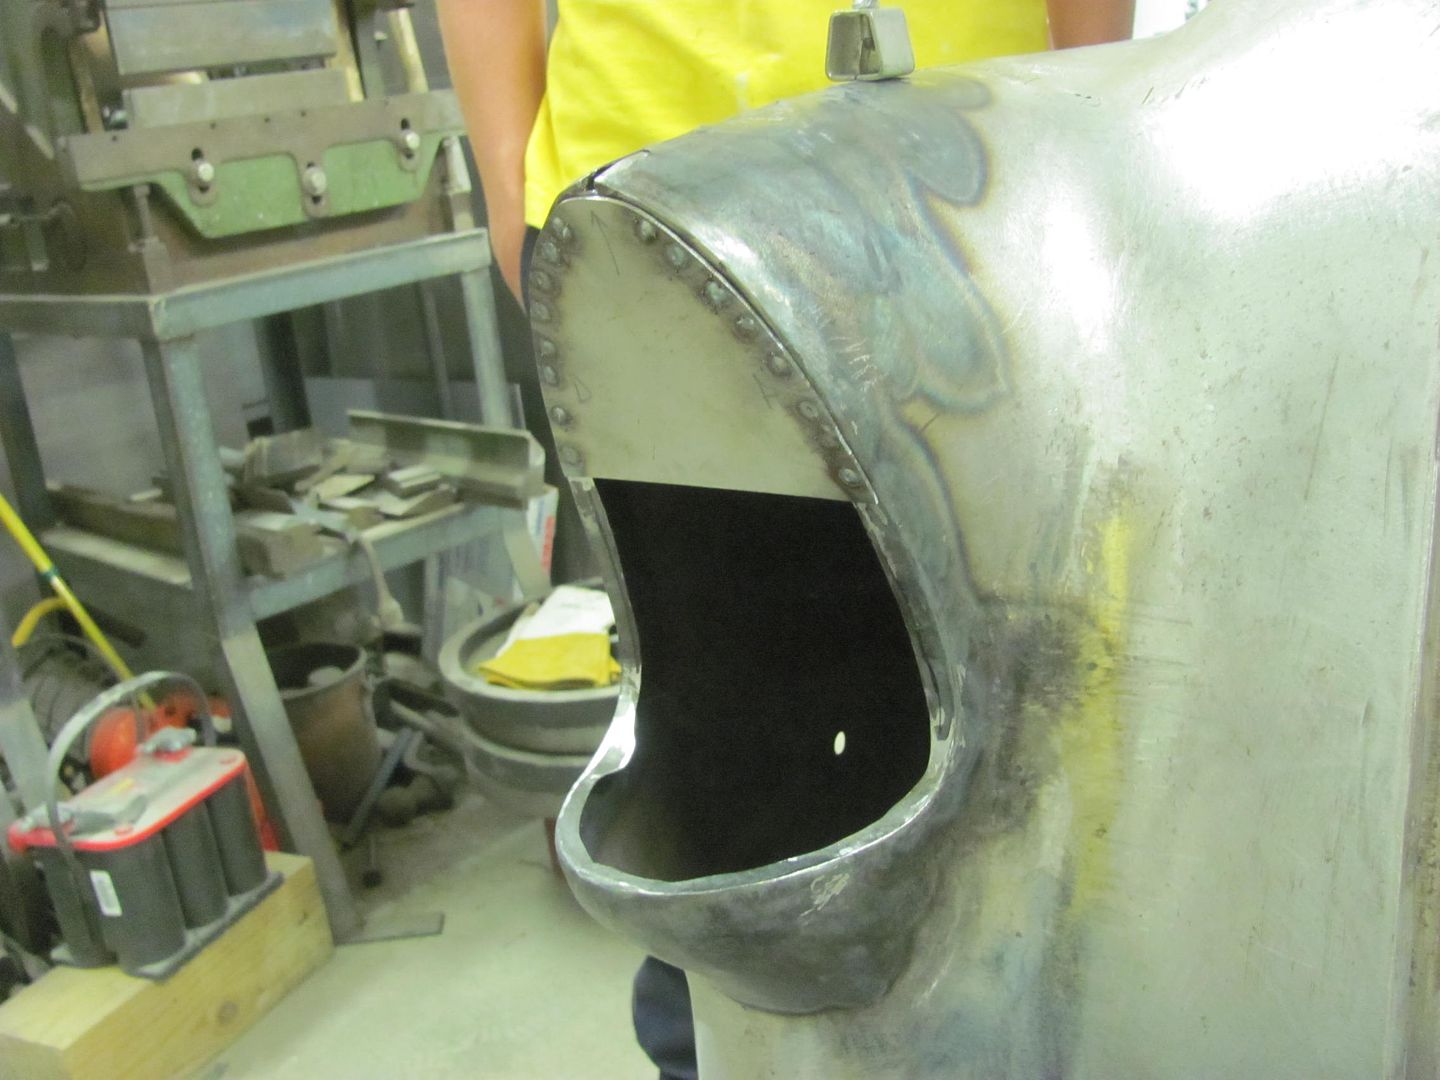 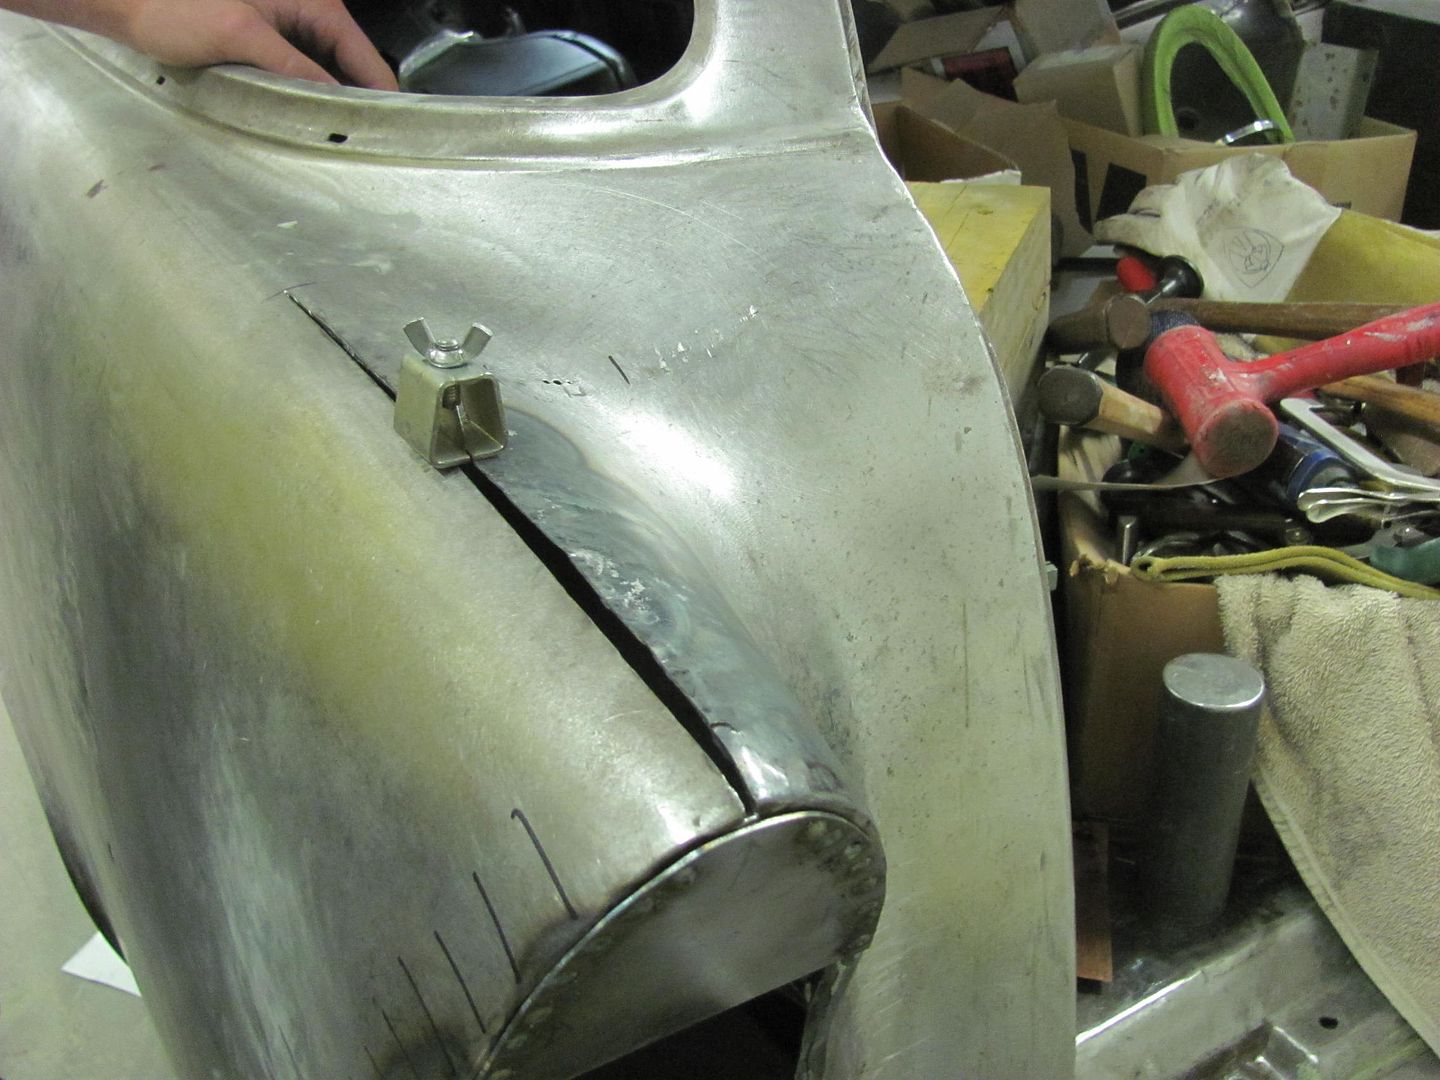 Kyle got the seam welded closed... 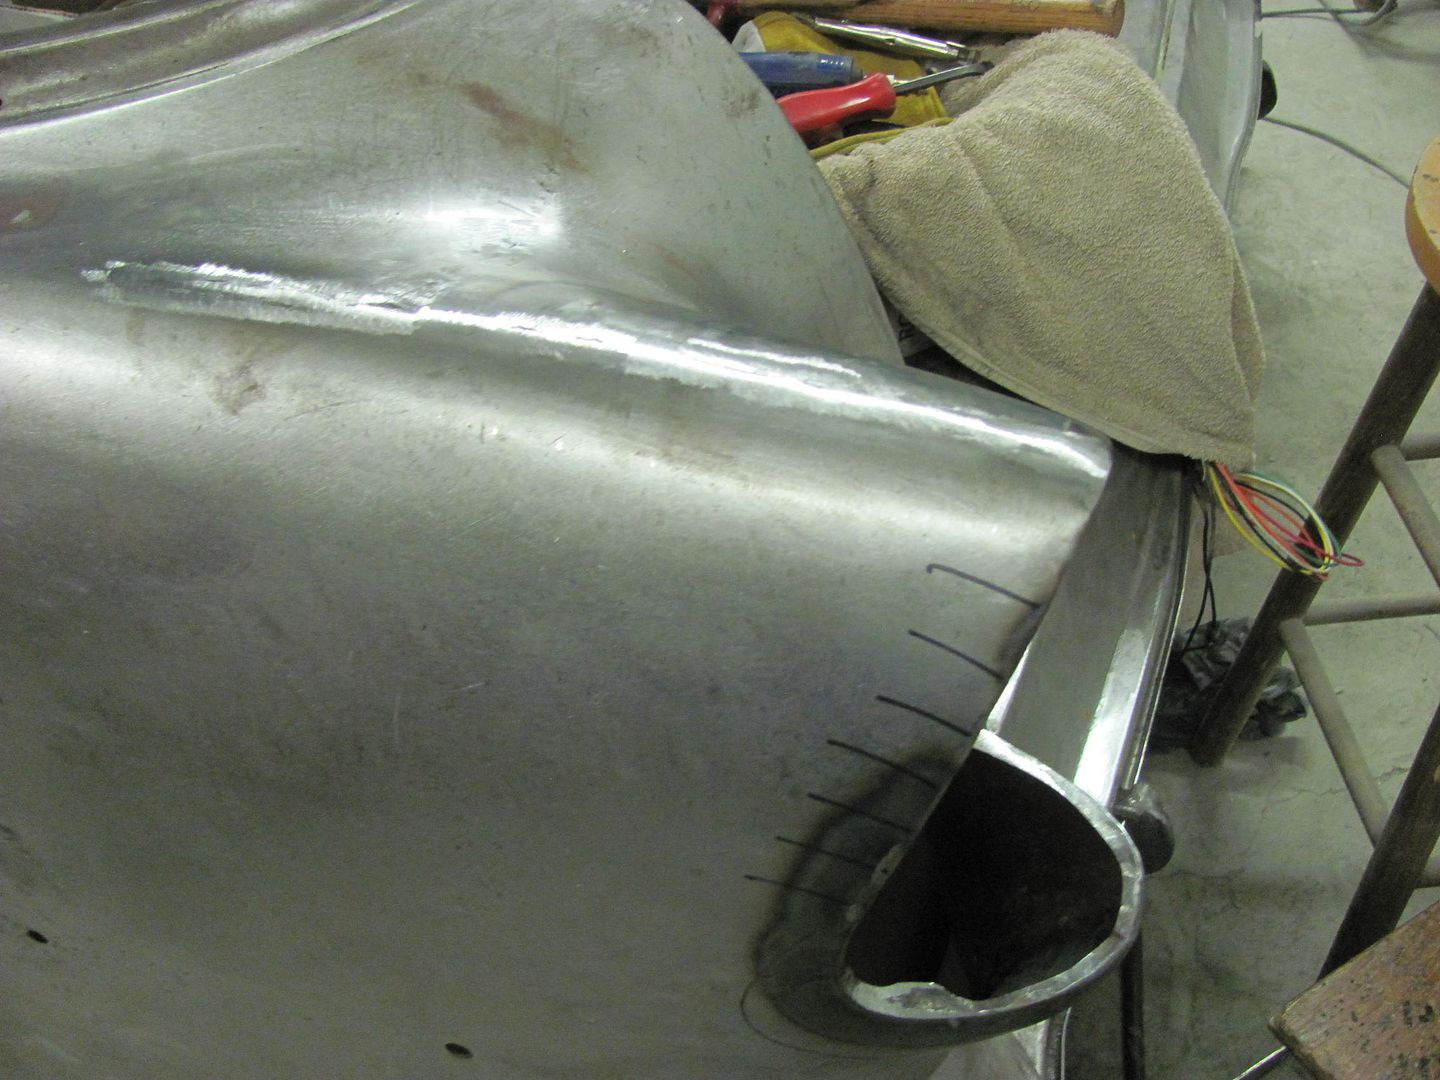 And temporary brace removed... 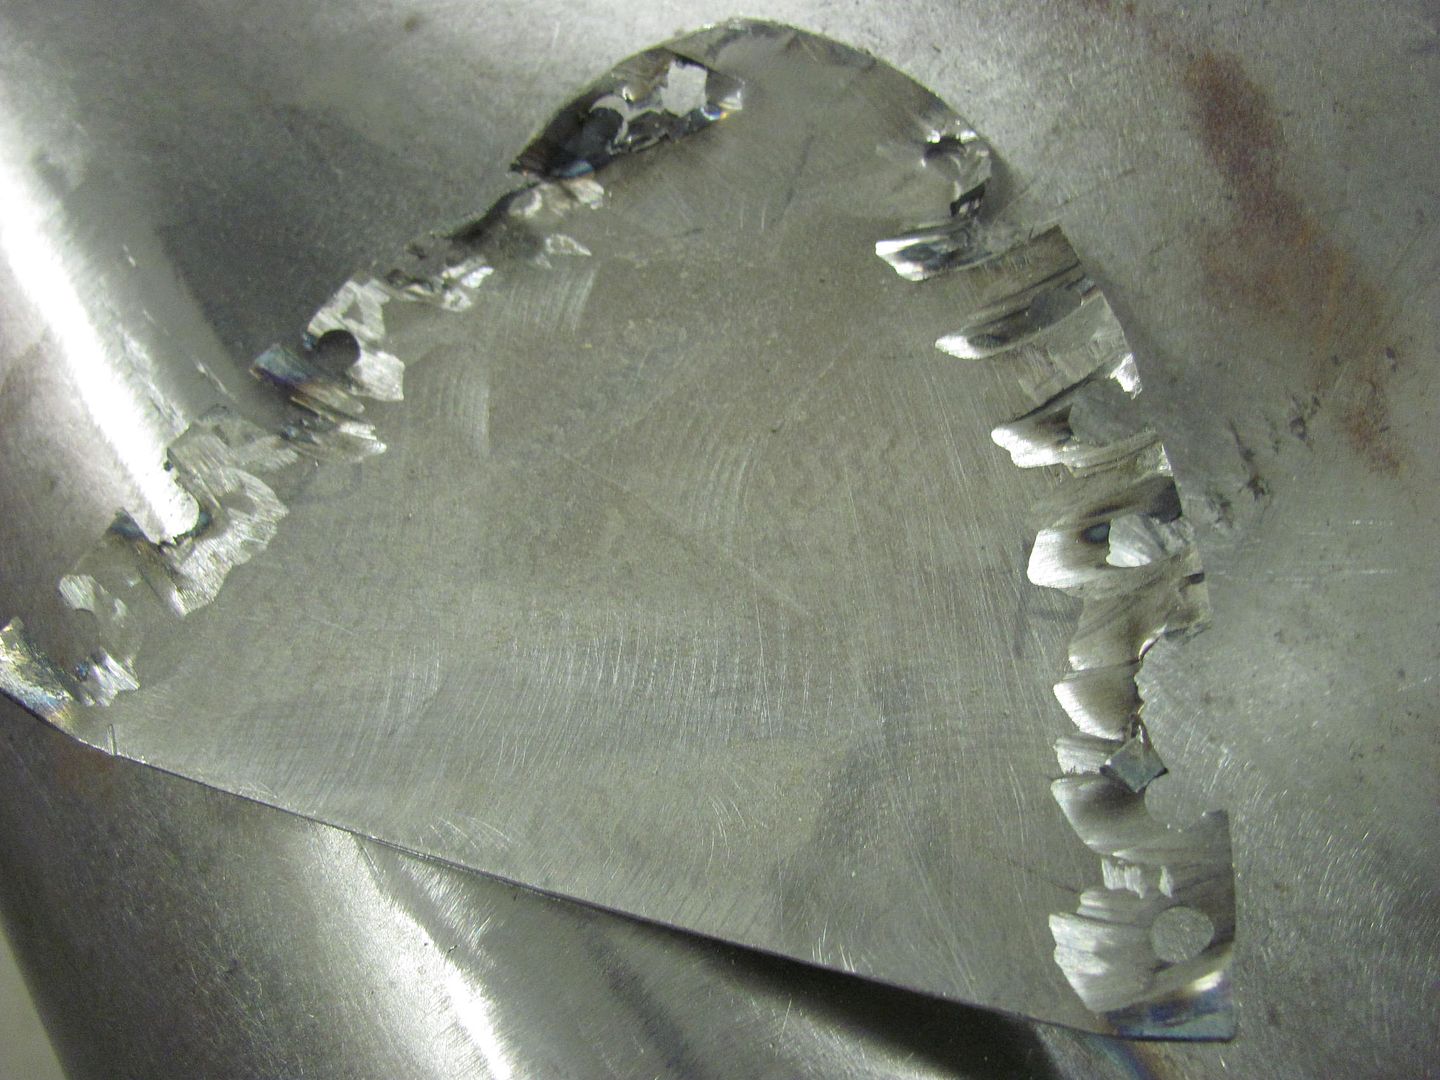 Much better, almost ready to tackle the "fuel door" pivot... 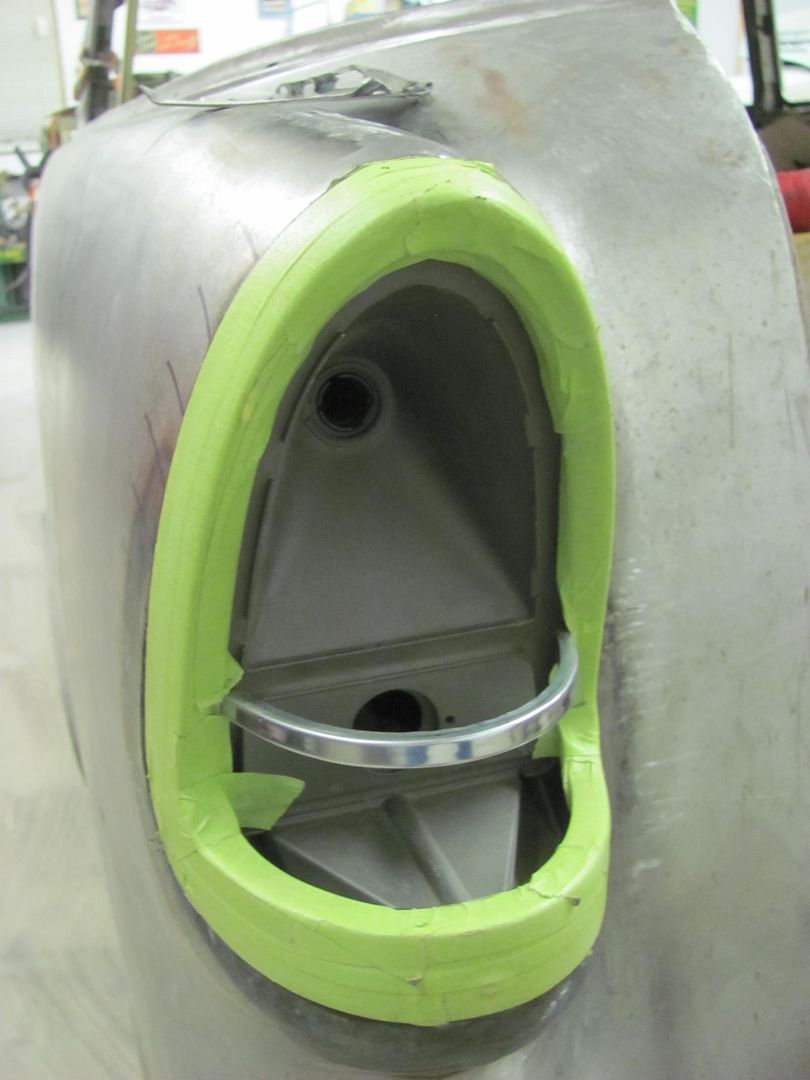
__________________
Robert |
|
|
|
|
06-02-2015, 10:13 AM
|
#458 |
|
Registered User
Join Date: Jul 2012
Location: Rosenberg, Texas
Posts: 3,506
|
Re: 55 Wagon Progress
That's a lot of work to straighten a tail light opening. You're all very skilled and talented to be able to figure that out and make it happen. I'm impressed more and more when I read this thread. Keep up the good work.
__________________
-Duane C/10 Club Texas member 1971 Chevy C10 "Brutus" SWB Fleetside 2016 6.0L (L96) 6L90E (driver/project) 1965 Pontiac GTO "Royal Goat" 400/TH400 w/AC (my baby) |
|
|
|
|
06-02-2015, 11:49 AM
|
#459 |
|
Registered User
Join Date: Jan 2013
Location: Leonardtown, MD
Posts: 1,635
|
Re: 55 Wagon Progress
It was going to be a challenge getting it to line up with using the hidden gas fill behind the tail light, so we wanted to get it fitting correctly to the sheet metal before starting that fiasco...
__________________
Robert |
|
|
|
|
06-07-2015, 10:50 PM
|
#460 |
|
Registered User
Join Date: Jan 2013
Location: Leonardtown, MD
Posts: 1,635
|
Re: 55 Wagon Progress
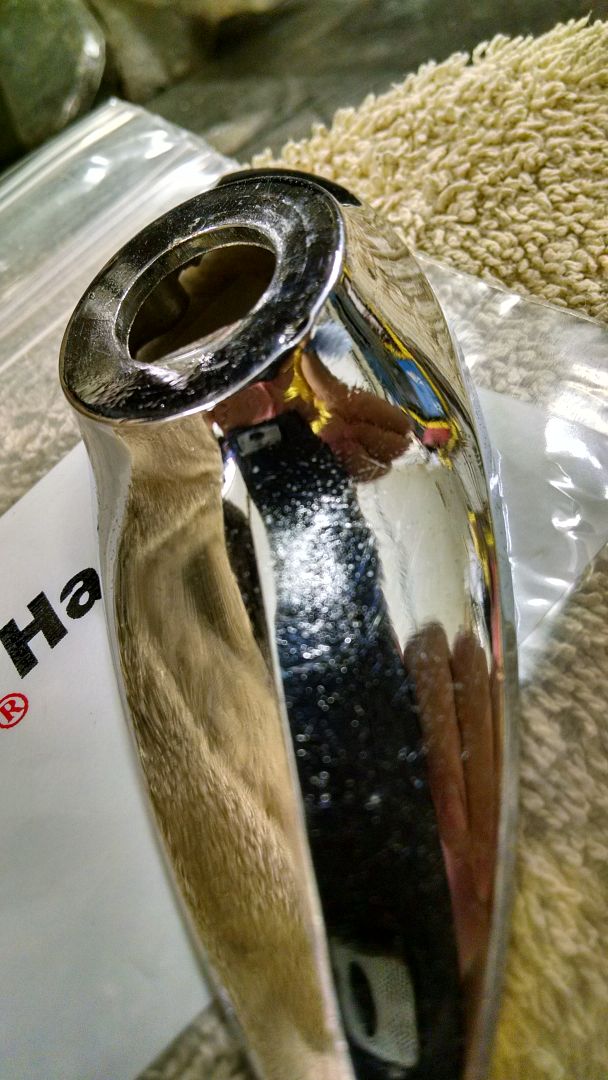
Got another care package in the mail... The new escutcheon for the antenna looks like it will work, the hole size matches the nut on the antenna and we'll just need to get rid of the flat spot/keyway in the hole. Only I don't think we'll be using this one. Between a recess under the chrome and visible scratches in it, this one's going back.
   On to the next new pieces, hopefully these fit better, Reproduction headlight buckets..... wanted to test fit all the headlight and turn signal pieces before re-priming the fenders.. 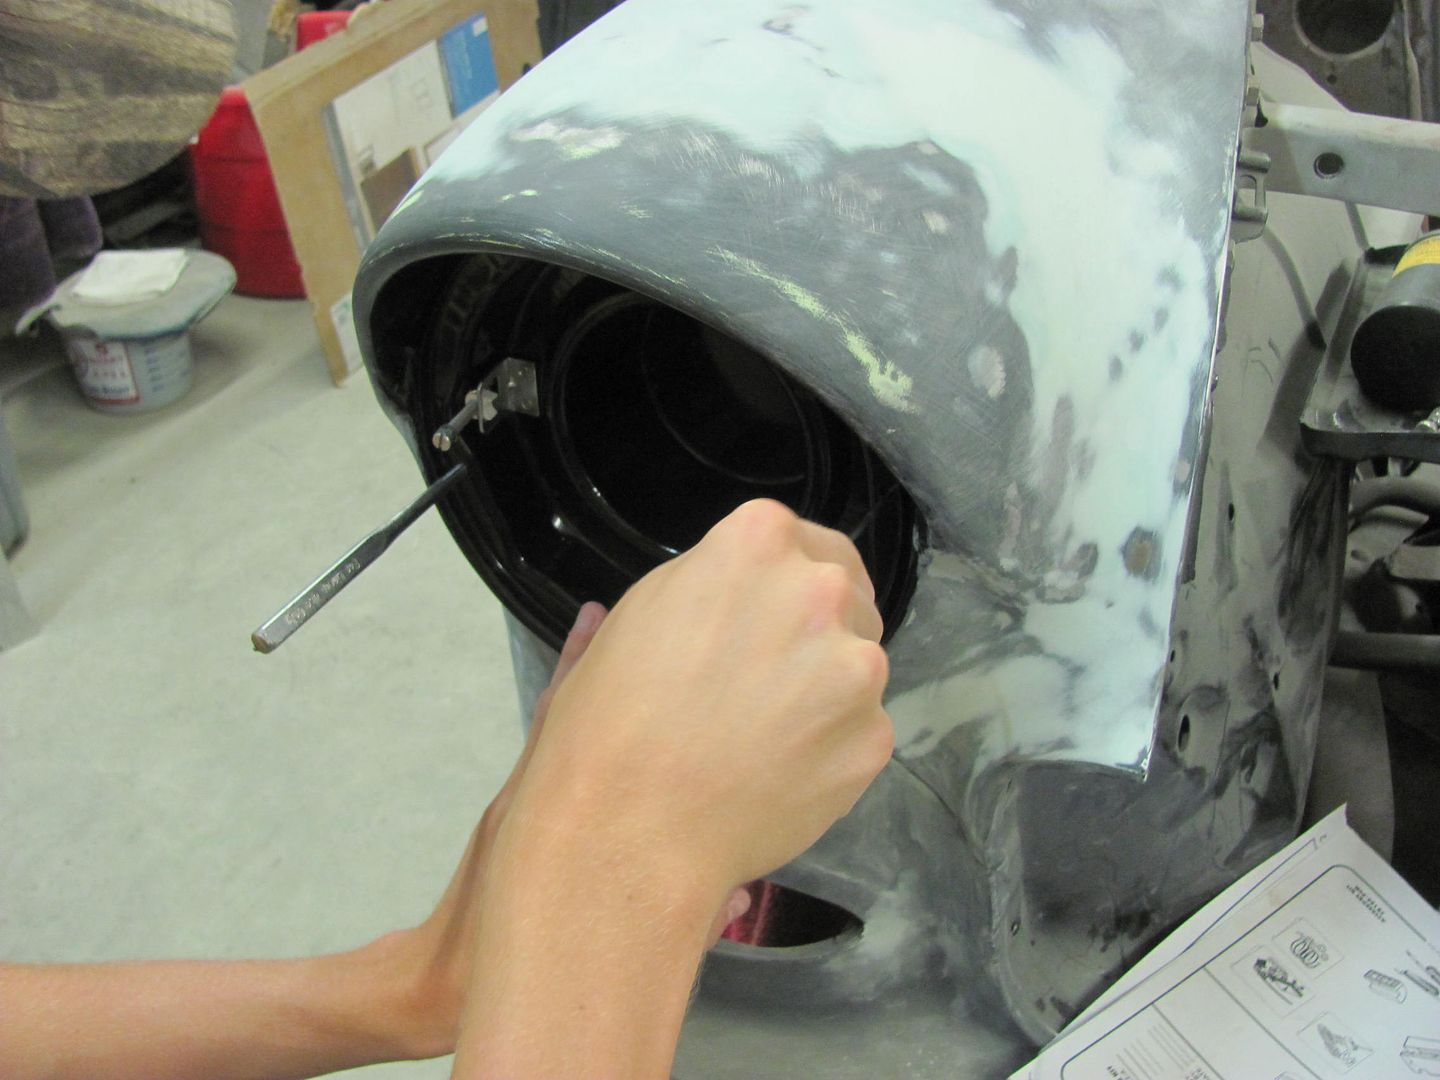 Decided to use some AVK rivet nuts over the u-clips.. 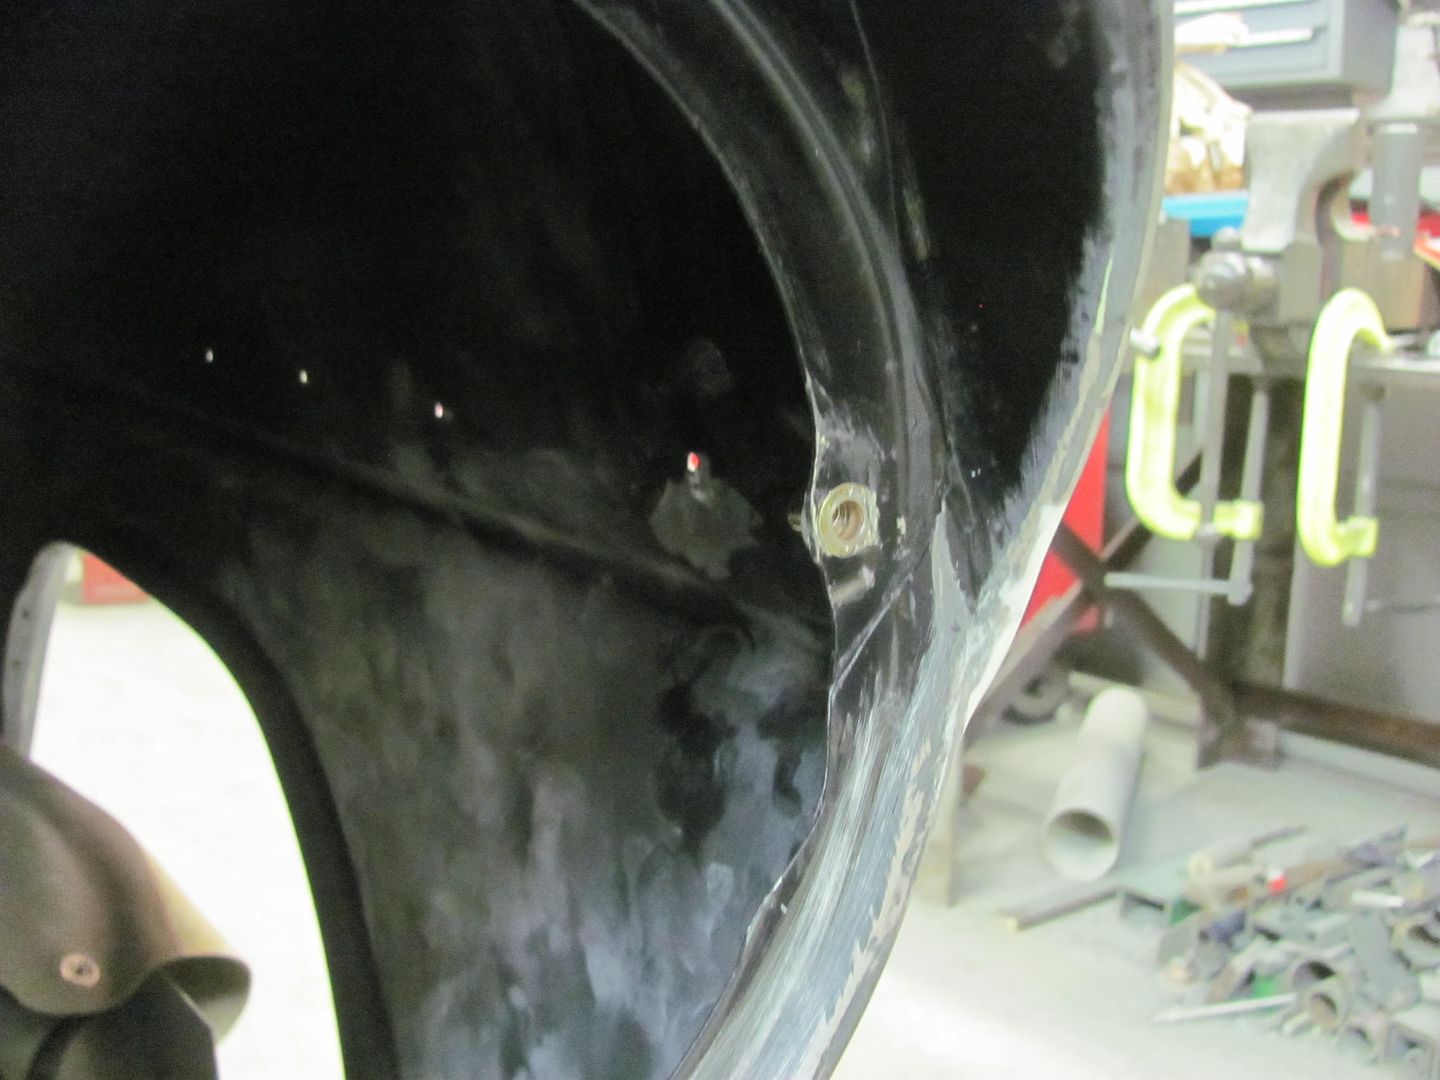 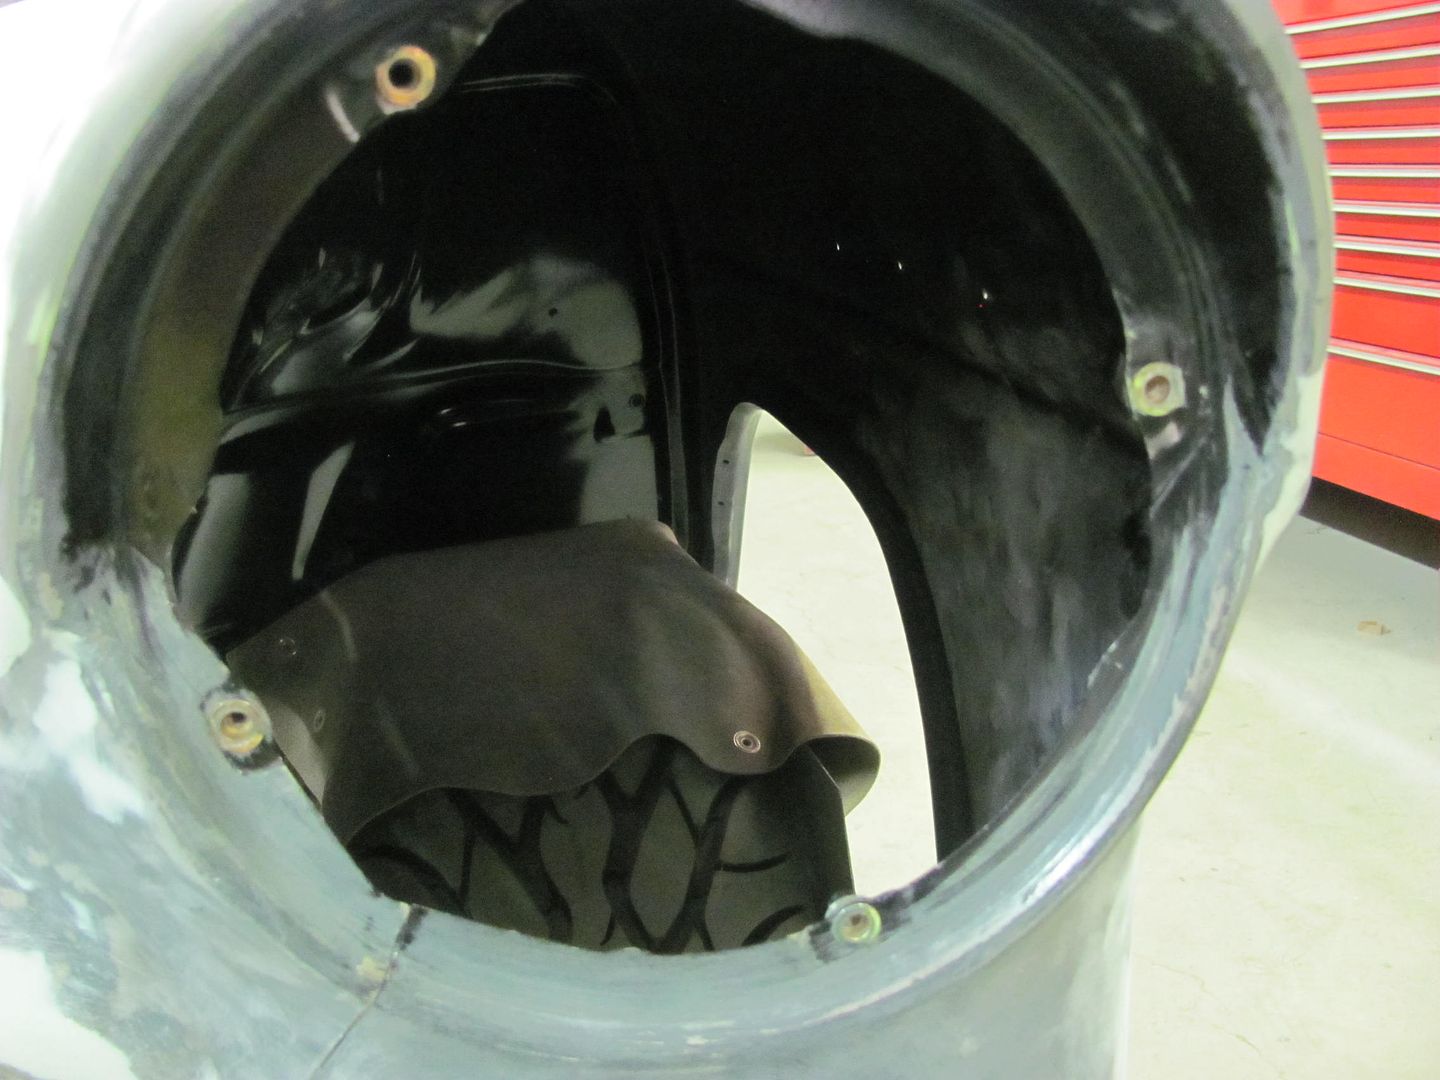 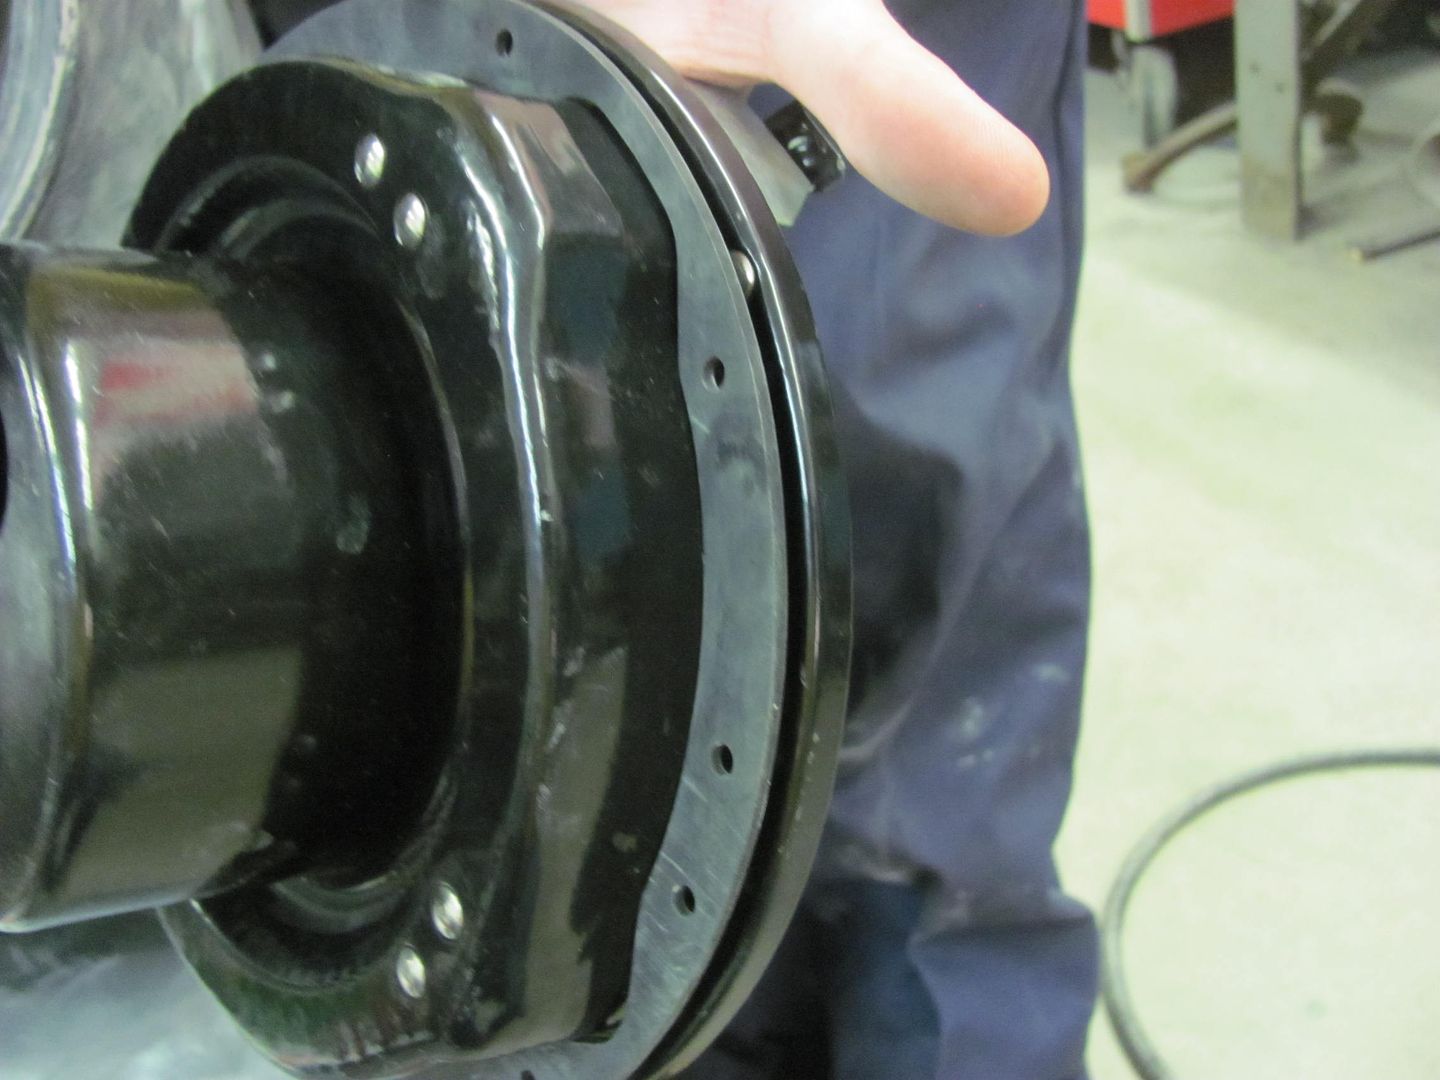 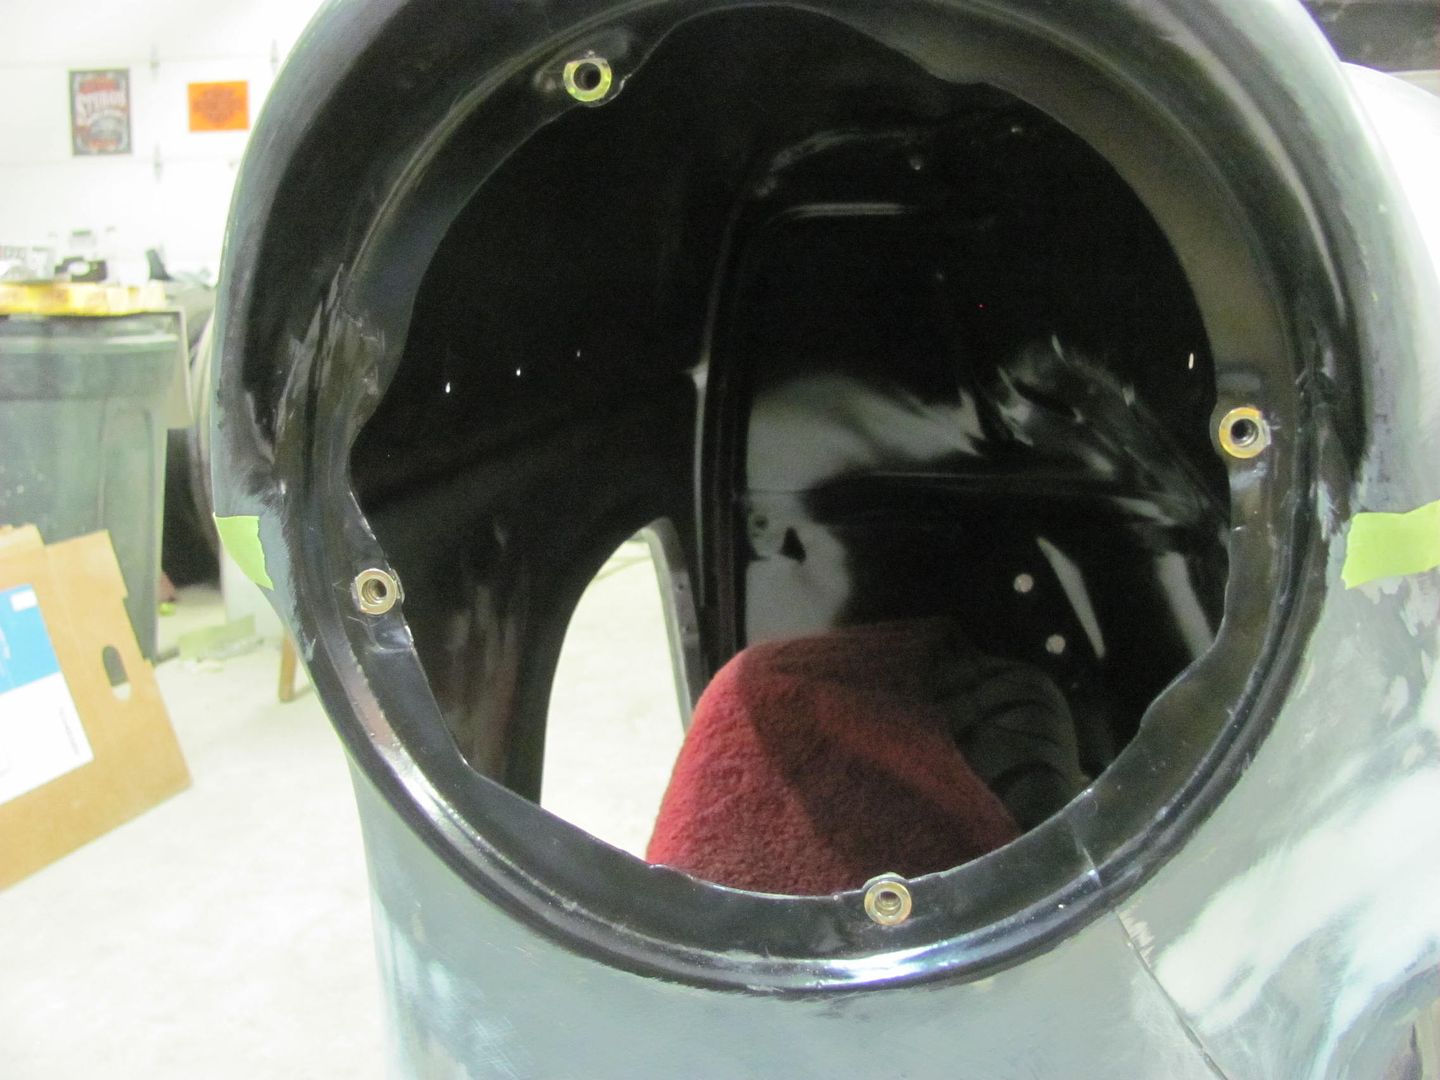 Parts fitted.. 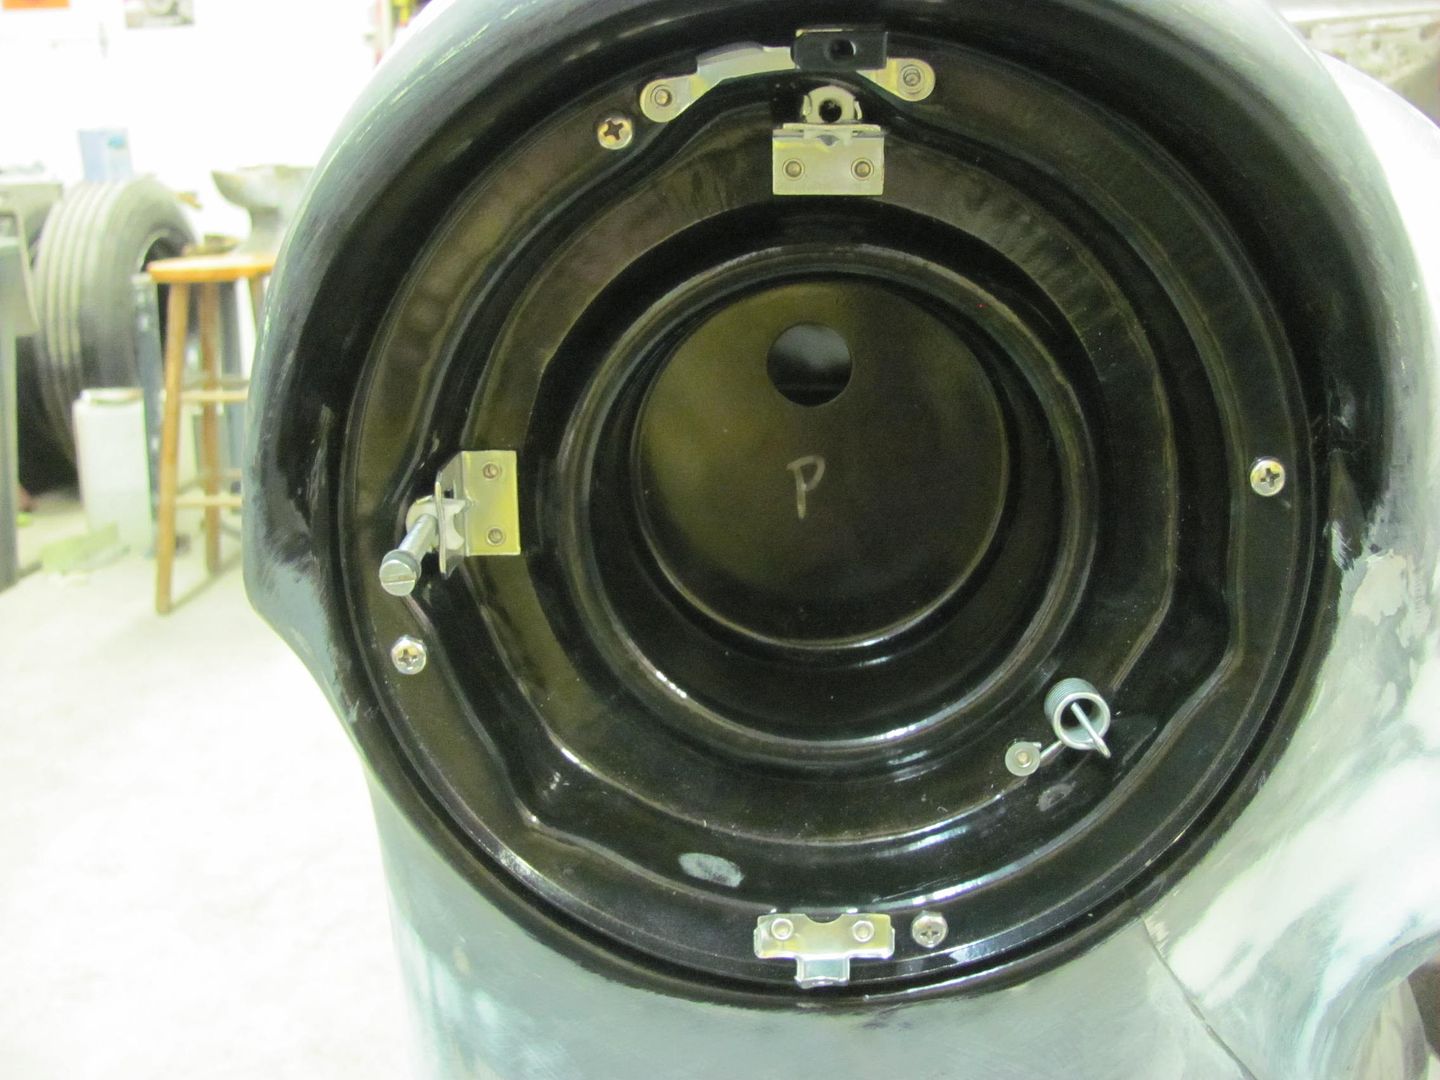 
__________________
Robert |
|
|
|
|
06-12-2015, 05:33 PM
|
#461 |
|
Registered User
Join Date: Jan 2013
Location: Leonardtown, MD
Posts: 1,635
|
Re: 55 Wagon Progress
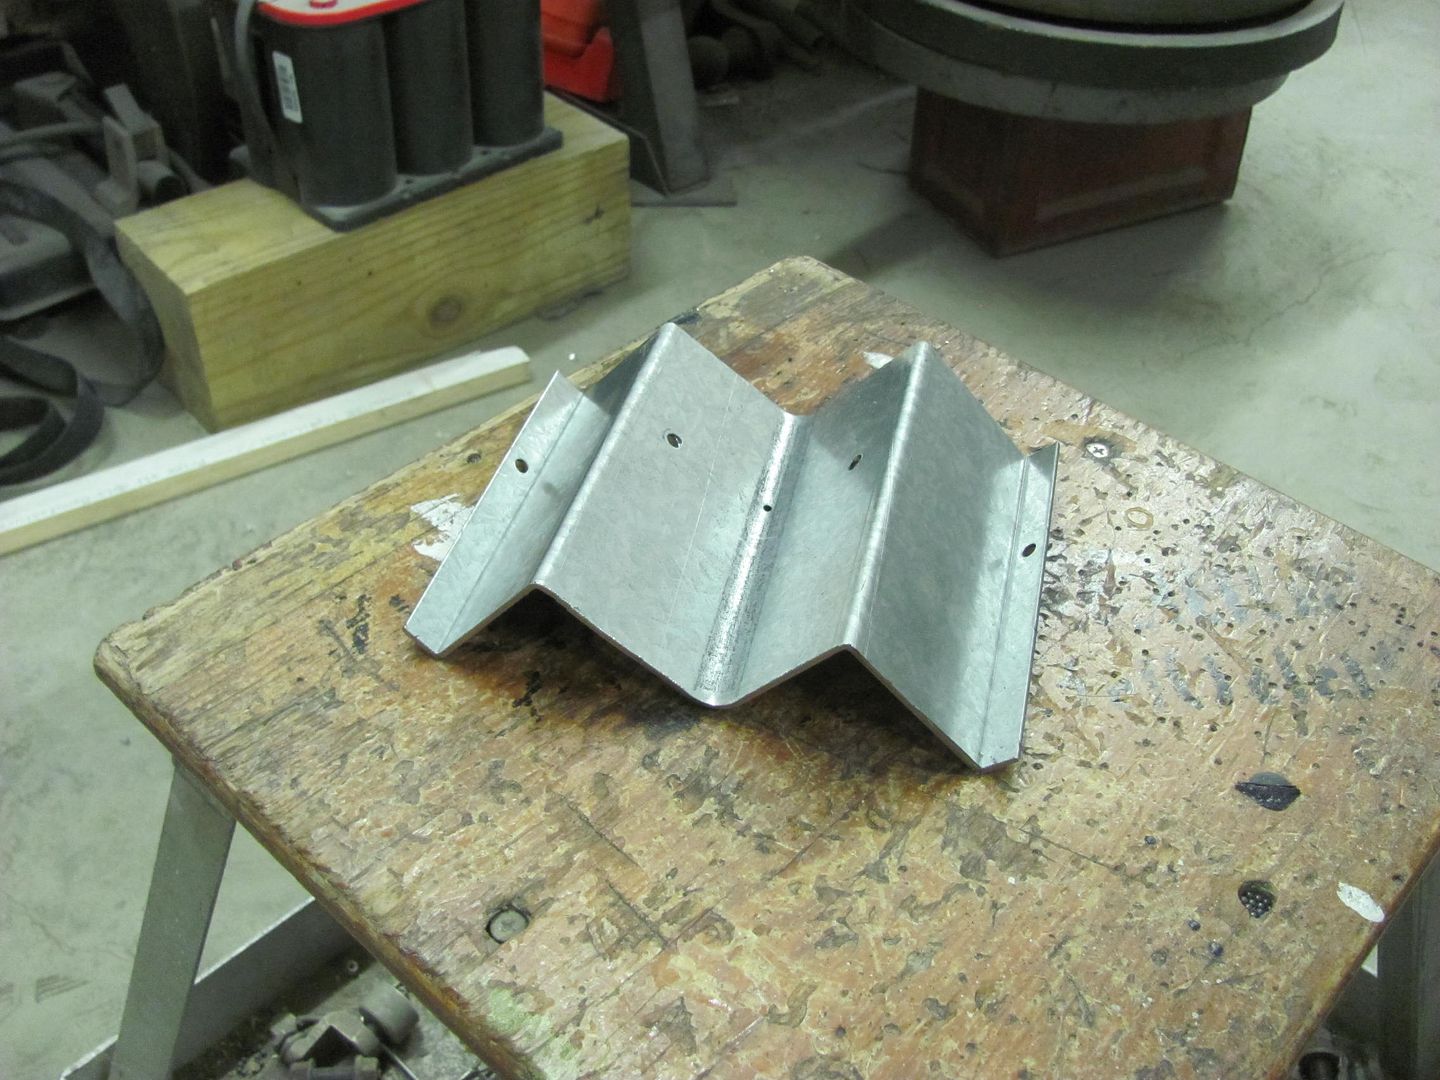
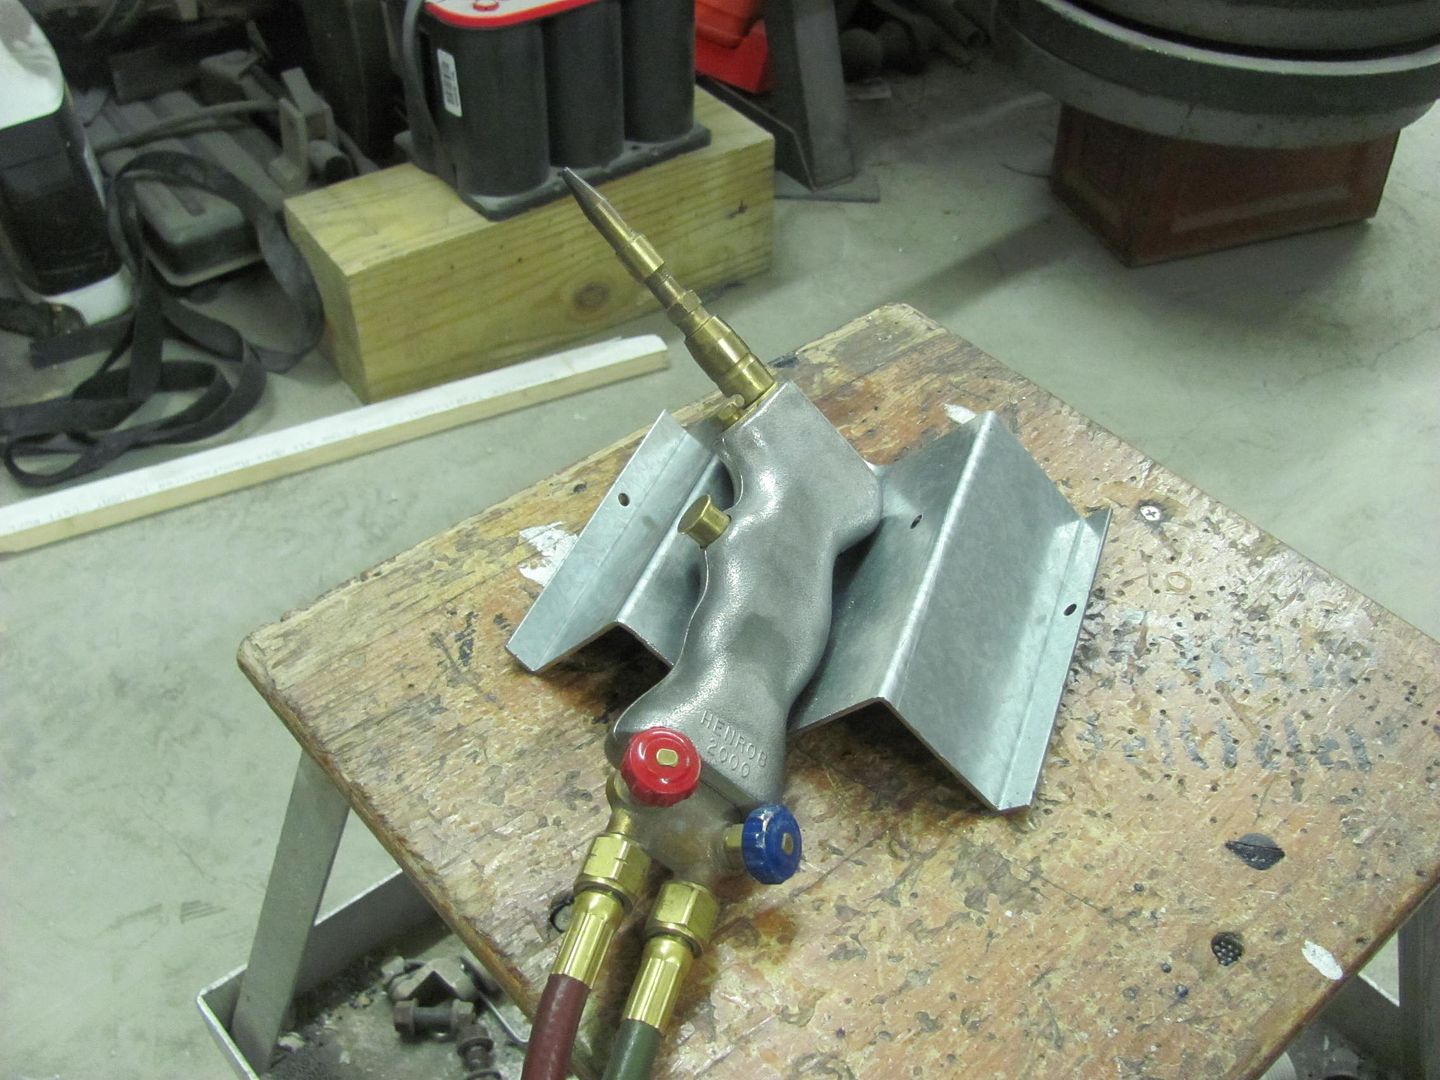
Well this isn't much of an update, but since Kyle was busy media blasting some parts I had torch and hammer duty.. So to have a place to drop the torch quickly, bent this up:
  When the top seam was welded we had a slight bulge just in from the tail light. So some dime sized spots were heated and then hammered with glancing blows to bring things down a bit.. The fit of the tail light is much better now, and we've started the fitup of the motor assembly's mounting plate. Should get that welded in tomorrow.. 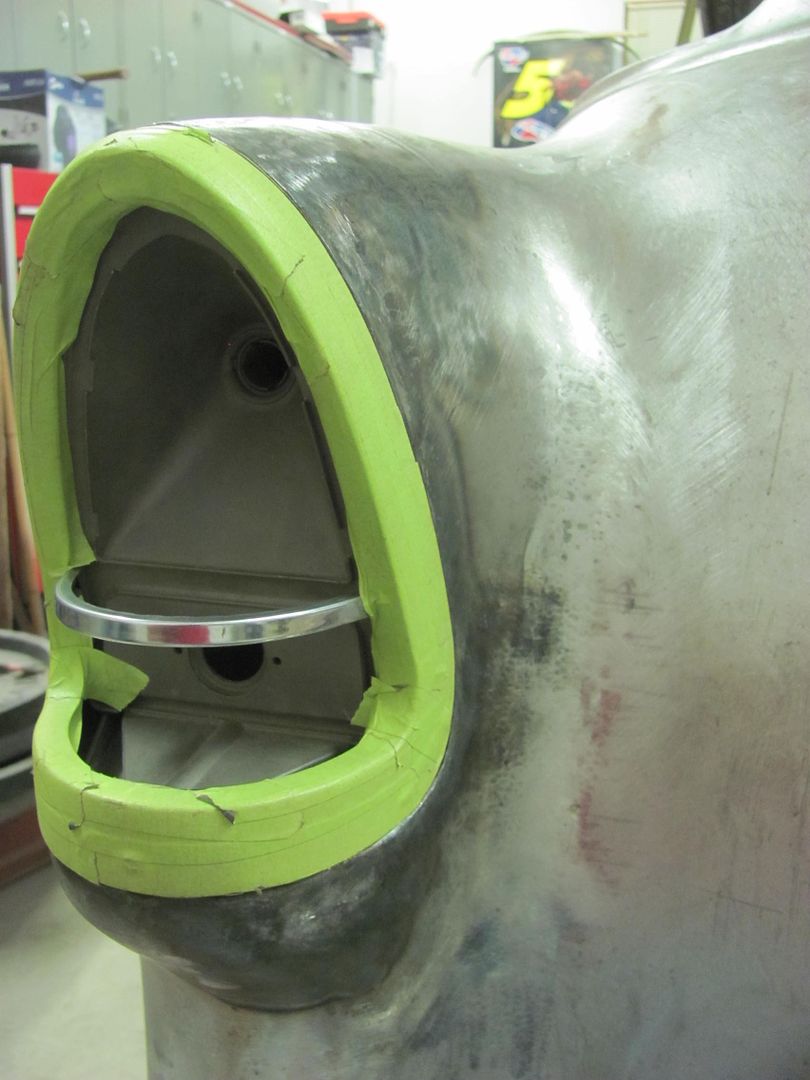 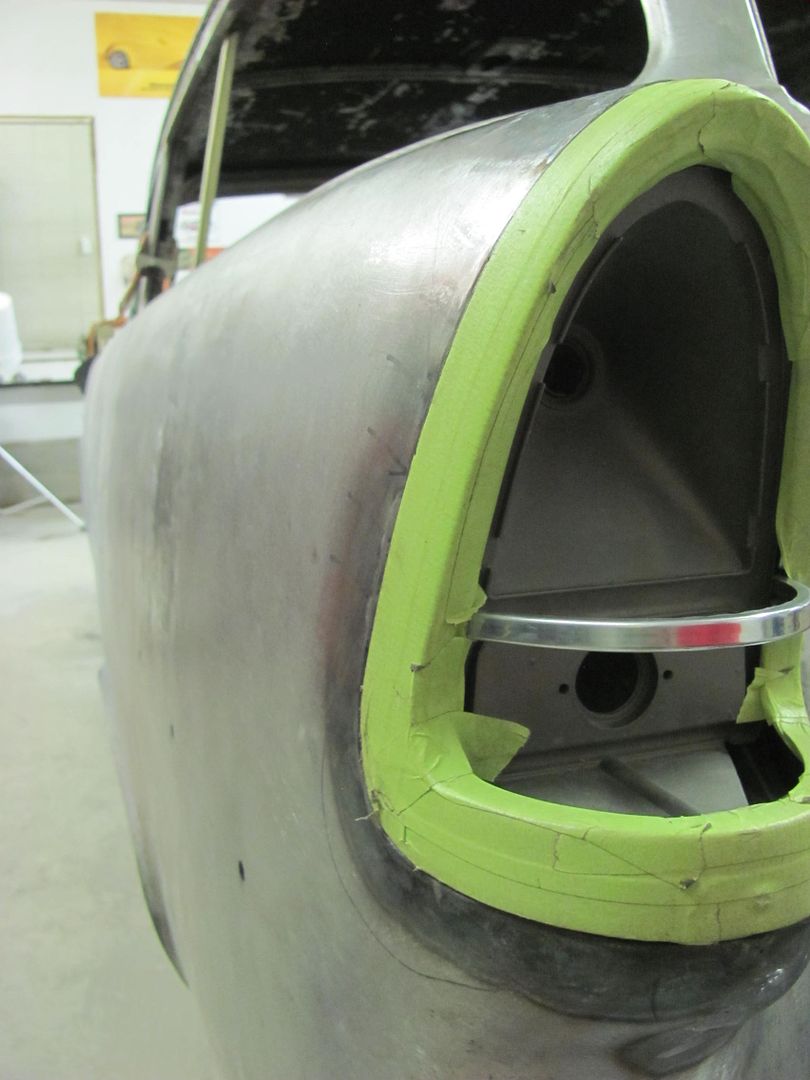
__________________
Robert |
|
|
|
|
06-12-2015, 06:03 PM
|
#462 |
|
Senior Member
Join Date: Jul 2012
Location: Oblong, Illinois
Posts: 7,017
|
Re: 55 Wagon Progress
That torch holder looks pretty handy. I remember one of the guys selling a torch hanger that would shut off the gas when you hung it up, then would restart the gas and light the torch when you picked it back up. Just don't remember where.
Nice work on the tail light housing. Curious, have you kept track of how many hours on this one build so far? |
|
|
|
|
06-15-2015, 04:38 AM
|
#463 |
|
Registered User
Join Date: Sep 2014
Location: Peachtree City Georgia
Posts: 26
|
Re: 55 Wagon Progress
Love seeing your progress. Everyone has already said all that can be said about how amazing your skills are. You inspired me and taught me thru this thread so I went out to try to get a few dents out of my 66 Lincoln that I was going to have someone do for me. While my results aren't nearly as wonderful as your work I was able to get a pretty good sized crease out of my lower quarter panel in which I had little access to the back side. I don't have nearly the tools you do for body work but seeing your use of everyday things got my creative side going. Used my cheap hammers and a pry bar on the backside to get down into the lower quarter panel and watched in amazement as the dent started to disappear a bit at a time A little filler (approx. 1/16 to 1/8 at what was about a 5/8 inch crease) so I called it good for a beginner.
Thanks for sharing and getting me out of my comfort zone and into the wonderful word of metal shaping. When your in my position there's no where to go but up!! |
|
|
|
|
06-16-2015, 10:32 PM
|
#464 | ||
|
Registered User
Join Date: Jan 2013
Location: Leonardtown, MD
Posts: 1,635
|
Re: 55 Wagon Progress
Quote:
I've seen those as well.. As to the hours, I don't have a 100% accurate count, we didn't have the time clock in the shop for the first bit of work being done, and I do need to total up what I have so far to get an idea where we are.. Quote:
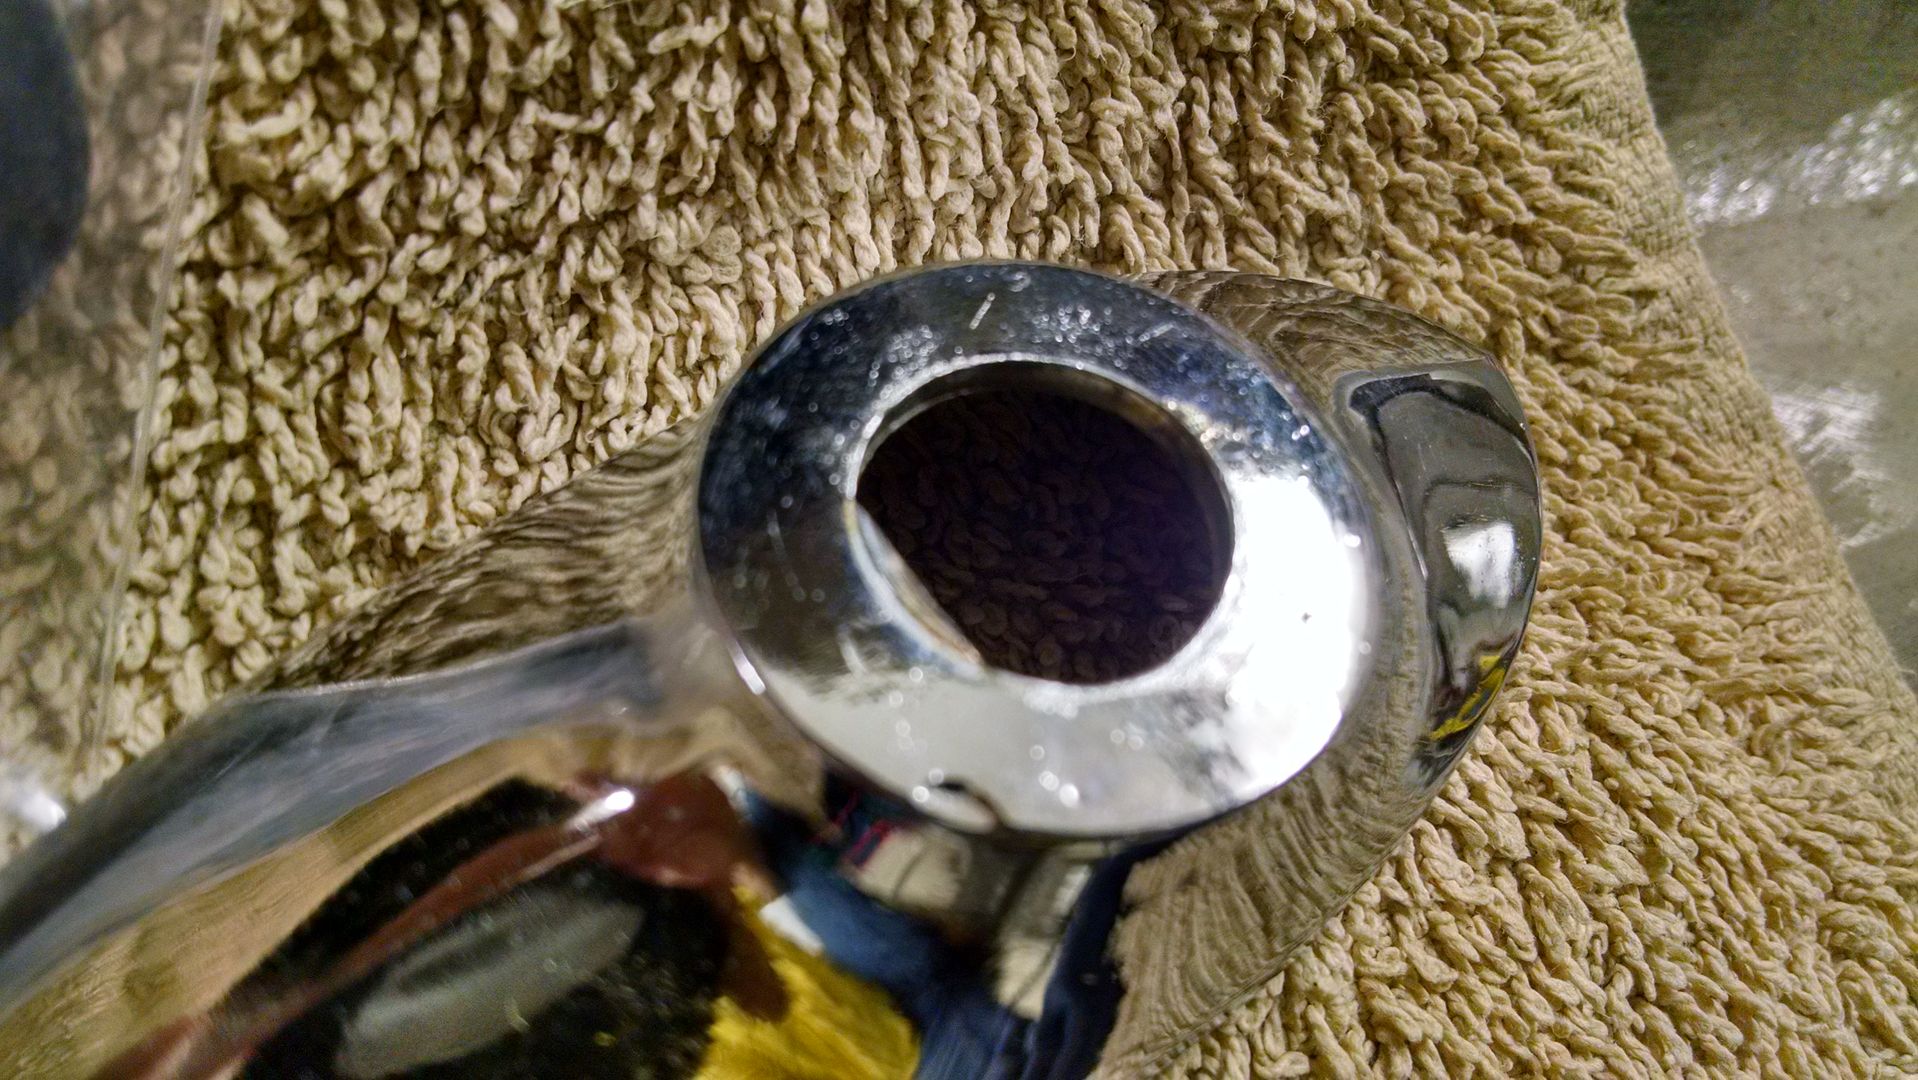
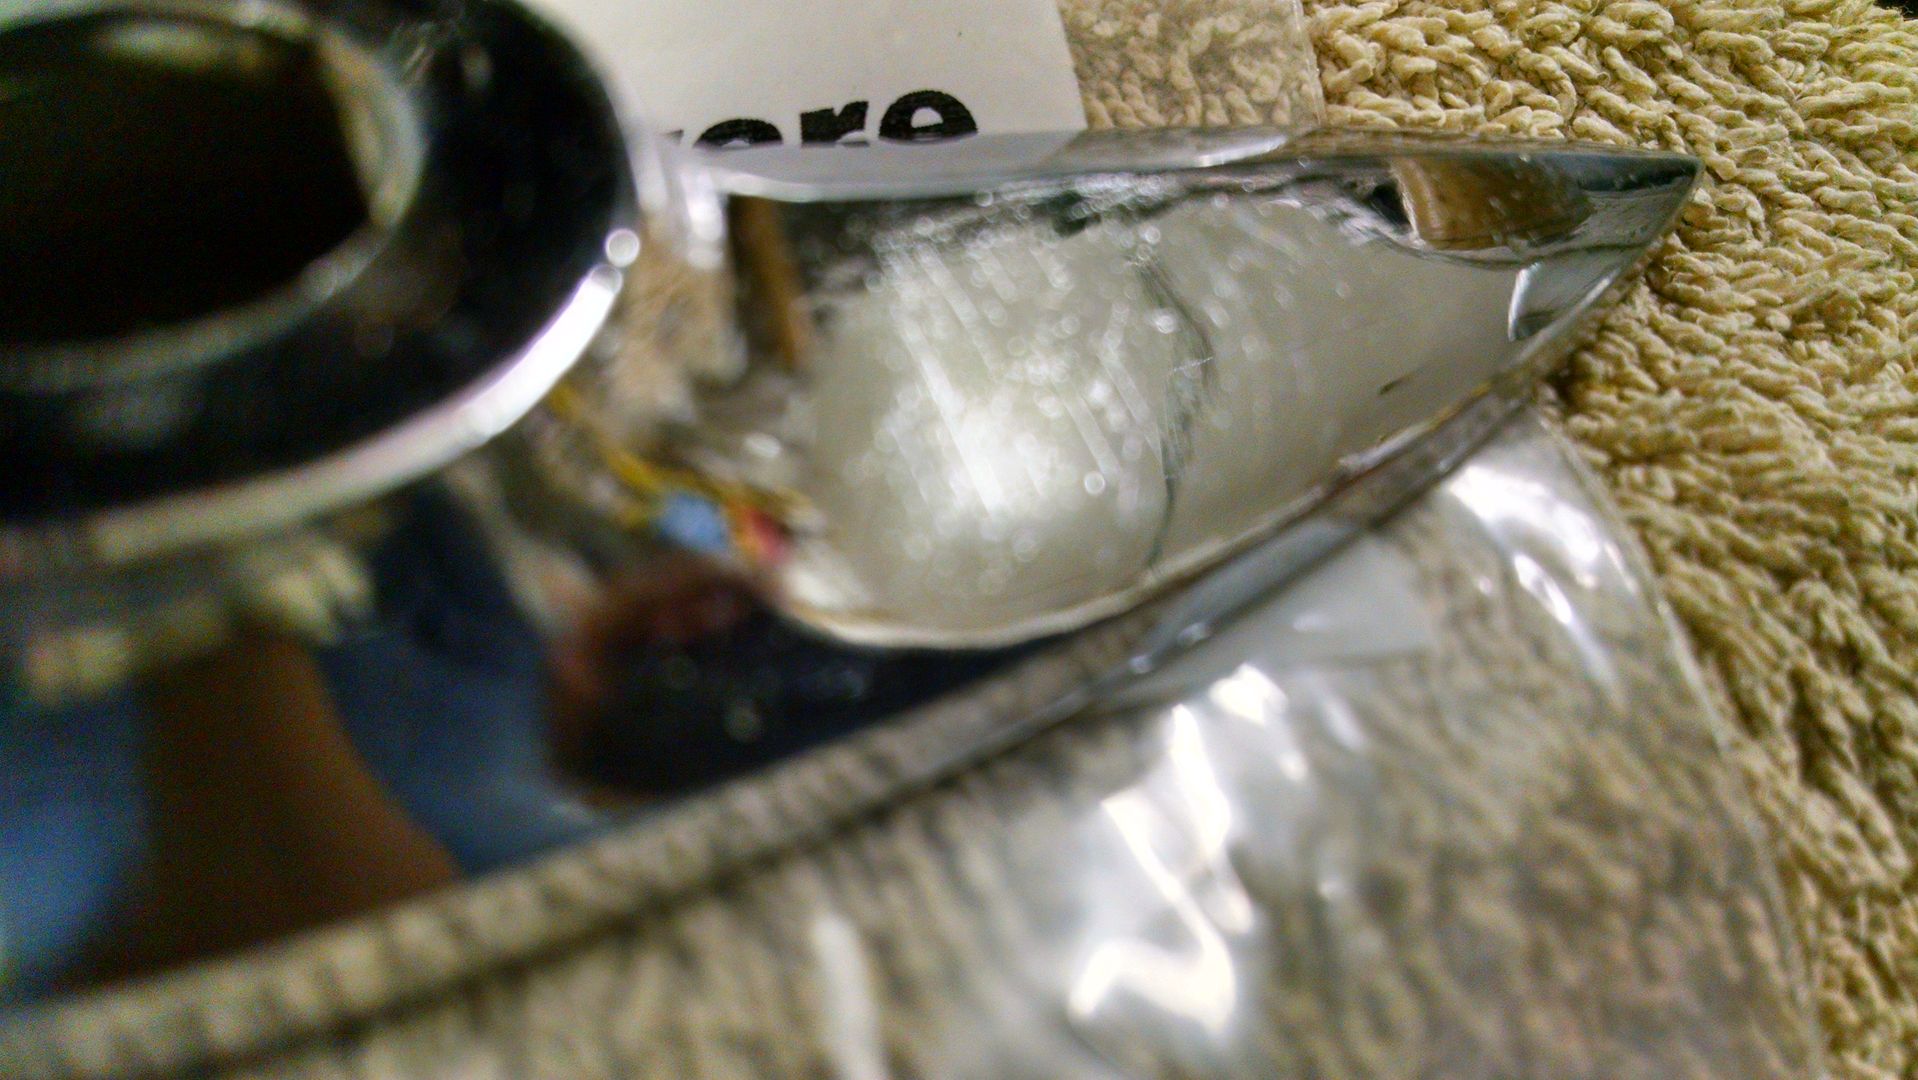
Glad to be a bad influence...  Worked on the Rocky Hinge hidden fuel door this evening. The mounting plate we made is plug welded to the tail light opening.. 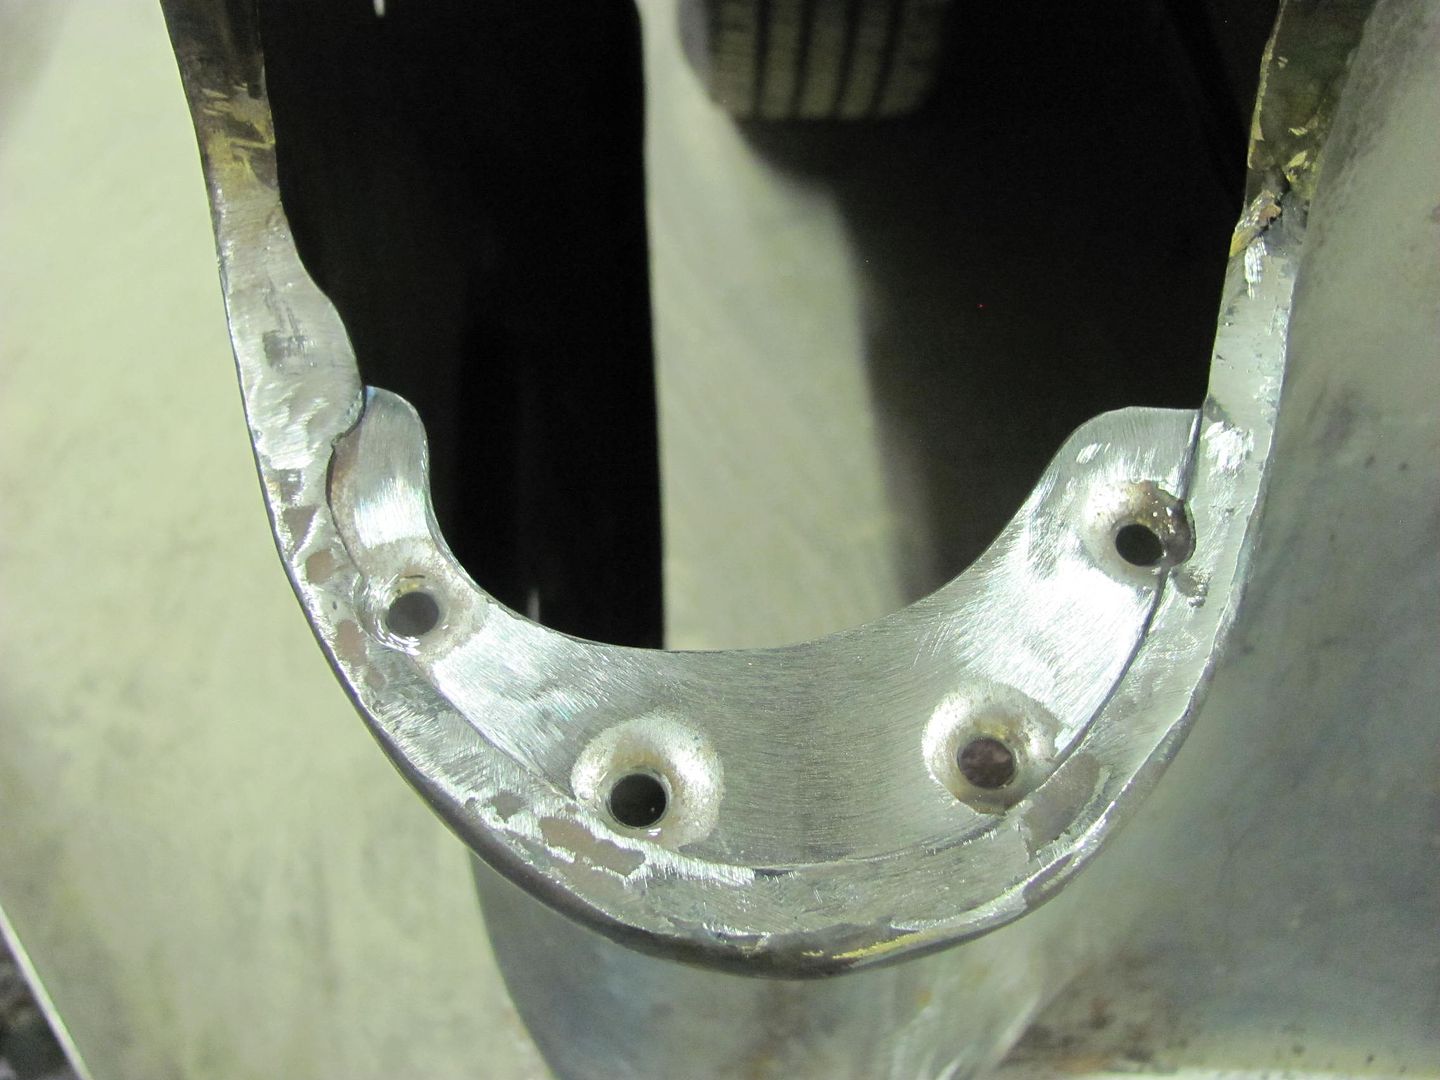 Slight trimming needed..... 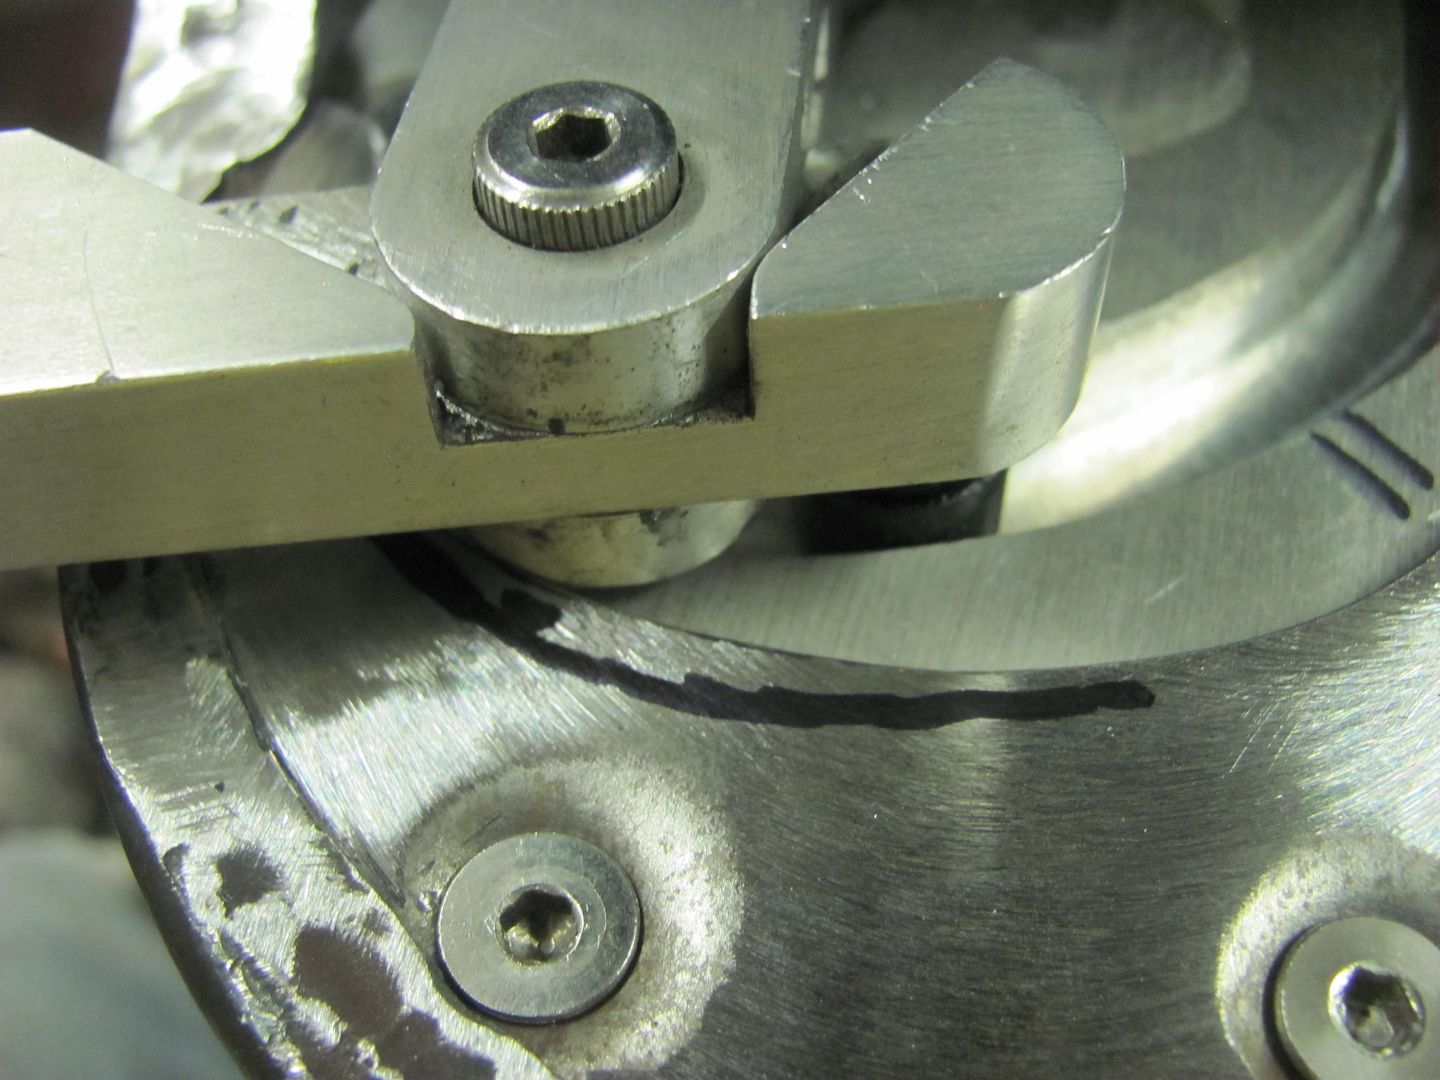 Then some 3M body molding adhesive tape is added to the top of the pivot bracket and the lens pressed in place. Here's the initial test... https://youtu.be/oZ6JYr988dc That worked fairly well, so it was clamped in place and a transfer punch used to mark the housing for drilling mounting holes.. 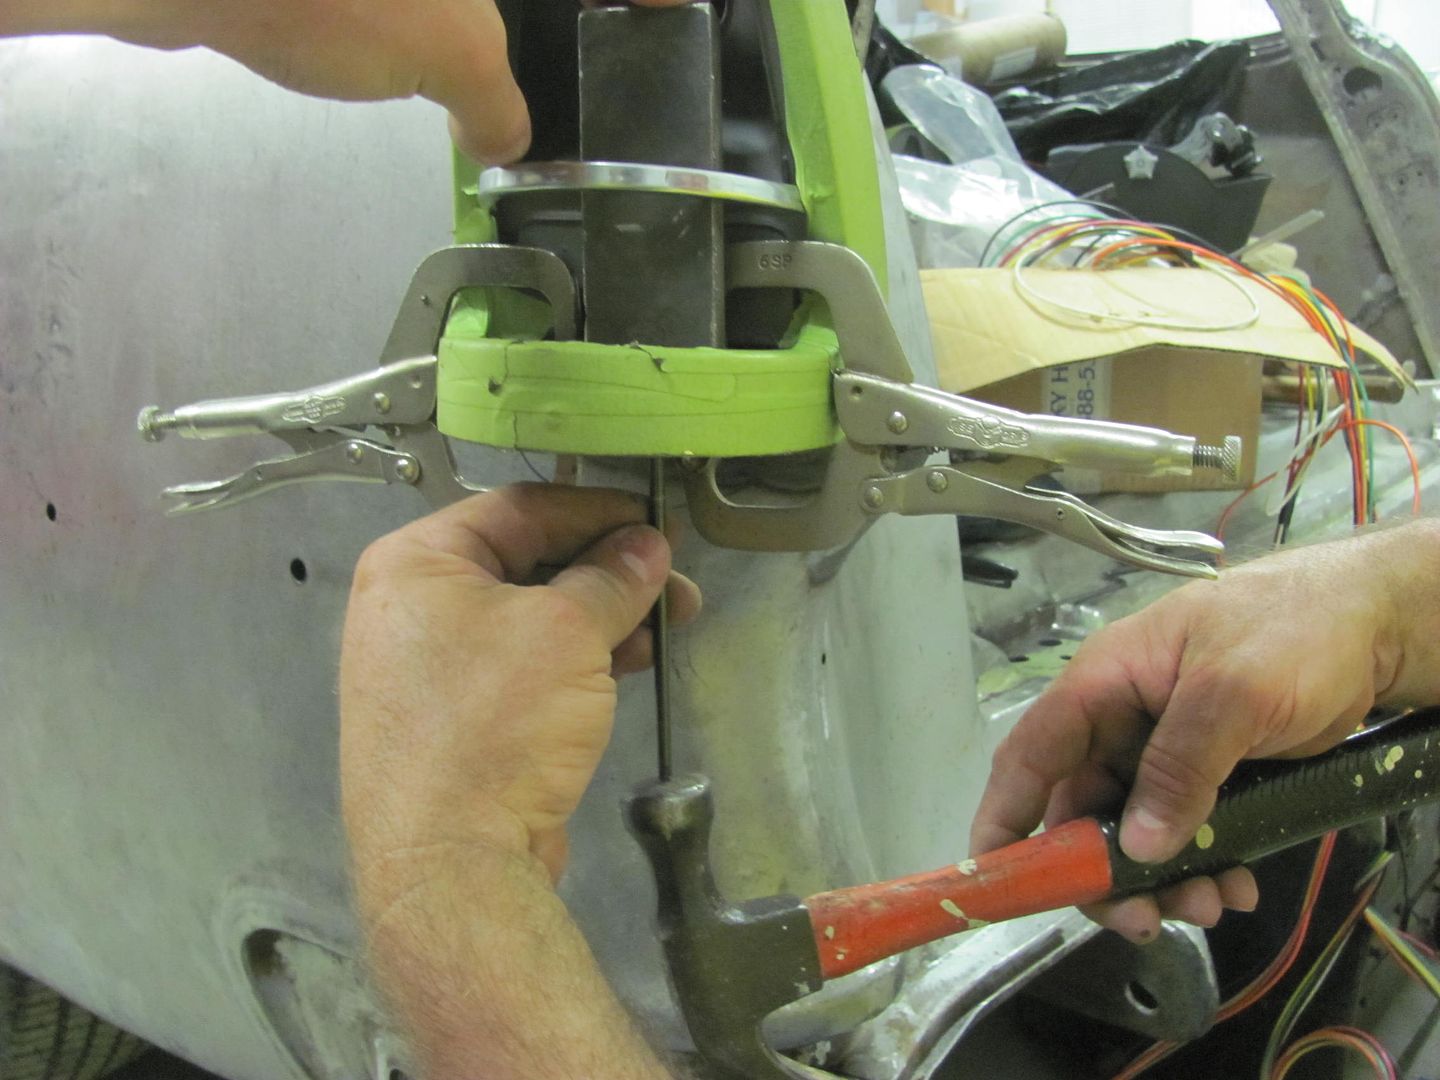 Then the holes were slightly slotted using a dremel for side to side adjustability. Here's the results, from different views.... https://youtu.be/848V2PbuQJw https://youtu.be/N_Qz0NZxh5g https://youtu.be/PVeWQyb35j8 OK, now for the bad that we found with the kit... The original lamp housing must be removed for clearance, and a new (included) one gets installed below the original position. The new housing has those spring loaded contacts that some tend to bend over and short out, so I gave the wires a couple gentle tugs to see if the contacts deflected toward the outside shell... 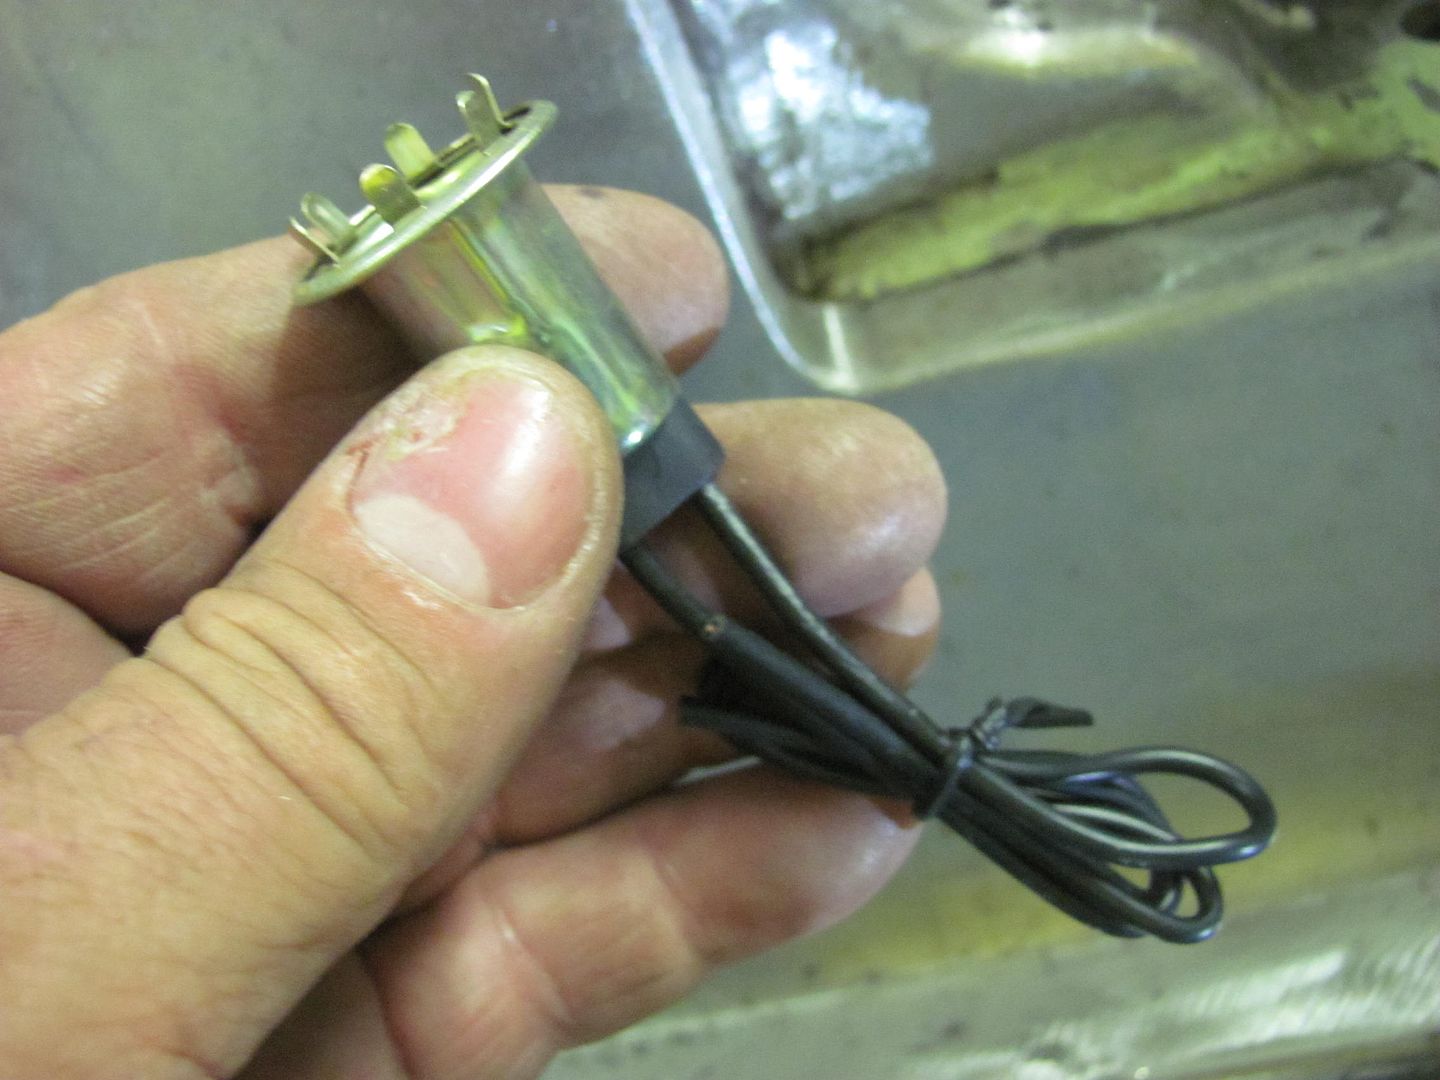 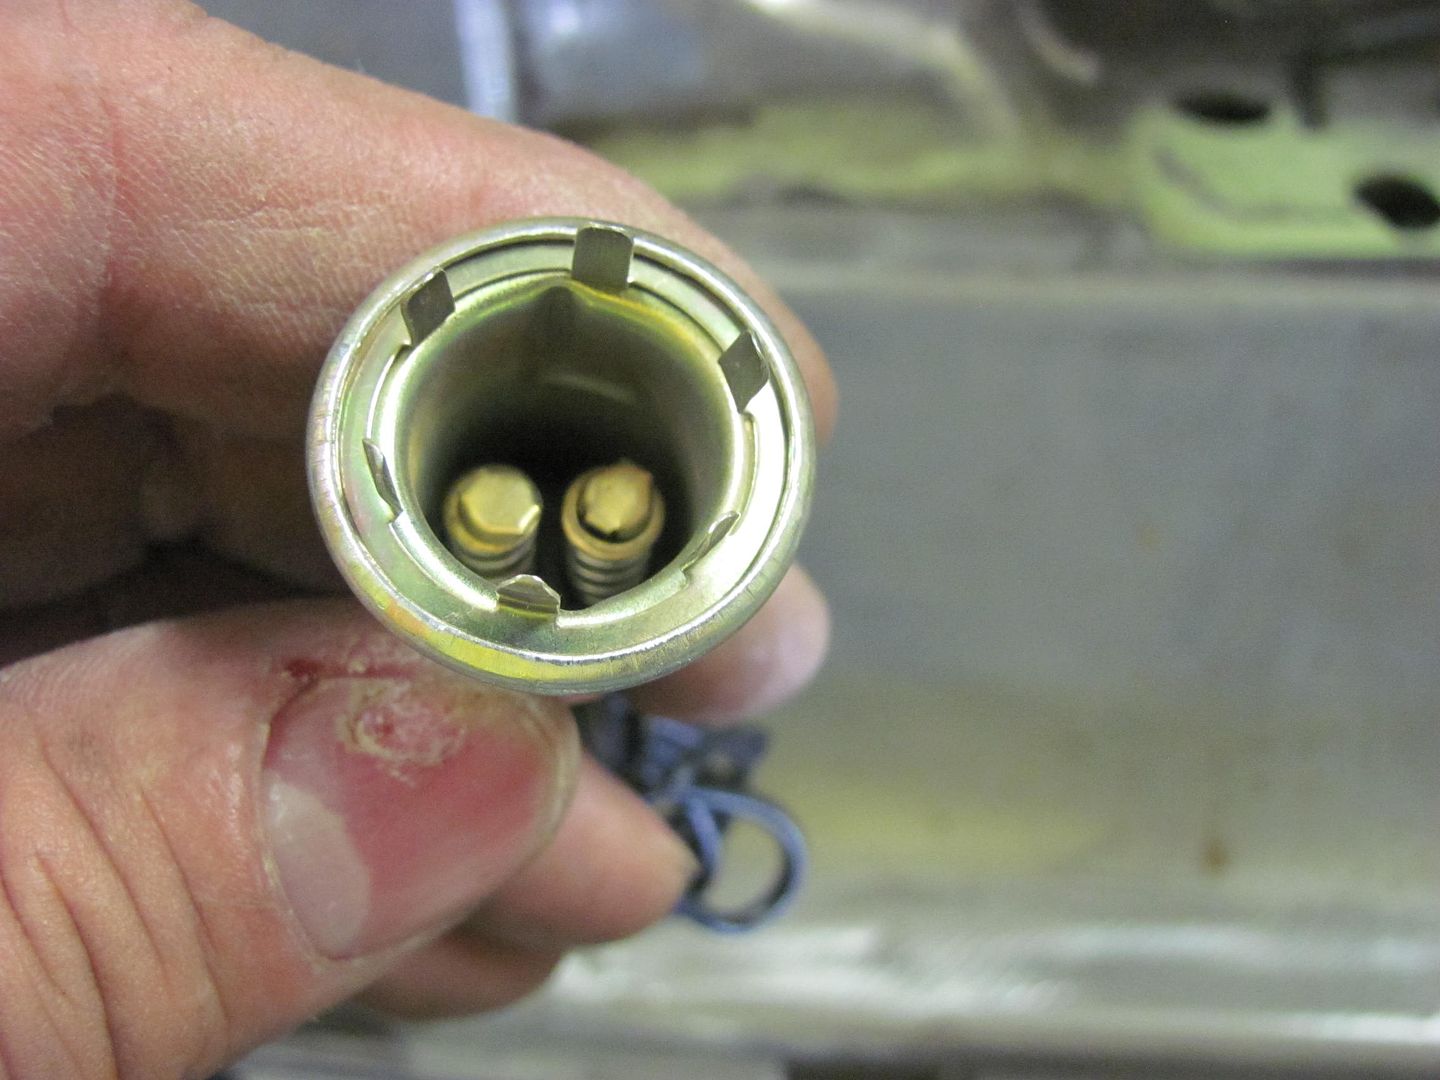 Surprise, surprise, the contacts pulled clean off.... 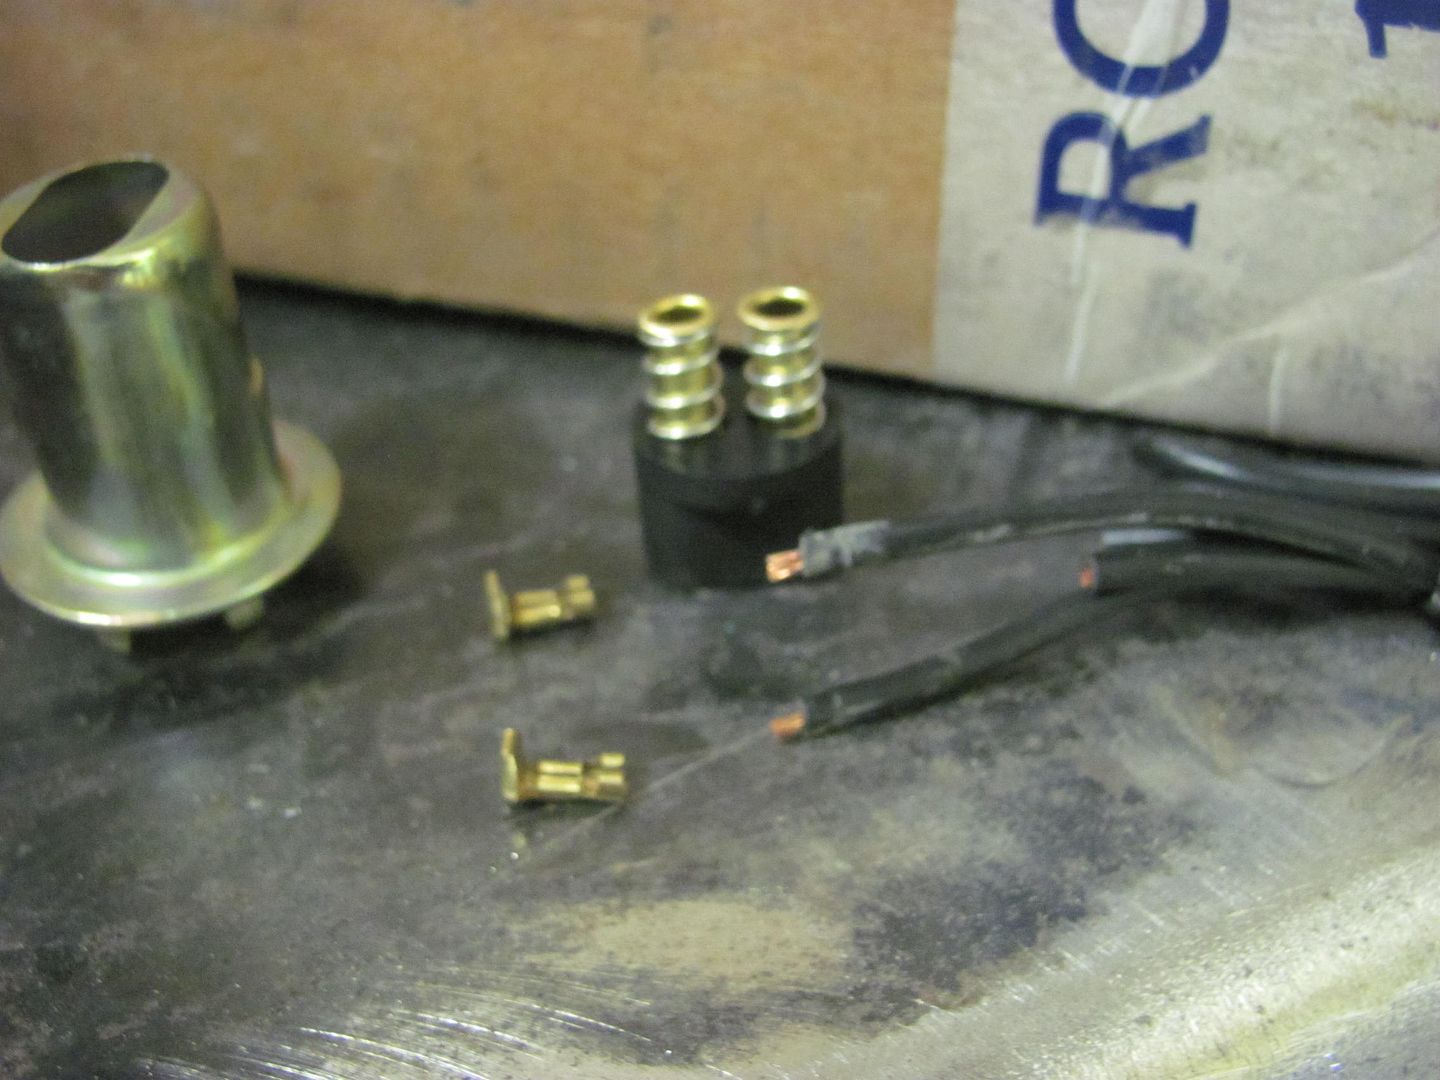 Note there is no copper inside the contacts, indicating these had a loose crimp... 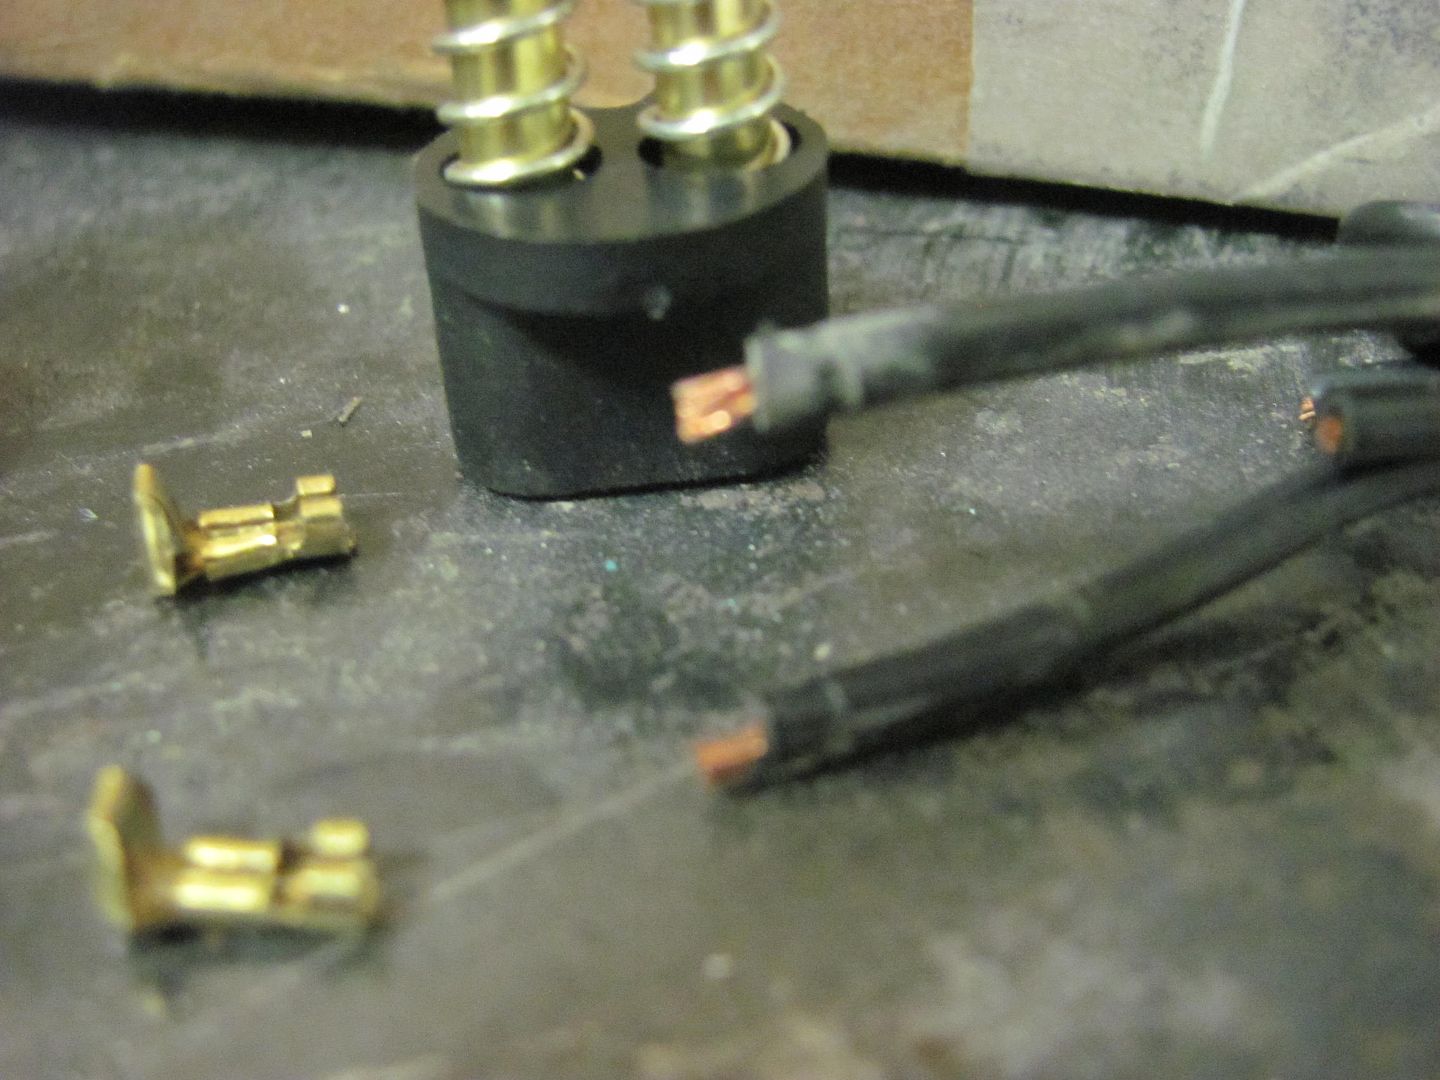  Next, the operation of the motor function seemed to be intermittent. A recheck of the power connections showed no issues, so we pressed a bit harder on the switches toggle, and the function returned. Multiple repeat attempts were performed and the switch proved to be the culprit. It appears to be a cheapo switch that has intermittent contact function. So looks like we'll be replacing a couple of the parts for this kit... So much for everything you need in one package.... 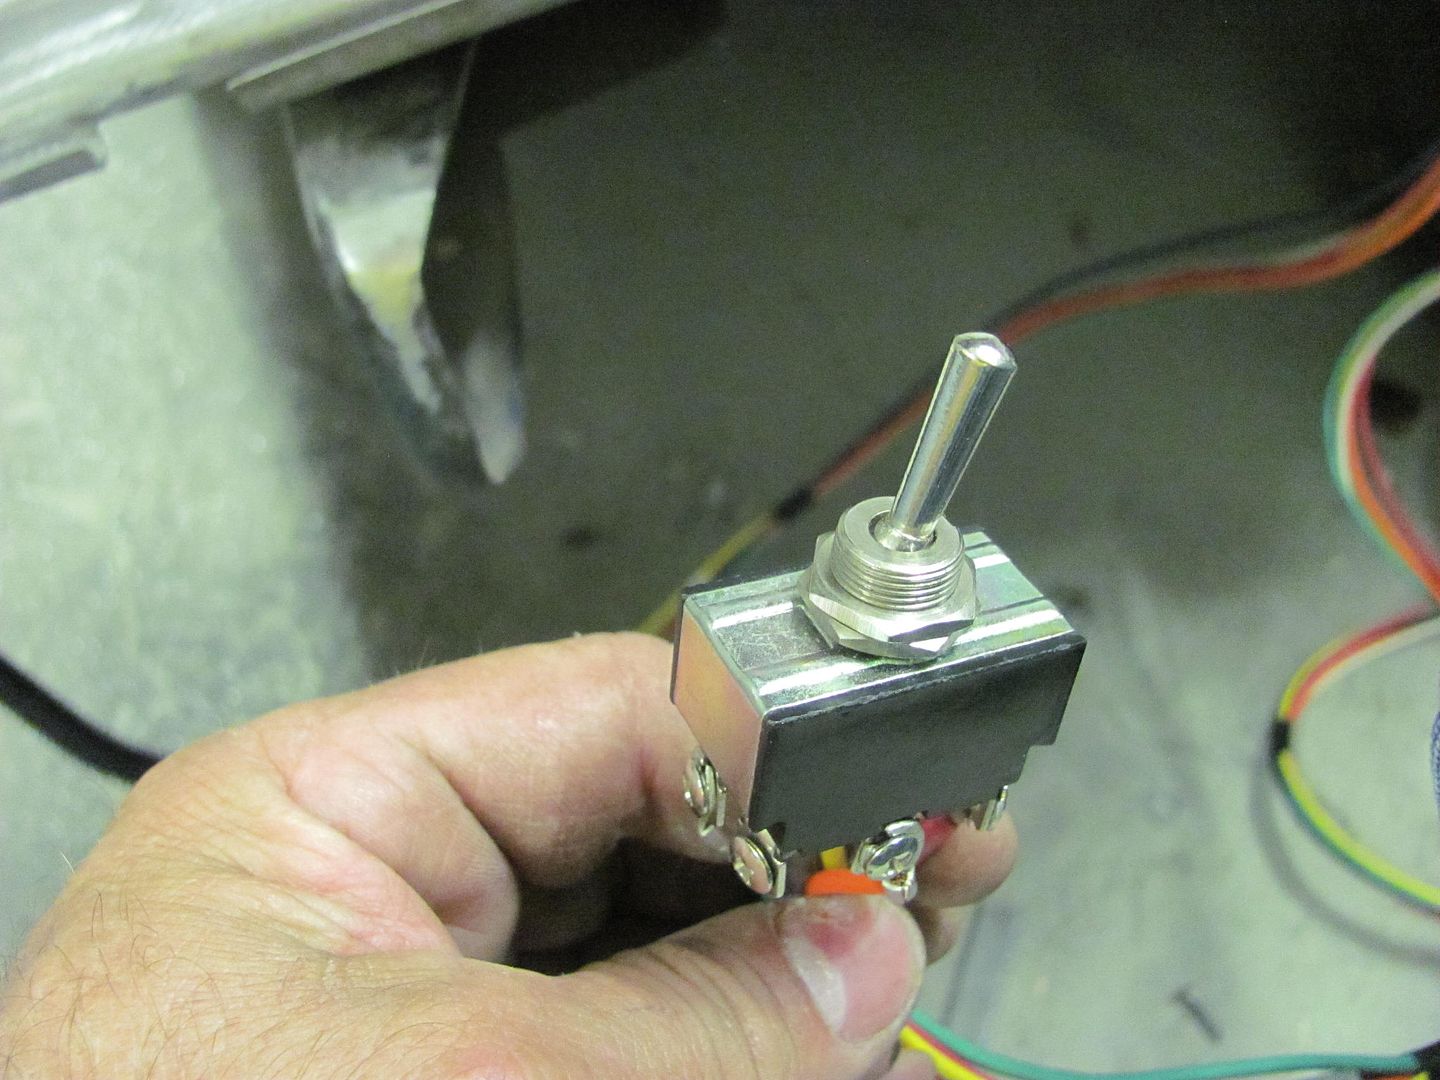
__________________
Robert |
||
|
|
|
|
06-18-2015, 11:11 AM
|
#465 |
|
Rusty Nuts
Join Date: Sep 2008
Location: Clever Missouri
Posts: 1,338
|
Re: 55 Wagon Progress
What fantastic work, love looking at the pictures.
__________________
(Clever Missouri) Southwest Larry Mr Chevrolet My Build, The Marathon Truck http://67-72chevytrucks.com/vboard/s...d.php?t=604414 |
|
|
|
|
06-19-2015, 10:41 PM
|
#466 |
|
Registered User
Join Date: Jan 2013
Location: Leonardtown, MD
Posts: 1,635
|
Re: 55 Wagon Progress
Thanks!
Recently I took delivery of a ball glove pounding pad, $39 on Amazon per a link posted by Johnny Arial on AllMetalShaping. It was very light, and where I did not give it a go with a sheet metal test sample, something in me wanted to see what was inside the bag. So here we go, can't leave well enough alone... 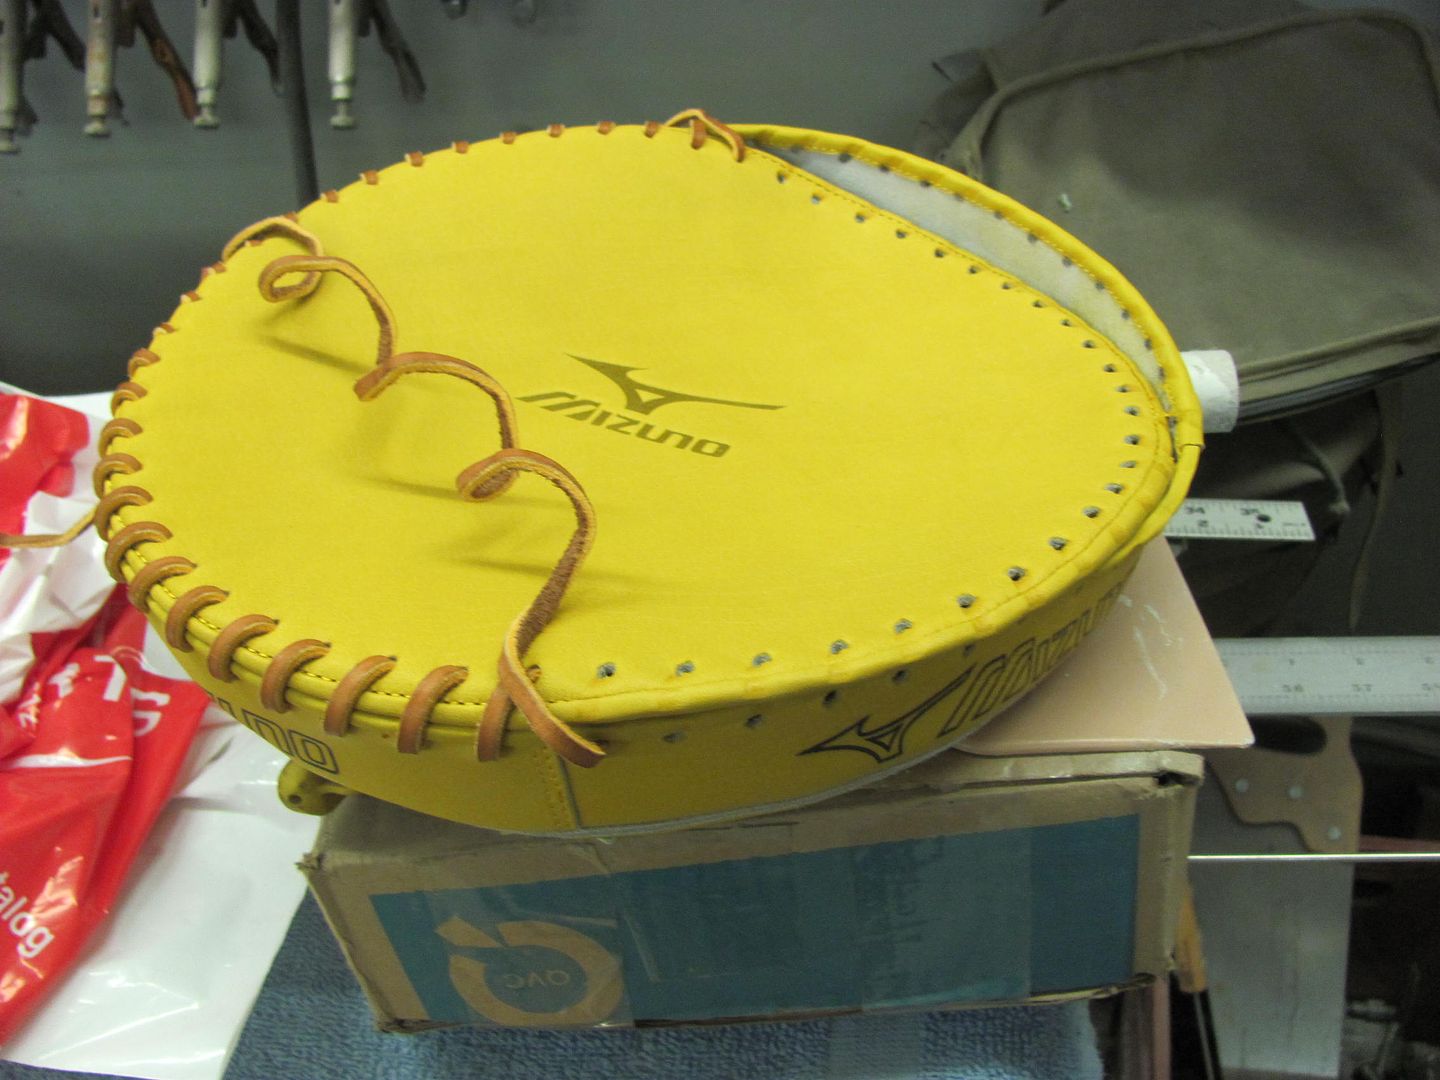 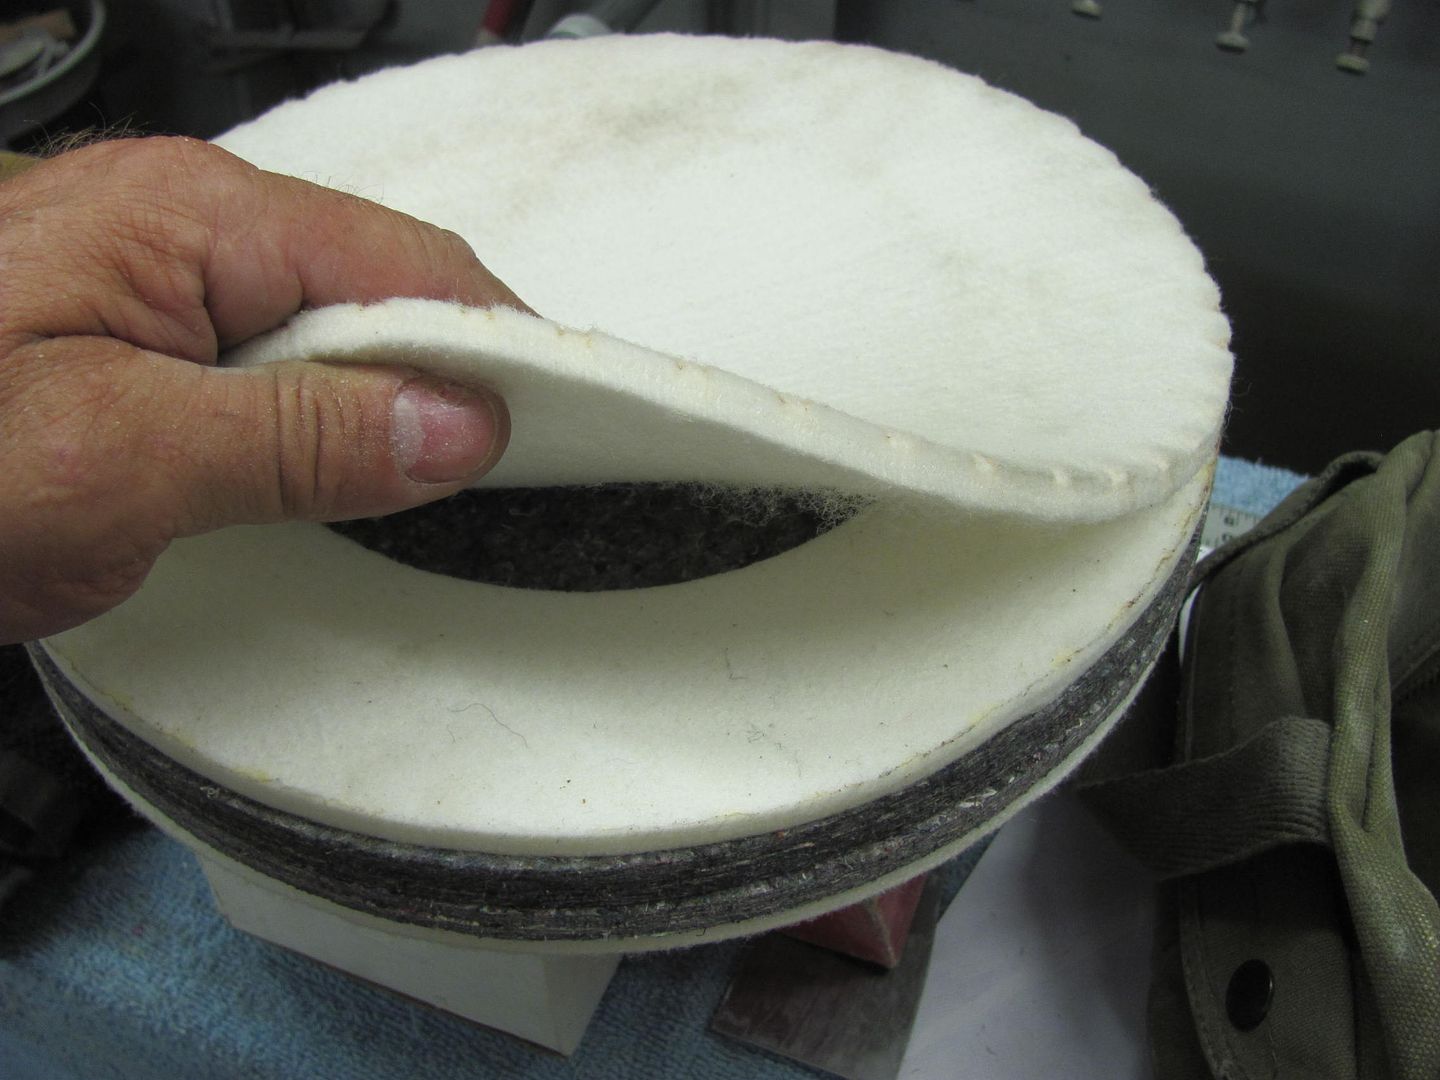 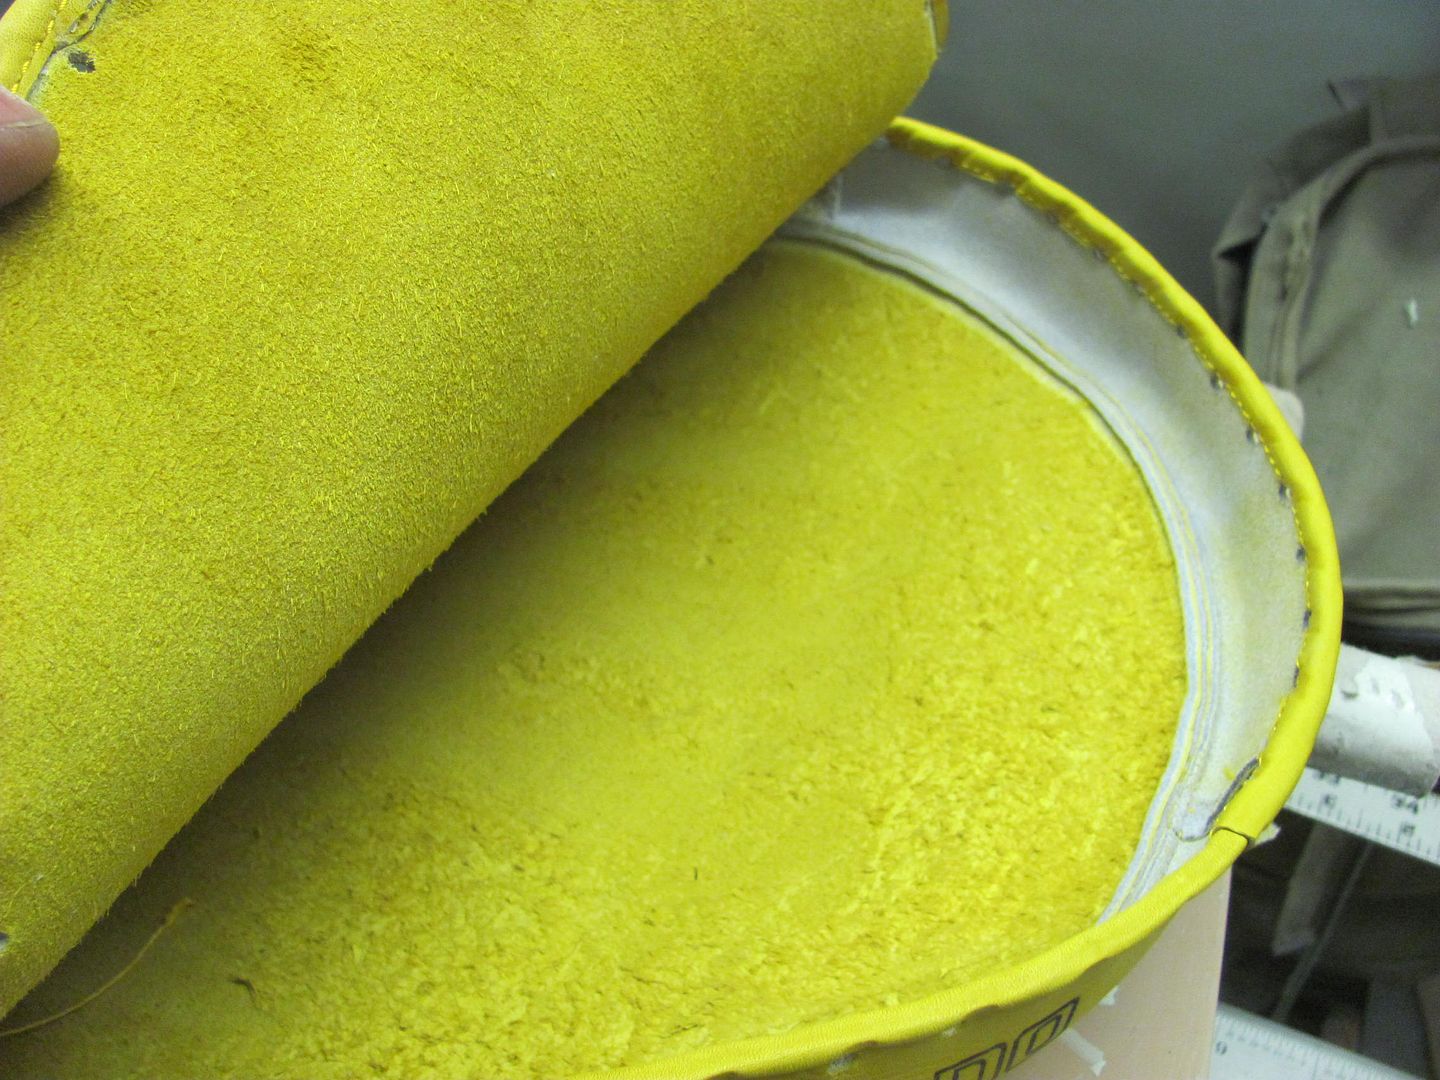 Looks like a high density felt pad... 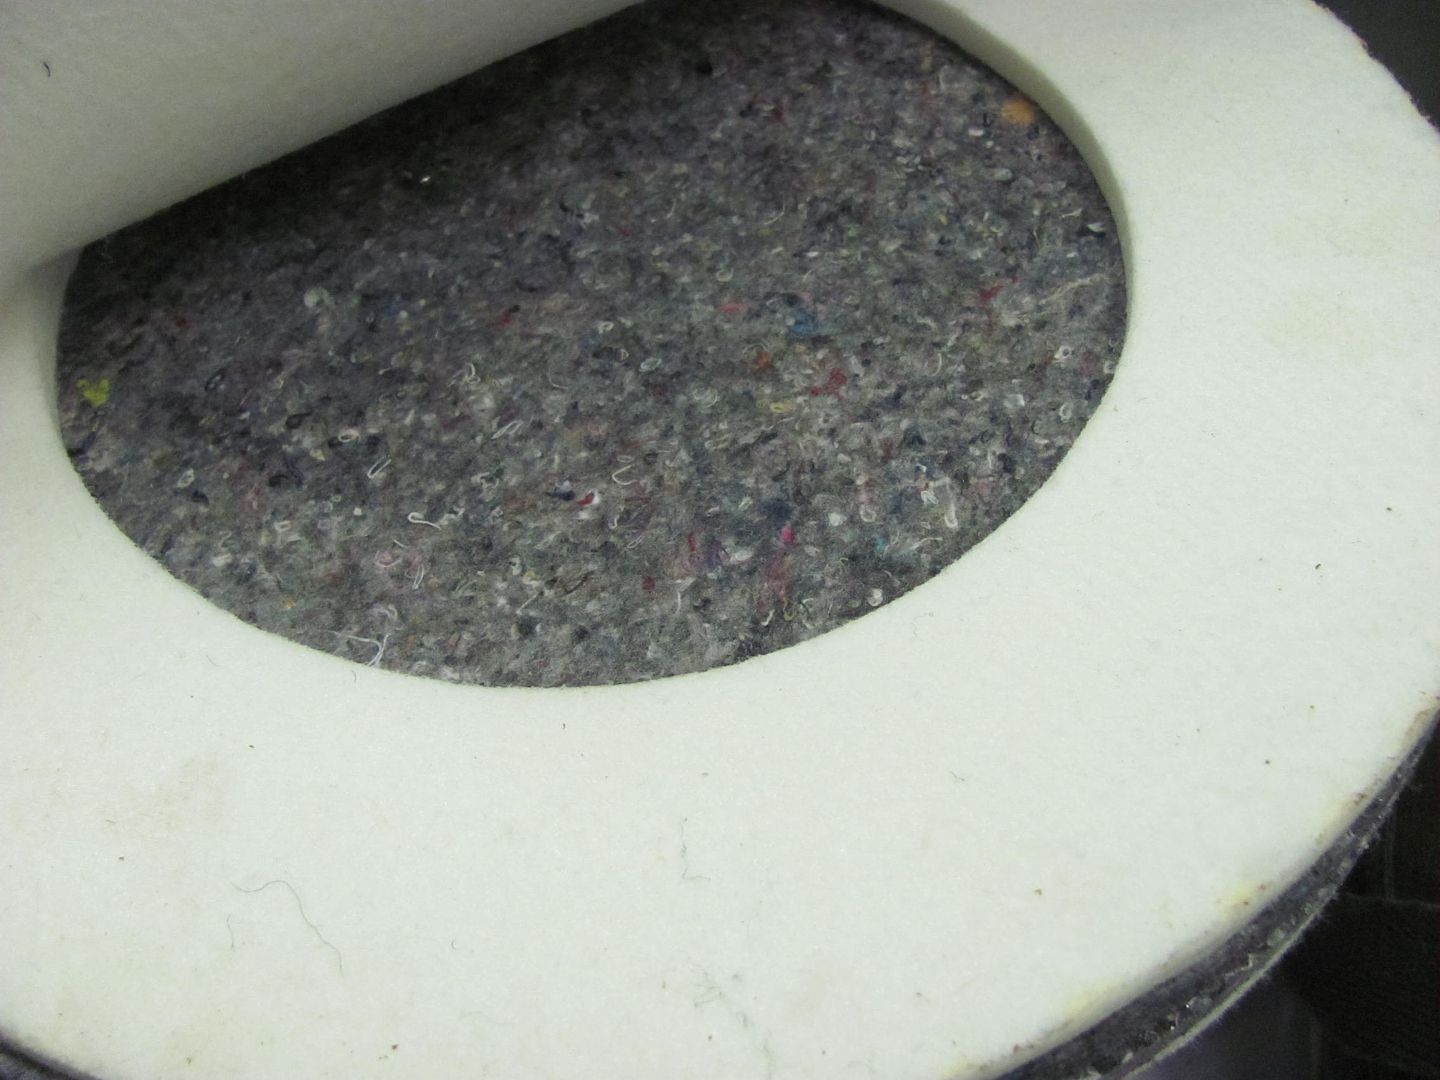 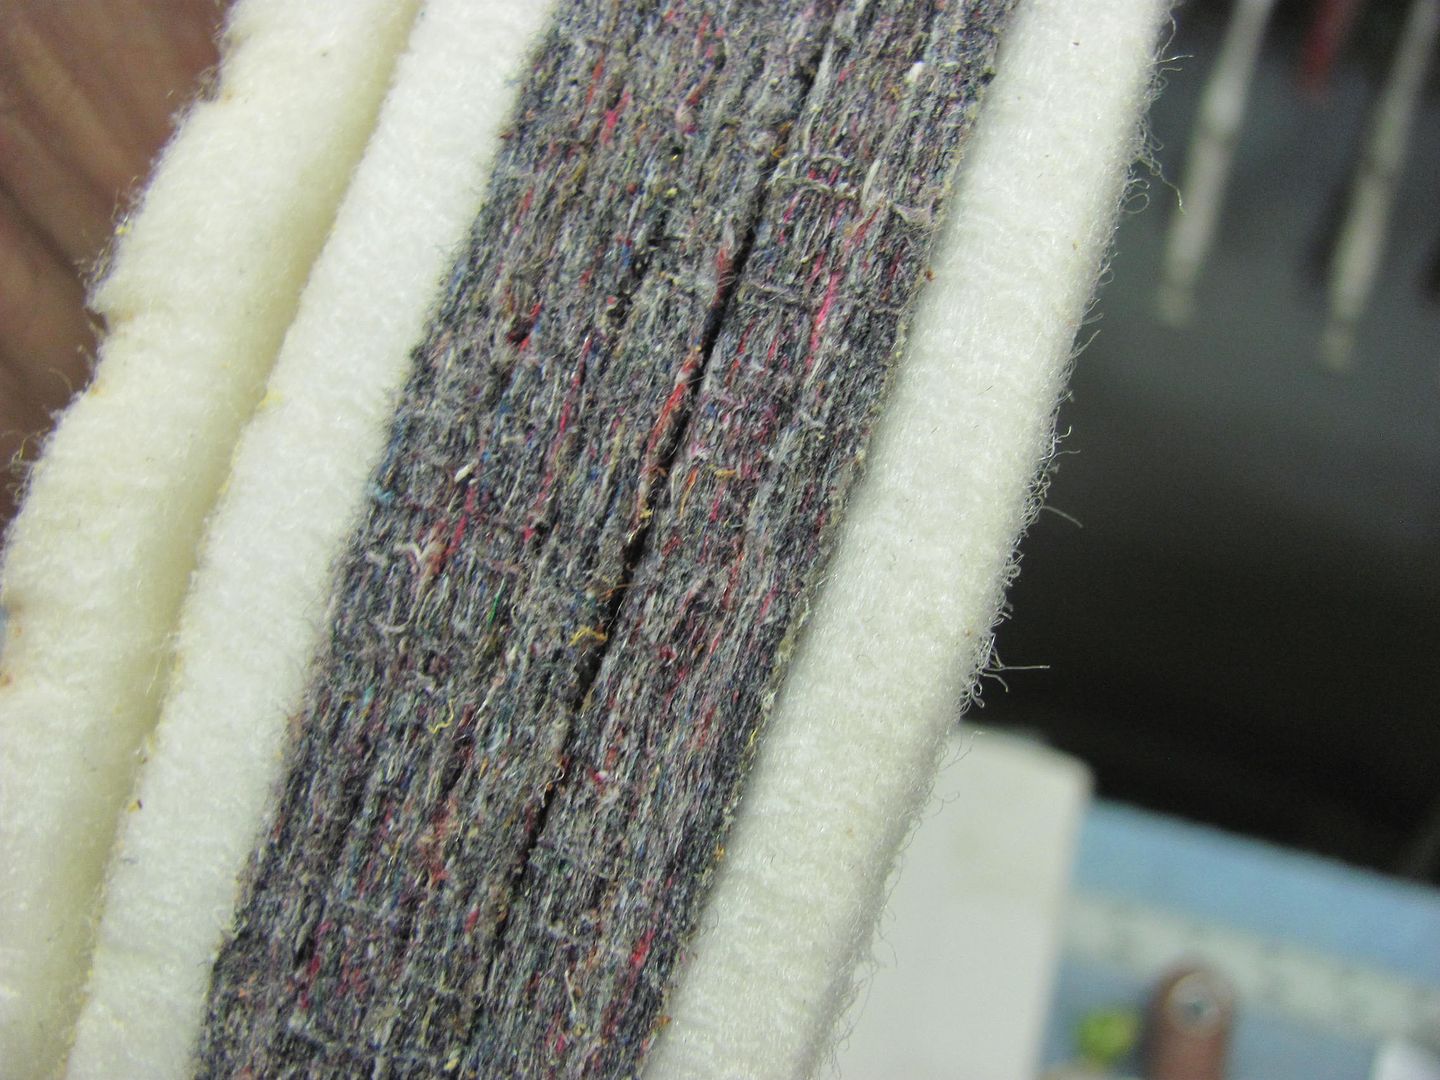 My previous shot bag had become a casualty inside of a quarter panel when using it as a dolly... It found a sharp piece of metal which caused the tear... and I caused the cut so I could empty it out and pull it out of the cavity it was in.. It had approx. 50 lbs or better of lead shot in it at the time, and for some reason I didn't think about removal when I was dropping it in the hole. 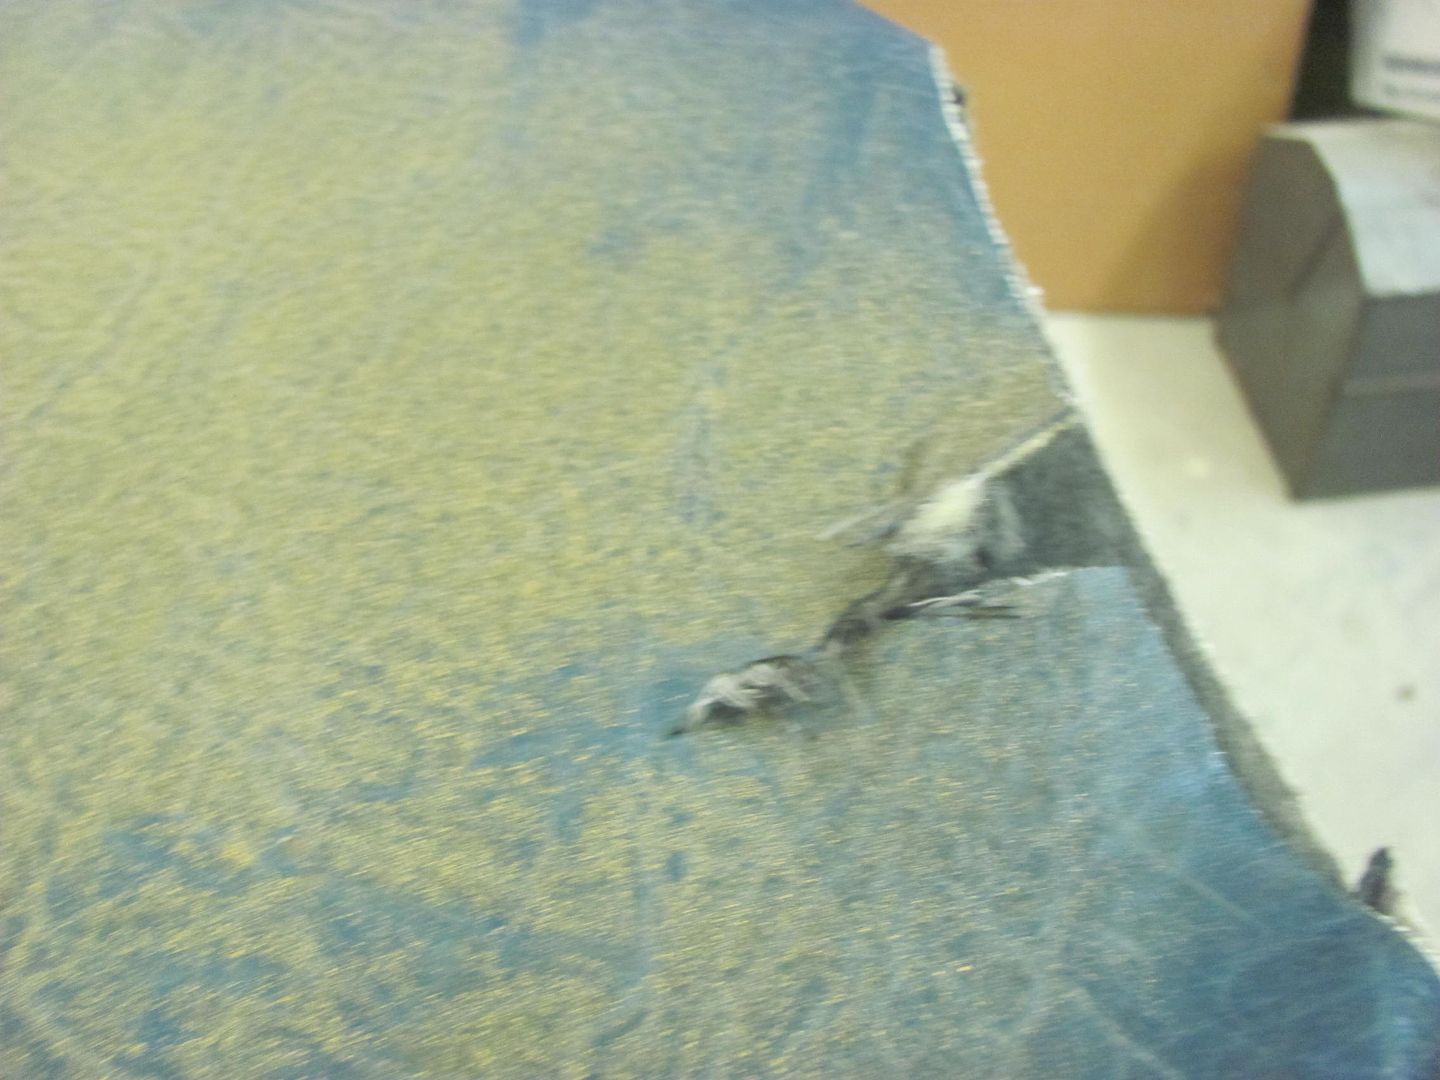 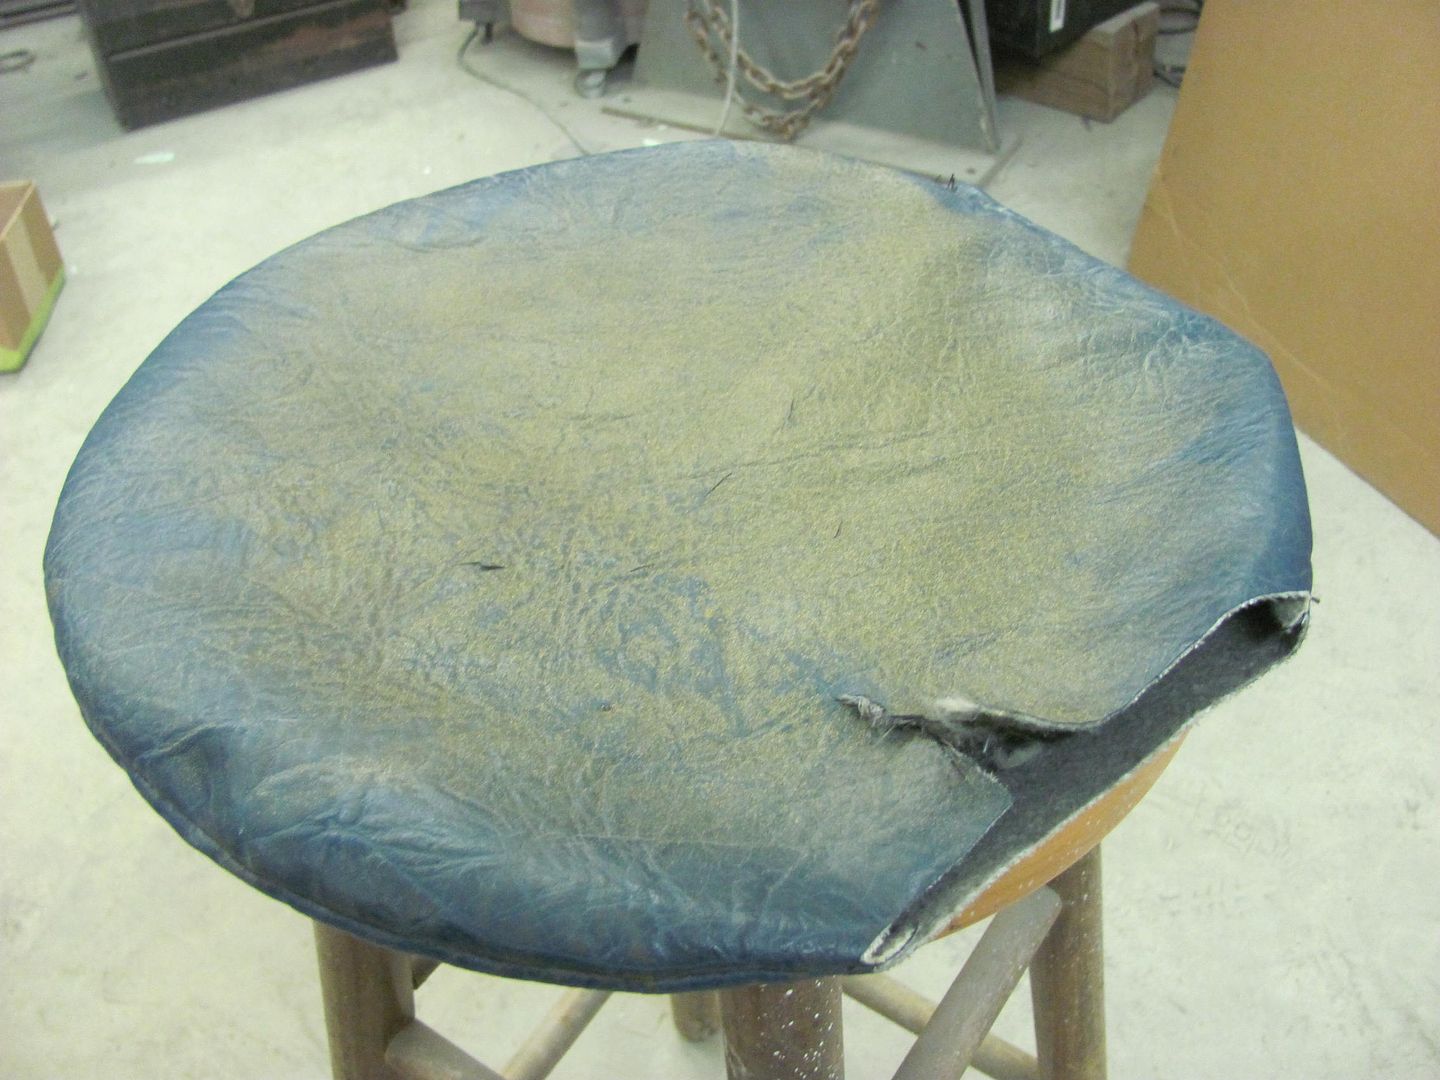 So I had put in an order last night for another bus seat cover (Kevlar material) and took it today with all the pieces to Anthony's Upholstery. This one is a bit smaller, so also more manageable. I think I had about 1/3 of the 50 lbs left over, so may have to make another smaller shot bag.. Comparison, the old to the new one.. 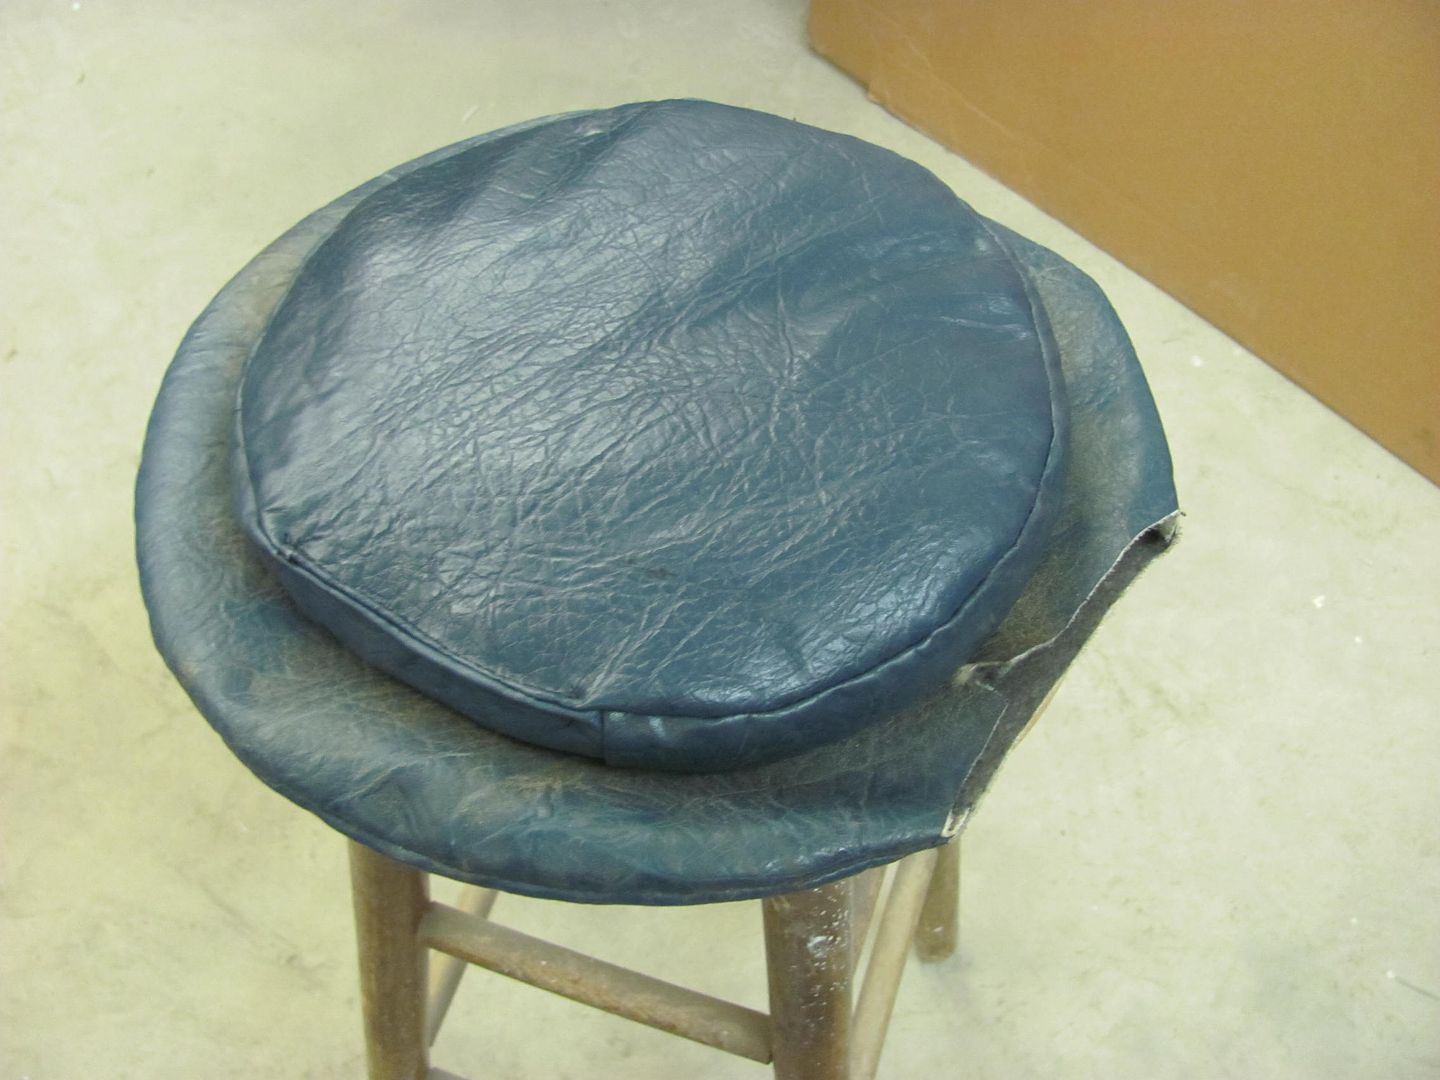 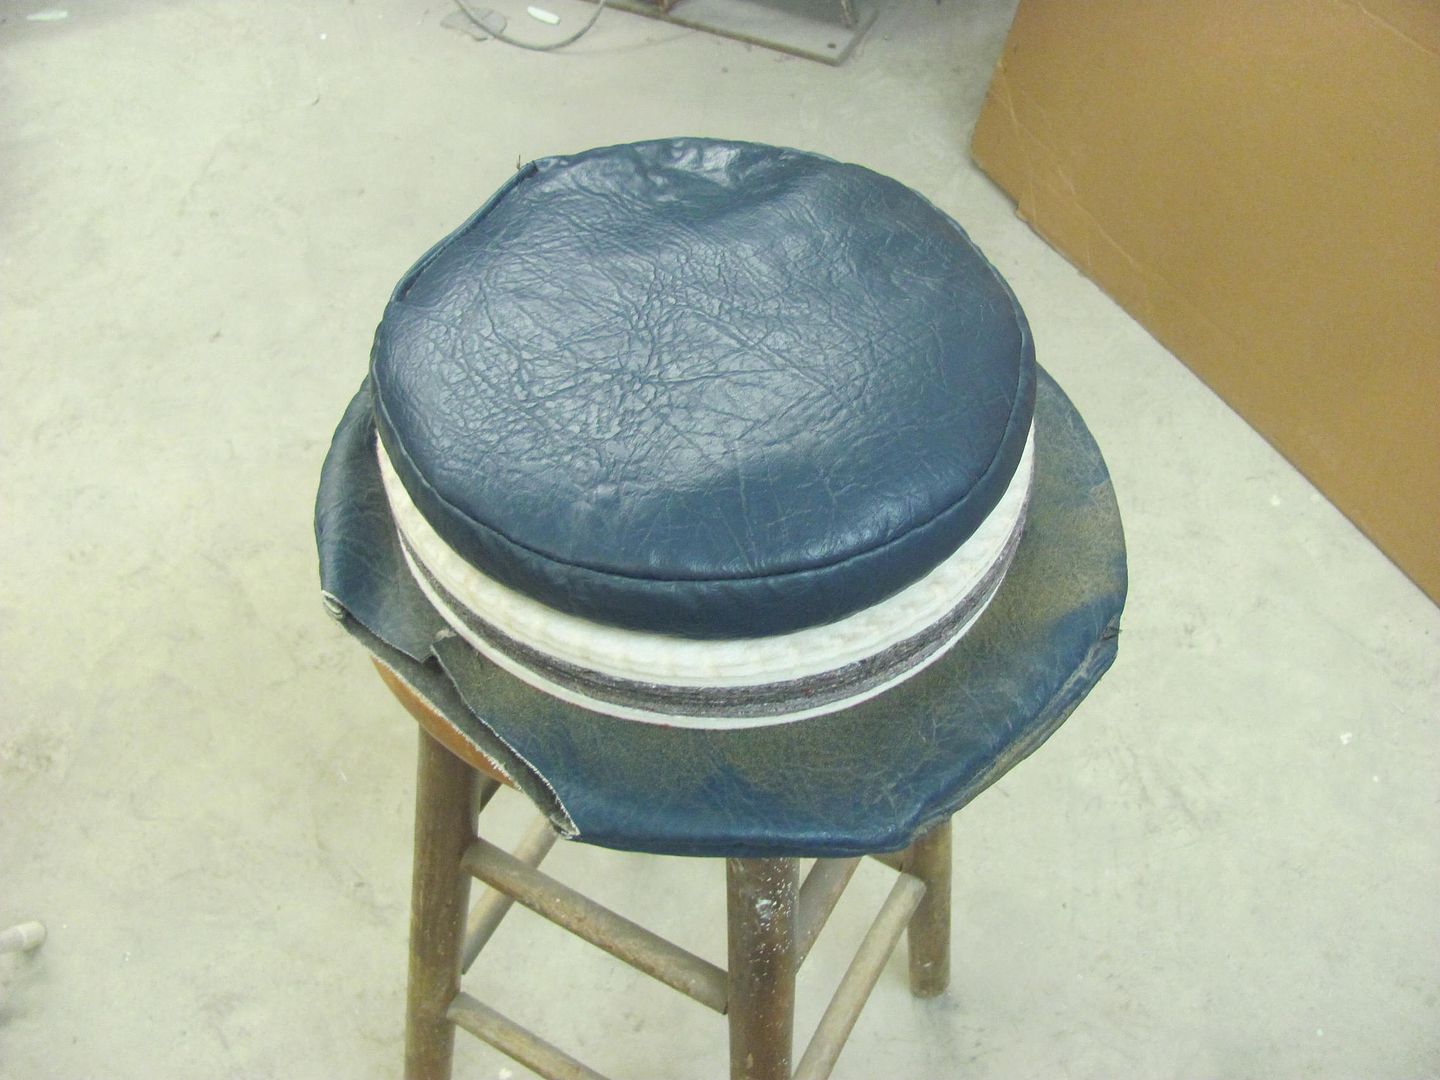 Something told me when that Amazon order was placed that this thing would have lead shot inside before all was said and done.. It does make a nice shot bag, and has a nice look.  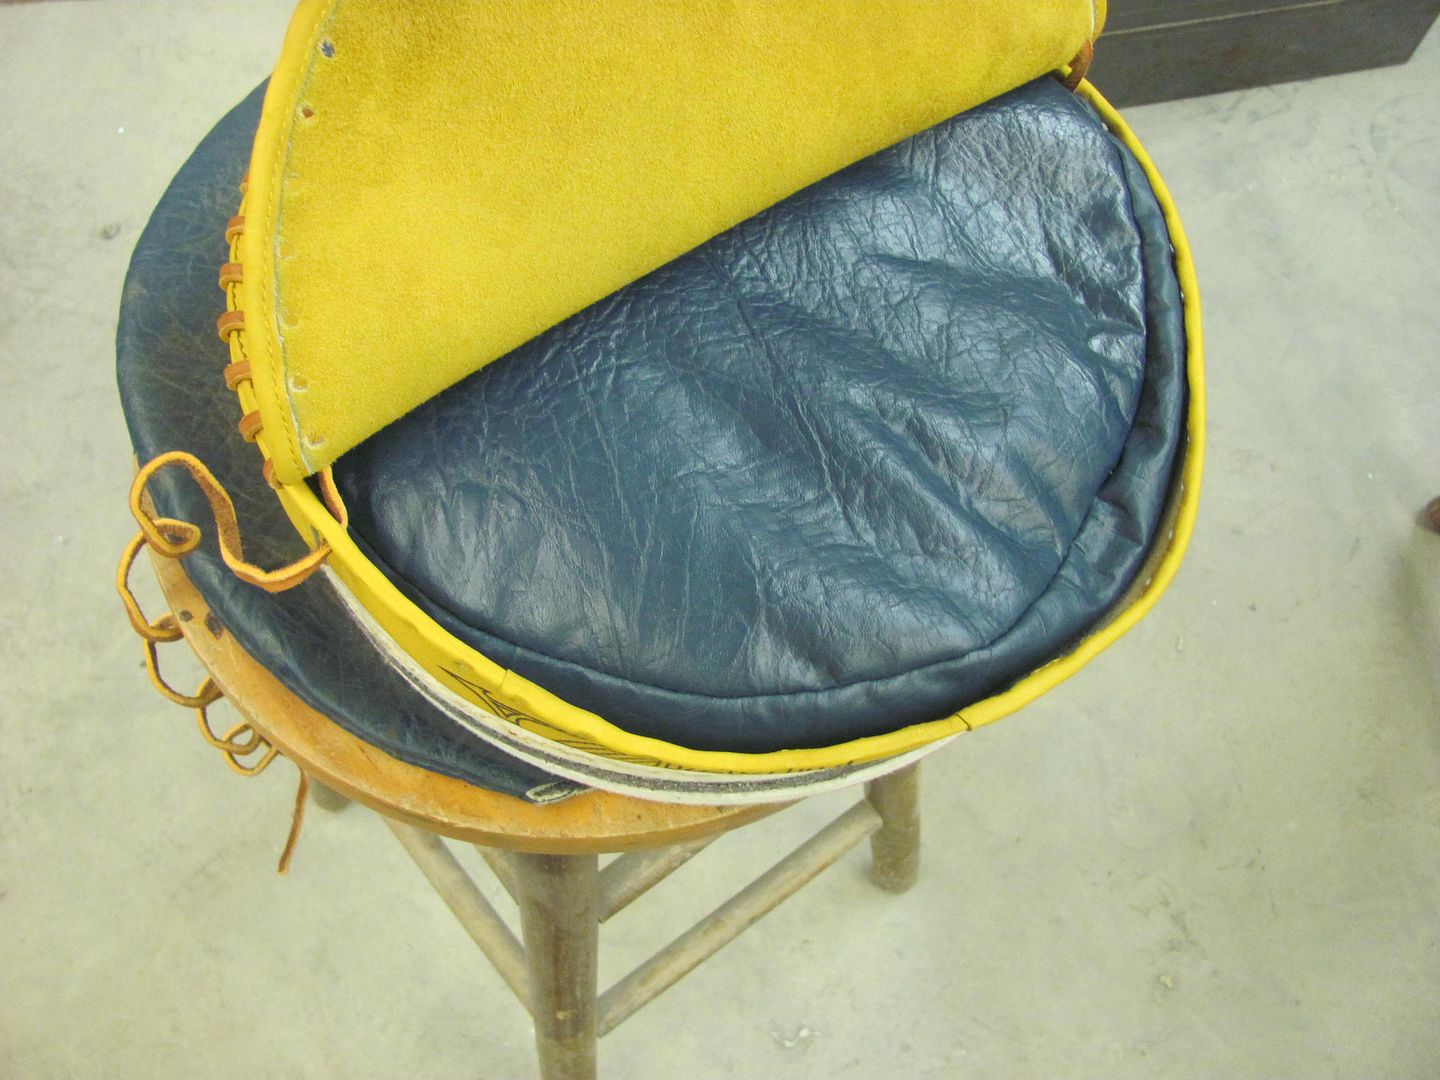 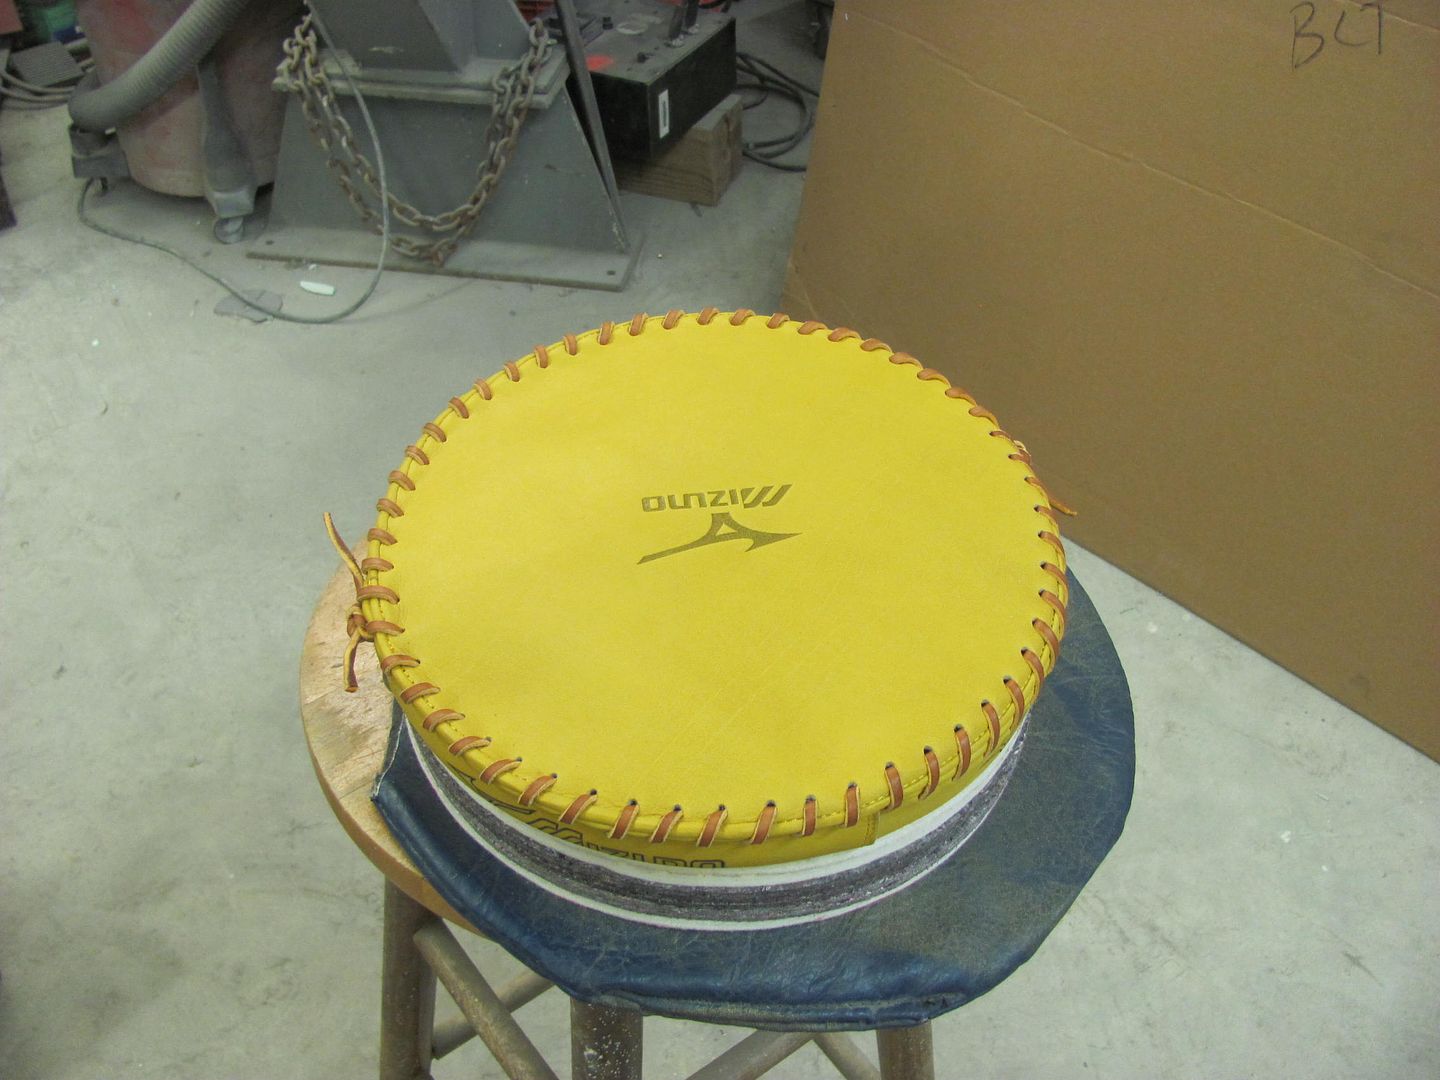 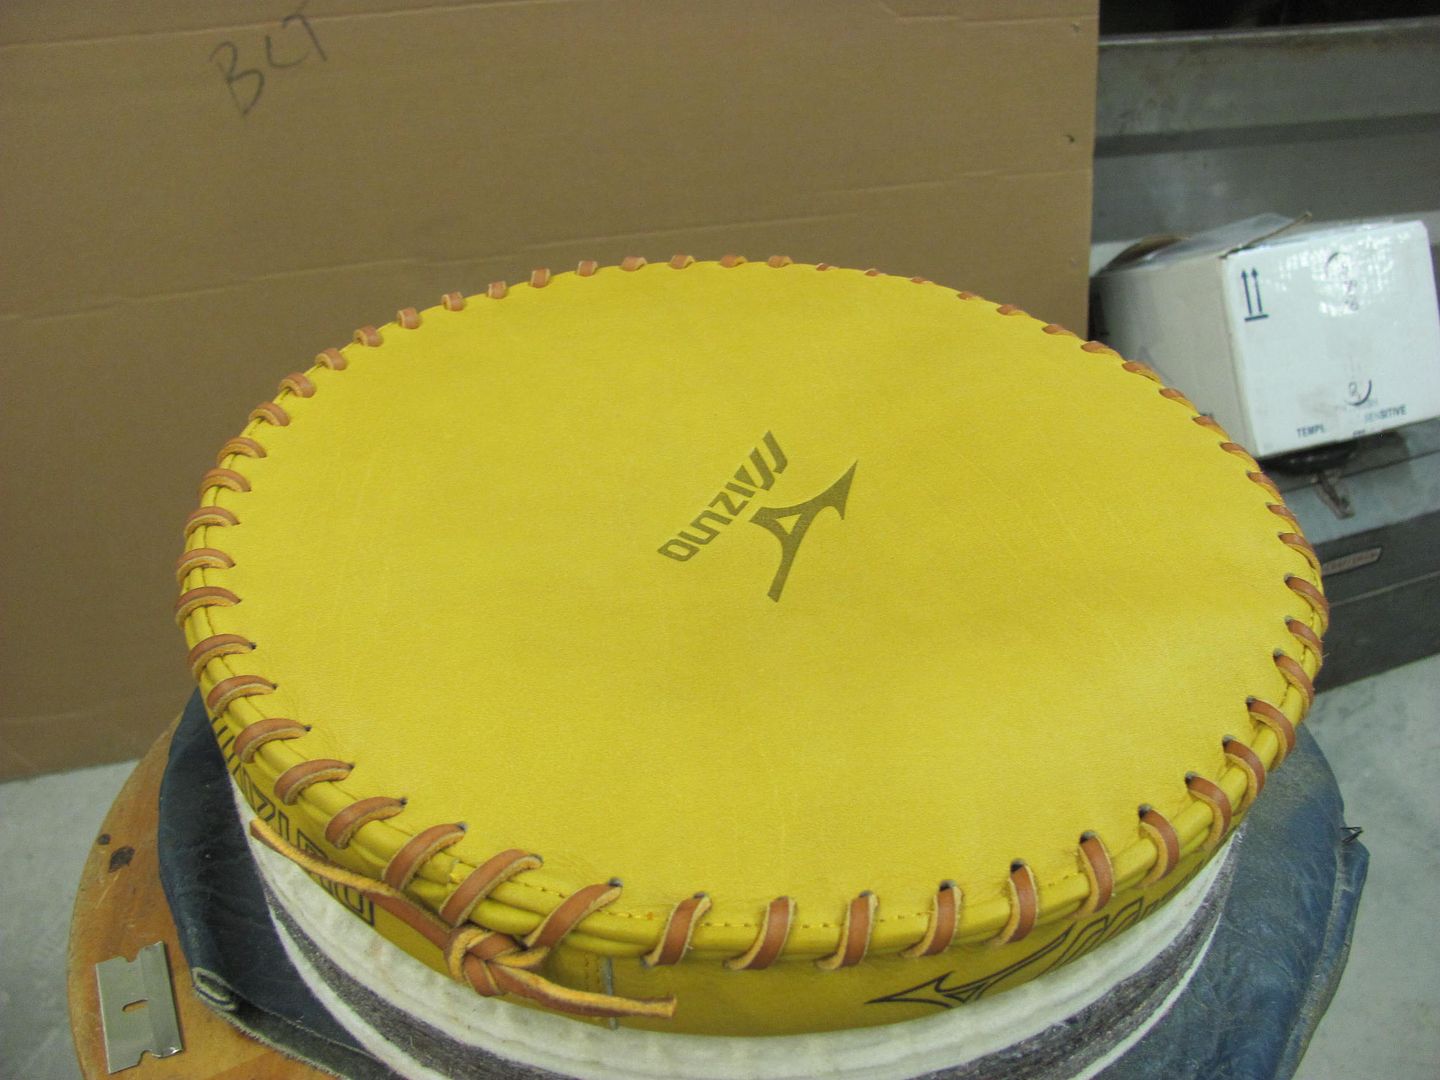
__________________
Robert |
|
|
|
|
06-28-2015, 10:04 PM
|
#467 |
|
Registered User
Join Date: Jan 2013
Location: Leonardtown, MD
Posts: 1,635
|
Re: 55 Wagon Progress
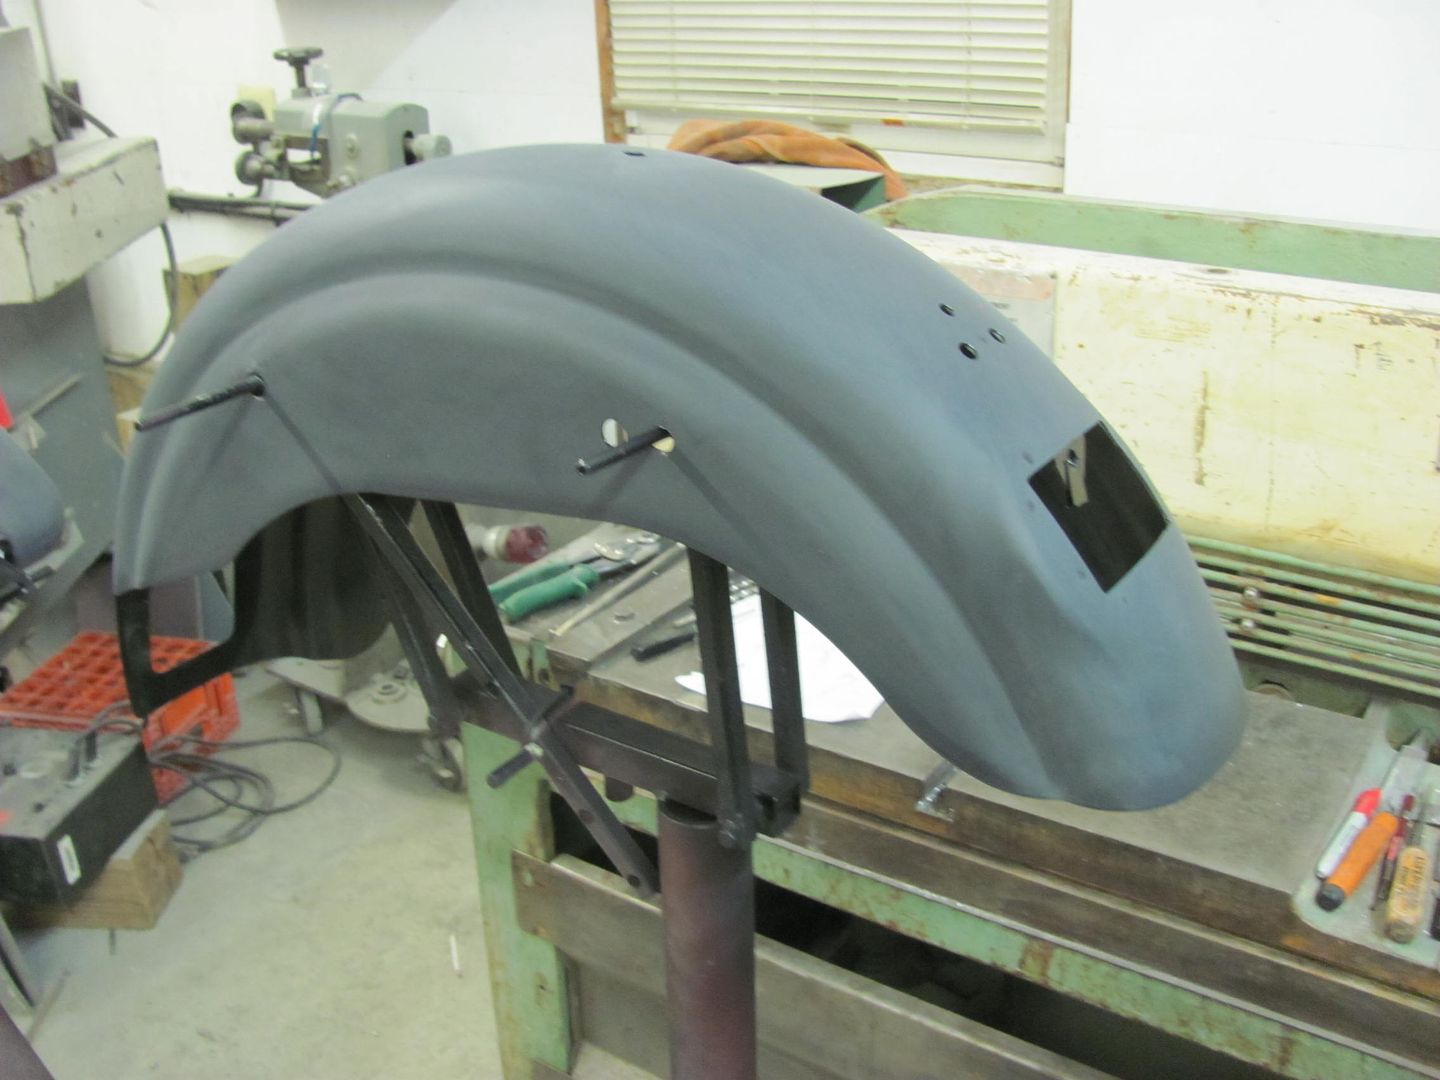
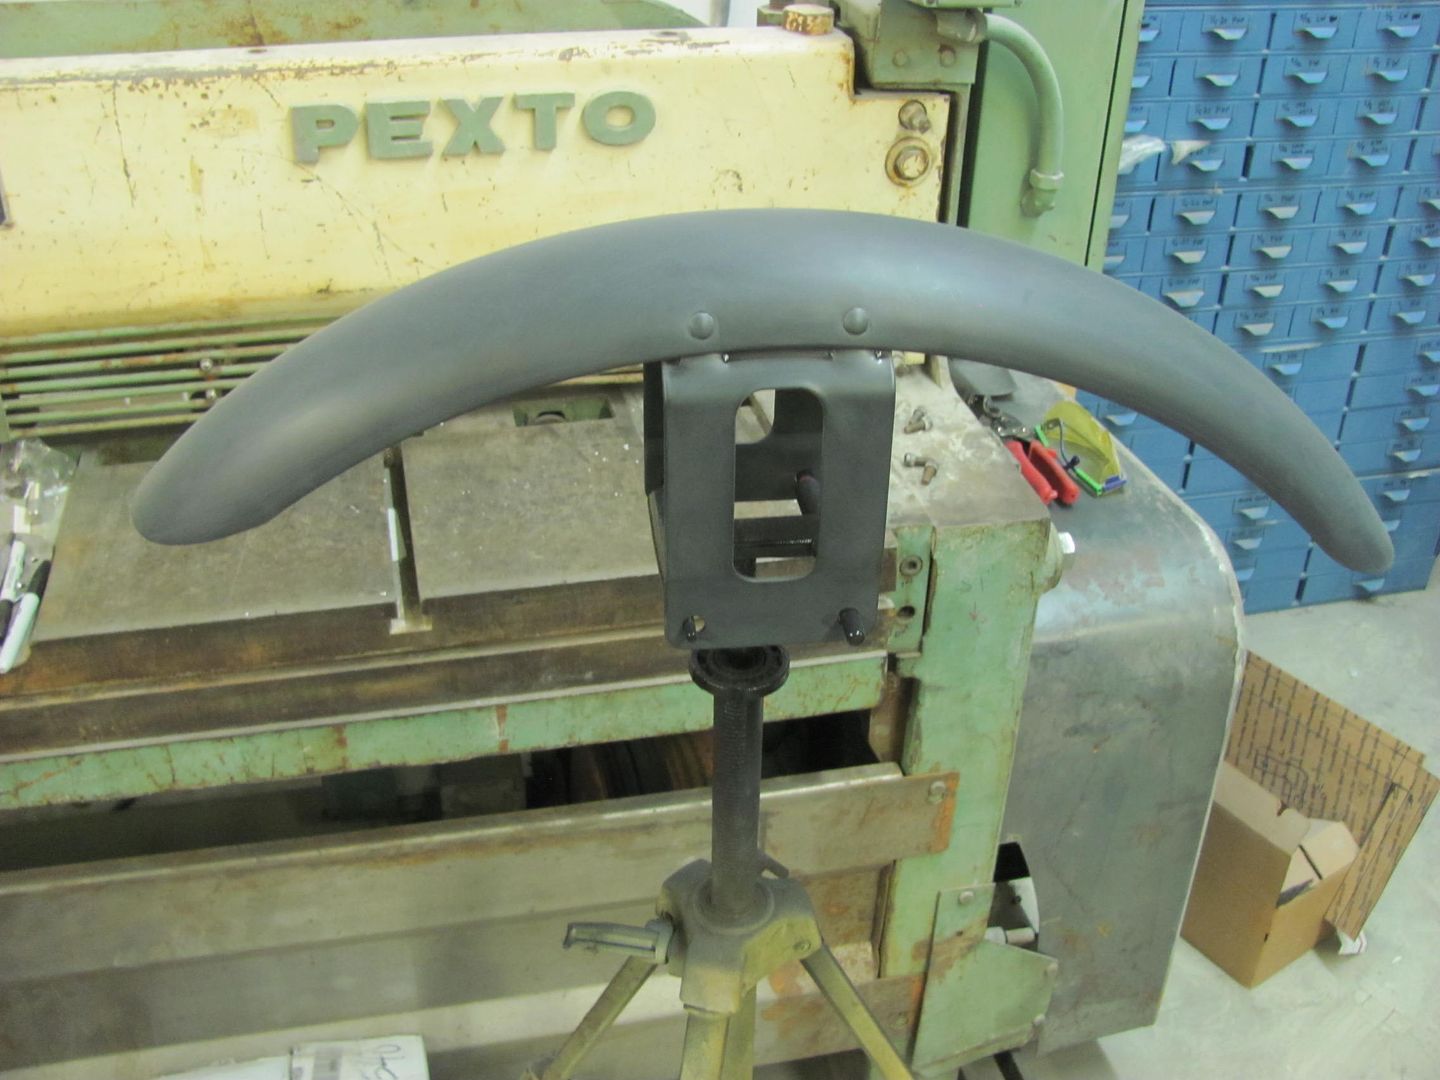
More progress on the wagon, got some SPI epoxy sprayed, hopefully this will wet sand out and be ready for BC/CC.
    Also got some primer on the sheetmetal for an 01 Dyna 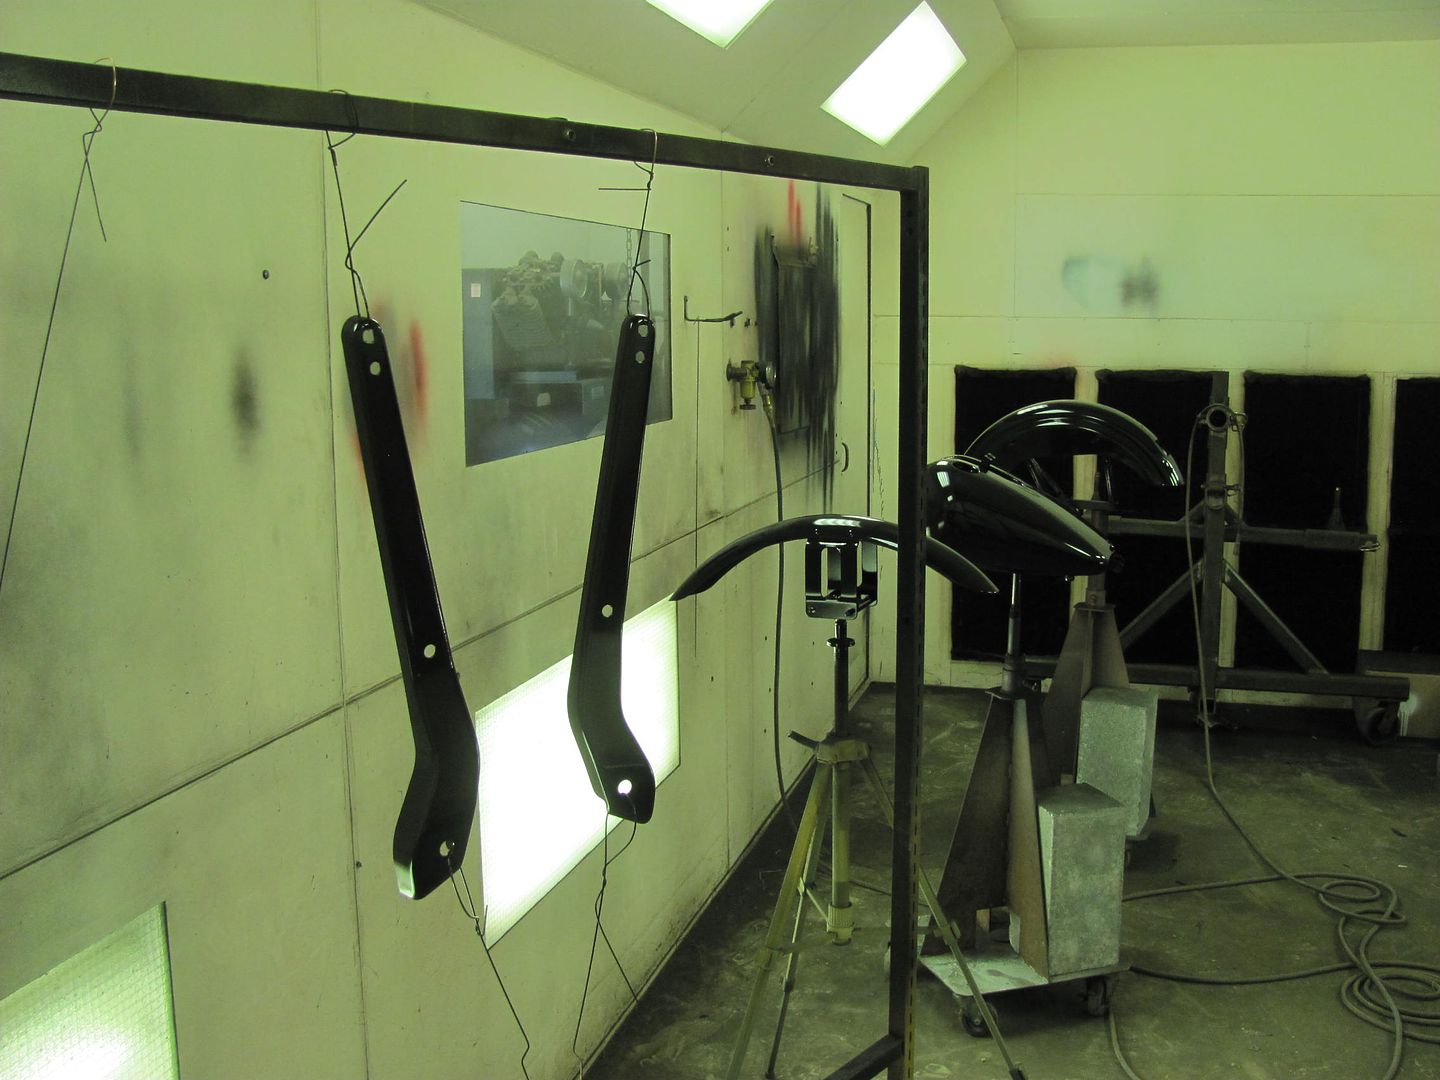 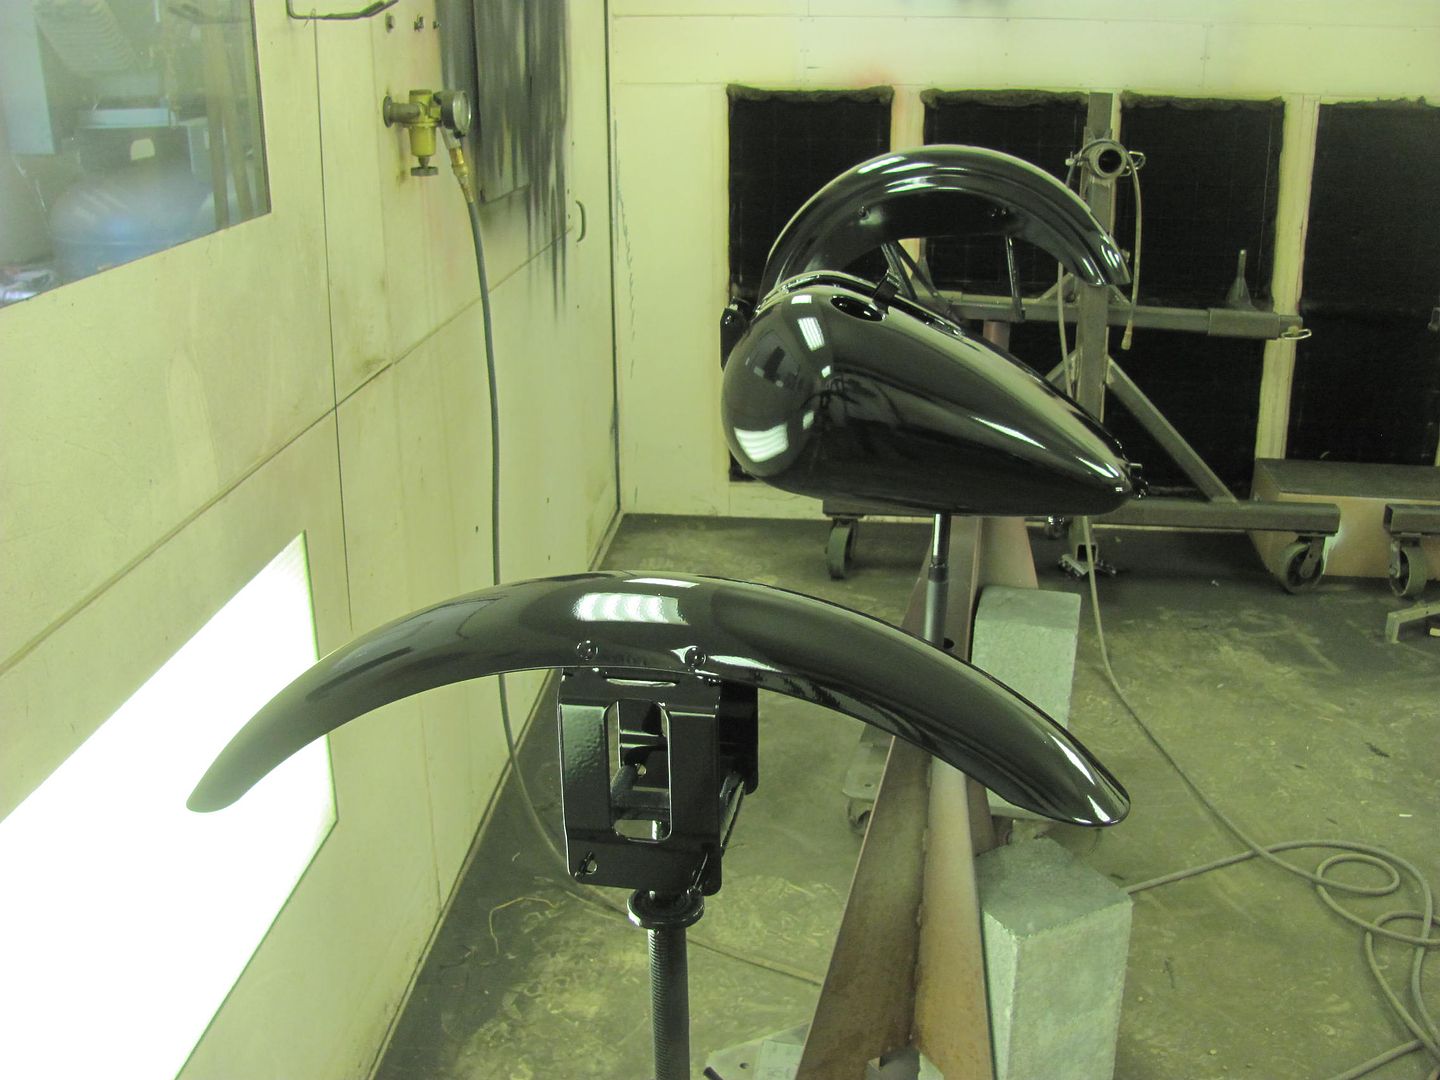 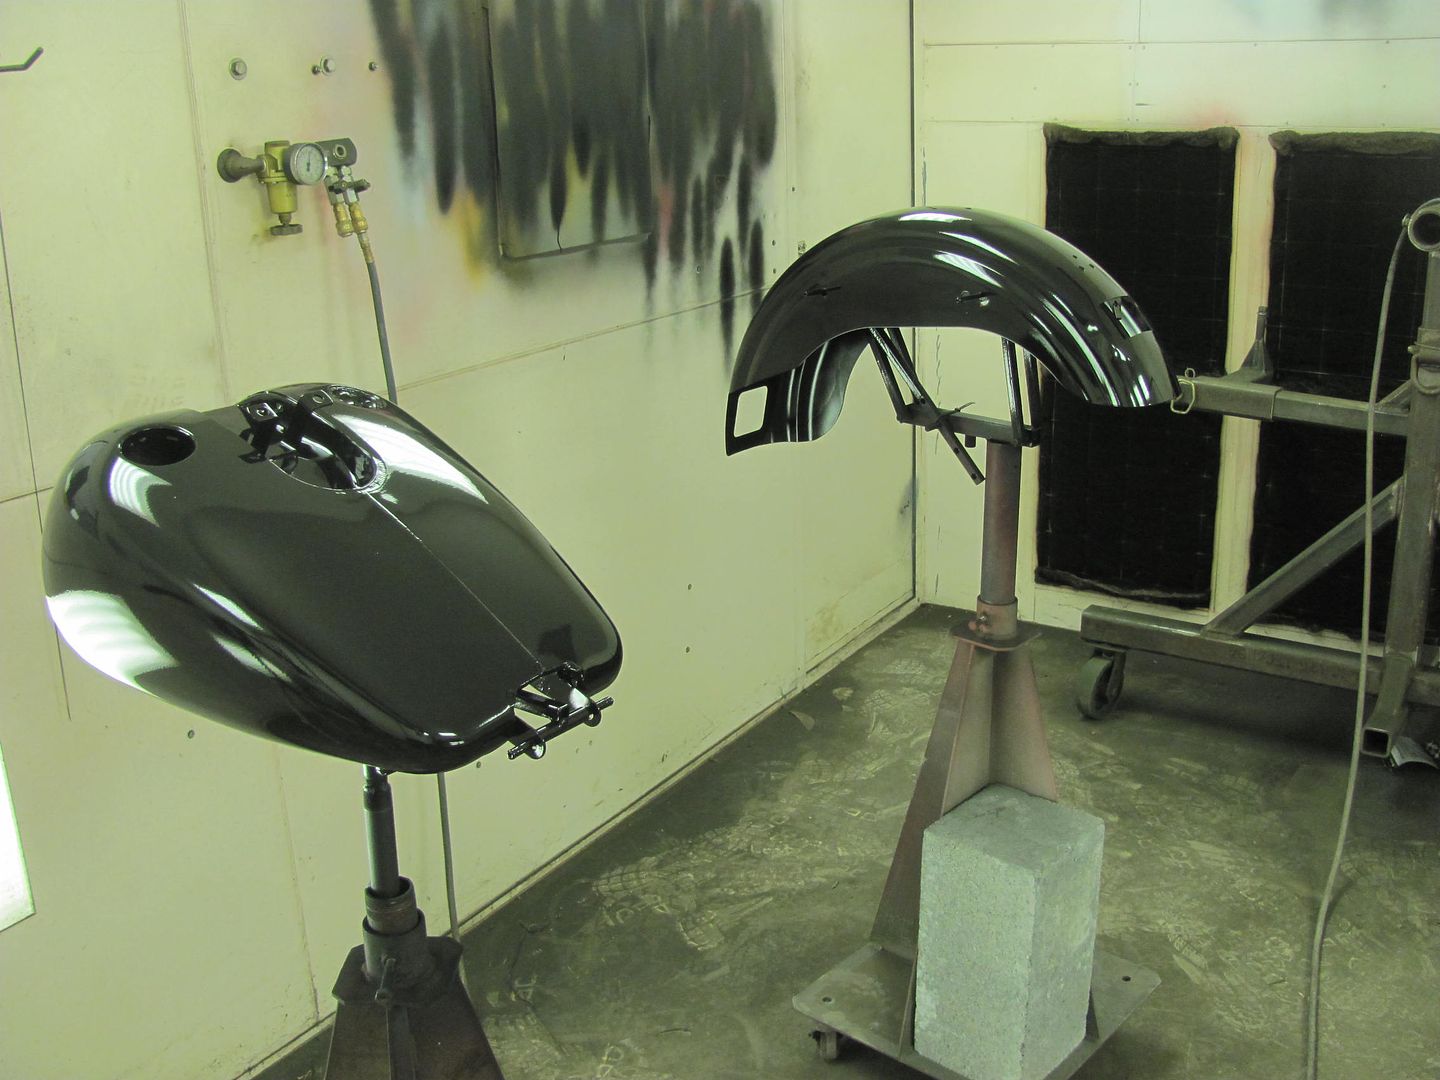 Look Scott, the dent's gone... 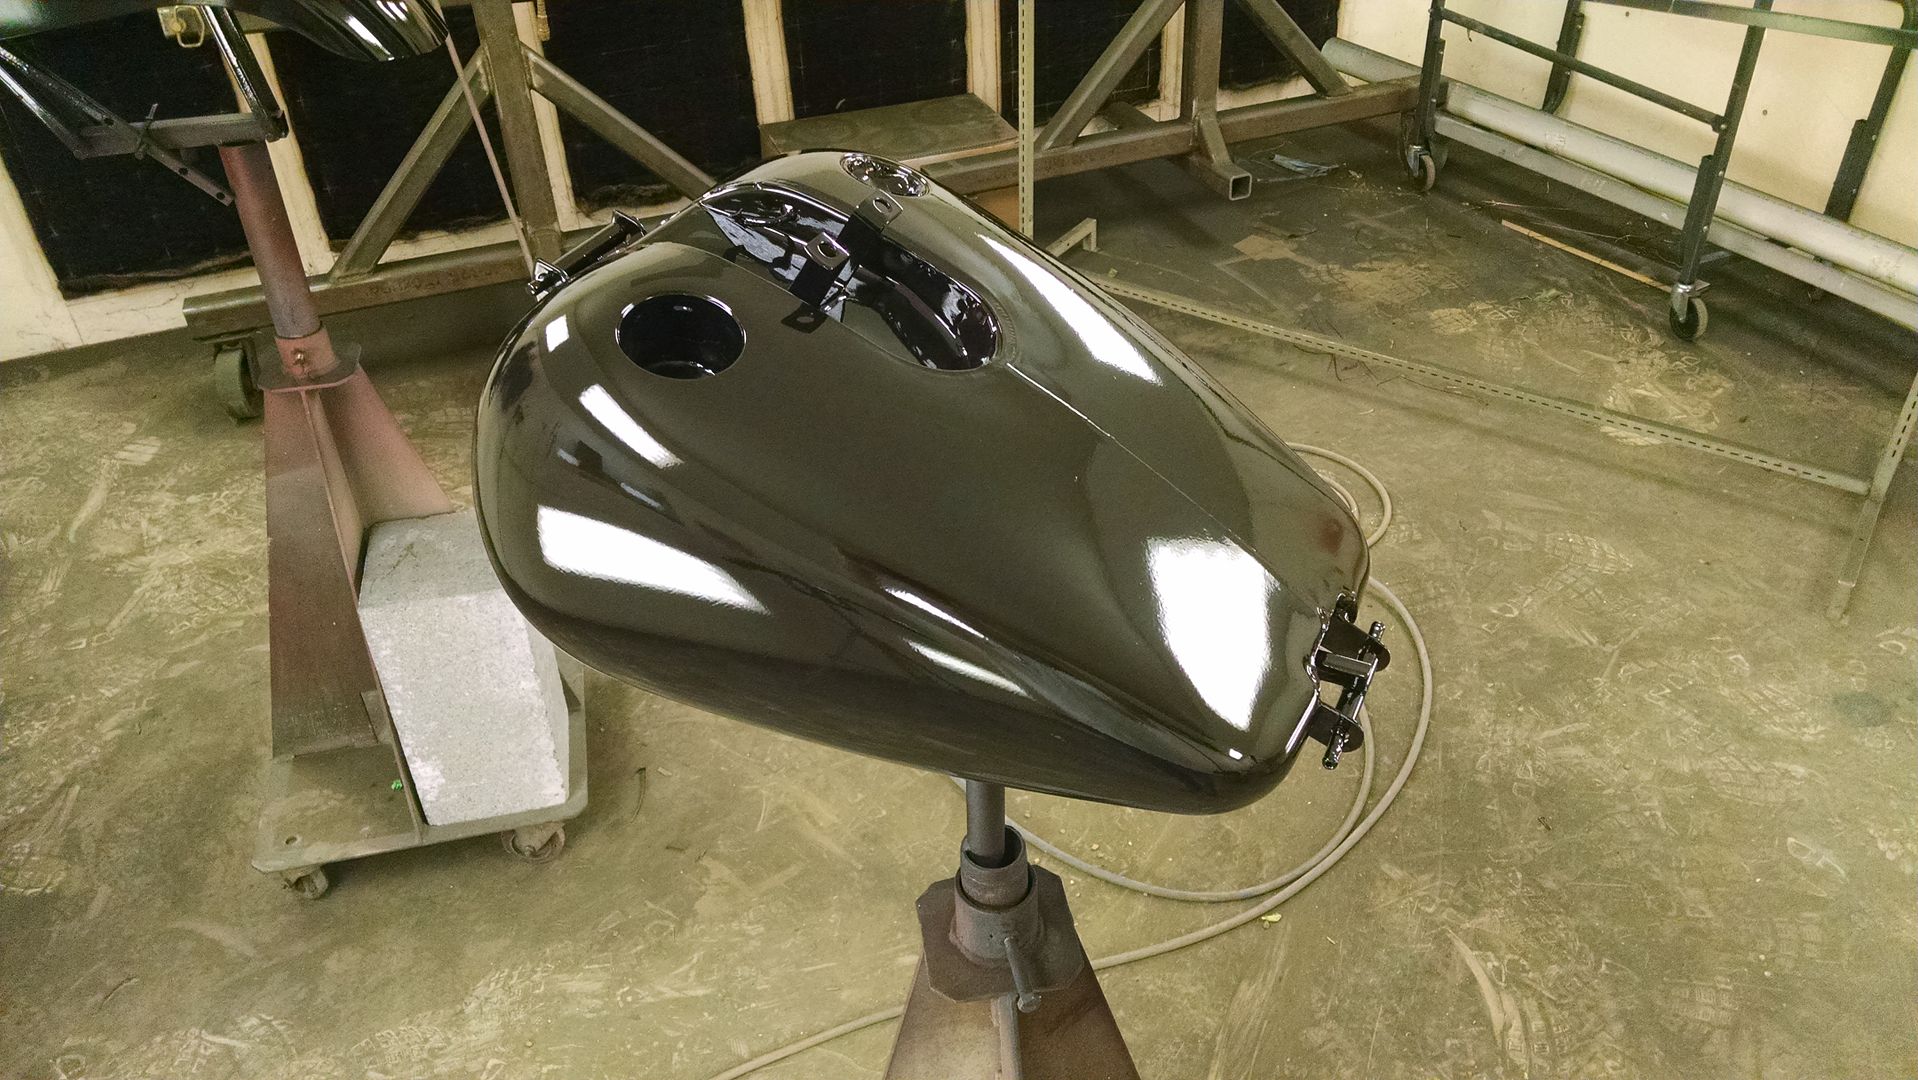
__________________
Robert |
|
|
|
|
07-01-2015, 12:08 AM
|
#468 |
|
Registered User
Join Date: Oct 2007
Location: Spanaway
Posts: 8,451
|
Re: 55 Wagon Progress
Nice, are you gonna air brush next?? LOL!
__________________
Mike. Swamp Rat build thread : http://67-72chevytrucks.com/vboard/s...d.php?t=595019 72 3/4T 4X4 4" BDS Lift 33" BFG's |
|
|
|
|
07-01-2015, 12:32 AM
|
#469 |
|
Registered User
Join Date: Jan 2013
Location: Leonardtown, MD
Posts: 1,635
|
Re: 55 Wagon Progress
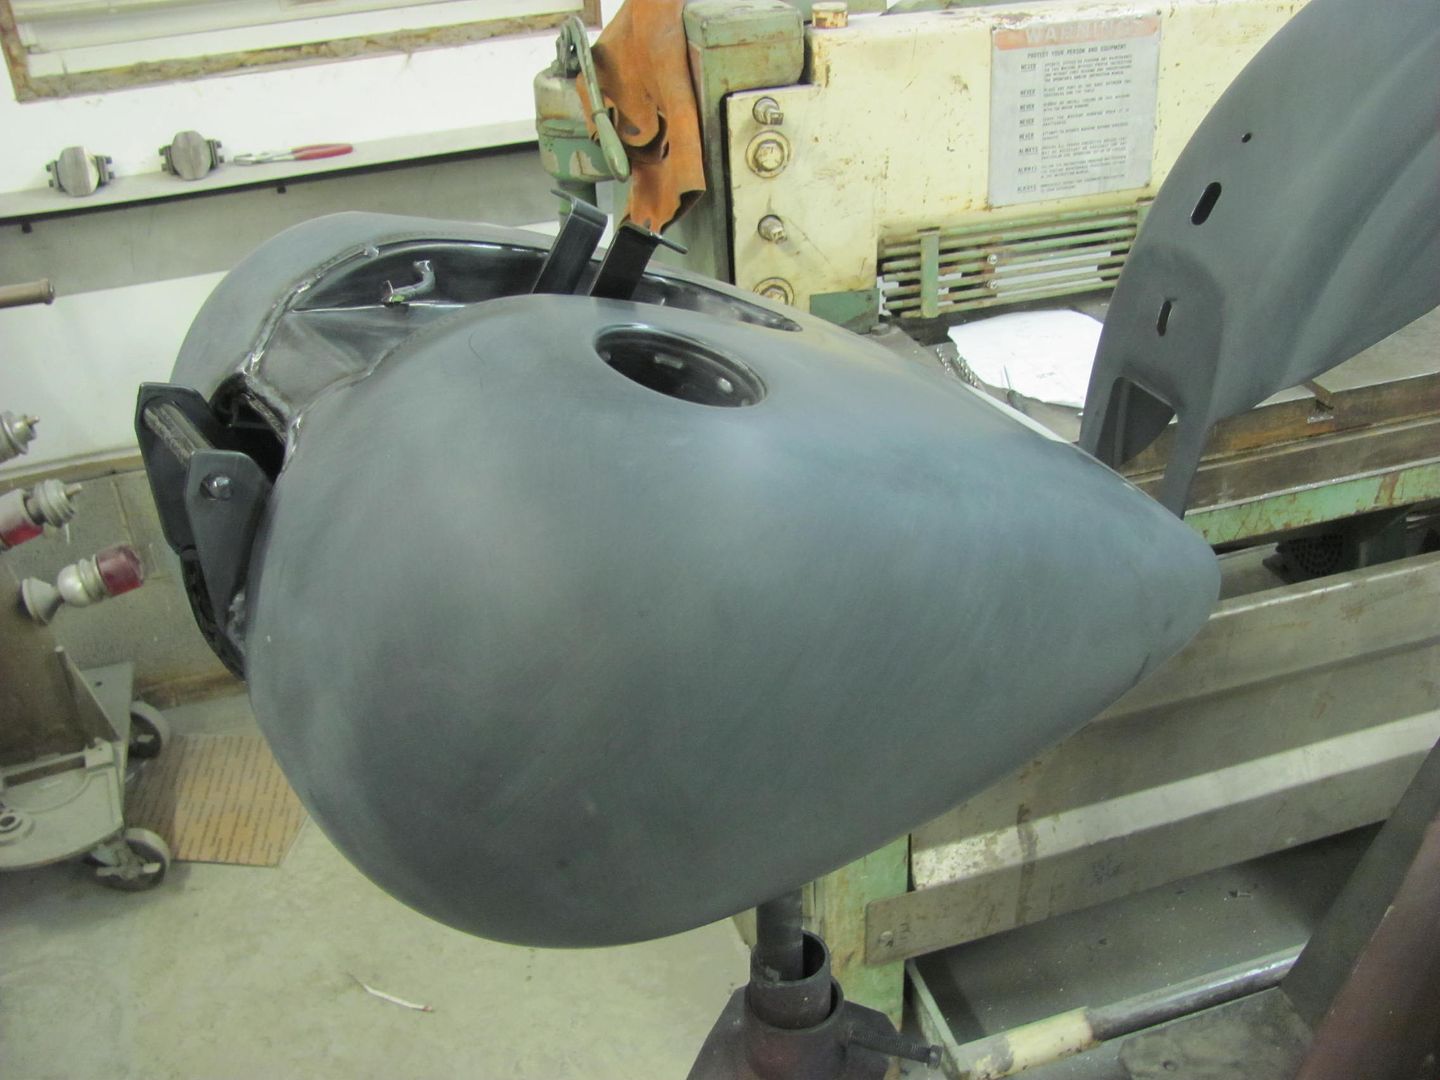
No, this is just a repaint and new HD decals. I'd almost rather do some flames instead of fooling with getting the decals lined up..
Kyle learning the fine art of blocking.... 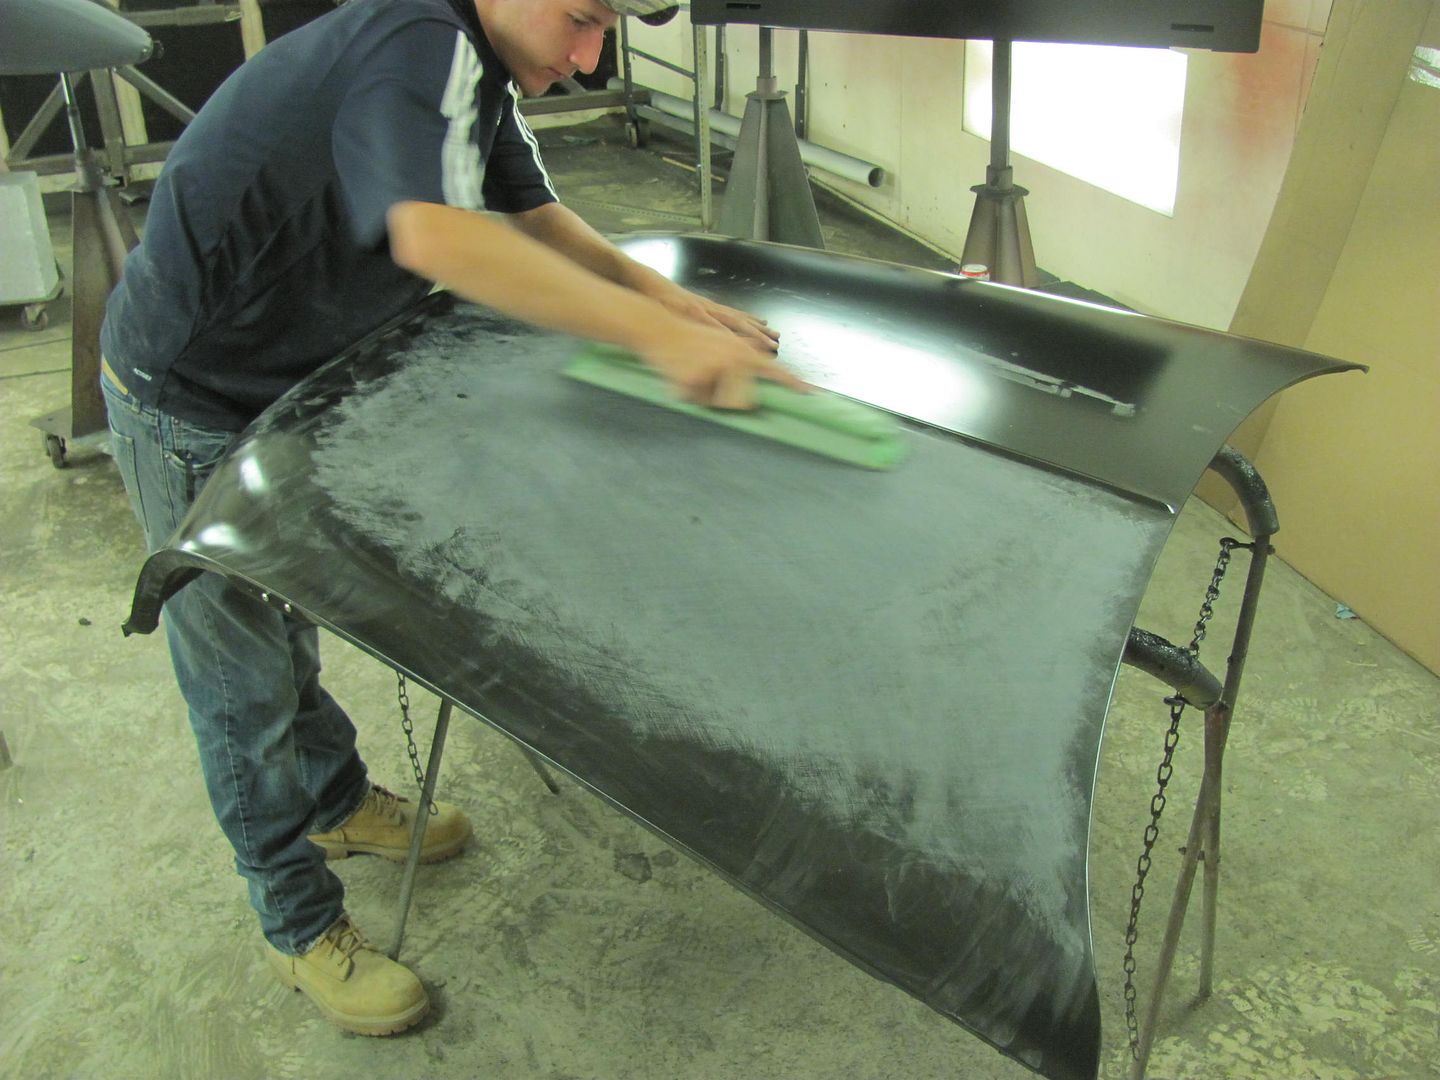 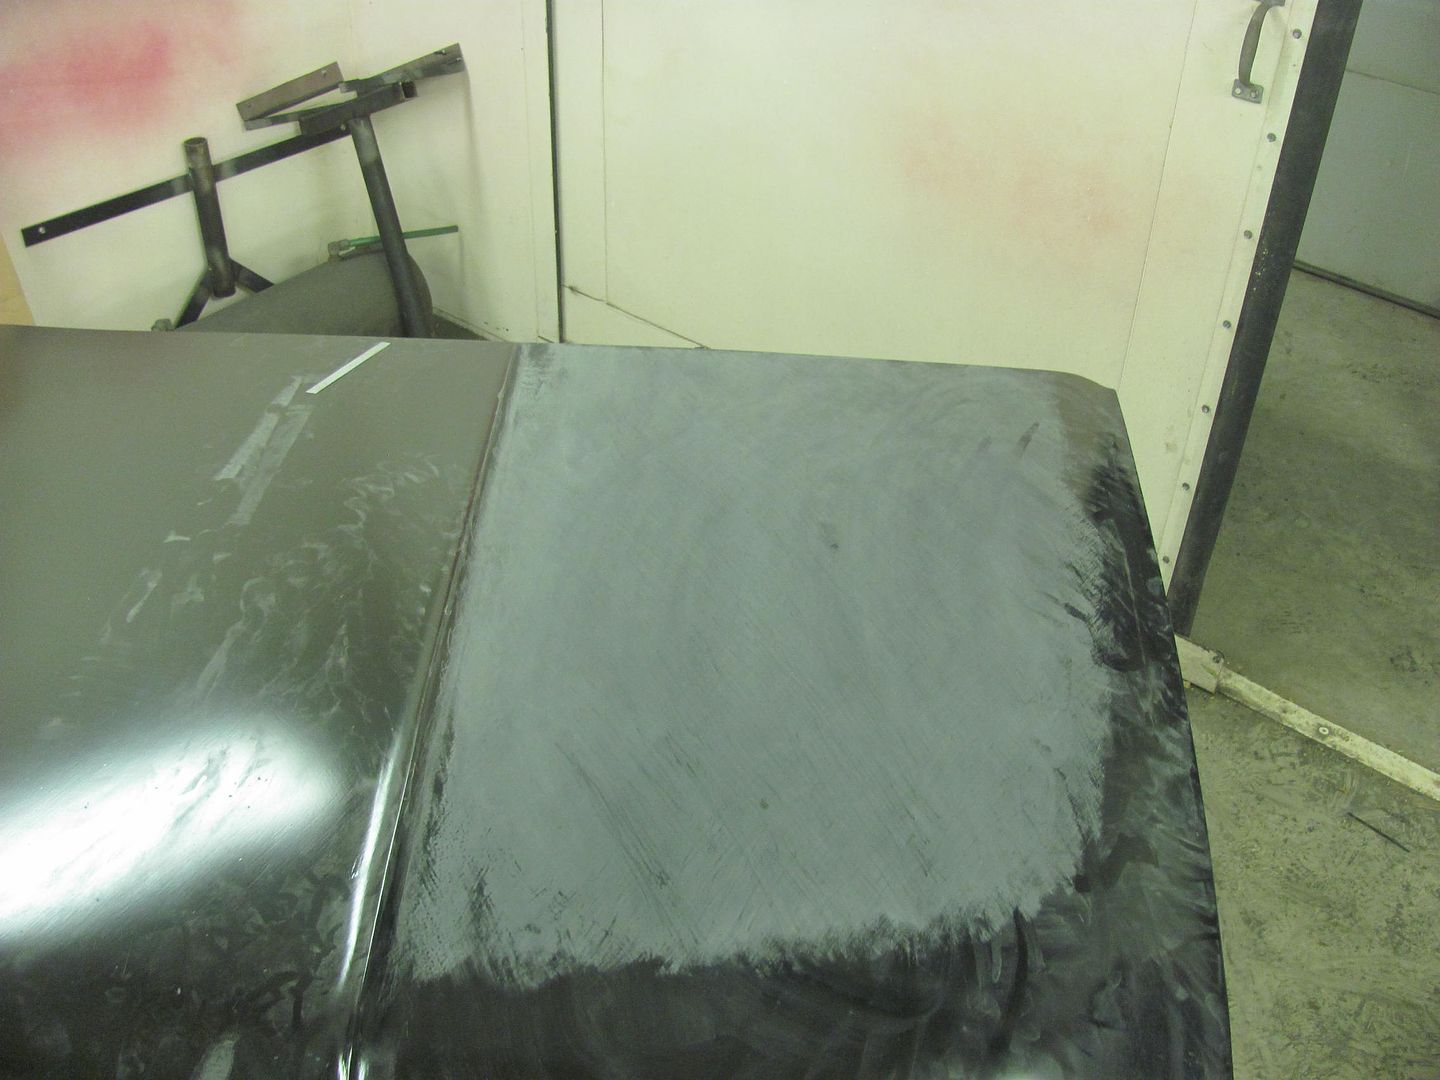 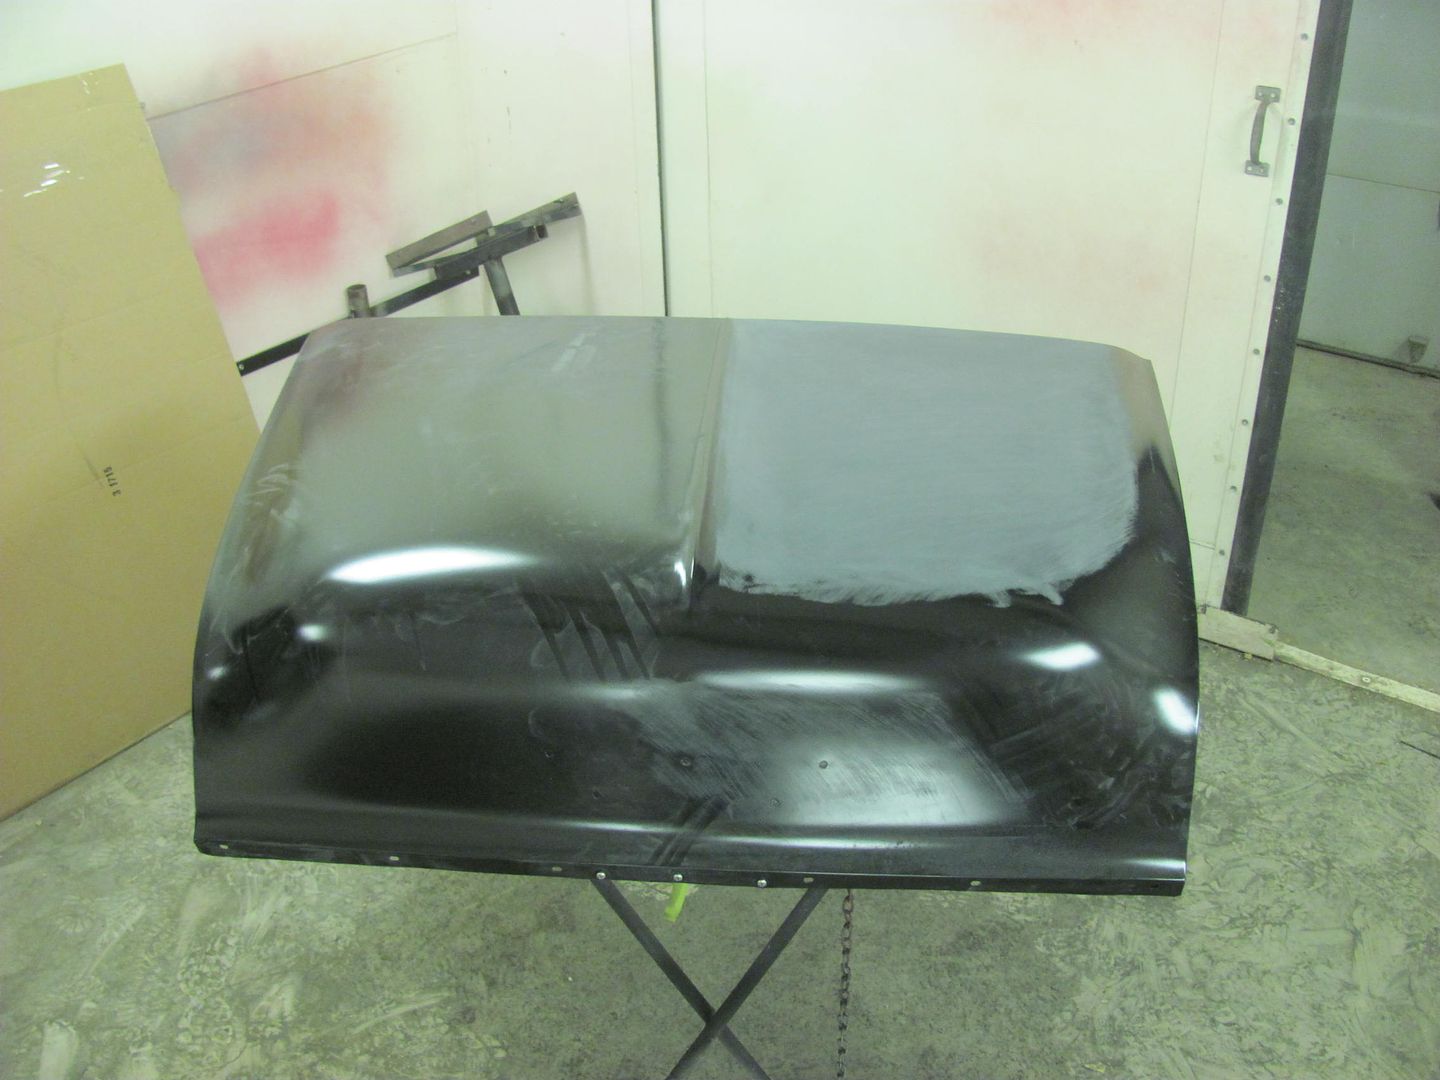 Meanwhile, I was wet sanding the motorcycle parts... 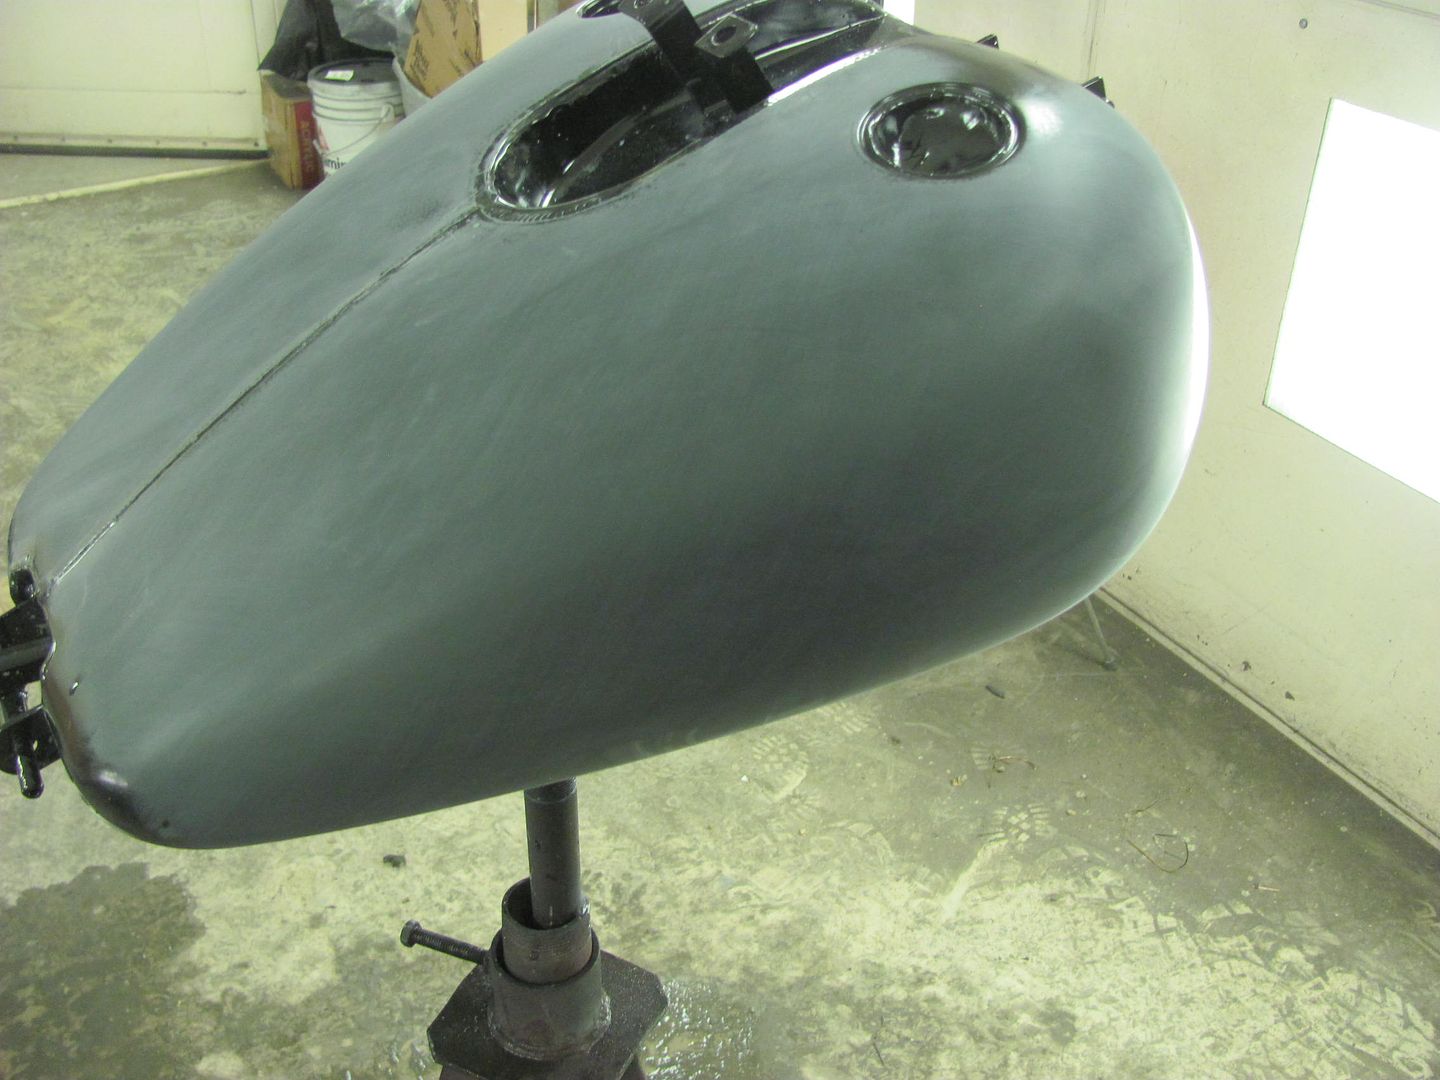 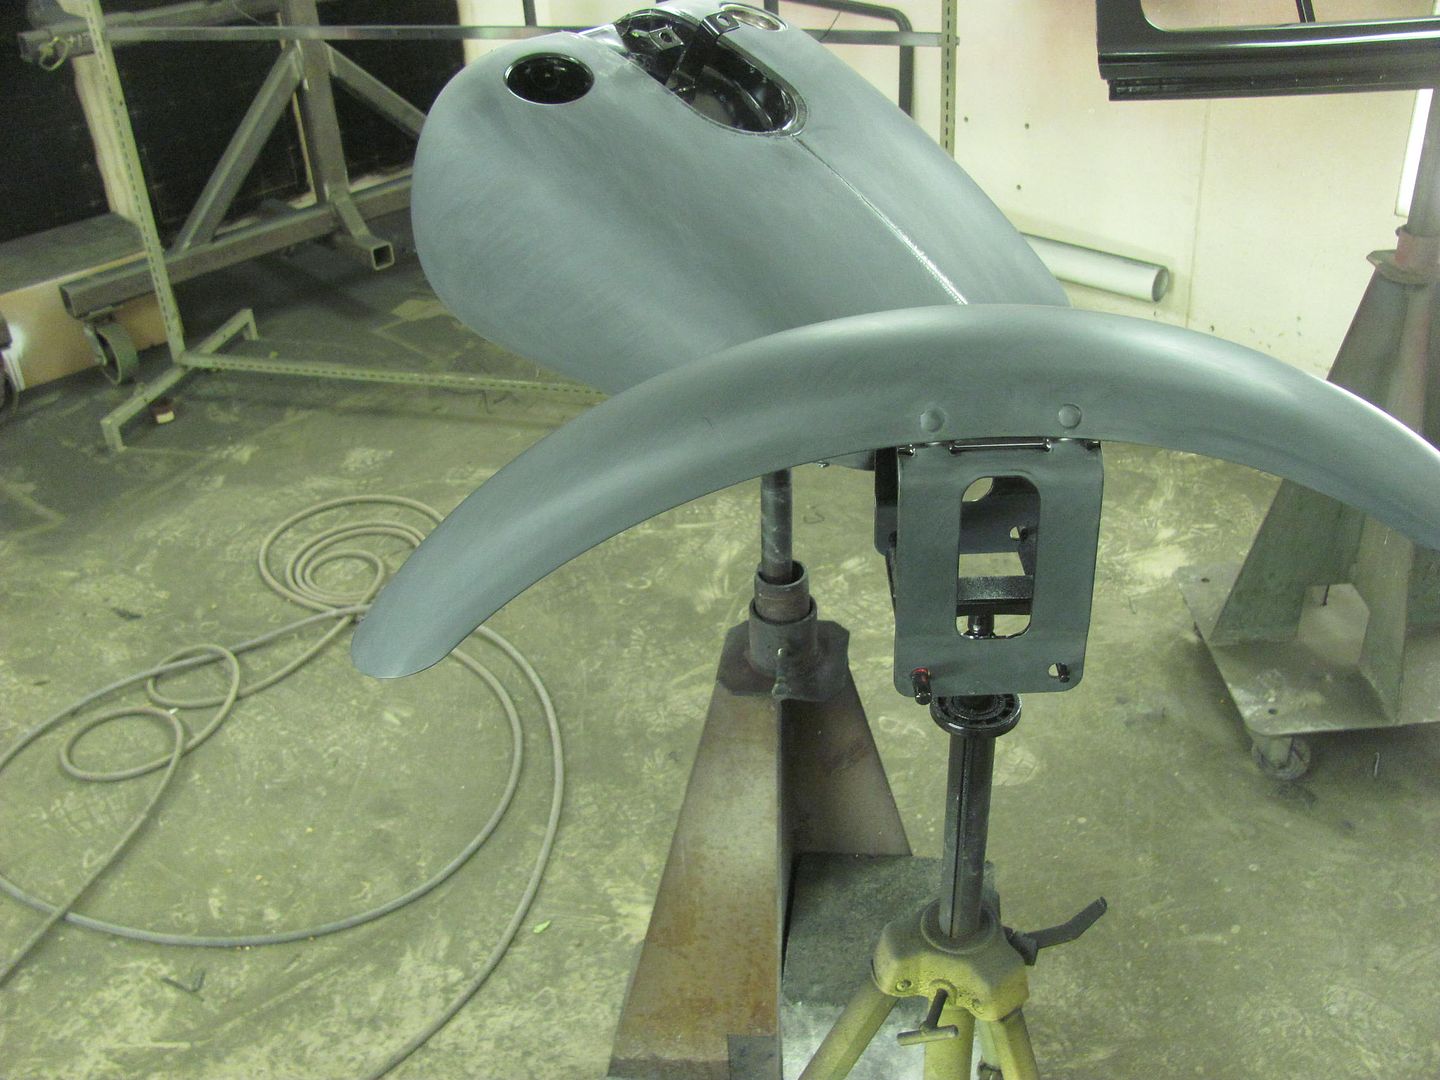 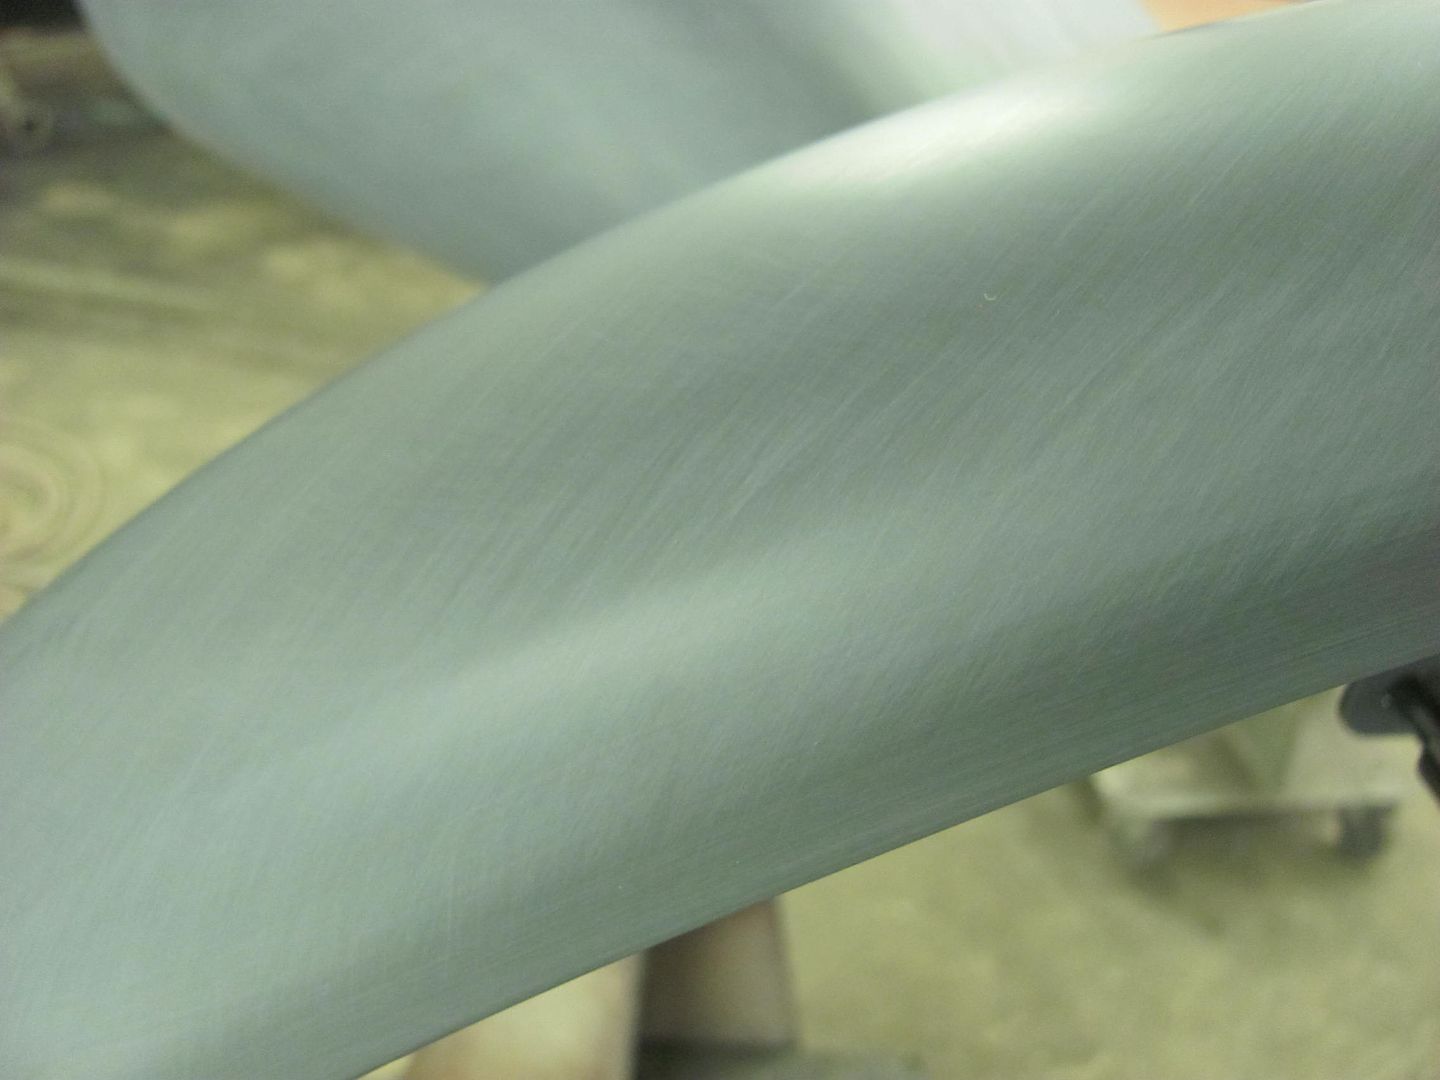 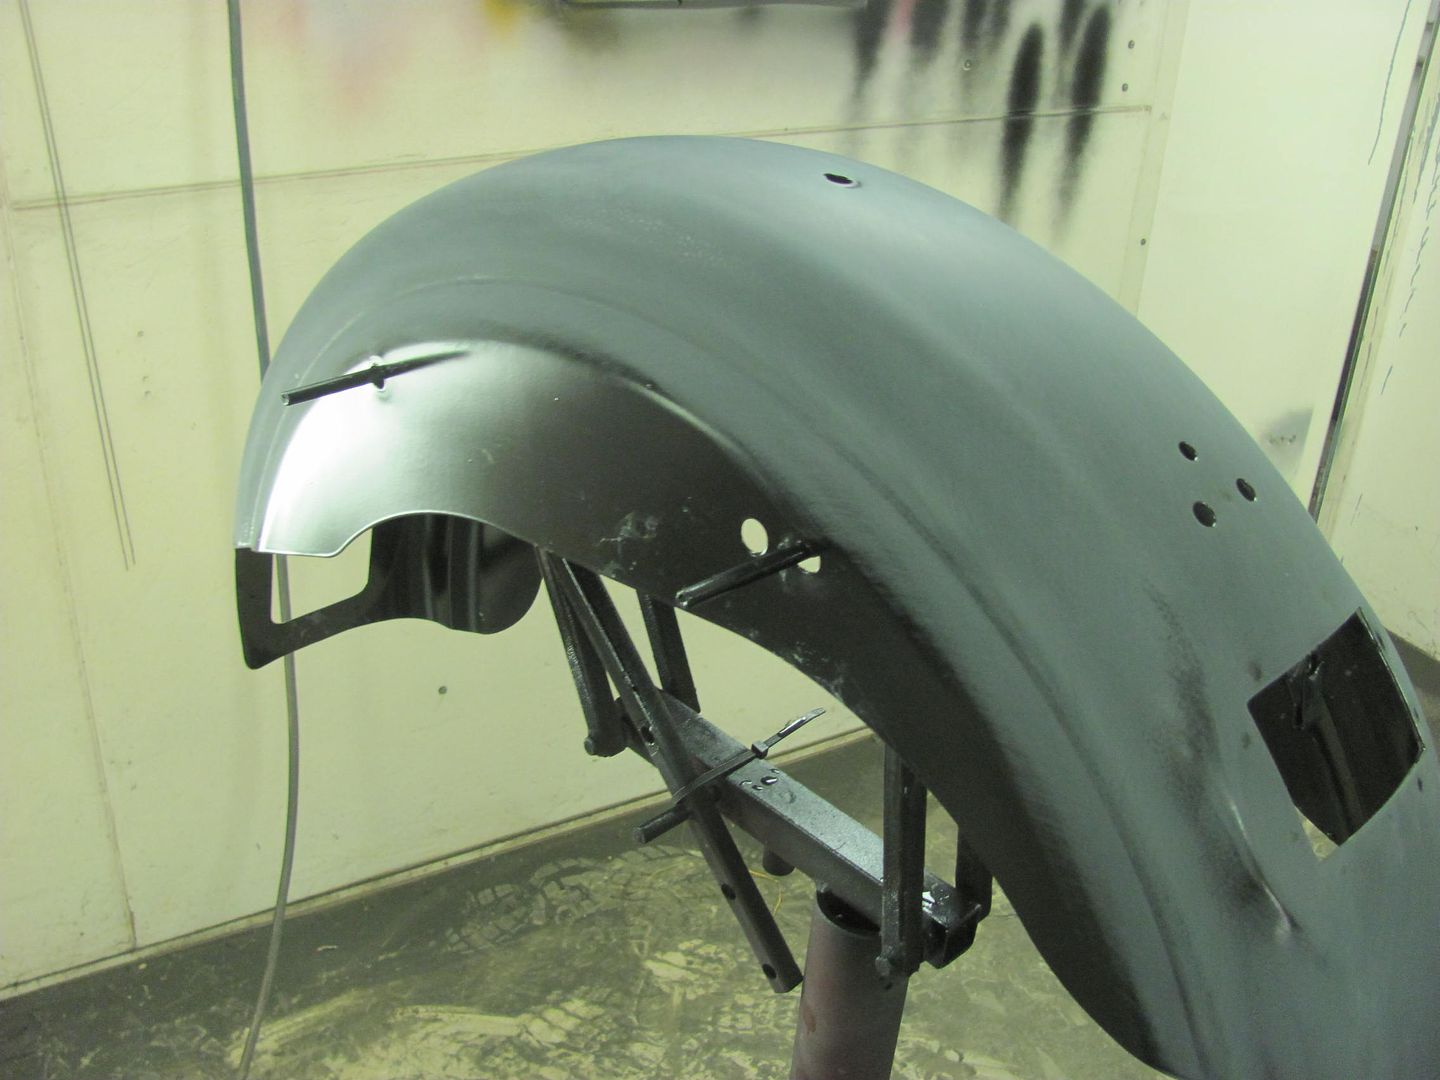 This SPI epoxy sure is nice sanding!
__________________
Robert |
|
|
|
|
07-01-2015, 01:29 AM
|
#470 |
|
Senior Member
Join Date: Mar 2011
Location: West Plains, Missouri
Posts: 7,553
|
Re: 55 Wagon Progress
Nice job on the sanding...Jim
__________________
my build thread: http://67-72chevytrucks.com/vboard/s...d.php?t=459839 Jimbo's long bed step build:http://67-72chevytrucks.com/vboard/s...t=464626<br /> |
|
|
|
|
07-05-2015, 06:49 PM
|
#471 |
|
Registered User
Join Date: Jan 2013
Location: Leonardtown, MD
Posts: 1,635
|
Re: 55 Wagon Progress
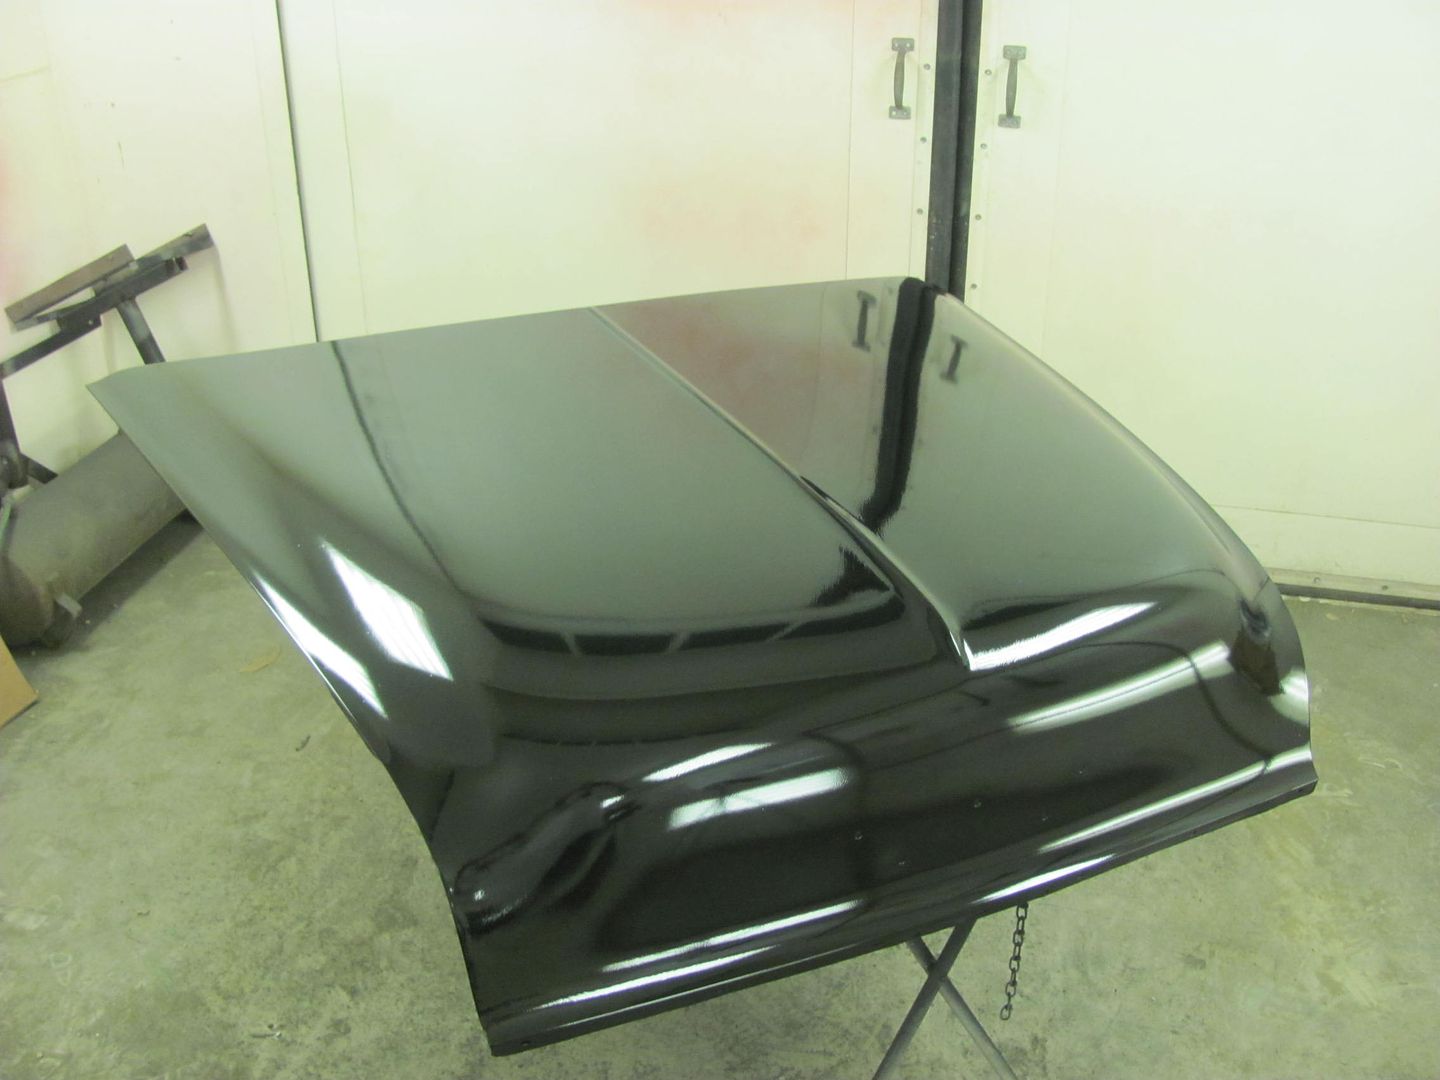
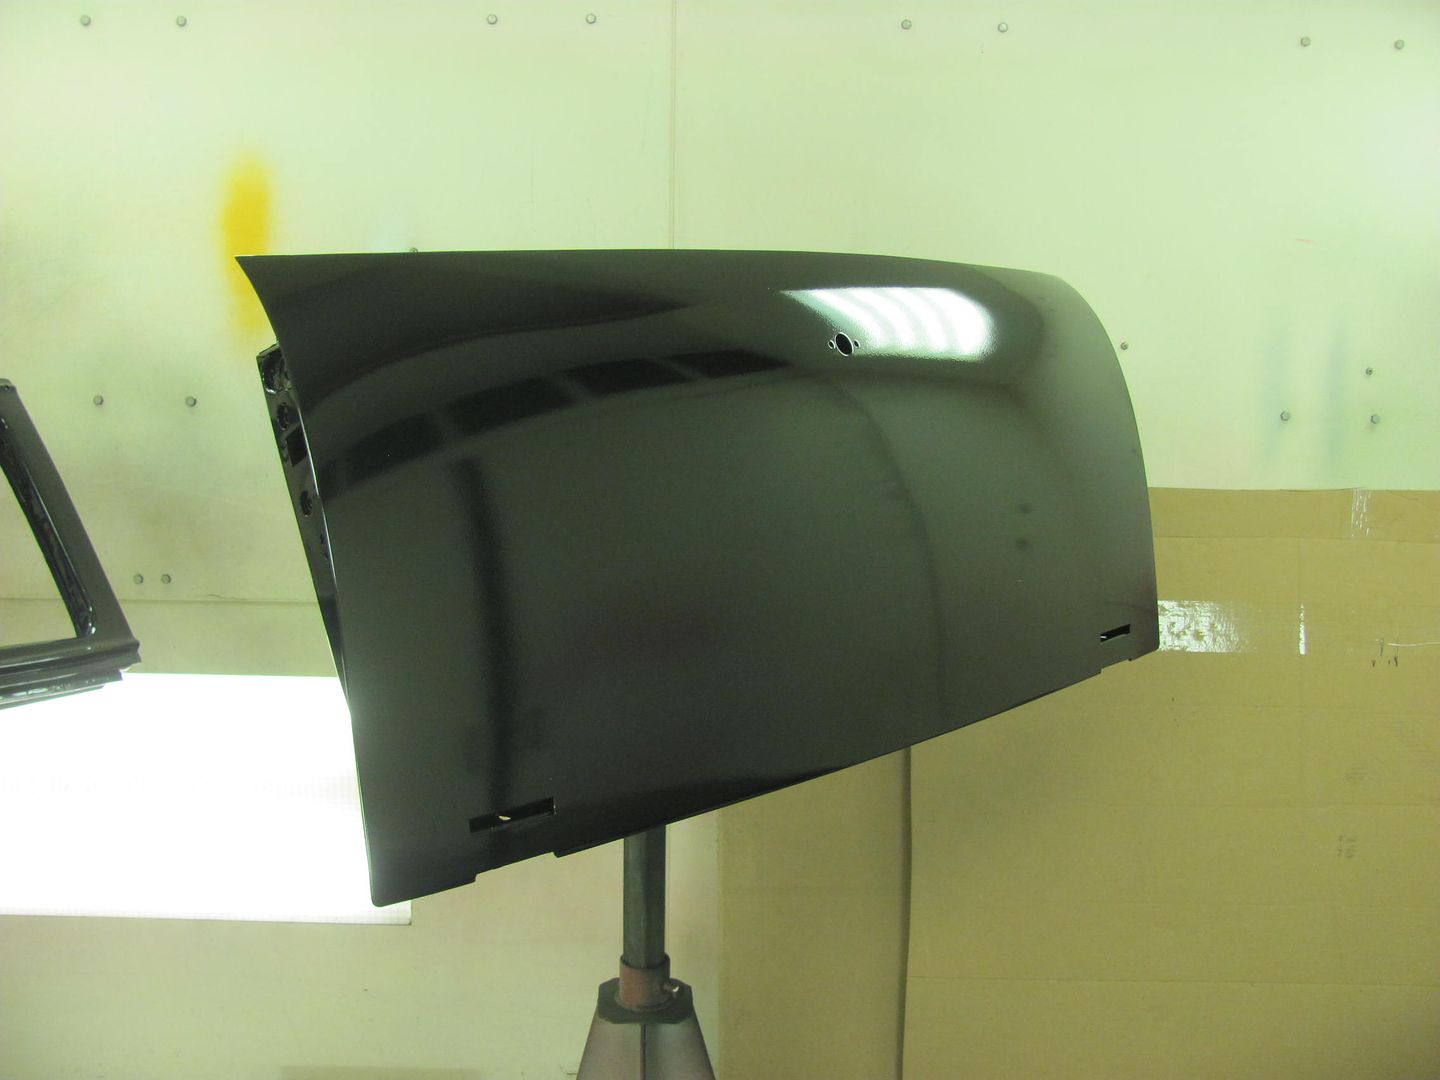
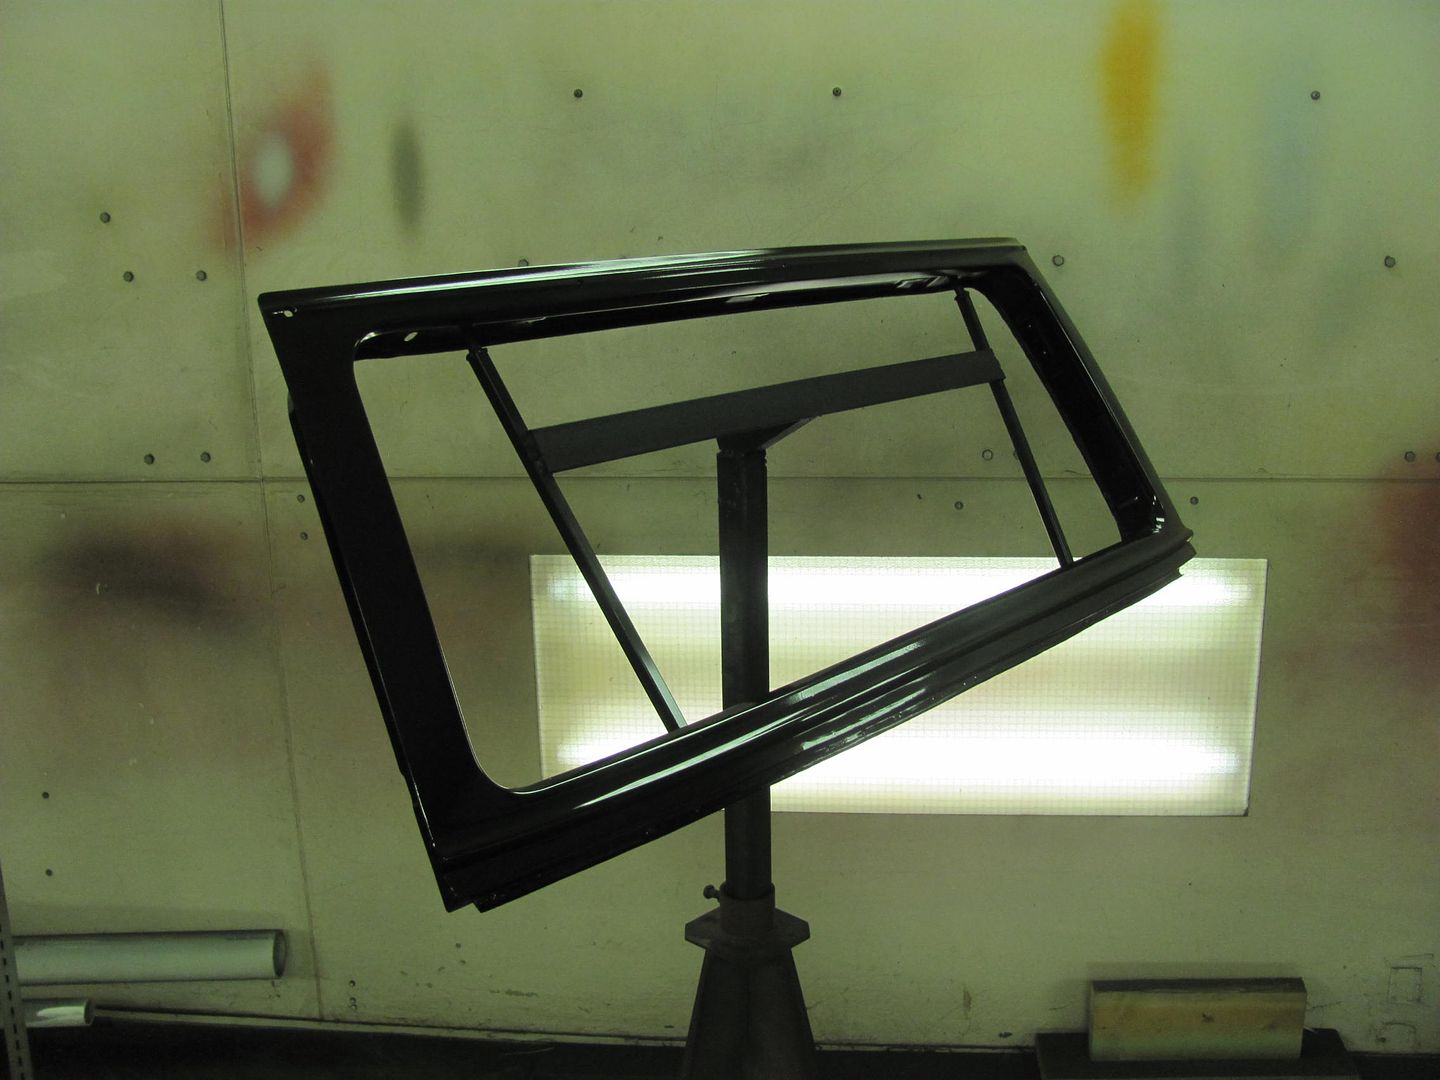
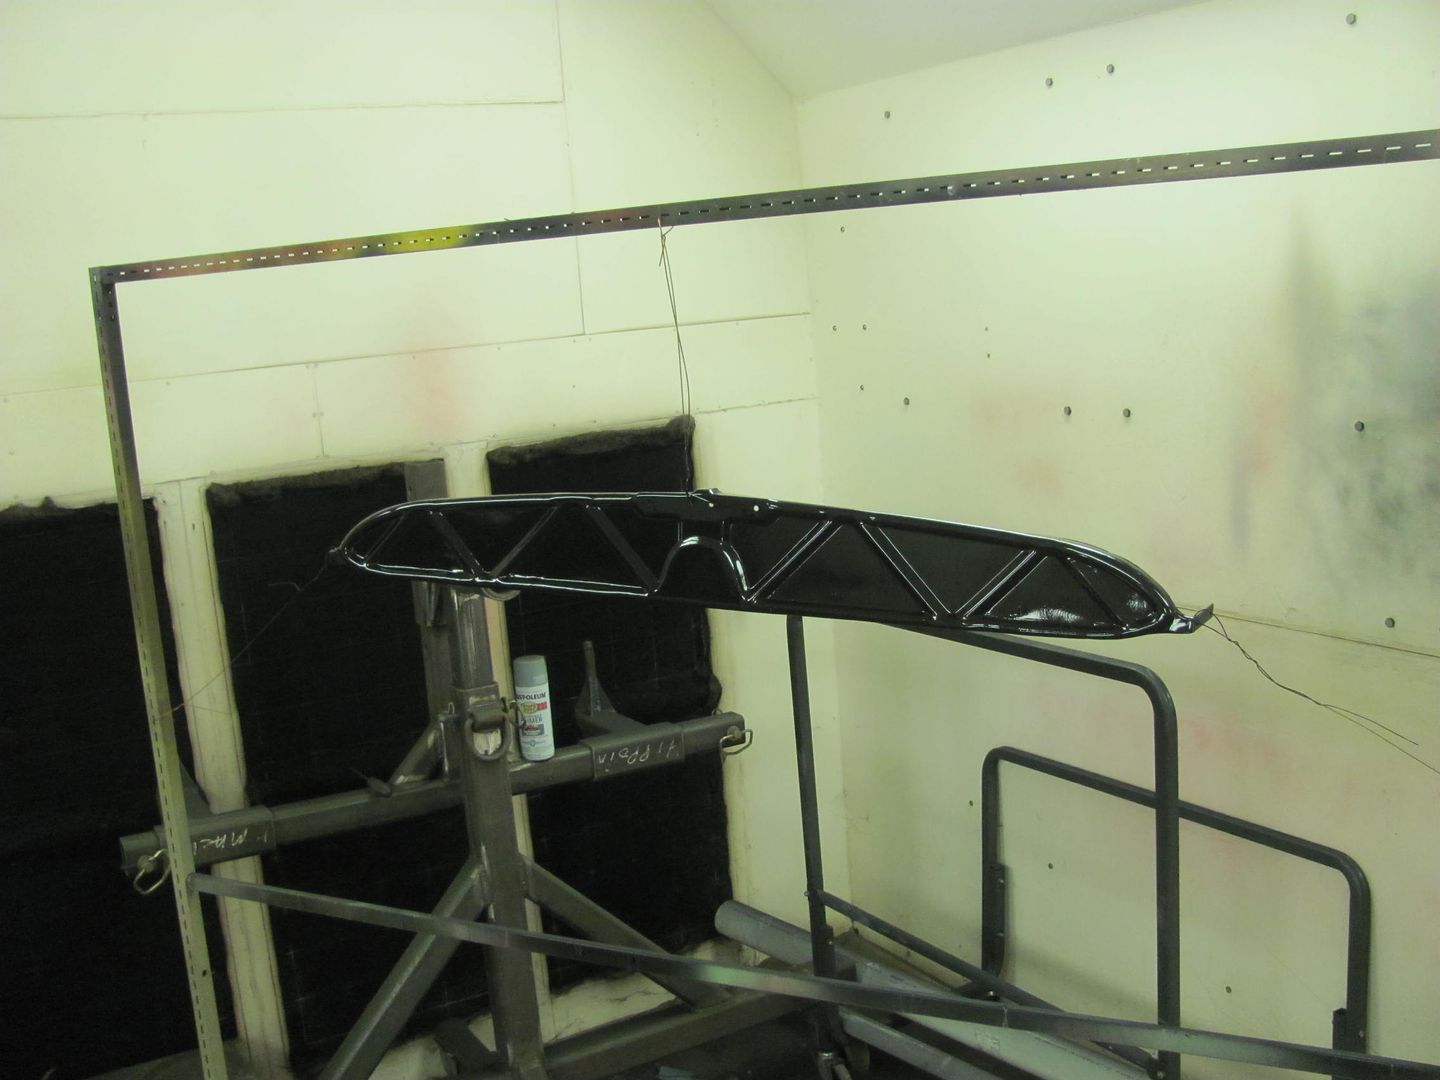
Wet sanded with 600
   SPI Epoxy seal coat 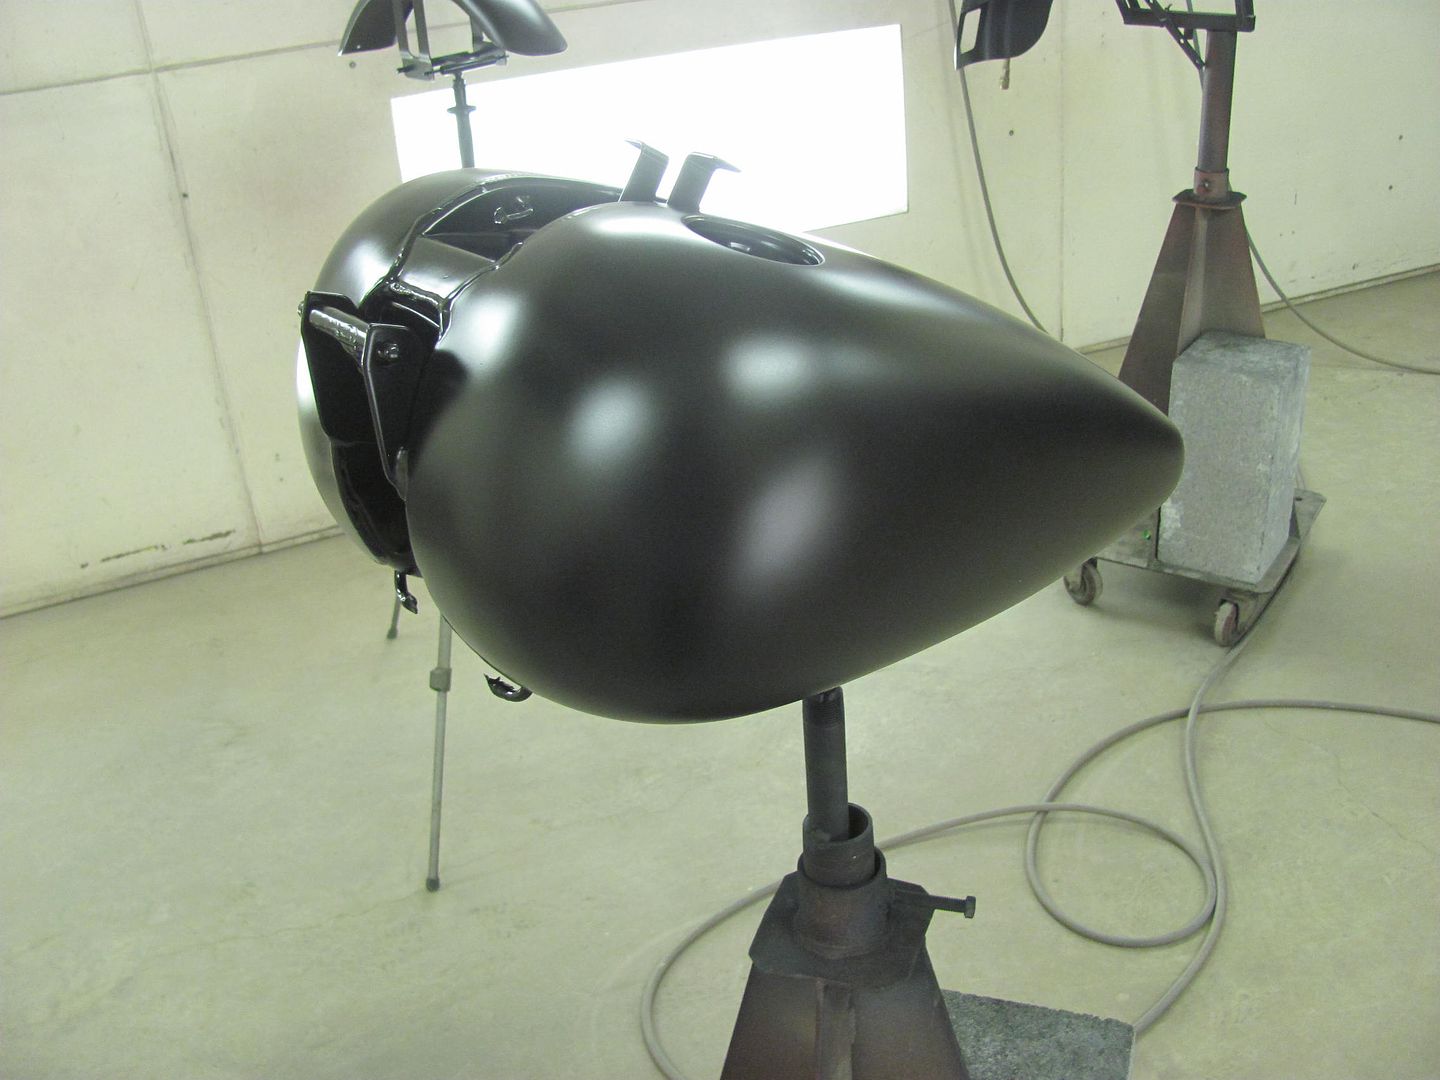 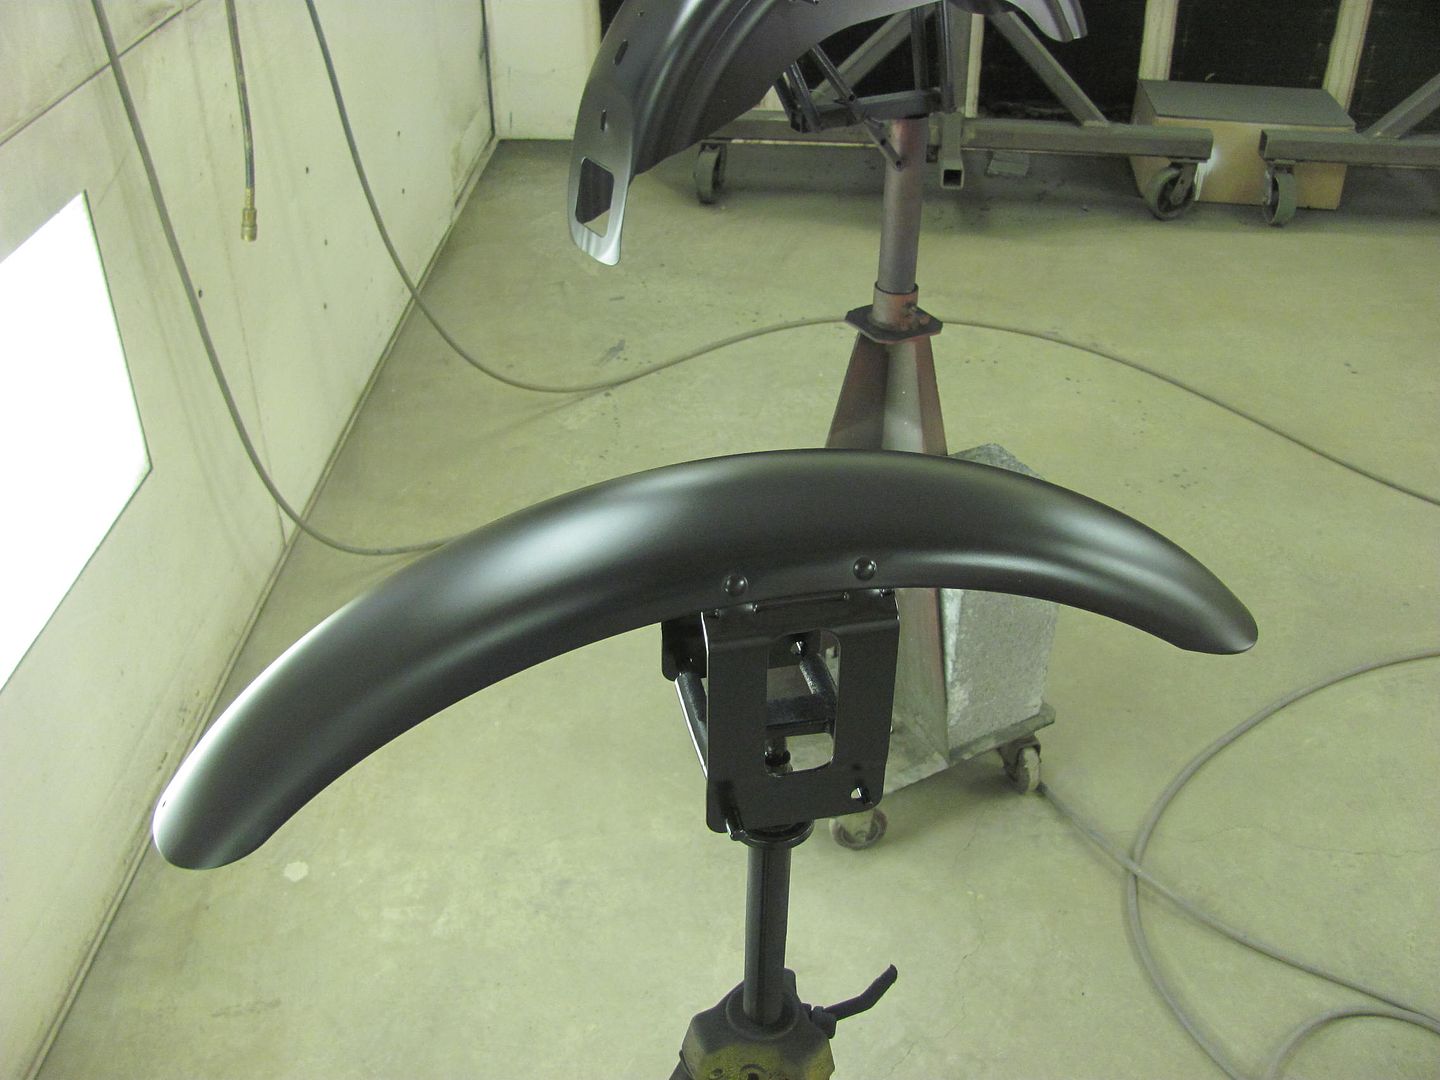 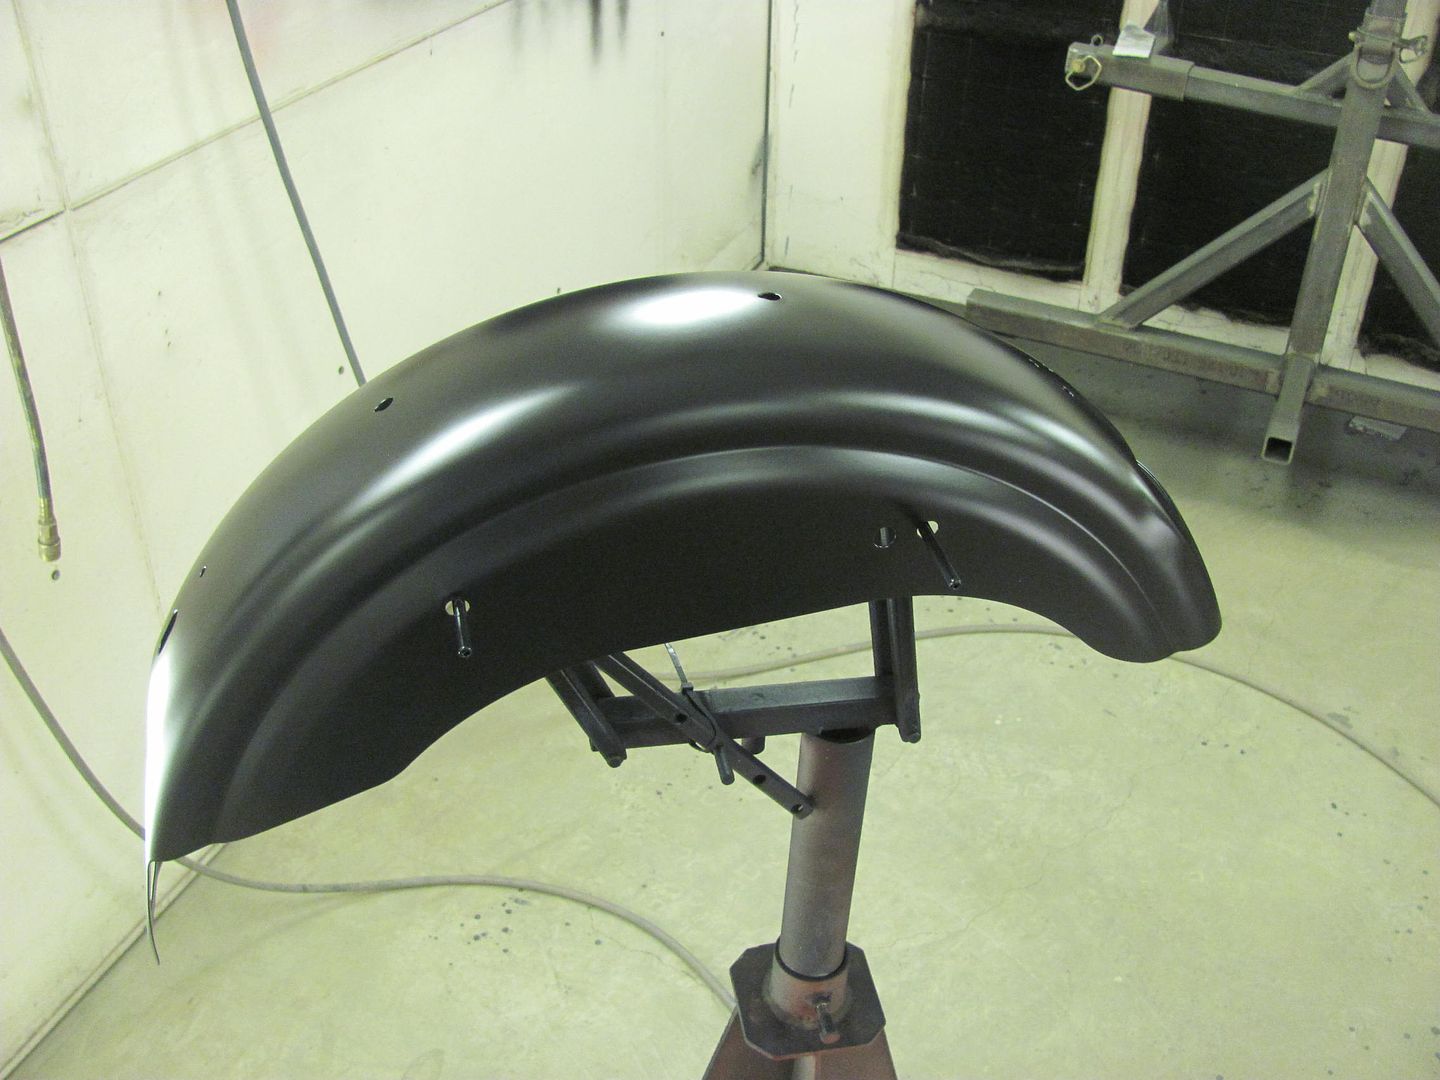 Dupont Cromax Black Diamond and clear 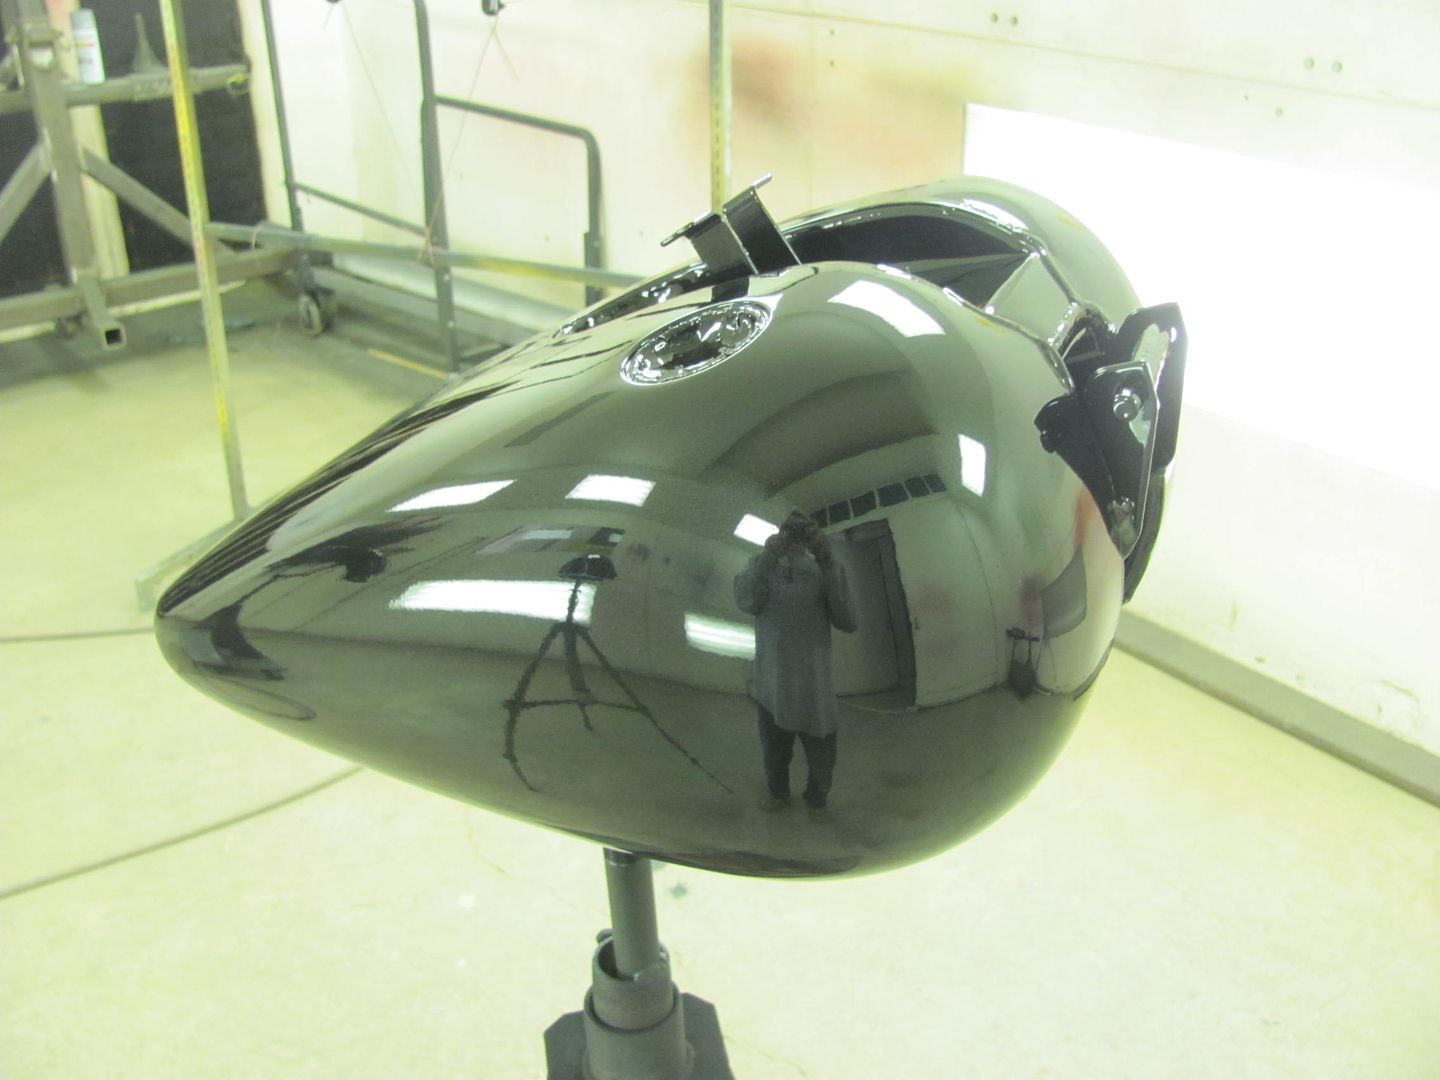 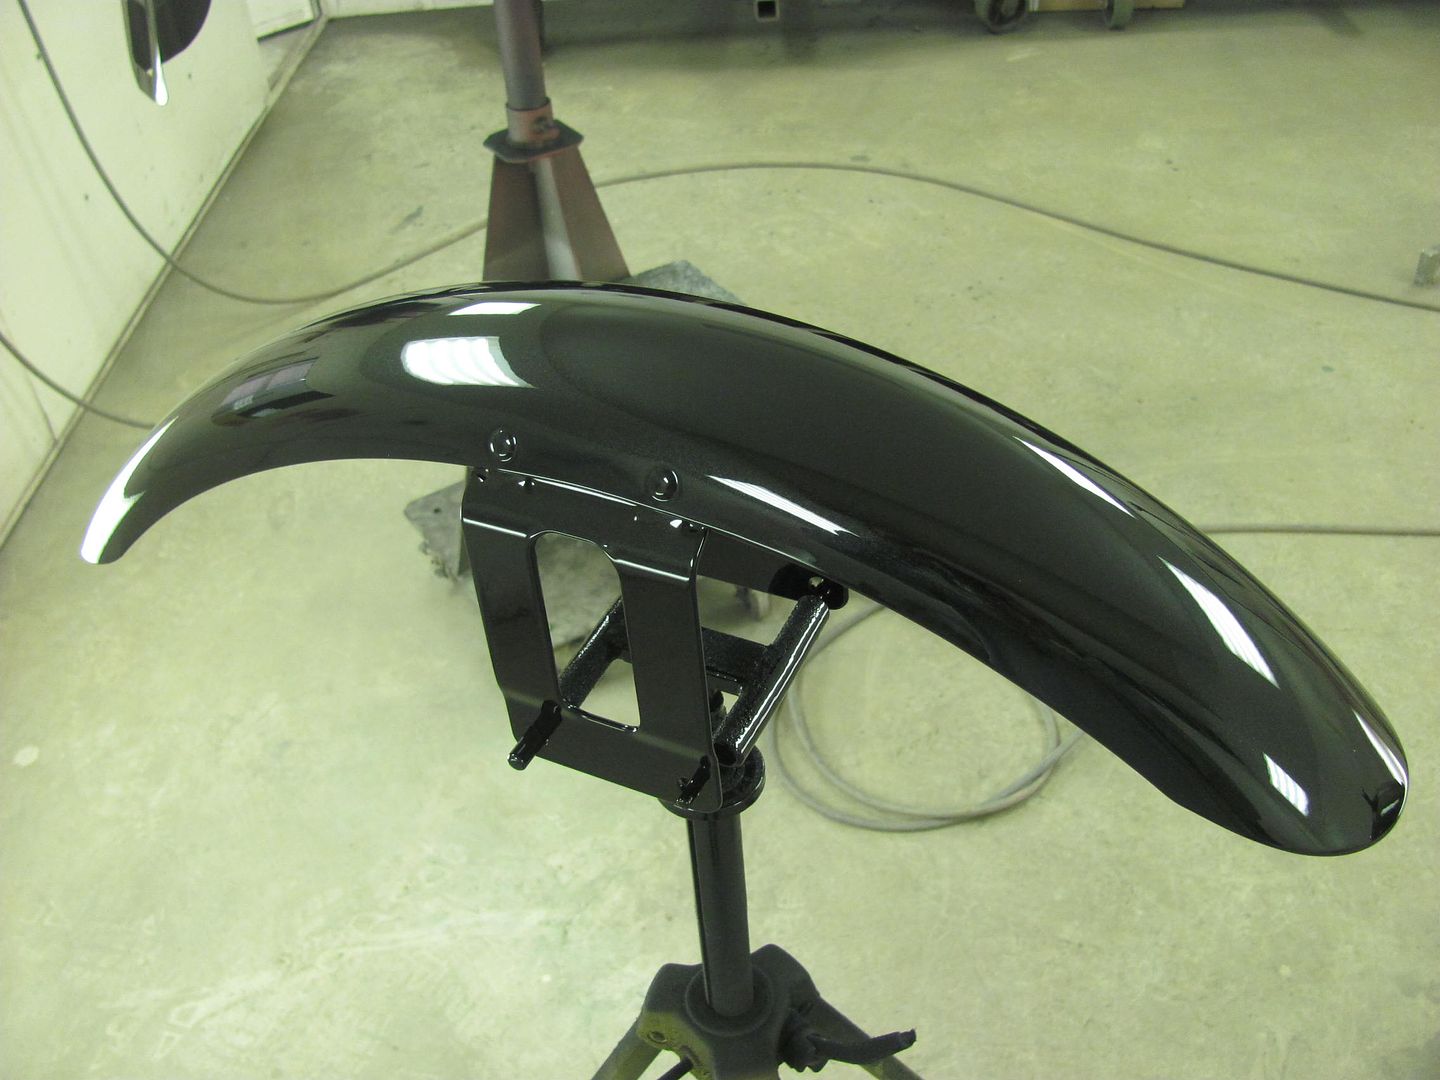 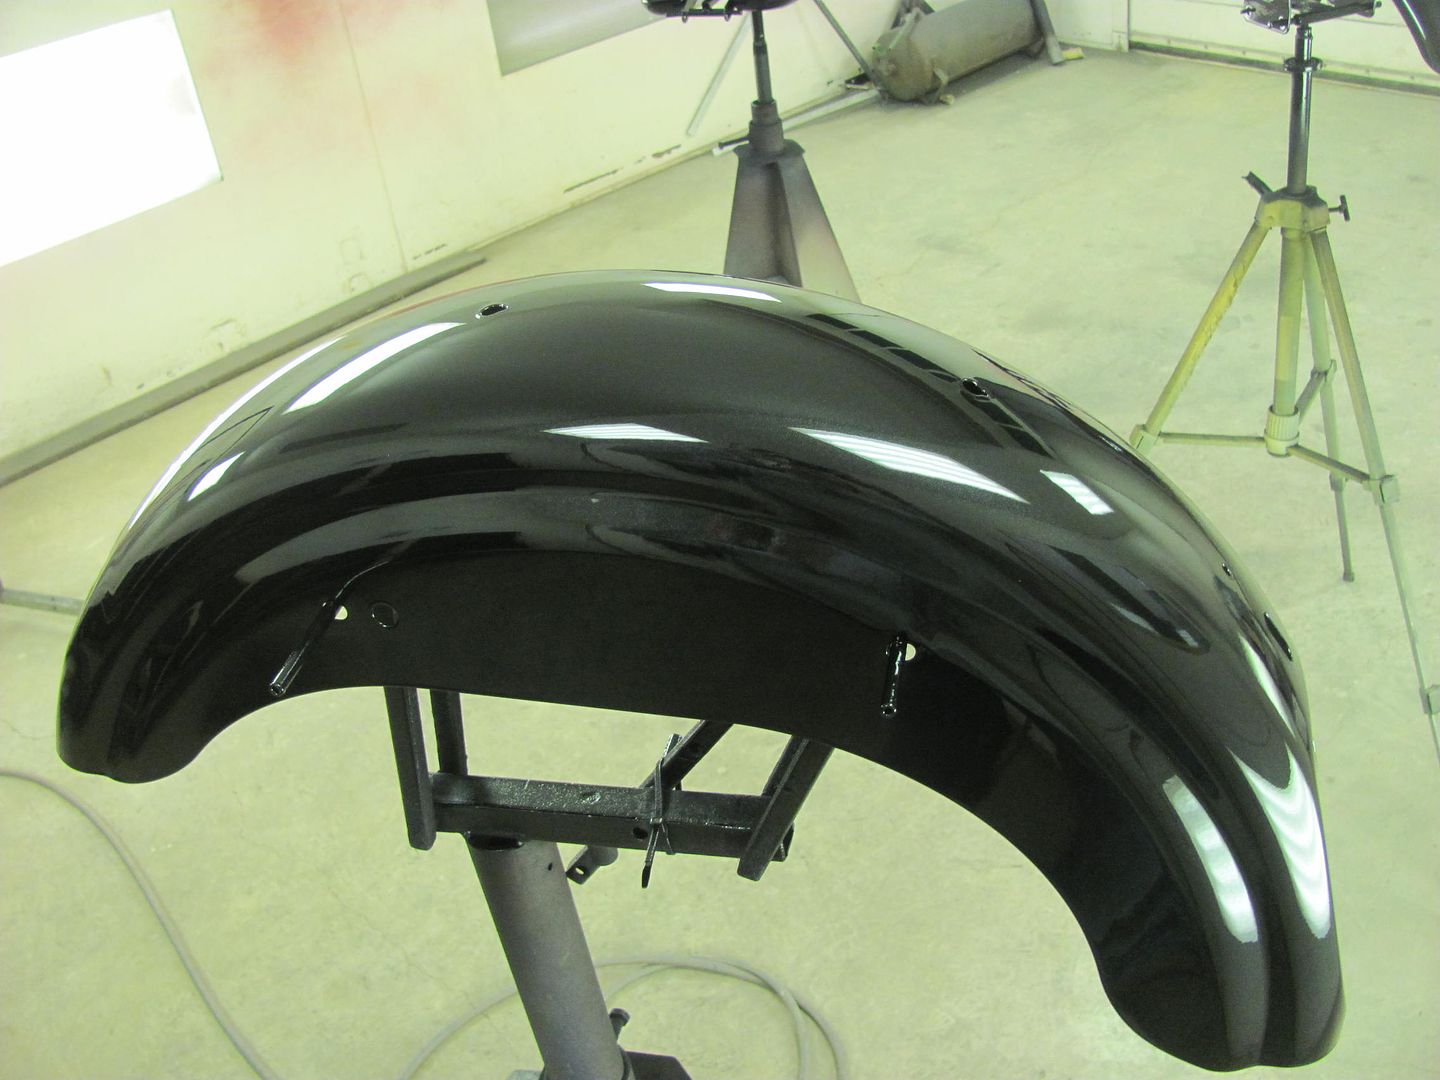 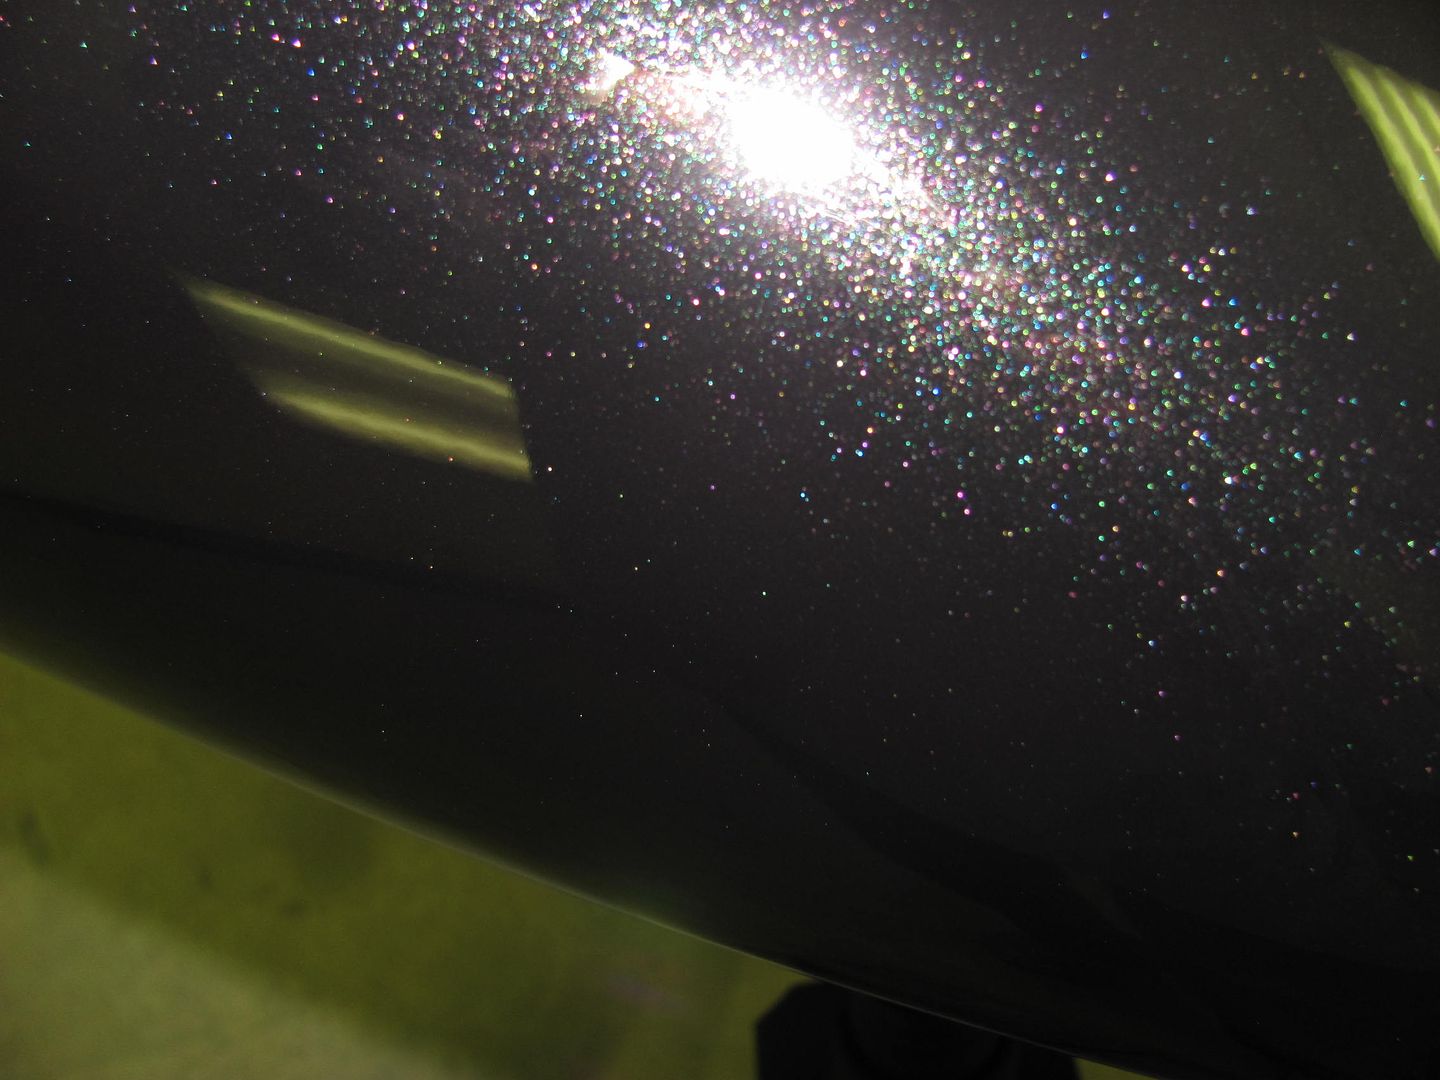
__________________
Robert |
|
|
|
|
07-05-2015, 07:41 PM
|
#472 |
|
Senior Member
Join Date: Jul 2012
Location: Oblong, Illinois
Posts: 7,017
|
Re: 55 Wagon Progress
Wow, that looks really nice! Great job and love the color.
|
|
|
|
|
07-05-2015, 08:36 PM
|
#473 |
|
Senior Member
Join Date: Mar 2011
Location: West Plains, Missouri
Posts: 7,553
|
Re: 55 Wagon Progress
Robert, nice job looks super. When you use the epoxy as a sealer, is it the same or do you change it up, thinner, less pressure or???...Jim
__________________
my build thread: http://67-72chevytrucks.com/vboard/s...d.php?t=459839 Jimbo's long bed step build:http://67-72chevytrucks.com/vboard/s...t=464626<br /> |
|
|
|
|
07-05-2015, 10:05 PM
|
#474 |
|
Registered User
Join Date: Jan 2013
Location: Leonardtown, MD
Posts: 1,635
|
Re: 55 Wagon Progress
Per their tech sheet the epoxy can be reduced 5 to 50% to use as a sealer..
__________________
Robert |
|
|
|
|
07-08-2015, 02:12 AM
|
#475 |
|
Registered User
Join Date: Dec 2012
Location: Rochester, KENT
Posts: 10,483
|
Re: 55 Wagon Progress
Continue to enjoy your posts.
Thanks for sharing.
__________________
MY BUILD LINK: http://67-72chevytrucks.com/vboard/s...585901]Redneck Express - 1966 C10 Short Fleetside MY USA ROADTRIPS http://forum.retro-rides.org/thread/...2018-humdinger IF YOU CAN'T FIX IT WITH A HAMMER, YOU'VE GOT AN ELECTRICAL PROBLEM MATE. |
|
|
|
 |
| Bookmarks |
|
|


 Linear Mode

