
|
 10-09-2011, 04:24 PM
|
#76 |
|
Registered User
 Join Date: Sep 2010
Location: Northport, Alabama
Posts: 1,353
|
Re: Project "My Happy Mess"
. . . .
I'm enjoying following your project, it wasn't THAT long ago that mine was as APART as yours is now. I'll have better pictures of mine as soon as the rear gears are installed this week and it can FINALLY come HOME !!! |

|

|
|
10-09-2011, 04:35 PM
|
#77 |
|
VA72C10
 Join Date: Mar 2008
Location: Midlothian, VA
Posts: 25,269
|
Re: Project "My Happy Mess"
Nice!!! Grill looks great!
__________________
Looking for a 67-72 swb or blazer project in or around VA. 
|
|
|
|
|
10-09-2011, 05:48 PM
|
#78 |
|
Registered User
Join Date: Jul 2011
Location: Des Moines, Iowa
Posts: 3,016
|
Re: Project "My Happy Mess"
Thanks! The grille surround came out shinny, but there are some lower spots on it from sanding out deep pits/scratches. I don't care so much - it'll give it a little bit of character (not too easy to spot, from a distance) and I'll say, that messed up part is from my hard labor!
 Next up - putting the engine together (will take one night). Slap the tranny on the engine, paint the rest of the frame. After, will put new front pre-bent brake lines (in transit, maybe arrive Wed. morning) on from The Right Stuff Detailing in Ohio, then drop the engine/tranny. Also waiting on the parts that are getting cleaned up (sand blasted). Should be done Wed. also, if not sooner. Here's the top end kit I'm using - Edelbrock 2097, in conjunction with these pistons. I've bounced back and forth with the idea of building a 383, but in the end we decided to go with building a stout 355. Rear suspension will be done soon after, it's easy enough it can wait. -- Thanks Steve. I'm with you man, can't wait to get my truck back - together!
__________________
project: "my happy mess" |
|
|
|
|
10-09-2011, 06:46 PM
|
#79 |
|
Senior Member
Join Date: Mar 2011
Location: West Plains, Missouri
Posts: 7,553
|
Re: Project "My Happy Mess"
Still following after day one, grill looks nice, front end look great after new parts installed and painted, I will continue to follow as long as you update.....Jim
__________________
my build thread: http://67-72chevytrucks.com/vboard/s...d.php?t=459839 Jimbo's long bed step build:http://67-72chevytrucks.com/vboard/s...t=464626<br /> |
|
|
|
|
10-09-2011, 10:18 PM
|
#80 |
|
Registered User
Join Date: Jul 2011
Location: Des Moines, Iowa
Posts: 3,016
|
Re: Project "My Happy Mess"
Thanks for looking Jim. I'll prob. be posting more updates this week and next at a more constant rate (hopefully). Got the TH350 transmission back tonight also.
Rebuilt with a different torque converter installed. Not sure of the specs, though it should align better with the engine's build.
__________________
project: "my happy mess" |
|
|
|
|
10-12-2011, 09:13 PM
|
#81 |
|
Registered User
Join Date: Jul 2011
Location: Des Moines, Iowa
Posts: 3,016
|
Re: Project "My Happy Mess"
Out of all the items I've ordered over the internet, the FIRST mishap happens durring my build.
Things were going so good until today. The Right Stuff Detailing shipped my brake lines and tranny cooler lines to NJ instead of IA.  Somehow they managed to change my shipping information from what I had entered when ordered. Same first and last name, different address. This will set me back a few days (or more)   I have new pics I'll try and post late tonight.
__________________
project: "my happy mess" |
|
|
|
|
10-12-2011, 10:52 PM
|
#82 |
|
6>8 Plugless........
 Join Date: Sep 2007
Location: Prairie City, Ia
Posts: 17,133
|
Re: Project "My Happy Mess"
Great progress! It is looking great. One thing I'd recommend how ever, I saw where you said you're going to reuse the window gaskets? For $65-$70 I'd not fight the old hard shrunk seals and install new ones. But that's just me.
__________________
Ryan 1972 Chevy Longhorn K30 Cheyenne Super, 359 Inline 6 cylinder, Auto Trans, Tilt, Diesel Tach/Vach, Buckets, Rare Rear 4-link and air ride option Build Thread 1972 GMC Sierra Grande Longhorn 4x4 1972 Chevy Cheyenne Super K20 Long Step side tilt, tach, tow hooks, AC, 350 4 speed 1972 C10 Suburban Custom Deluxe 1969 Chevy milk truck 1971 Camaro RS 5.3 BTR STG3 Cam Super T10 1940 Ford 354 Hemi 46RH Ford 9" on air ride huge project Tired of spark plugs? Check this out. |
|
|
|
|
10-12-2011, 11:37 PM
|
#83 |
|
Registered User
Join Date: Jul 2011
Location: Des Moines, Iowa
Posts: 3,016
|
Re: Project "My Happy Mess"
Thanks Ryan. My window guy suggested reusing them and said you cannot find that quality any more.
I think the window was replaced in the late 90's, and most likely the seals also.
__________________
project: "my happy mess" |
|
|
|
|
10-13-2011, 12:57 AM
|
#84 |
|
6>8 Plugless........
Join Date: Sep 2007
Location: Prairie City, Ia
Posts: 17,133
|
Re: Project "My Happy Mess"
I can't imagine why the quality isn't any good in his opinion. You don't even know what brand the ones you have are. Art Cunningham can hook you up with some. That's where I got mine and they fit and look sweet.
__________________
Ryan 1972 Chevy Longhorn K30 Cheyenne Super, 359 Inline 6 cylinder, Auto Trans, Tilt, Diesel Tach/Vach, Buckets, Rare Rear 4-link and air ride option Build Thread 1972 GMC Sierra Grande Longhorn 4x4 1972 Chevy Cheyenne Super K20 Long Step side tilt, tach, tow hooks, AC, 350 4 speed 1972 C10 Suburban Custom Deluxe 1969 Chevy milk truck 1971 Camaro RS 5.3 BTR STG3 Cam Super T10 1940 Ford 354 Hemi 46RH Ford 9" on air ride huge project Tired of spark plugs? Check this out. |
|
|
|
|
10-13-2011, 02:05 AM
|
#85 | |
|
Registered User
Join Date: Jul 2011
Location: Des Moines, Iowa
Posts: 3,016
|
Re: Project "My Happy Mess"
Quote:
__________________
project: "my happy mess" |
|
|
|
|
|
10-14-2011, 01:51 AM
|
#86 |
|
Registered User
Join Date: Jul 2011
Location: Des Moines, Iowa
Posts: 3,016
|
Re: Project "My Happy Mess"
This is another poster's (can't find the thread) picture that looks nearly identical to my engine build.
south side!
__________________
project: "my happy mess" |
|
|
|
|
10-14-2011, 04:22 AM
|
#87 |
|
Registered User
Join Date: Jul 2011
Location: Des Moines, Iowa
Posts: 3,016
|
Re: Project "My Happy Mess"
Meanwhile, back at the ranch... putting the HD camcorder to work!
The front end pictures I hadn't posted before. 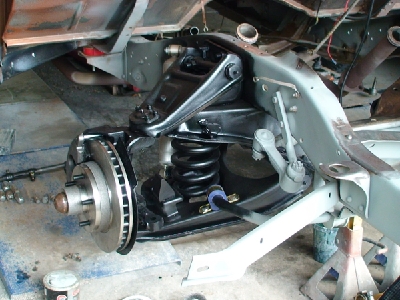 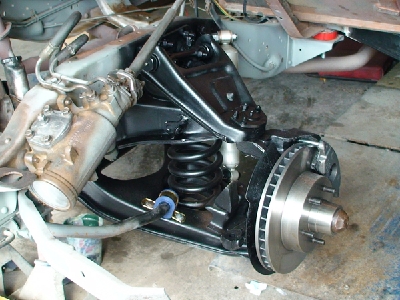 Upper control (a) arm shaft replaced w/new. 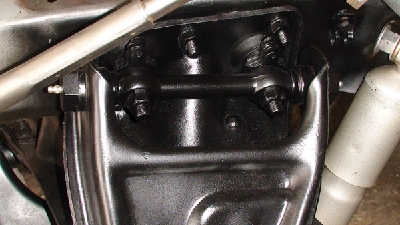 Detailing - 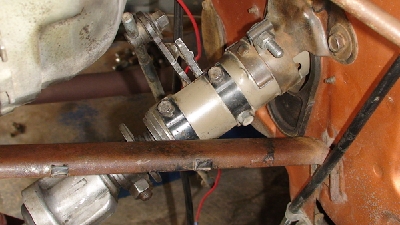 TH350 rebuilt w/hd torque converter - 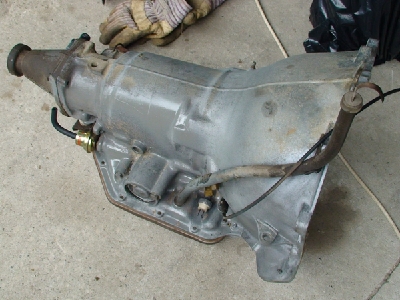 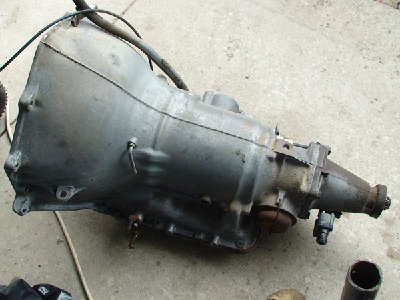 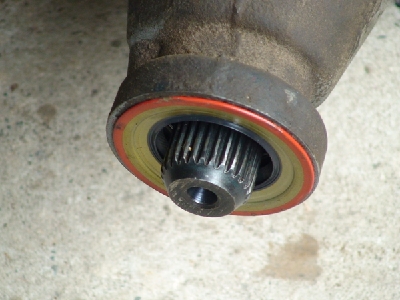 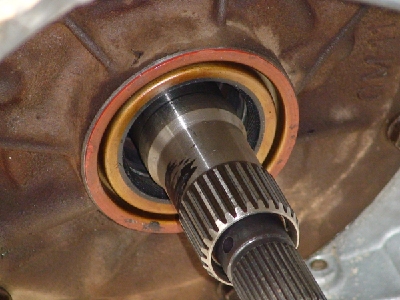 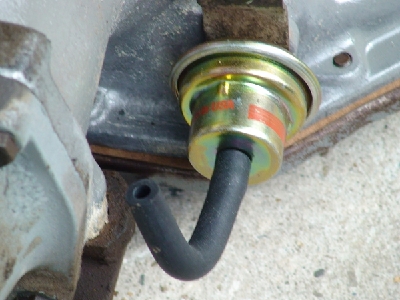 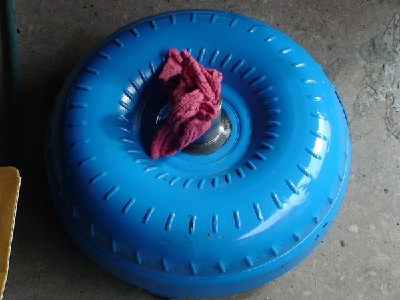 Cleaning the frame; blue and yellow paint exposed. Odd 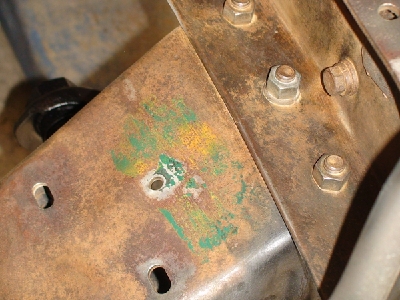
__________________
project: "my happy mess" Last edited by litew8; 10-14-2011 at 04:28 AM. |
|
|
|
|
10-14-2011, 04:24 AM
|
#88 |
|
Registered User
Join Date: Jul 2011
Location: Des Moines, Iowa
Posts: 3,016
|
Re: Project "My Happy Mess"
Looking around, this is obvious. Someone smeared the numbers 441 on the firewall with paint. I'm assuming it is a paint code. My back bed panel also has 441 written on it (with soap?) with a few more characters.
Authentic 1971 Chevy Factory assembly line markings. Very cool/rare!! 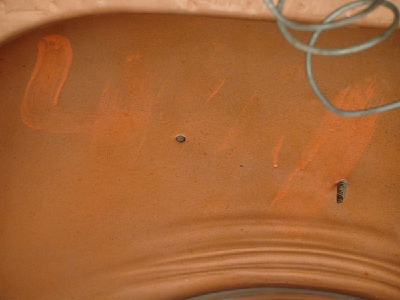 My SPID shows my color scheme as # 551. That's probably because of the White addition. 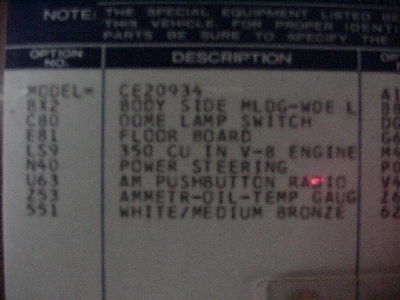 Moving along... here's the block on the engine stand. 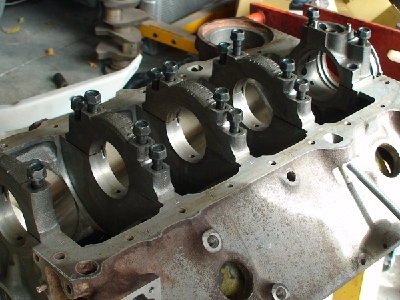  This block comes equiped with two holes (L or R) for a dipstick. One plugged. 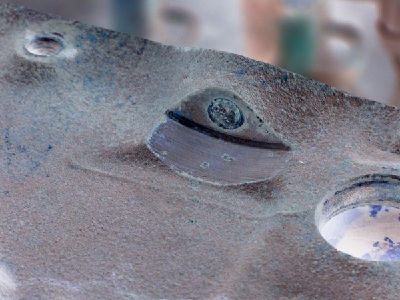
__________________
project: "my happy mess" Last edited by litew8; 10-14-2011 at 04:32 AM. |
|
|
|
|
10-14-2011, 04:24 AM
|
#89 |
|
Registered User
Join Date: Jul 2011
Location: Des Moines, Iowa
Posts: 3,016
|
Re: Project "My Happy Mess"
Prepping the block for assembly. Cleaning. Tapping to clean.
 Next up, a couple good once overs... "Dawn takes grease out of your way!" 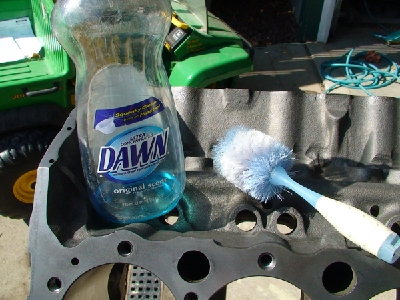 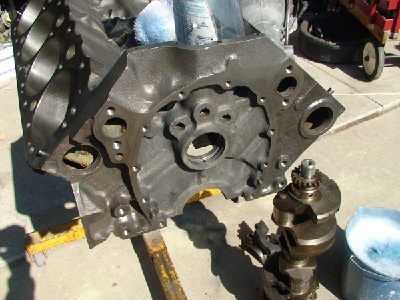 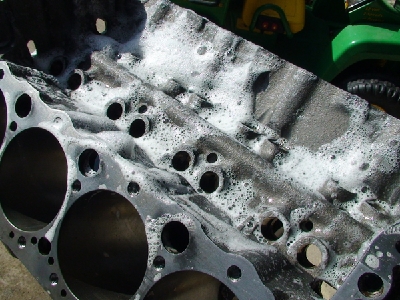 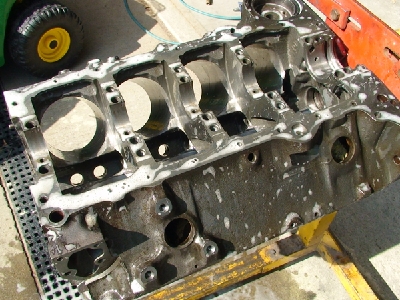 Air drying -  Followed by a coating of... 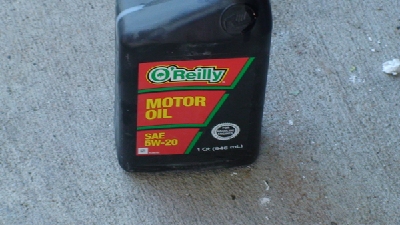 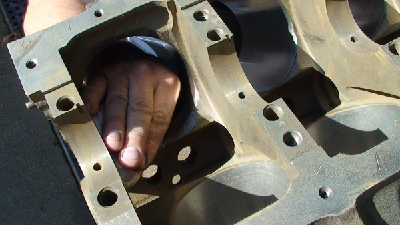 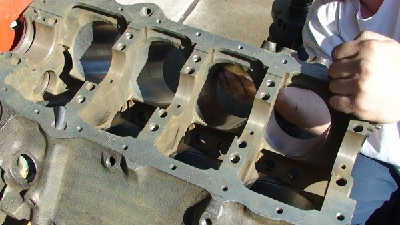
__________________
project: "my happy mess" Last edited by litew8; 10-14-2011 at 04:33 AM. |
|
|
|
|
10-14-2011, 04:25 AM
|
#90 |
|
Registered User
Join Date: Jul 2011
Location: Des Moines, Iowa
Posts: 3,016
|
Re: Project "My Happy Mess"
Painted
w/freeze plugs installed -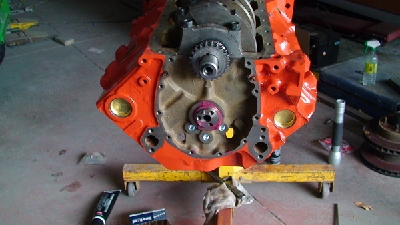 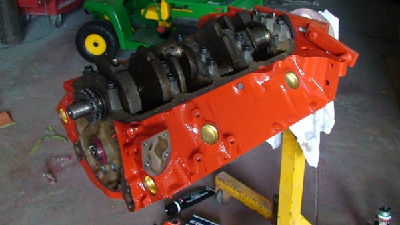 It's been a quick week. 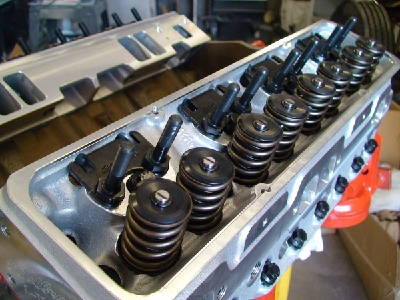 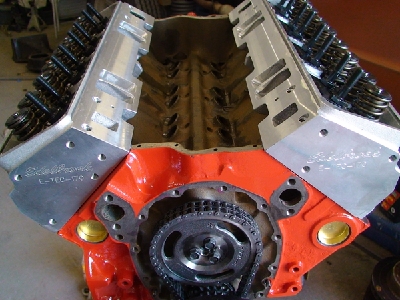 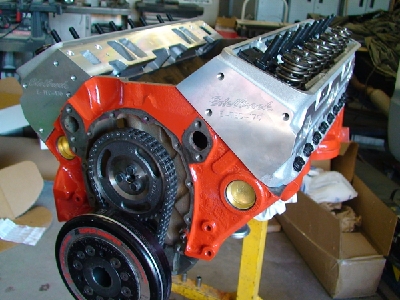 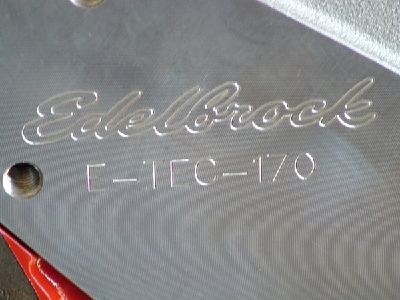 Reading material: http://www.superchevy.com/technical/...8/viewall.html
__________________
project: "my happy mess" Last edited by litew8; 10-14-2011 at 04:43 AM. |
|
|
|
|
10-14-2011, 04:26 AM
|
#91 |
|
Registered User
Join Date: Jul 2011
Location: Des Moines, Iowa
Posts: 3,016
|
Re: Project "My Happy Mess"
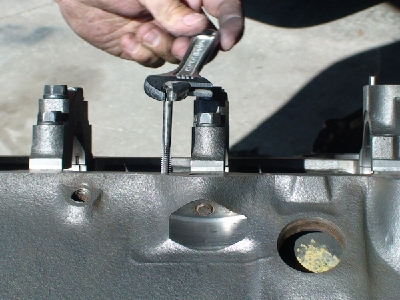
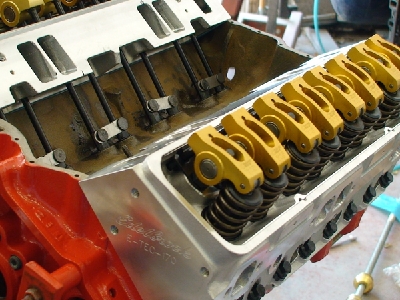
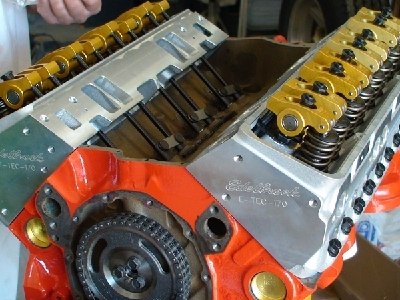
Time for assembly -
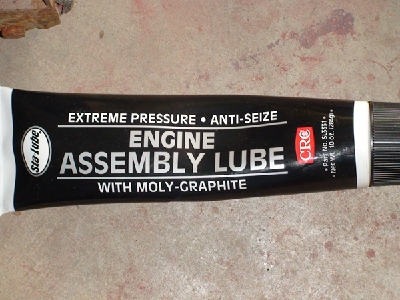 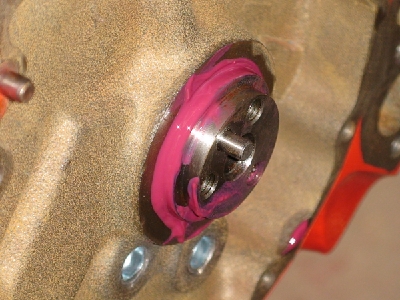 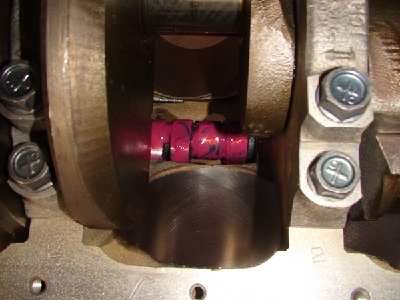 Other products used during assembly - 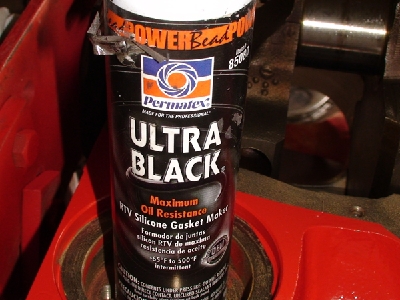 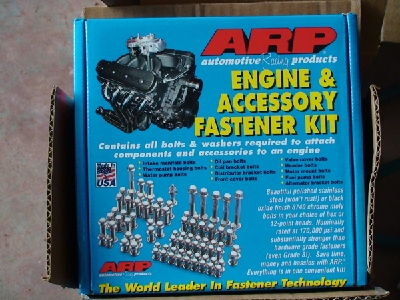 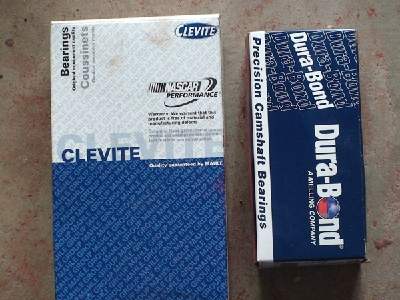  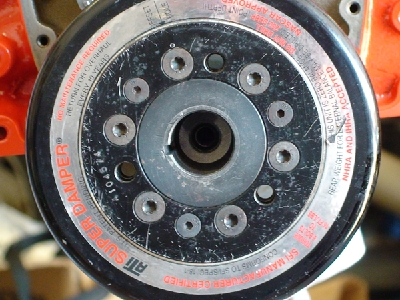  Roller lifters/rockers; installation. 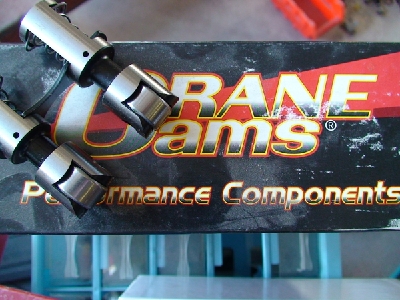 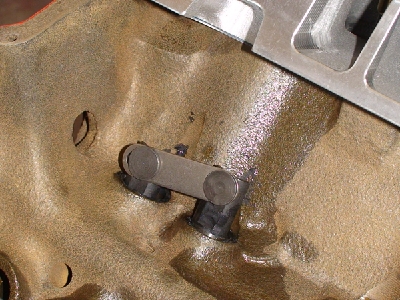 Push rod, checking clearance. 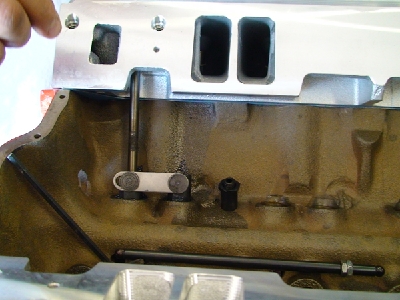 Positioned, roller rocker, adjusting. 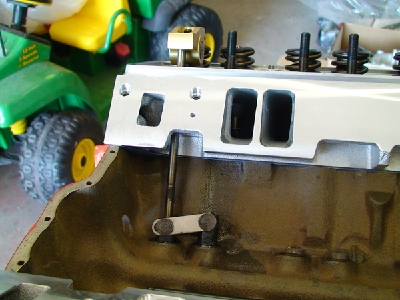 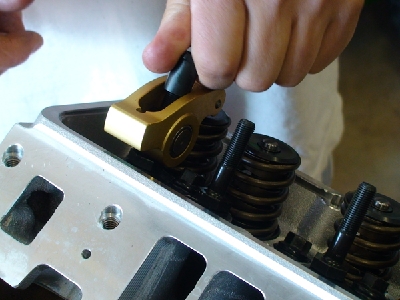 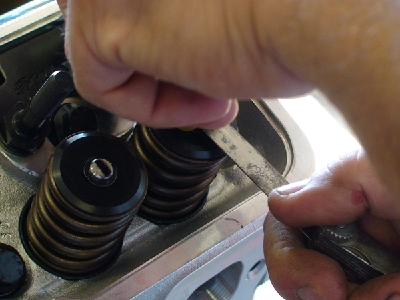 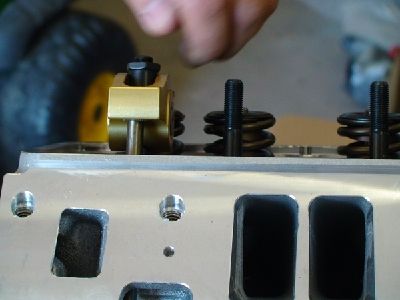 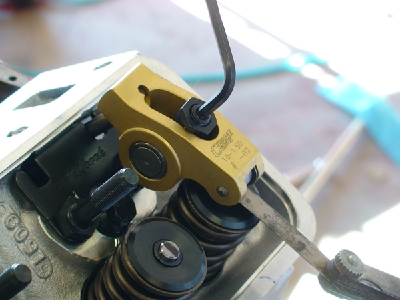 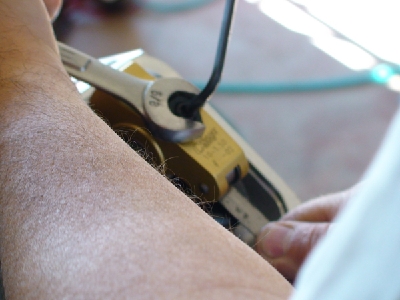
__________________
project: "my happy mess" Last edited by litew8; 10-14-2011 at 04:53 AM. |
|
|
|
|
10-14-2011, 04:26 AM
|
#92 |
|
Registered User
Join Date: Jul 2011
Location: Des Moines, Iowa
Posts: 3,016
|
Re: Project "My Happy Mess"

__________________
project: "my happy mess" Last edited by litew8; 10-14-2011 at 04:54 AM. |
|
|
|
|
10-14-2011, 04:51 AM
|
#93 |
|
Registered User
Join Date: Jul 2011
Location: Des Moines, Iowa
Posts: 3,016
|
Re: Project "My Happy Mess"
__________________
project: "my happy mess" |
|
|
|
|
10-14-2011, 09:29 AM
|
#94 |
|
Senior Member
Join Date: Mar 2011
Location: West Plains, Missouri
Posts: 7,553
|
Re: Project "My Happy Mess"
Looking real good....Jim
__________________
my build thread: http://67-72chevytrucks.com/vboard/s...d.php?t=459839 Jimbo's long bed step build:http://67-72chevytrucks.com/vboard/s...t=464626<br /> |
|
|
|
|
10-14-2011, 10:22 AM
|
#95 |
|
Registered User
Join Date: Feb 2011
Location: Crowley TX
Posts: 979
|
Re: Project "My Happy Mess"
looking really good litew8
|
|
|
|
|
10-14-2011, 11:21 AM
|
#96 |
|
Registered User
Join Date: Sep 2010
Location: Northport, Alabama
Posts: 1,353
|
Re: Project "My Happy Mess"
. . . .
That 441 is probably the build sequence or job number. Mine had a 635 inside the right fender and on the firewall ( in grease pencil though ) I've never seen them written in paint !!! . . . . |
|
|
|
|
10-14-2011, 01:27 PM
|
#97 |
|
VA72C10
Join Date: Mar 2008
Location: Midlothian, VA
Posts: 25,269
|
Re: Project "My Happy Mess"
Nice work and progress!!!
__________________
Looking for a 67-72 swb or blazer project in or around VA.
|
|
|
|
|
10-14-2011, 09:13 PM
|
#98 |
|
Registered User
Join Date: Jul 2011
Location: Des Moines, Iowa
Posts: 3,016
|
Re: Project "My Happy Mess"
Thanks everyone! It's a relief to finally see things come together.
Sorry if some of the steps/pics are out of order. I tried to keep them straight. @mightymouse, good to see you. @Steve, tomorrow if I remember, I'll take a pic of the bed back #'s. There are additional characters you'd prob. enjoy seeing  I've got more pics to try and post late tonight. Got the brake/trans. line issue sorted. They've already resent another order, in IA already. Going to try and get the tranny and oil pan (reusing old) painted next. I HAVE got to get the rest of the (front) frame/suspension painted Saturday. Might be one of the last days of warmer weather left!
__________________
project: "my happy mess" |
|
|
|
|
10-14-2011, 11:27 PM
|
#99 |
|
Senior Member
Join Date: Mar 2011
Location: West Plains, Missouri
Posts: 7,553
|
Re: Project "My Happy Mess"
litew8, thanks for the note on my build, I always like watching what other's are doing, might learn something new. Your doing great.....Jim
__________________
my build thread: http://67-72chevytrucks.com/vboard/s...d.php?t=459839 Jimbo's long bed step build:http://67-72chevytrucks.com/vboard/s...t=464626<br /> |
|
|
|
|
10-15-2011, 11:30 PM
|
#100 |
|
Registered User
Join Date: Jul 2011
Location: Des Moines, Iowa
Posts: 3,016
|
Re: Project "My Happy Mess"
Me right now >
Will post more pics tonight.
__________________
project: "my happy mess" |
|
|
|
 |
| Bookmarks |
|
|


 Linear Mode

