 |
|
|
#51 |
|
Registered User
Join Date: May 2012
Location: Hickory NC
Posts: 2,351
|
Re: Project "Irvin"
I have a lot of pics that haven"t been posted so here ya go!
    http://i1330.photobucket.com/albums/...ps0d187c10.jpg |
|
|

|
|
|
#52 |
|
Registered User
Join Date: May 2012
Location: Hickory NC
Posts: 2,351
|
Re: Project "Irvin"
Camaro tank installed and even had my buddy hanging out with me
|
|
|

|
|
|
#53 |
|
Registered User
Join Date: May 2012
Location: Hickory NC
Posts: 2,351
|
Re: Project "Irvin"
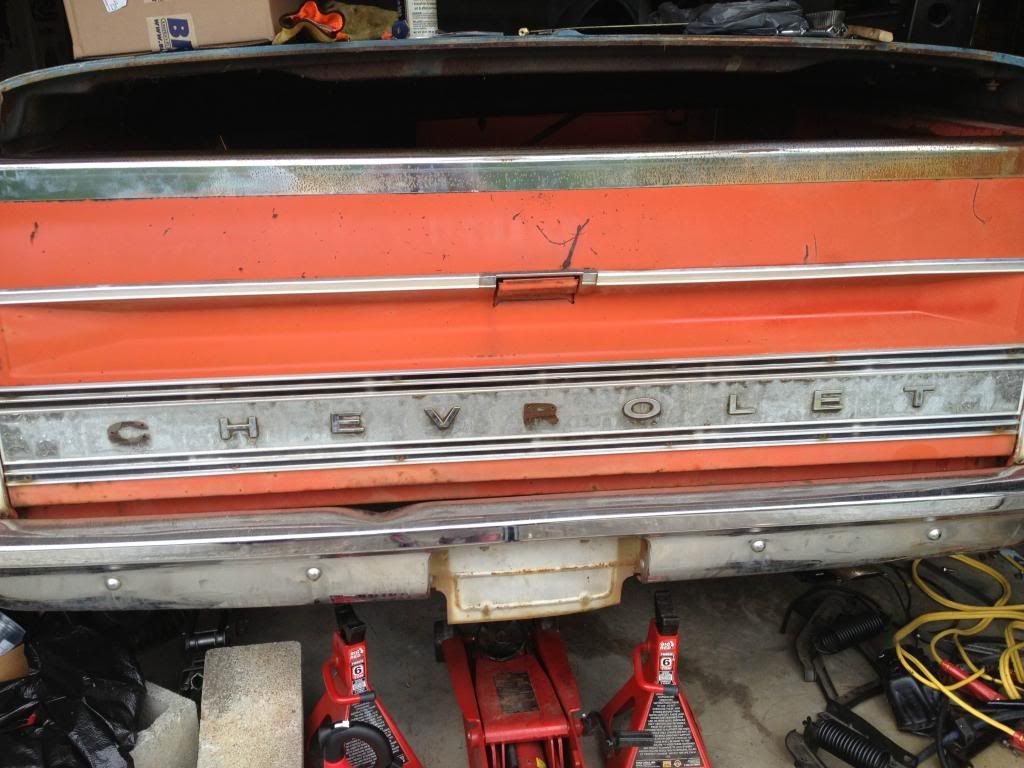
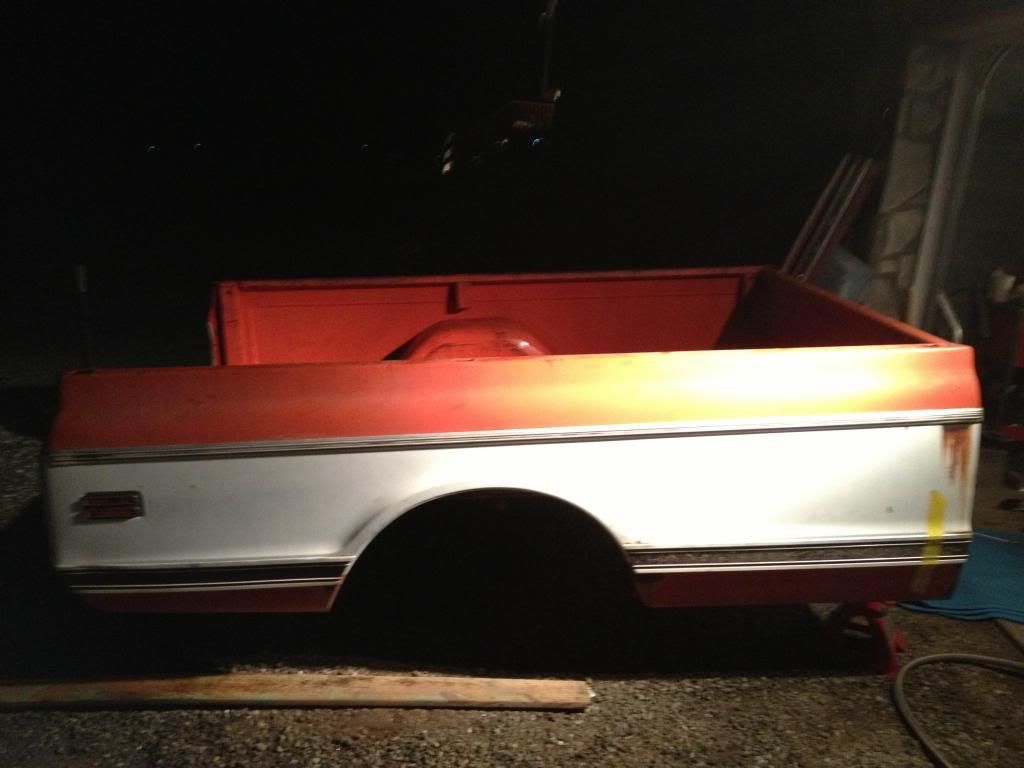
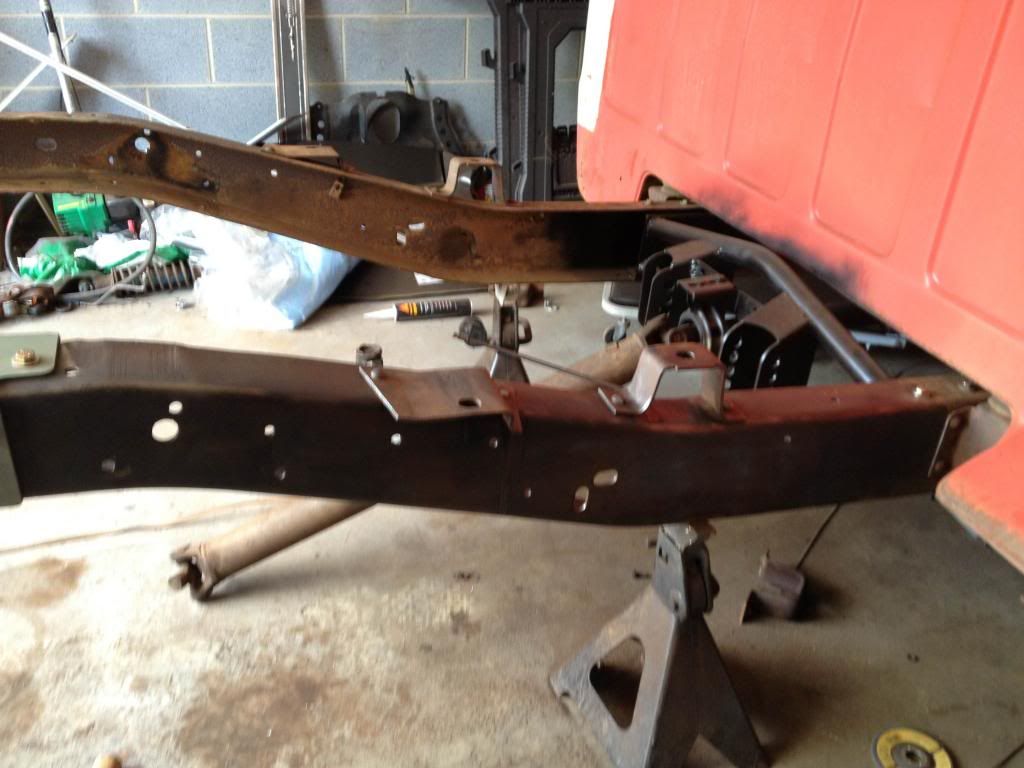
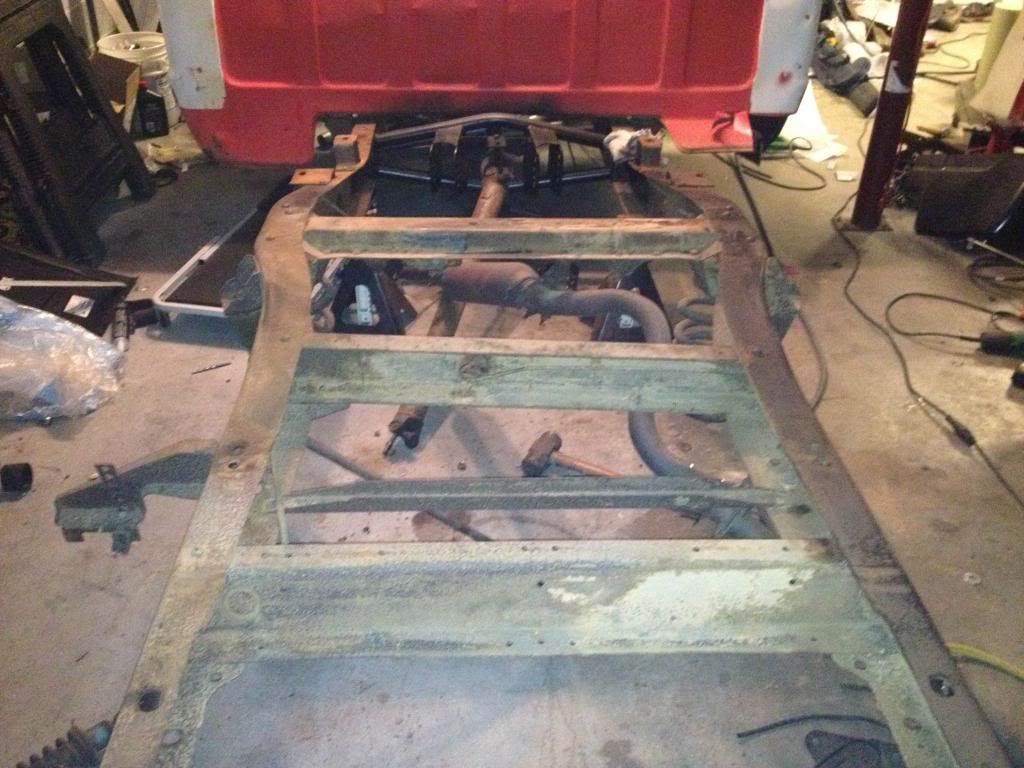
Sat the bed back on before vacation to see how it was going to sit, and decided bags is going to be the way to go. Also i have started wiping panel bond over seams that have been butt welded to fill any pin holes and voids. Installed new pulley system and not quite sure i can get a AC bracket for this style so I"ll probably be selling it along with the new alternator, PS pump and water pump
|
|
|

|
|
|
#54 |
|
Registered User
Join Date: May 2012
Location: Hickory NC
Posts: 2,351
|
Re: Project "Irvin"
I cut out the inner roof panel for the patch and cleaned it all up with a wire brush and wax and grease remover then laid 3 coats of POR 15 on it before installing patch. If you look closely you can see the POR 15 oozing through from the top side where i repaired the gutter
|
|
|

|
|
|
#55 |
|
Registered User
Join Date: May 2012
Location: Hickory NC
Posts: 2,351
|
Re: Project "Irvin"
Got the inner patch installed and some body filler wiped on it to get it looking right, since the patch has the older mirror mount I'll install a 70 model mirror. here are some pics of the outer roof seam that i cleaned, POR15 treated then put 3M heavy bodied self leveling seam sealer on
|
|
|

|
|
|
#56 |
|
Registered User
Join Date: Aug 2012
Location: Topeka Kansas
Posts: 2,655
|
Re: Project "Irvin"
Hey man don't give up so easily, there is probably a ready made solution out there but even if there isn't take a shot at fabricating one, it's just a bracket it can't be that hard.
|
|
|

|
|
|
#57 | |
|
Registered User
Join Date: May 2012
Location: Hickory NC
Posts: 2,351
|
Re: Project "Irvin"
Quote:
Posted via Mobile Device |
|
|
|

|
|
|
#58 |
|
Registered User
Join Date: May 2012
Location: Hickory NC
Posts: 2,351
|
Re: Project "Irvin"
I decided to mess around with some moldings today and searched the forum and found the thread using lye...Works great in cleaning aluminum so cleaned then wet sanded a few pieces with 1500 grit, I also decided to leave some imperfections in the trim so it'd looked aged instead of brand new then figured i would change up the black in the upper trim to be different. Take a look and give your opinion please
|
|
|

|
|
|
#59 |
|
Registered User
Join Date: May 2012
Location: Hickory NC
Posts: 2,351
|
Re: Project "Irvin"
worked on cab some more yesterday and last night, blocked cab corner, blocked door jamb and reprimed them both. Also hung the door and hung the fender as well
|
|
|

|
|
|
#60 |
|
Registered User
Join Date: May 2012
Location: Hickory NC
Posts: 2,351
|
Re: Project "Irvin"
Been a while since I've posted on this, update is I've painted inside cab started wiring the interior and engine bay and started to bag truck instead of running a static drop. Installed a ididit column, picked up a lokar shifter and a few other goodies. More to order and more to complete. Woohoo
Big thanks to Travis at properformance for the parts he sends me on a weekly basis. Posted via Mobile Device |
|
|

|
|
|
#61 |
|
Registered User
Join Date: May 2012
Location: Hickory NC
Posts: 2,351
|
Re: Project "Irvin"
updates coming soon
|
|
|

|
|
|
#62 | |
|
Registered User
Join Date: Jul 2011
Location: Des Moines, Iowa
Posts: 3,016
|
Re: Project "Irvin"
Quote:

__________________
project: "my happy mess" |
|
|
|

|
|
|
#63 |
|
Registered User
Join Date: May 2012
Location: Hickory NC
Posts: 2,351
|
Re: Project "Irvin"
|
|
|

|
|
|
#64 |
|
Registered User
Join Date: Oct 2005
Location: Metro Vancouver
Posts: 444
|
Re: Project "Irvin"
Looks good,
did you use POR 15 on the frame ?
__________________
1972 Chevy C10 Custom Deluxe Highlander 1972 Chevy C10 Custom Deluxe Medium Green |
|
|

|
|
|
#65 |
|
Registered User
Join Date: May 2012
Location: Hickory NC
Posts: 2,351
|
Re: Project "Irvin"
no sir, I stripped it down and cleaned with oven cleaner and went back with etching primer and some single stage black. But i have been thinking on going back over it again since I've been cutting and drilling frame since i Painted it originally. Thanks for the compliment!!
|
|
|

|
|
|
#66 |
|
Registered User
Join Date: Jul 2011
Location: Des Moines, Iowa
Posts: 3,016
|
Re: Project "Irvin"
"(Lye) works great at taking off grease, crud and the anodized" - It's also very dangerous to use. You don't want to breath that stuff, so it should be used in an extremely well ventilated environment. Also, taking off the 'anodize' coating will expose the aluminum to the elements and may cause the aluminum to pit or oxidize over time - I think. I bought some spray to coat my grill surround after I did what you've done (removed anodize coating and wet sanded) - but I haven't used it yet.
__________________
project: "my happy mess" |
|
|

|
|
|
#67 | |
|
Registered User
Join Date: May 2012
Location: Hickory NC
Posts: 2,351
|
Re: Project "Irvin"
Quote:
|
|
|
|

|
|
|
#68 |
|
Registered User
Join Date: May 2012
Location: Hickory NC
Posts: 2,351
|
Re: Project "Irvin"
Checking for leaks
|
|
|

|
|
|
#69 |
|
Registered User
Join Date: May 2012
Location: Hickory NC
Posts: 2,351
|
Re: Project "Irvin"
Fired up engine today and cleaned up a little. Working on video to upload
|
|
|

|
|
|
#70 |
|
Registered User
Join Date: May 2012
Location: Hickory NC
Posts: 2,351
|
Re: Project "Irvin"
Gauges installed
|
|
|

|
|
|
#71 |
|
Registered User
Join Date: Jul 2013
Location: Rockwell, NC
Posts: 1,639
|
Re: Project "Irvin"
Looks great man. I seem to be going in the opposite direction with mine!
__________________
1970 C-10 LWB "Blu" Instagram (current build pictures) 70_nc_c10 |
|
|

|
|
|
#72 |
|
Registered User
Join Date: May 2012
Location: Hickory NC
Posts: 2,351
|
Re: Project "Irvin"
Thanks Jon, got everything primed this evening. Hoping to sand and do the final seam sealing and paint cab next week. And maybe the front clip as well if everything goes as expected.
|
|
|

|
|
|
#73 |
|
Registered User
 Join Date: Dec 2006
Location: Toms River, NJ
Posts: 5,518
|
Re: Project "Irvin"
Nice progress, love those gauges too. I plan to run those in mine.
__________________
Keith 66 Suburban Burb Build Thread: http://67-72chevytrucks.com/vboard/s...d.php?t=751361 IG: bennett68c10 |
|
|

|
|
|
#74 | |
|
Registered User
Join Date: May 2012
Location: Hickory NC
Posts: 2,351
|
Re: Project "Irvin"
Quote:
New wheels are at powder coater now, hoping to have them done with tires next week! |
|
|
|

|
|
|
#75 |
|
Registered User
 Join Date: Dec 2006
Location: Toms River, NJ
Posts: 5,518
|
Re: Project "Irvin"
Awesome, just checked the wheels out on Instagram. Can't wait to see them mounted up.
__________________
Keith 66 Suburban Burb Build Thread: http://67-72chevytrucks.com/vboard/s...d.php?t=751361 IG: bennett68c10 |
|
|

|
 |
| Bookmarks |
|
|