
|
Register or Log In To remove these advertisements. |
|
|
|
|||||||
 |
|
|
Thread Tools | Display Modes |
 09-18-2015, 08:22 AM
|
#1 |
|
Registered User
Join Date: Jan 2015
Location: Prior Lake MN
Posts: 87
|
Project Eugene: 1949 5 window
This build started years ago in my head. I have been a Jeep guy for years- this is our current family rig. It's sort of a 1949 Willys. Although the windshield is a 3b, the cowl and hood are from a 2a, the grill is an MB, and the tail gate is a repro. Everything else I fabbed. Rear axle is from a dodge, front is from a Ford, Chevy 4.3 V6 from an S10, and a TH350 with a manual valvebody.
It gets around.  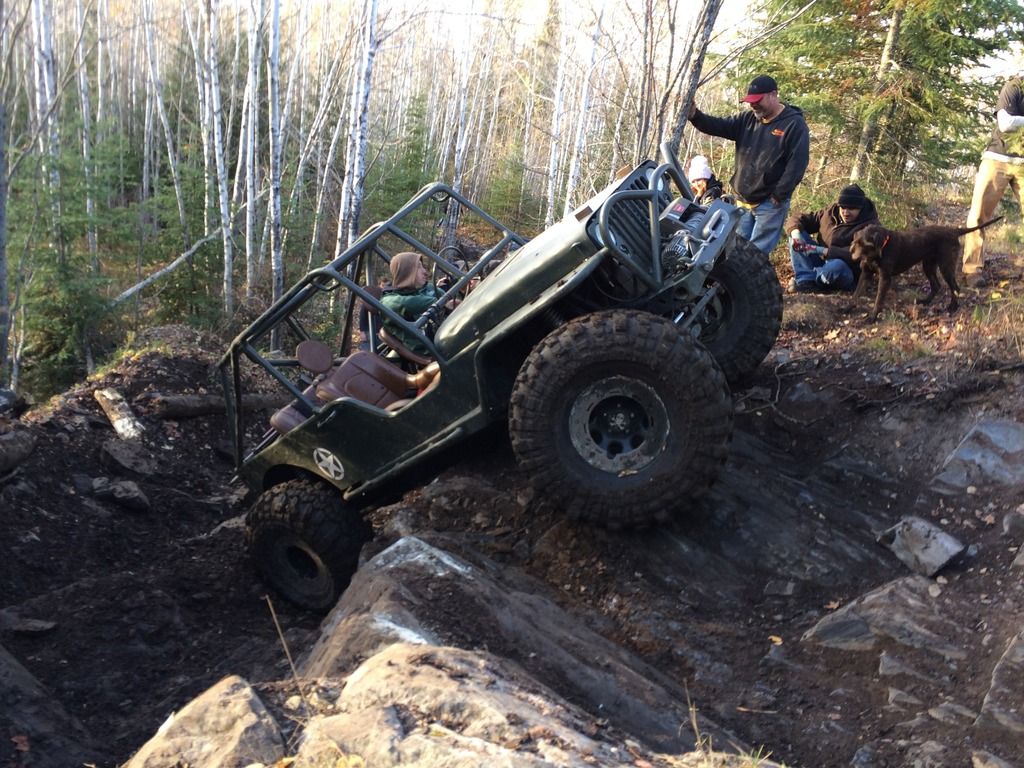  Wifey loves to drive it too.  I built that rig in a standard 2 stall garage at my old house, and covered EVERYTHING in grinding dust and welding slag. So, wifey said no more major projects until I have a dedicated space to build in. That required a new house, so eventually we moved and originally the contractor that was flipping our house was going to build the shop for us as part of the deal- well, he backed out 2 weeks away from closing, so then it became a waiting game of when rates were right that we could take out the money to build it ourselves. Here's the house prior to getting started. 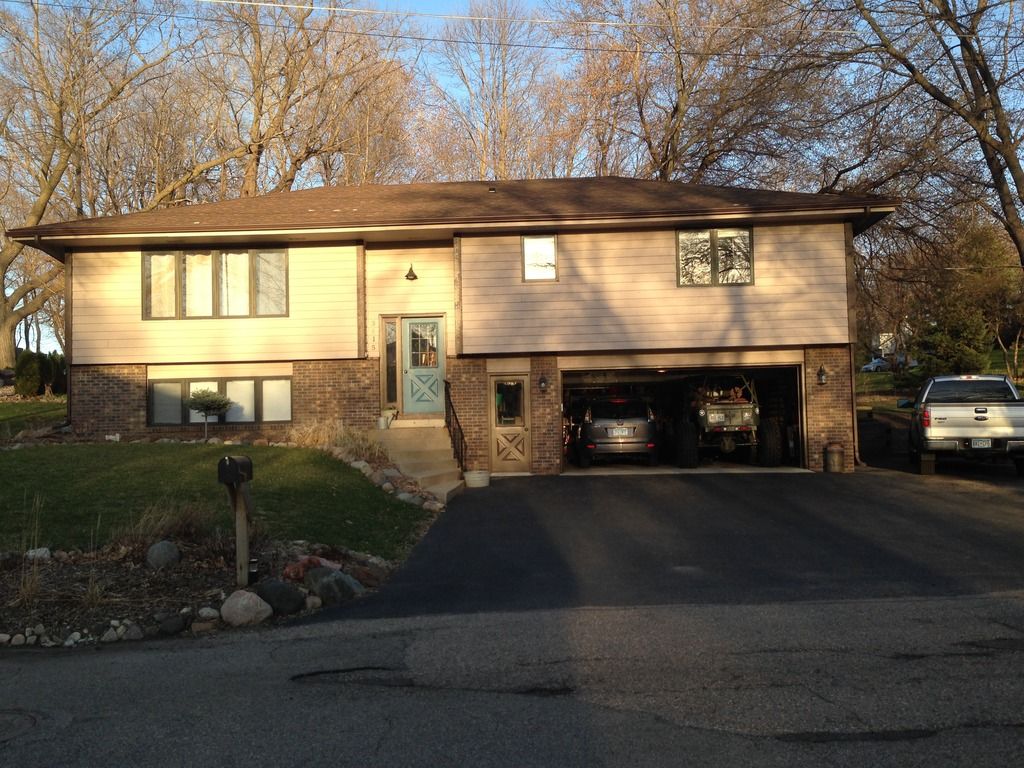 Staked out shop corners 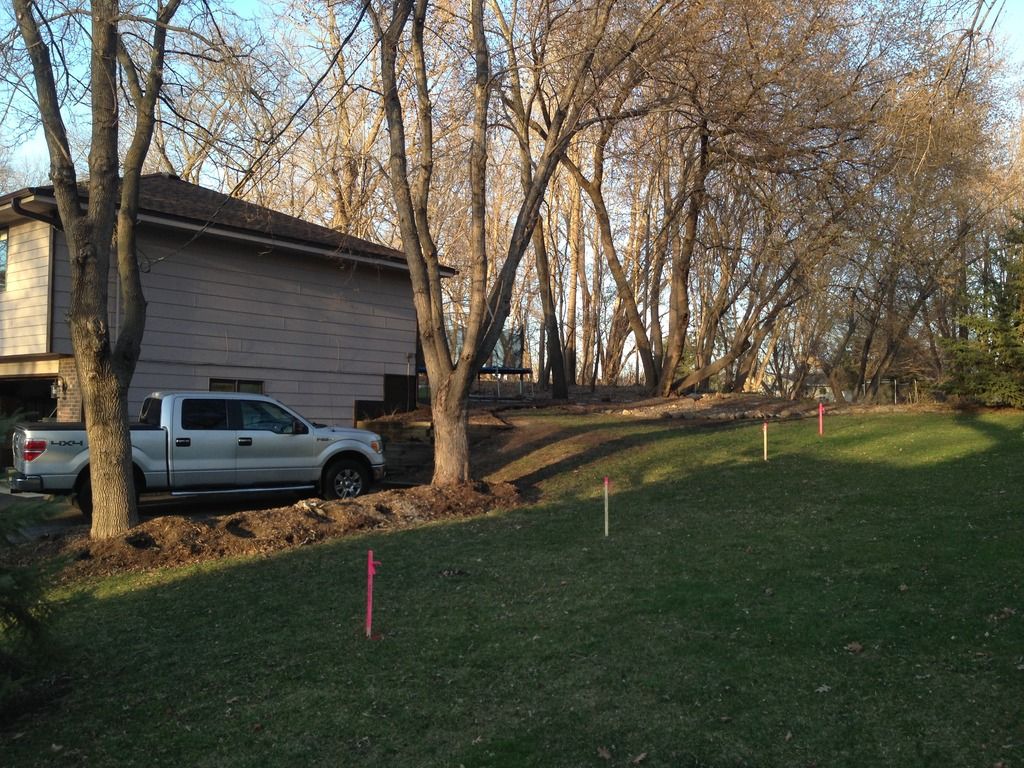 Cut down the trees and dug a BIG hole. 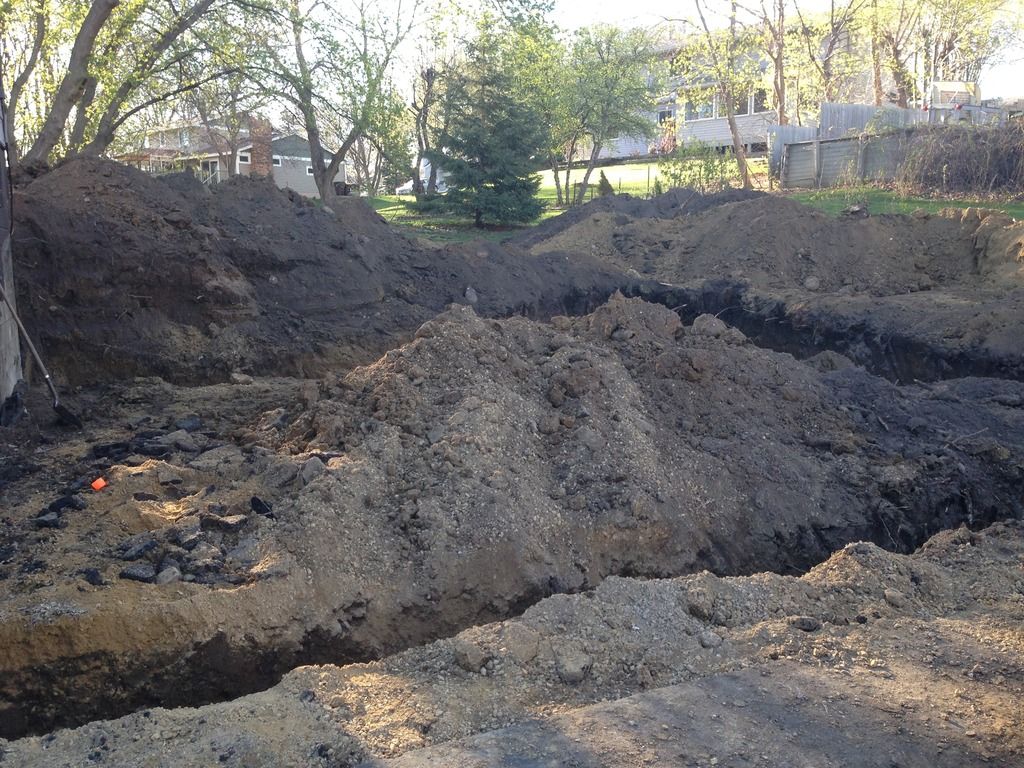 I had the excavating and concrete/ block work hired out. Did everything else myself with some friends that were very generous with their time. 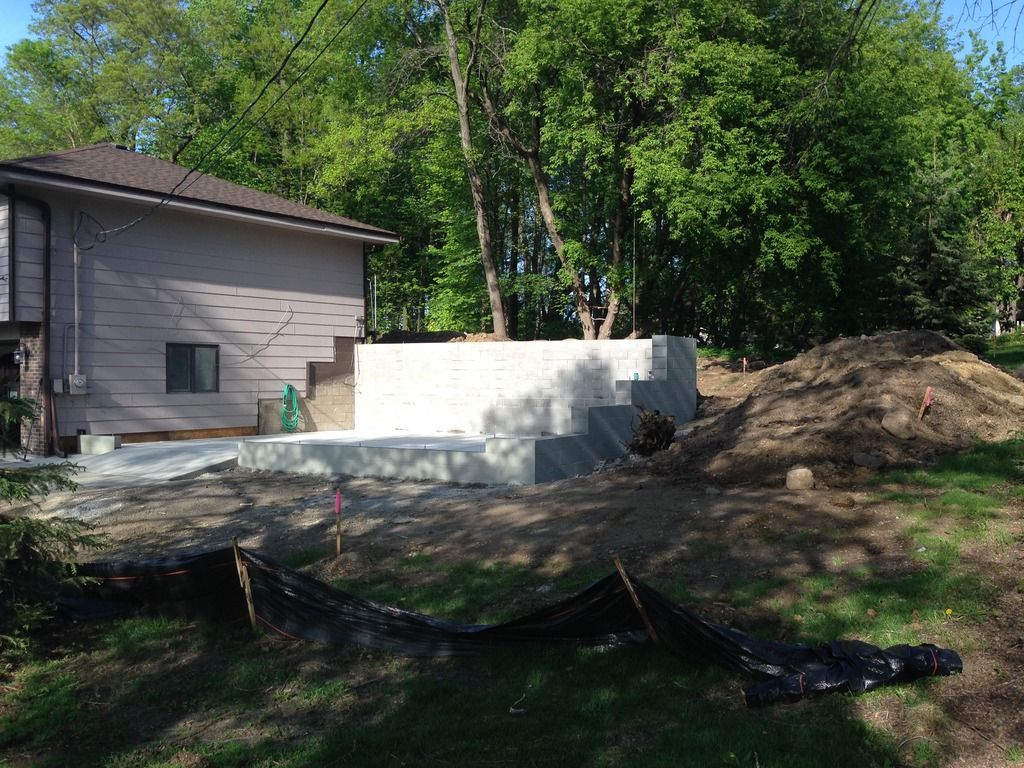 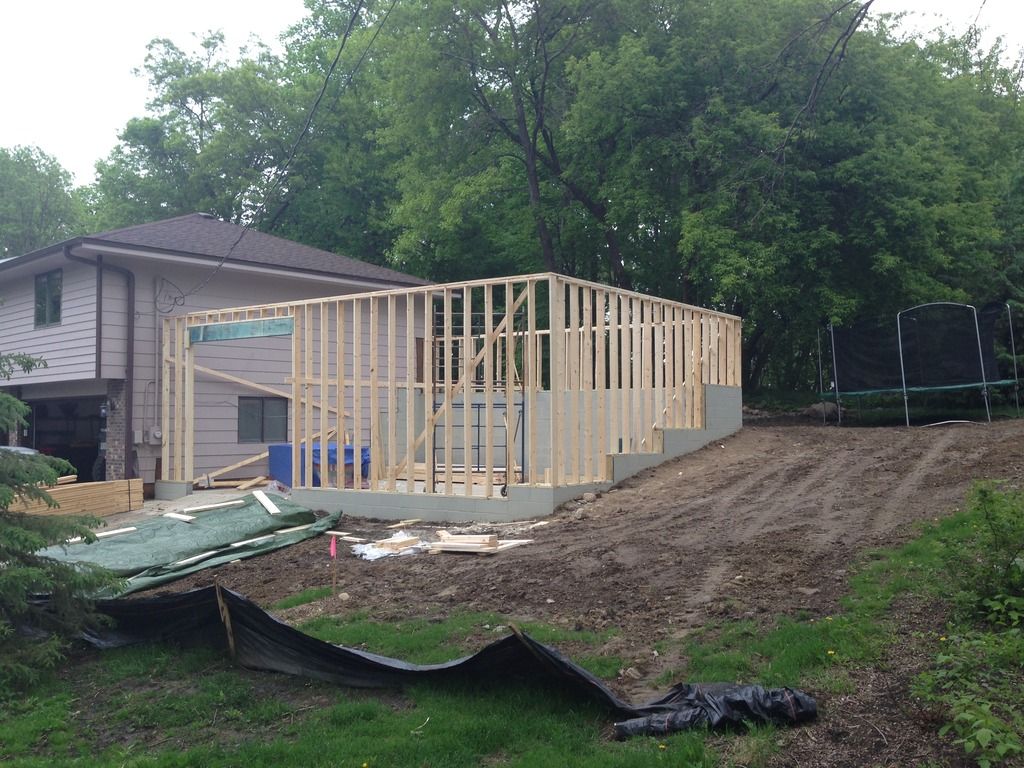 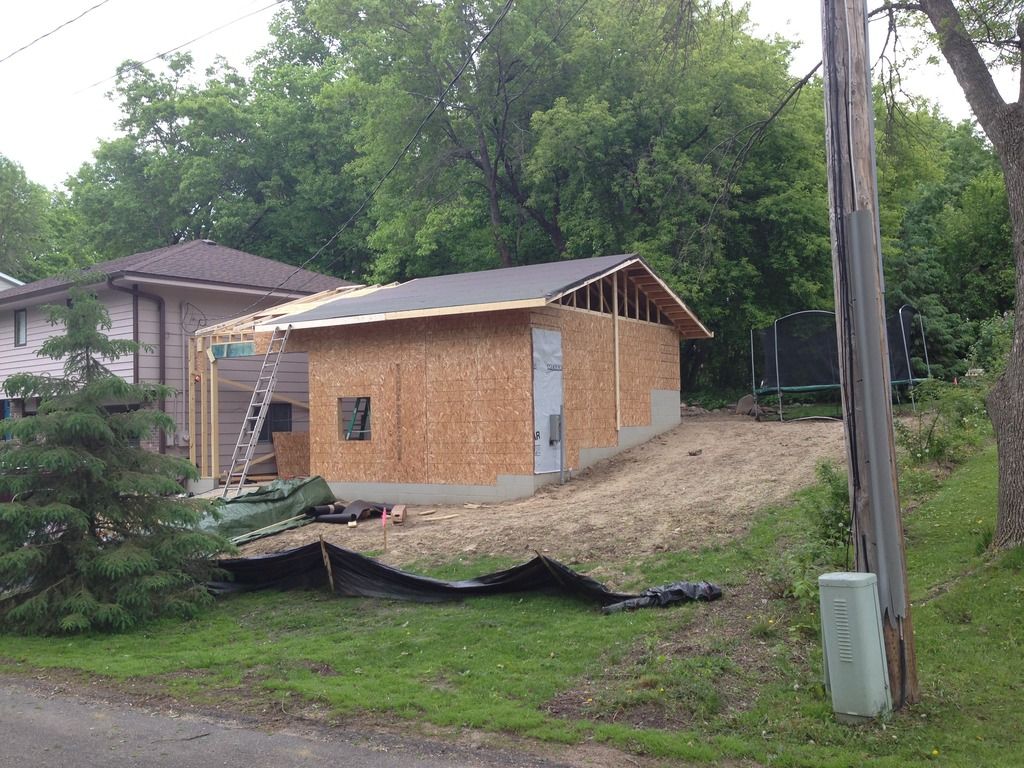 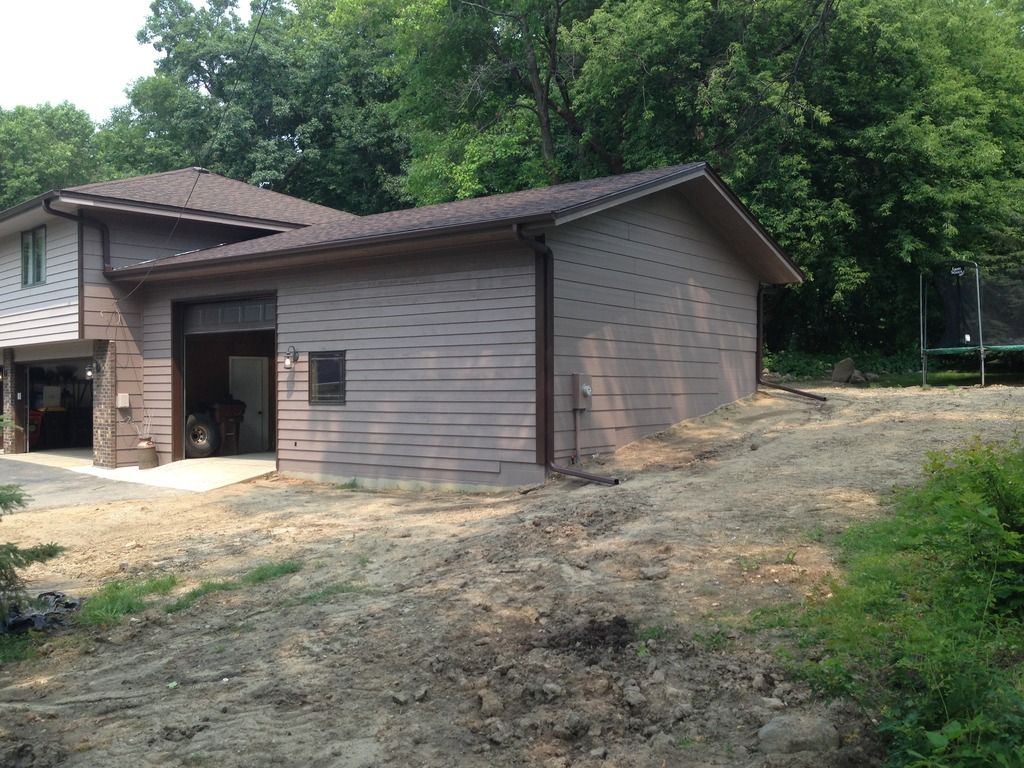 Then momma had to have landscaping 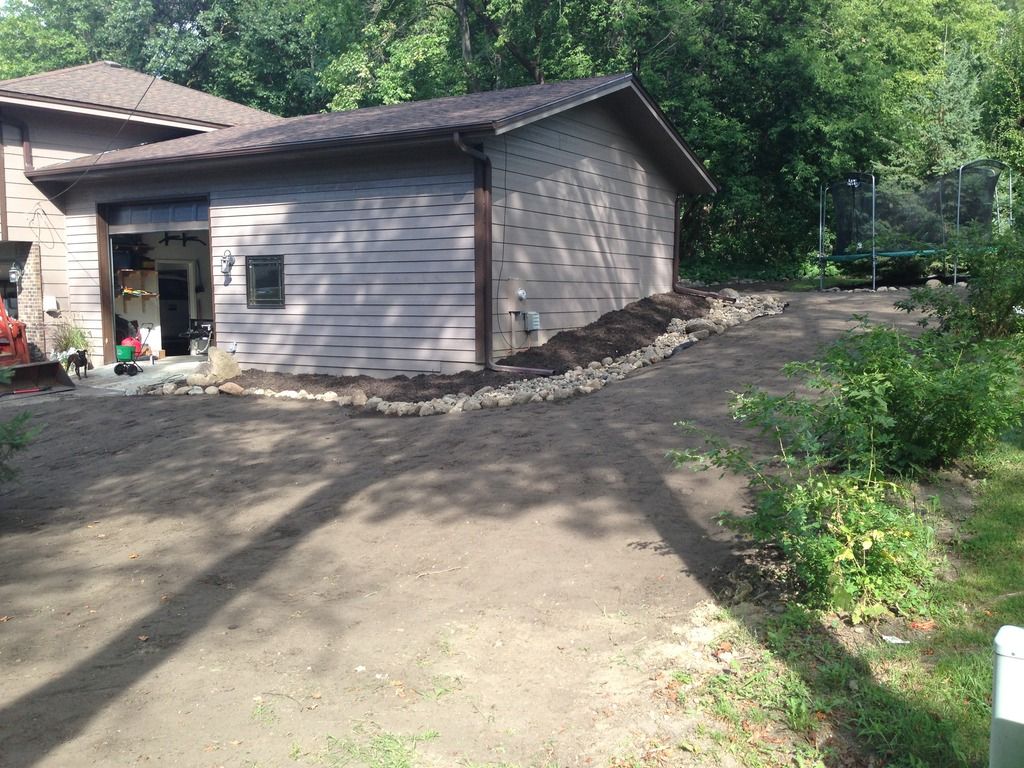 The kids "helped" quite a bit actually. My daughter is pretty good with a roofing nailer.  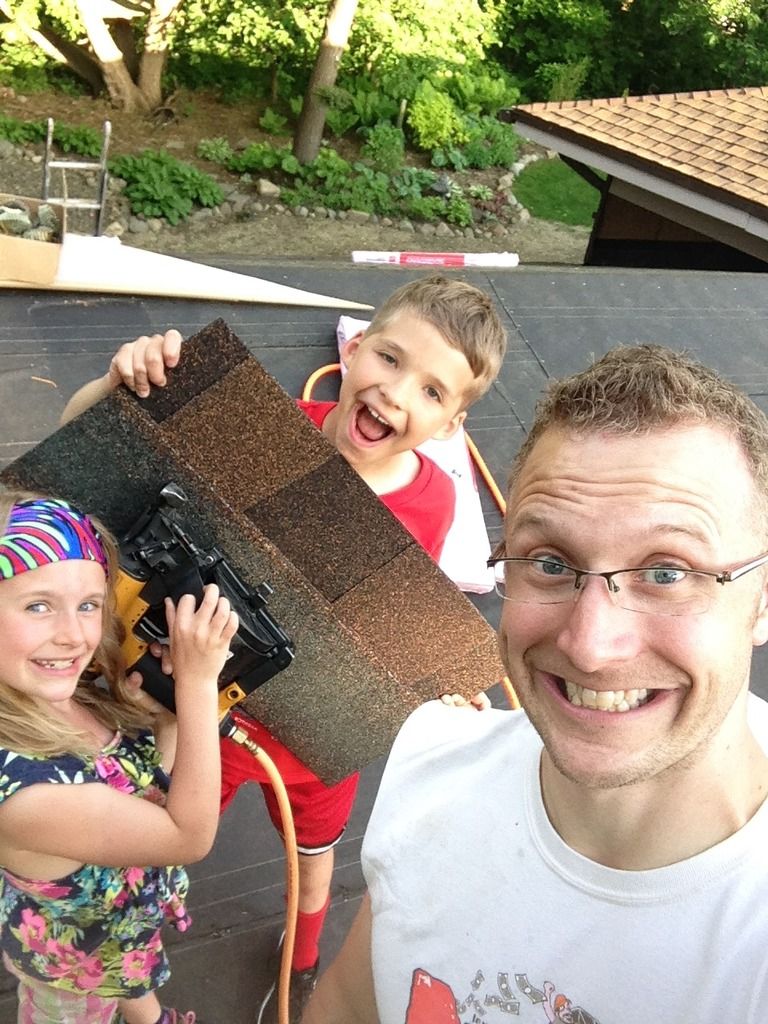 Then we moved in. 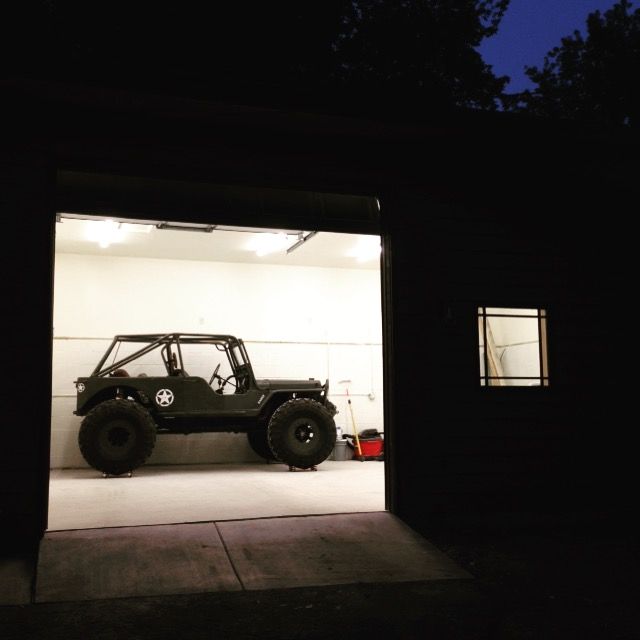 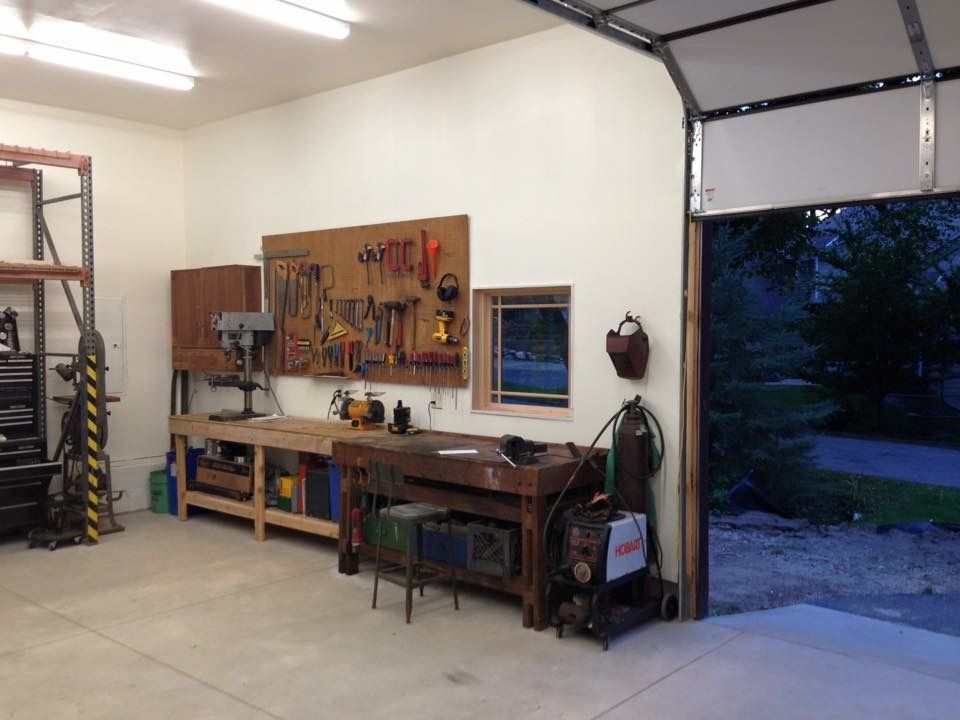 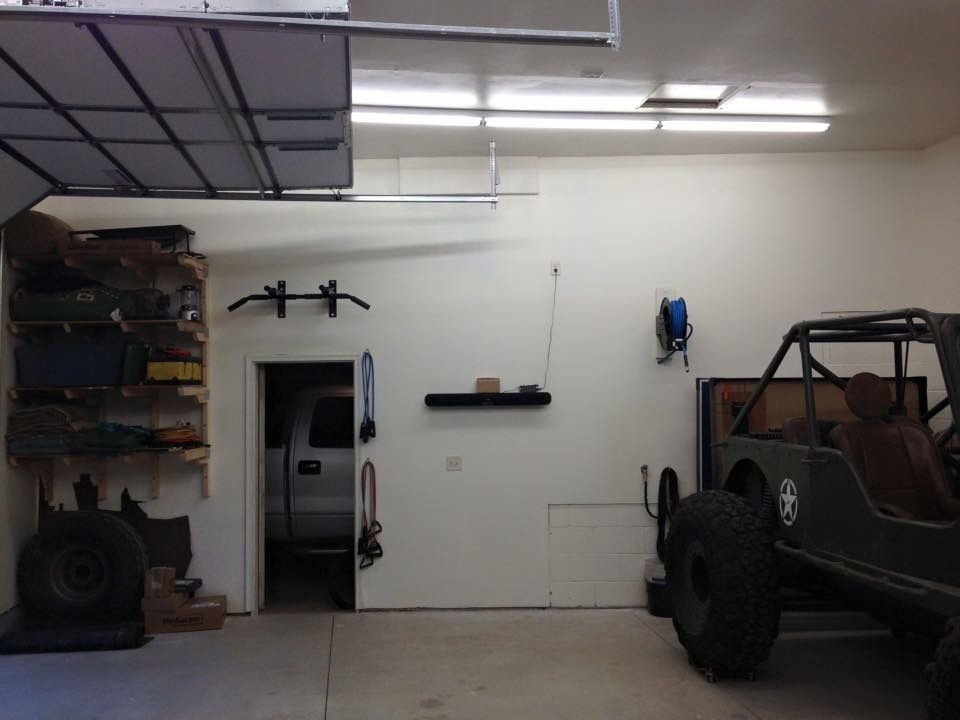 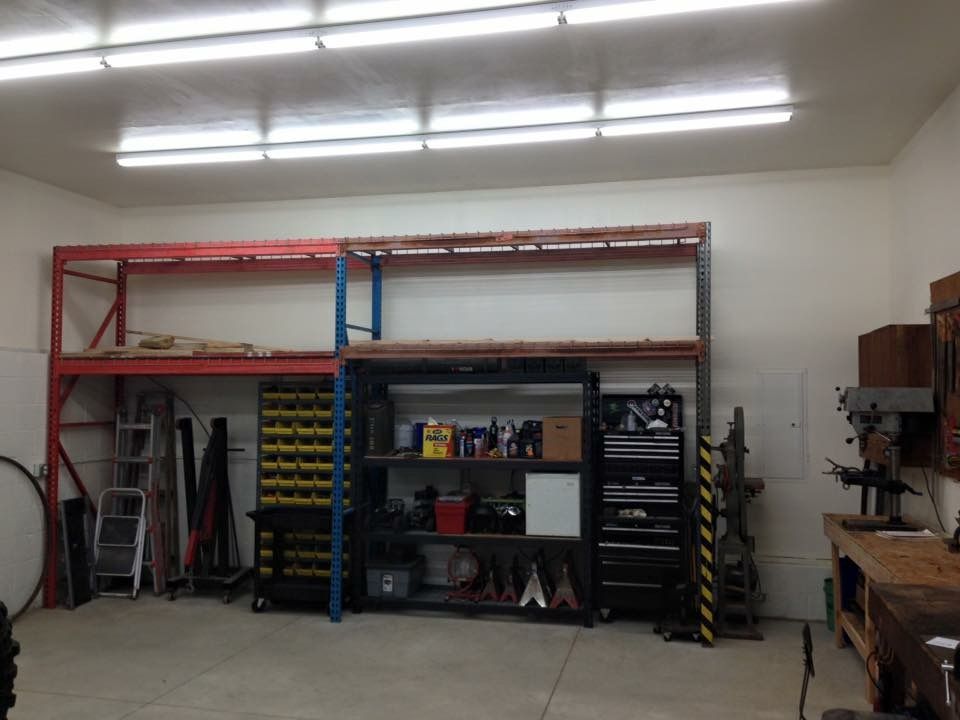 That all brings us up to date as of about 3 weeks ago. I hung the heater last week and will run the gas line this weekend- Now the grass is growing, and it's finally time to get started on a new project. When I was 18, my father committed suicide. There were a lot of things we didn't get to do together, and I have always wished we could have built something as a father/ son project. Well, the shop was phase one of my plan to do that with my kids- which was the natural lead into phase 2. This is Eugene. My dad's name was Robert Eugene Sutherland, so it's a fitting tribute to him and the legacy we are continuing despite his absence. The goal being to teach the kids to turn wrenches, cut metal and weld, and see a project through from start to finish. Eugene is a 49 5 window that needs a lotta work, but the price was right- so it followed me home 2 days after getting final sign off on my building permit for the shop. LOL 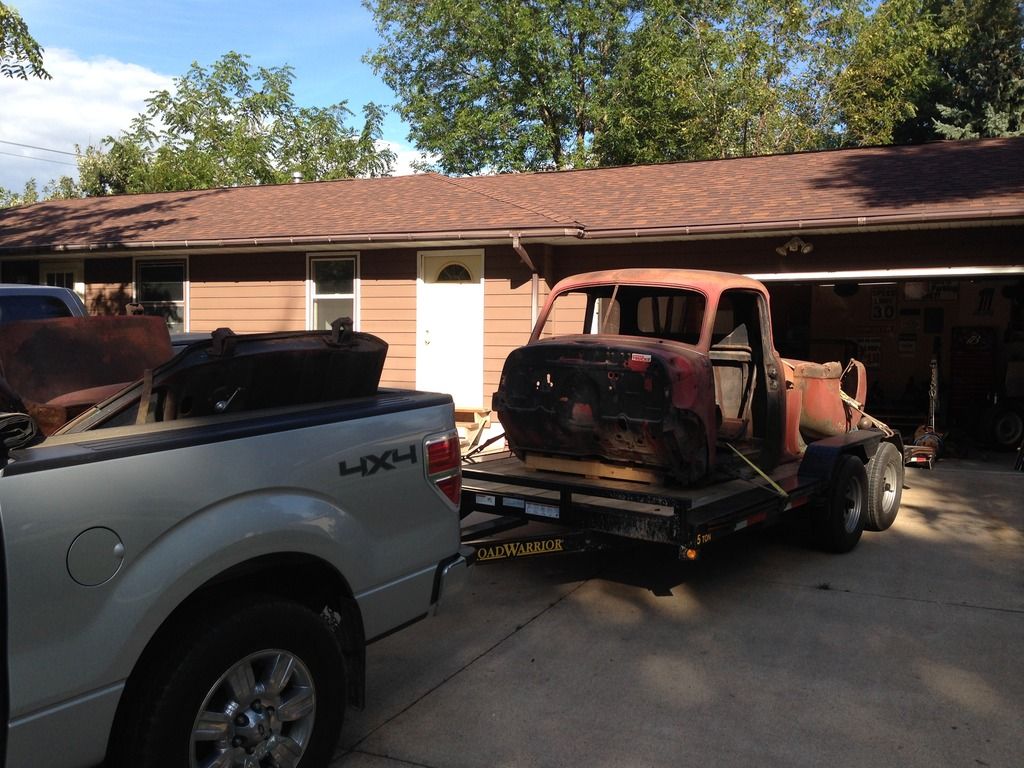 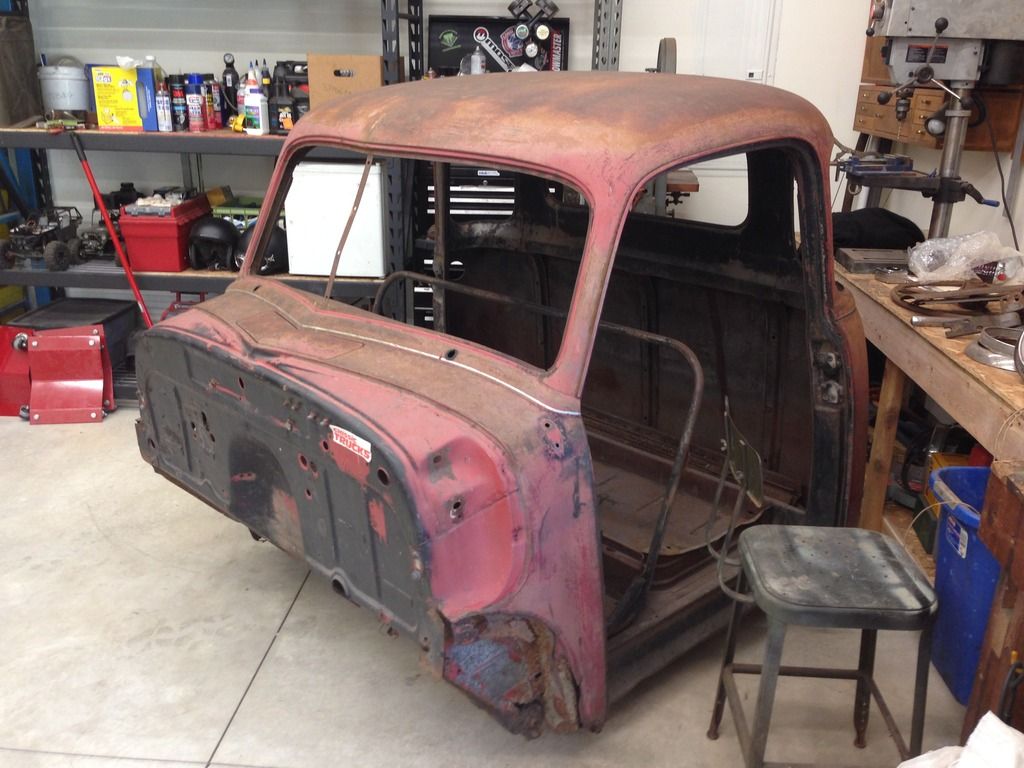 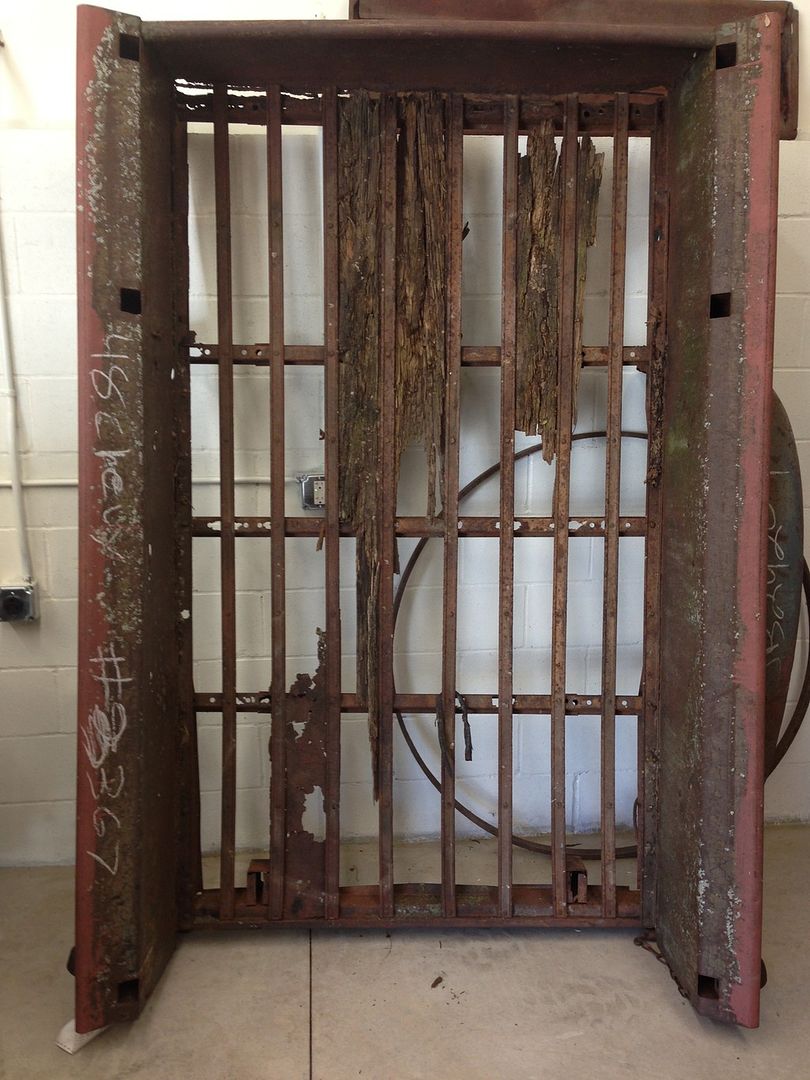 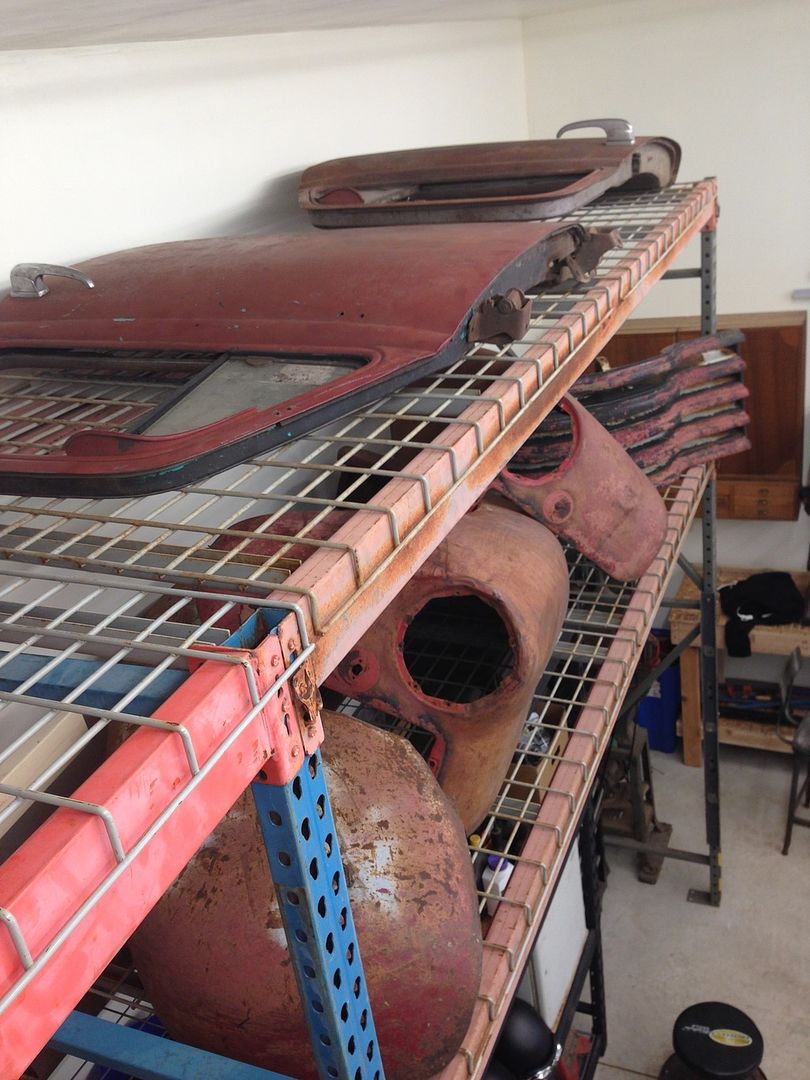 The cab is in decent shape, along with the doors, front fenders, hood, grill, and bed sides. But I spend the rest of this years budget on patch panels for everything, so that will be what we work on for the winter. The plan is an S10 frame, bags, cut the 3600 to a 3100 (I know, I know) and an LS drivetrain. Nothing fancy, just solid sheet metal and a lot of love. I will be asking LOTS of questions when I can't find answers on this wealth of knowledge site. I have never been too proud to ask questions or act like I know all the answers- cuz I sure dont. FIRST QUESTION: Any particular order I should start putting the patch panels in? I am replacing the floor, kick panels, firewall, rockers, and lower cowl. My assumption is I should start at the floor and work my way up and out, but I'm open to ideas. GAME ON |

|

|
|
09-18-2015, 12:25 PM
|
#2 |
|
Registered User
 Join Date: Aug 2012
Location: West Side of the valley, CA
Posts: 878
|
Re: Project Eugene: 1949 5 window
 Shop looks great!!! Since you're looking to do a S10 frame swap, make sure to review these great tips. Skymangs S10 Swap How To sticky http://67-72chevytrucks.com/vboard/s...d.php?t=632686 I'm sure you've reviewed over and over, but its good to point it out. Second, based upon all the S10 builds, you may want to get your hand on a frame first and get all the work done on it first. That will help you determine the work that will be needed on getting panels done. Again welcome on congratz on the build! |
|
|
|
|
09-18-2015, 12:44 PM
|
#3 |
|
Senior Member
Join Date: Mar 2011
Location: West Plains, Missouri
Posts: 7,553
|
Re: Project Eugene: 1949 5 window
Welcome to the group, look forward to your build...Jim
__________________
my build thread: http://67-72chevytrucks.com/vboard/s...d.php?t=459839 Jimbo's long bed step build:http://67-72chevytrucks.com/vboard/s...t=464626<br /> |
|
|
|
|
09-18-2015, 02:49 PM
|
#4 |
|
Registered User
Join Date: Jan 2015
Location: Prior Lake MN
Posts: 87
|
Re: Project Eugene: 1949 5 window
Thanks guys- I appreciate the welcome. I have read Skymangs thread at least 300 times already, but it was good to read it again! Haha.
I am planning on using EZ Swaps stock body height kit, since he told me that his kit puts the running boards and bottoms of the fenders level with the bottom of the frame rail. So, my assumption is that I dont want to do a body drop since I want it to lay frame. He also accommodates for the LS motor with his engine mounts. Anything else I need to know about this kit? Why do you recommend starting with the frame? Since I am using the kit dont I want the stock holes to line up? |
|
|
|
|
09-18-2015, 06:04 PM
|
#5 | |
|
Registered User
Join Date: Aug 2012
Location: West Side of the valley, CA
Posts: 878
|
Re: Project Eugene: 1949 5 window
Quote:
Would hate to have you have to trim up some panels that you patched because doing that takes up that valuable resource...time. of course these are just my thoughts...I don't know your time frame /budget/ donor availability, so my thoughts are worth a grain of salt. Hopefully some of the S10 frame swap maestros will chime in. Last edited by iowaboynca; 09-18-2015 at 06:22 PM. |
|
|
|
|
|
09-18-2015, 07:05 PM
|
#6 |
|
Senior Member
Join Date: Jul 2012
Location: Oblong, Illinois
Posts: 7,017
|
Re: Project Eugene: 1949 5 window
Welcome Hulk64! That is a great shop you built and a very cool Jeep.
There was a really good thread on here about floor and I think rocker replacement too. Will see if I can find it for you. |
|
|
|
|
09-18-2015, 07:09 PM
|
#7 |
|
Senior Member
Join Date: Jul 2012
Location: Oblong, Illinois
Posts: 7,017
|
Re: Project Eugene: 1949 5 window
|
|
|
|
|
09-19-2015, 01:16 AM
|
#8 |
|
Senior Member
 Join Date: May 2007
Location: Doodah Kansas
Posts: 7,746
|
Re: Project Eugene: 1949 5 window
man I love red trucks. everything I find is green. I did see an original maroon one today.
__________________
the mass of men live lives of quiet desperation if there is a problem, I can have it. new project WAYNE http://67-72chevytrucks.com/vboard/s...d.php?t=844393 |
|
|
|
|
11-03-2015, 09:26 PM
|
#9 |
|
Registered User
Join Date: Jan 2015
Location: Prior Lake MN
Posts: 87
|
Re: Project Eugene: 1949 5 window
Well, I made some progress- not a ton, but enough to merit a post at least...
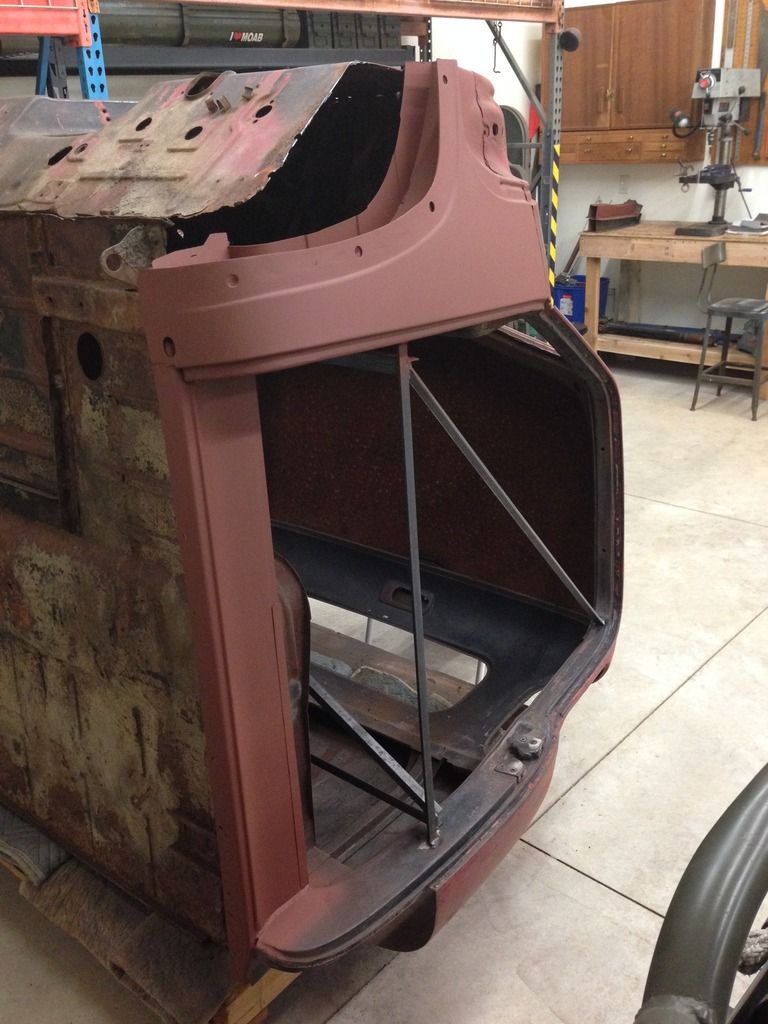
Shop has heat, insulation, and a big screen TV now. 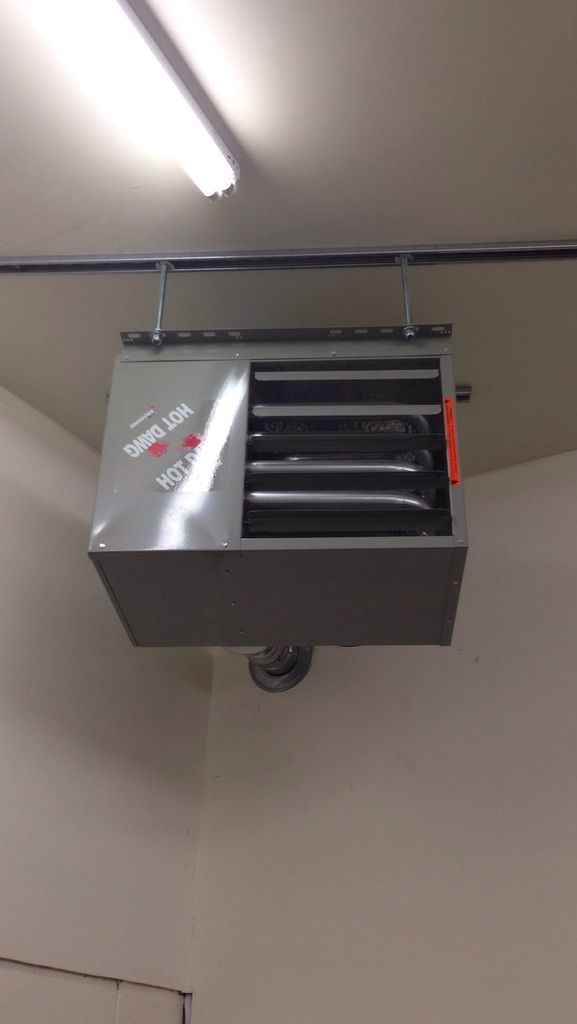 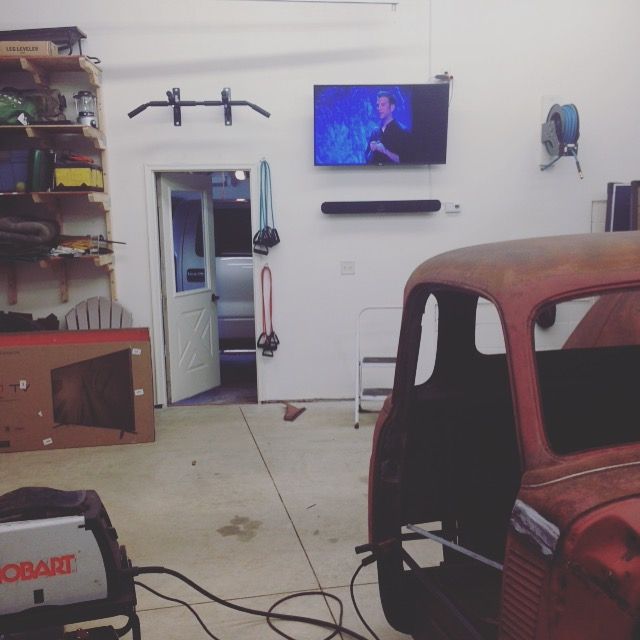 First truck focused project was rebuilding the bedsides. I tried patching only the holes- and I didn't quite go slow enough (And forgot to change to .023 wire, and didn't move frequently enough, and was trying to go fast, etc.) and warped the snot out of the first one. Ouch. 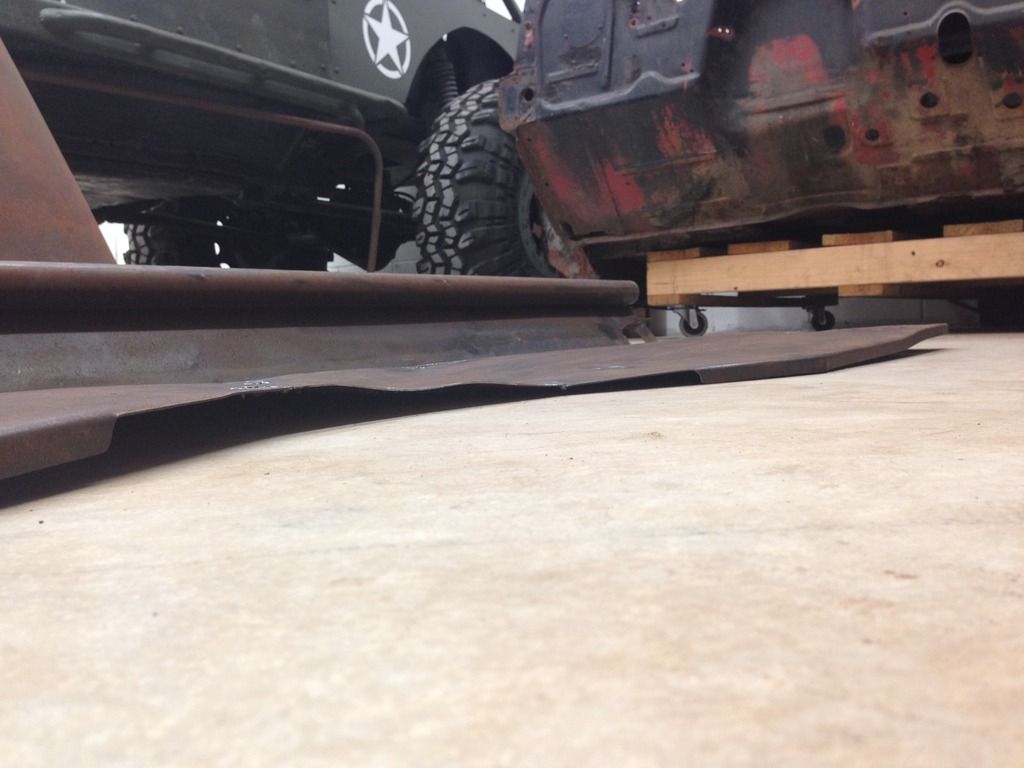 At first I super pissed, but I regrouped and cut the spot welds on the stake pockets and chopped the top angle and rolled edge off length wise and bought a 4x8 sheet of 16 gauge to start over on the bottoms with right sized wire, and a more patient mindset. I also cut them down from 3600 length to 3100 length- so I relocated the stake pockets at the same time. 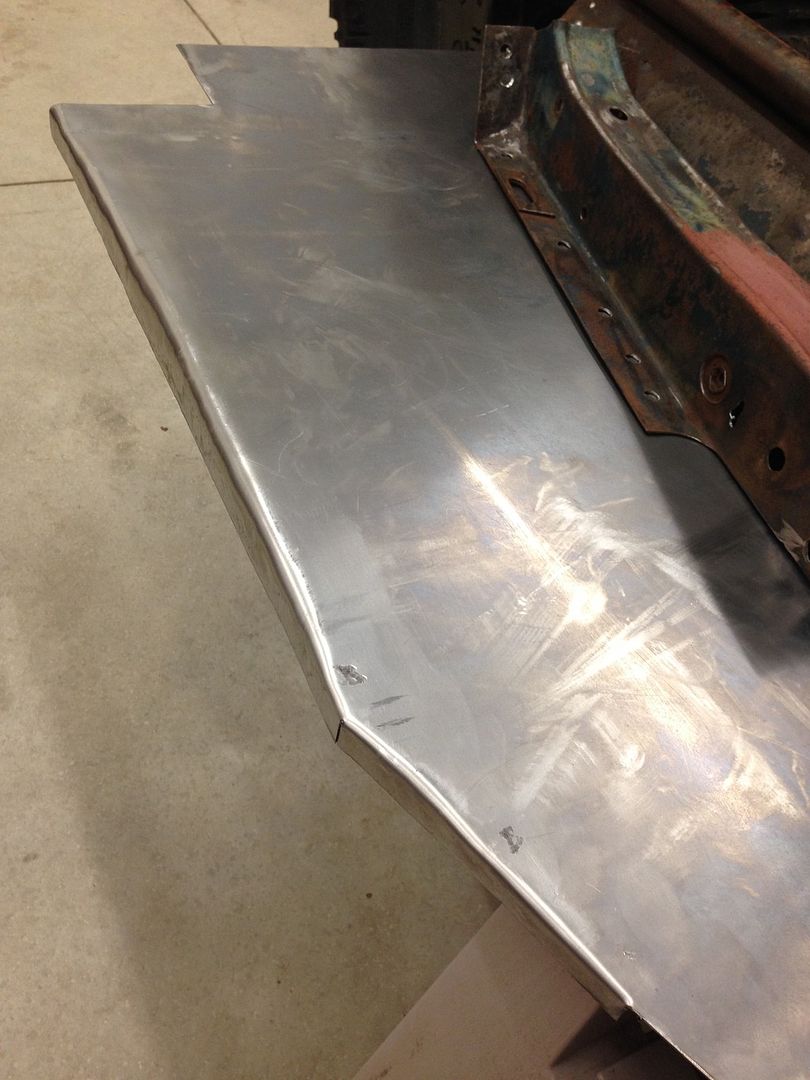 Much less warped> LOL 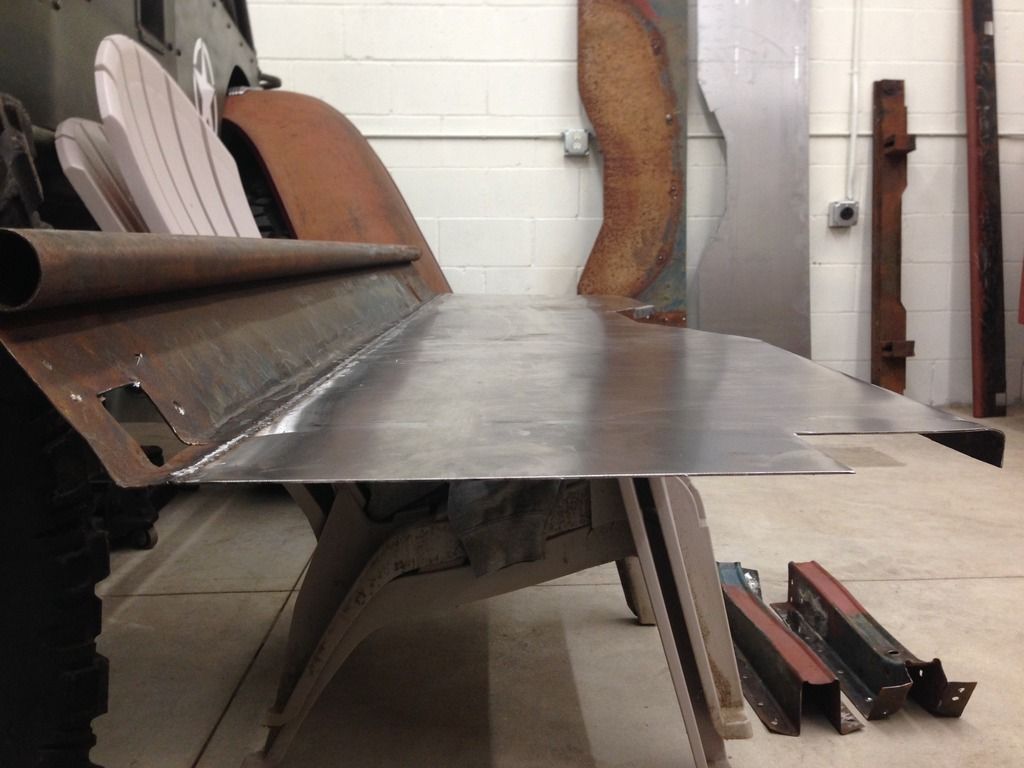 Honestly, the best part was getting my son involved. Here, he didn't want to go put his boots on so this was his solution to no sparks in his socks. Loving getting his hands dirty. 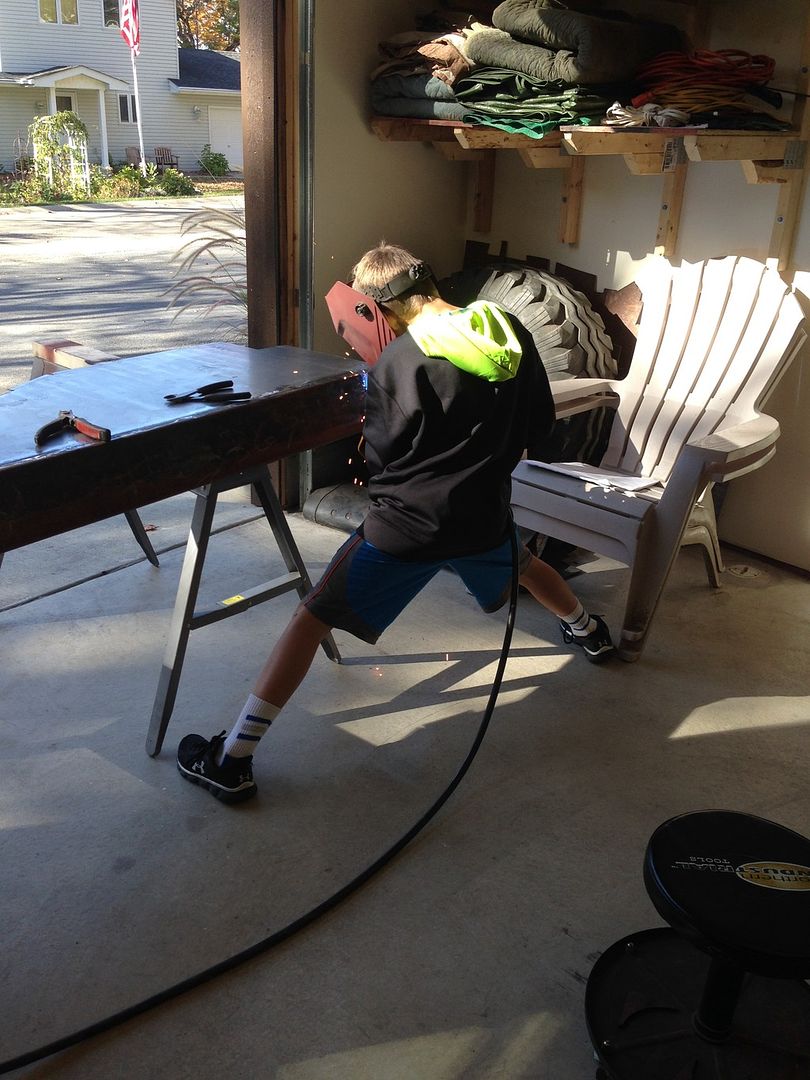  Finished product. The good news is that all the cool patina on the top rail is still under there and this primer is close to the stock color, so when I run through the new paint it will still come through as patina, but all the metal will be solid. 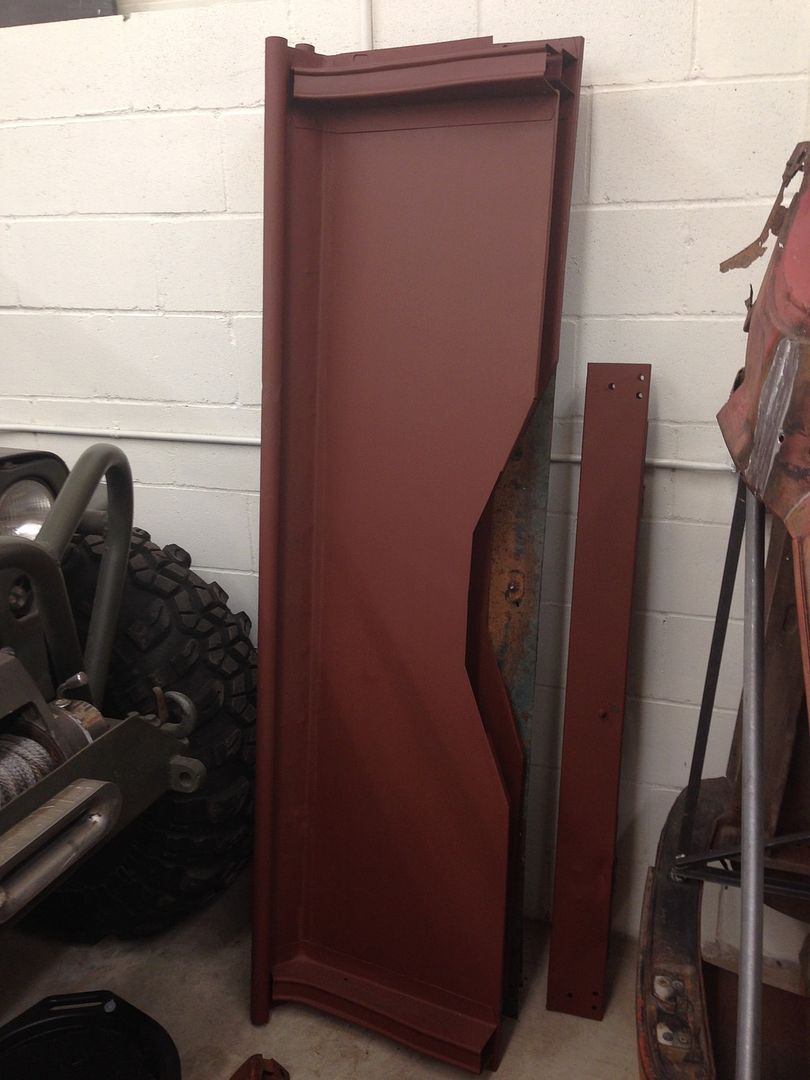 I test fit the doors and the gaps are pretty good, so I got to bracing the cab last weekend so I could roll it on its back and start chopping out the rot. 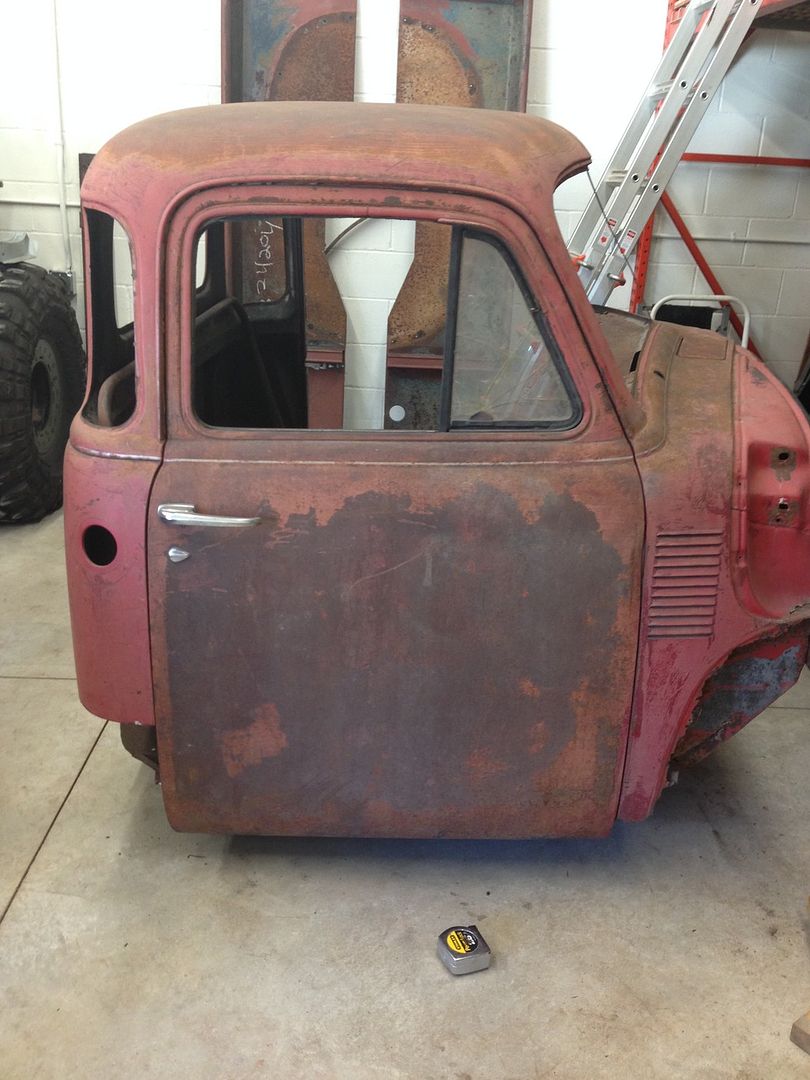 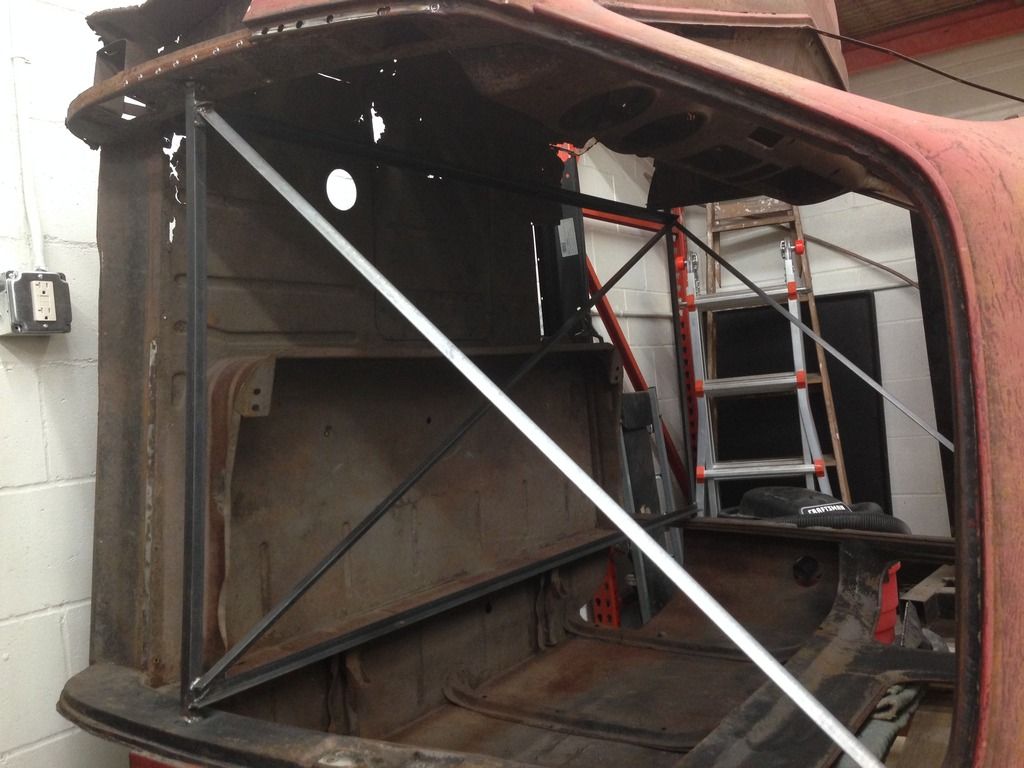 So now that it's braced I started cutting out the yuck. Passenger side rocker is first. After putting it in and taking it out to trim about 265 times, it's pretty close to being ready to get welded in. 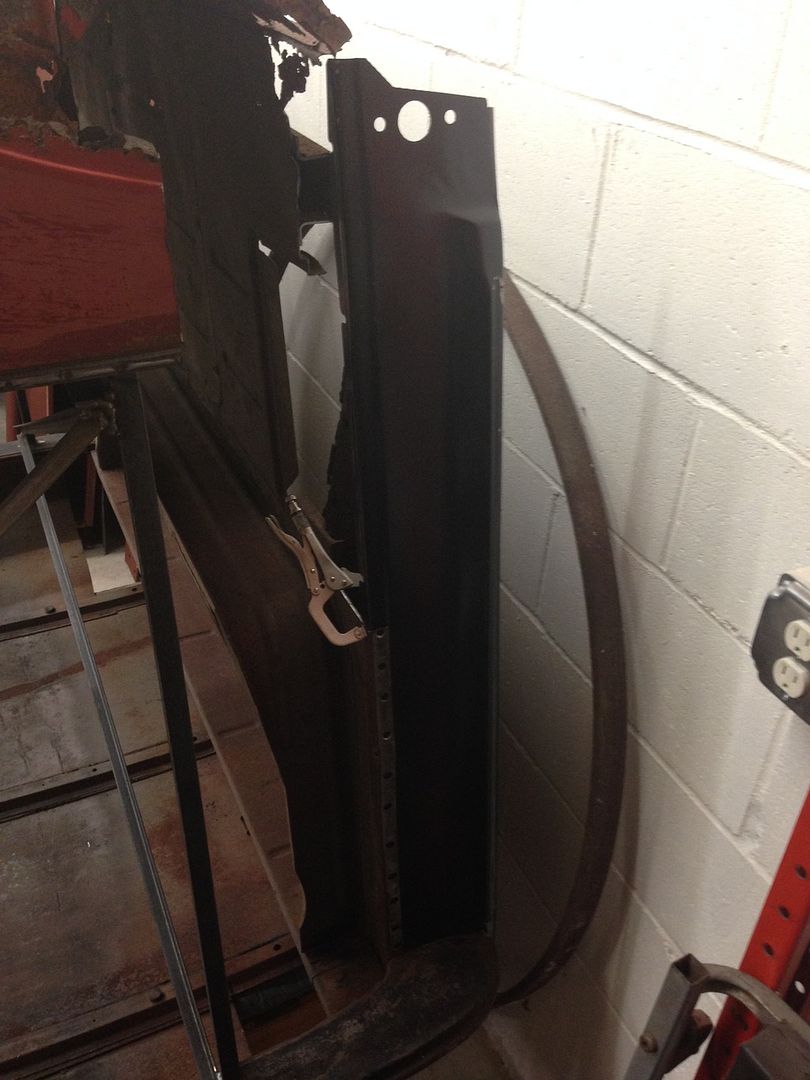 The other good news is I found some really solid rear fenders and a long bed S10 frame that I have being held for the winter until I am ready for it in the spring. So I am stoked to have most of the parts located (And paid for) for phase one. Which brings me to my first question: How do I get this bracket out nicely? I have a new hinge pocket panel- but I need this bracket to bolt the hinge to and it is welded in there in 7-8 spots. Do I just cut them all out? Or can I get a replacement for this somewhere? Everything around it was junk and rotten so I just cut the whole thing out to work on. Figured I would ask before I start hacking. 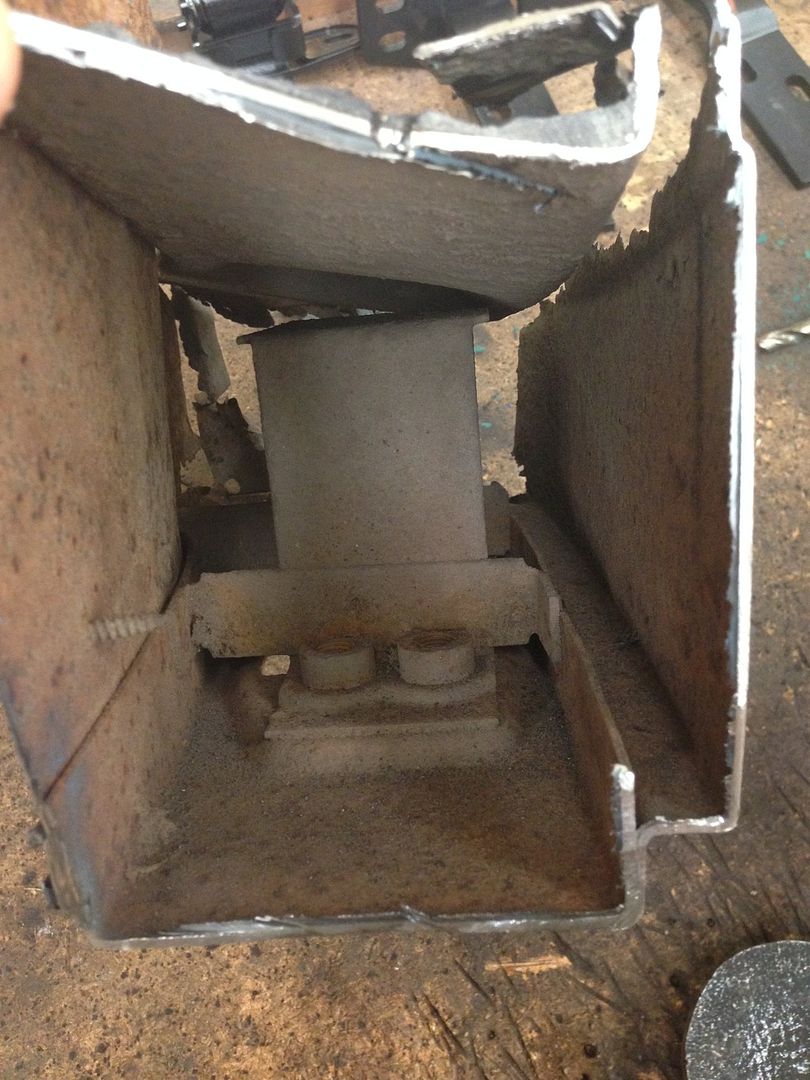 Thanks for the help fellas! Last edited by HULK64; 11-03-2015 at 09:51 PM. |
|
|
|
|
11-04-2015, 03:20 PM
|
#10 |
|
Registered User
Join Date: Aug 2015
Location: Houston texas
Posts: 168
|
Re: Project Eugene: 1949 5 window
sounds a lot like my build except im not using the swap kit. good looking shop man. ive got to replace the floor in mine aw well but I think im going to wait until I get my motor and trans in place first so I don't run into any issues with the trans tunnel. Ill follow along though for sure good luck with it man
__________________
big_moss bagged 51 3100 build |
|
|
|
|
11-16-2015, 08:40 PM
|
#11 |
|
Registered User
Join Date: Jan 2015
Location: Prior Lake MN
Posts: 87
|
Re: Project Eugene: 1949 5 window
I got some of the panels put in, most of them are even straight!
Before: (Drivers side for reference) 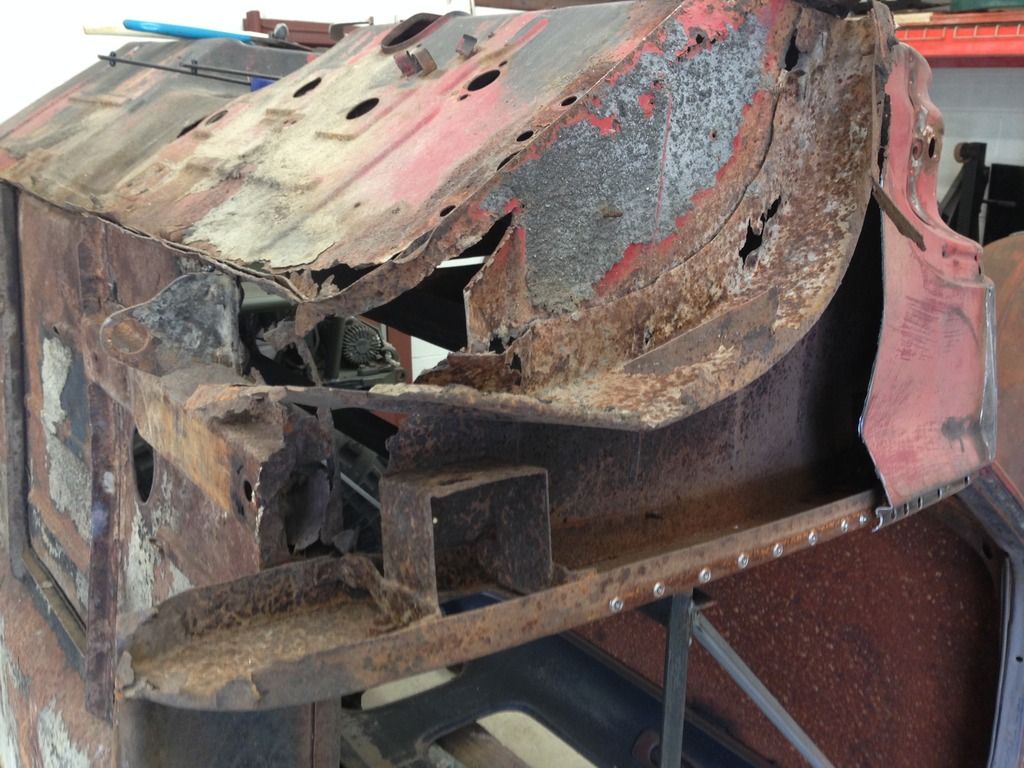 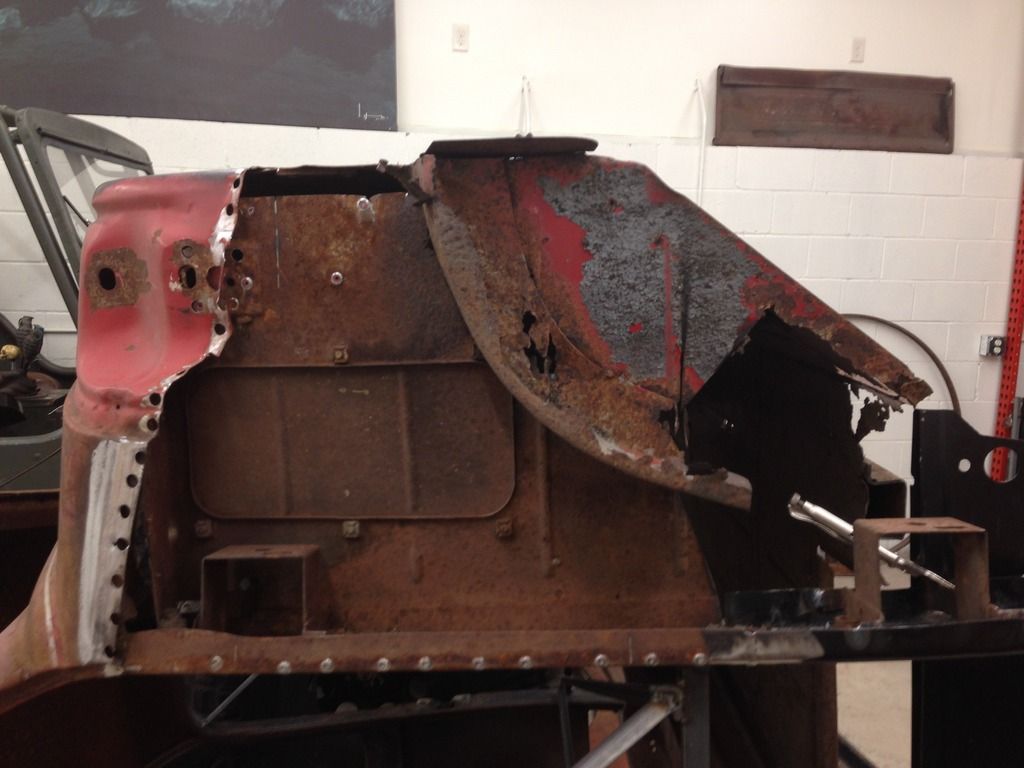 Had some gaps to sort out 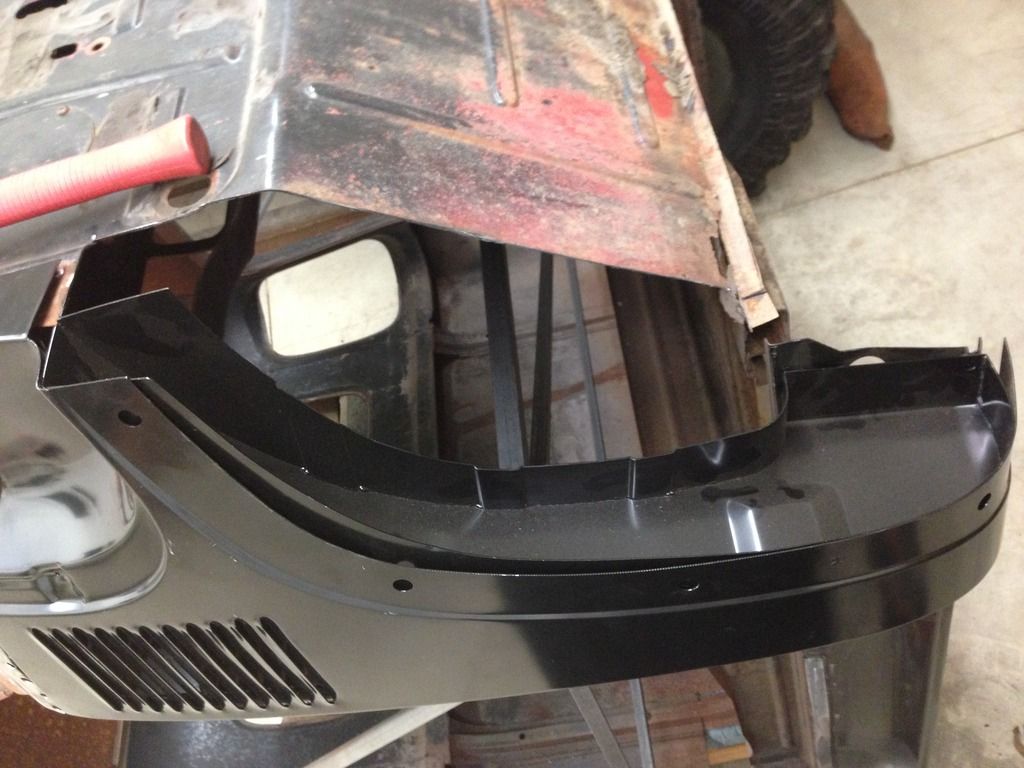 Turned out alright 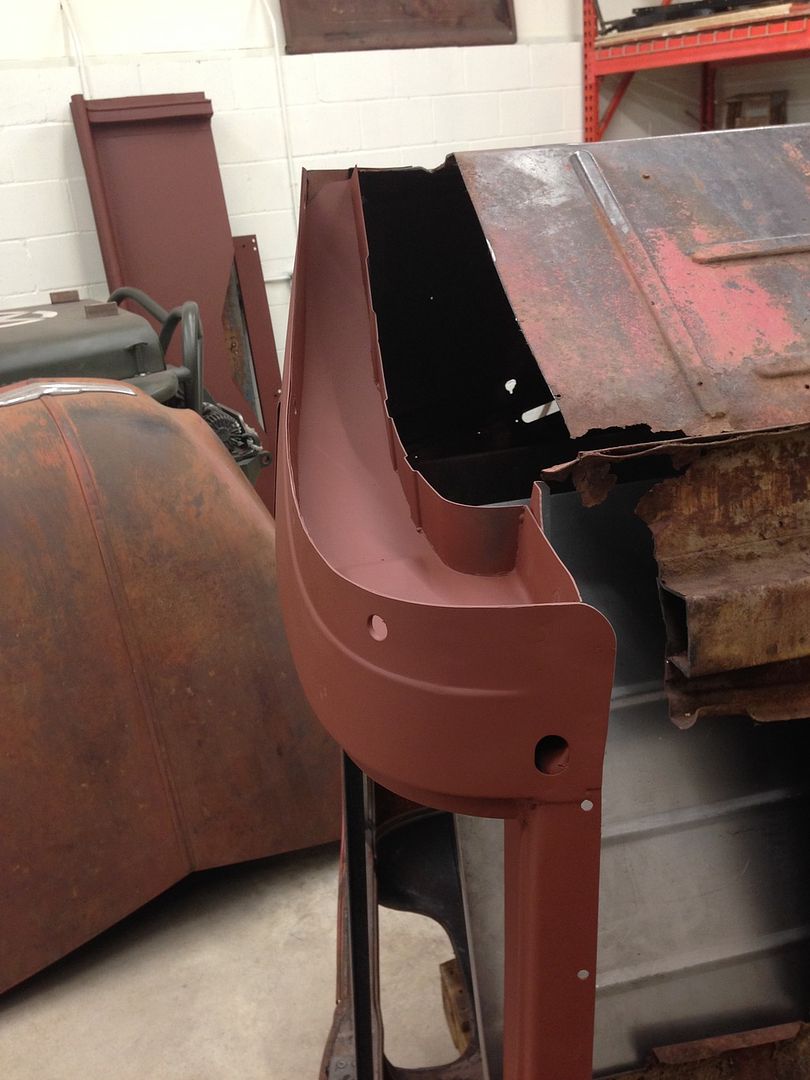 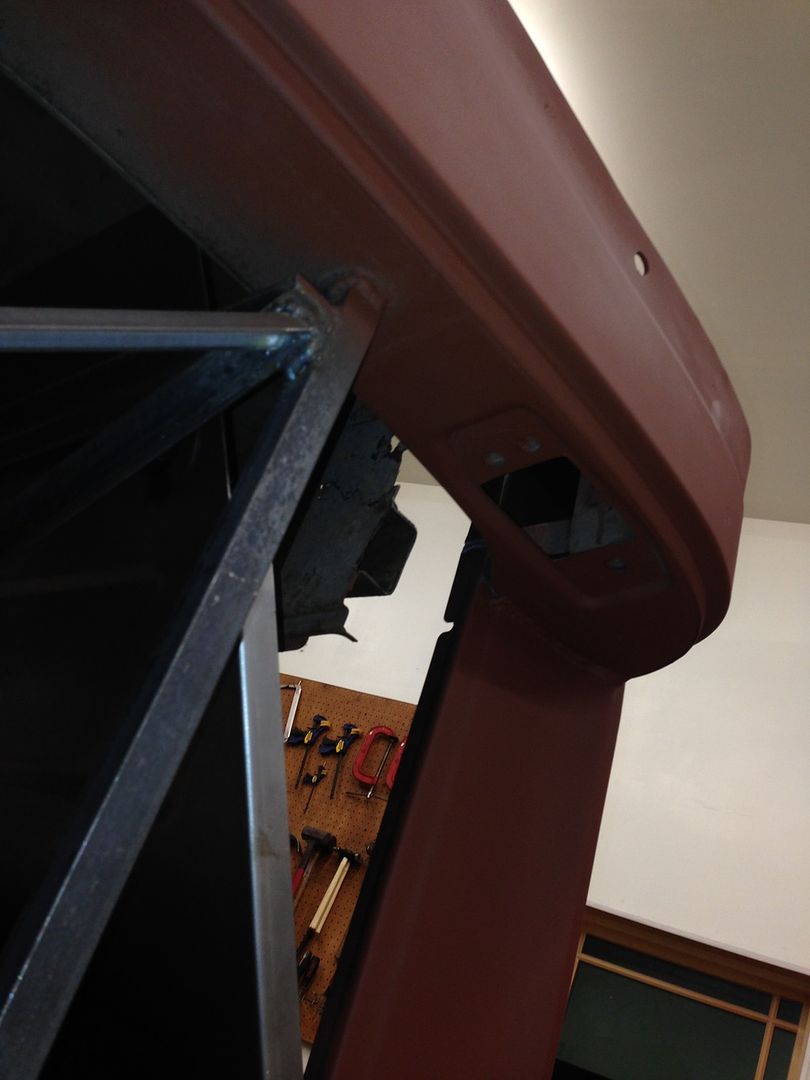 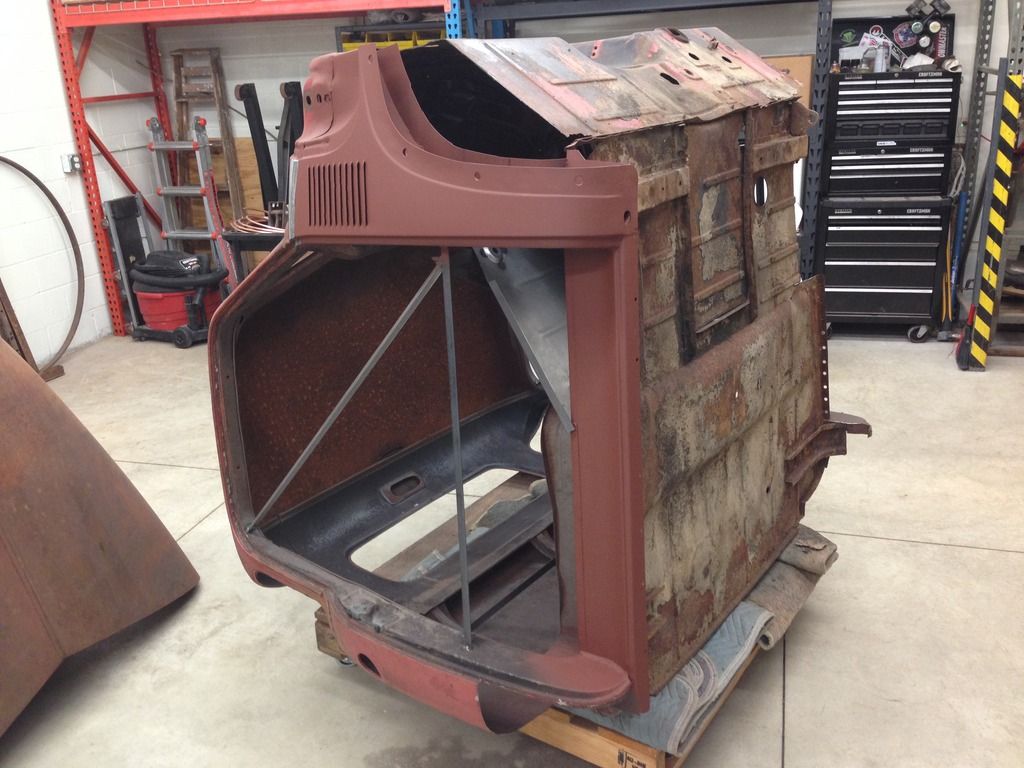 Starting to fab lower floor pieces 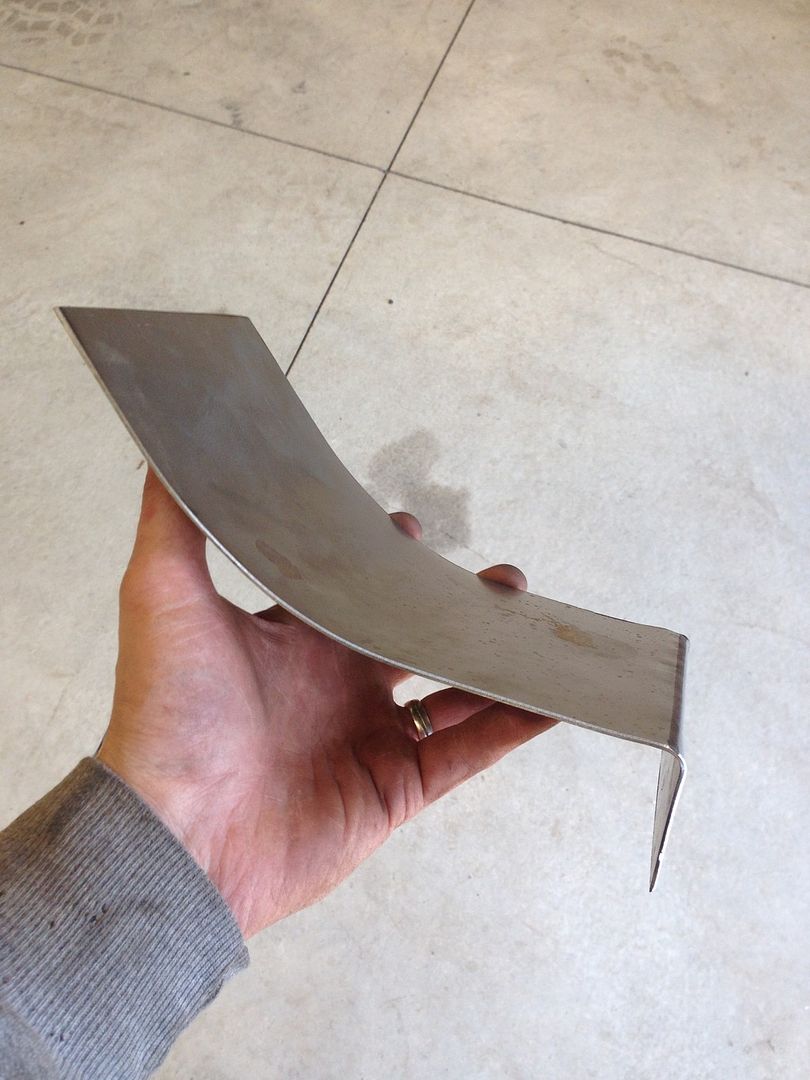
|
|
|
|
|
11-16-2015, 09:07 PM
|
#12 |
|
Registered User
Join Date: Nov 2012
Location: Post Falls, Idaho
Posts: 1,757
|
Re: Project Eugene: 1949 5 window
Awesome shop......and props to you for starting a project with your kids!!
Subscribed!! |
|
|
|
|
11-25-2015, 09:56 AM
|
#13 |
|
Registered User
Join Date: Jan 2015
Location: Prior Lake MN
Posts: 87
|
Re: Project Eugene: 1949 5 window
I got the driver's side wrapped last week, turned out pretty well.
 So then we had an ugly firewall and Flintstones worthy floor to deal with. 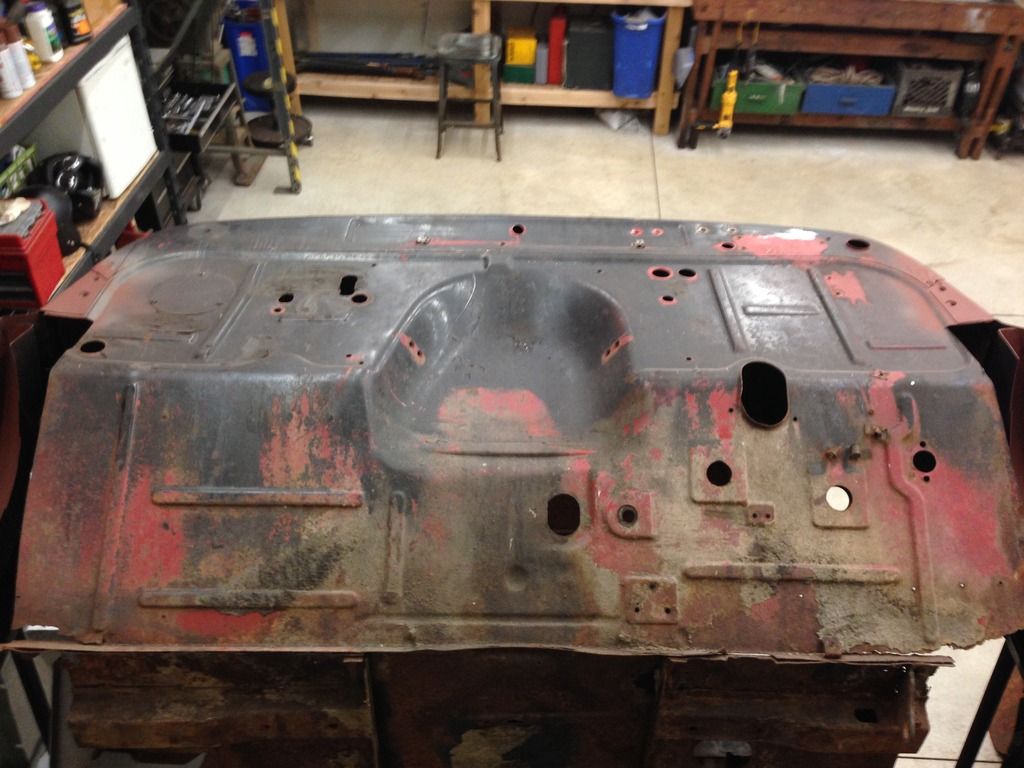 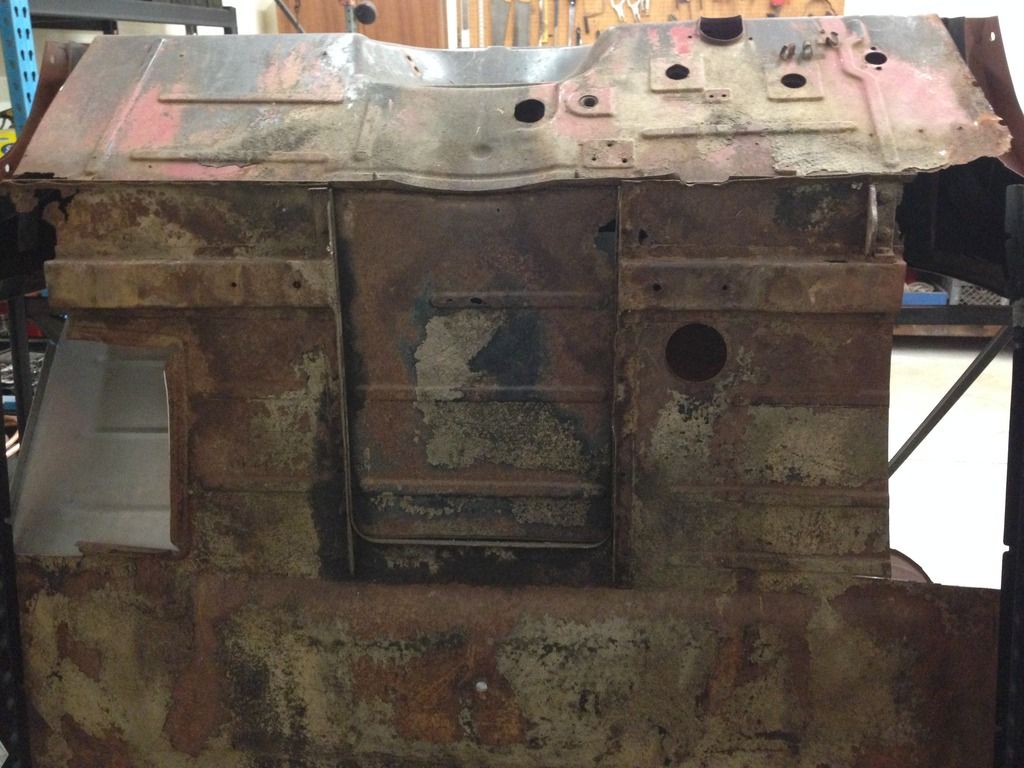 Time to fire up the grinder. 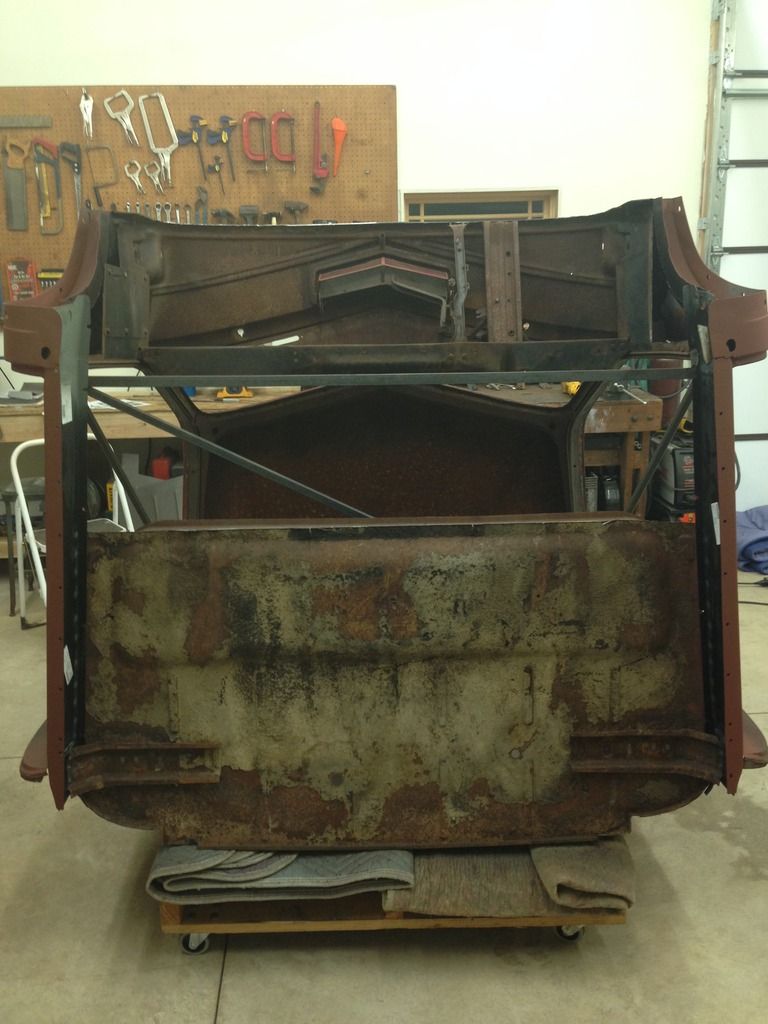 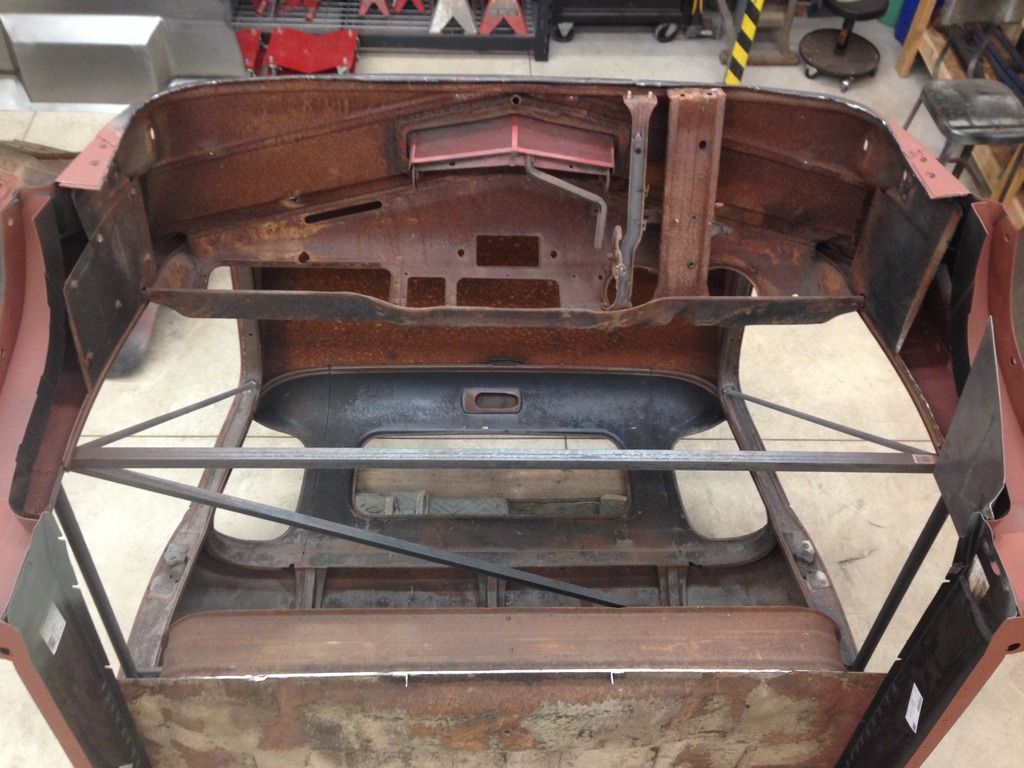 It will take me a little bit to fab up the kick panels, but next up is this little beauty/ floors and taller trans tunnel. 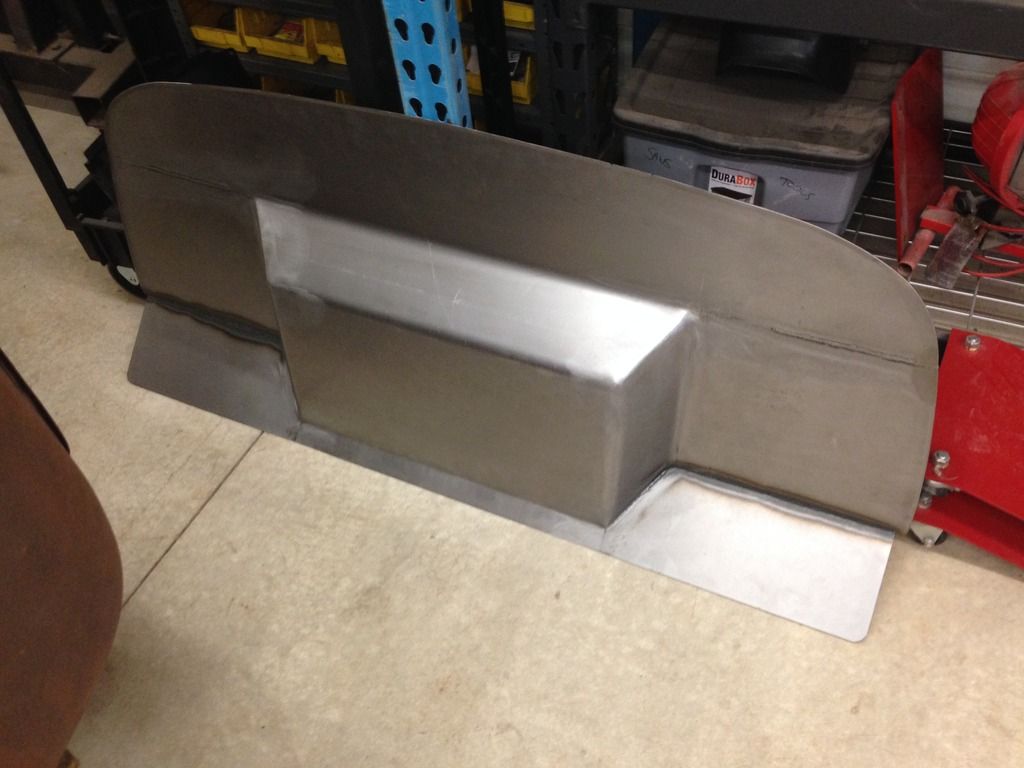
|
|
|
|
|
11-25-2015, 11:00 AM
|
#14 |
|
Senior Member
Join Date: Jul 2012
Location: Oblong, Illinois
Posts: 7,017
|
Re: Project Eugene: 1949 5 window
Really nice work Hulk. Did you fab the firewall?
|
|
|
|
|
11-25-2015, 11:49 AM
|
#15 |
|
Registered User
Join Date: Jan 2015
Location: Prior Lake MN
Posts: 87
|
Re: Project Eugene: 1949 5 window
Thanks AD!
I didn't fab it- it's from Absolute Sheet Metal in AZ. It's a really nice piece, looking forward to putting it in! |
|
|
|
|
11-25-2015, 03:07 PM
|
#16 |
|
Registered User
Join Date: Dec 2009
Location: San Angelo, Texas
Posts: 268
|
Re: Project Eugene: 1949 5 window
HULK64, guys don't normally show their bottoms, cab bottoms that is, but in post #13 above, 4th picture down you have. At the bottom of the picture showing the back end of the cab floor, there are channels on each side to mount cab shackles. I was of the impression these shackles were on cabs 51-54 and possibly 55.1 and not on cabs 50 and earlier. My question is do you know if these channels are on all AD cabs even when the cab has a center mount on the back? My cab is 54 and has these channels but I know nothing about earlier cabs.
Love your shop. Clay |
|
|
|
|
11-25-2015, 03:36 PM
|
#17 |
|
Registered User
Join Date: Jan 2015
Location: Prior Lake MN
Posts: 87
|
Re: Project Eugene: 1949 5 window
Clay- are you talking about the floor supports that tie into the rockers that the cab mounts bolt through? I would assume all cabs would have these, as you would want a supported structure to bolt the cab to the frame. Or are you referring to something else and I am not understanding?
|
|
|
|
|
11-25-2015, 04:34 PM
|
#18 |
|
Registered User
Join Date: Dec 2009
Location: San Angelo, Texas
Posts: 268
|
Re: Project Eugene: 1949 5 window
We are talking about the same. If your cab is 49 than that cab did not use the shackles in this location. And yes, if you are building cab stands they will need to connect in this location.
I have just verified from another source that these "c" channels are in face on all AD cabs. This is something I was not aware. Thanks for your response and please accept my apology for the bother. Clay |
|
|
|
|
11-25-2015, 04:39 PM
|
#19 |
|
Registered User
Join Date: May 2013
Location: Losser, The Netherlands
Posts: 136
|
Re: Project Eugene: 1949 5 window
Nice progress, how did you fix those gaps?

|
|
|
|
|
11-25-2015, 06:00 PM
|
#20 |
|
Registered User
Join Date: Jan 2015
Location: Prior Lake MN
Posts: 87
|
Re: Project Eugene: 1949 5 window
I pulled (Read: Bent) the inner edge of the fender support outwards along the edge since I didn't want to just pull the cowl sheet metal in towards the support and bend/ warp it. I got most of it to pull close enough to get spot welds on it with the exception of one that ended up with about a 1/4" gap between the fender bolt hole.
Not sure if that was the right way or not, the advice I got was, "Pull it til it fits," so if you have another way of doing it, I am all ears! |
|
|
|
|
11-25-2015, 07:10 PM
|
#21 |
|
Registered User
Join Date: Feb 2015
Location: Centerton, AR
Posts: 433
|
Re: Project Eugene: 1949 5 window
Looking good! Welcome to the site.
__________________
1969 Chevy C10 SWB 350/400 4"-6" drop on steelies 53' Chevy 3100 5 window http://67-72chevytrucks.com/vboard/s...d.php?t=660793 http://67-72chevytrucks.com/vboard/s...d.php?t=771679 |
|
|
|
|
11-25-2015, 11:34 PM
|
#22 |
|
Registered User
Join Date: Oct 2013
Location: Sturgeon County Alberta
Posts: 74
|
Re: Project Eugene: 1949 5 window
Nice project.
|
|
|
|
|
11-26-2015, 07:05 AM
|
#23 | |
|
Registered User
Join Date: May 2013
Location: Losser, The Netherlands
Posts: 136
|
Re: Project Eugene: 1949 5 window
Quote:
Richard |
|
|
|
|
|
11-26-2015, 11:39 AM
|
#24 |
|
Registered User
Join Date: Jan 2015
Location: Prior Lake MN
Posts: 87
|
Re: Project Eugene: 1949 5 window
I see that. The inner support has been far and away the biggest pain so far. I started to fit in my kick panels yesterday and holy buckets- they are WAY off. I am going to have to beat the life out of them to get them in shape.
The way I figure it- as long as the cowl piece is straight and lines up with the A pillar so the fenders are straight, it doesn't really matter whether the inner support is flawless- since it's just a support. (Yet another reason this won't be a SEMA truck- just a solid rig that looks pretty good) 
|
|
|
|
|
11-26-2015, 12:51 PM
|
#25 |
|
Registered User
Join Date: Jun 2012
Location: Lakewood,New York
Posts: 502
|
Re: Project Eugene: 1949 5 window
that brace piece was so poorly fitting, I scrapped the whole factory method.
Remember, the outer curve needs to match your fender's curve. I made my brace removable, for paint, and for running wiring if necessary. |
|
|
|
|
| Bookmarks |
| Thread Tools | |
| Display Modes | |
|
|


 Linear Mode

