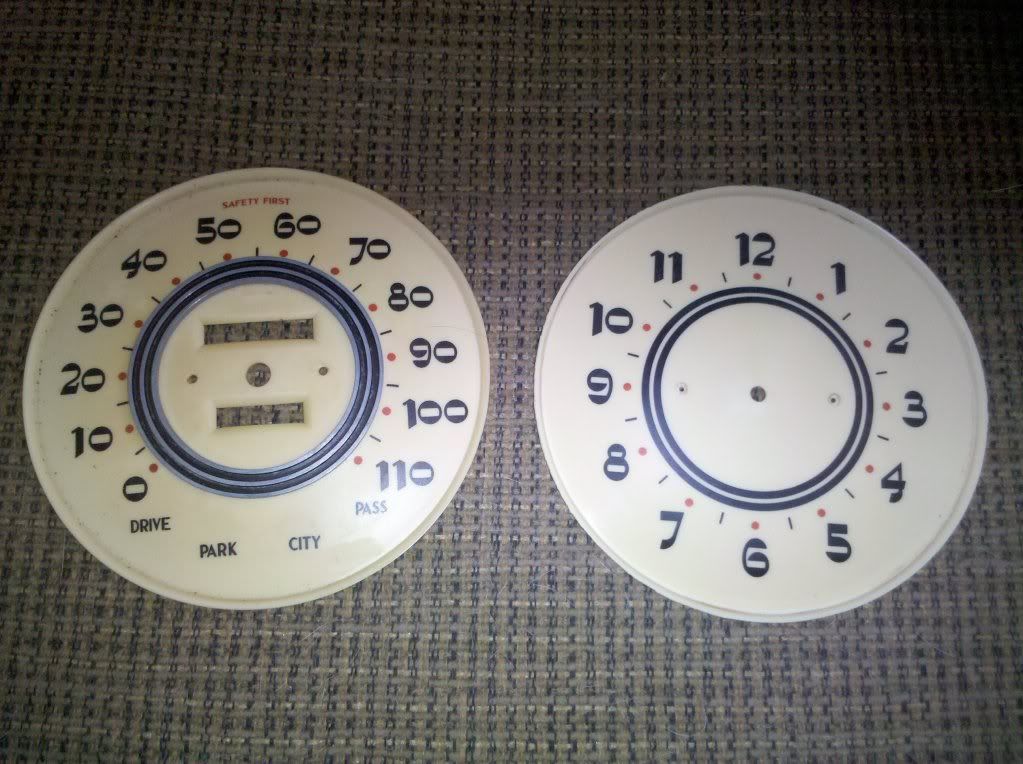
Now on to what I think is the cool stuff. Everyone knows I always try to do things cheap, or shall I say inexpensively. It doesn't always work out that way, but I try my best. After aquiring these gauges, I sat down and did a little thinking. How much do I feel like spending on gauges that are part of a low budget, do-it-yourself build? Very little! So here we go. First thing I did was take the gauges apart. Pretty simple, just take your time, take pictures and put EVERYTHING in ziplock bags! Took the face plates off and cleaned them up with some warm water and detergent. Other than some 70+ year old stains, they look like new!
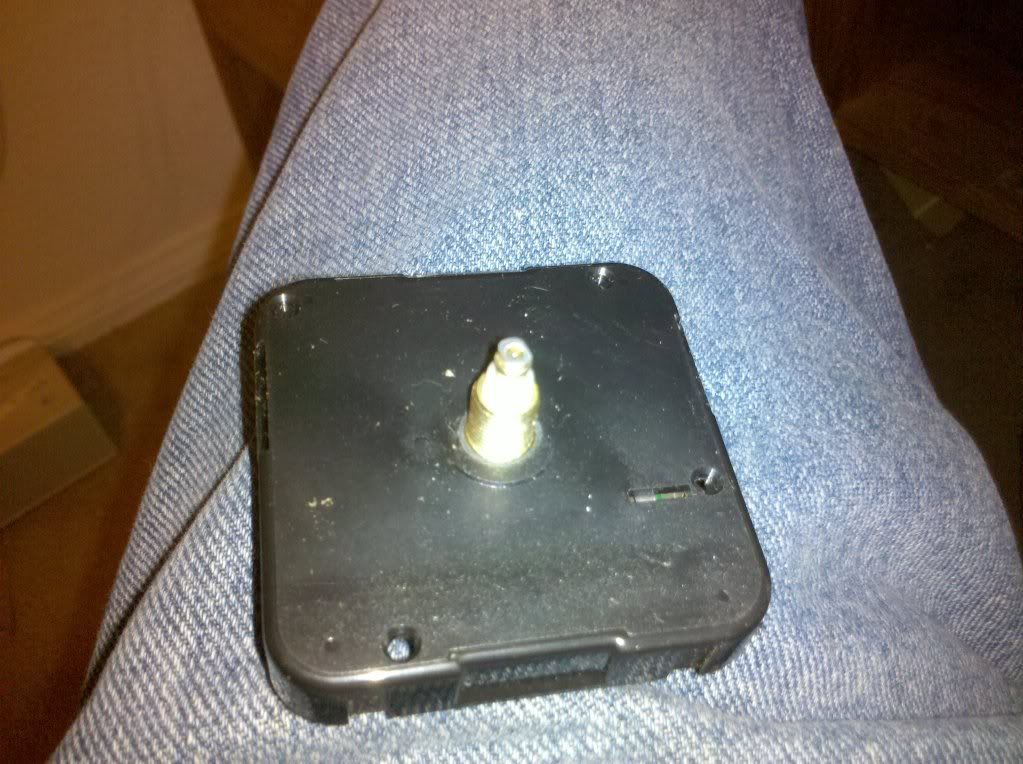
I looked into the 12 volt quartz clock adapters (starting at around $85 just for the clock) and decided I could do better. I went down to our local Michaels Art & Crafts store and bought a A battery quartz clock kit for $8 bucks! If those can keep time for a couple years on a little battery, then who am I to argue?!
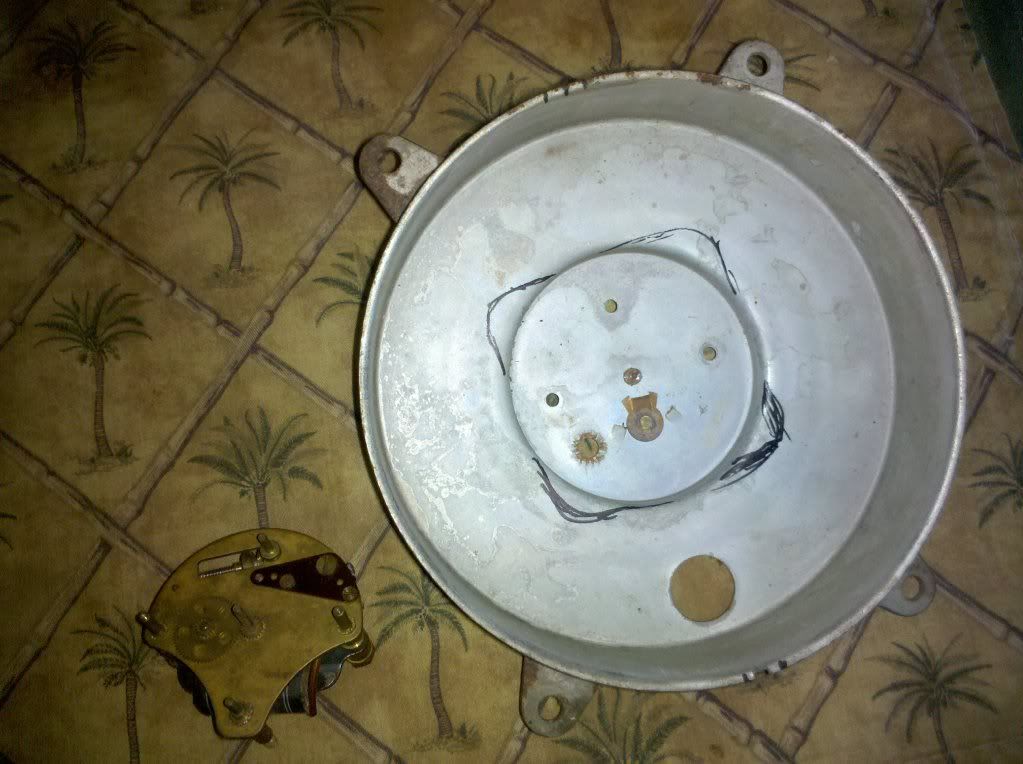
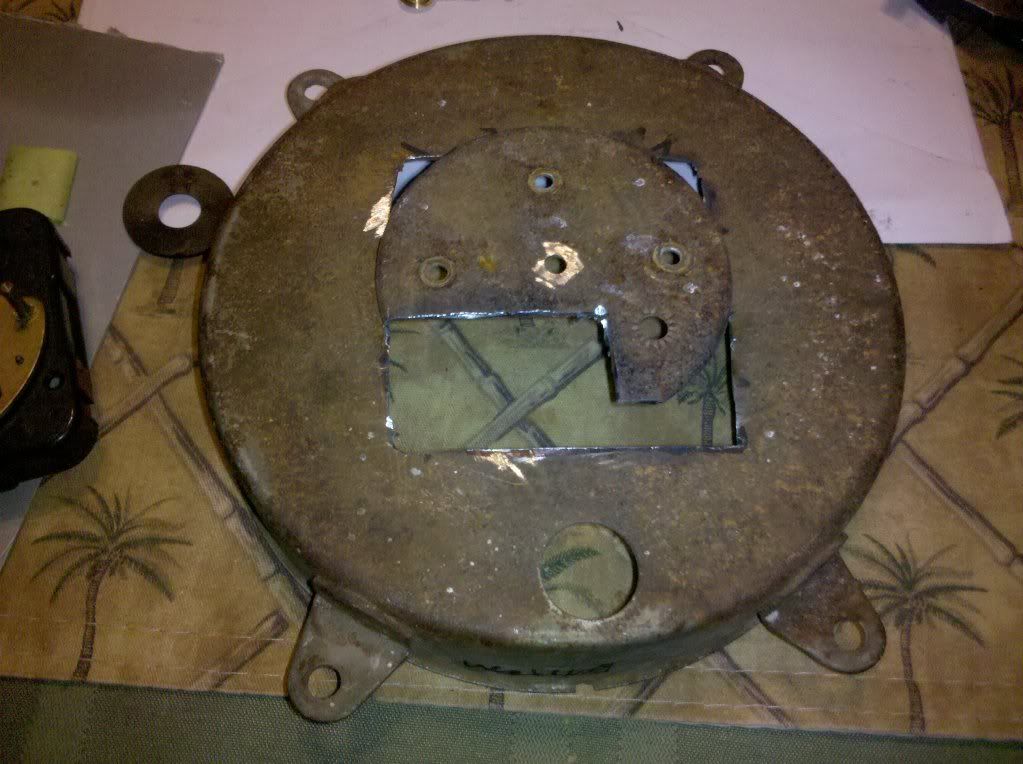
Took the factory clock back and marked where I'd have to cut it to fit the box.
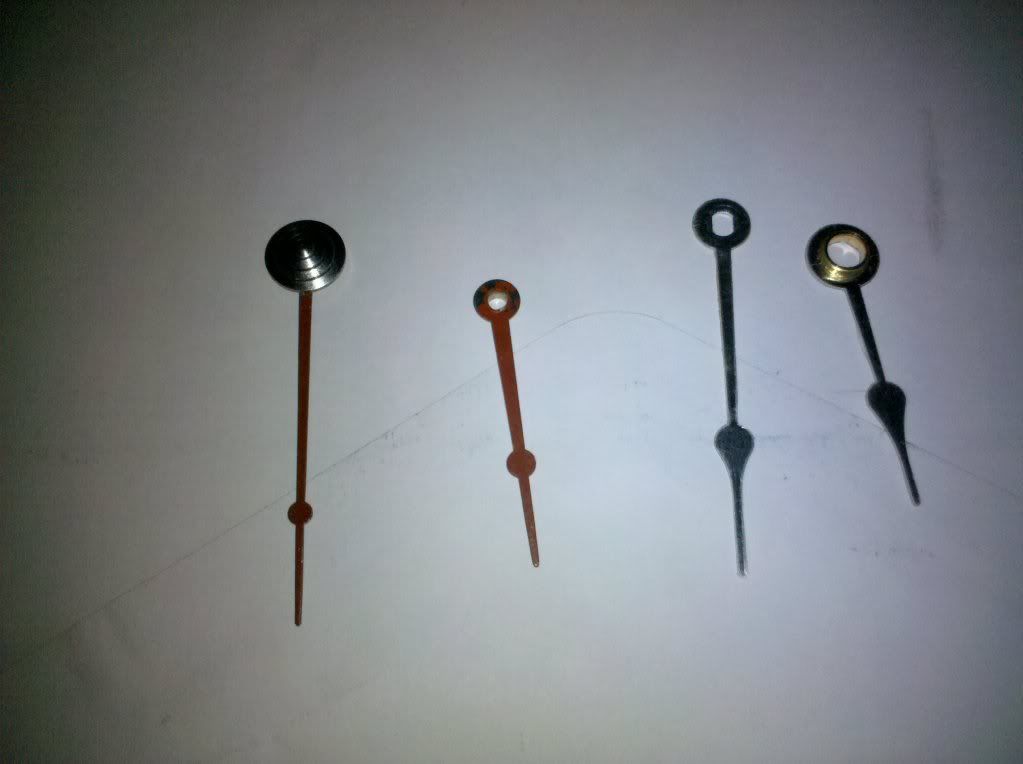
Here are the original needles on the left and new ones on the right
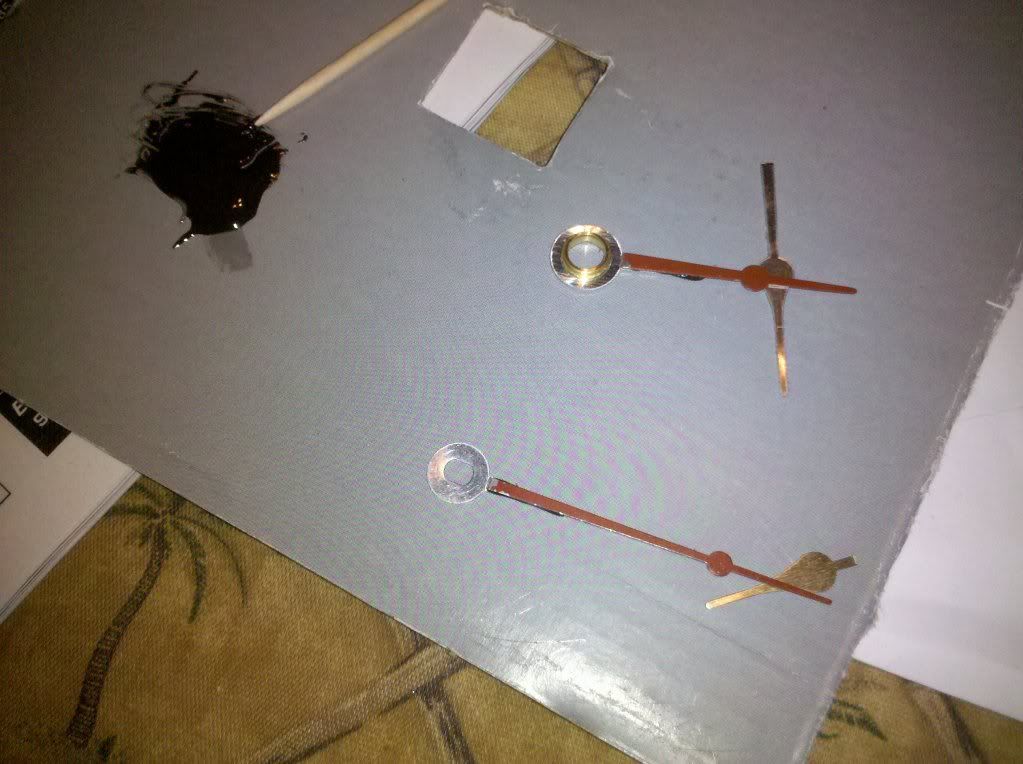
So I cut the original ones to where they widen out and cut the new ones to about 1/2" from the base. I mixed up some 4 minute epoxy and glued the old on top of the new
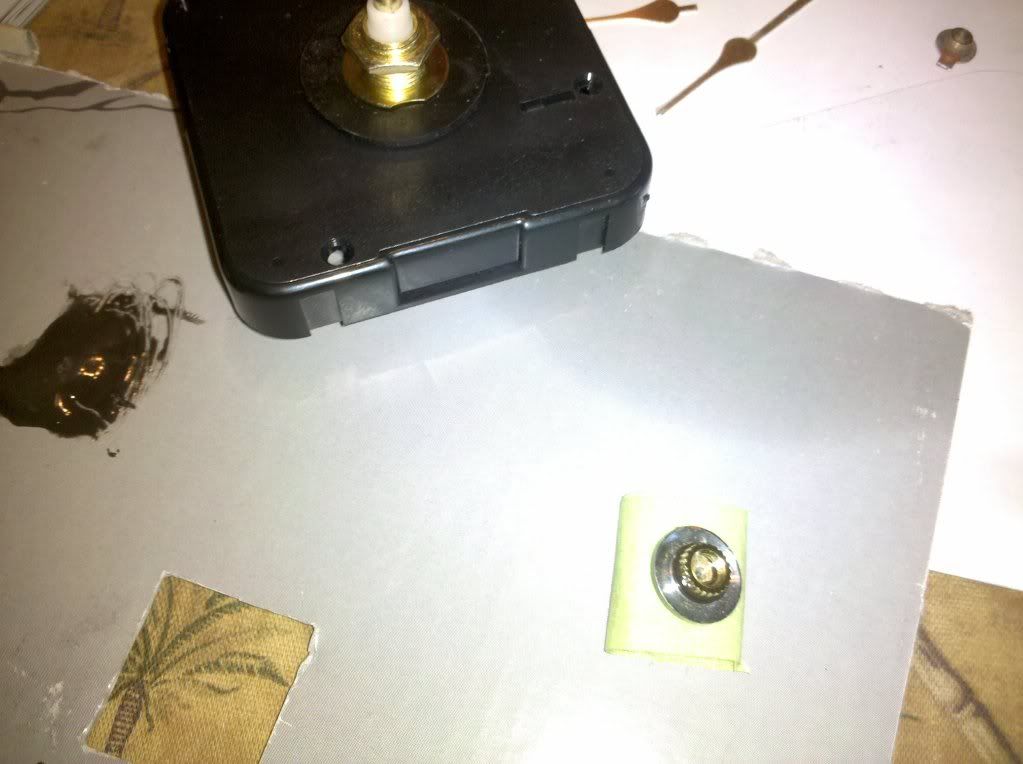
I then carefully ground down the backside of the machined top and glued the serrated nut to screw down the new/old clock hands
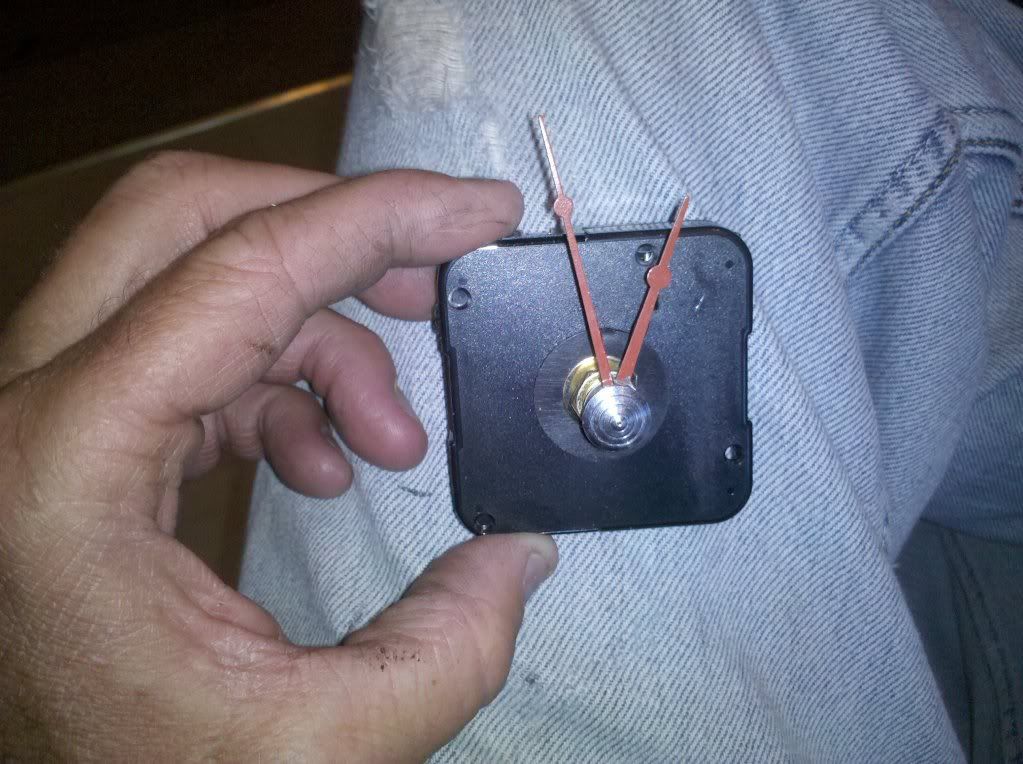
Now I just need to clean up the glue, mix up some maroon/red and they'll look like new!