Now we can begin the installation. One of the first things that must be done to the transmission is to remove the shifter held on by four 13mm bolts and set it aside. We’ll come back to it later.
Next, enlarge the four mounting holes to ½”. This is simple to do especially since the case is made of aluminum. Just take a ½” drill bit and drill out the 4 holes.

Next, bolt on the clutch kit to the flywheel and install the throwout bearing onto the transmission. The clutch kit to use will be dependent upon what style input shaft you have and how long it is. Basically, just get a kit that coincides with whatever vehicle the transmission came out of and you’ll be good to go. My 1989 Camaro T-5 uses the clutch kit for a 1989 Camaro. It’s Borg Warner part #90160. There’s no need to make things more complicated by searching for some exotic clutch kit for a 1987 DeLorean DMC-12 with the optional flux capacitor. Seriously, just get the kit for the vehicle the transmission came out of- it’s that simple.

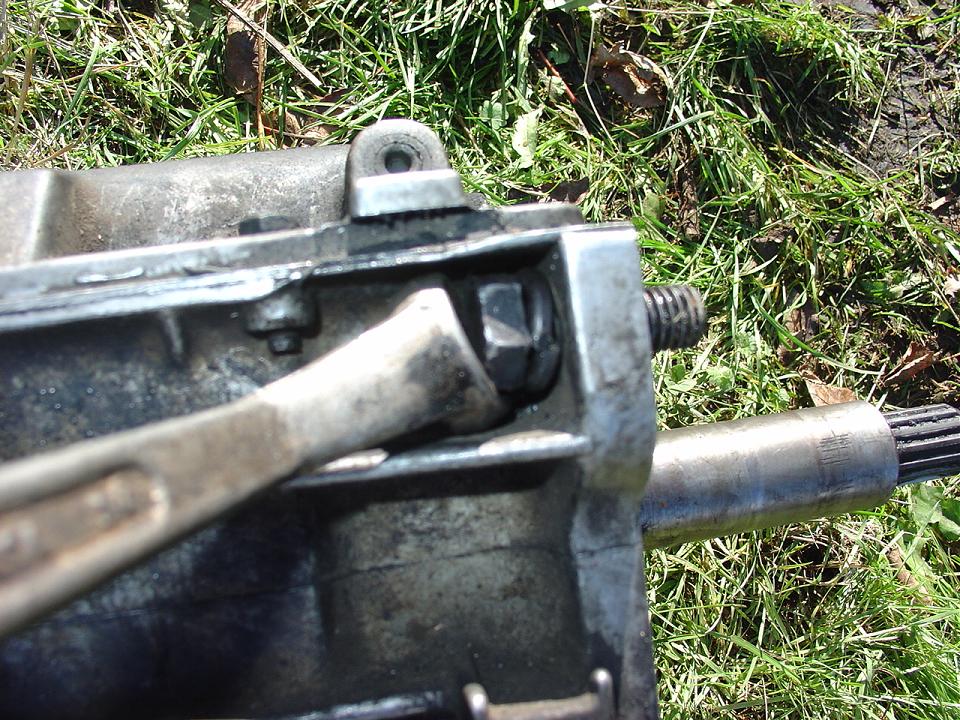
The throwout bearing that comes with the kit will work just fine for the Camaro T-5. In my case the clutch fork needed a slight bit of grinding to slide over the bearing smoothly.

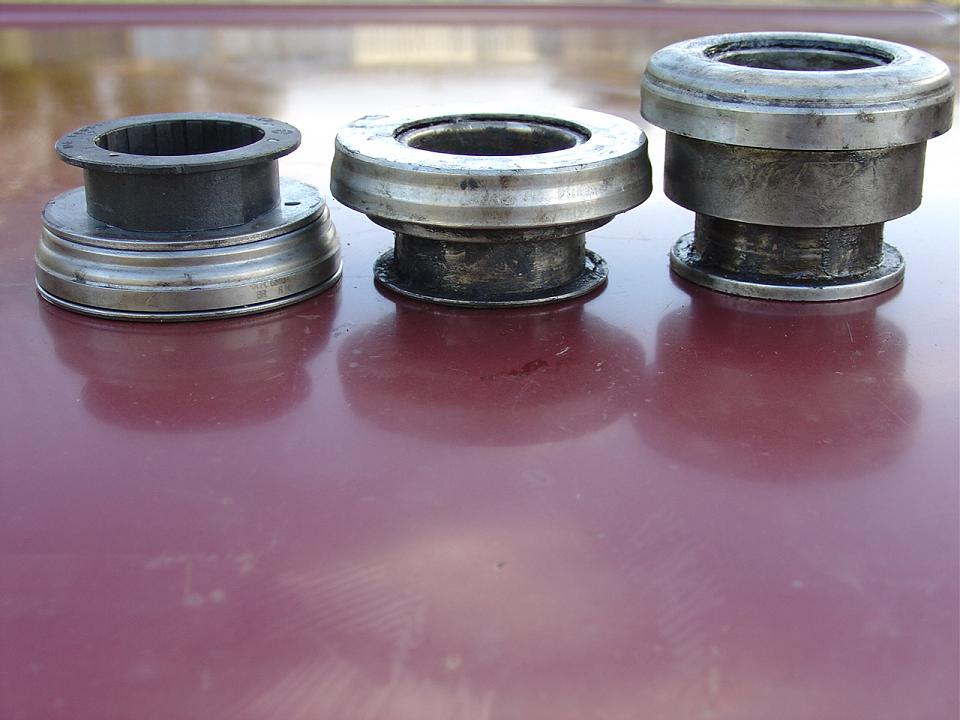
Here are the different sizes of throwout bearings. The steel one in the middle came from the Saginaw transmission. The larger one is for an NP435.
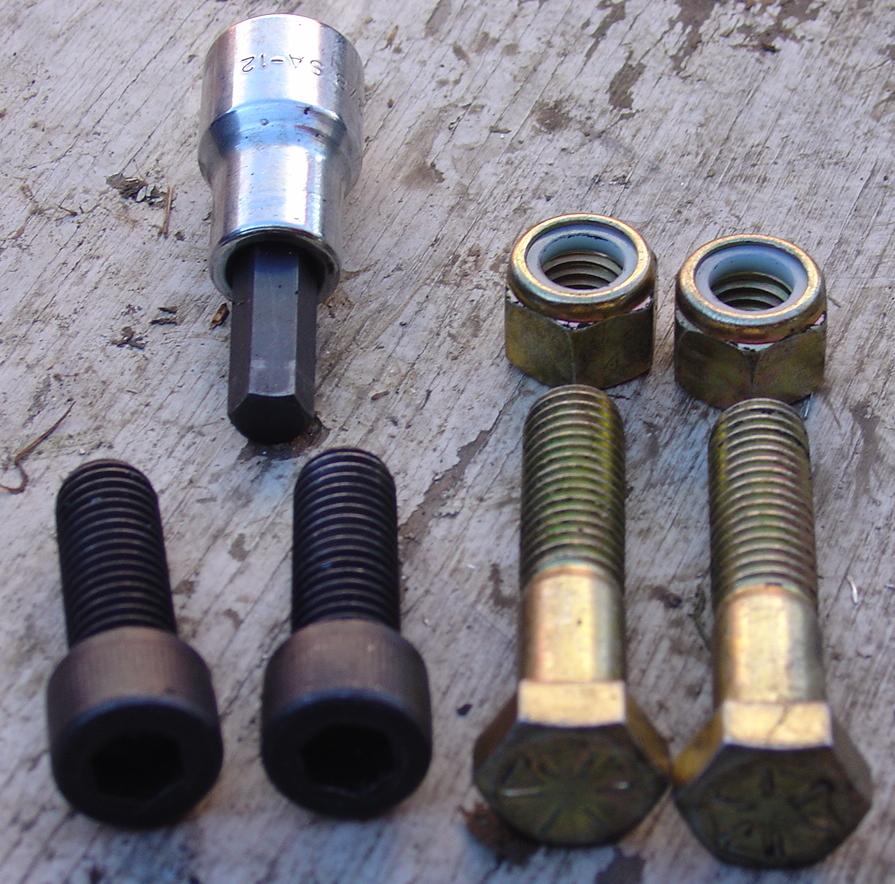
Next, attach the transmission to the bell housing using two ½”x__ Allen head screws and two ½”x__ grade 8 bolts with lock nuts. (I forgot how long they actually are, but somewhere around 1-1/4" and 1-1/2". The actual bolts used are shown below.) The Allen head screws are used due to the case not having enough room for a standard wrench to fit in the area. (The original bolts were metric Allen head bolts as well.) I had a 3/8” Allen head socket from my days as a machinist but a simple Allen wrench should work too.


Next, you’ll need to shorten your driveshaft to the required length and your local driveline shop can assist you in measuring the proper length.