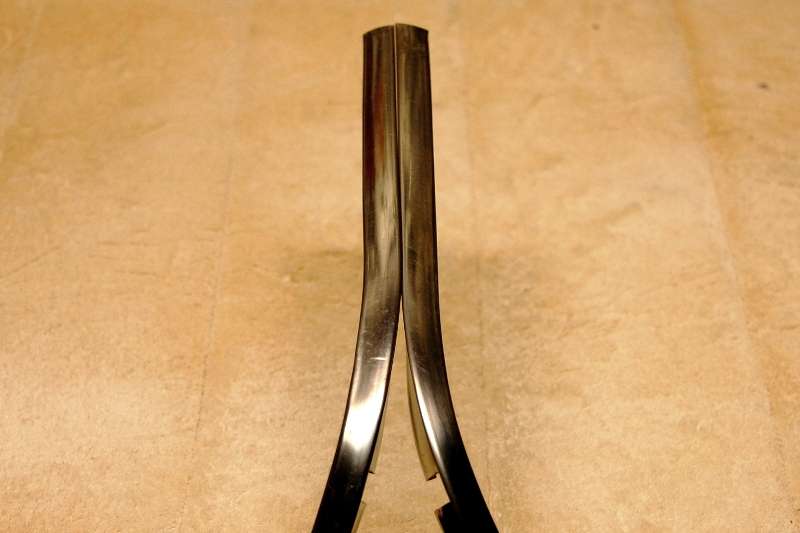
Last night and this morning I was about ready to abandon the windshield trim project. I kept picking up and studying the trim, but couldnt visualize a solution. Later this afternoon I decided to give it another try and after another 2 hours at the bench the damaged passenger side trim is nearly an identical match for the driver side piece:
The biggest problem was the corner angled away from the glass, and the bottom of the trim pointed towards the back of the door. Pulling the trim around to fit the gasket caused the trim to roll over even farther, showing only the bottom edge of the trim instead of the face.
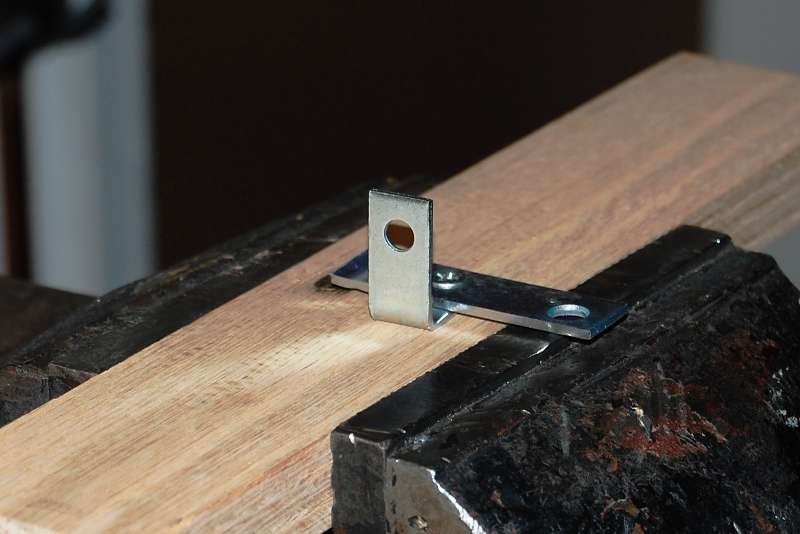
Having nothing to lose, I decided to flatten the face of the trim even farther (which it still needed), and simultaneously bend the trim in the required direction. I changed the metal pieces of the jig to fit even tighter to the oak board (along with a smoother tip touching the trim). This created a wedge fit that still allowed linear trim movement.
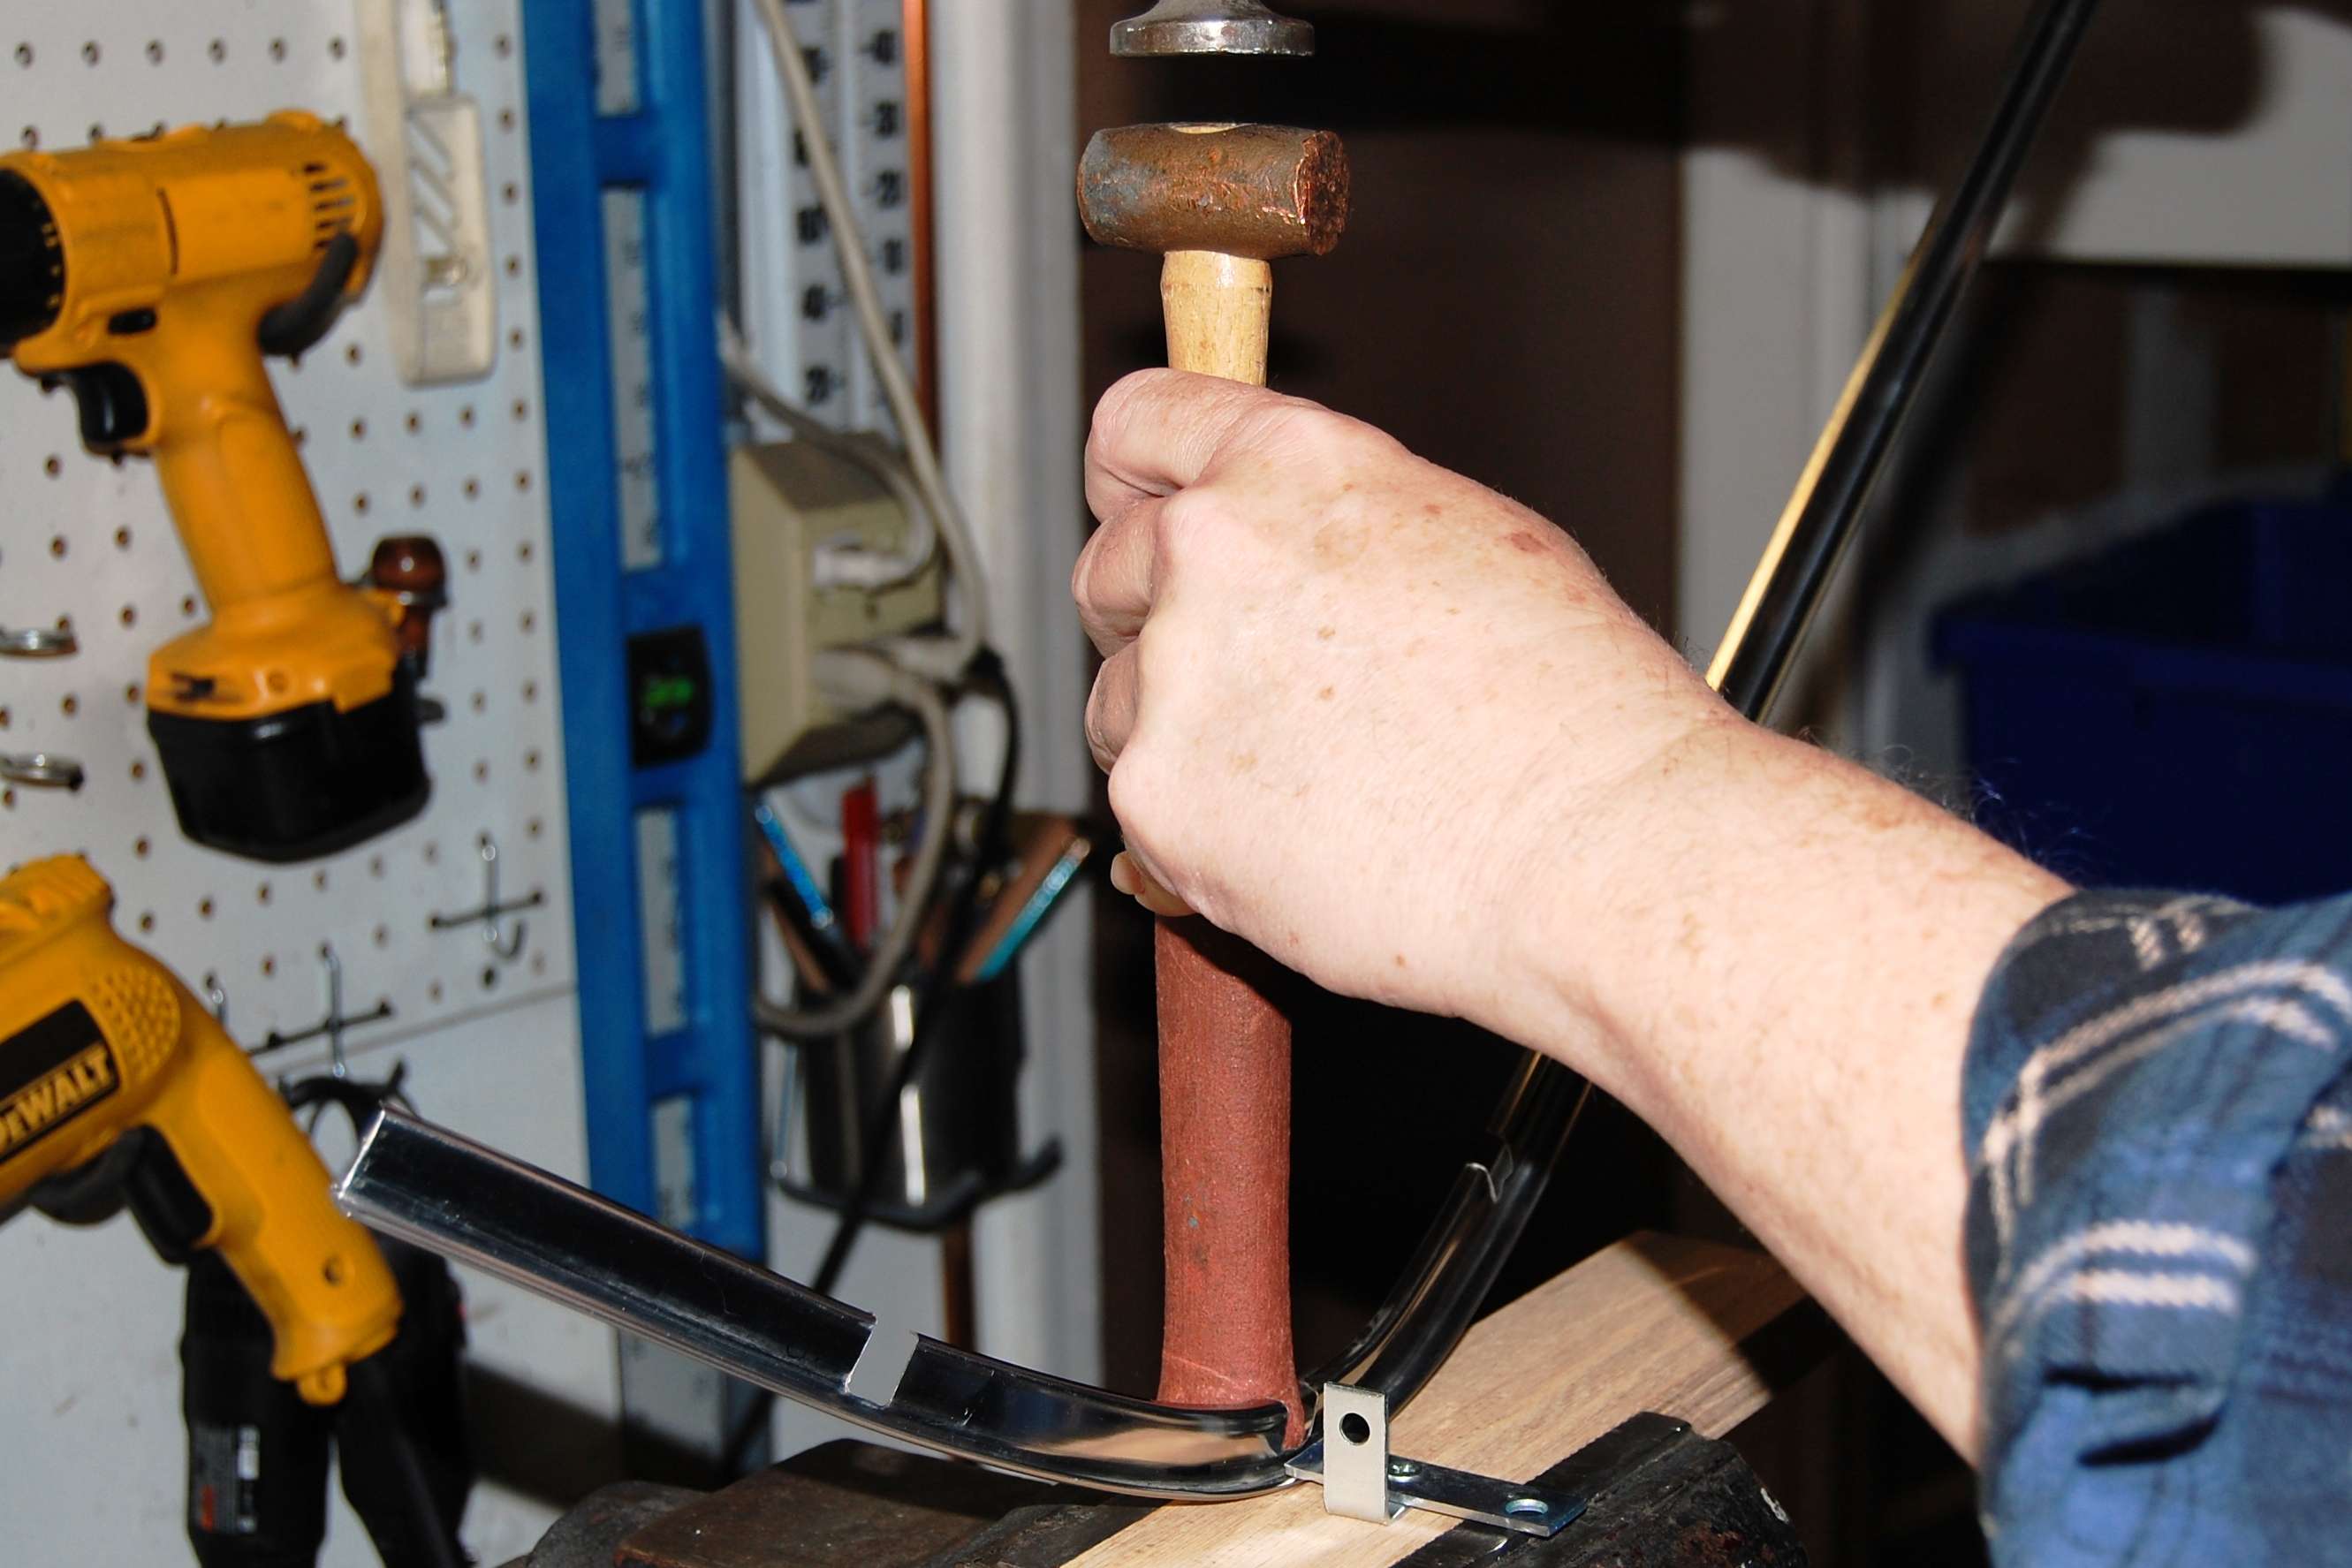
From there I latched the trim under the jig, pressed down on the opposite edge with maximum force, and started massaging the trim with gentle hammer blows from a lightweight body hammer. Two hours and about 7 million hammer blows later (okay maybe not that many), the entire surface of the trim was nearly restored to the correct flat profile, and in the process of hammering and bending the face of the trim was now correctly angled toward the glass.
The only remaining issue was the overall curvature. The end of the trim still pointed too far to the rear. Again the trim was latched under the jig and bent using maximum hand pressure in small stages. I kept comparing the two sides and marking where it didnt match with a felt marker. Make an adjustment, wipe off the marks with lacquer thinner, compare again, mark again followed by more bending, over an over until the two pieces matched.
I also discovered a side benefit in the process. I inadvertently removed one of the small dents by squashing it flat in the jig. I wasnt quite sure how I was going to attack some of the dents because they are right up against the J hook flange. Having this new knowledge, Im going to cut a new metal jig plate that comes to a point, and has a rounded tip on the end. I may pad this with a small piece of plastic or leather and attempt to work some of the dents out with the jig where they cannot be reached with wooden tools.
Im actually enthusiastic now to get this piece sanded and polished to see how good the repairs look, but Ill probably hold off until the dents are removed from the last two pieces so I can do all the sanding and all the polishing at the same time.
So far so good. Well see what tomorrow brings.