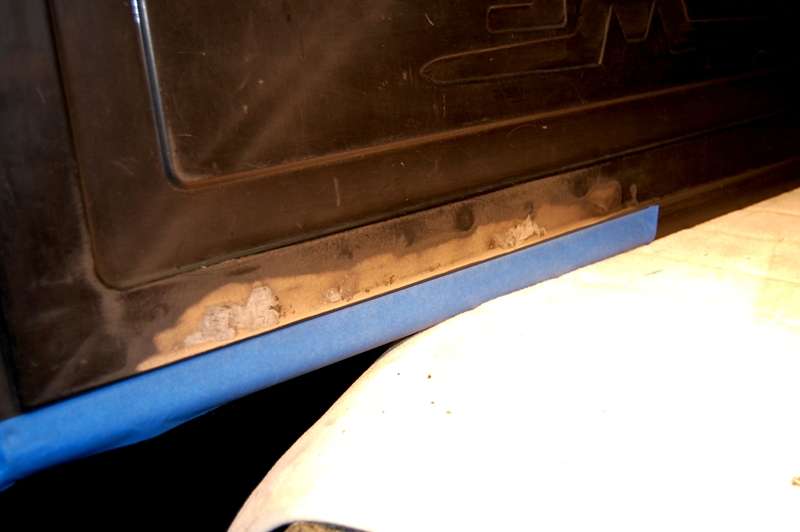
More progress on the tailgate yesterday and this morning. ½ holes were bored in the inner walls of the sockets which capture the tailgate hinges/bearings.

This allowed air in and debris out. The better part of an hour was spent scraping the inside of the lower tailgate cavity and blowing rusty scale out. When there wasnt any more loose debris, I taped off all the entry holes but the two on the ends. I grabbed an old can of anti-rust spray paint, pulled the spray nozzle and replaced it with a tube nozzle from a can of WD40. From each end I emptied the can of paint into the tailgate until it was leaking out both ends. The tailgate was then flipped front over back several times to distribute as much of the paint as possible on all of the inner surfaces.
The holes in the back side were repaired with JB Kwik. The face of each hole was beveled to provide more surface area to grip, and the tailgate elevated above the bench with the damage holes facing down. A generous amount of JB Kwik was pressed into the holes until it started oozing back out. It was smoothed back into the tailgate, and 2 masking tape quickly applied. A piece of sheet metal was then shoved against the tape/tailgate and held in place by a powerful magnet until the epoxy went off.
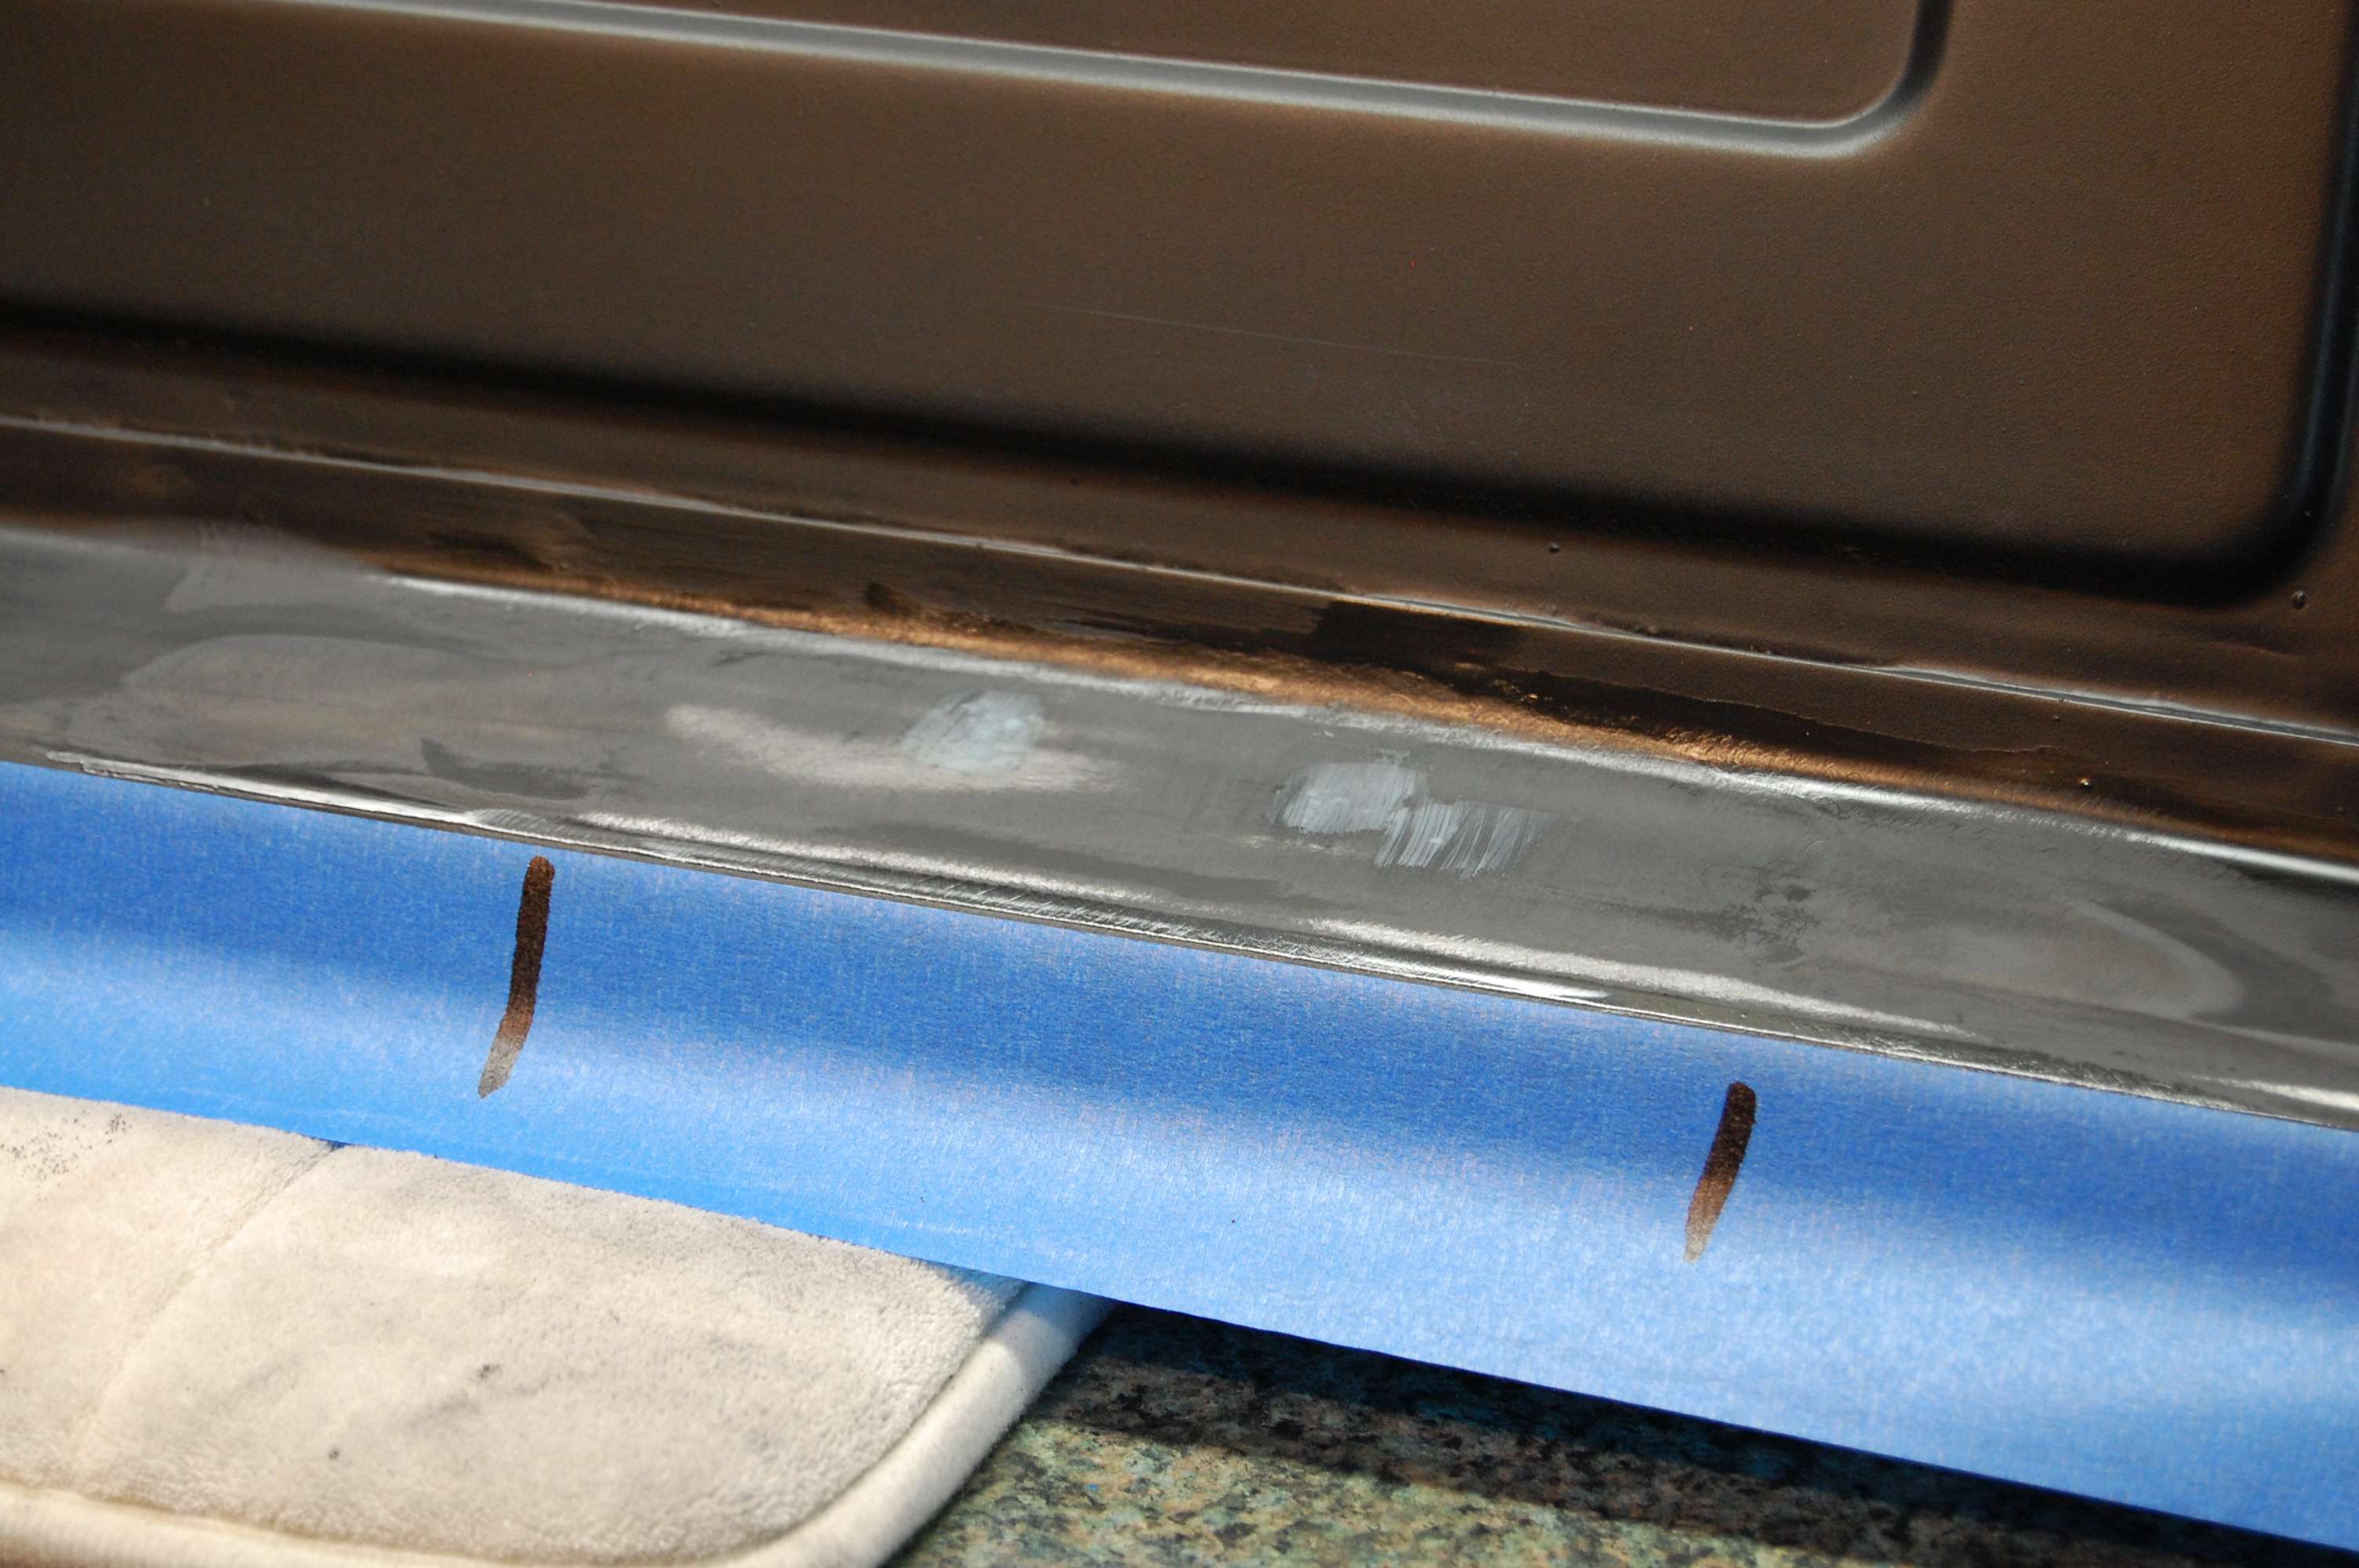
This is what the repaired area looked like after the JB Kwik was ground flat with a DA.
Next, epoxy primer was mixed up and after waiting the 30 minute induction time, applied to both the back and front repair areas with a foam brush.
This morning, with the epoxy cured, a tiny smear of Rage body filler was mixed up and applied to the pits in the face of the tailgate.
Next on the schedule was an application of UPOL 2K high fill primer. Ive always known there is a shelf life to hardener that has been opened, but I never knew what that time period was until this morning. For my can of UPOL hardener, it had gone off after 3 years. I used some of it about a year ago when it was 2 years old and it still worked fine.
The primer was opened and stirred to a smooth consistency, and a small amount transferred to a mixing cup. Then I carefully attempted to pour the correct amount of hardener, tipping it a little further, and a little further until the can was straight upside down! I soon discovered the hardener had become a clear plastic gelatinous mass in the bottom of the can! So off to the paint store for a fresh can of primer and hardener.
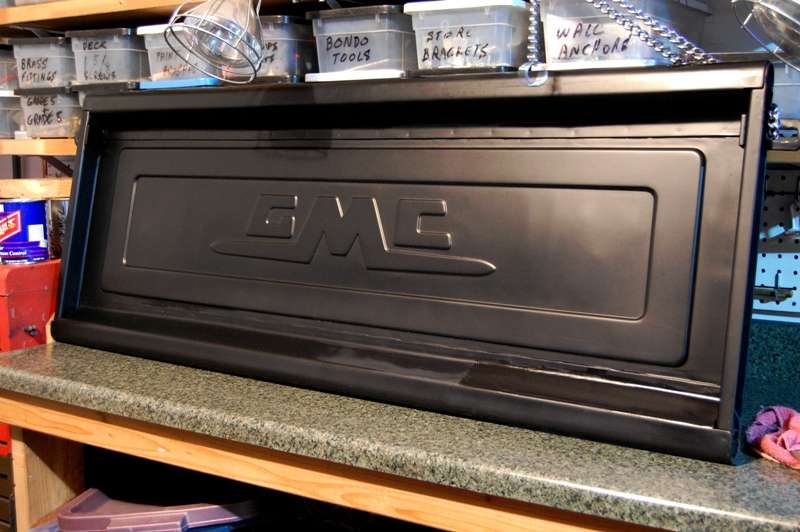
This time I found the product offered in grey, which I certainly prefer over the hideous yellow/beige I got last time, but since I still had enough of the old stuff for the job, I used it instead to keep the new grey primer fresh for the next project. So heres the face repair with a slathering of 2K primer, again done with a foam brush. Its going to be blocked out anyway, so the brush on application saves a great deal of mess and clean up.

Once its cured and blocked out (probably tomorrow), Im going to reshoot the top, bottom, and face with Blitz Black. Rather than putting a great deal of effort into the back side which is rarely seen by anyone, Im going to shoot it with Raptor bedliner. I have two spare bottles of the stuff left over from the firewall project. This should look much more appropriate than the splotchy black powder coating thats been covering the inside of the tailgate for the last 14 years. Eventually I might actually spray the inner bed walls with Raptor and have a decent looking bedliner presentation. The interior appearance of the bed has never been much of a priority to me because we actually use the truck, and the Gaylord cover hides everything.