Well, another nice day playing in the garage.
Only started in the garage quite late but finished late as well, around 18.45 as I have a wife to consider. She gave me the day to play as she had stuff to do and a good friend needed her attention.
Ian Brown has asked me to document and describe what I did taking the door apart as he will need to strip his accident damaged door down and then rebuild it. So if you need to, just scroll on by.
Of course for reassembly you read it all in reverse.
Tearing down the door, you start by removing the winders and door handles.
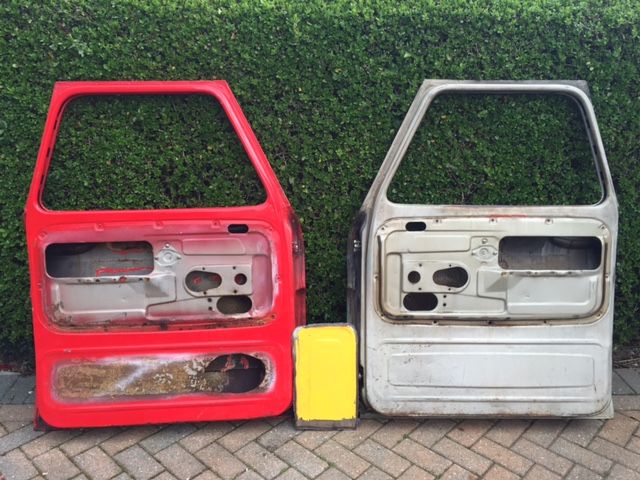
Then the inner door panels, I need another good drivers side and Ian needs a passenger side one as his is quite badly damaged. My two are covered in vinyl but actually quite rusted when you inspect them. So I want to make up a pair of painted panels for my doors in the rebuild.
The screws that keep them in place usually rust and their captive bolts strip out when you try to unscrew them, so I have about 6 to repair between the two doors. Most of the screws are buggered from years of abuse and need replacing anyway.
Once the door panels are removed, the next step is to remove the outside door handle.
Screws get very rusty and need a bit of encouragement, my favourite way is to drive the Phillips head screwdriver with a hammer to break the rust after penetrating oil etc.

Next up the door lock and striker gets unscrewed. But you also need to undo the inside door handle mechanism.
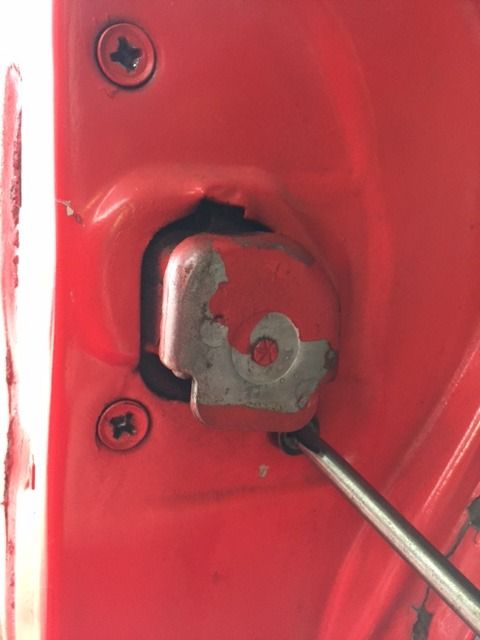
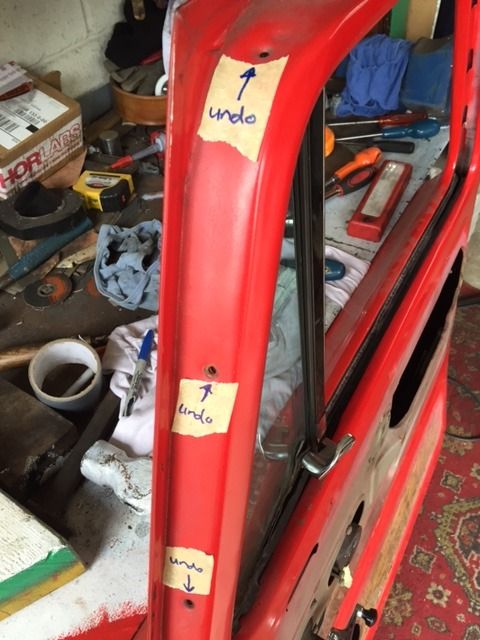
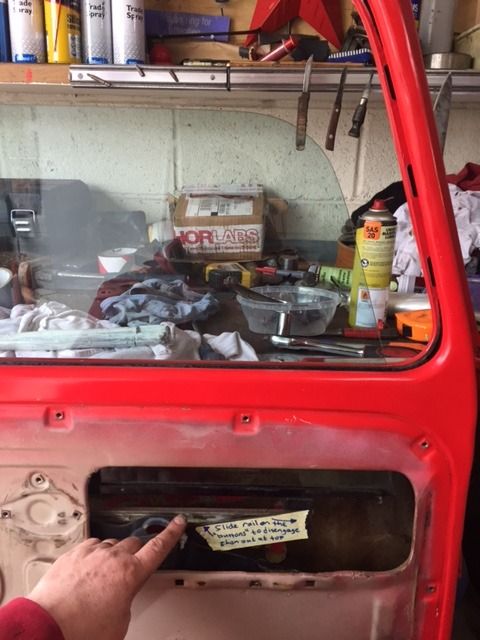
Once the lock is undone, you need to undo the window rail from the outside, two Phillips head screws and it is undone.
You then need to loosen and remove the window rubber around the top of the doorframe, down the rear and slip out the chanel it lives in, once the chanel is loosened up, you can also remove the lock.
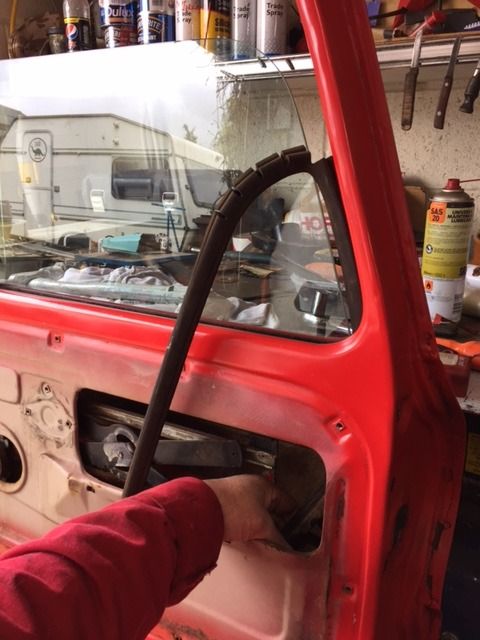
Next up you want to remove the front window rail that is also attached to the quarter window. Two screws on the door panel and three on the outside of the doorframe.
Once these are undone, you wriggle the quarter light and having rolled the window down, it's an easy job.
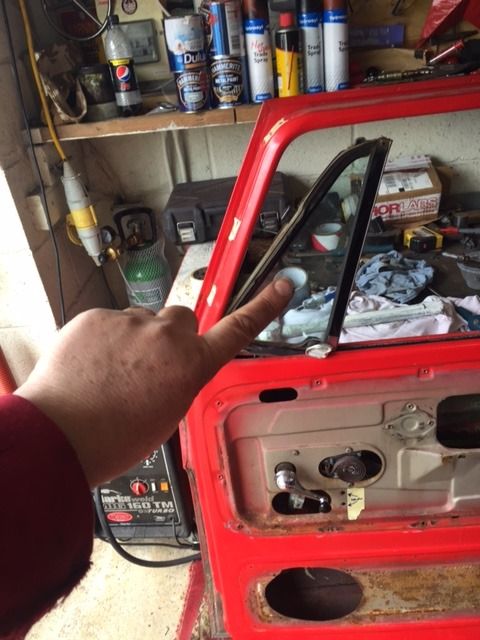
Slide it up and outward.
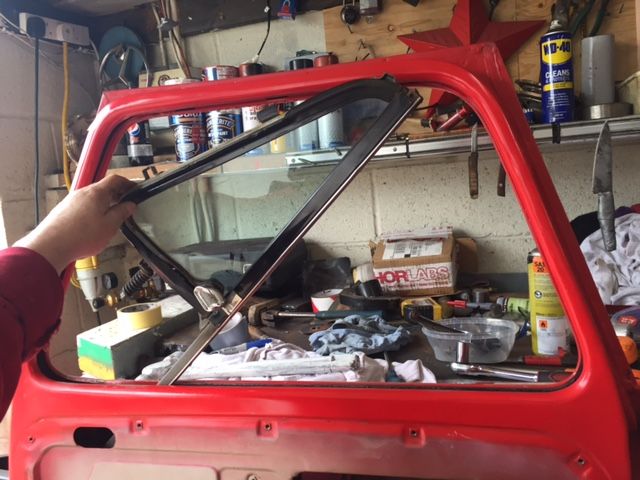
Then just before it comes out, it will get stuck on the mounting plate/bracket, so you rotate it through 90' and gently pull it out, the top of the doorframe is actually shaped wider so that you can get it and the window glass thought here.
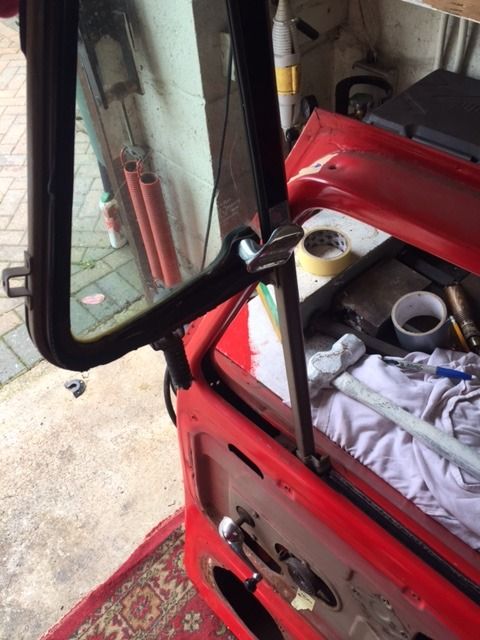

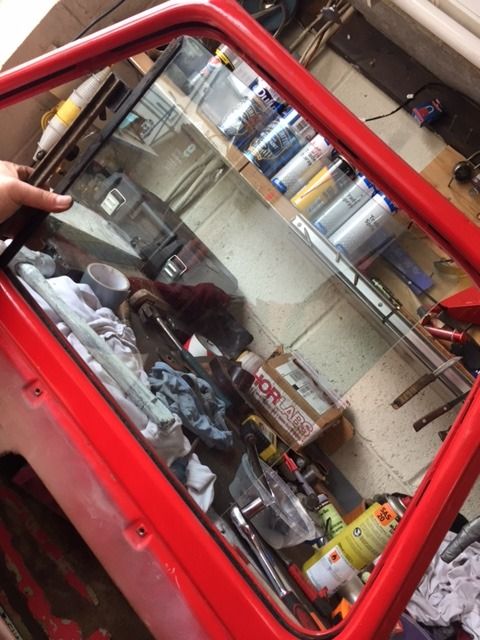
At this point you can now address the window glass.
Wind it halfway up and see where the bottom rail rides on a small "wheel"
Because the quarter light and other end rail is removed, you can slide the window glass left to right till its in position to pop it free.

Slide the glass out the slot, rotate carefully through 90 degrees and slip it up through the same gap the quarter light escaped.
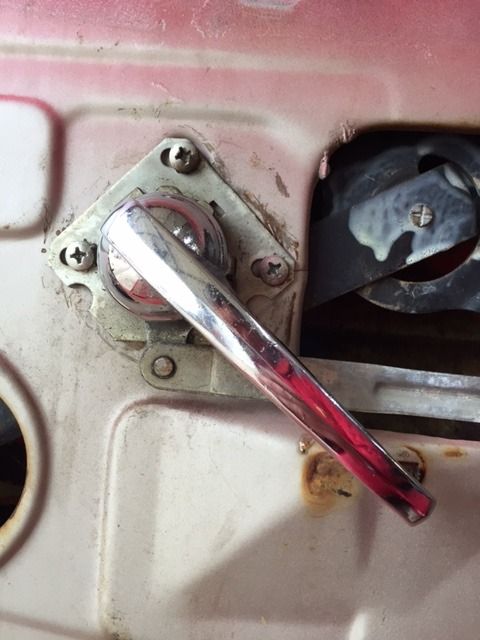
Last job will be to remove the window winder and riser mechanism.
A few more screws and pull it out the inspection hole, mark up and store.

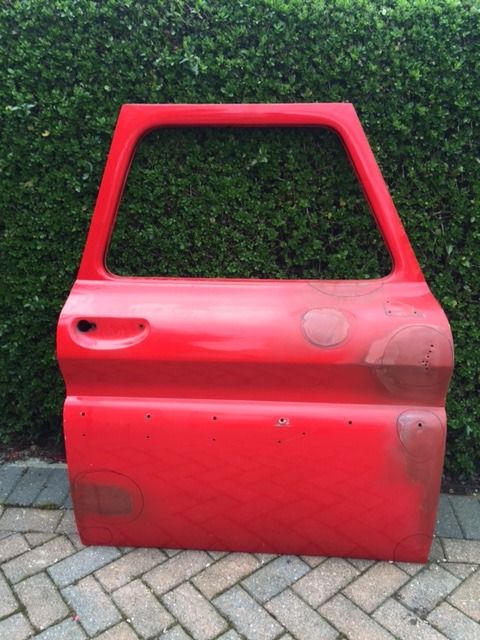
Finally you have a completely stripped door, soon on its way up to the North.
I also have the repair panels from Ta2Donz patina 65 truck to add to it.
While the going was good, I came indoors for a sandwich and cuppa tea as well as a chat with my friend Dennis in St Louis, Missouri, he has been working on one of his trucks, in fact he found a complete jack and tools under the seat, as well as this little gem.......
Good reason to buy old trucks.

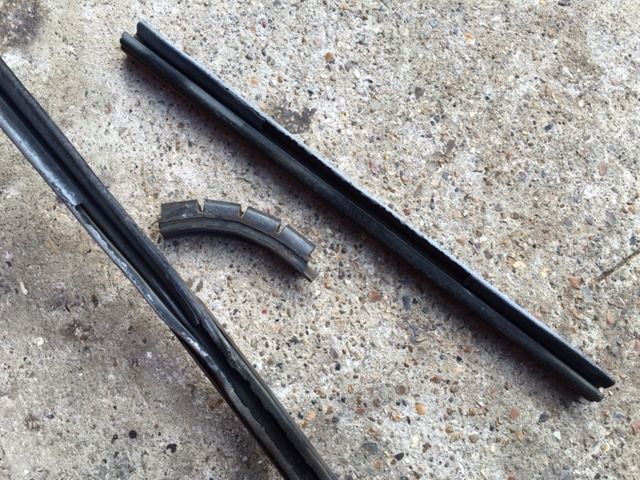
Back in the garage I started on door number two, and I must be honest, I rediscovered my replacement window and door rubbers that I bought last year and was so thankful as one does not realise just how buggered they become when you use the truck daily.
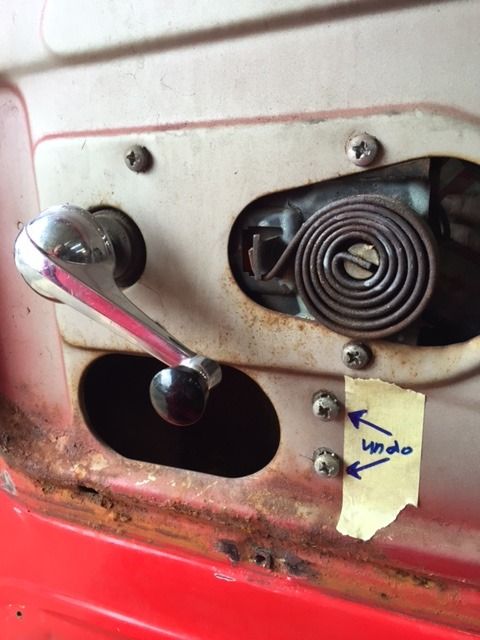
So, starting on the trucks drivers door, the first thing to do is remove the door handle and then the process as described before.
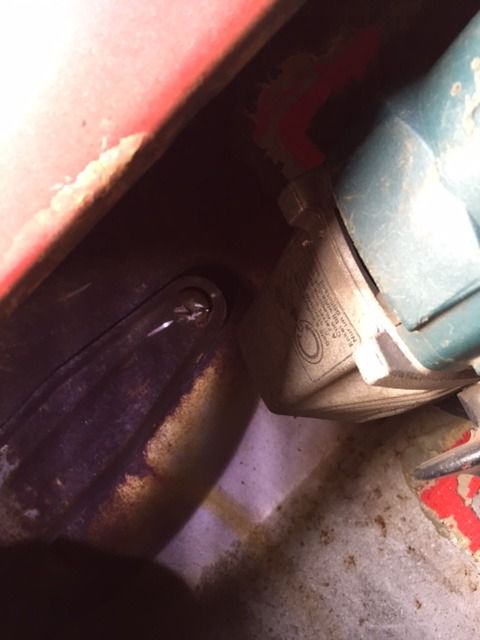
Take a close look at the two screws keeping it in place...... One screw looks perfectly fine, the other..... Errrrrm, did someone fit it, or try remove it with a drill bit?

Unfortunately this pic is a bit dark, but I managed to wriggle an angle grinder with 1mm cutting blade in there and then cut a slot in the top of the buggered screw and used a large flat screwdriver to remove the screw.
The rest of the door stripping went without a hitch.
Not in the pic, but three doors completely stripped, ready for welding, prep and paint.
The yellow panel is to repair the speaker hole in the door. I want the doors in a more original state when completed.
That was it for today.
Bootfair in the morning if the weather holds out.