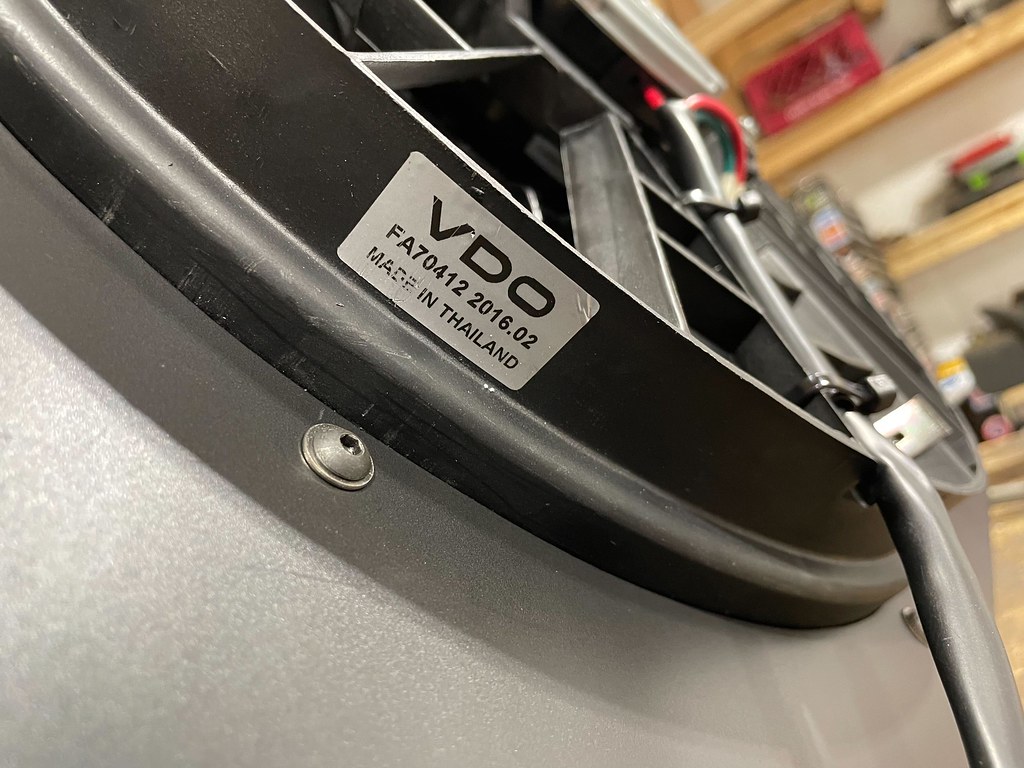
The last part of my cooling system that needed to be completed was the fan. I decided early on that I didn't want to keep the mechanical fan that came on my donor motor. At one point, a friend of mine donated a Ford Taurus fan to fill the void left by the mechanical fan. I learned from him that this fan was a popular option because its one of the best OEM two speed electric fans. Apparently Ford used it after they were experiencing overheating issues with the Taurus. Anyway, this fan has a build in shroud that made it quite tricky to integrate into a unit that I could bolt in the C10. After additional research, I found that the Volvo 850 from the 90's had the same fan but in a bolt on housing. I decided to get one of these instead and build my own shroud. I ordered PN FA70412 from Rock Auto and was surprised to see it was a VDO fan. This should do quite nicely. The one thing to note with this fan is the two speed power works differently than it would work with a typical GM fan 1 and fan 2 output control. This VDO fan is 12V to the green wire for low speed or 12V to the red wire for hi speed. The GM outputs are 12V to green for low and 12V to green AND blue for hi. I've read that this fan is sufficient enough just on low speed to cool an LS, so for now I have just hooked up the low speed side to the fan 1 output from the PCM. If that proves insufficient, I will have to add a few relays to trick the outputs into working like the Volvo fan controller.
I ended up using a scrap piece of 14 gauge aluminum I had to build my shroud. Thicker than I think it needed to be, but definitely made a stout shroud. The angle in the shroud is to accommodate the angle of the radiator. Notice the notched corner on the side pieces... this was because I had to cut those out to fit the piece in the metal break. I should have bent the bottom two bends first. Lessons learned.

I mounted the shroud with a few bolts across the top and two on the bottom. For the bottom two, I facilitated assembly by welding some threaded inserts onto the core support.

After a quick coat of flat black paint, its ready for final install. With the radiator installed for the final time, I also filled the system with coolant. I decided to go with an open system so I could use standard green coolant. I made sure to fill the engine from the return port on the water pump before connecting the top hose. This greatly reduces the possibility of trapping air in the system, and also gives you coolant in the block for the first start. Otherwise, you won't get coolant flowing through the block until the thermostat opens for the first time. My overflow tank is a Doorman 603-001 and mounts to the core support with a few bolts.


With the shroud installed, this pretty much finalizes how my engine bay will look for now. I have nothing else to add under the hood and do not have any further plans until after I make sure this truck is a reliable driver. At that point, I will start to look into cleaning up the engine bay a bit more with things like fender wells and maybe a nicer engine cover and relocating the coils.
