The only things I needed to get all my body panels reinstalled were hood hinges and a friend to help! Everything came together to make that happen this weekend. First, the hood hinges. I looked into Porterbuild and Switch Suspension since they are the only ones that make the cowl mounted hinges. AZ Pro Performance had one set of Switch Suspension hinges in stock, otherwise it was a 4 week wait on Porterbuilts. I decided to go with the Switch hinges. Overall, I am pleased with their quality. One thing I will say is I wish they included photos in their instructions. You can see in this first photo that I have installed the front cowl plate upside down. We did not realize this until the hood was installed and we could not get the struts on. This realization in the 95 degree heat and what felt like 100% humidity just about derailed my motivation to continue, but my friend encouraged me that we should press on. And we did!

Once we completely disassembled the hinges and installed them correctly, the struts went on perfectly. These hinges are definitely stout, and the struts are eager to lift the hood. In fact, maybe a bit too eager. You actually have to keep a hand on the hood to prevent it from slamming up too quickly. I'm wondering if these struts will loose some of their force after a while. It was great to see the hood on the truck again.


After finishing the hood, it was time to back the truck into the shop and get busy on the bed. I already had it reassembled and ready to lift onto the frame.


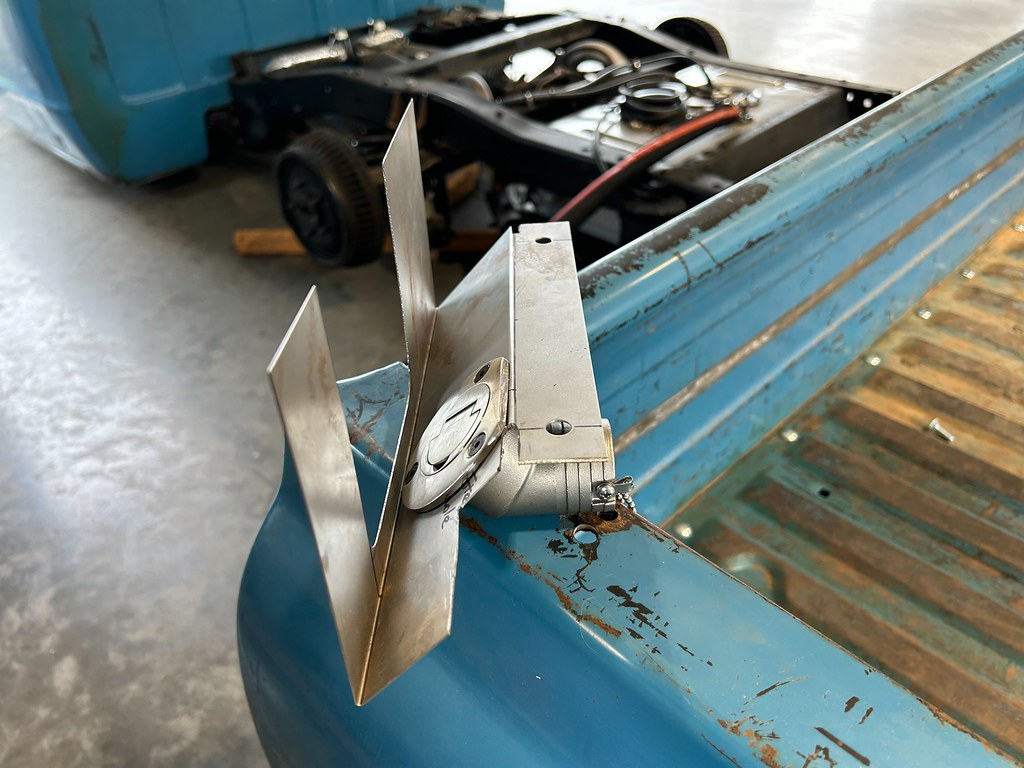
I also had a chance to bend up the bracket I needed to mount my fuel filler. This is a 1.5" filler with a o-ring sealed cap. This bracket mounts behind the driver side marker light. In my haste to finish the bed install, I did not get any other photos of this filler installed. Those may not be worth it to add later because the filler actually doesn't work that well! The filler hose is close to level between the filler and the tank which makes it very slow to fill. I may end up just putting a door in the bed floor over top of the fill neck on the tank.
Installation of the bed allowed us to knock a few other items off the install list including bumper, wiring, lights, and the above mentioned failure of a fuel filler. With everything installed, the truck is literally too low to fit a jack under it! I had to lower it down on some 2x6s to sneak the jack out. After dropping it down, we rolled it outside for the first glimpse of the truck fully assembled and outside. This was definitely an exciting moment!


Of course, the next logical step was to get in and go for a drive. My friend and I cruised around town for about an hour before we had to head home due to an impending storm. I was not ready to test this thing in the wet weather yet.


The next morning I took the truck out again, this time accompanied by my daughter. It was early Sunday morning so I thought it was a good time to take the truck out on the highway and see how it performs. At 2100 RPM we were cruising with ease at 70 mph and tracking dead straight down the road with almost no steering input. I must mention here that along with all the reassembly I also tweaked the alignment again. I decided to go half back on my caster mod and redrill my index holes at 3/8" forward (instead of 3/4"). I also went to 1/8" toe IN instead of toe OUT. Both of these changes definitely made an improvement in the steering. After looking back through the alignment threads it really is hard to say whether these trucks should be toe in or out, but on my truck I like the feel of toe in slightly better. After the run up the interstate we stopped to wash the truck for the first time in two years and take a few photos.


At this point, the truck is ready to start driving while I continue to make incremental updates. For now, I am going to continue putting miles on it to build confidence in the truck as a whole. I also need to keep it in a drivable state because my goal all along was to drive it to the C10 Fall Revival in October. My updates may slow down from here on out but I will still be here updating when I have something to share!
