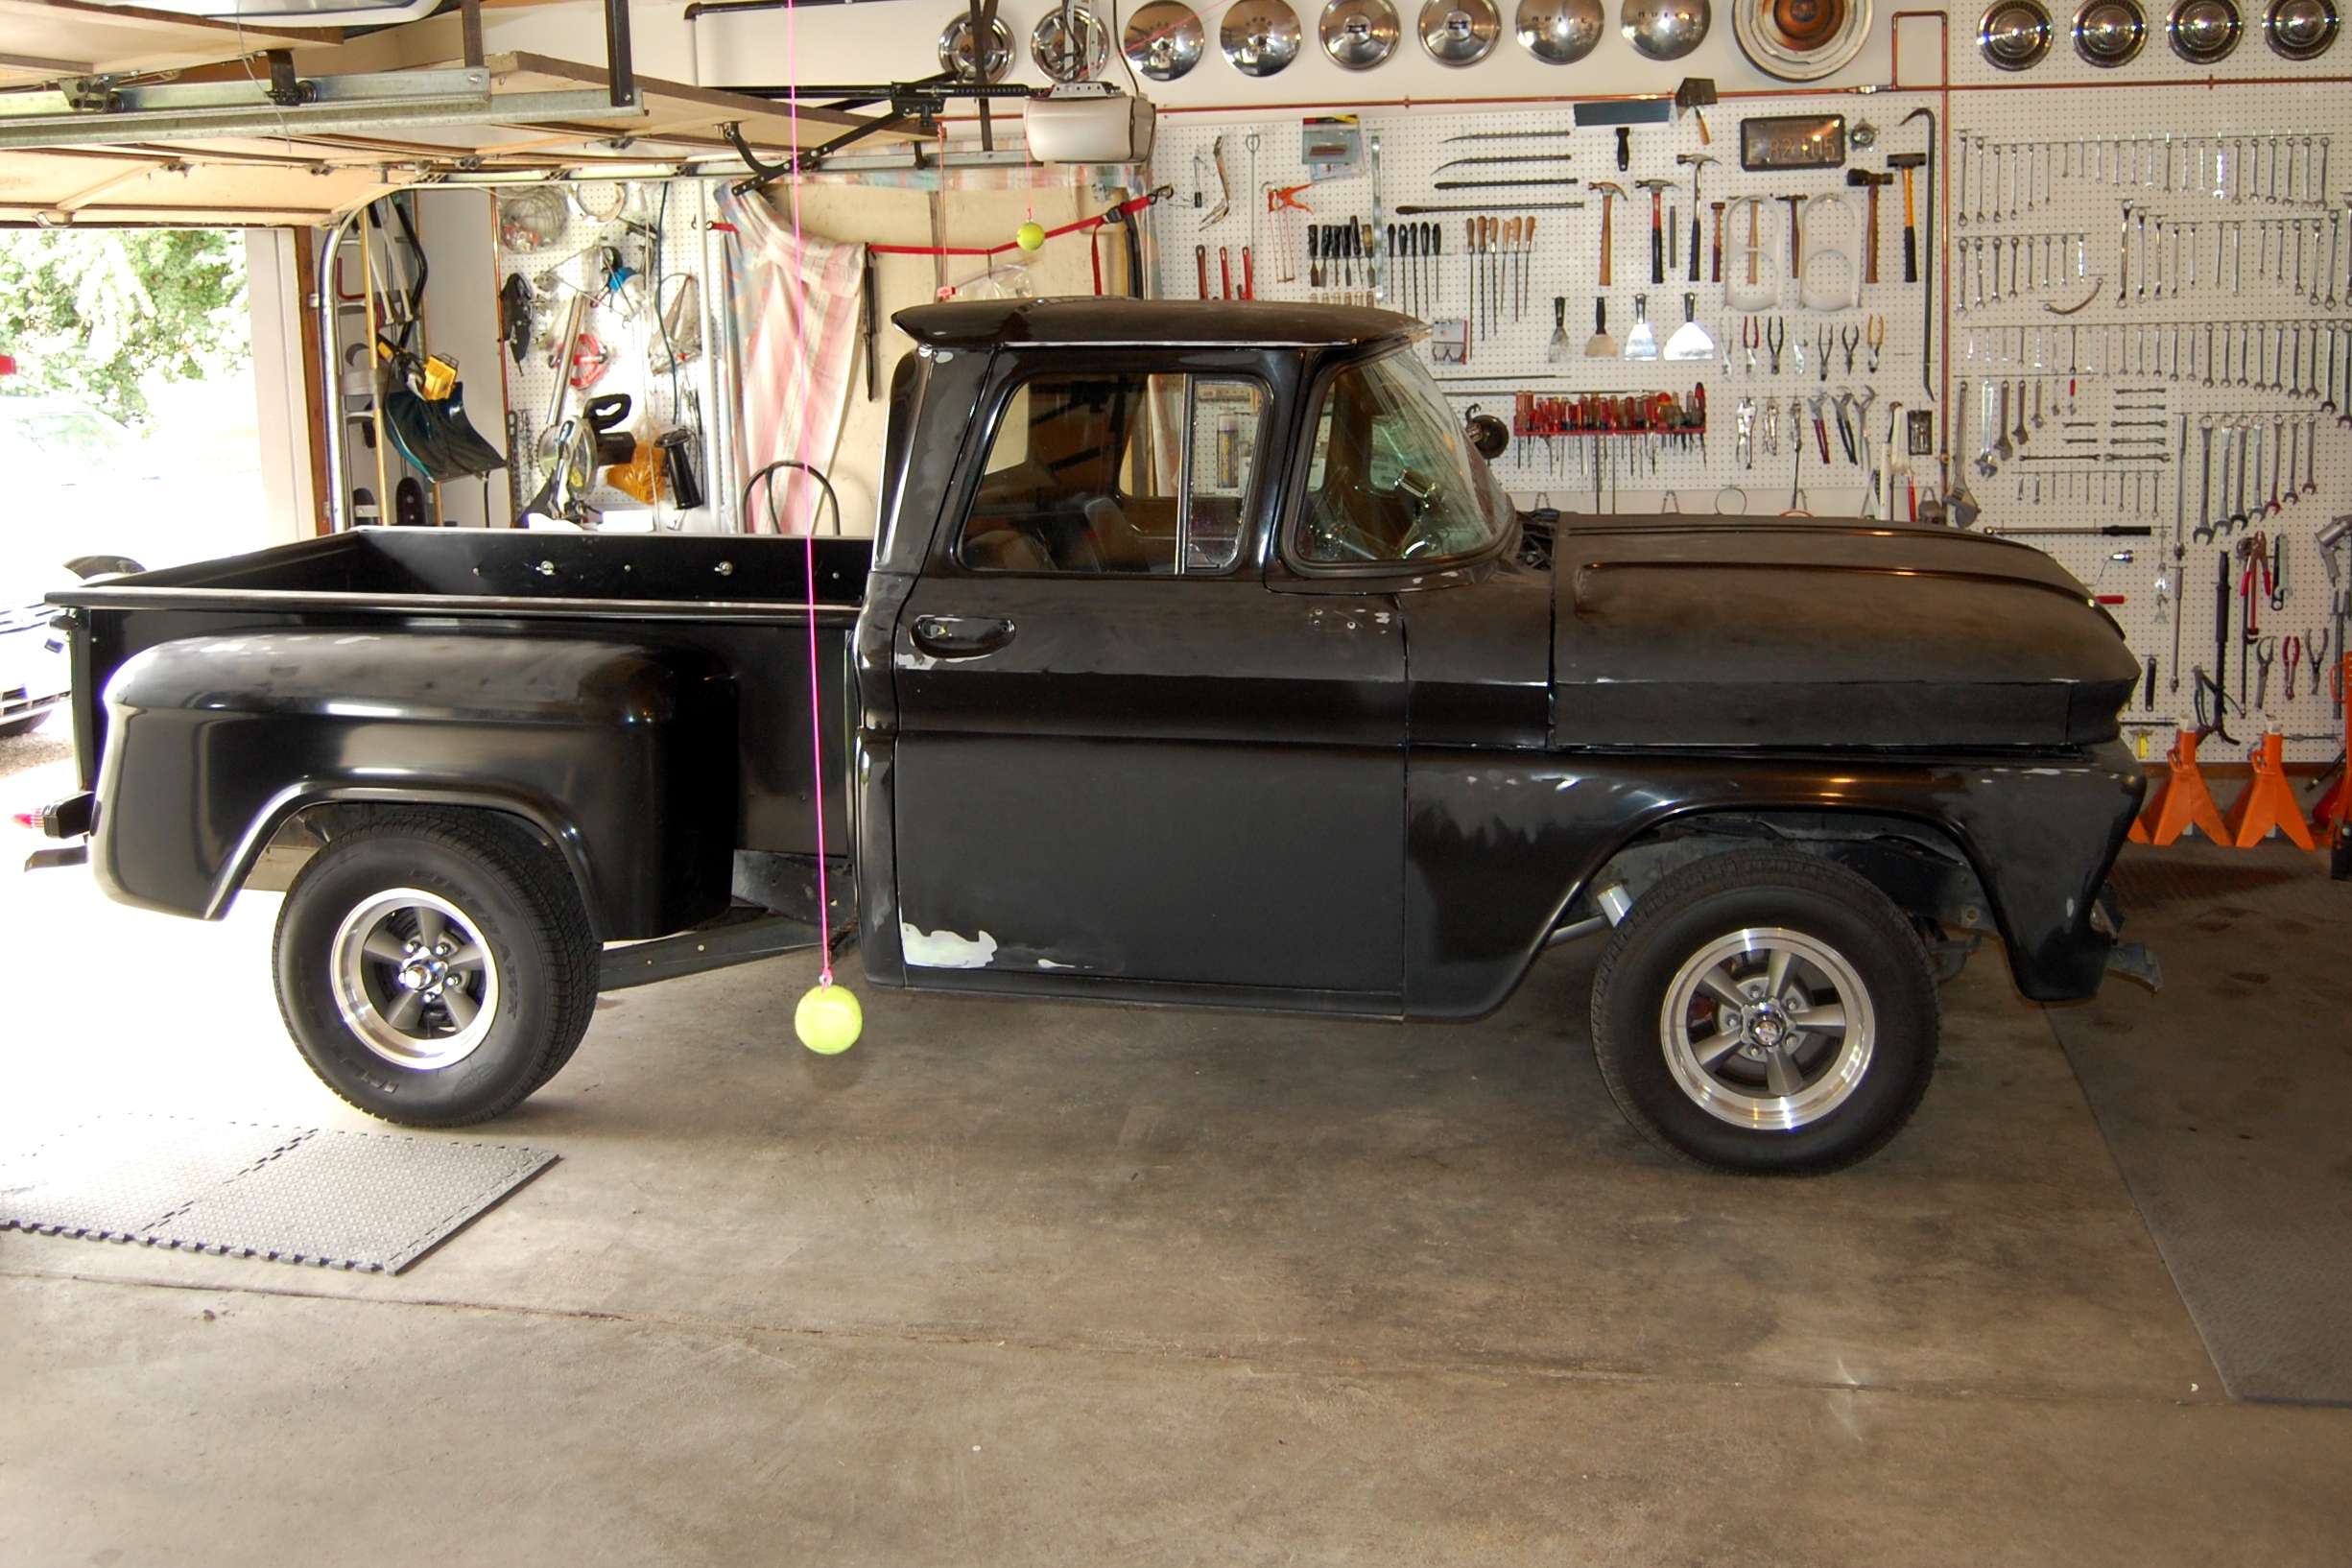
At this point Im reasonably caught up on most the early stuff thats been completed. Some of what follows may have been seen before in a daily update thread, but Im striving to get the whole build on one thread and in sequence as much as possible so here goes with some additional stuff:
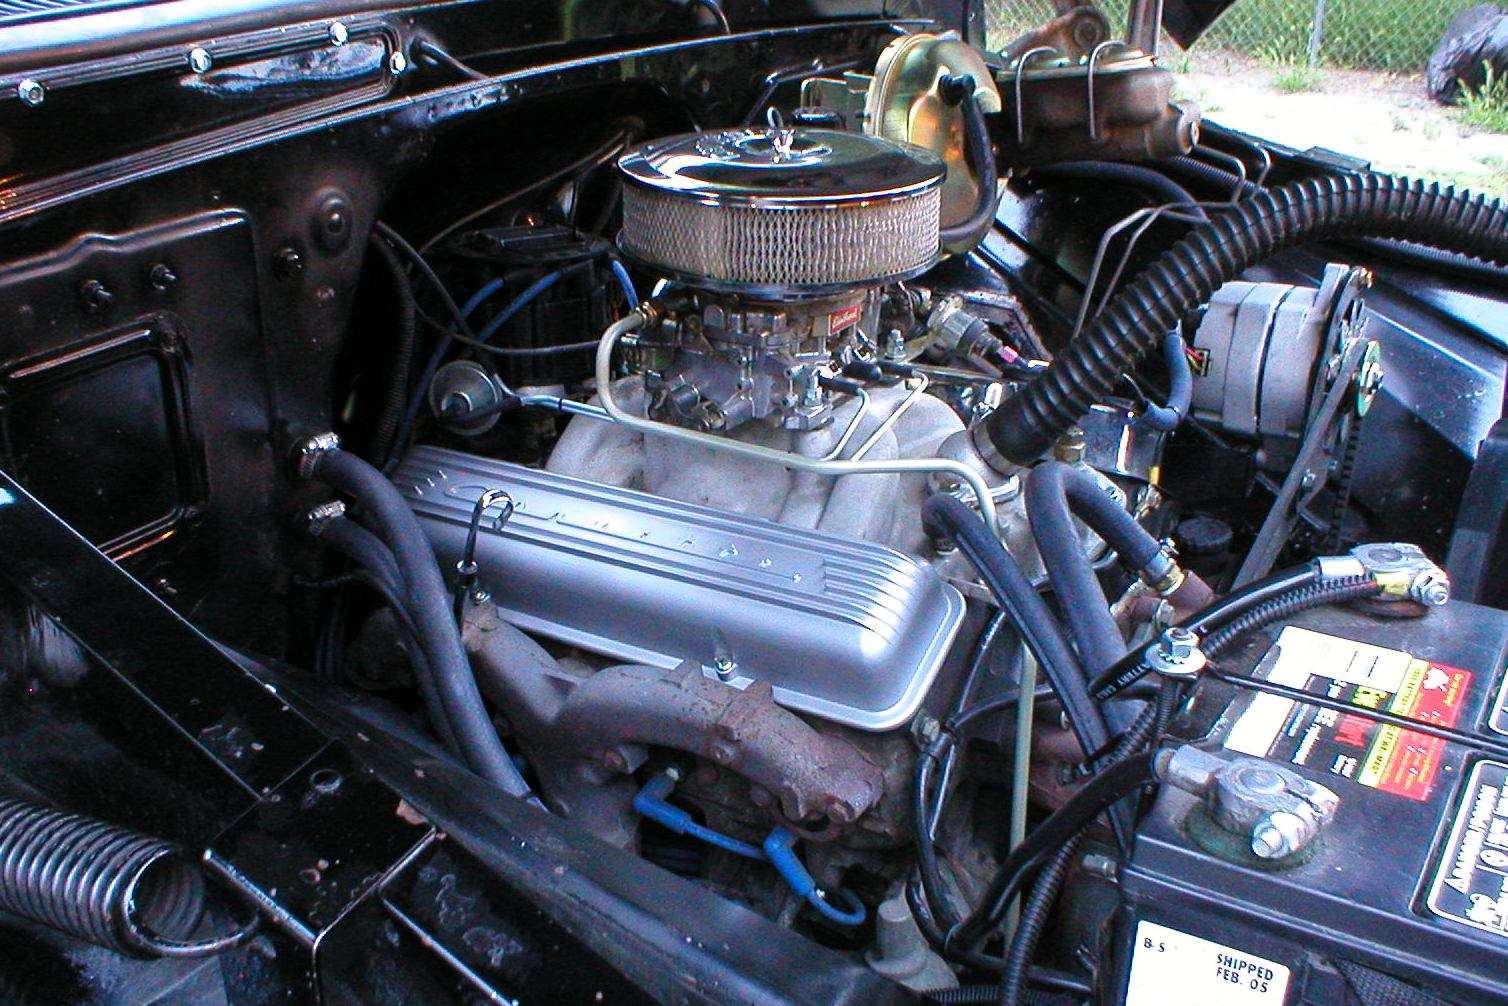
Back to the engine compartment clean up that started on post #50, I consolidated wires into fewer looms, rerouted heater hoses to clear the valve covers, and formed new hard lines for the clutch and brake cylinders. The brake lines in this photo looked great when originally installed, but that was before the booster was added. To fit the booster the lines were just bent forward to fit and looked crappy. I also replaced the plug wires and moved them to under the manifolds, again to keep the clutter off the valve covers.
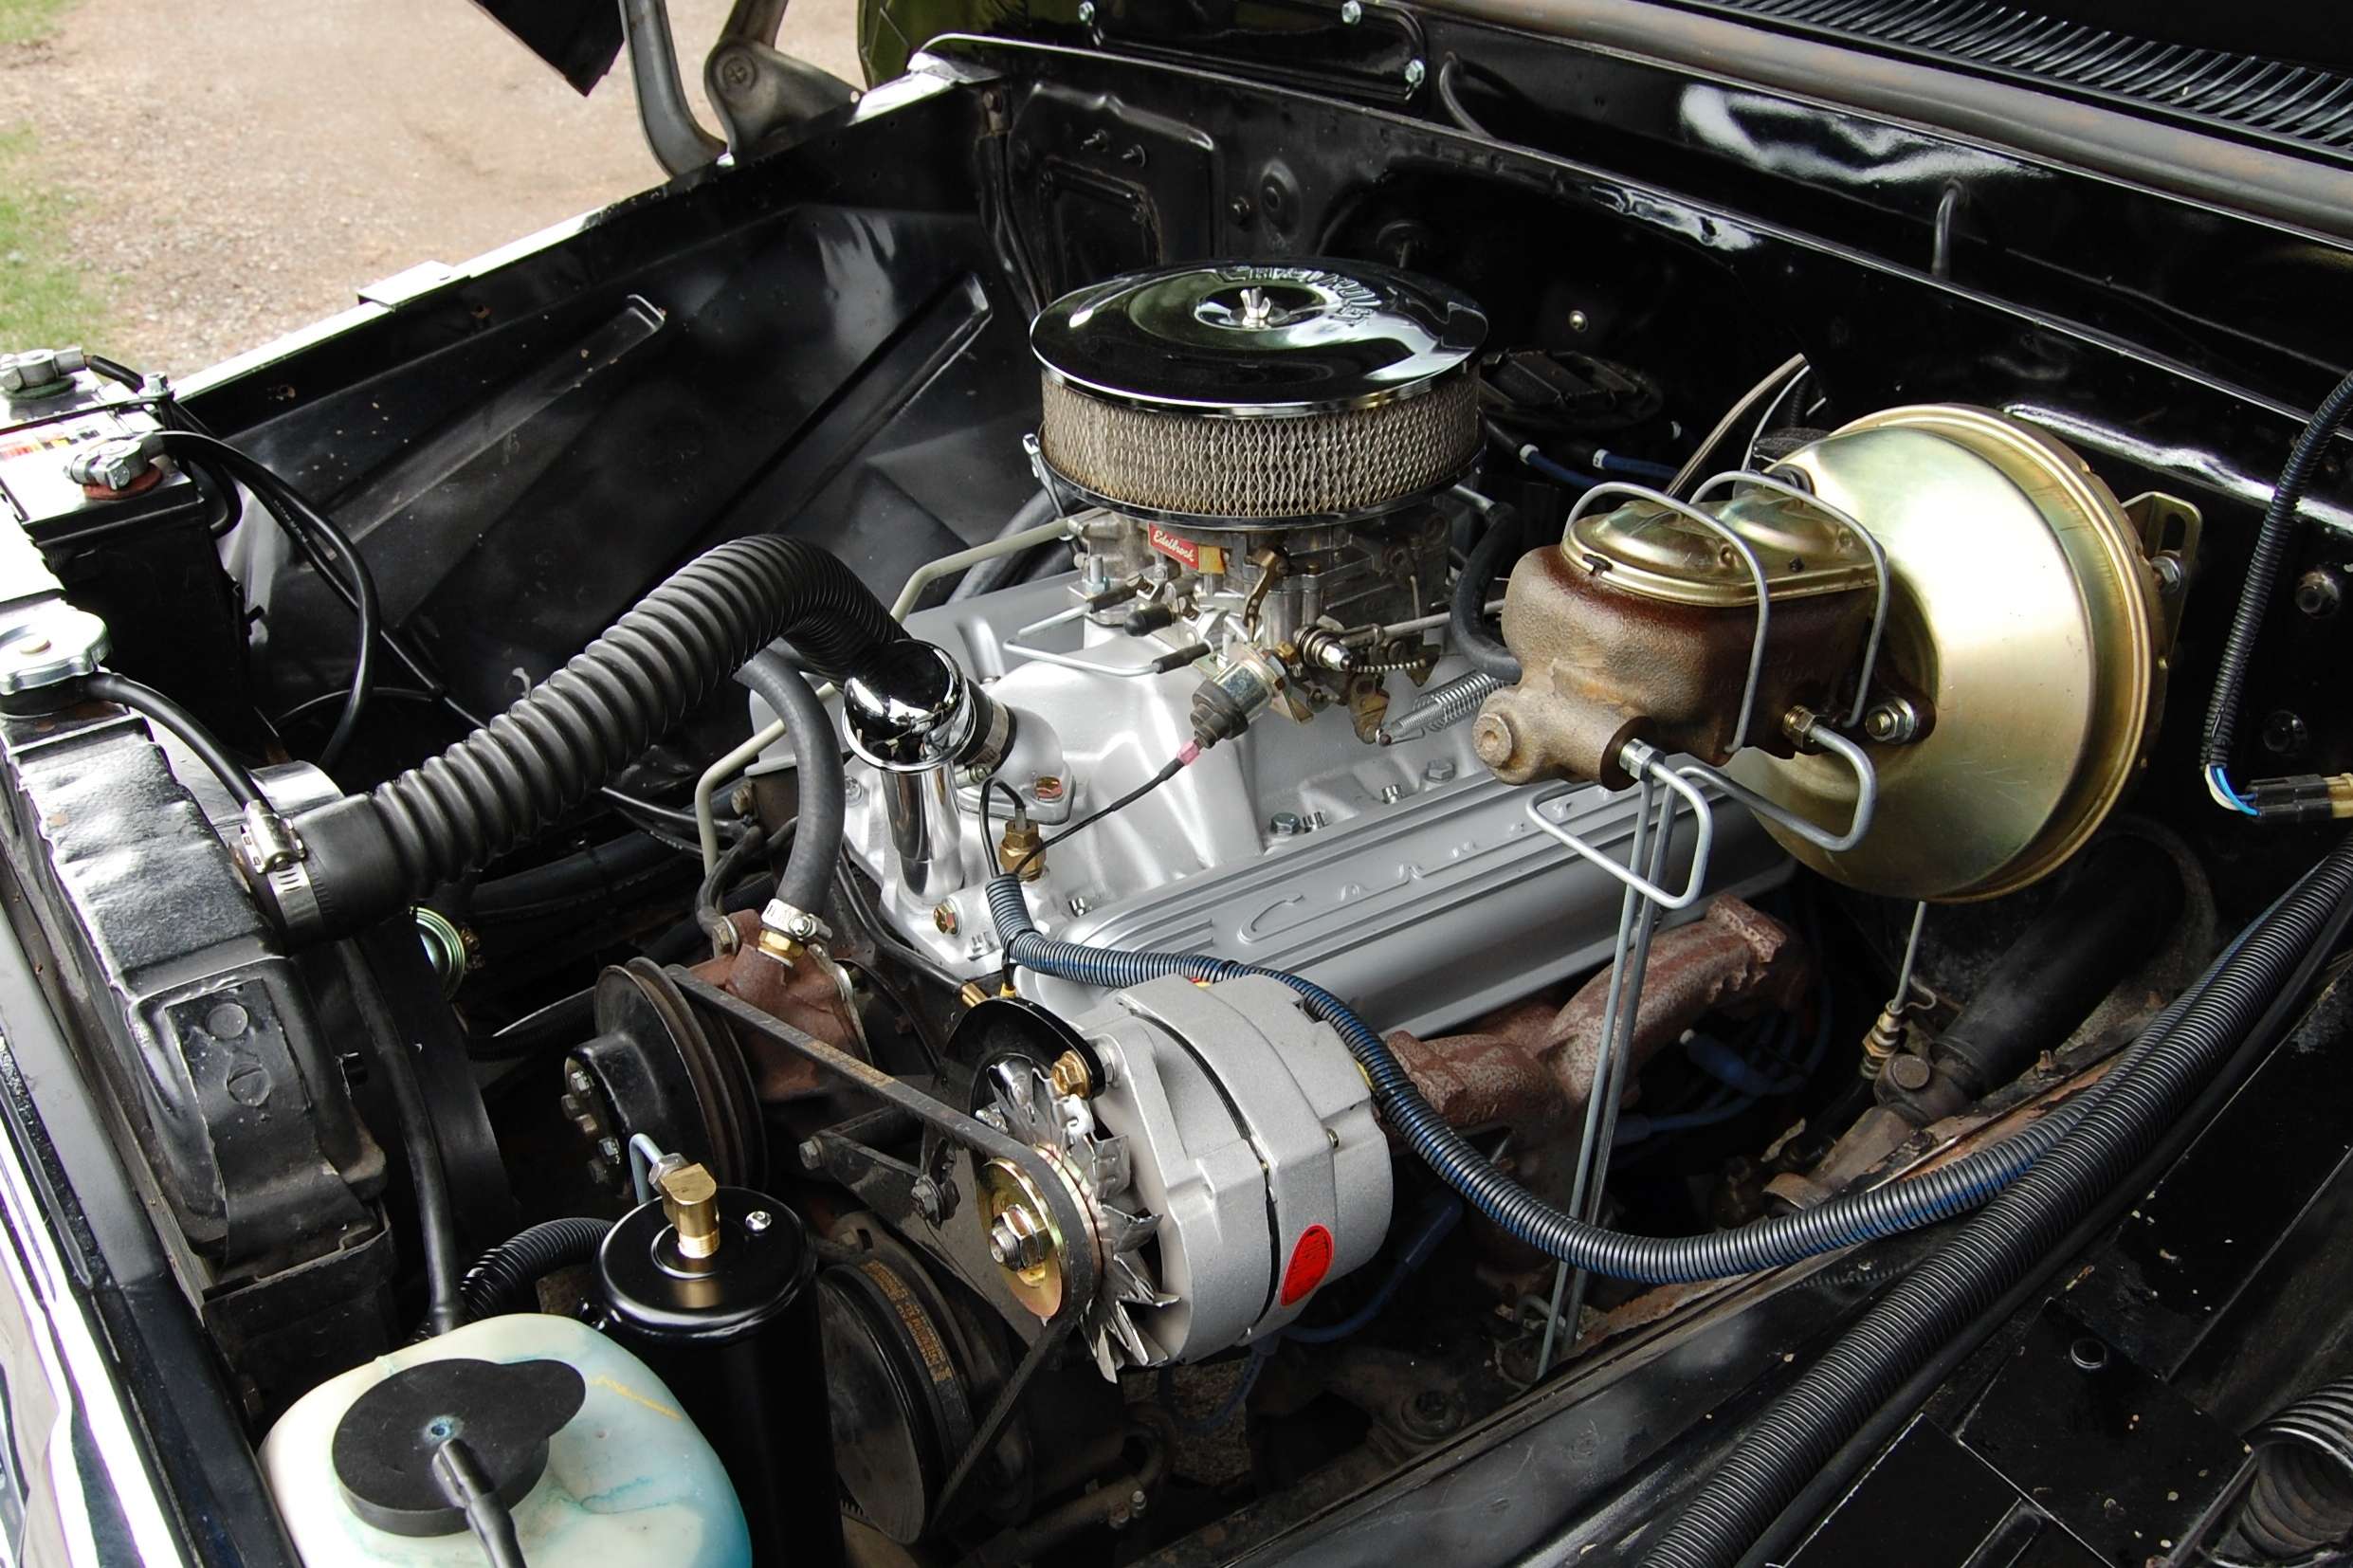
The old stainless street rod overflow tank never worked well, and looked terrible with a twisted steel bracket and tubing spacer holding it in place. Heres an earlier shot showing the upper mounting details:

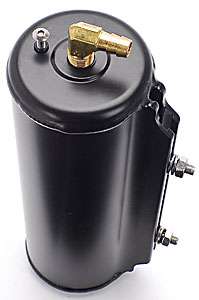
For my birthday present my wife ordered a new black powder coated tank from Jegs. The part number is 555-51137:
Its both more compact and actually works. With the old tank the radiator always had air in it and the tank was frequently empty. With the new bottle, the radiator is always kept full right to the bottom of the cap. These shots show both the new overflow bottle and the newly formed hard lines for the master cylinder. There are no coils in the brake lines, just numerous right angle bends for flexibility. The proportioning valve was mounted on the rear of the front crossmember to make it easier to access the valve covers:

About this time I was required to accept medical retirement and left the work force. To keep my mind off bigger issues I decided it was time for a new paint job, but without money it needed to be cheap, and I just wasnt up to another complete tear down to remove all the lacquer paint. After a bunch of research I decided John Deere Blitz Black would be just the ticket, and after some extensive research I was pleased to discover I could actually buy it locally.
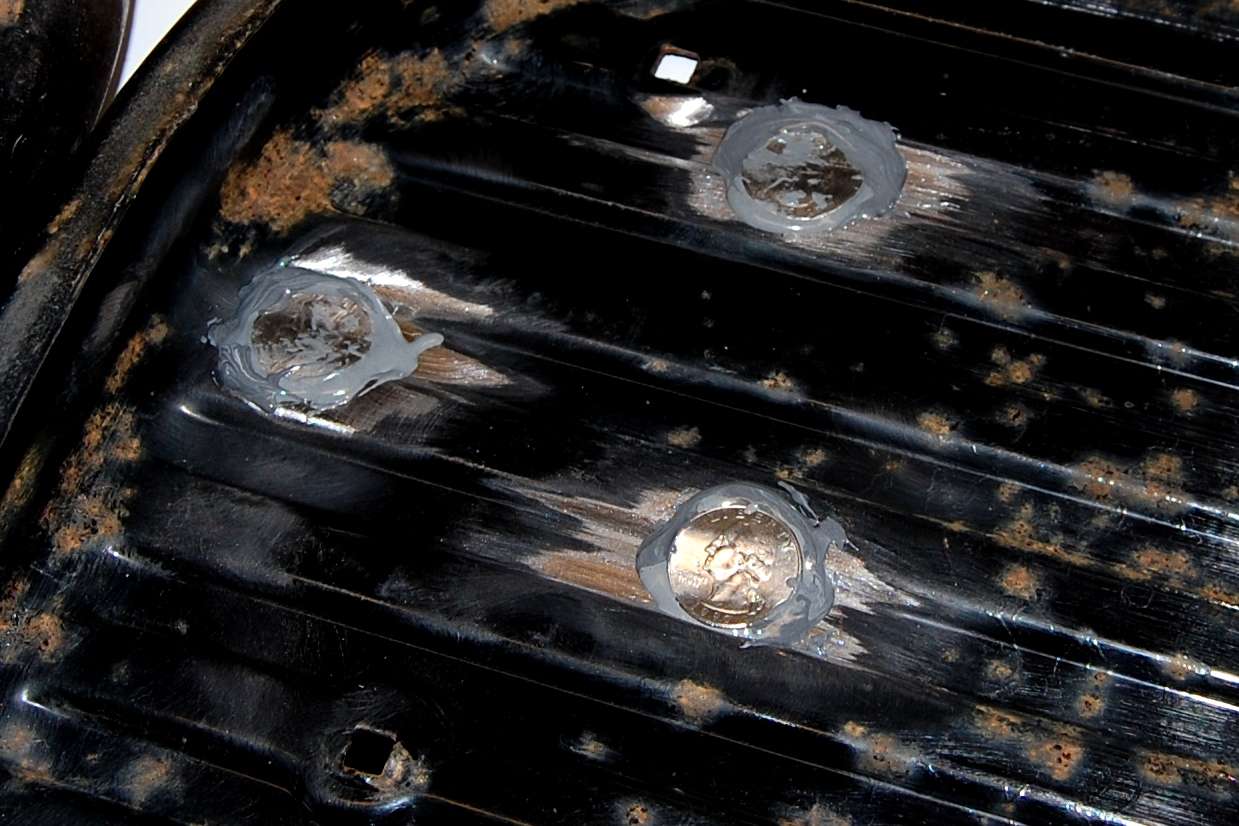
The first order of business was removing the steps, and eliminating the holes which had been drilled by the original owner for the camper supports:
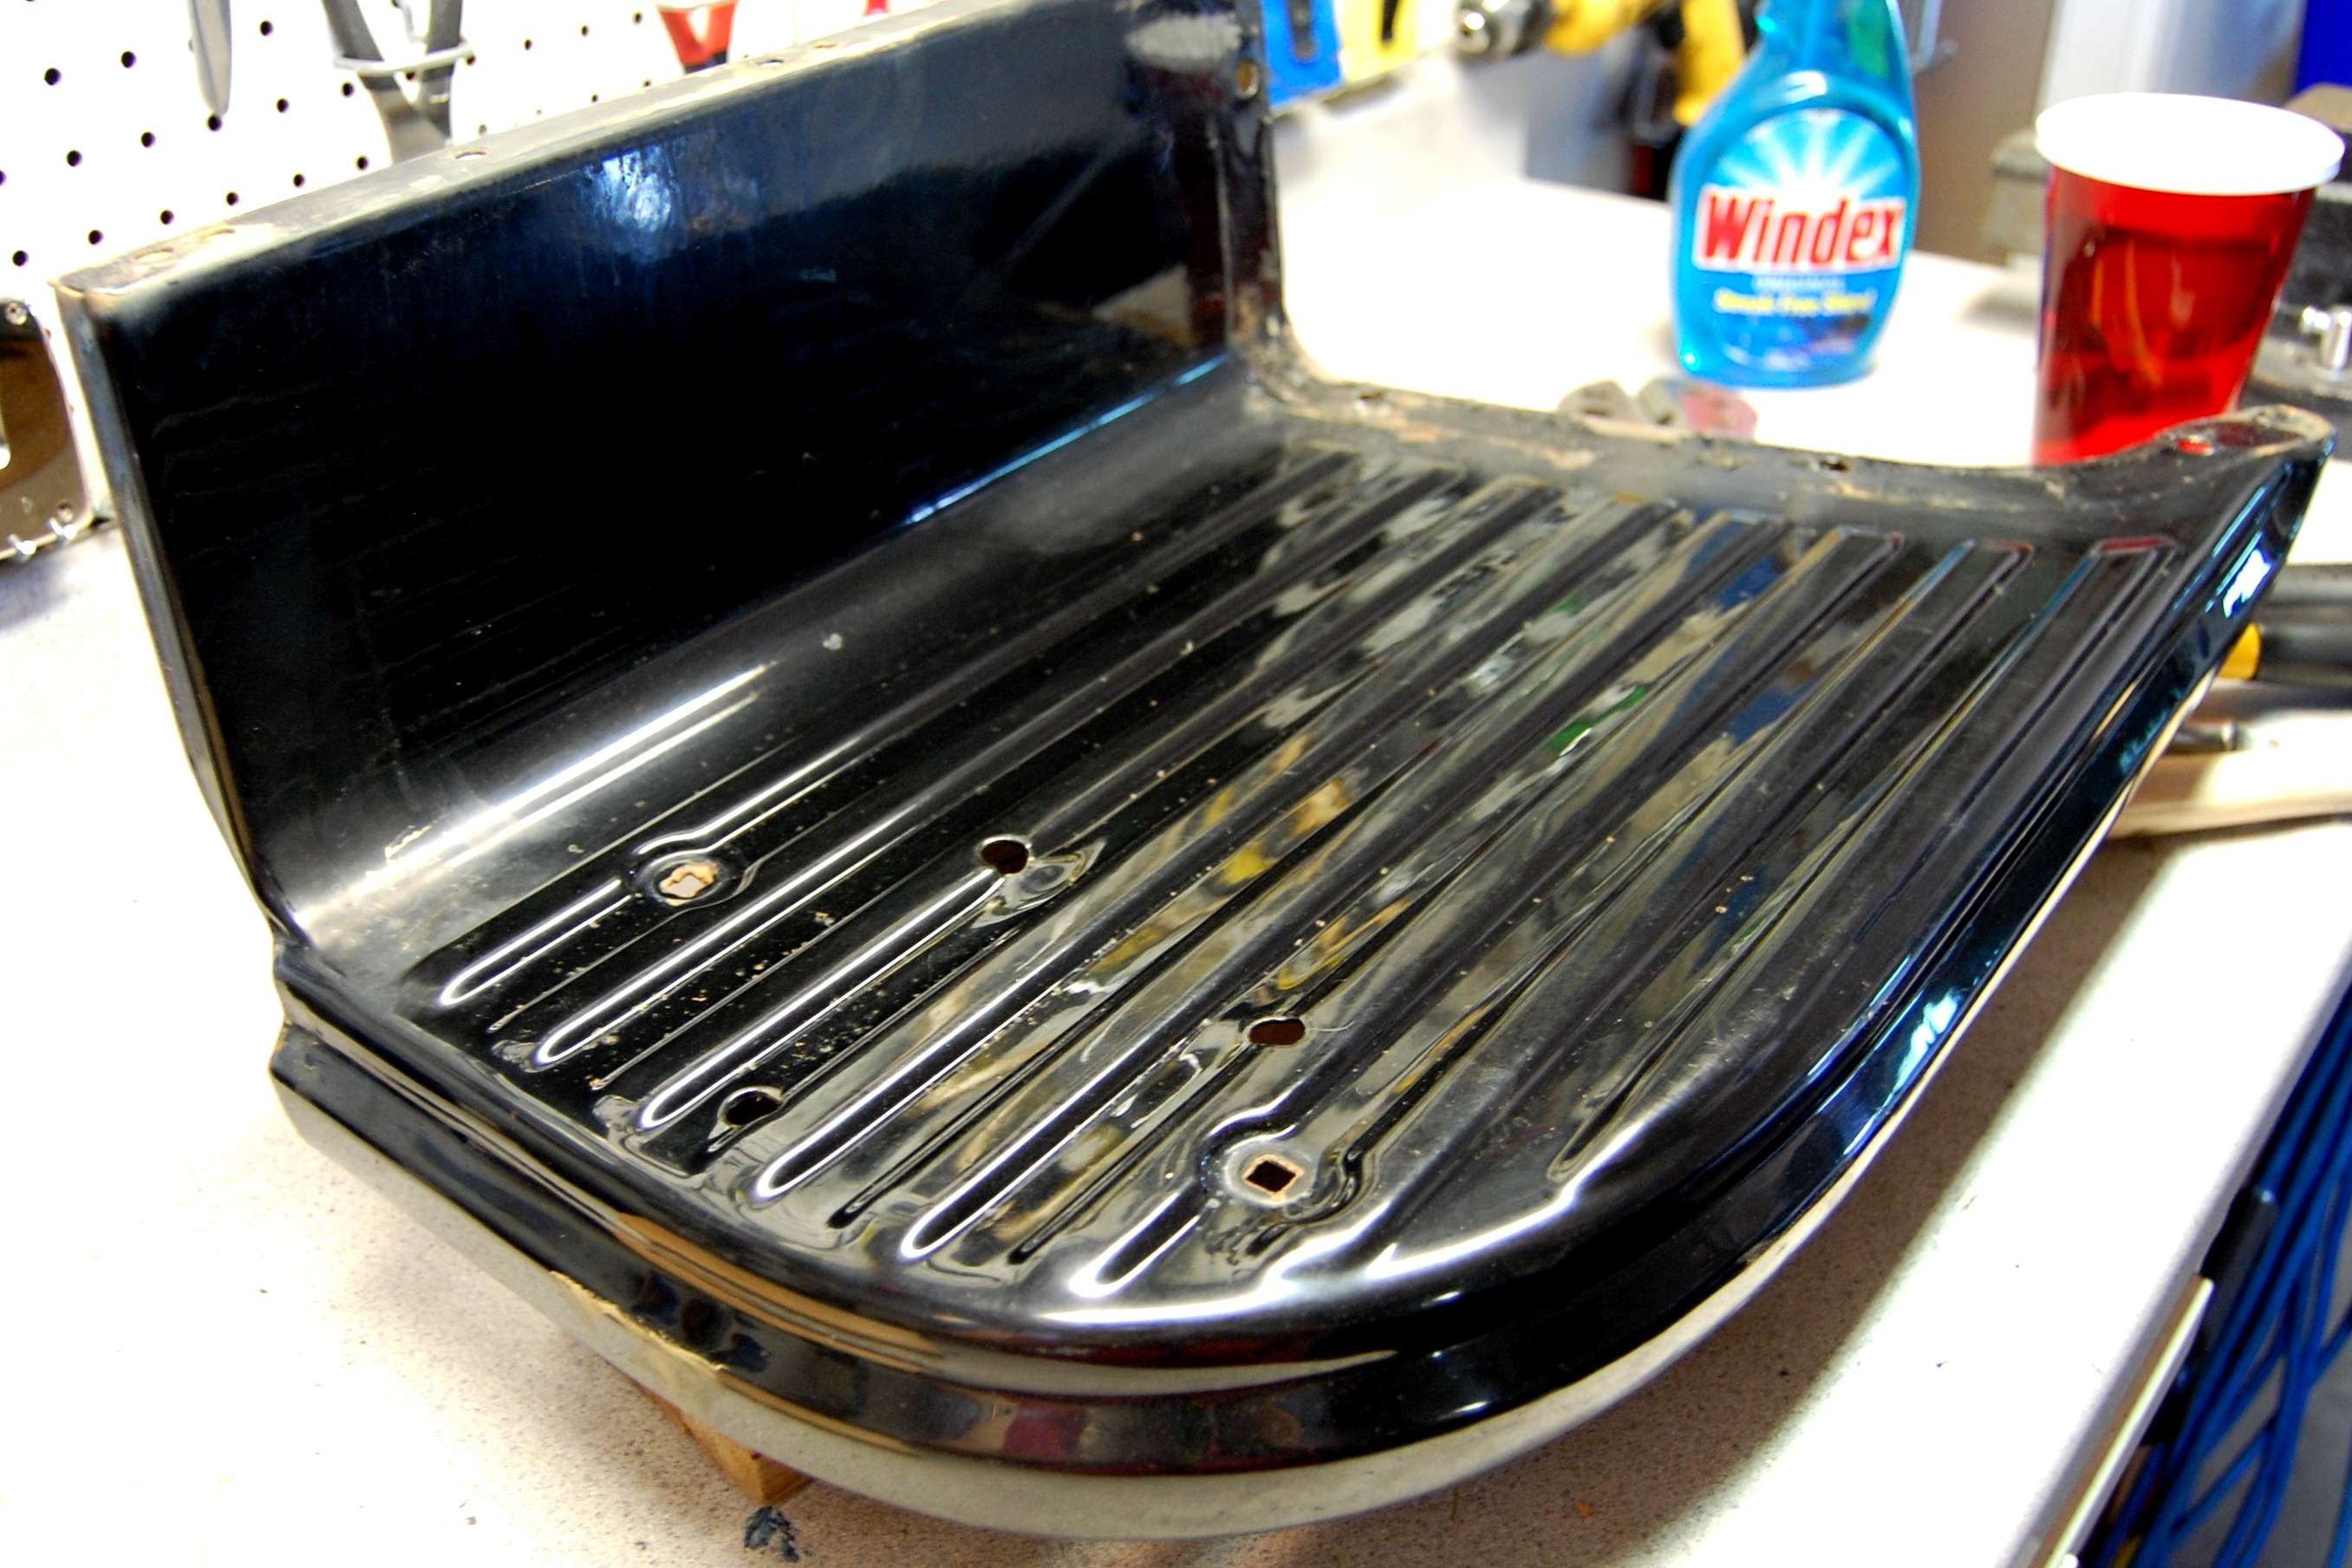
The waves in the ridge tops were hammer and dollied back into alignment. Next, typical of all my sheet metal repairs the back of the holes were ground to bare metal, coins were formed to match each ridge and epoxied in place with JB Weld.
While those were curing initial sanding commenced:
Almost ¼ of body filler was ground off the poorly repaired lower rear door corners, returning them to a decent appearance.
