I haven't posted in a while but I have been making some very slow progress on the seahorse. Turns out that the old farmers did some funky stuff. What started out as me just wanting to swap in newer axles has turned into new brake equipment and lines, but I don't want to run the lines until I swap in some better engine, transmission and rear crossmembers, and swapping in new crossmembers forced me to redo the exhaust... so now I have my hands full again. Ugh.
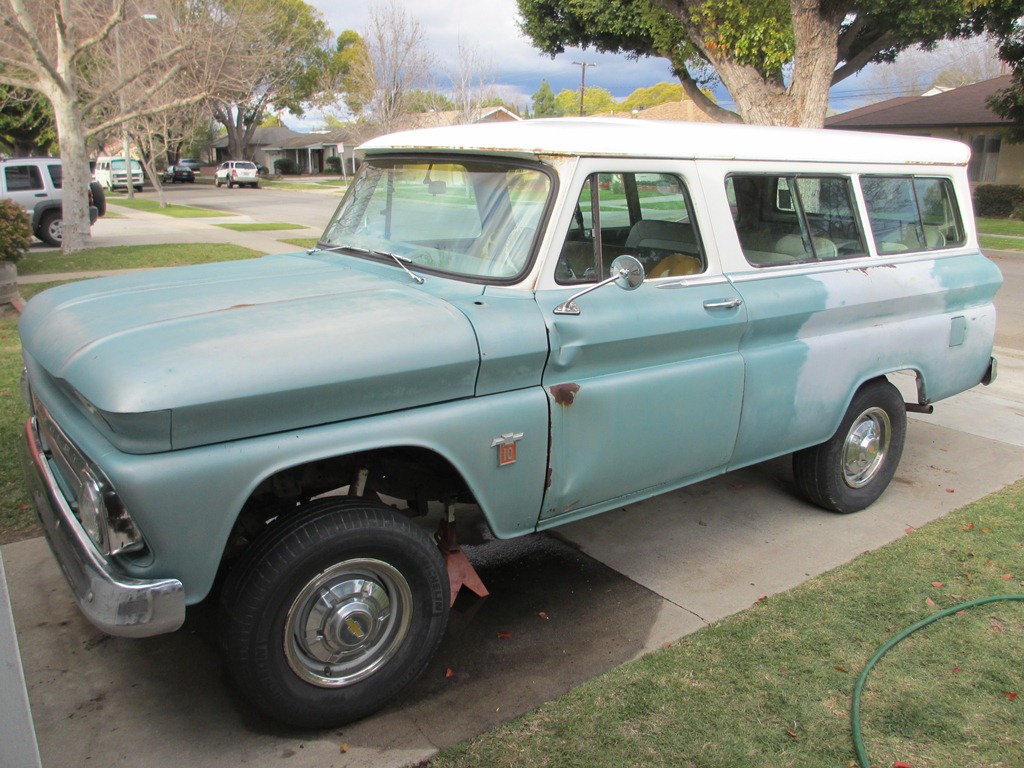
I cleaned up the disk brake Dana 44 front axle and swapped it in. Put hub flanges on it and slapped on some stainless caps onto the wheels. I had also added some stainless mirrors, wipers and sill plates to attempt to "brighten" it up. I gave it a bath too, but you can hardly tell.
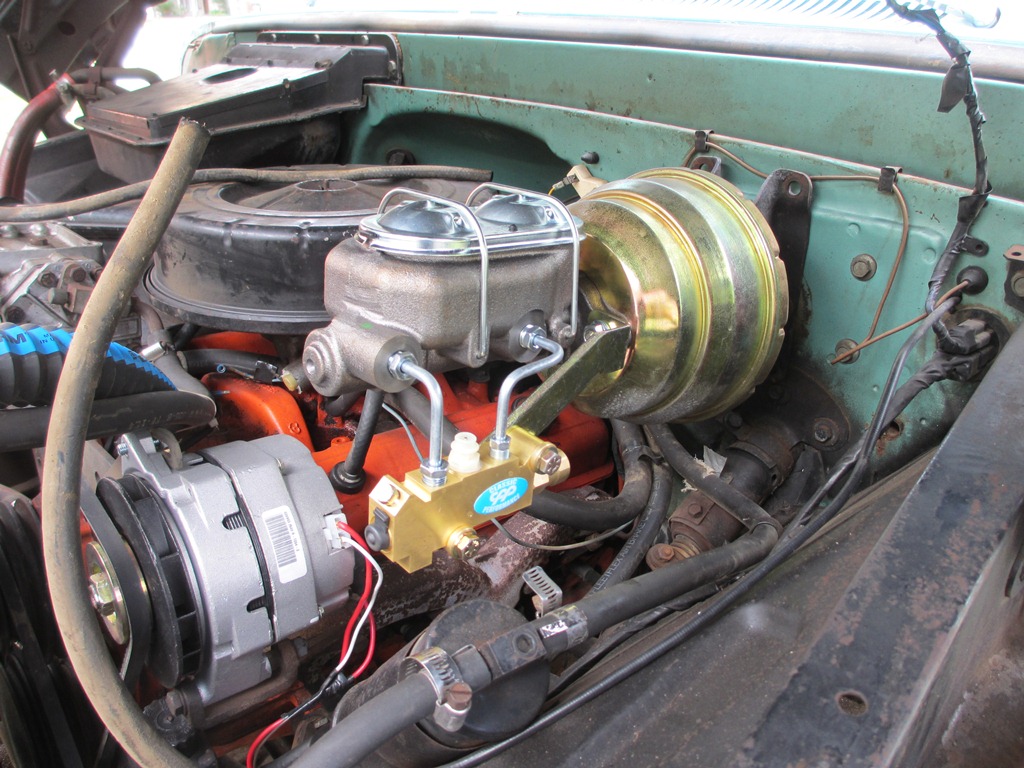
After putting the axle in I needed to redo the entire brake system to run with front disk and rear drum. I also couldn't use the remote mounted booster anymore. So I pulled all the old lines and booster and master cylinder off. What a pain in the neck that was! Then I picked up a late 70s 'vette master cylinder and married it with a bunch of other parts I had lying around like a CPP 8" dual diaphragm booster, 73 blazer brackets and CPP combo proportioning valve. The blazer booster brackets don't fit well on the firewall so I'm going to make a custom mount. Although I may just leave this and then swap over to hydroboost later on when funds allow. We'll see what happens.
Oh yeah, I had also swapped in an internally regulated 94 amp alternator a month or so ago. I modified the wiring but still need to clean it up and re-wrap it. You can also see the great welding job they did at some point. The black trails show the source of a really annoying exhaust leak.

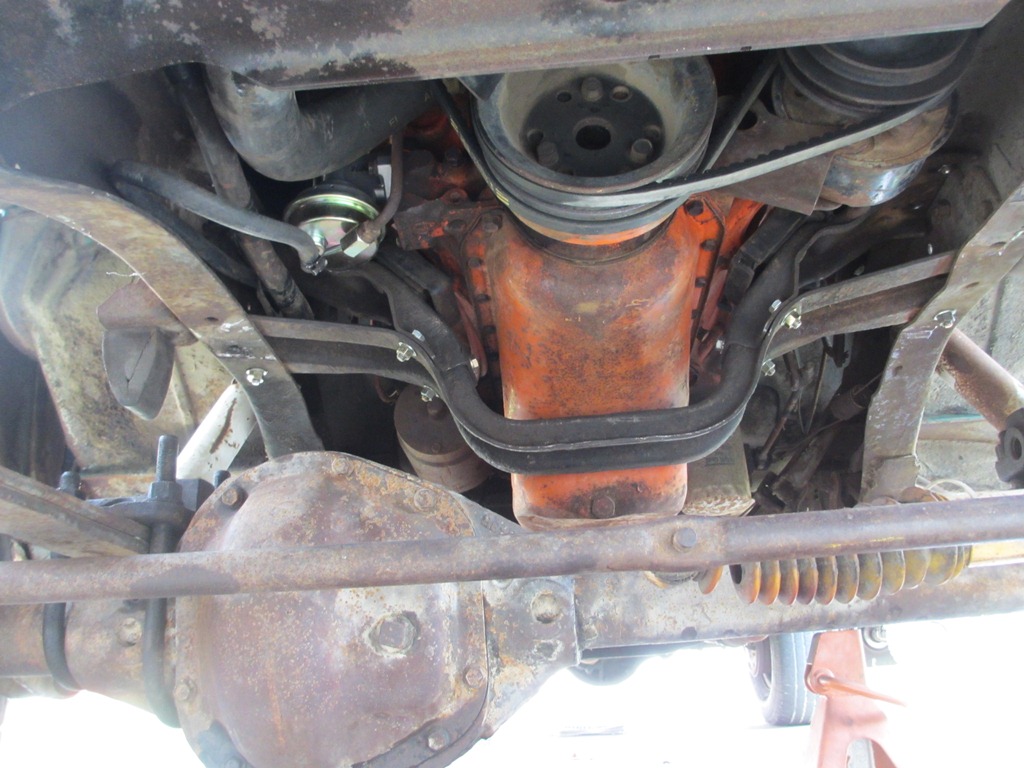
Then it was time to run new brake hardlines. I'm kind of picky about how I run my lines so it started to bother me that the previous owner had installed some really funky plates and brackets and stuff when they did the 2wd-to-4wd conversion. I already picked up an engine and a transmission crossmember from a 72 blazer from another board member so I decided the next step would be to install the the engine crossmember. Well that opened up another can of worms, or two.
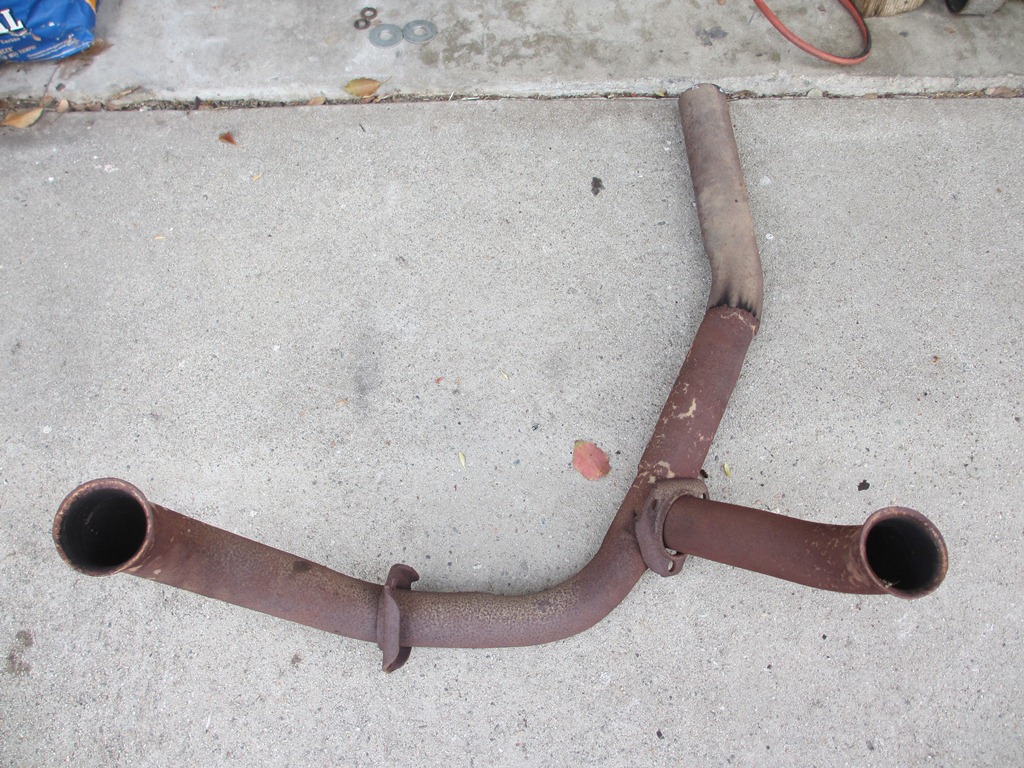
First the crossmember wouldn't fit because the exhaust has a Y-pipe that funs under the oil pan directly where the crossmember wants to go. So okay, cut that out and I'll figure out how to get it back in later.
Then I get the crossmember in and see that the holes don't line up in the side to side direction; the crossmember seems too narrow... Well the previous owner had removed the 2wd front crossmember and the old trans bellhousing crossmember leaving nothing to tie the two frame rails together all the way from the radiator support crossmember to the trailing arm pivot crossmember!!! Luckily by throwing couple ratcheting straps around the frame I was able to suck the frame rails together until the holes lined up with the crossmember, and bolt the sucker in. What an ordeal!