LEAKS (1 of 7)
After driving around for a few months now, I became familiar with various leaks around the engine and transmission. This narrative describes the work I did to eliminate them and keep the areas in and under my truck dry.
* Oil Pan and Timing Cover *
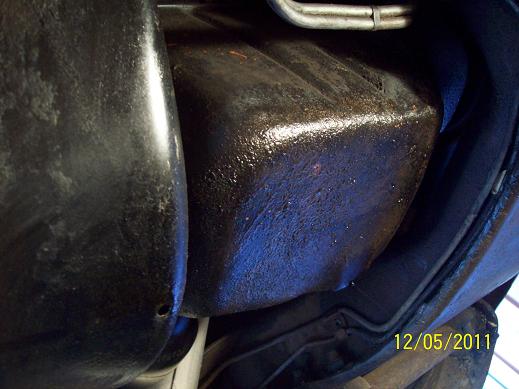
There was a lot of oil leaking out from somewhere underneath the engine. It was hard to tell exactly what was leaking since the oil was blown back over everything and had been doing so for quite a while. I had a nice drip from the drain plug, so I replaced the oil pan plug gasket, but that didnt help. Upon closer inspection, it appeared that most of the leak was at the oil pan gasket where it meets the timing cover. I removed the torque convertor cover plate to check the main seal area and it looked pretty dry up there (lucky on that one). So I decided to remove the oil pan and timing cover, and install new gaskets and seals.
The procedure for removing the oil pan and timing cover is straightforward (page 6-31 in the Service Manual), but it does take a while to do. The engine mount bolts must be removed, and the engine jacked up enough to insert a piece of 2x4 wood at the mounts. This will give enough clearance between the engine and the crossmember to remove the oil pan.
Wood Block at Engine Mount
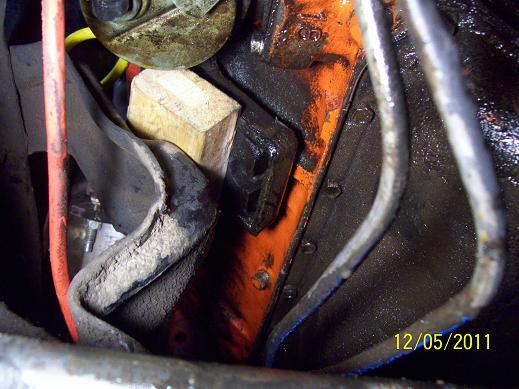
Access to the engine mount bolts is awkward and there isnt much room to swing a ratchet, but it can be done. Same can be said about removing the 18 pan bolts. I was able to do all this work with the truck on the ground in my garage. I never had to jack it up and set it on stands. Even on a creeper I had OK room to work.
Old Four Piece Oil Pan Gasket
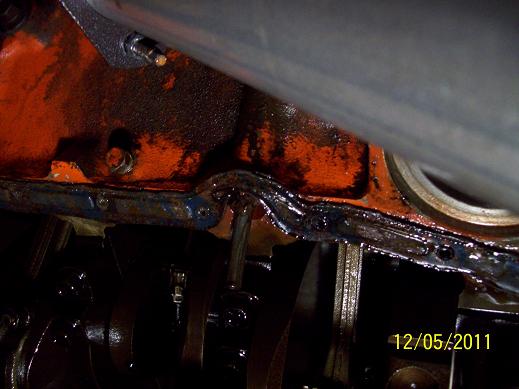
Paint on Gasket Surface
Every time that I have exposed a gasket surface on the engine, the surface had been painted. Makes me wonder what else was done sloppily when this motor was rebuilt.
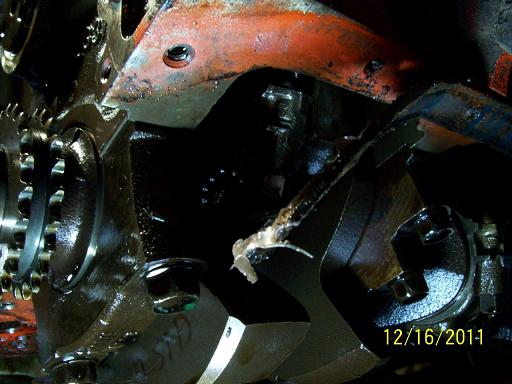
After the pan was out, I removed the water pump/fan assembly, the pulleys, and the harmonic balancer. Once exposed, out came the timing cover. Then I cleaned everything and straightened the pan and cover flanges as needed. I decided to just clean the pan, not paint it. There was a lot of baked on crud and black paint that I removed. I also found the oil pickup tube had been installed cocked upward slightly. After making a few dimensional checks, I decided to leave it alone, too. It isnt where it should be so I shouldnt ever let the oil level drop below a stick reading (note to self).