Awake since 03.00
Insomnia sucks.
But 90 minutes later I just remembered that I did this short walk around for a certain friend in the USA who,asked about the motor in the truck.
CLICK LINK
https://youtu.be/rkdj0tMFBEM
Back to yesterday.
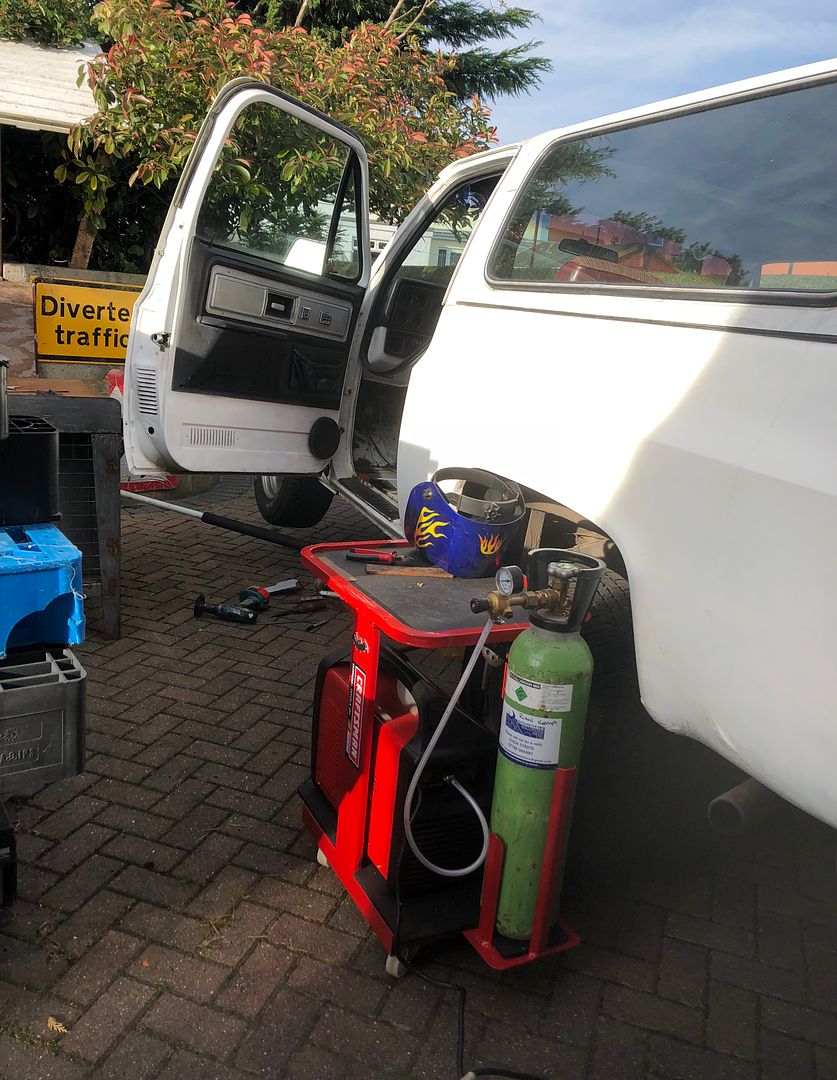
Once I had done all the yard and house work, it was time to take some photos of the truck formthe photoshop challenge of creating some designs to possibly use on it when the mechanical side meets my expectations.
http://forum.retro-rides.org/threads/recent/206591
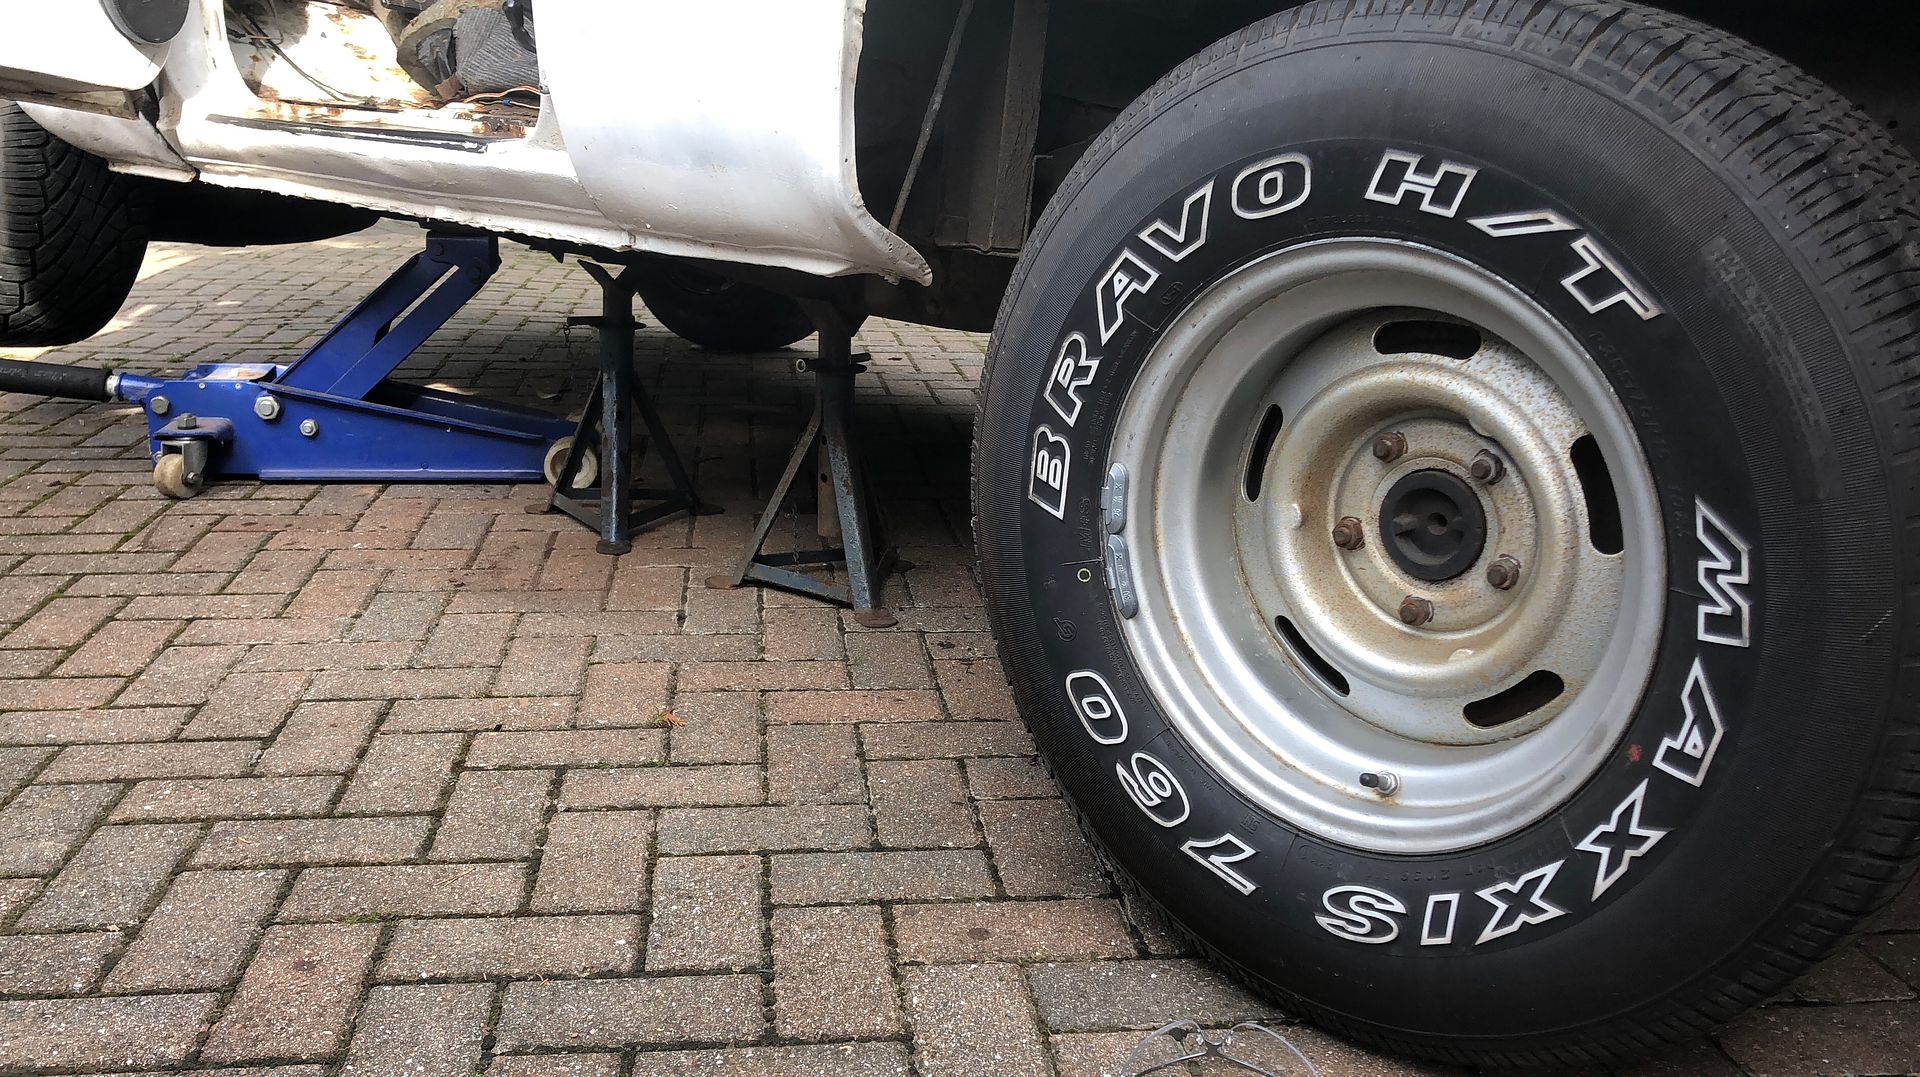
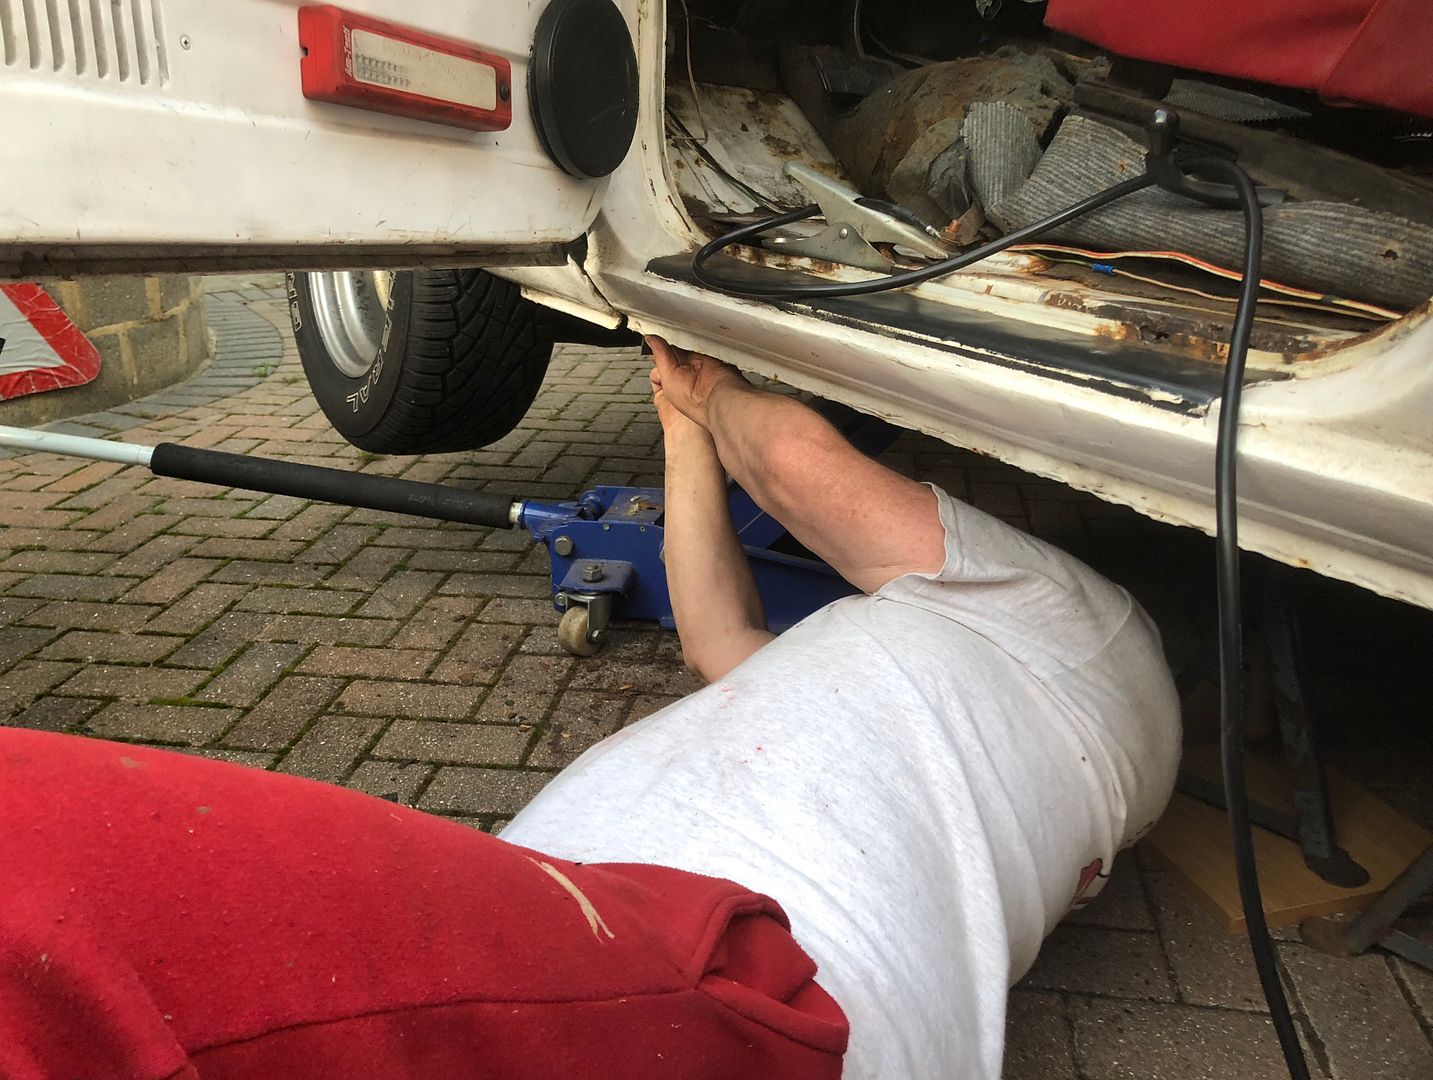
Thank goodness for my Snap On low level jack, bought used years ago for £25.00 or $30.00 it certainly makes life a lot easier.
Up she goes. Or is it a he??

Made safe-ish.
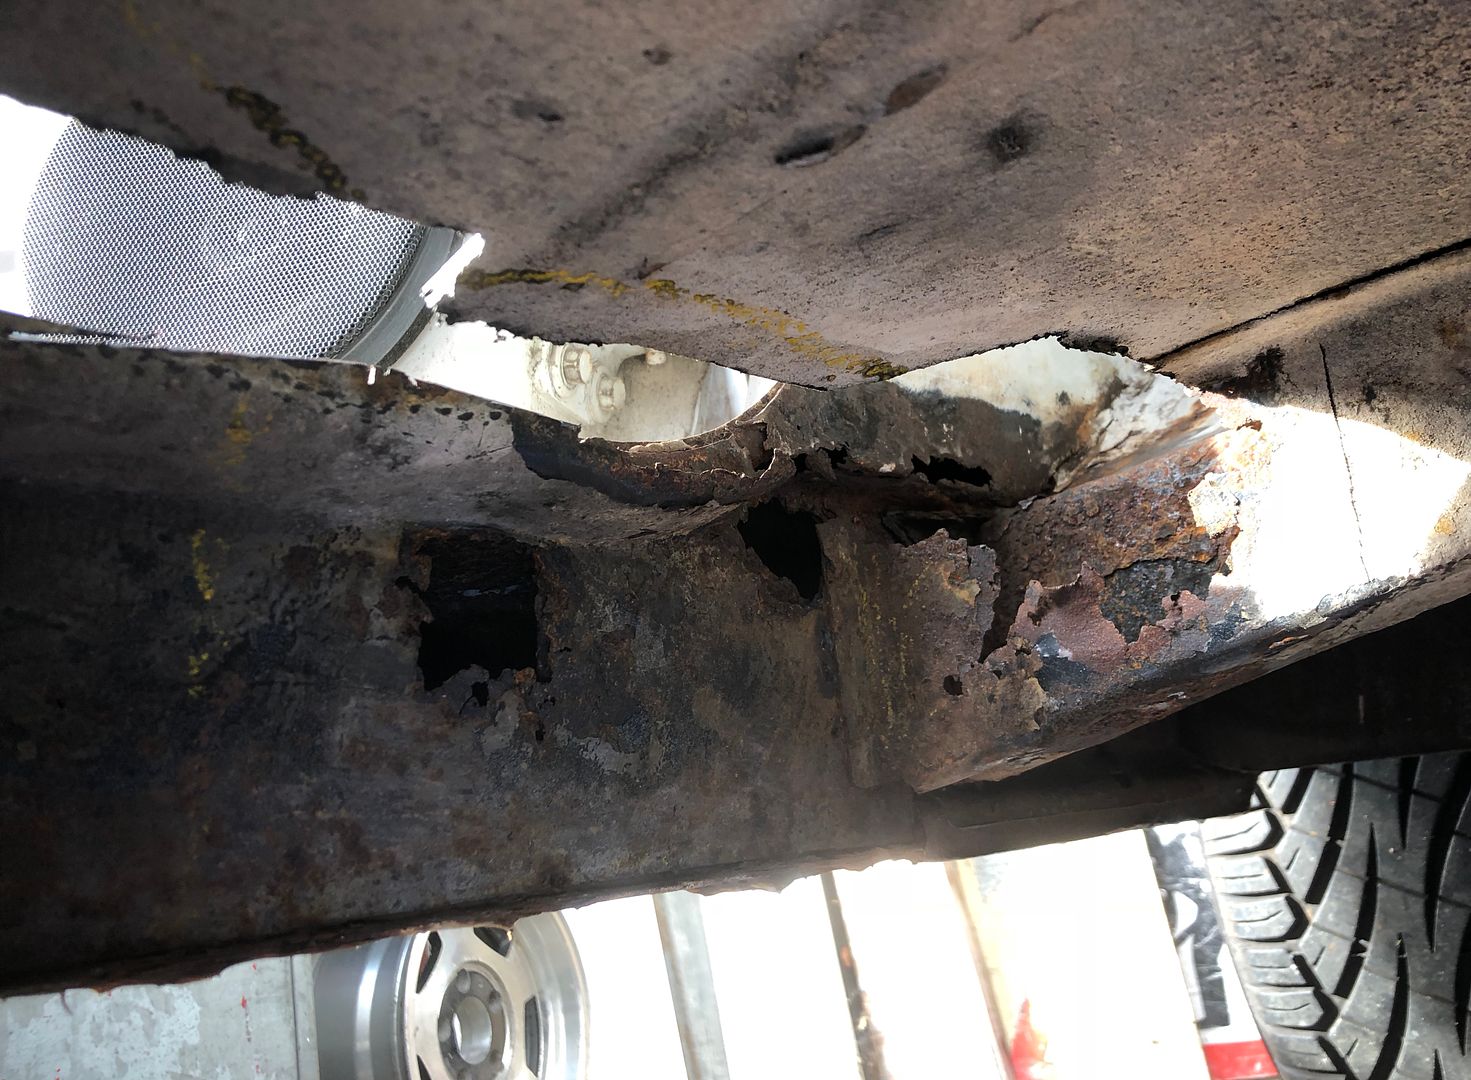
I knew what was there.
Just not how much of it there was.
The rust is really weird, it seems to attack some parts and leaves others completely untouched.
Some hammer, chisel, and screwdriver action helped me find the starting points.
Flap wheel action.
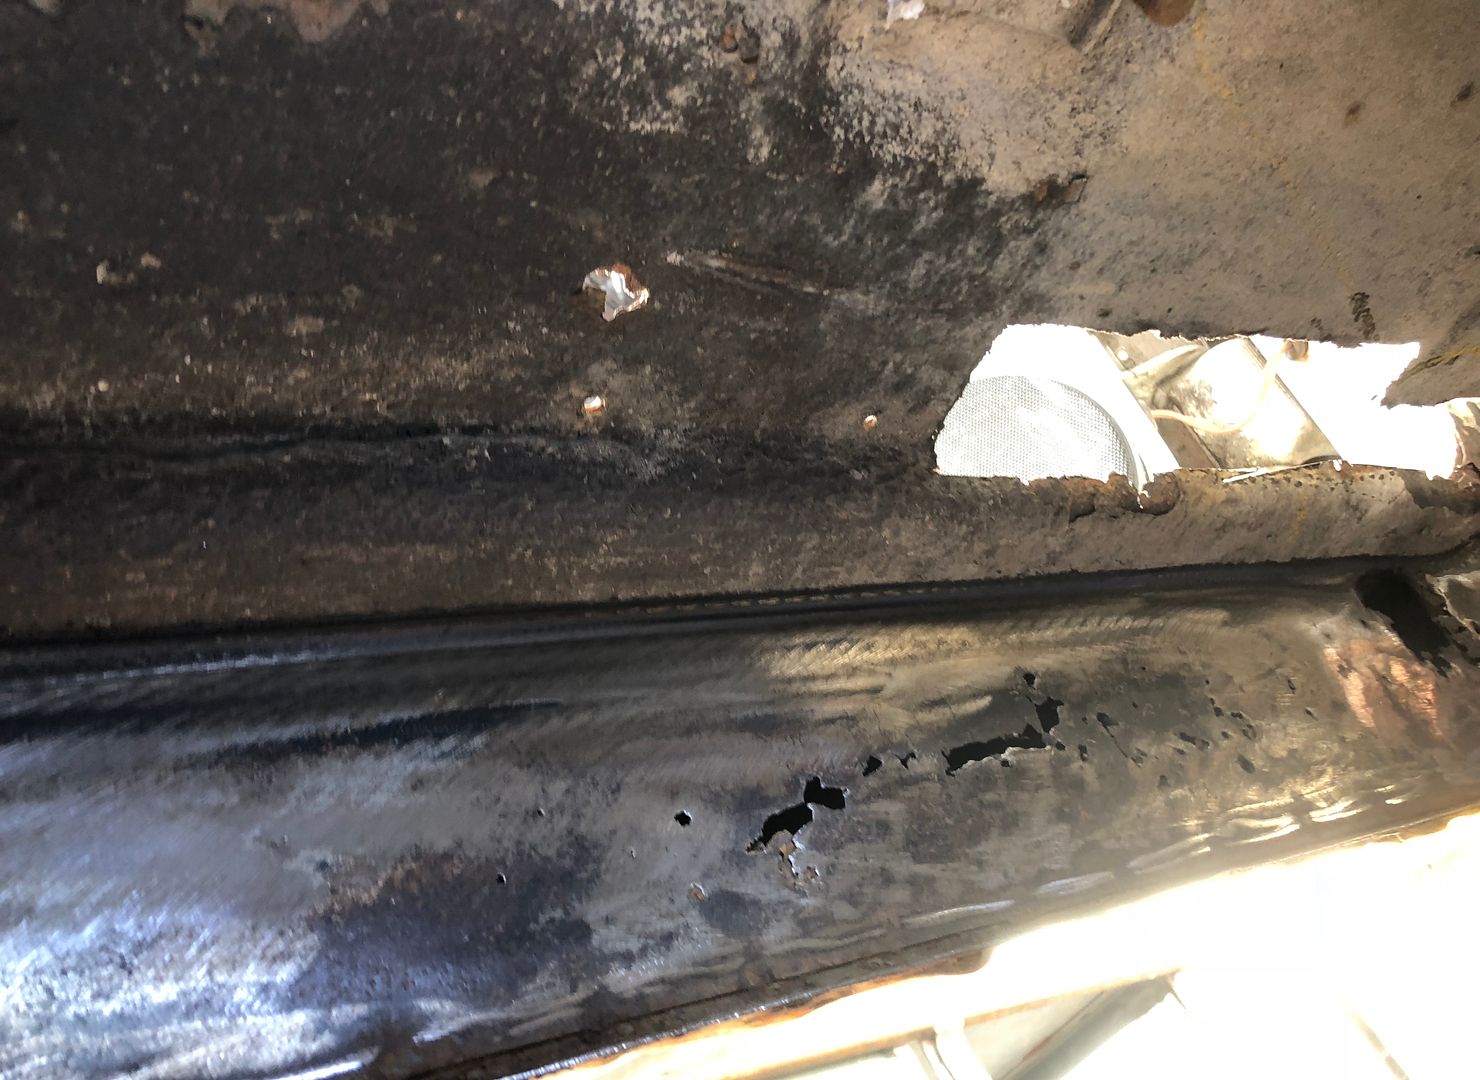
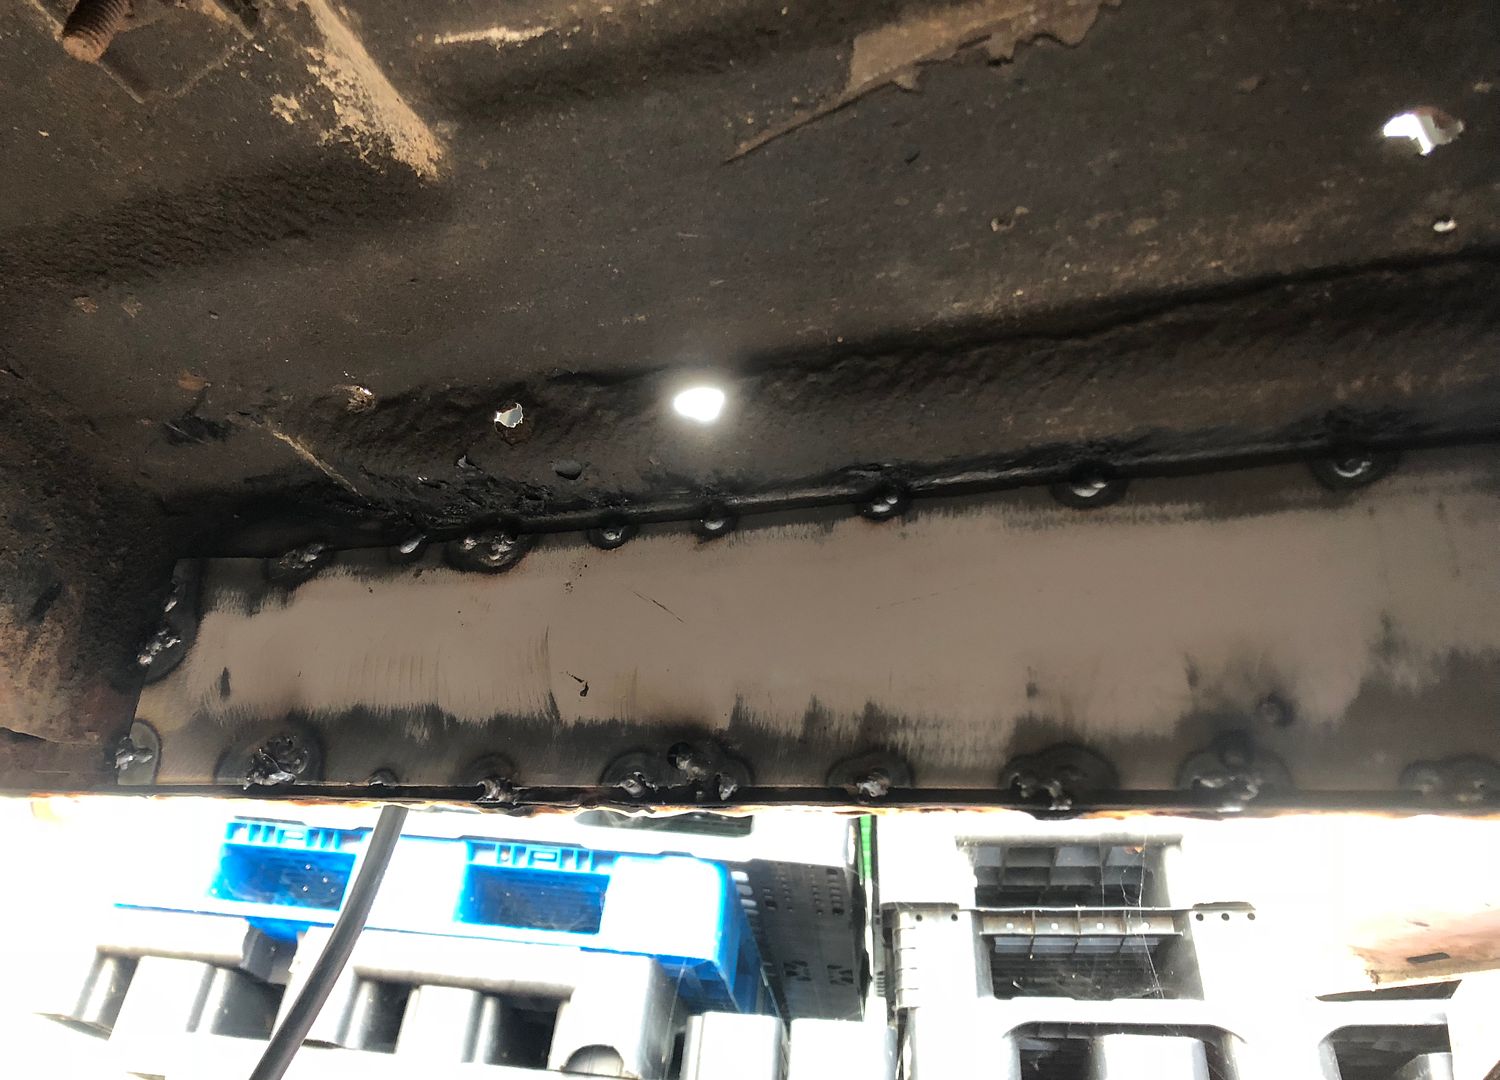
When I had cleaned up the whole inside panel at the expense of one 40 grit flap wheel to tear off the thick layers of underseal, and a scotch wheel on my cordless drill on the lower spot welded seam, it became apparent that these inside panels were only spot welded every few inches, with drainage incorporated.
So I decided to remove the majority of the 900mm by 90mm strip, but to leave enough of the strong material to plug weld my repair and then randomly spot weld along the top and bottom of the patch, in order to allow drainage as before out of the sill area.
Before that I wire brushed the inside, applied Vactan rust converter and used one of my hot air guns to speed up the drying process before welding in the patch.
At this point it was 4.30 and progress had been much slower than planned, but of course I had all the yard work and a run to the gas station with four jerry to show. I had no idea how much gas was in the truck when Lee the seller delivered it for me, as he had told me he drove it basically between £10.00 to £20.00 fills, and never filled it up unnecessarily
Only the rear primered with the Weld through stuff as the front would get worked a bit after my ****tty welds, upside down with a large mask in that space had me swearing a lot, a really big lot of swearing, including blasphemy, which I never do.
Once prepped and ready, Mr Welder came out to play.

Bit of grinding will be needed to just top the welds and then primer, seam sealer at the top and finally some fresh underbody seal.
Mickey had come around earlier when I was cutting the trees back and had asked if I would let him insure Prozac for both of us and then we could share it, I had to be really nice to tell him no, not happening.
Not sure he understood.
He came around later around 5.30 to check up on progress and was impressed with the welded in plate.
He even took a pic of me crawling about.
At this point I was about to start on the outrigger patch panel that has aspects in all sorts of directions.
I had got some thicker steel from Craig on Friday evening that was going to be just right for the patch panel there.
More bending, hammering, cutting and swearing plus a bit of head scratching coming.