This is a tutorial on how to fit a Mazda MX5/Miata heater fan to the Custom Deluxe heater unit in a 60-66 Chevy C10.
The blower motors on these often stop working after 50 years when the radiator core leaks and the water ends up over the motor.
My mate Martin previously investigated and executed a transfer on his '65 Chevy truck as he had owned a few, and broken even more Mazda MX5's in the past, so he knows his way around them quite intimately.
So when I managed to buy an unproven heater unit from friend Del and the motor as expected, had expired we arranged to go to a breakers early one Saturday morning. We even stopped for a McD's Coffee on the way.
Got to Brenzett to the Mazda MX5 breakers where we had been offered a fan and blower unit for sensible money....... If we removed it ourselves. Martin and I have previously used him before and his stock and prices are always good.
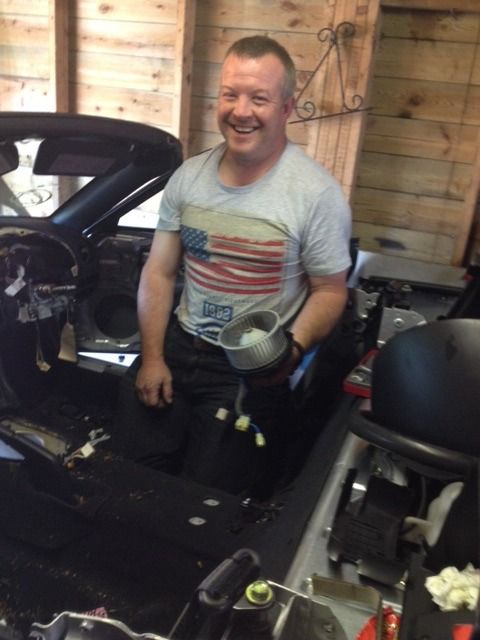
So I was the tool boy, and Martin the brains and brawn on the day.
Spending about 30 minutes, mostly upside down.....
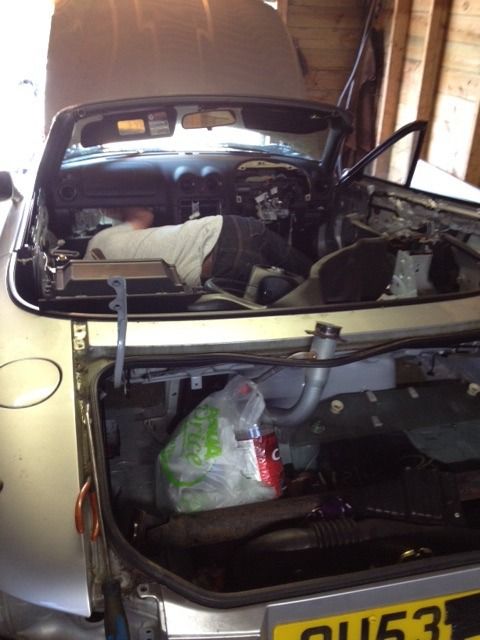
RESULT !!!
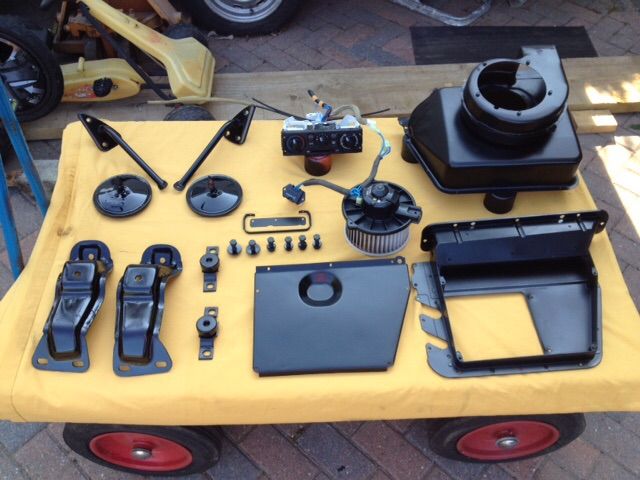
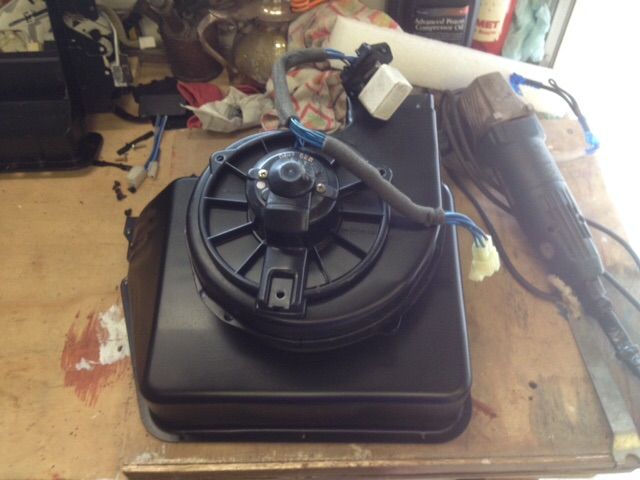
So I dismantled the heater unit and,sandblasted it all, painted all the parts after pressure testing the core by mouth, and it seemed to be intact.
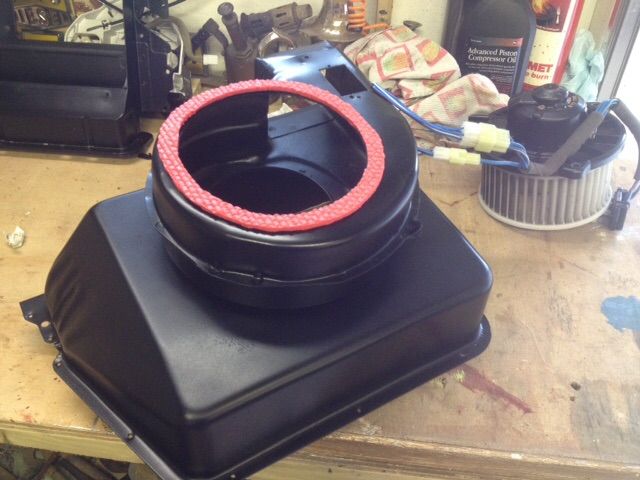
If you test fit the Mazda fan on the Chevy tinwork, you will find it is too big by a small margin. So the trick is to figure a way to get it inside the hole.
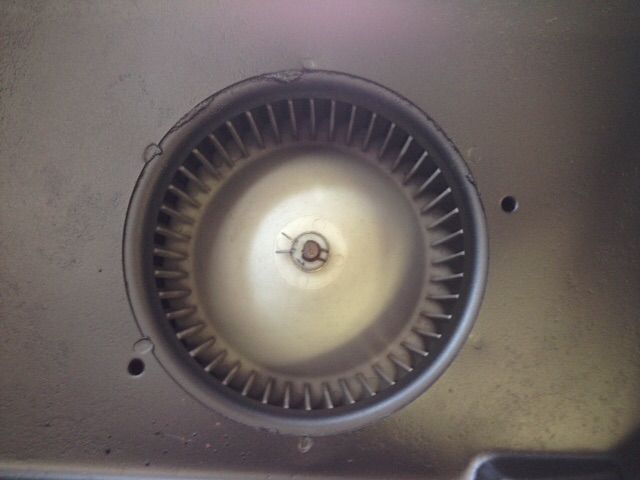
The fan is plastic, and herein lies the secret.
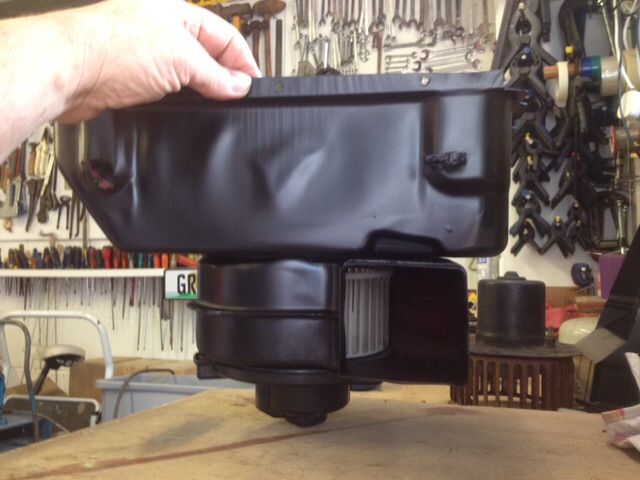
If you put a bit of pressure on opposite sides it becomes oblong and you can slip it into the steel hole, releasing as it goes in means it will be captive on the inside.
Impressed??
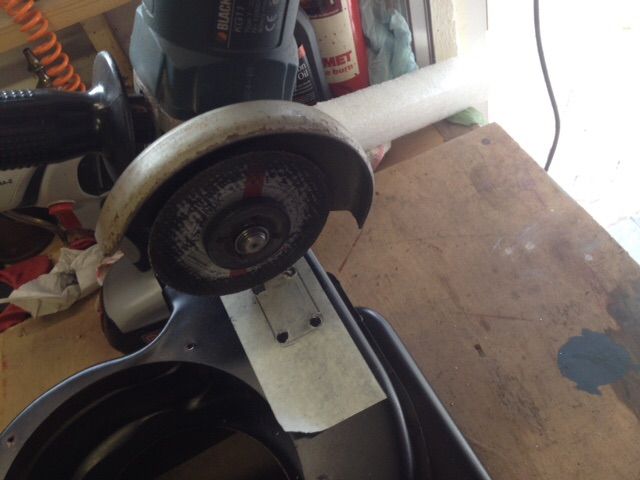
Using masking tape, mark out the hole that needs to be cut in the body to fit this little guy.
Drilling a pilot hole in every corner gives you radius end corners and prevents the metal tearing over the long term.
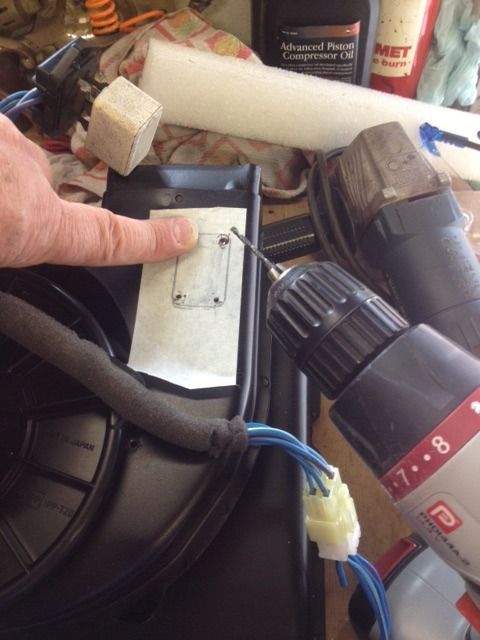
Cut with the grinder and finish off with a hand held hacksaw blade and file all the edges, and touch up the paint on the exposed metal.
I made a gasket from some of the material that was stuck on the inside of my doors..... Remember that stuff?
That makes for the end of part one......
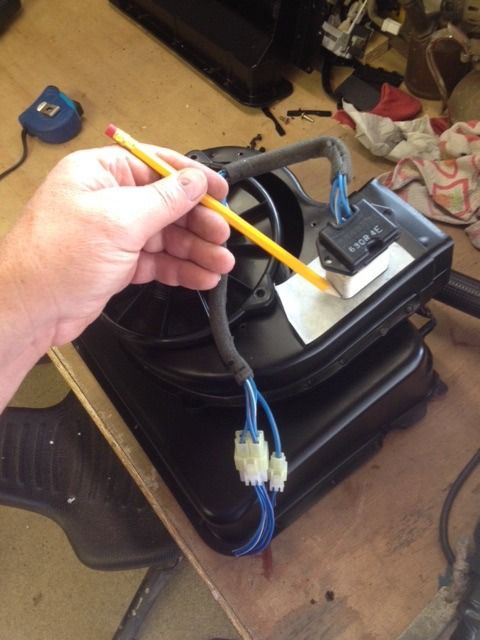
Part two, the controls next.
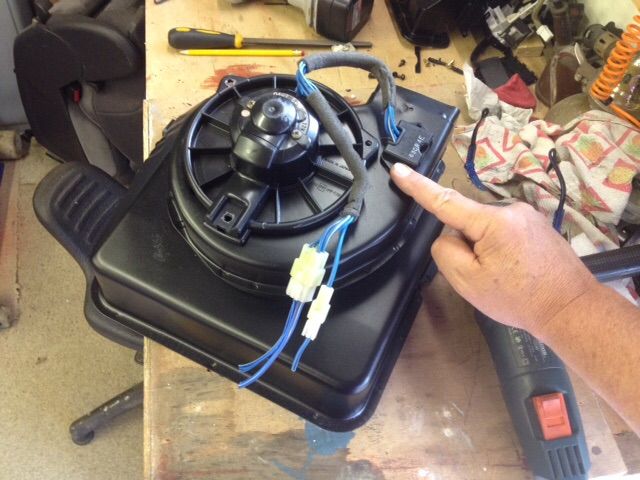
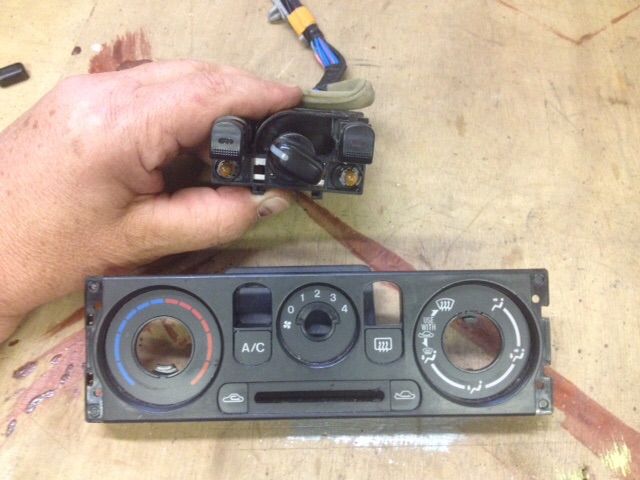
When we stripped the Mazda, we also took the heater controls, which included a multi speed switch, making it work will be another challenge when the wiring gets done.
So this is what I started with after removing the switch and front facia from the total unit.
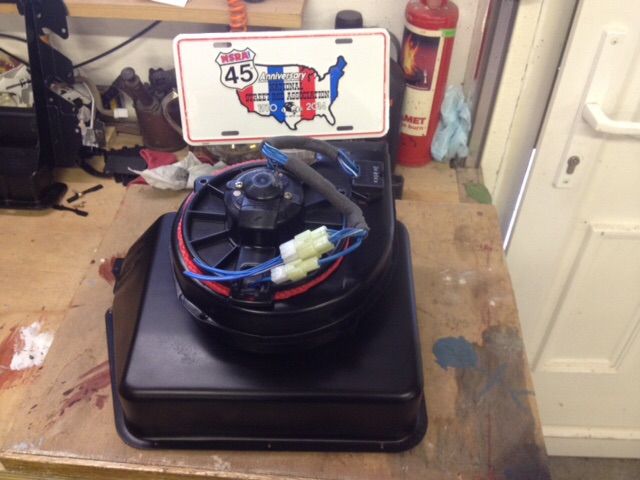
It back to this.
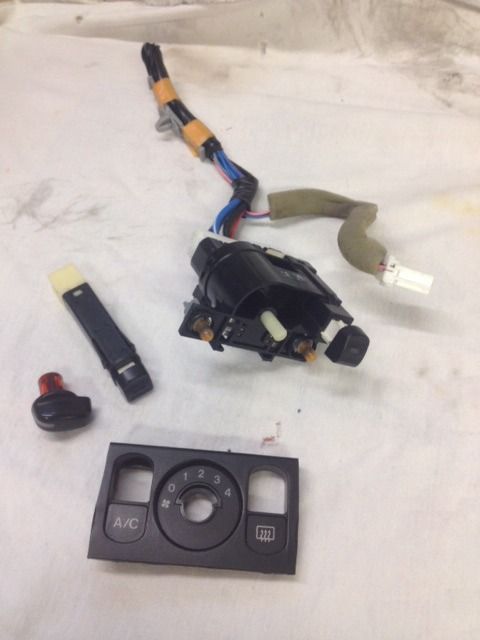
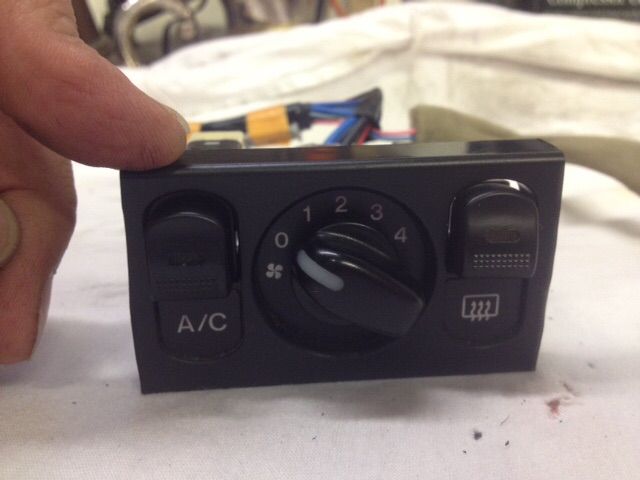
View from the front, what may be fitted to the dash.
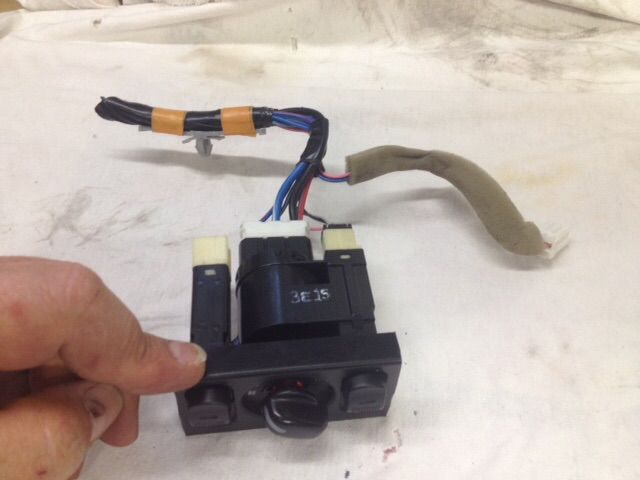
Lastly, the view from above.
Of course you can also reduce the size a lot more by cutting away the Aircon and Defrost buttons. Just retaining the 3 speed power switch.
So that concludes this conversion, Martin's worked in his truck before he startsd his restoration, so we know it works.
Now go out and find a Mazda to rob of its fan for your own truck.