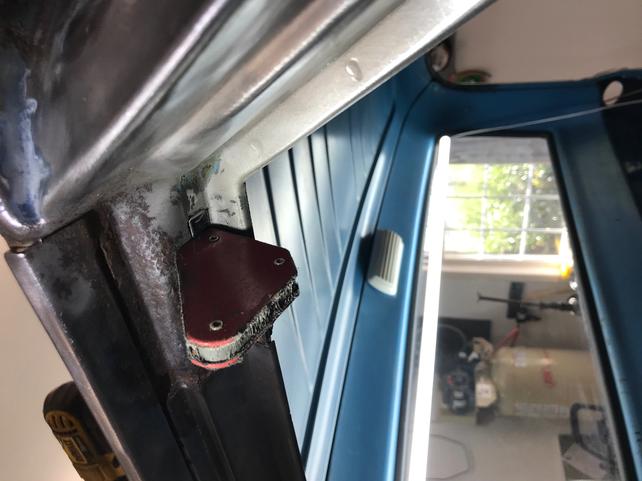
First off, congrats on filling the antenna hole, can't even see where it was anymore..

Next, consider who you're getting advise from here, take it with a grain of salt, your truck, your decisions, etc..
I haven't used the panel adhesive to speak from a position of authoritay. But what I have read is that the panels that are being glued? together should be clamped tightly across the entire seam where the adhesive is being used. In my interpretation, clamped tightly means there will be minimal adhesive between the two panels for maximum strength, vs looking like someone got happy with a caulking gun to fill a void. It also means that with the (steel) headliner still in there and in the way, you're not clamping jack together. So no "proper" use of the adhesive is possible. You already know what's coming next, this is Robert, after all.
My thoughts are to remove the headliner and rear window surround in their entirety, KEEPING THEM ATTACHED TOGETHER, by removing spot welds around rear window opening, around door opening, around windshield opening, and across bottom beneath window.

SIDE NOTE: Part of the support of the rear cab panel that attaches to the roof in the back is the crown of the roof skin. So where you see the roof skin needing to come down, I see the rear section needing to come up to meet the roof skin, or a meet in the middle. You take the old roof out, and it removes some of the support where the top center of the rear panel may tend to drop on it's own accord. But of course, I'm looking at color 8x10 glossy's on my screen here, so the final determining factor is what you see in front of you and how the panels react as you bring them together.
Next, before welding the outer skin in place, repair any of the gutter, bracing, A or B pillars, etc now that you have ready access. Now you can properly position the outer skin, clamp to the rear section as needed, and perform spot or plug welds to attach as needed. Then repair any damage to the headliner assy before aligning it back inside and welding back in place.
For the dual cartridge gun that you'll now need for seam sealer in the drip rail, keep looking. I paid 39 for mine. And I would suggest epoxy primer inside all the nooks and crannies while accessible. A much better choice over POR, which will give off noxious fumes if it comes close to the heat from welding.