Another decent update!
I've been posting this thread alongside the LS1Tech forums as well. Another member there,
RedXray, turned me over to these Glenn's Auto Performance throttle cable brackets, specifically meant to use on TBSS/NNBS intakes like mine.
We speculated that the position of the bracket (plus the fact that it has a slotted adjustment) sat further back in relation to the Nick Williams bracket, and should eliminate the need for a TB spacer. The bracket also has the Silverado style cable mount, which theoretically should let me use the 99-02 Silverado cable I originally ordered.
So what did I do? I went out and destroyed the 3-month-backorder 98-02 F-Body cable in the name of science. I think this may actually work really well.
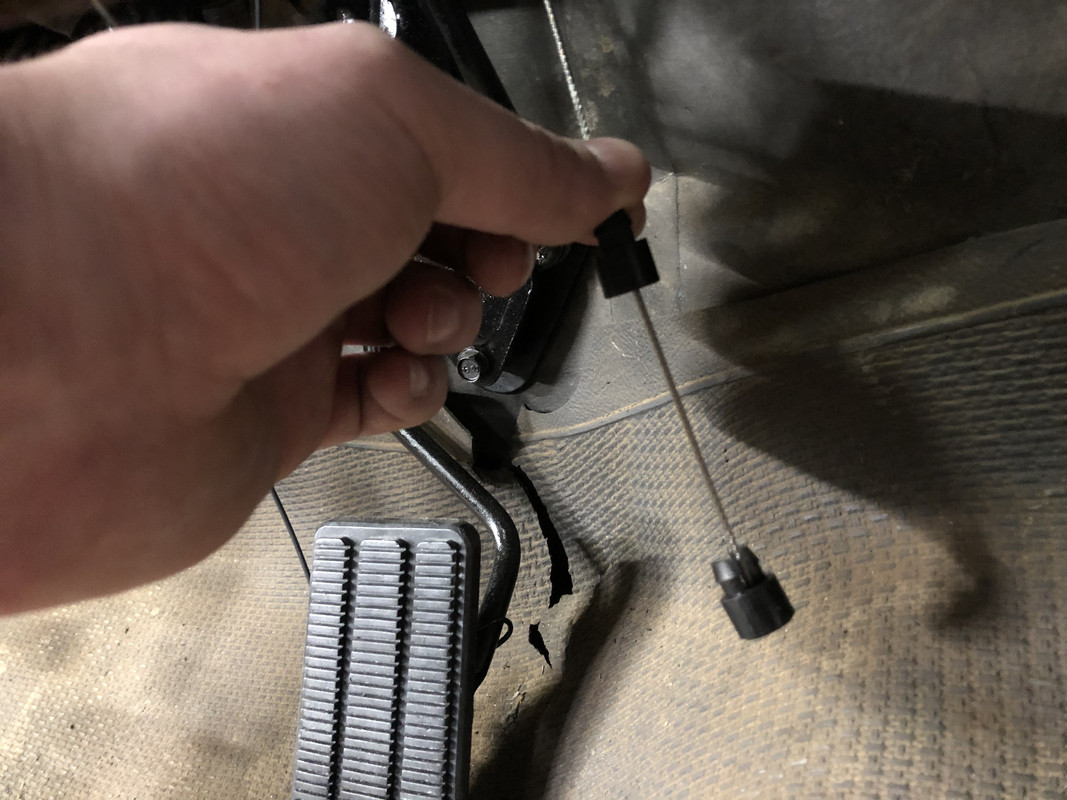
The 99-02 Truck cable has two stoppers on the pedal end of the cable, as seen in the pictures. The little plastic clip that inserts into the pedal arm is on the end one. Installed like this, the secondary stopper wont allow the cable to retract enough to bring the pedal all the way up. So, the F-Body cable donated its plastic clip, installed in the inner stopper, which drastically shortens up the cable and also allows the pedal to come back up to the top fully. If this works, the extra cable past the inner stopper can be removed later.
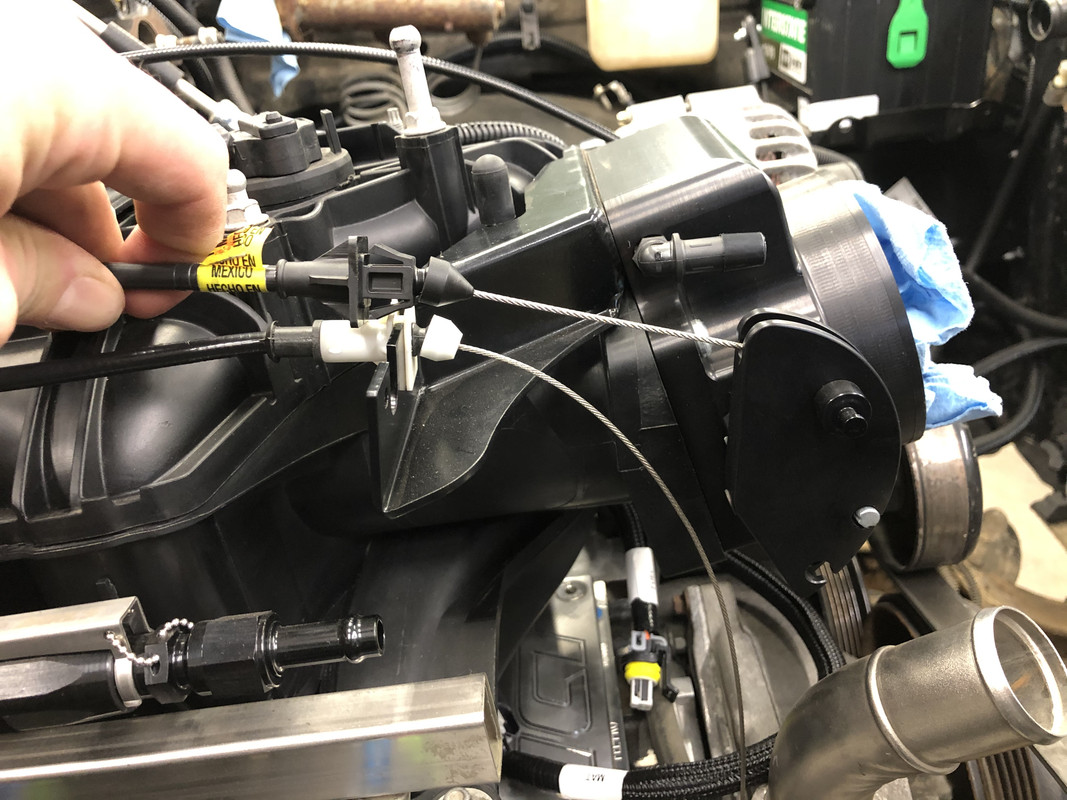
Since the cable is now much shorter, I moved the TB cable end up one hole in the throttle body. As you can see, this puts the cable a little bit further back than the Nick Williams cable bracket, which appears to be nearly identical to where the Glenns cable bracket appears to sit. Even if it does end up in the same spot, a 3/8 to 1/2 TB spacer should easily take up that length, and the adjustability of the Glenns cable bracket should allow me to fine tune in the correct amount of free play. So, I ordered a bracket!
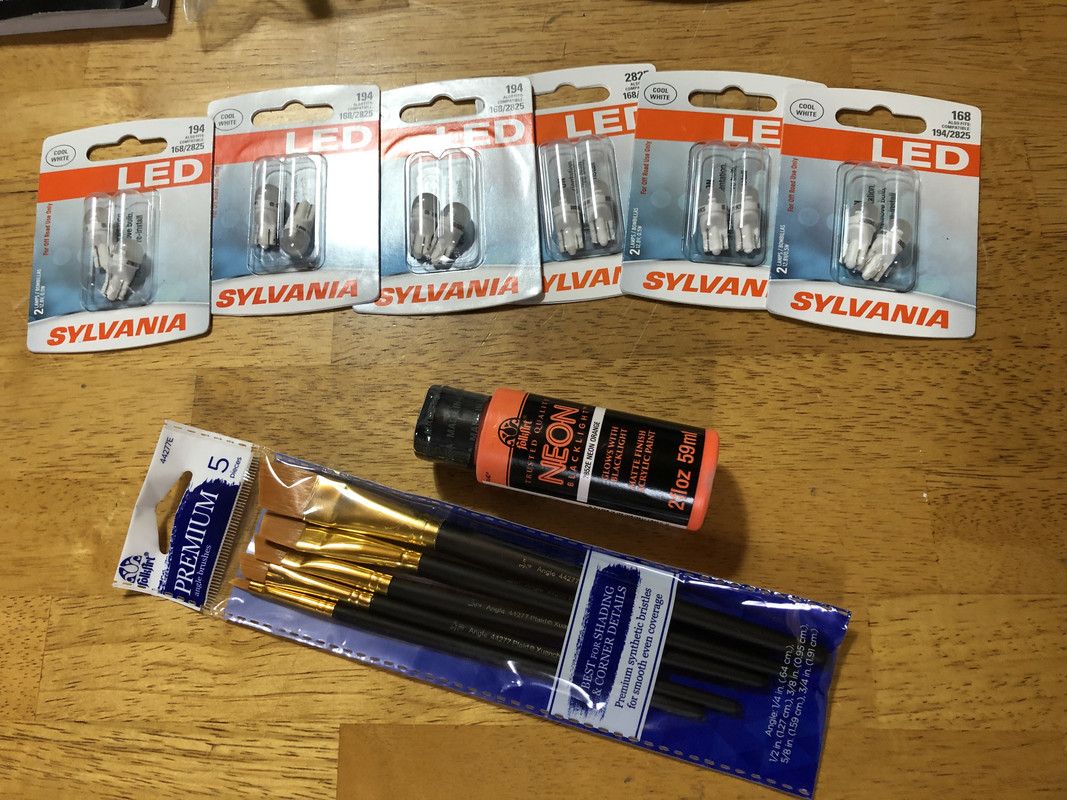
A few other things showed up alongside it! A new coolant reservoir, new cap, RH battery tray brace, and a new PCB for the gauge cluster!
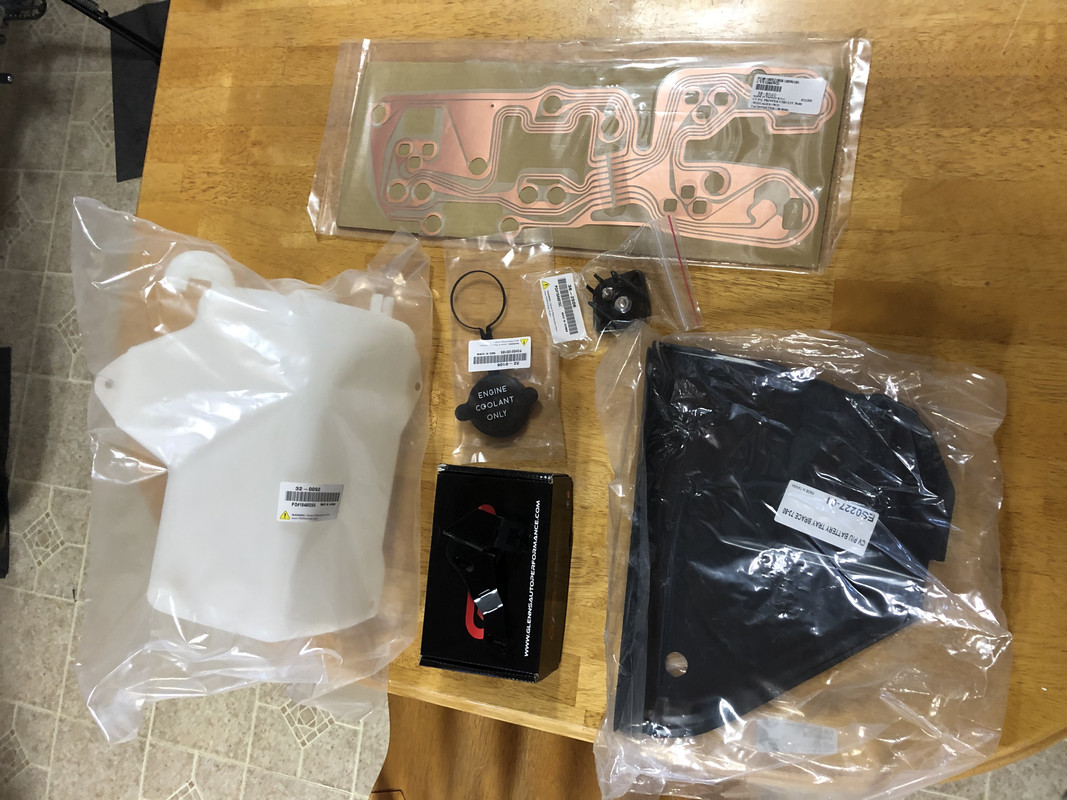
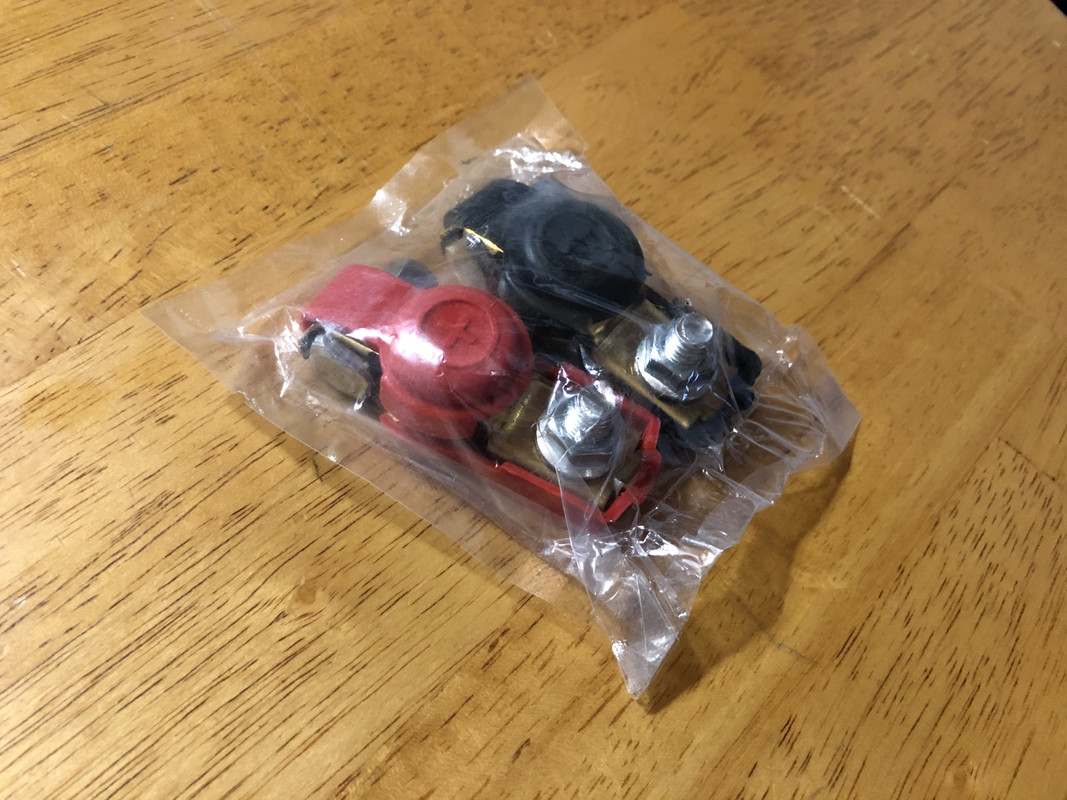
I also got a set of battery terminals for the dedicated Holley wiring.
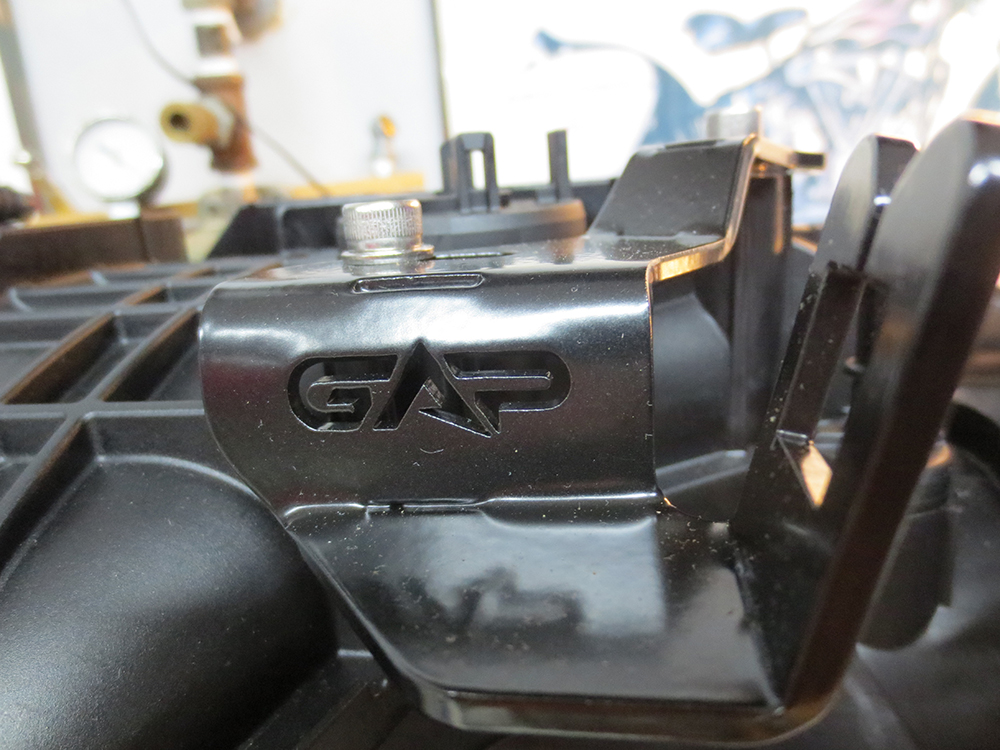
The GAP bracket showed up, and it is a NICE piece! I was all too happy to throw that Nick Williams bracket in the garbage. This gave me the proper throttle cable free play and still has plenty of adjustment left! the 99-02 Silverado cable worked great with the 2nd clip on the pedal end. Gets to full throttle with no pedal modification.

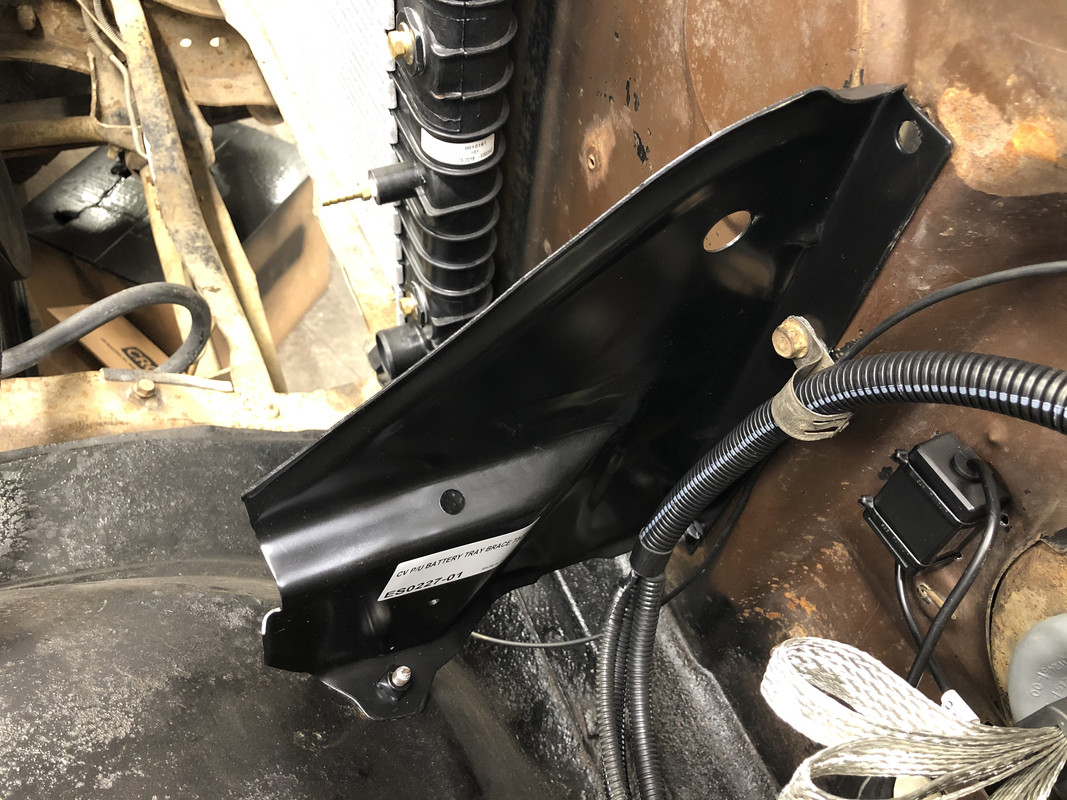
Next, I mounted the RH battery tray support. This will eventually get modified to house the new style Silverado air filter.
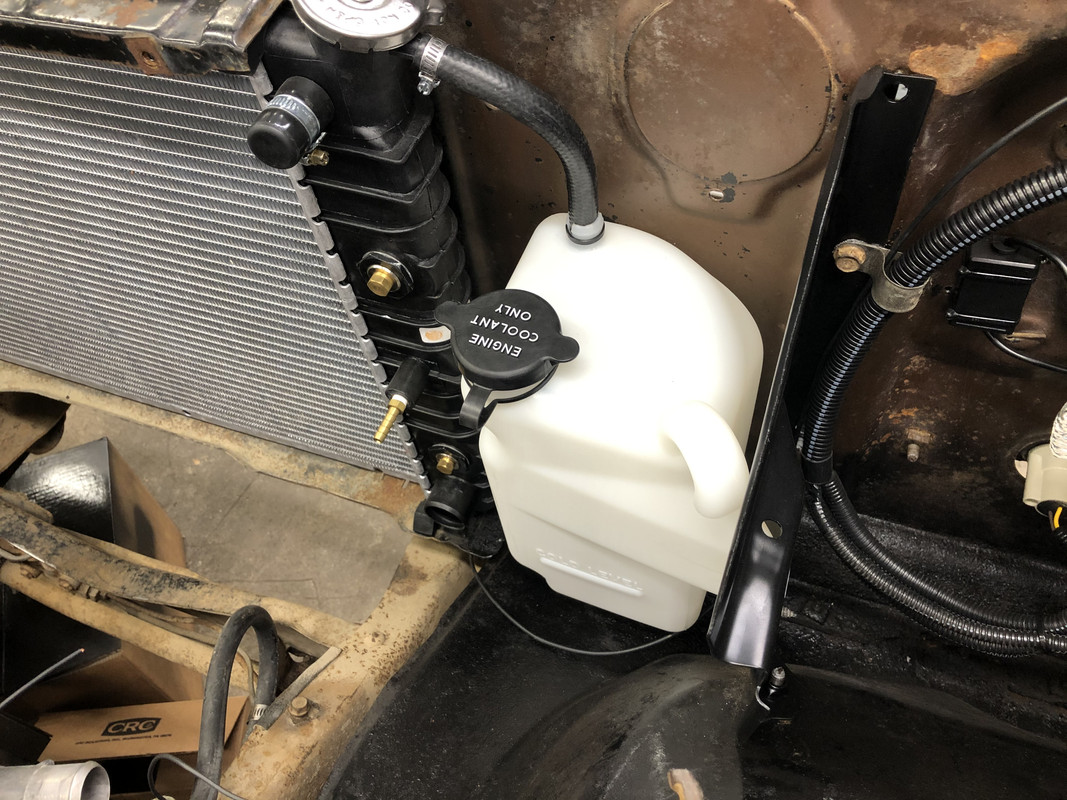
The new coolant bottle was mounted next, with a new overflow line installed!
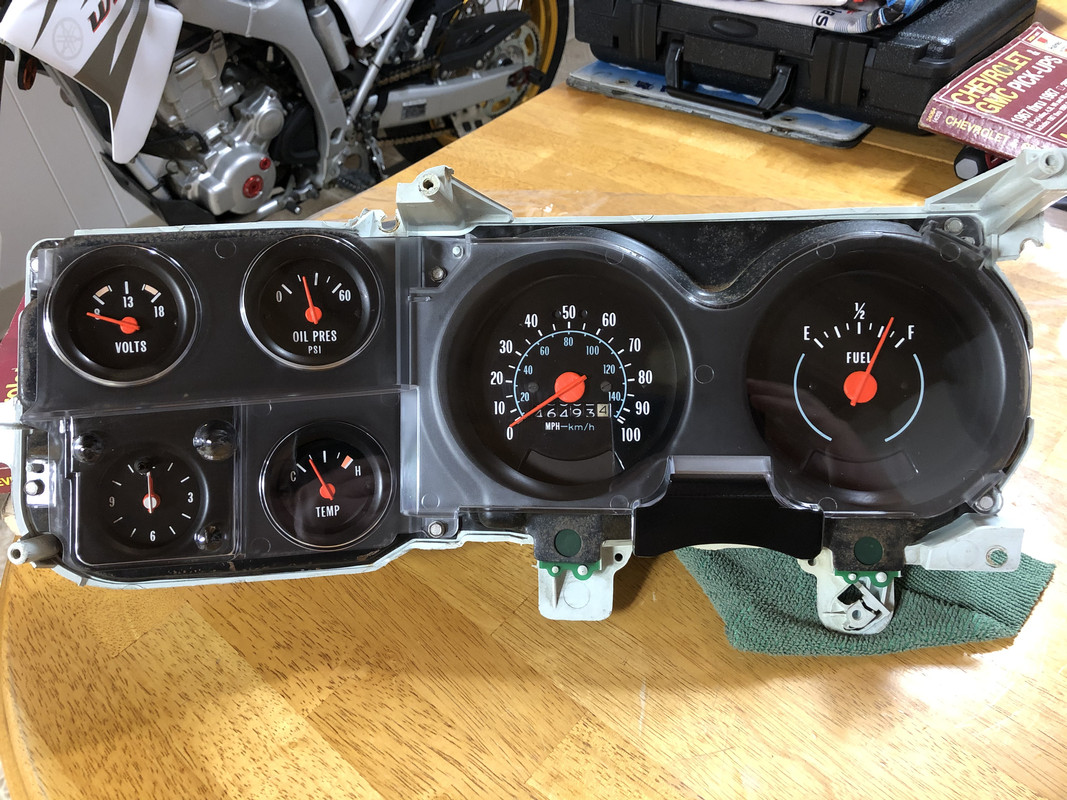
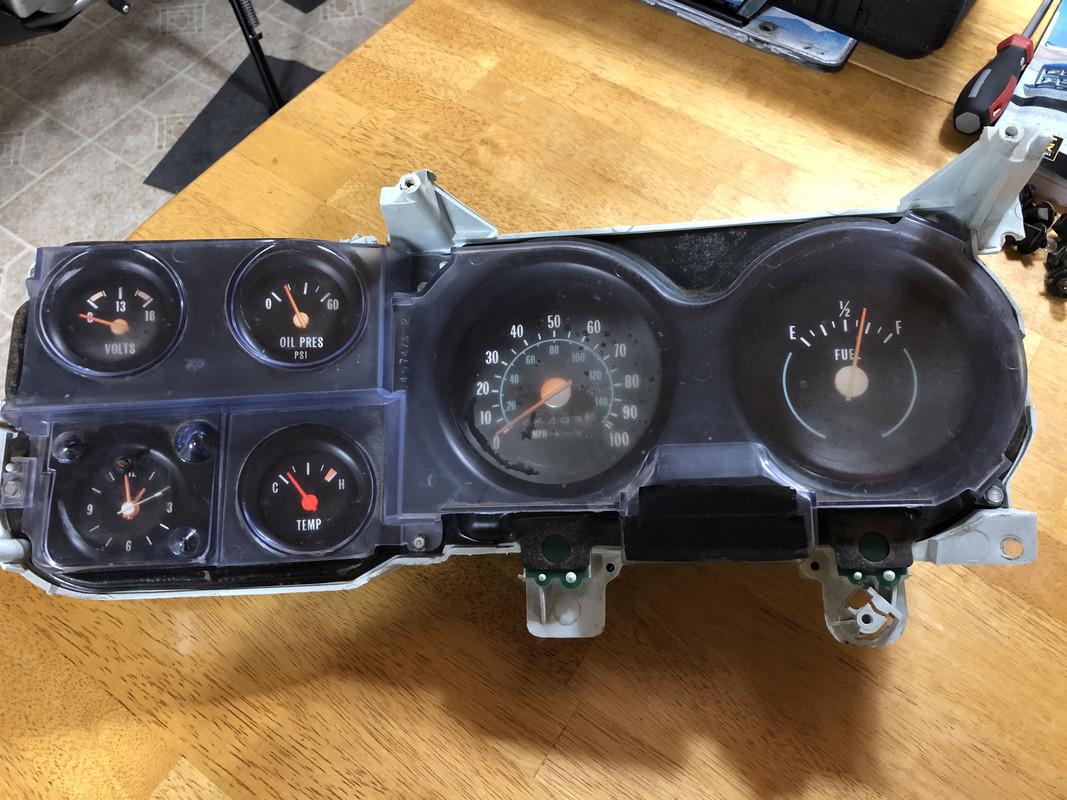
Following this, I came back inside to focus on the gauge cluster. The needles were pretty faded, so I decided to try my luck repainting them. I picked up some Neon Orange paint from Walmart, which also has the interesting effect of glowing under blacklight. I also picked up some LED bulbs for the cluster, heater panel, and wiper switch.
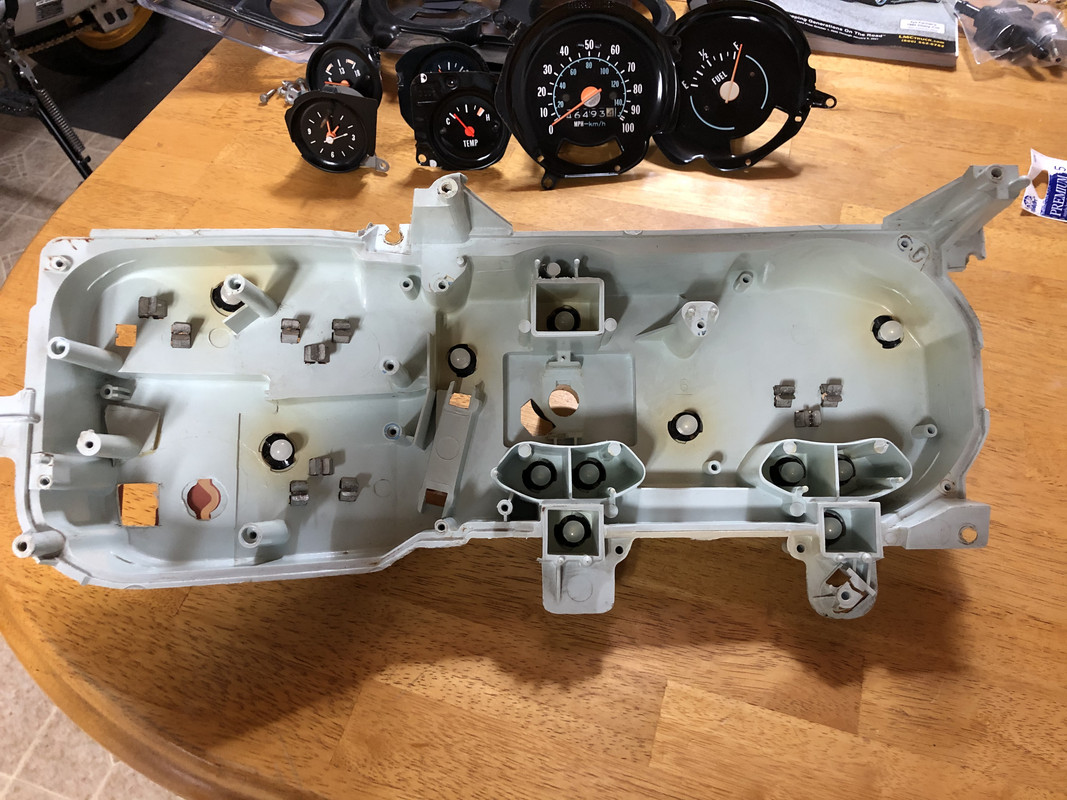
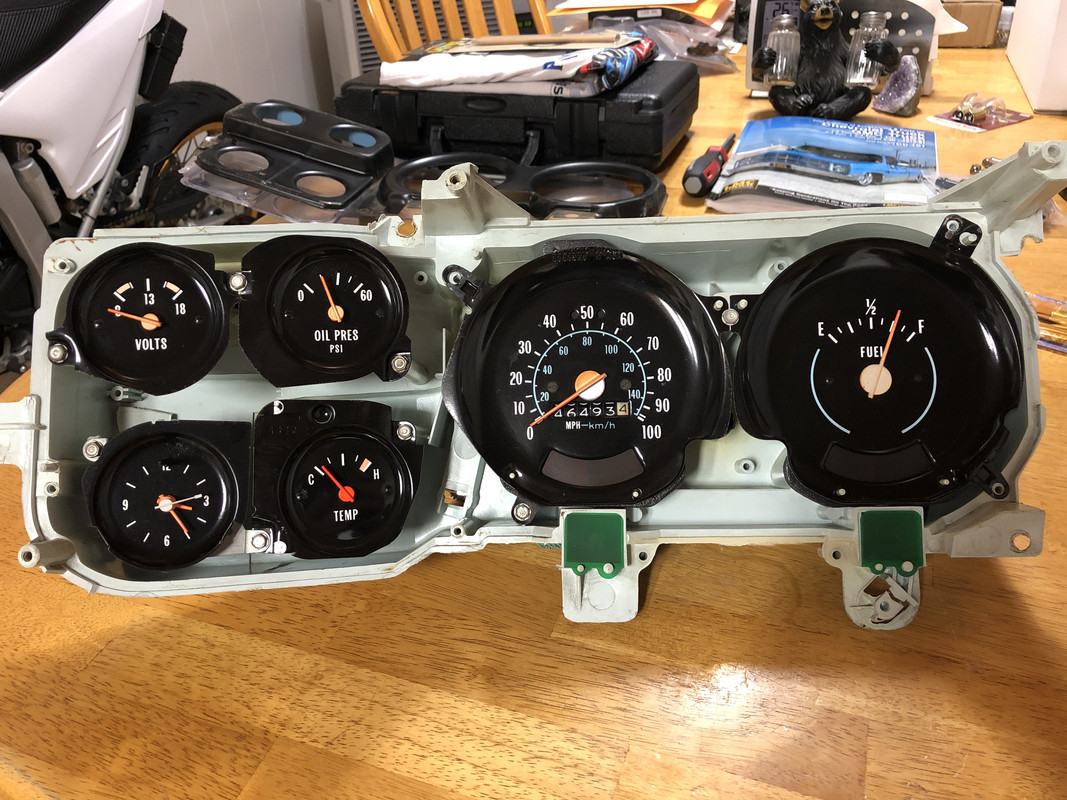
Starting off! Here, you can see the needles are almost faded to white. The lens is also scratched beyond saving.
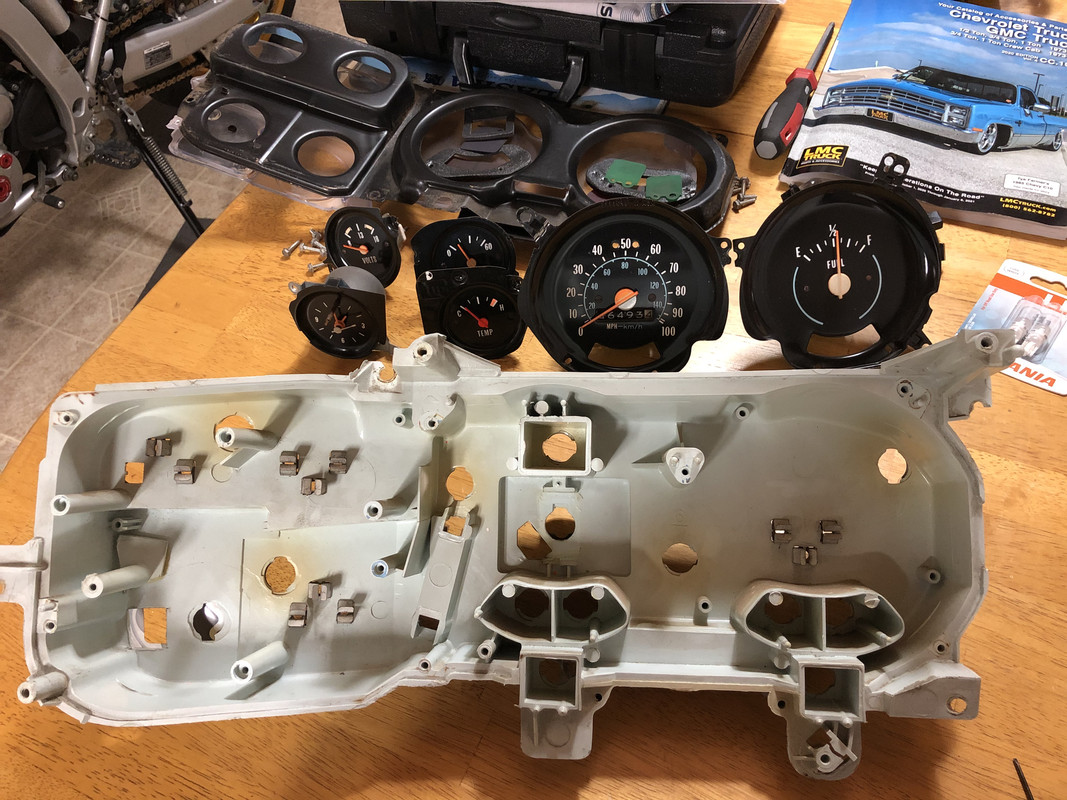
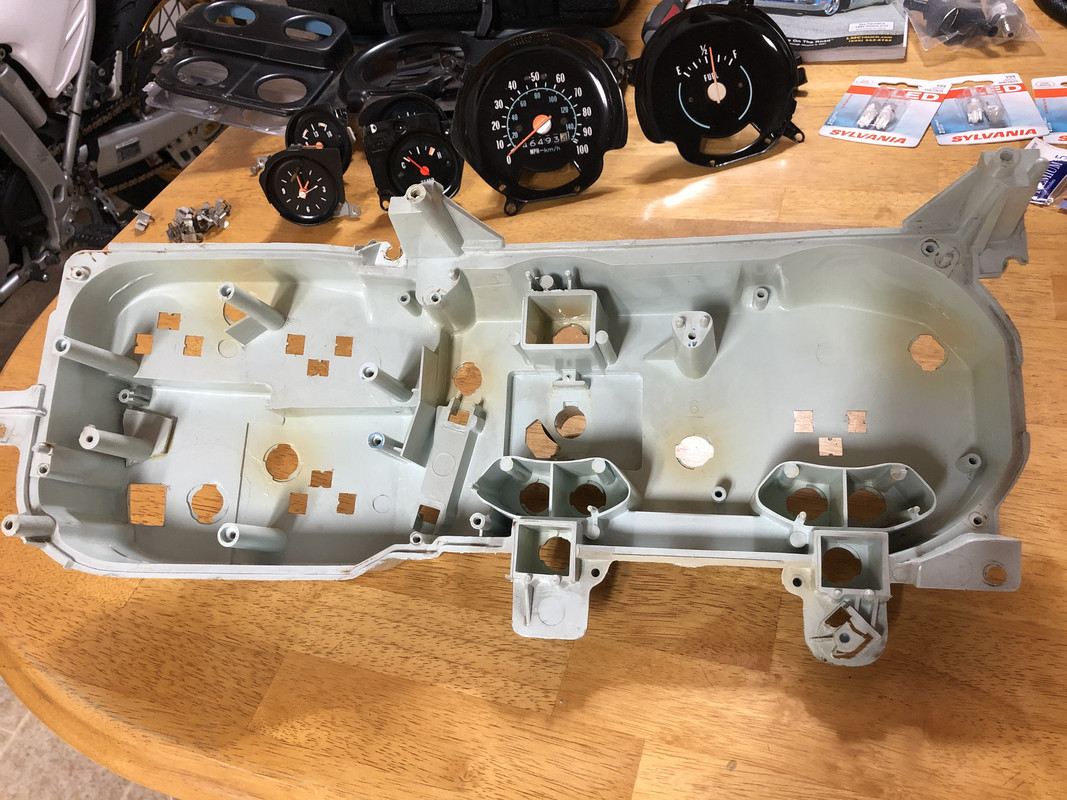
Completely disassembled!
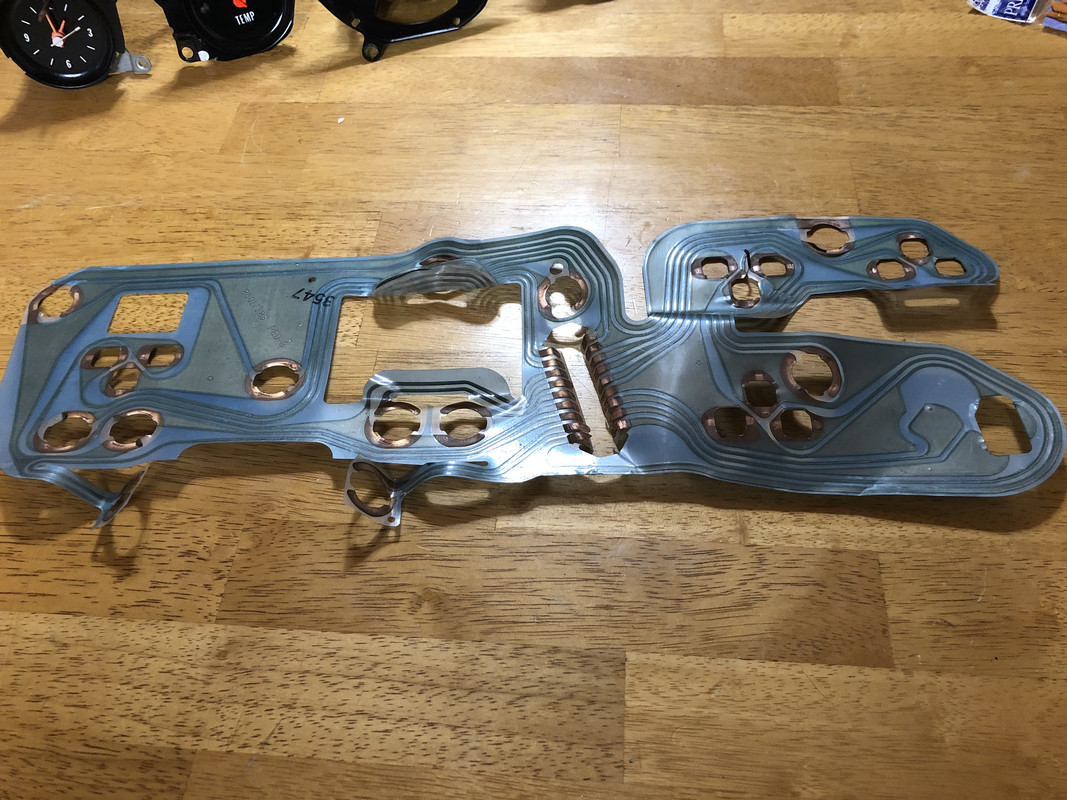
The old PCB was unusable also.
Cluster housing cleaned and dried! I would've replaced this one also as it has a few superficial cracks, but a factory clock housing is not reproduced and I didn't want to perform the same modifications to make it fit.
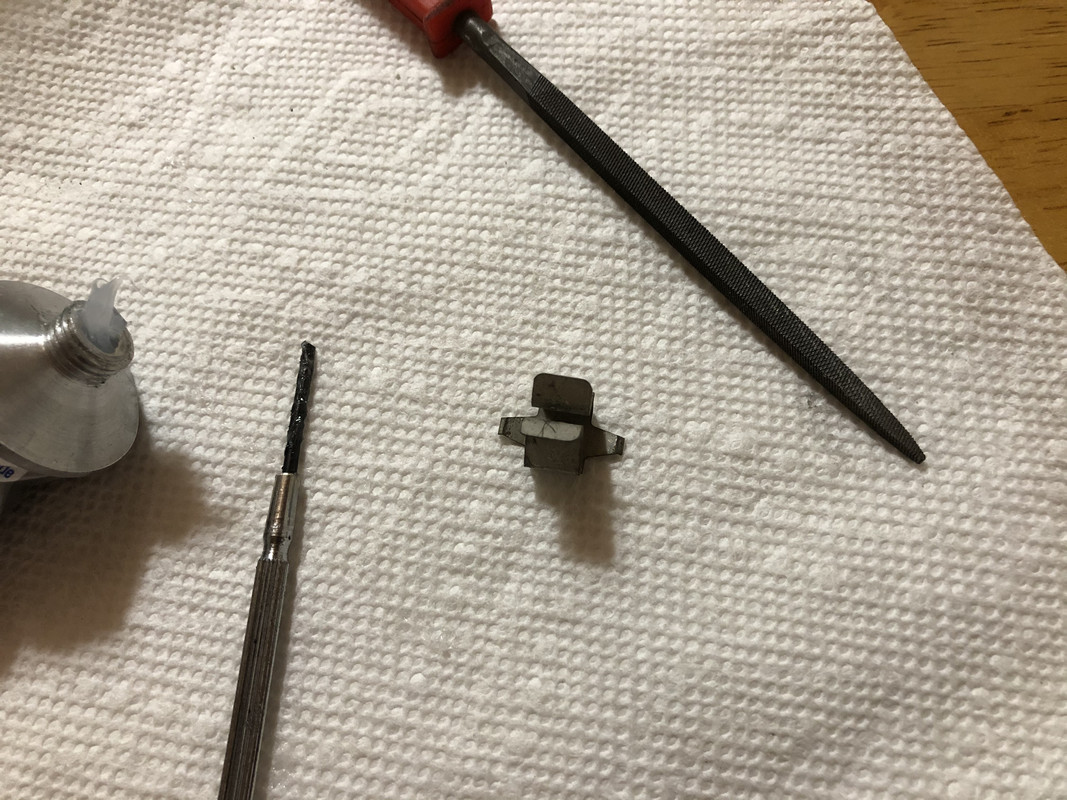
Cleaning and surface filling all the contact points, and coating all exposed points with a thin film of dielectric grease.
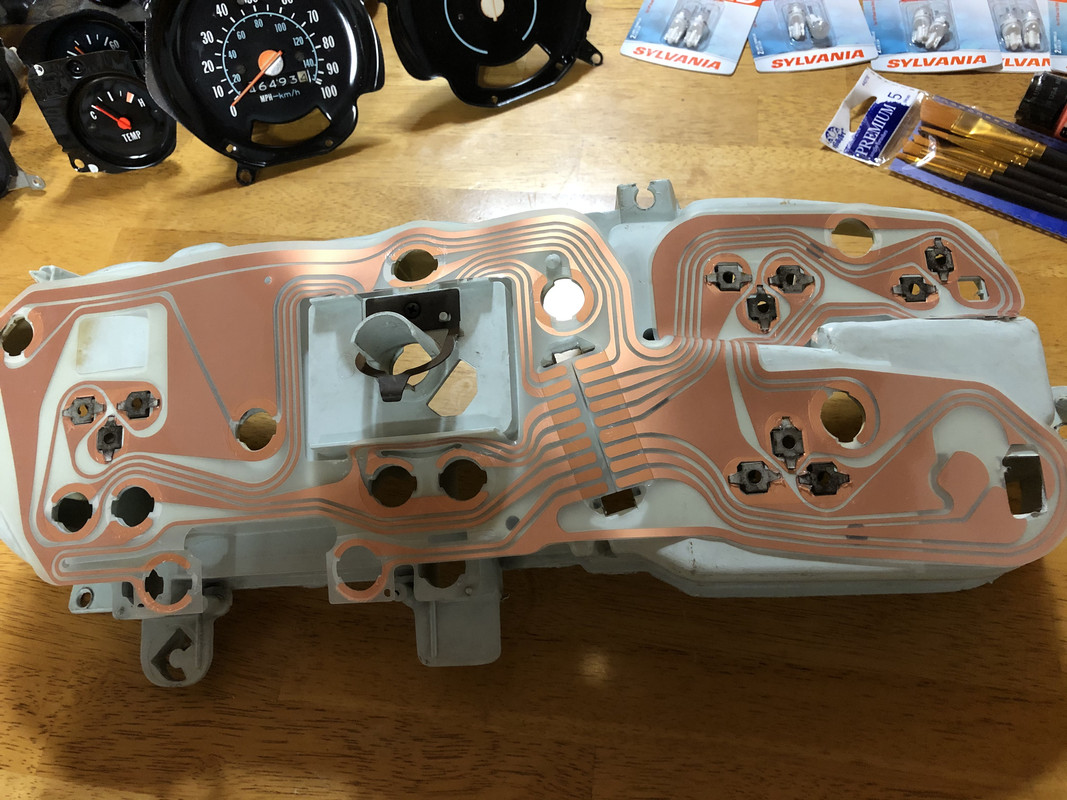
The new PCB is laid out!
All the retainers and bulbs installed!
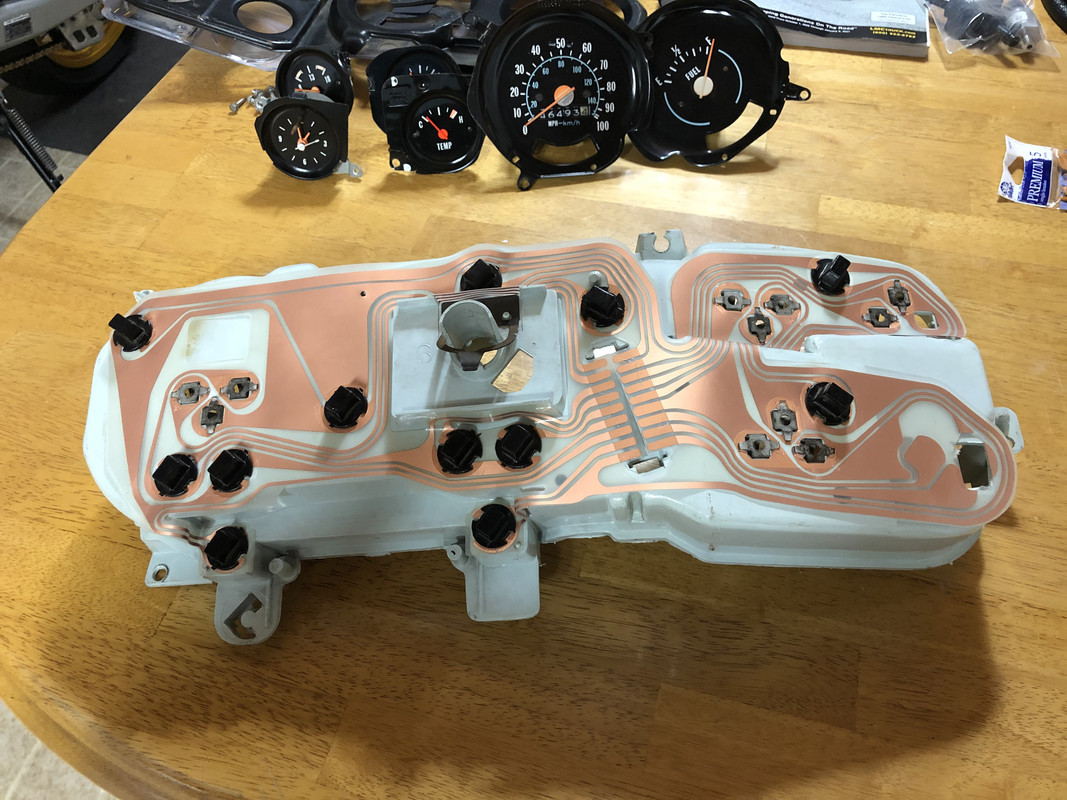
Gauges cleaned and reinstalled!
Now for the real tedious part, don't get neon paint everywhere! All the gauges except the clock were painted in place, the clock needles were removed and painted individually. It's not as professional as I would've liked the results to be, but it still turned out good! An airbrush would certainly be the way to go for a professional restoration.
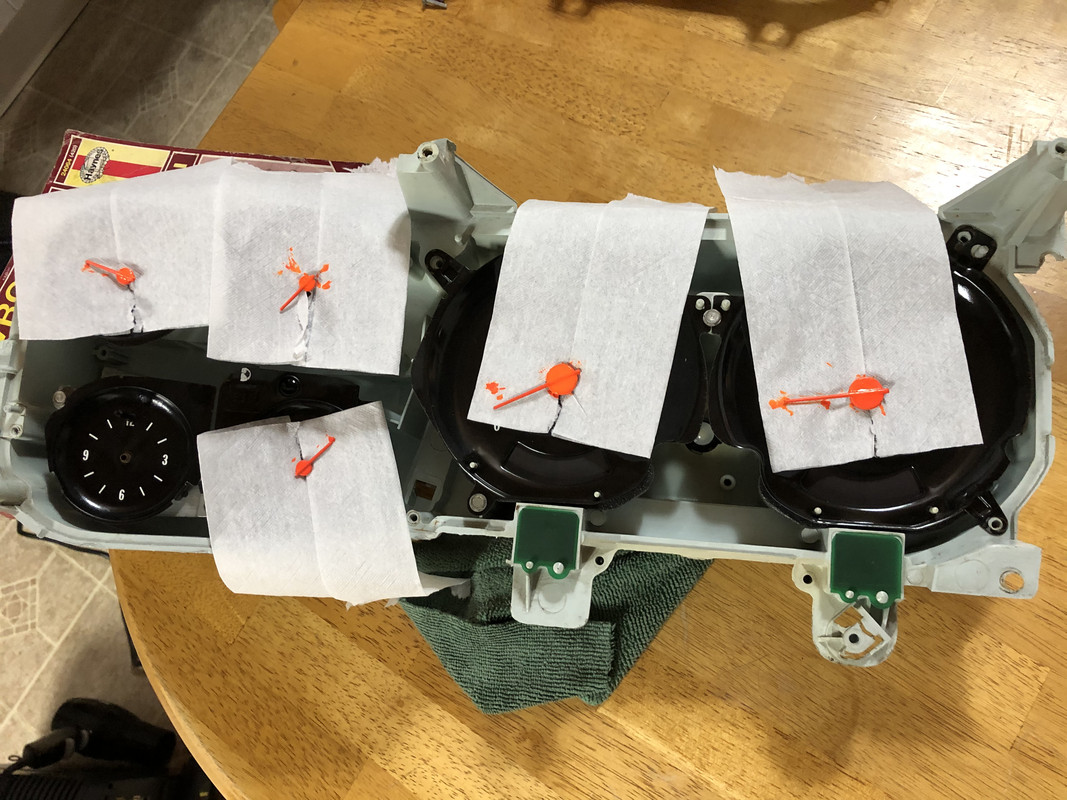
I ended up going with two coats, and this is the result!

And to button them up, the gauge bezel and a brand new lens is installed!