This is my second LSx swap. First was in the 68 firebird. I learned a lot and wanted to do a simple and affordable swap in my 68 and make it
my daily driver. (This was my only vehicle at the time) I have been trying to use as many factory parts as possible. I did all this in my garage
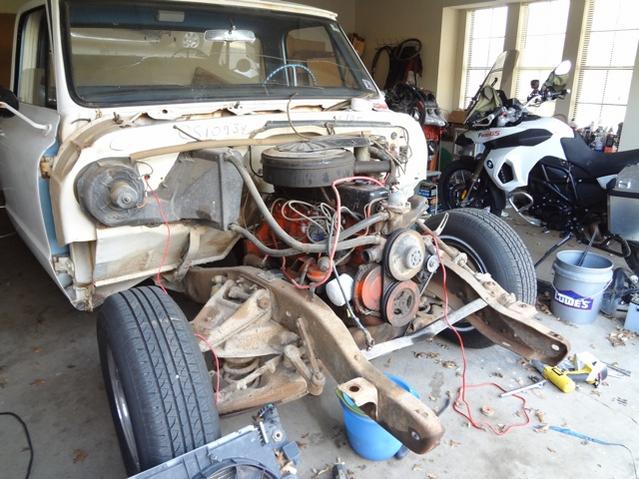
and driveway with very limited amount of tools. I borrowed a engine
hoist and stand from a friend and got to work. I removed the front end as an entire assembly which is very easy to do. Next I mocked up the
engine with all the accy's on including the a/c. Everything to fit which is great because the accy drives from a fbody or any
other platform cost alot to convert too. I fitted it with the included truck exhaust manifolds but I had to notch the frame. I ended up using
camaro LS3 exhaust manifolds which fit great and no notching is needed. I got them for 80$ used.
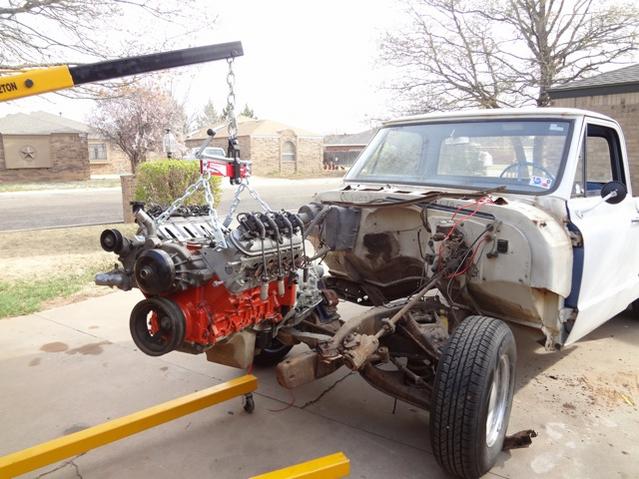
Next I bolted on the engine and frame mounts. i drilled new holes for the 73-87 truck frame mounts and
bolted them down. The driveshaft seemed like it would fit without being modified but it was tough to move the engine forward just using a
engine hoist by myself. I ended up using a ratcheting tie strap tied to the engine and frame. I just ratcheted the engine forward until the drive
shaft could be installed to the rear end. The mounts have a few inches to adjustablility which is great. Below are my costs.
Engine with all accy including computer. 600$ 130000 miles
Tranny, got lucky my dad had an extra 4l60E with low miles. Free
2001 Camaro fuel tank with fuel pump, radiator and e fans. 200$ (Edit Do not use a camaro radiator. It will overheat due to not enough cooling capacity for the
heavier trucks) A stock replacement worked great for me off of ebay.)
Engine mounts 120$
Ls3 exhaust manifolds (80$)
Radiator hose (25$)
Wiring harness. It came with the engine. To save alot of $$ reuse it. Its basically a stand alone. Its ugly and needs to have everything
mounted in the same position of the vehicle it came off of. PCM and battery needs to be mounted on the drivers side. fuse block wiring info
http://www.lt1swap.com/underhoodfuseblock.htm
All wiring related info can be found on lt1swap.com
How I kept it simple. Used dirty dingo adjustable mounts for mid to late 80's GM trucks. They have 2 inches forward and back adjustability. Next I got frame mounts for free from the same era of trucks.
[ATTACH]
[/ATTACH]
The engine mount on the left is the factory inline 6.(not used in swap) The mount on the right is a late 70's clam style mount(both l and r used
in swap. This pic is used to show the difference between mounts.
I usually have a extra PCM or two for sale. I will put a base tune with vats deleted and all emission related junk. PM for details.