I get exactly what you mean. I've owned well over 100 cars, and half of them were classic vehicles. It's easy to dive into something and have an amazing vision for it, only to be caught up in "project creep", where too much gets torn down at once because hey, while you're in there, you might as well take care of this as well! I used to do just that, and still do to some extent, but it's much easier now to step back and realize exactly what does and doesn't need to be done to simply maximize the time spent enjoying your ride in the best way possible - driving it! David Freiburger a while back had a quote that stuck with me, "Don't get it right, just get it running". Life is short and most of us that enjoy building cars like myself, invest a lot of time into them trying to make them perfect, my view now is that it doesn't need to be perfect to enjoy it. This is the way I try to tackle each of my builds:
1. Clean everything! I don't care how rough, how much rust, dirt, or grime is present, everything gets washed! It provides easy progress and lets you enjoy working on a car that already looks better from when you first got it, plus makes it much nicer to work on and may even let you spot potential problems that may have been hidden by the dirt.
2. Get it running! Sure, it's hard to hold back from tearing into a brand new project to just work on everything right away! But getting it running lets you: A. Determine the working condition of the drivetrain, B. Allows the car to be mobile so it doesn't become a source of frustration by being in the way, and C. Hey! Now you can drive it!
3. Make it safe! Even bringing back the most hopeless of engines is worthless if the car can't be driven safely. Steering, suspension, brakes, seat belts, and lights are all pretty easy fixes and ensure that no unwanted surprises can happen. Stick with rebuilding or replacing stock parts for the time being and perform large upgrades later on (disc or big brake kits, suspension kits, etc), as you can still drive it while saving up money or accumulating all the pieces.
4. Everything else! Once the car is running, driving, and safely operational, anything else you need to do is just a weekend project. Do one thing, or area, at a time. Try not to keep the car down for long periods, as this becomes discouraging if you aren't driving the car regularly.
I've been asked with many project cars before, that are mechanically pristine, but tend to be imperfect on the outside, "When are you going to paint it?! I can't believe you would drive it without finishing it!" My reply is simply, "It has paint on it, and the fact that it is worn or mismatched doesn't stop it from being driven. I may or may not ever get to it, but at least I'm out enjoying my car! Where is yours?" It does take a lot of self control to get there, but I feel that it allows you more time to enjoy these the way they were meant to be!
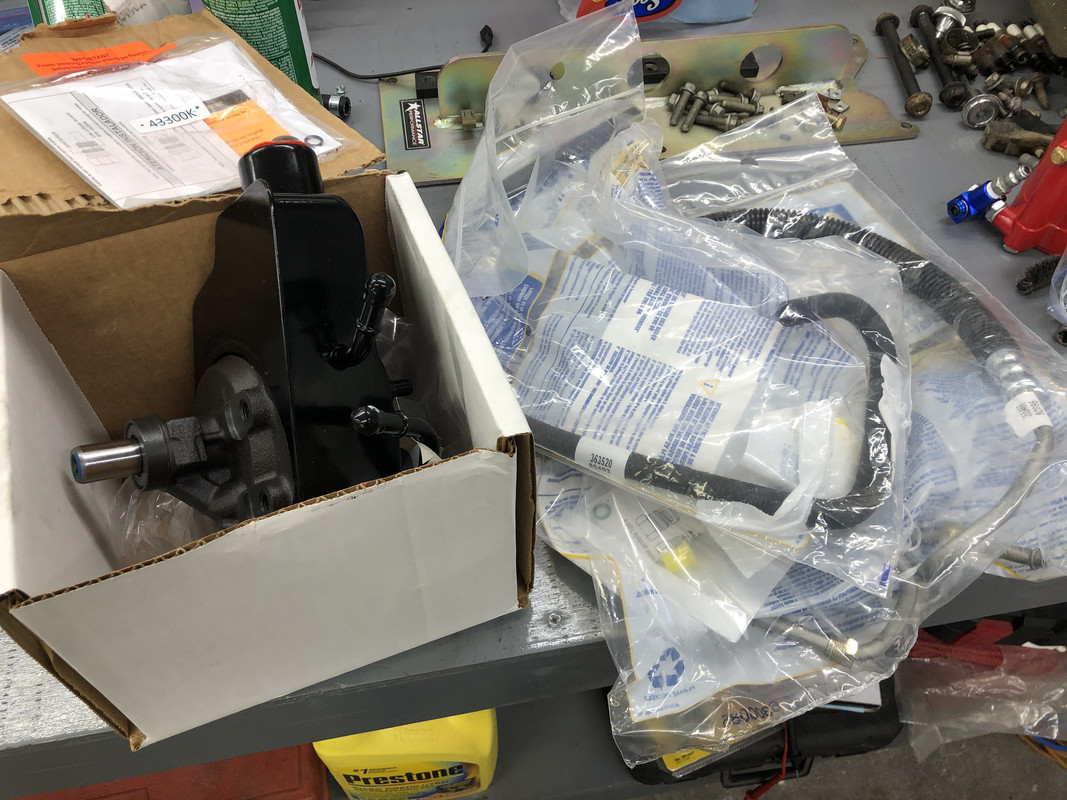
Alright, more parts have arrived! The hydroboost specific power steering pump showed up, along with the remaining hoses.
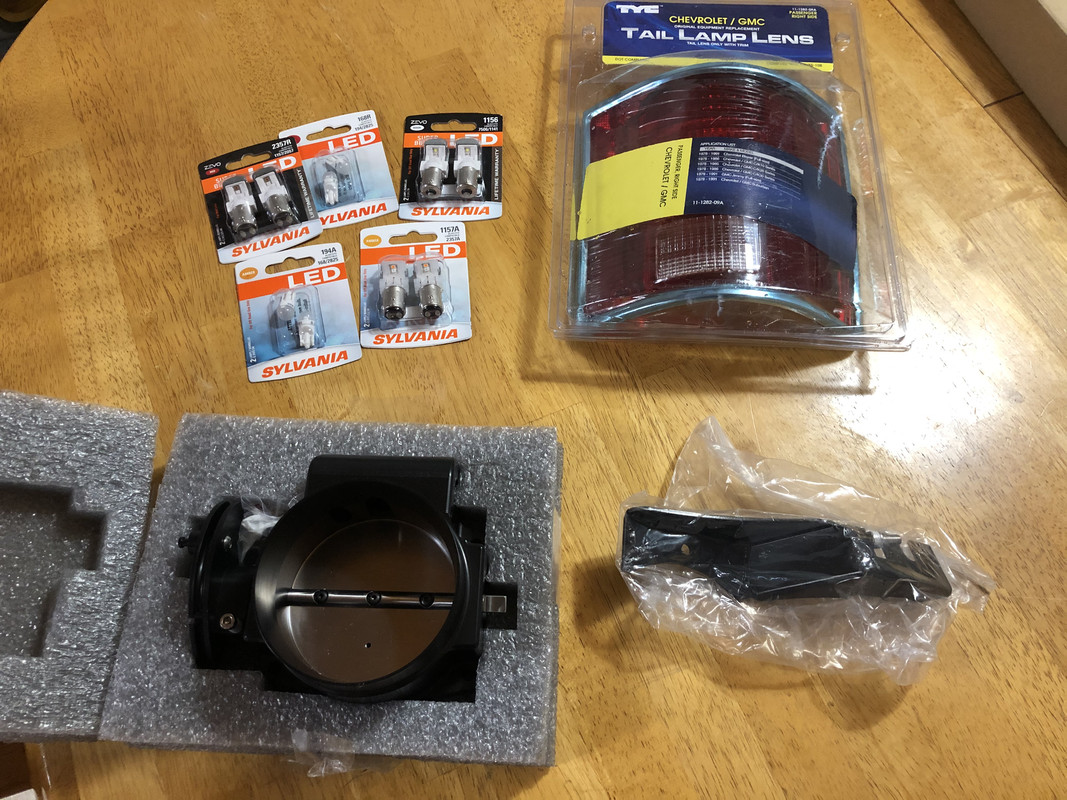
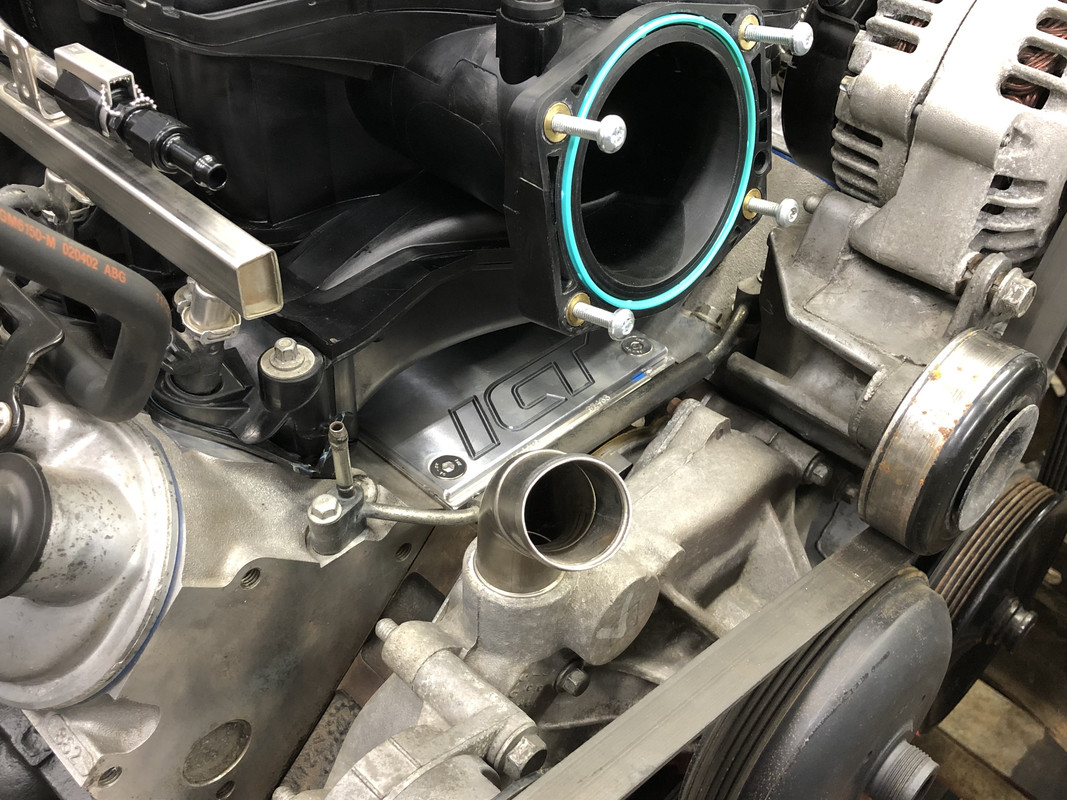
My Nick Williams 92mm cable driven throttle body also showed up, along with the throttle cable bracket! Quite a nice piece! I also picked up LED bulbs for all the exterior lights, and a new pair of taillight lenses (one showed up late).
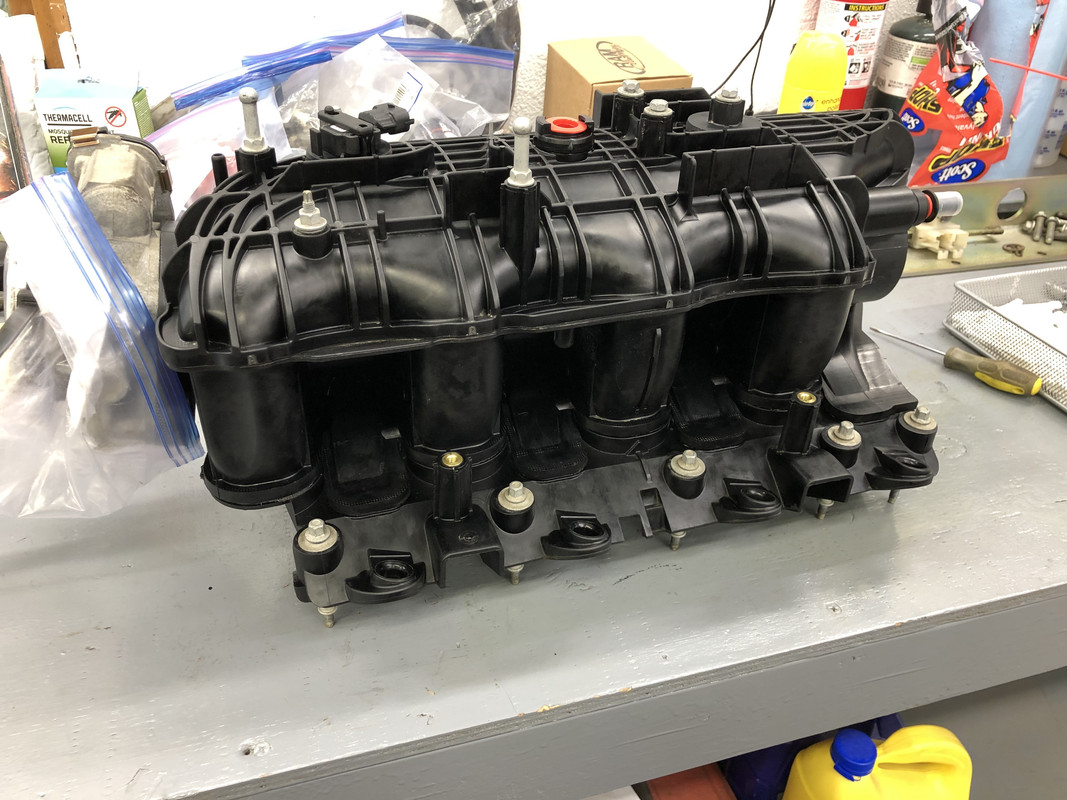
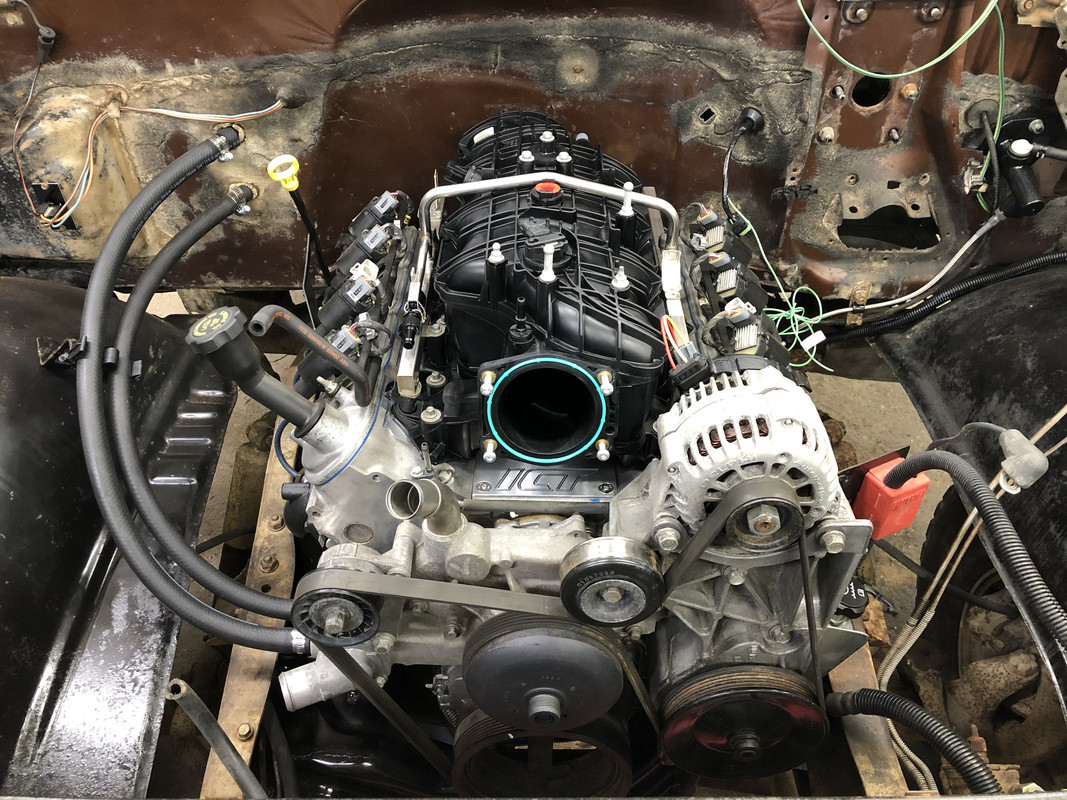
Now that I finished up mounting the oil pressure sensors, time to get started on the intake! Stripped and sprayed on some cleaner.
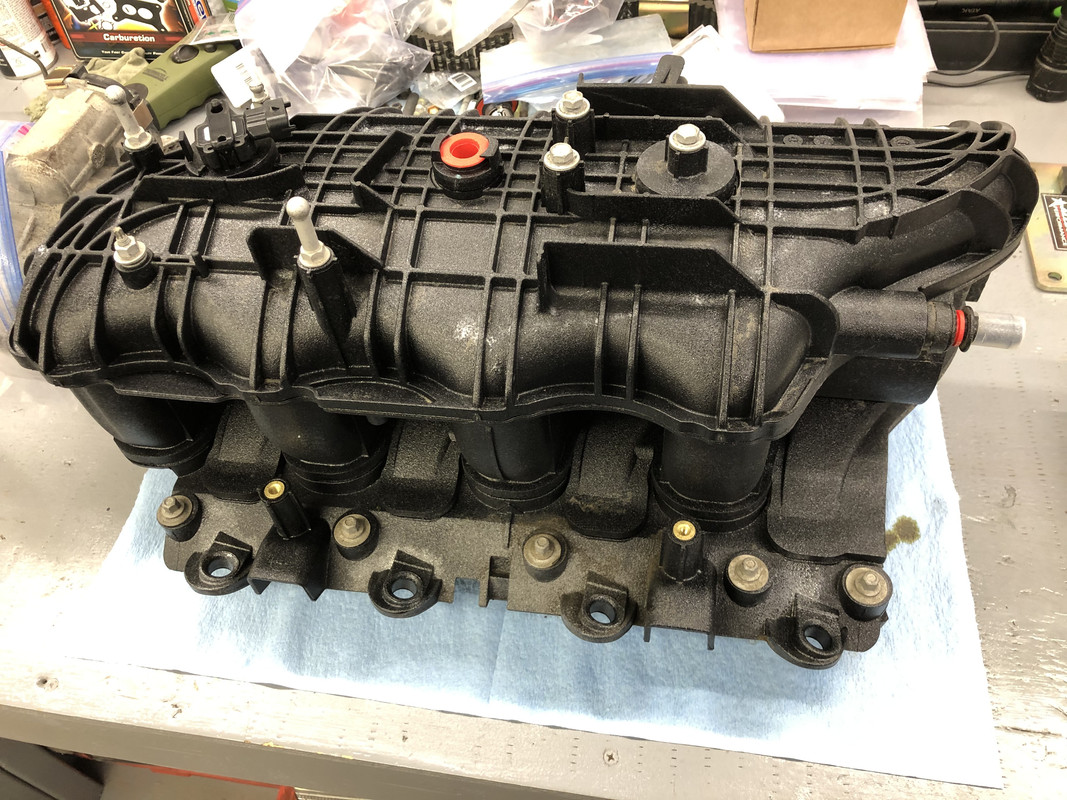
All wiped down and detailed! There was quite a bit of oil on the inside I had to clean too.
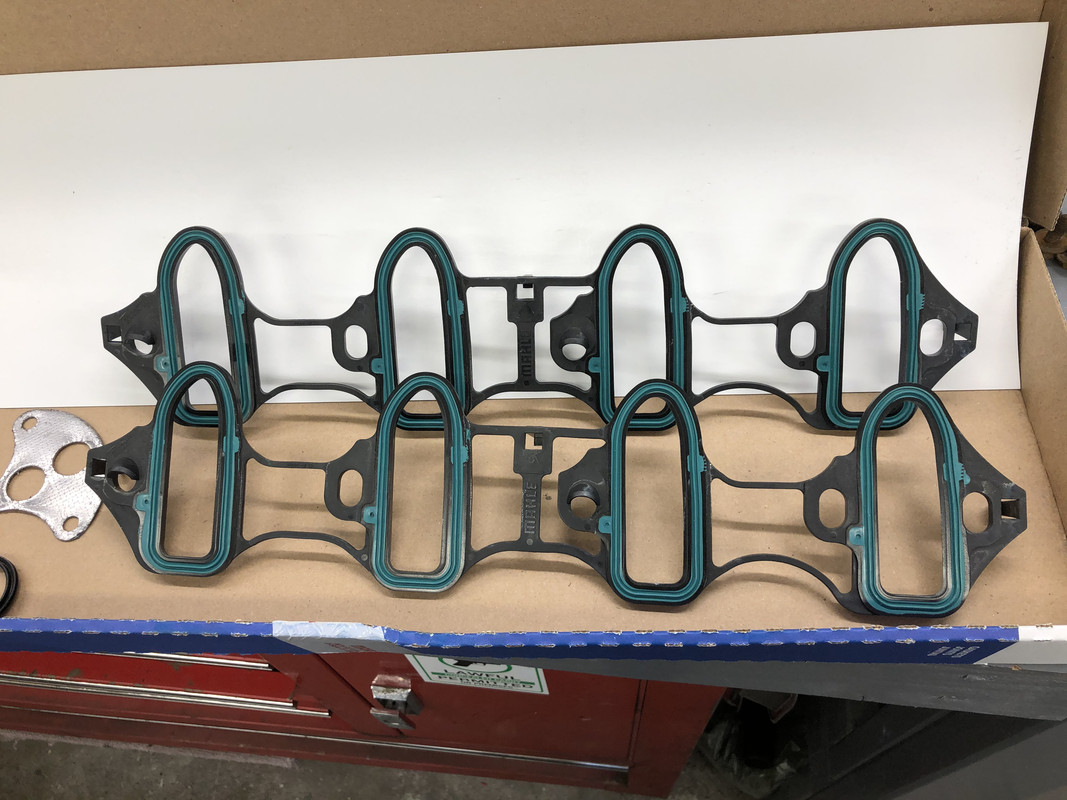
New OEM intake gaskets!
I went to mount the throttle body...and was met with this surprise! The cable bracket hits on the nipple on the intake manifold! I wasn't very happy about this, as the bracket alone was close to $50! This is supposed to be about as top of the line as you can get for throttle bodies.
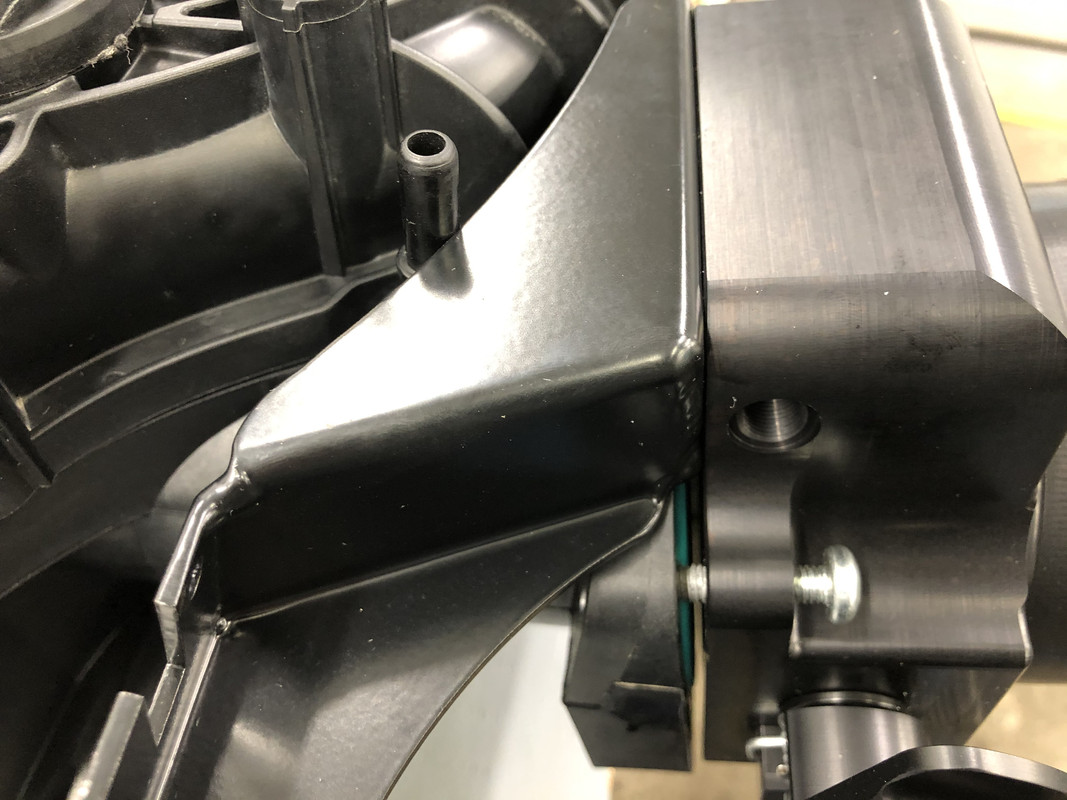
So I sucked it up and trimmed out a nice radius with the dremel and repainted the bracket...
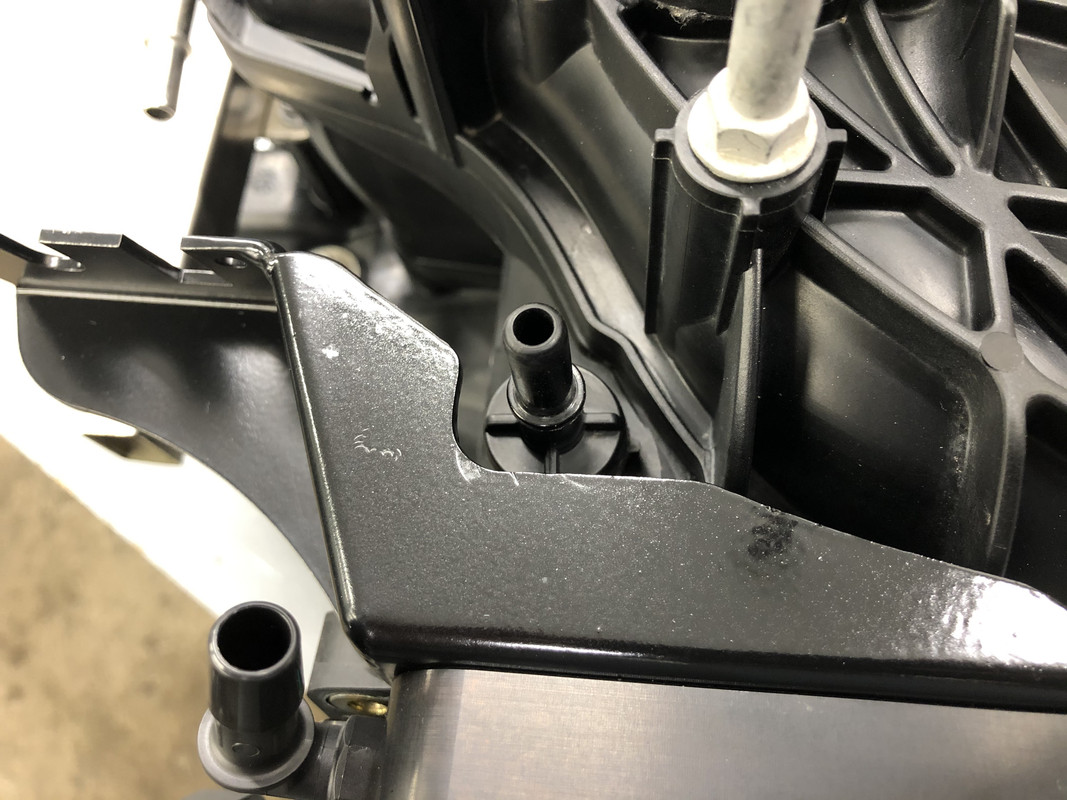
...and then ran into this! The inner lip sit over the mounting flange of the intake. I'm pretty pissed at this point, how can they sell this with such a terrible fit? I've heard nothing but good things about NW parts up to this point.

I decided to set it aside and move onto other things. I flipped the fuel rail around and reinstalled it, and also added the Earl's quick connect adapter.

Intake is installed!
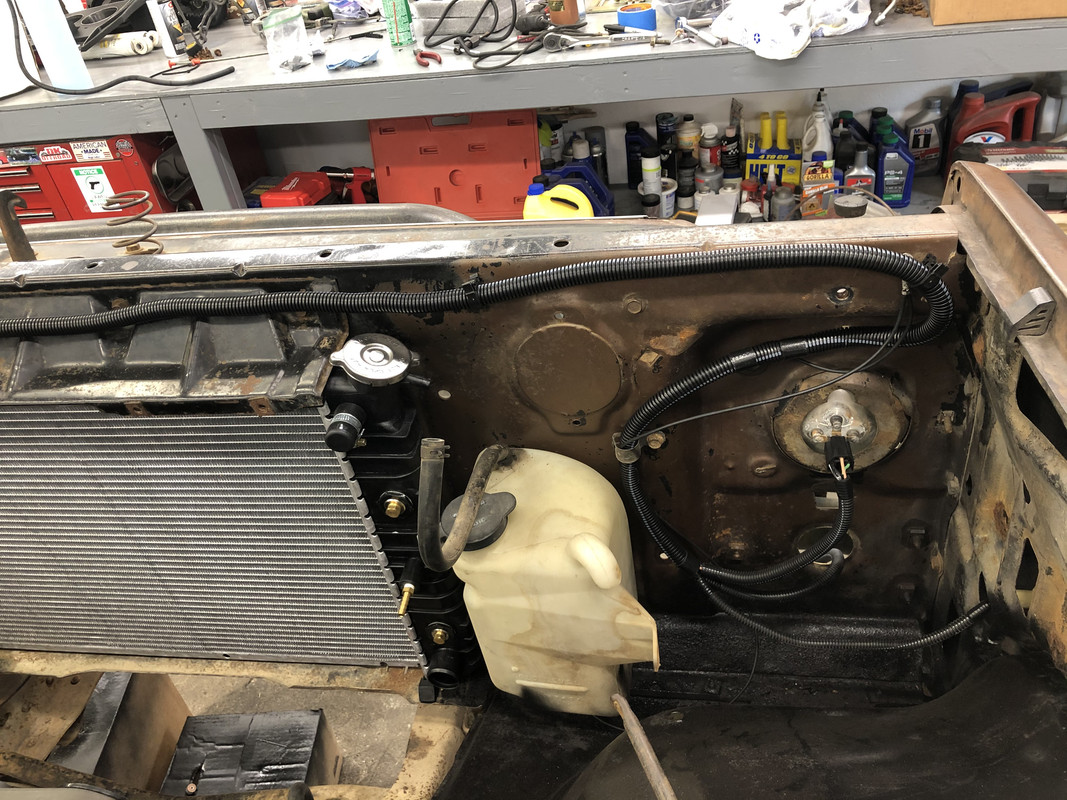
I had to also swap out the coolant crossover line as the old one wouldn't have allowed the hose to be installed as it was under the intake.
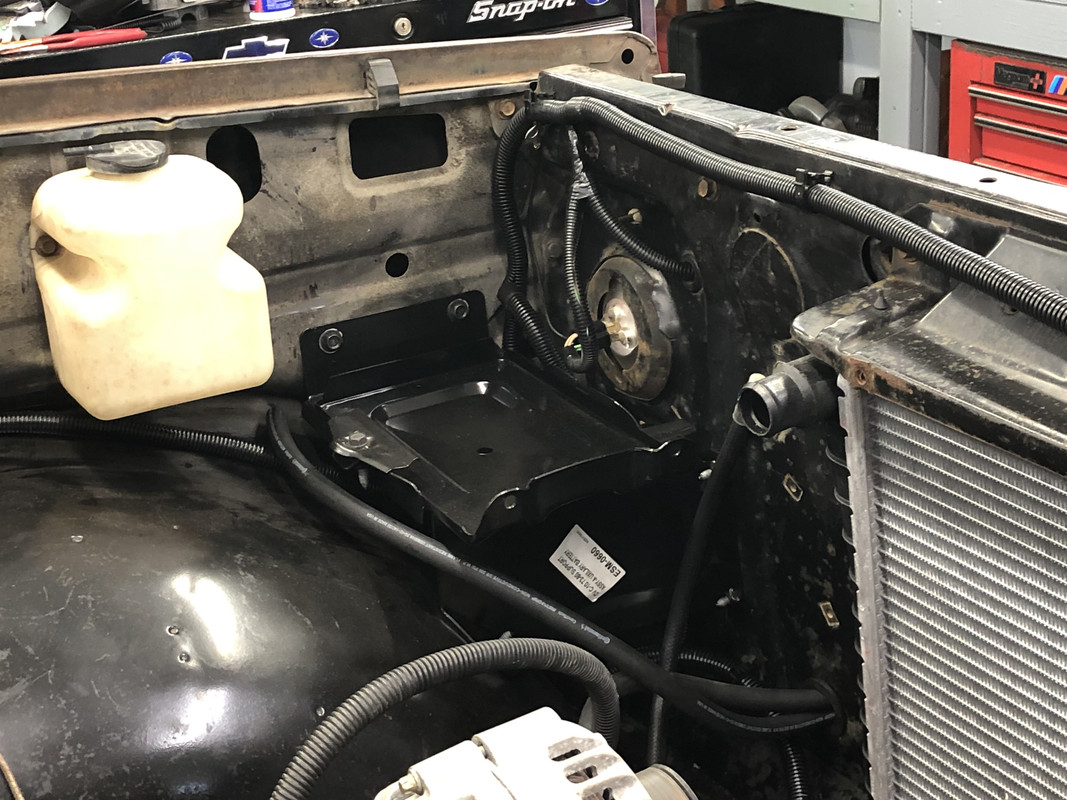
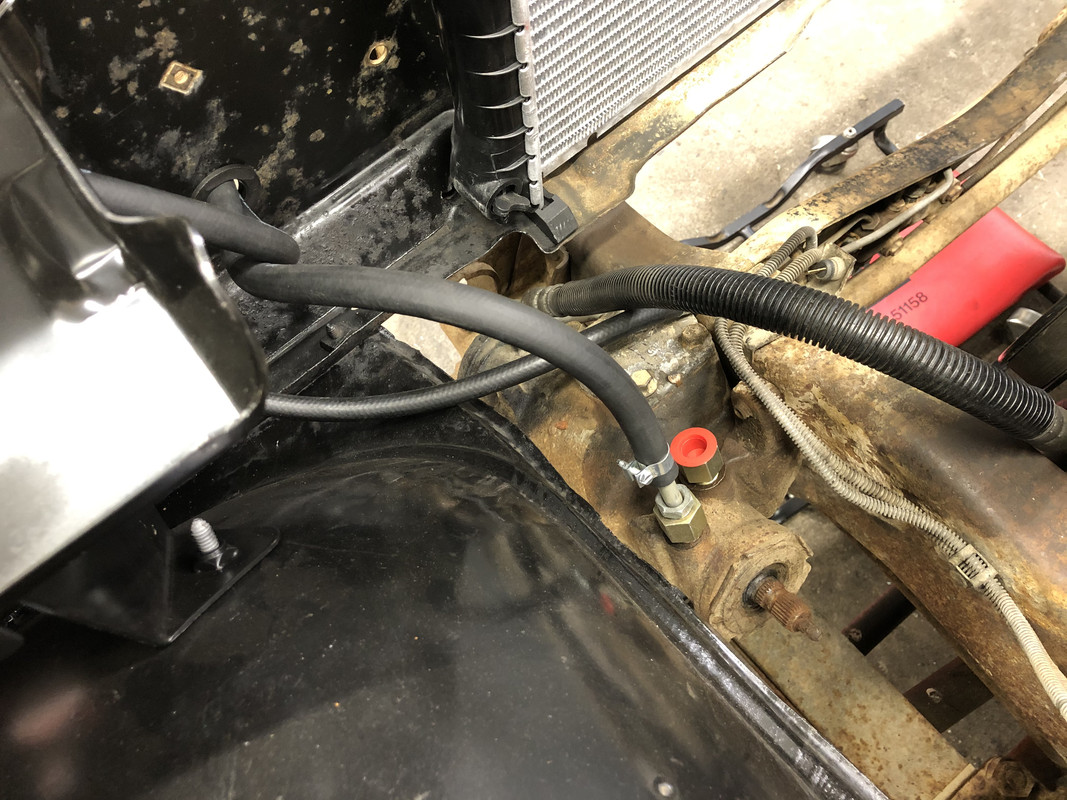
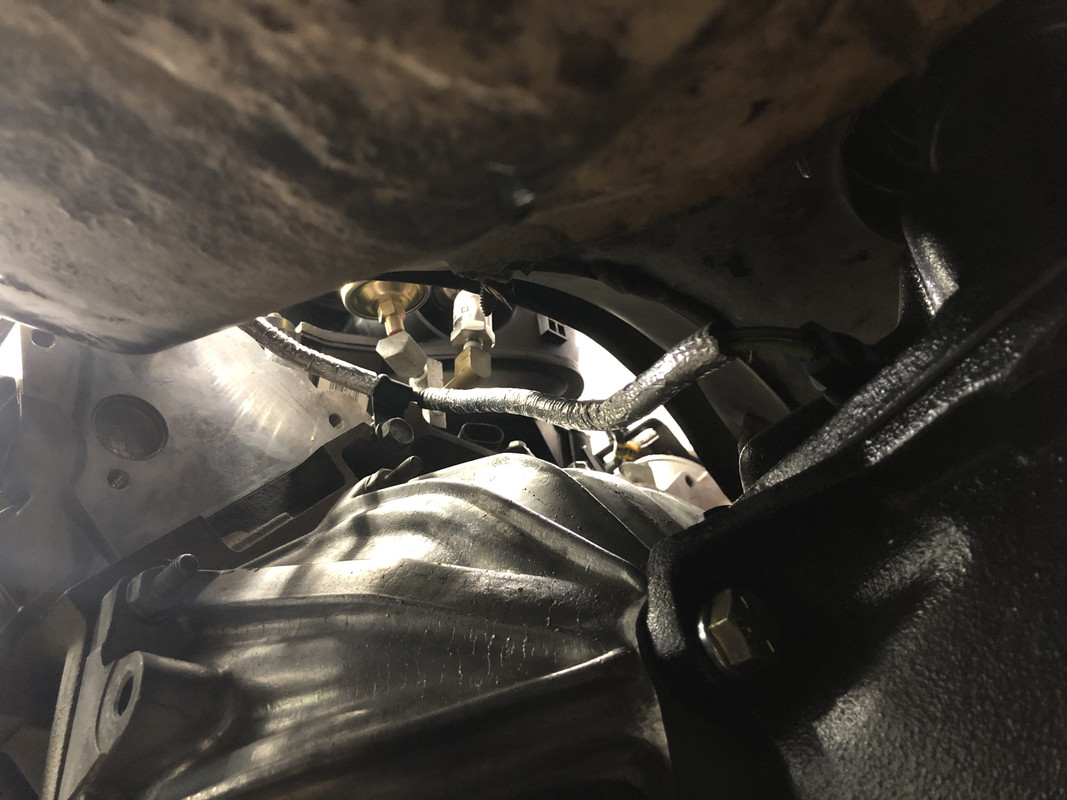
I ran the power steering cooling lines out front. I will need to get some conduit to protect the hoses before the front end goes back on.
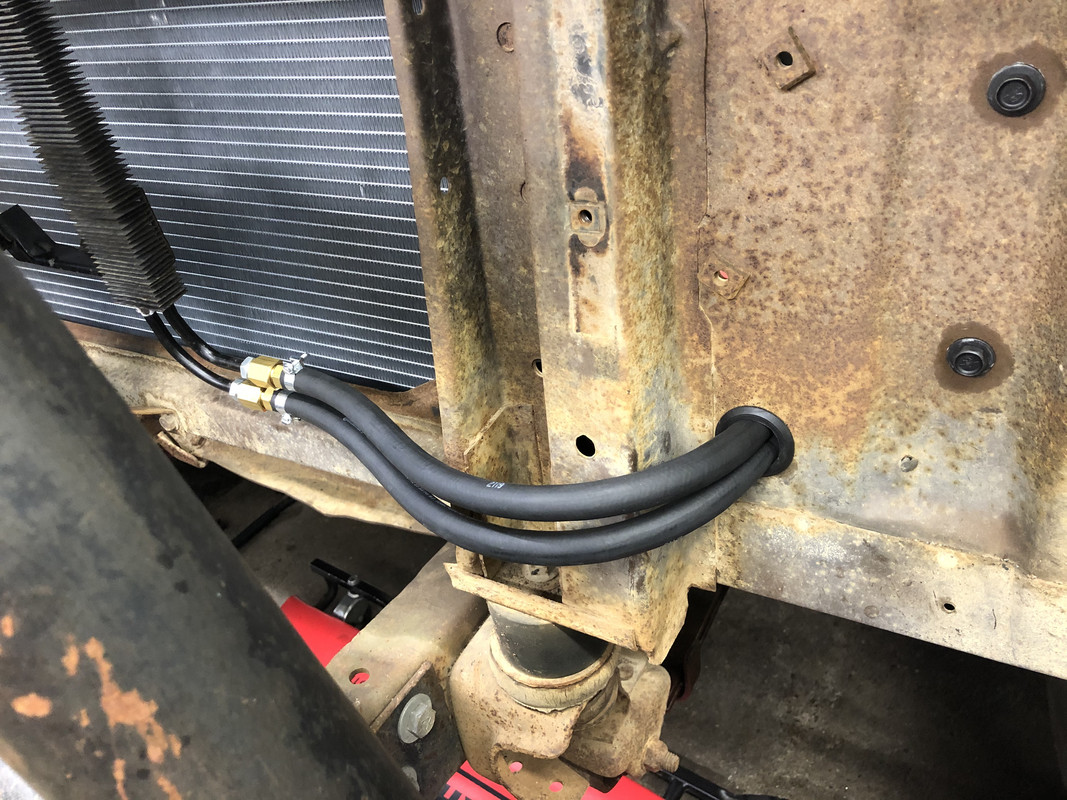
Connected the line to the box.
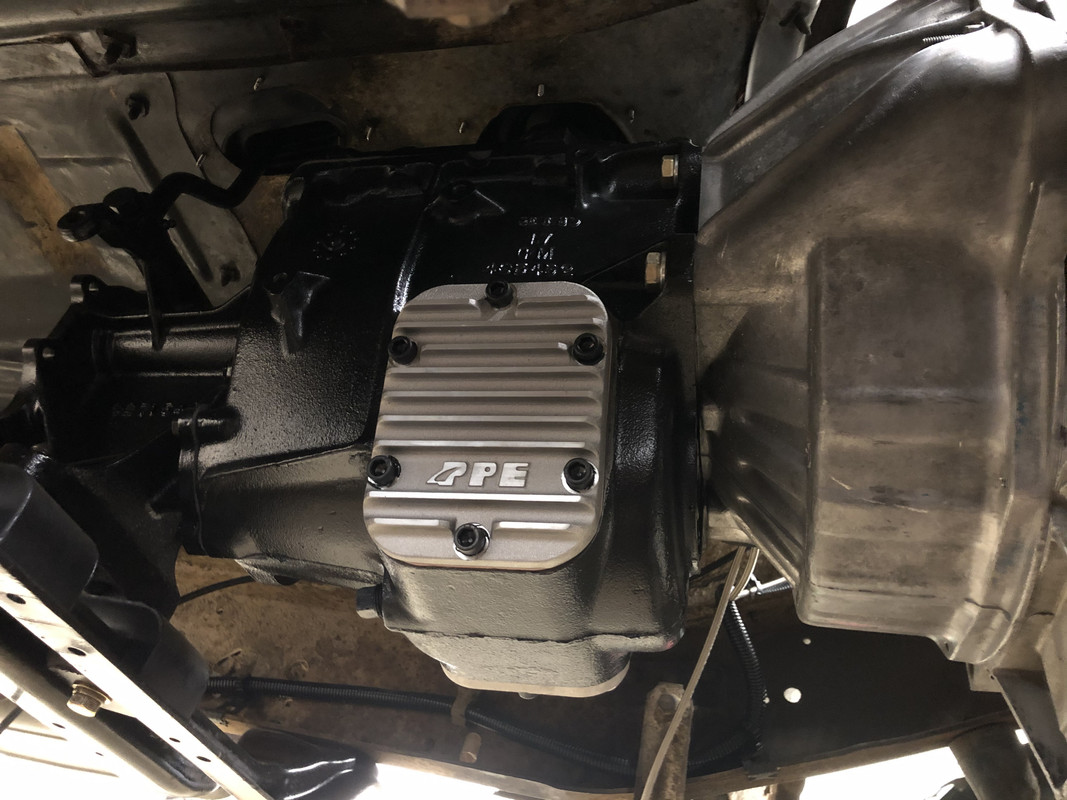
Installed the other side PTO cover plate!
Came back to the throttle body and trimmed off the bottom lip from the bracket.
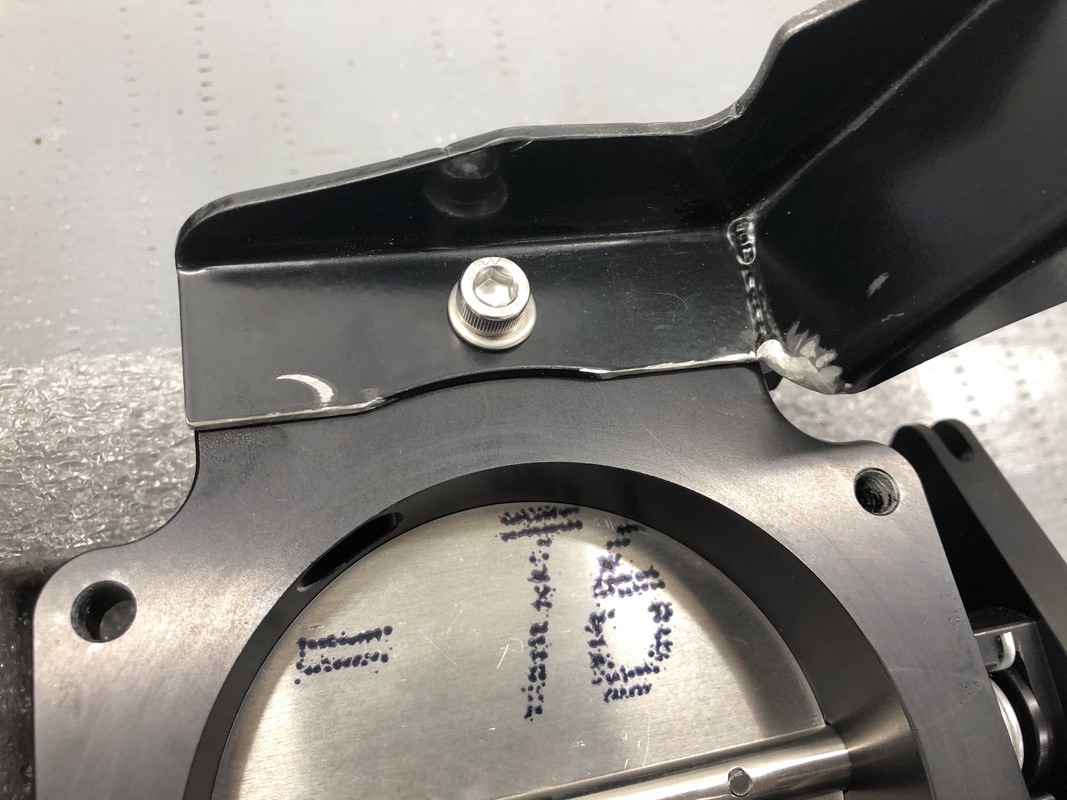
Aaaaannnnndddd it still hits. Seriously, I thought Nick Williams was supposed to be the best stuff out there. This is one of the ****tiest parts I've used on the truck so far!
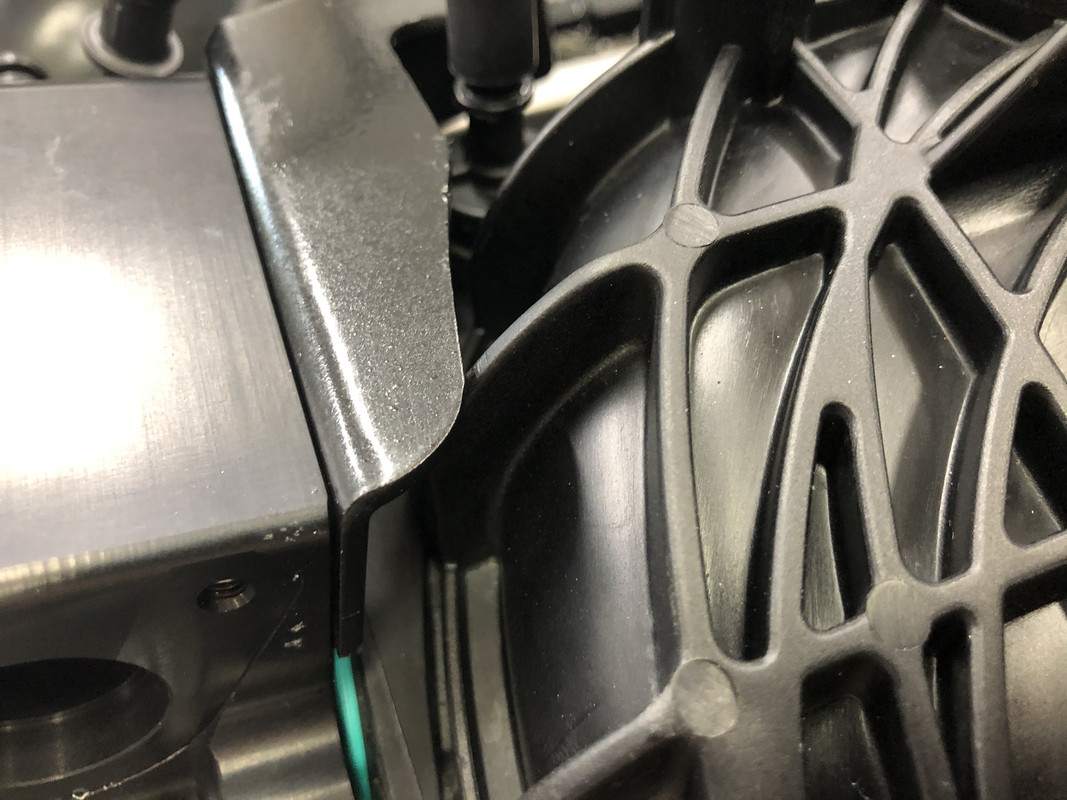
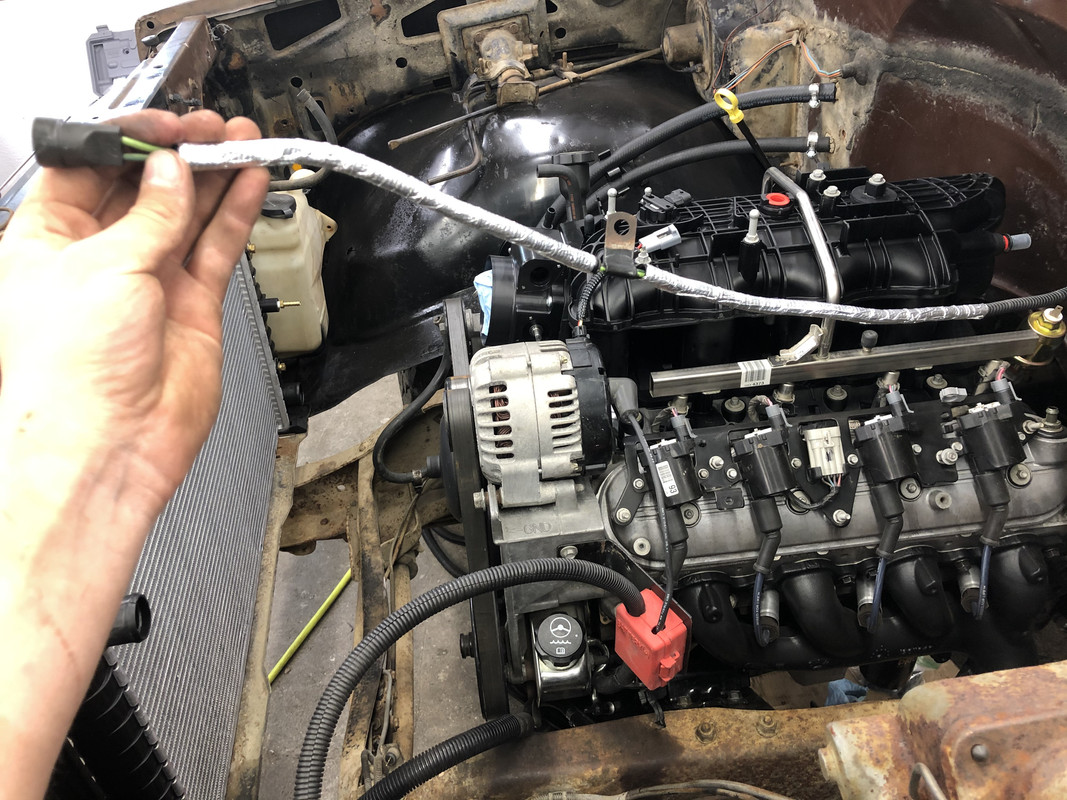
Clearanced it one last time, and it finally fit! Jesus christ that was an ordeal. I also decided to take advantage of the "wiring trays" cast into the intake and routed the alternator wire up through one of them.
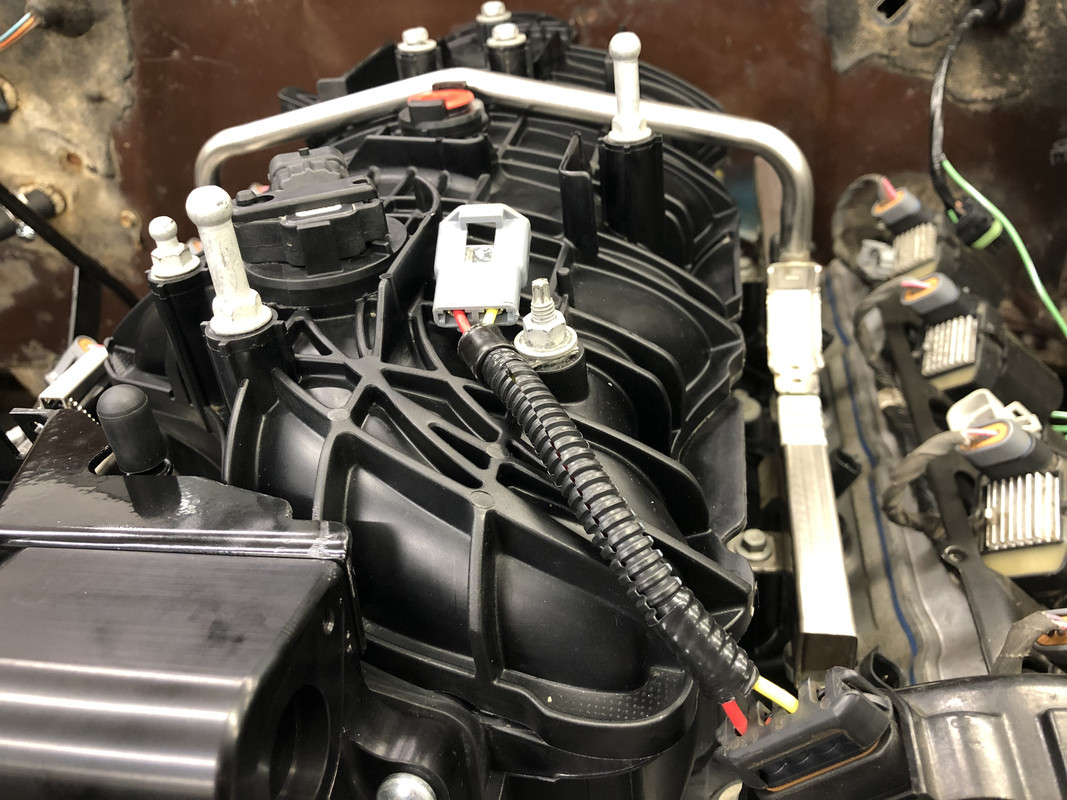
Finally, finally, finally installed!

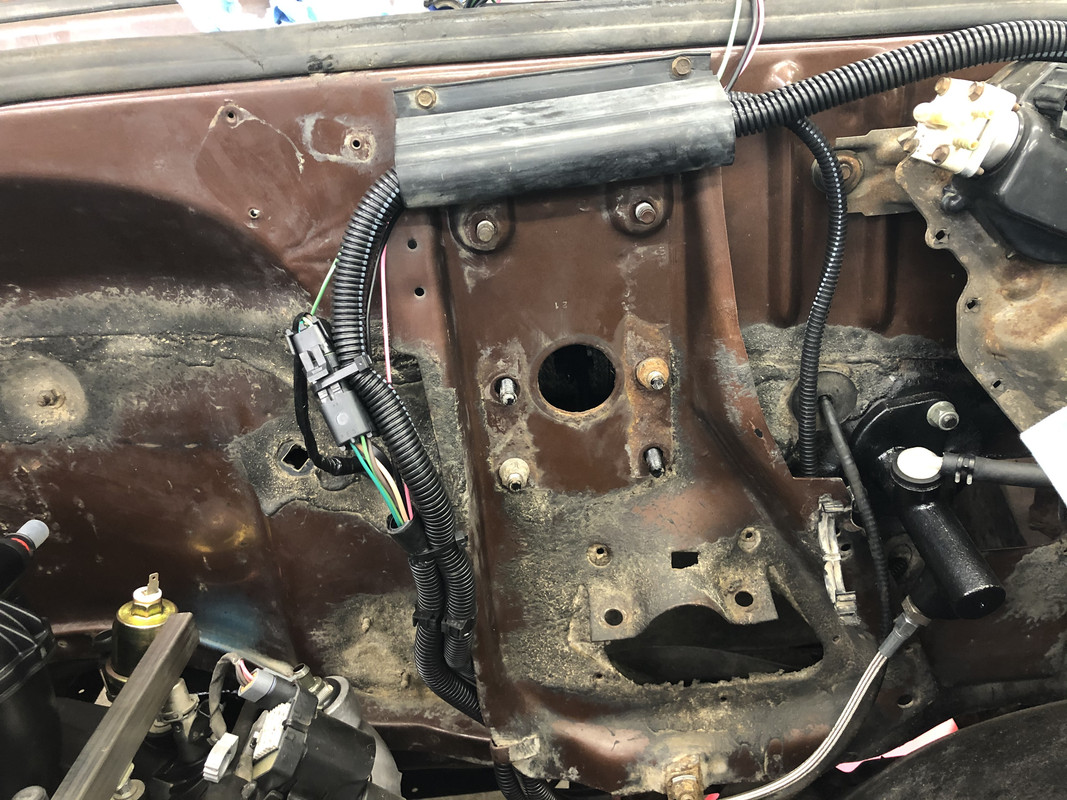
Next, I moved to the rear and started changing out the taillight harness!

The new LED bulbs! Yes, they look like aliens.
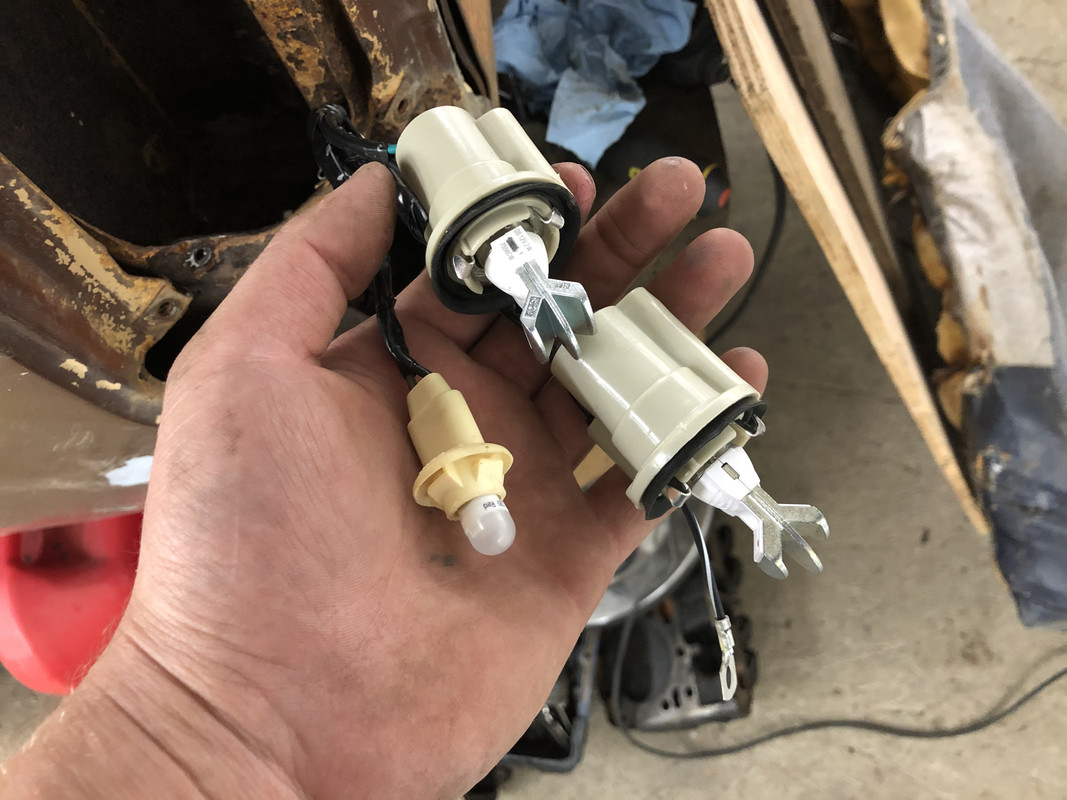
One new taillight, at least!

Under bed routing
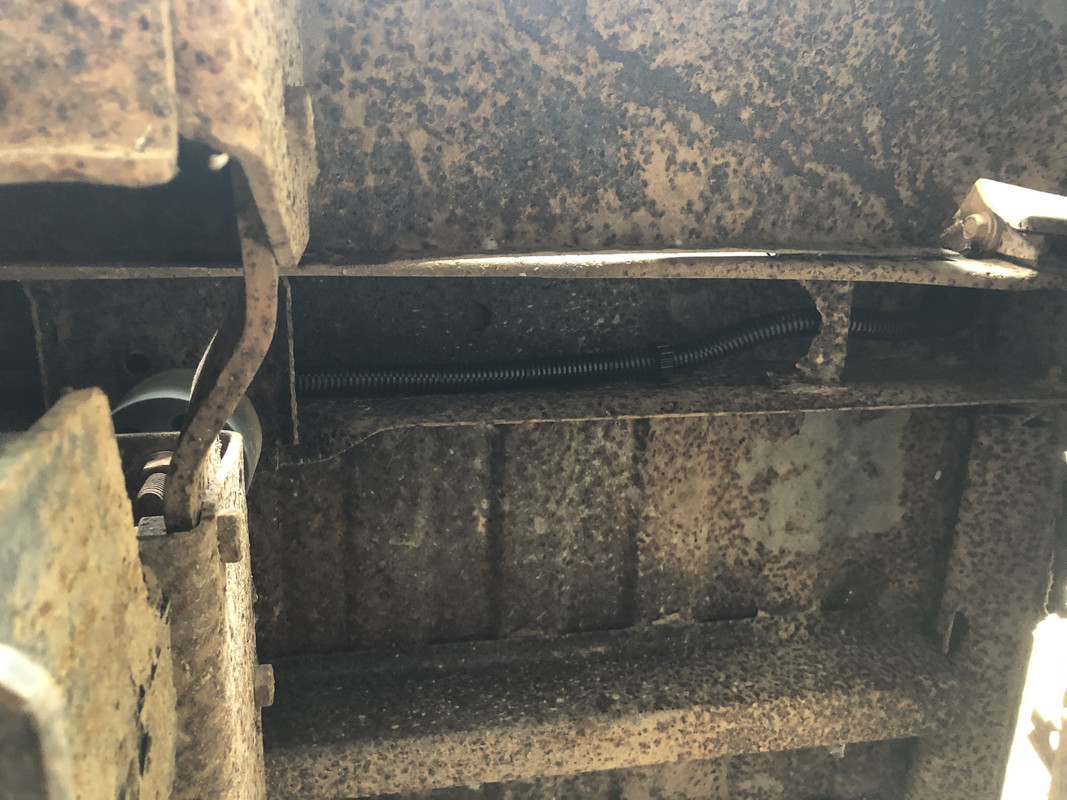
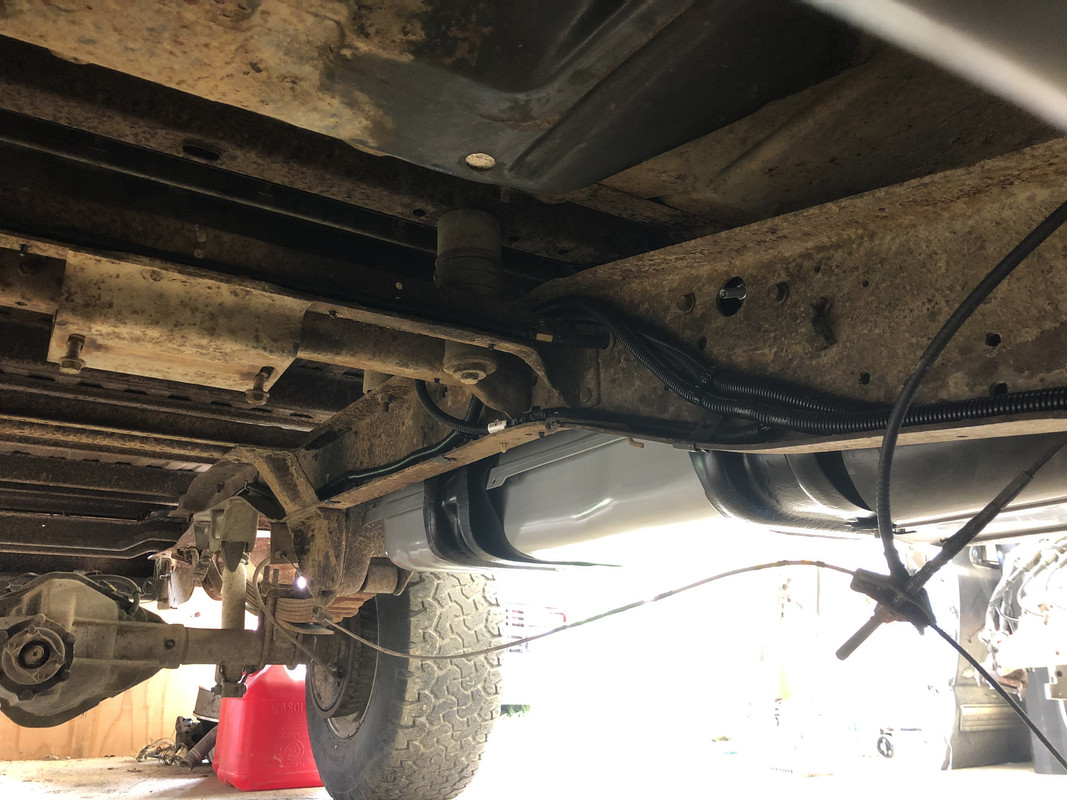

Cleaned this area up a little bit more.
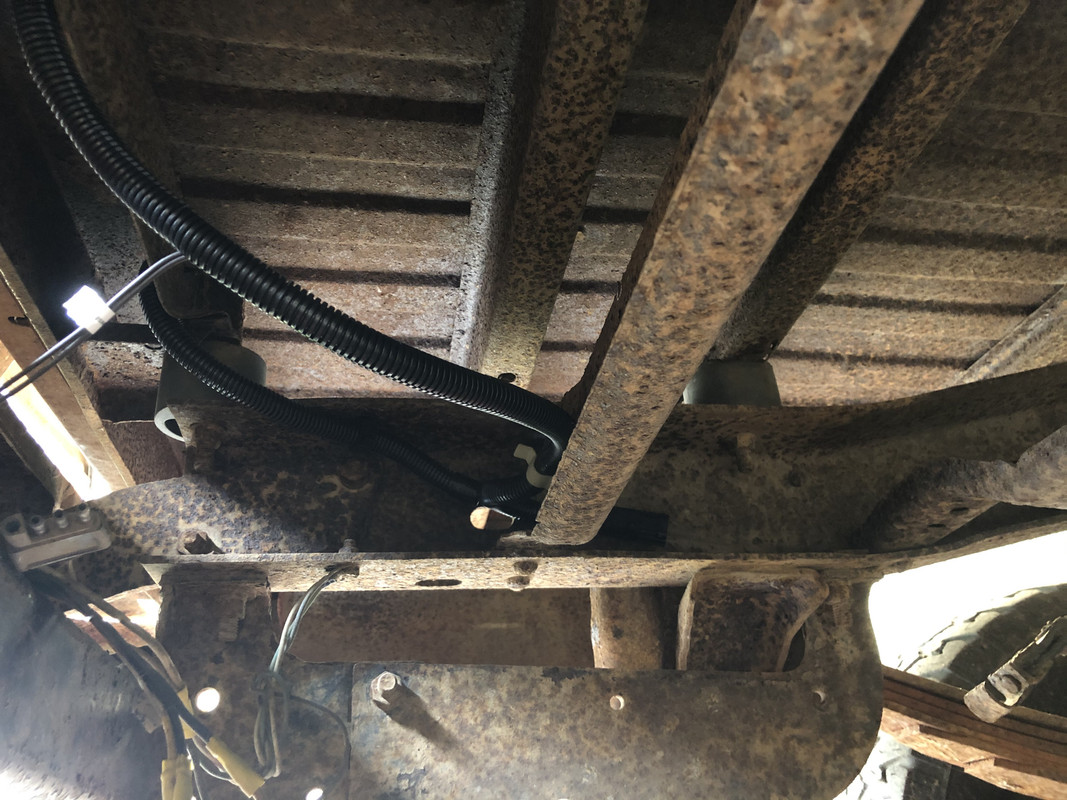
Ran some conduit and layed some heat tape on the reverse light switch wire.
Installed!

And to end the weekend off, I ran the headlight wiring harness! The routing on the passenger side may have to get redone, as I'm not quite sure yet how I'll be mounting the air filter housing, but for the most part this is how it should end up!