BENCH SEAT (1 OF 8)
* * *
The following narrative describes the work I did on my bench seat from November 5, 2011 to January 22, 2012 ( a mere 78 days but who’s counting . . . ? )
* * *
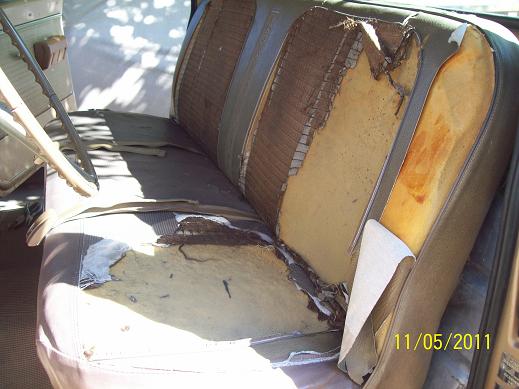
My seat was in dire need of an overhaul. The original vinyl and cloth cover was gone on the driver side and in tatters on the passenger side. The foam where the driver sits had been worn away so I was sitting in a big pit when I drove.
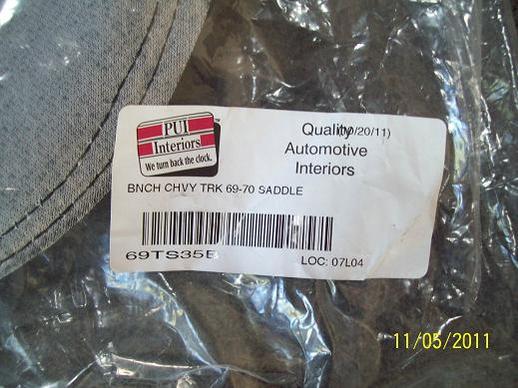
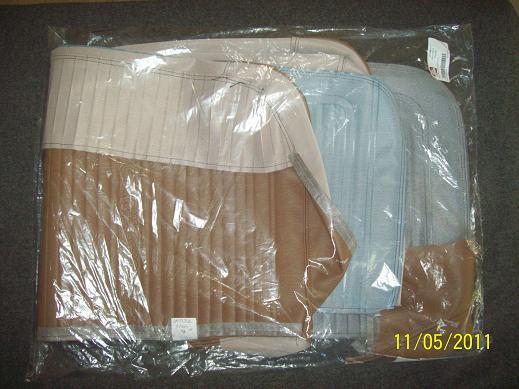
I didn’t want covers with cloth inserts like my original Custom trim level. Although the cloth may breathe better than vinyl, the stitching tends to break loose at the joint with the vinyl after a while. I really like the CST all vinyl style with the embossed scrollwork, so I went with that in the 1969 design. I obtained a few swatches for color comparision, all of which were not an accurate match with my original saddle covers. However, the color fit in adequately with my interior so I decided that was OK since I didn’t really want to spend forever searching for an exact match. I ordered the new covers from the Truck Shop. They were having a promotion at the time and I got a 10% discount. The covers are manufactured by PUI Interiors. Other than the color issue, I found them to be of good quality.
............
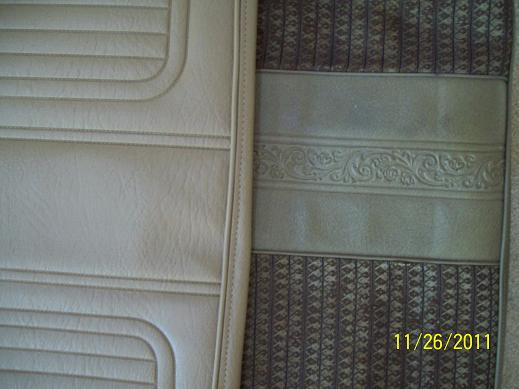
Repro pseudo-saddle on left, original saddle on right
My original thought was to buy new seat foam. I looked at a lot of vendor price lists and found that most all of them were in the $400 range, with a few less than that. I also looked at a lot of threads on bench seat rehab. The feeling I got was that most people who have installed reproduction foam were reasonably satisfied but several complained about the increase in ride height. I looked at a lot of pics of seats with repro foam and began to notice that they looked puffy. The original seat foam has a much flatter look to it when compared with repro foam. After thinking about this for a while, I decided that I would disassemble the seats and inspect the foam before committing four hundred bucks or so for completely new foam.
I took the seat out of the truck and removed the old covers and foam. Then I put the bare seat frame back in the truck and with a bit of ingenuity and padding, I was able to drive it like that for the duration of my seat project.
I didn’t know much about foam when I started this project. I found a local upholstery supplier and picked up a piece of 24 x 24 x 2 that felt like it would work if I decided to patch the old foam. I set it on the bare springs in the truck in different positions to see how it felt when I sat on it. When compared with the original foam, it felt much firmer.
Then I spent some time reading about foam. I found that there are two basic characteristics to look for: density (D, lb/cu ft), and firmness (F, lb/50 cu in @ 25% deflection). I did some testing on the original foam to determine its characteristics using info I found here - - - - - >
http://www.pfa.org/jifsg/jifsgs4.html and here - - - - - >
http://www.diyupholsterysupply.com/c...am-square.html
I decided to order several sample pieces so I could do a hands-on comparison. I ordered six 12 x 12 x 3 pieces from diyupholsterysupply.com in different densities and firmnesses.
D=1.9, F=25, 33, 40
D=2.4, F=25, 33, 40
I found that the D=2.4, F=33 came closest to the original foam. By this time I felt that I could make the necessary repairs to the foam so I began to figure out what I needed material-wise.