Last day of the year.
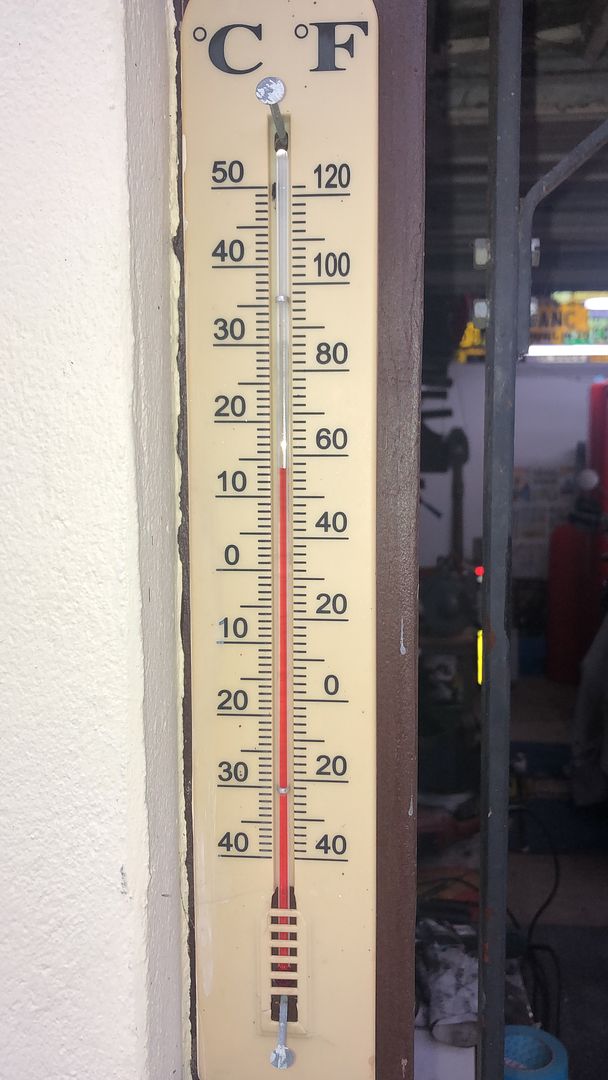
This is mid winter.
@nickwheeler and I were both thinking that if we could get the engine and gearbox mounts made, tacked and in position, followed by placing the body on the chassis, it would be a great place to end 2021, regardless of what time that happened.
However, the engine hoist messed us around, and finding the right metal, getting the positioning etc sorted took time, starting just after 10.00 we only had a coffee at 12,30 or sometime later.
Nick had a family meeting to attend, which meant closing off by 2.00pm so he could get across town.
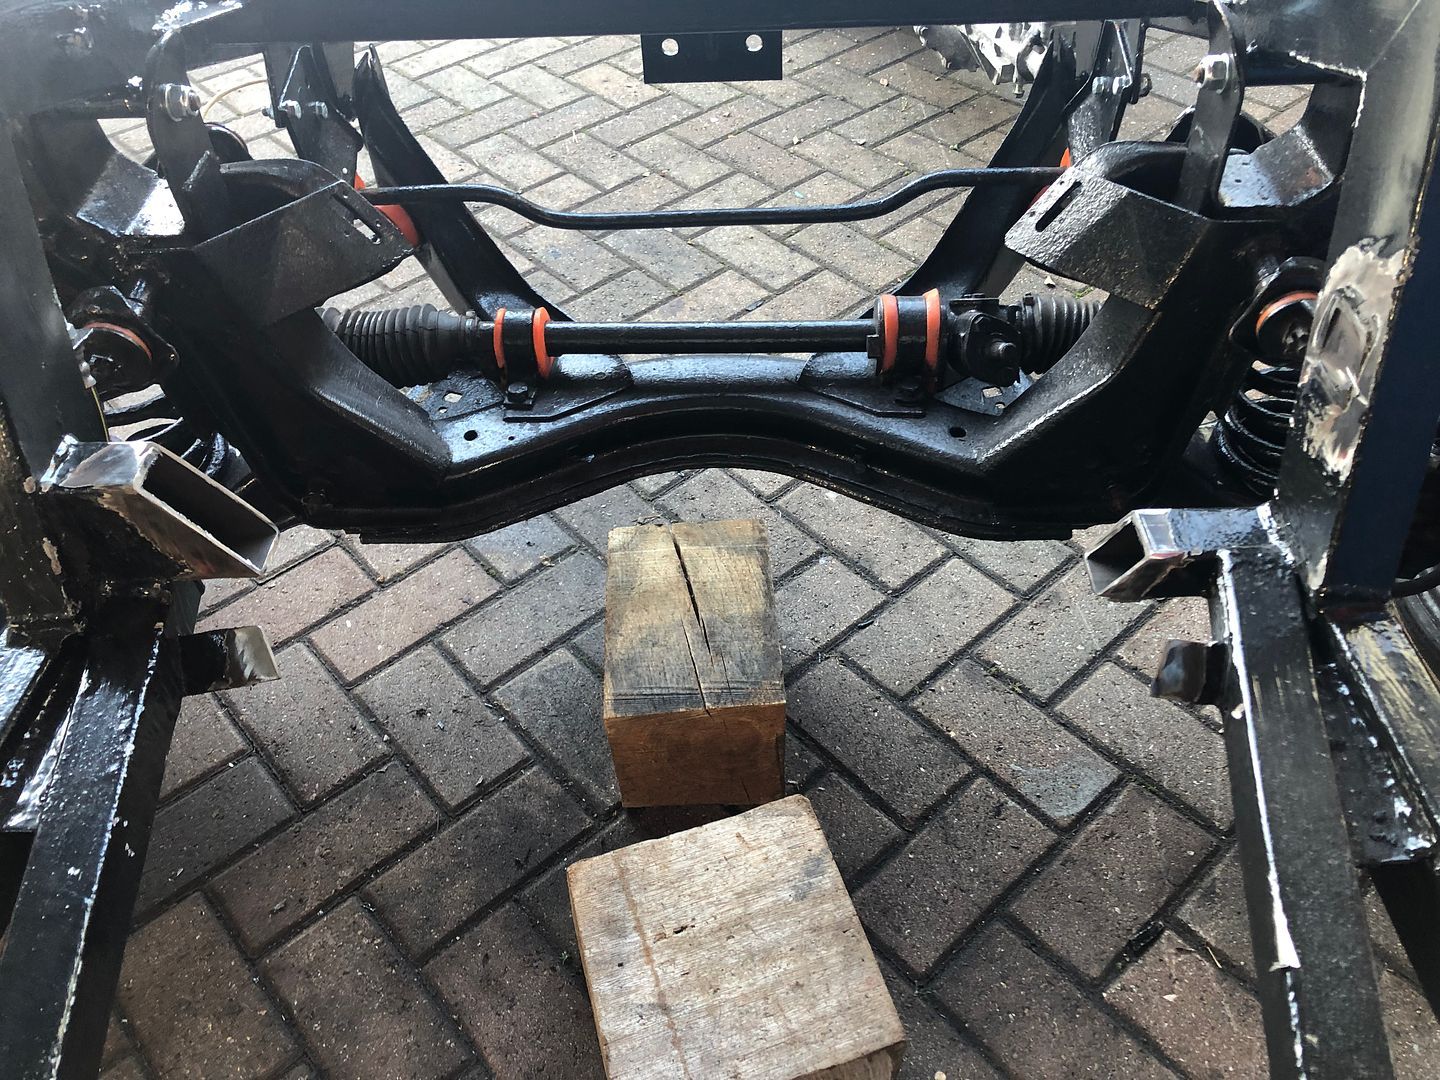
The pic most of us have been waiting for
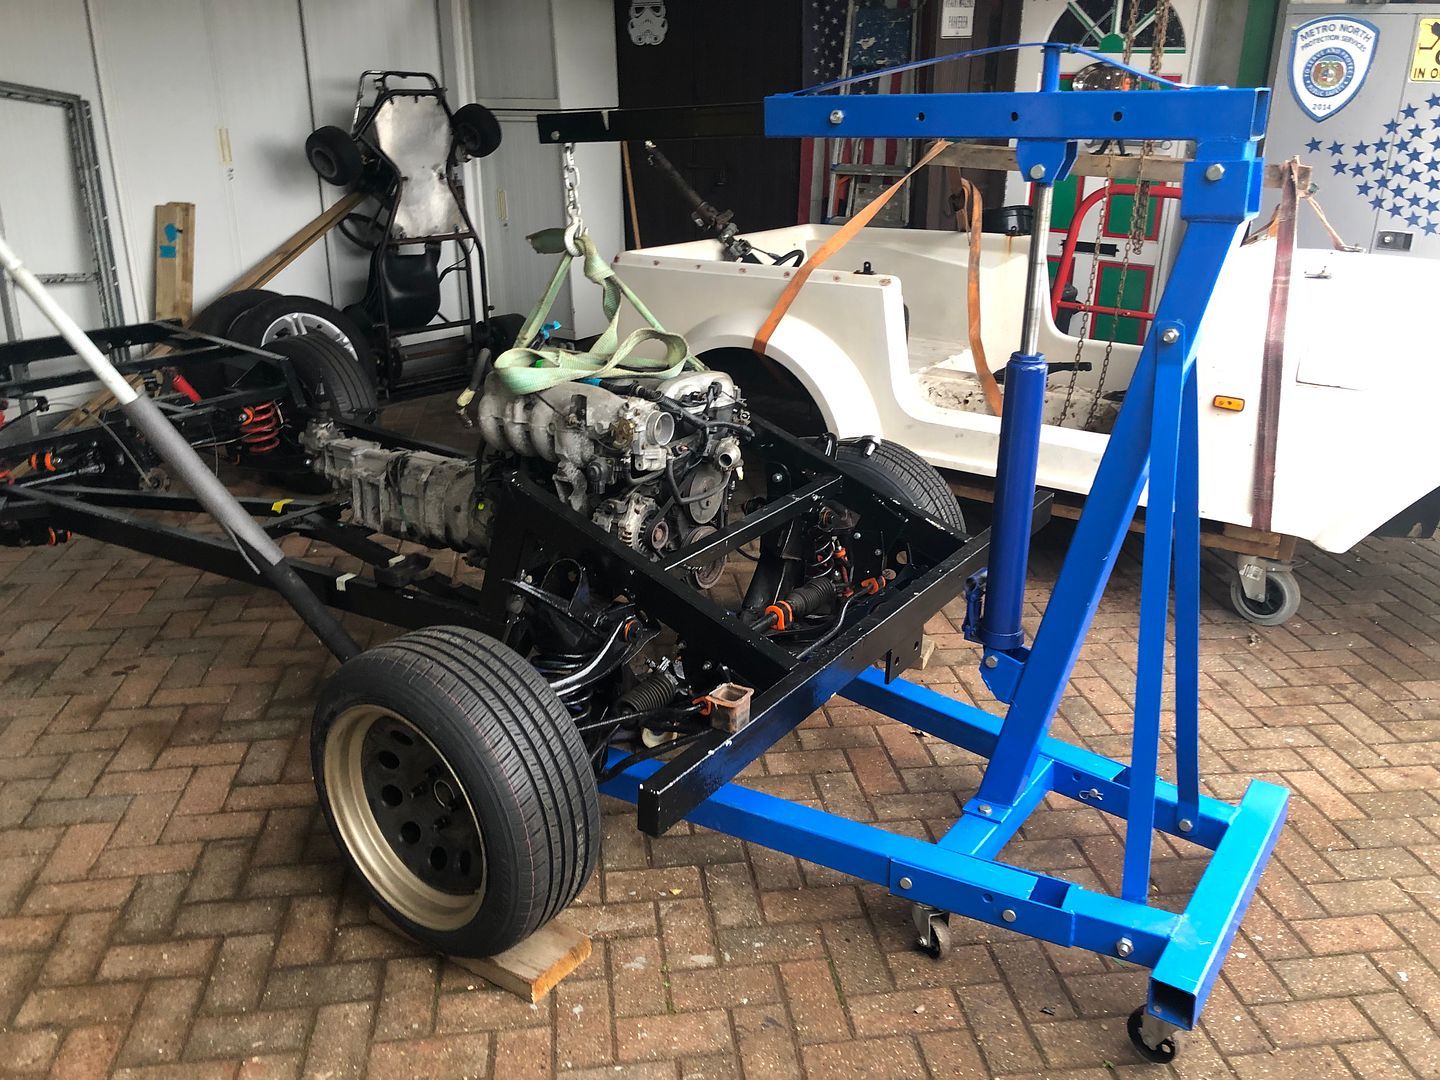
And then, once the engine was mocked in position, I added the radiator, fan and original pipework to see if it all fitted.
Gear stick was in approximately the right place.
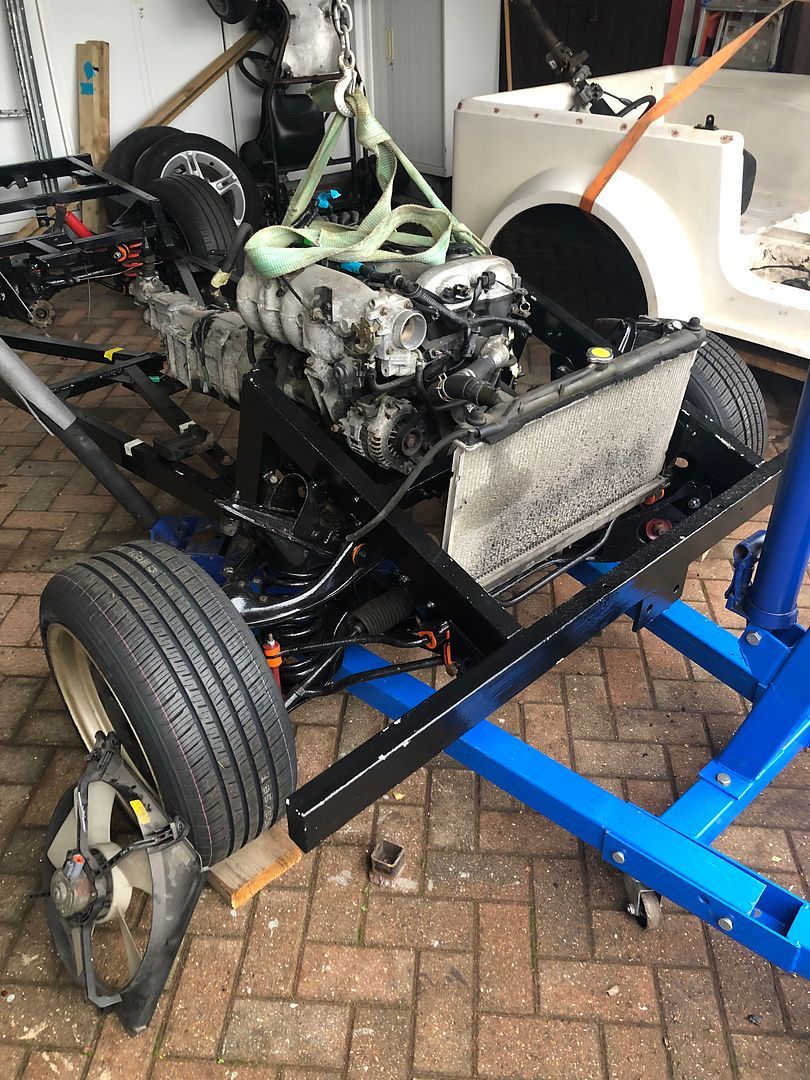
So then Nick marked out where the original Ford engine mounts on the chassis (not the crossmember) needed to be cut away as the MX5 engine mounts hang a bit lower.
So Mr 9 grinder came out
.
It scares me.
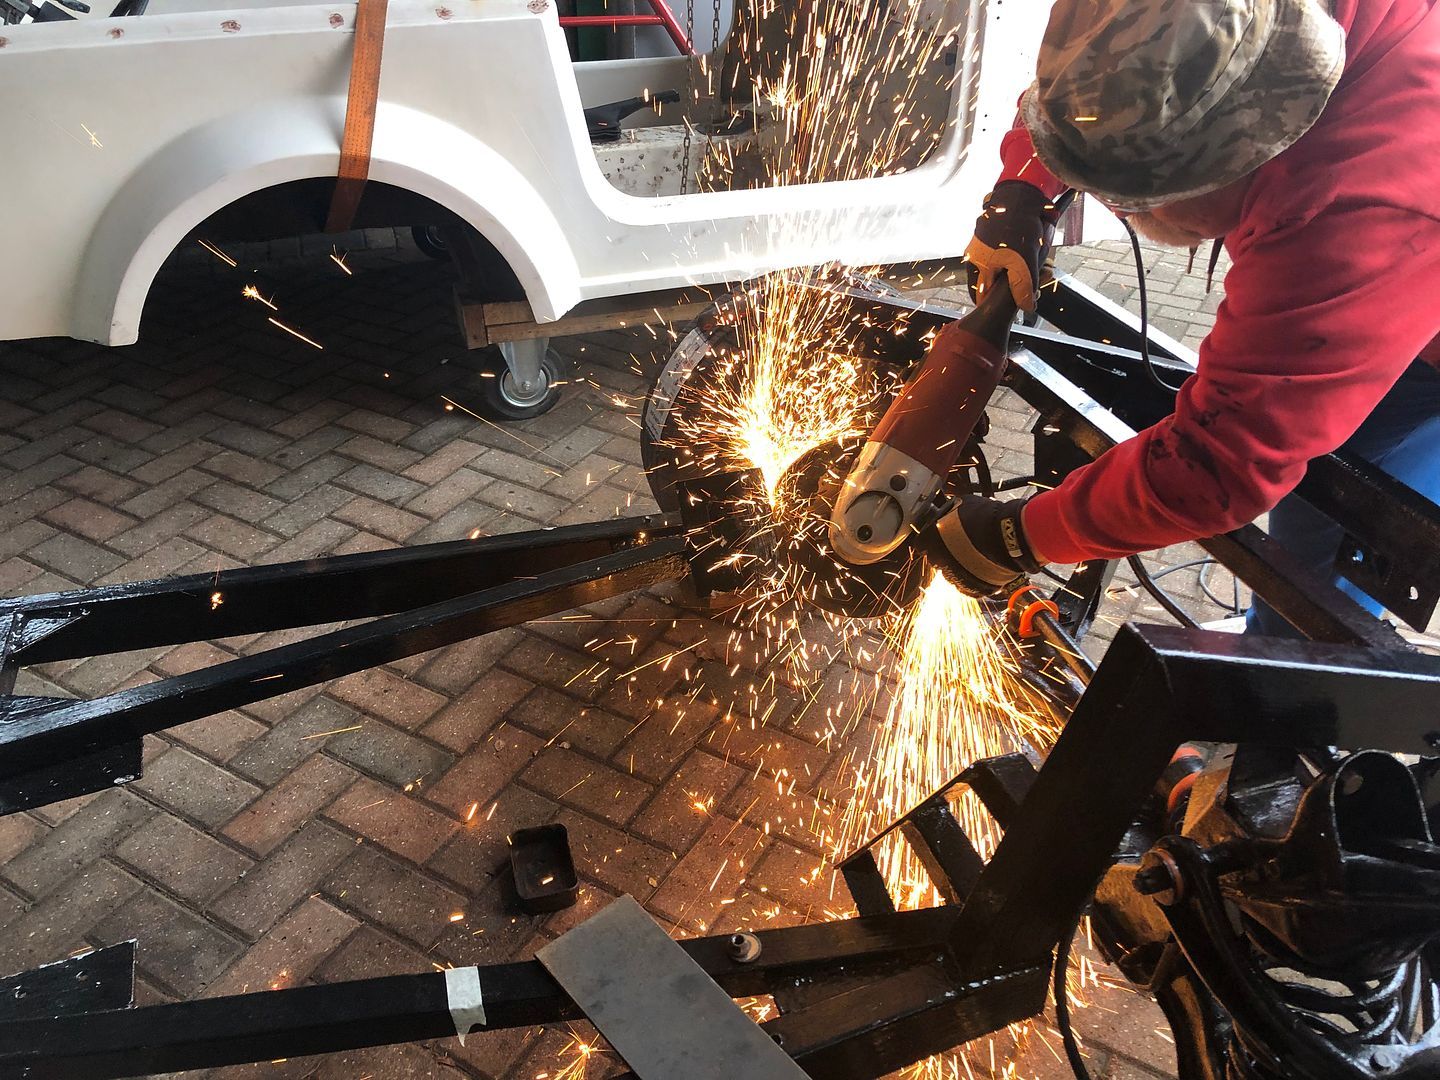
Cut away, cleaned up, and then fine tuned.
Engine back in.
Mazda prop-shaft in ( No it does not match the diff
.. so I will have to have a custom build done.
Length is right but the bolt pattern differs out back.

Next job after Nick measured it out was for me to get on the drill press and make a few holes, followed by a slot on the face of the engine mounting plate, then Nick, who had brought his welder along, tacked it in place so me could carry on with the next one, which proved to be a bit more awkward.
Amazing how time flies when you are having fun.
Too soon it was 2.00pm and time for Nick to head out.
Leaving me with some homework to get done in the meantime.
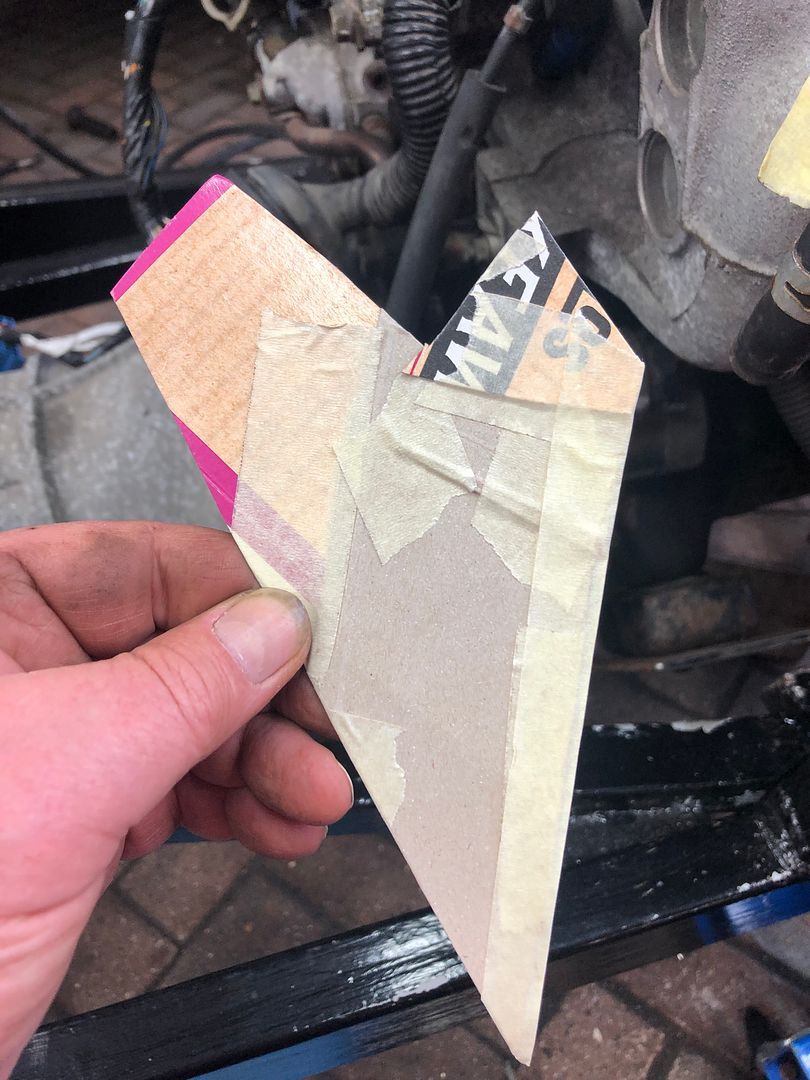
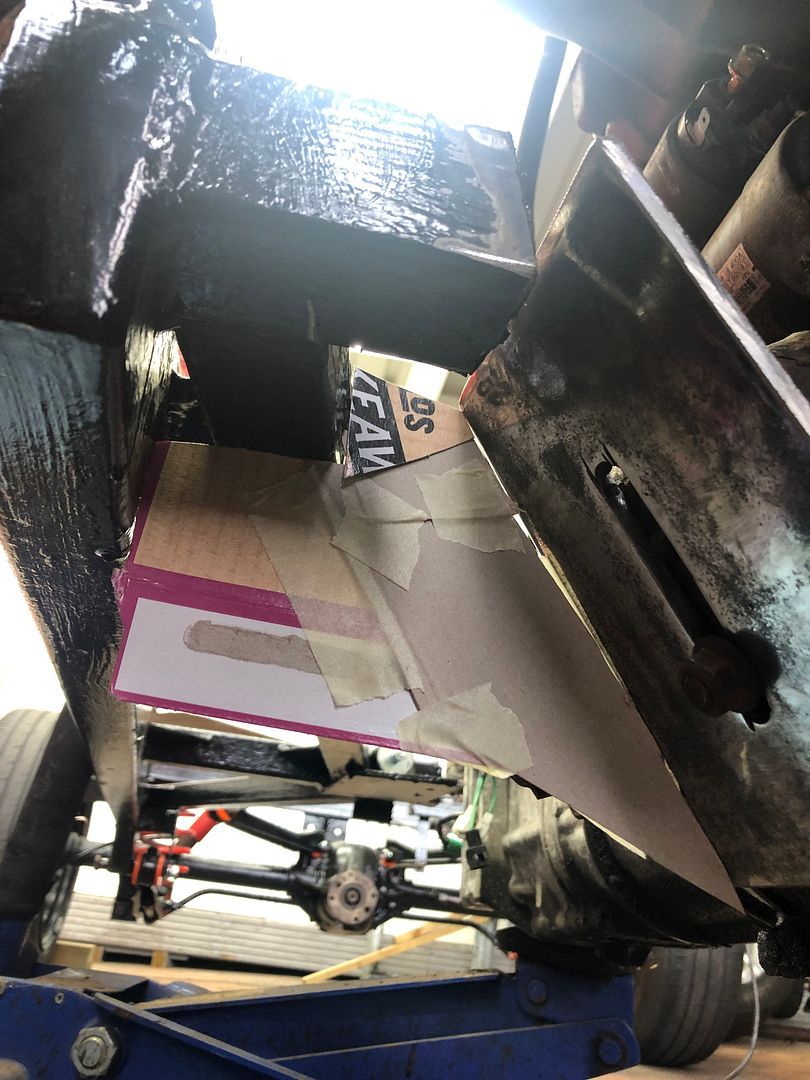
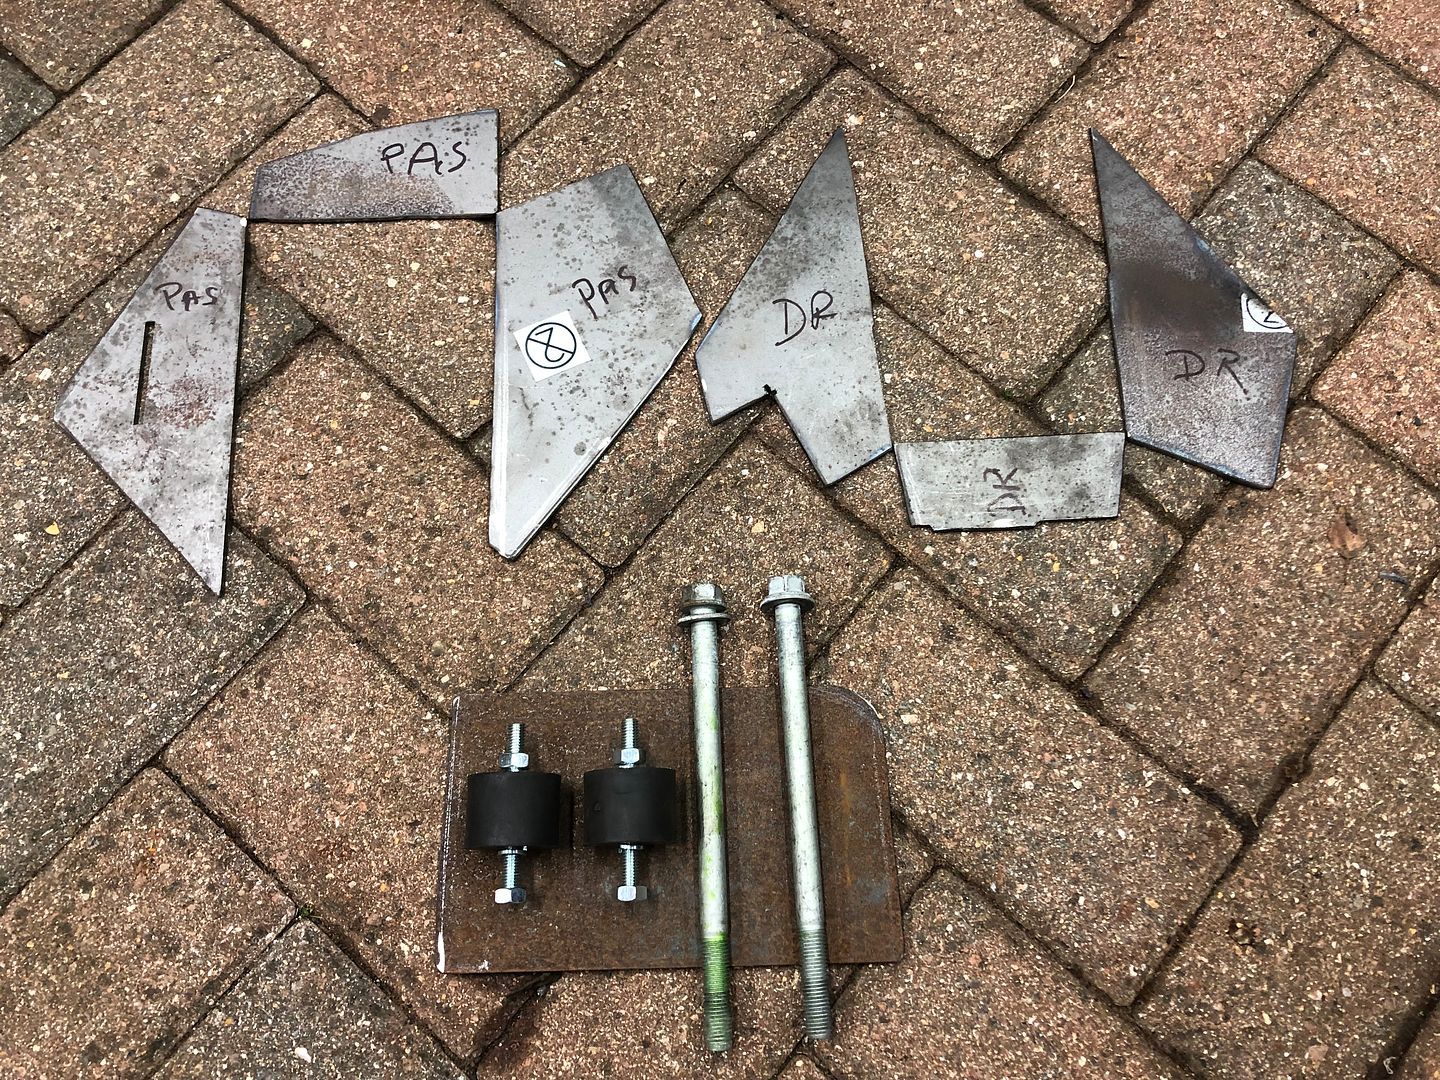
So I pulled in the CAD pizza box and started to make up the templates for the gussets that will be making the mounts completely stable and ready for the next evolution, whenever, or if ever it happens.
The trick of course is starting with a large section, and then adding to get an exact fit.
And the result.
To be welded in tomorrow once the steel plate cutout is done.
Laid out on the plate, of course playing Tetris helps.
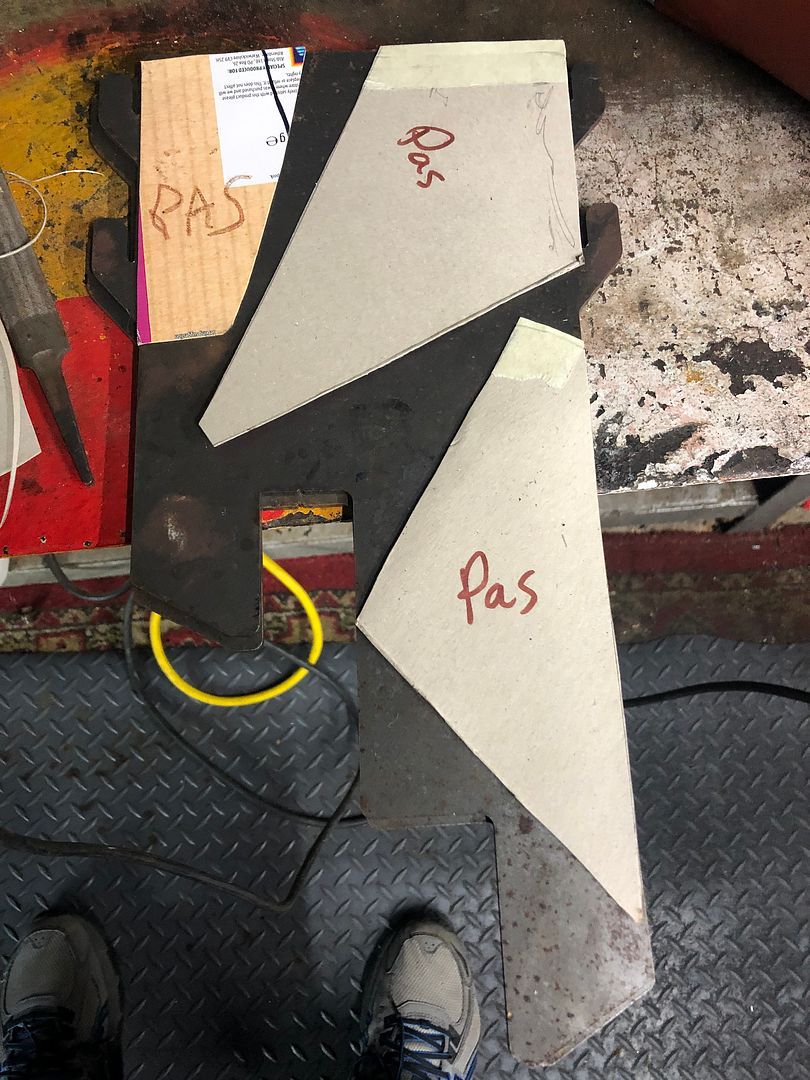
Transferred onto the steel.
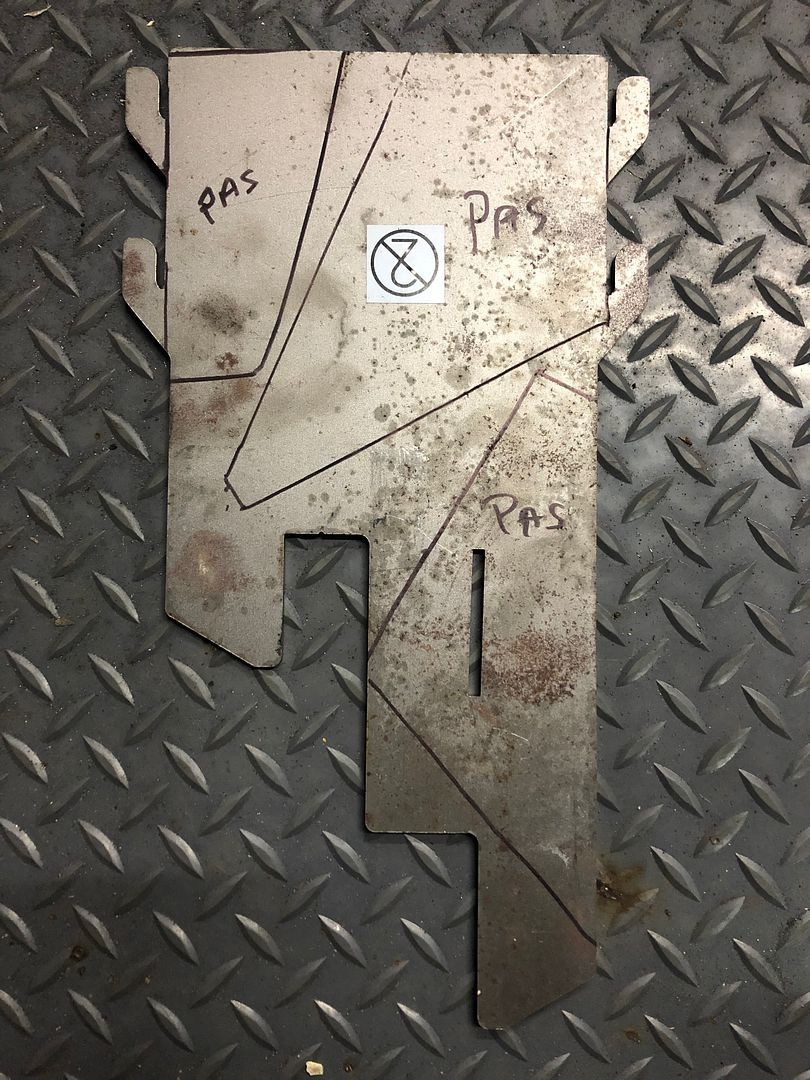
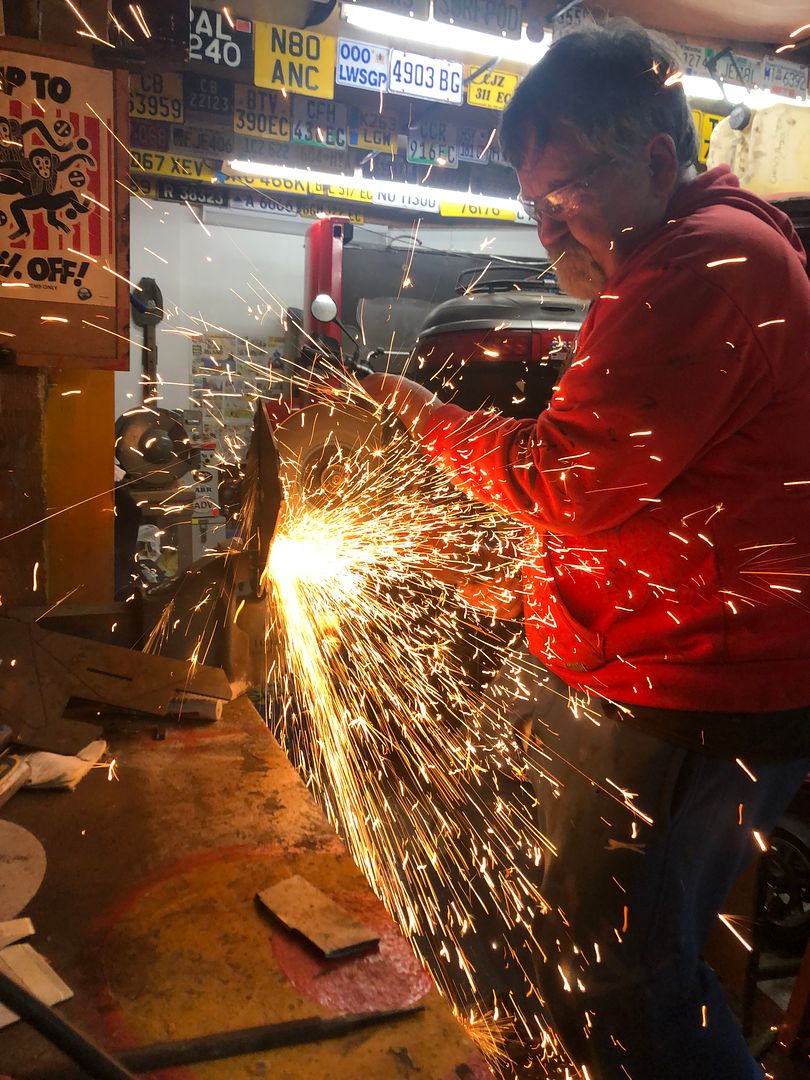
Once all were created and transferred on the steel, cutout time.
Sparkly.
Destroyed a very good pair of trainers, unfortunately.
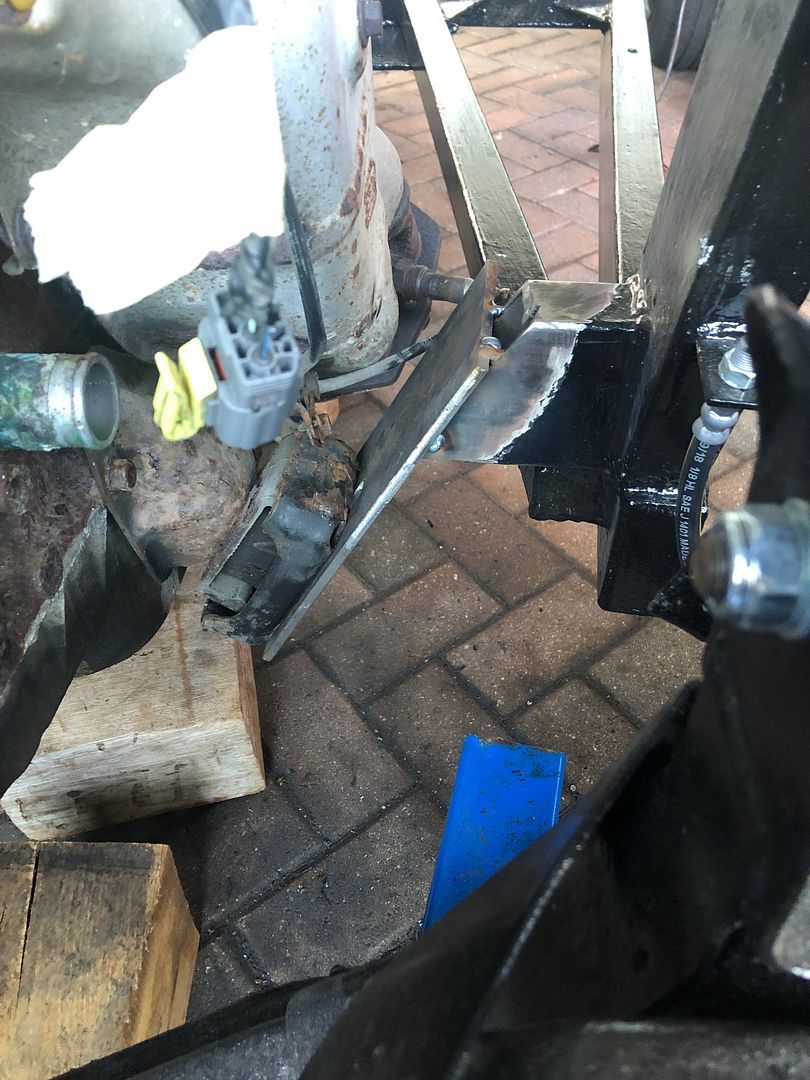
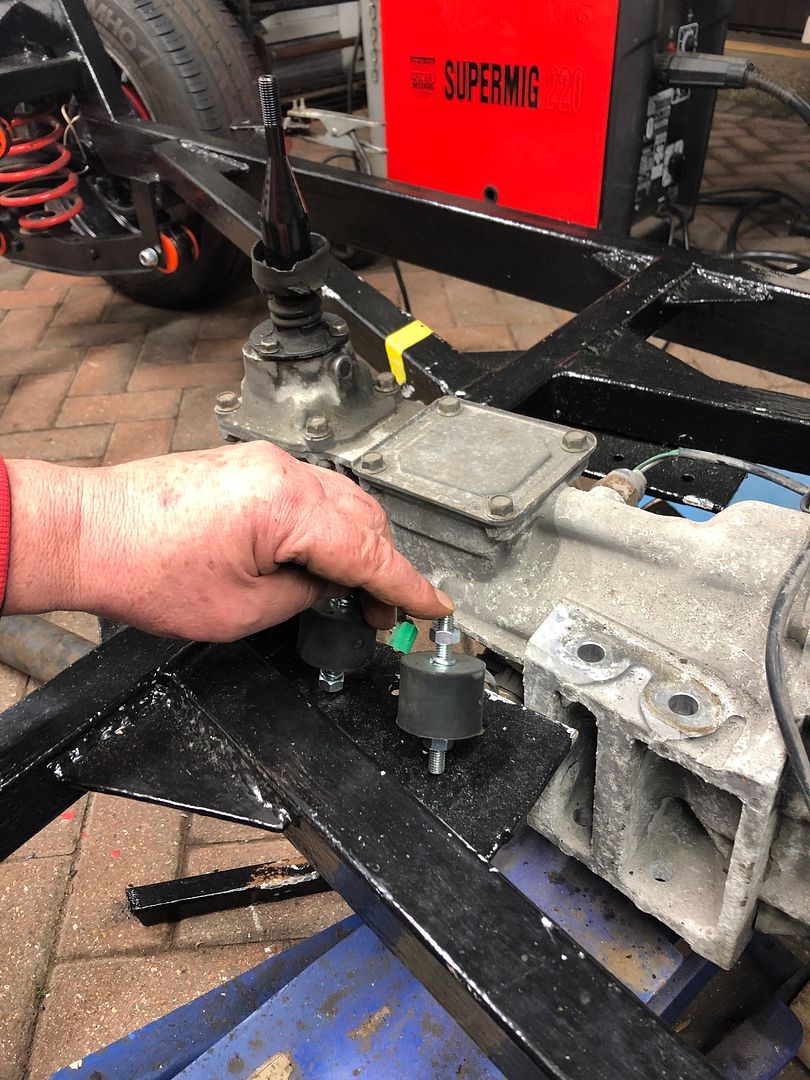
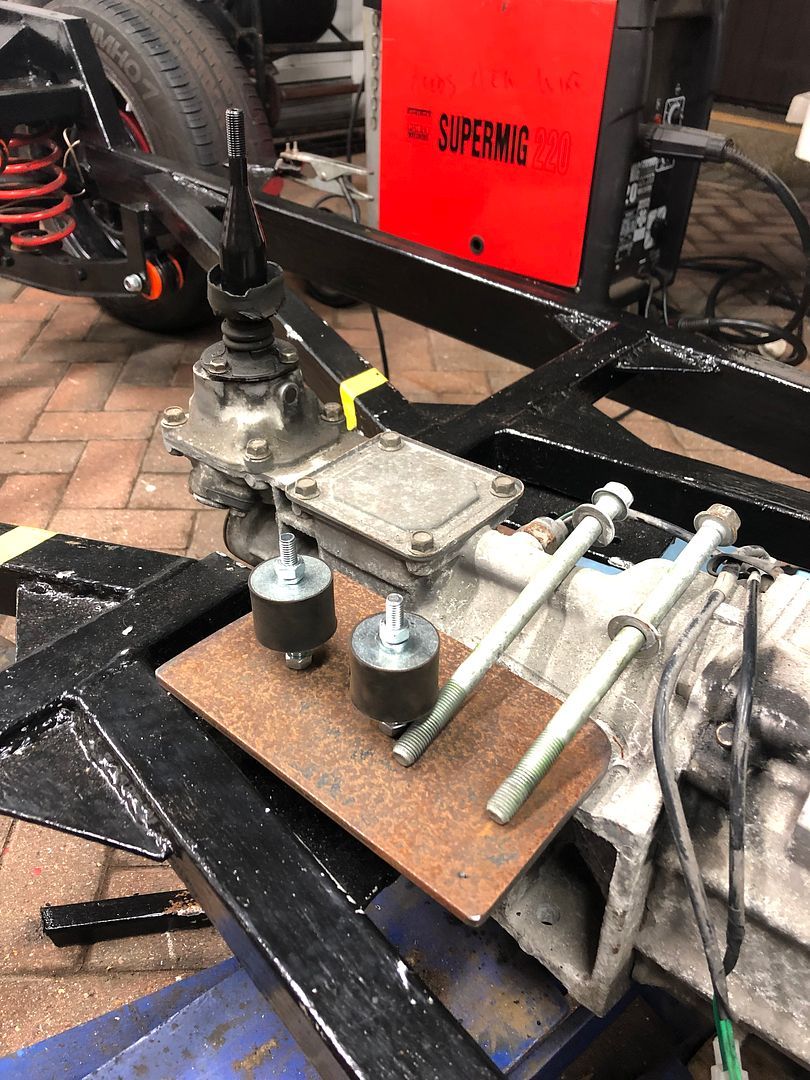
At the rear end, the gearbox needed a mount of some sort as well, using the rubber mounts.
So using existing fasteners and a plate on the chassis, I cut some steel to fit, and will drill the M8 holes, mount the rubber mounts and attach to the tail.
I am not 100% sure how this will look when done, but a nights sleeping on the idea should work it out in my head.
That took me to 5.30 and time to shut shop and come in to see Sally and cook us something to eat.
Here you can see the gussets as they will be welded into place around the mounting plate and onto the chassis to create a solid, safe mount on each side.
Pretty chuffed with todays progress again.
Tomorrow is a new year.
Happy New Year to all of you out there, the writers and lurkers and the ones who rarely say a thing.
Thank you for 2021.