|
Re: Military Blazer Build
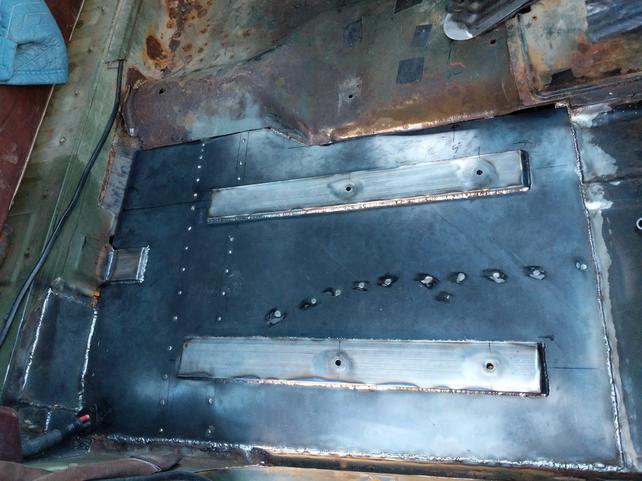
I wasn't able to reproduce the stamped ribs in the replacement floor, so instaead I used a 1"x3"x.060" rectangle tube cut in half to make a 0.5"x3" C channel, and welded that to the floor as a stiffening rib. This spans from the front floor support to the rear floor support and provides a load path from the seats into the underlying cab structure, so the flat sheet metal floor isn't supporting the weight of the seats.
I dont have photos, but there is a piece of thick wall pipe welded between the C channel support and the floor sheet metal to allow the seat bolts to clamp up on a solid piece instead of crushing the channel.
Repeat process on the other side.
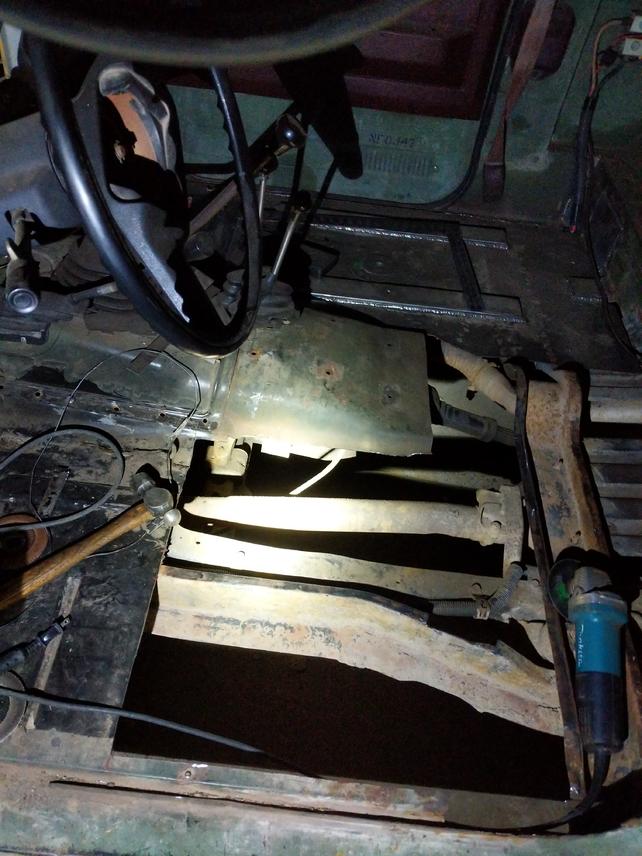
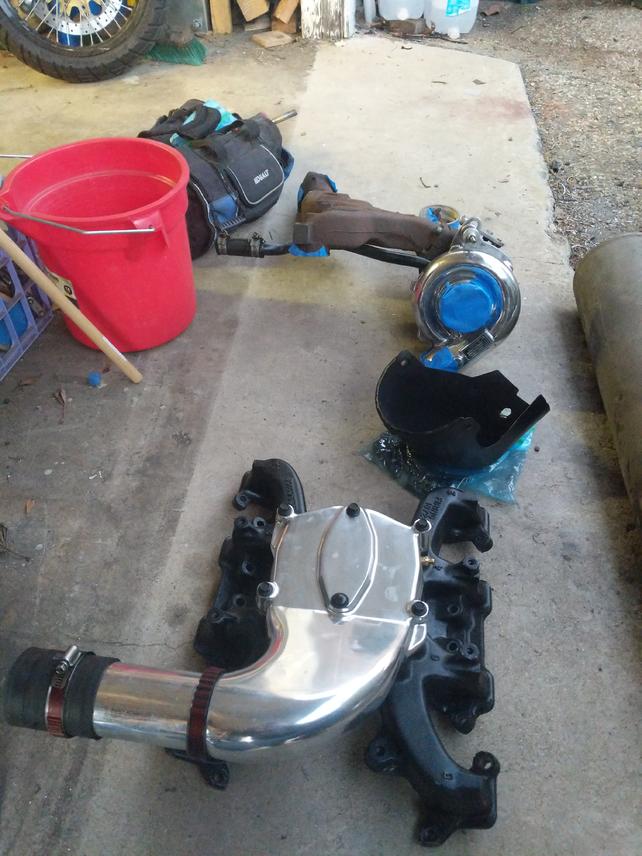
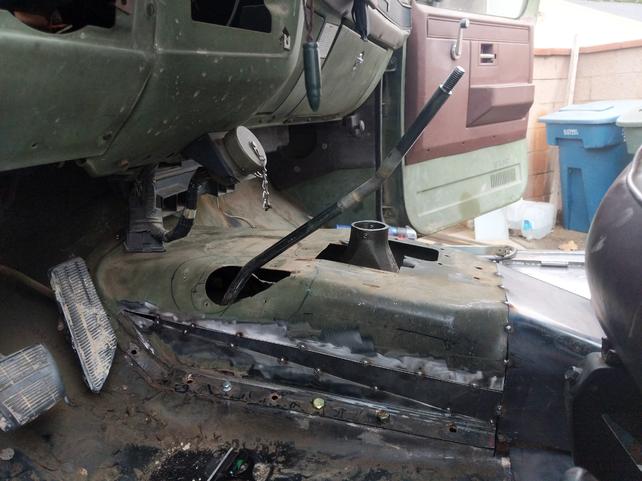
At this point I took a quick break to go pick up some new toys. Still no center section built to connect the 2 sides of the floor and the transmission tunnel cover was installed installed with one bolt, so I almost lost the turbo on the interstate...
After picking up the turbo, I raised and extended the tunnel cover to accommodate the SM465 and auxiliary trans.
__________________
1988 "Crane Truck" C30 - 350, SM465, with a 15' knuckle crane - thread
1986 M1009 - 6.2 Diesel, SM465, 2 speed aux trans, NP205 - thread
1979 Corvette - 350 T5
1977 Jimmy - 350, TH400, NP203
1982 Blazer - 350, 700R4, NP208 - Totalled, now a parts truck 
Scratch built 16' flatbed trailer - thread
Last edited by 79vette; 07-23-2021 at 02:46 AM.
|