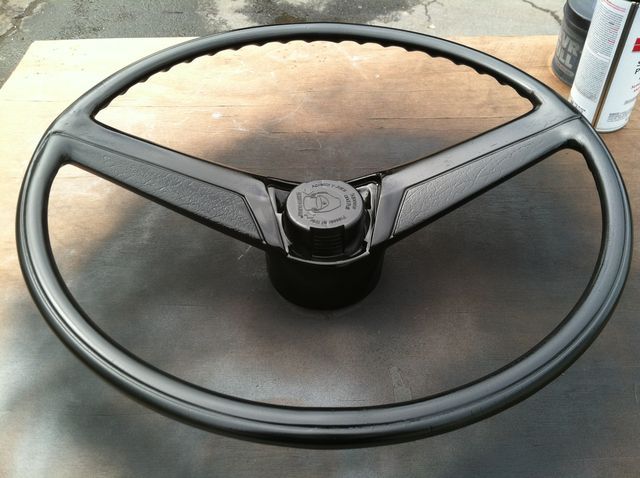
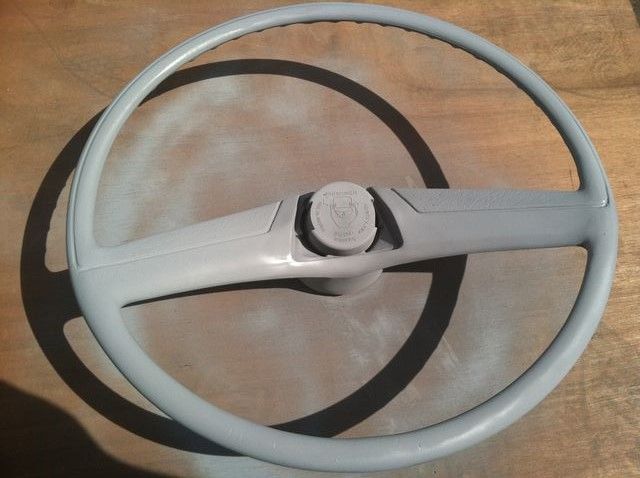
6. As you can see in the latest pictures I have popped in a spray can top into the central hub area to prevent paint from reaching and covering the metal contact ring within and it worked very well as I had not one ounce of paint within the area. Now you can start sanding with 240-300+ range grit depending on how smooth your wheel has come so far it all depends on the starting condition and your time invested in the beginning to get to this point. I found the scotch pads very helpful to smooth out the surface as well as zero steel wool all useful in this process.
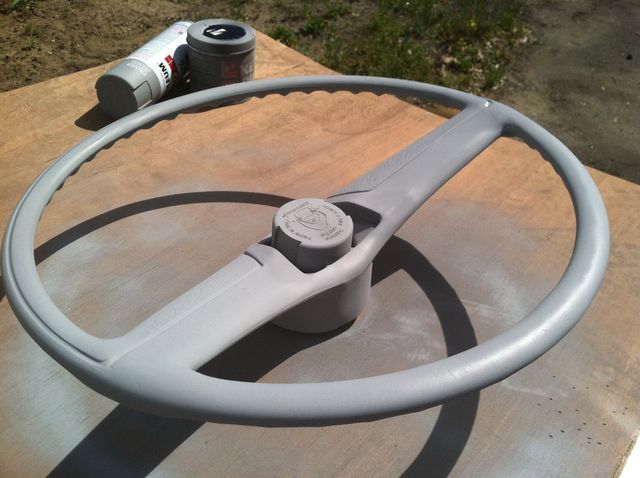
7. Finally some color and first round of wetsanding with 600 grit sandpaper and strictly steel wool or grey scotch brite to keep the surface as clean as possibly and prevent costly surface wear thru points like on the ribbing on the backside. Yes sanding will start to wear on you as you get further into the process of the restoration but don't quit now you're almost there just a few more hours and a finished product will appear in front of your eyes.
8. Lay down your first layer of color, I went with Satin Black Rustoleum spray-able paint this round since it was in stock in pile and matched well with my interior. I would suggest to go as light of coverage as possible almost like two guide coats of paint to go over the primer. You can always go back over once its dry and re-sanded to create build-up and durability. I went through quite a few coats here to build up to what I felt as a durable wheel.