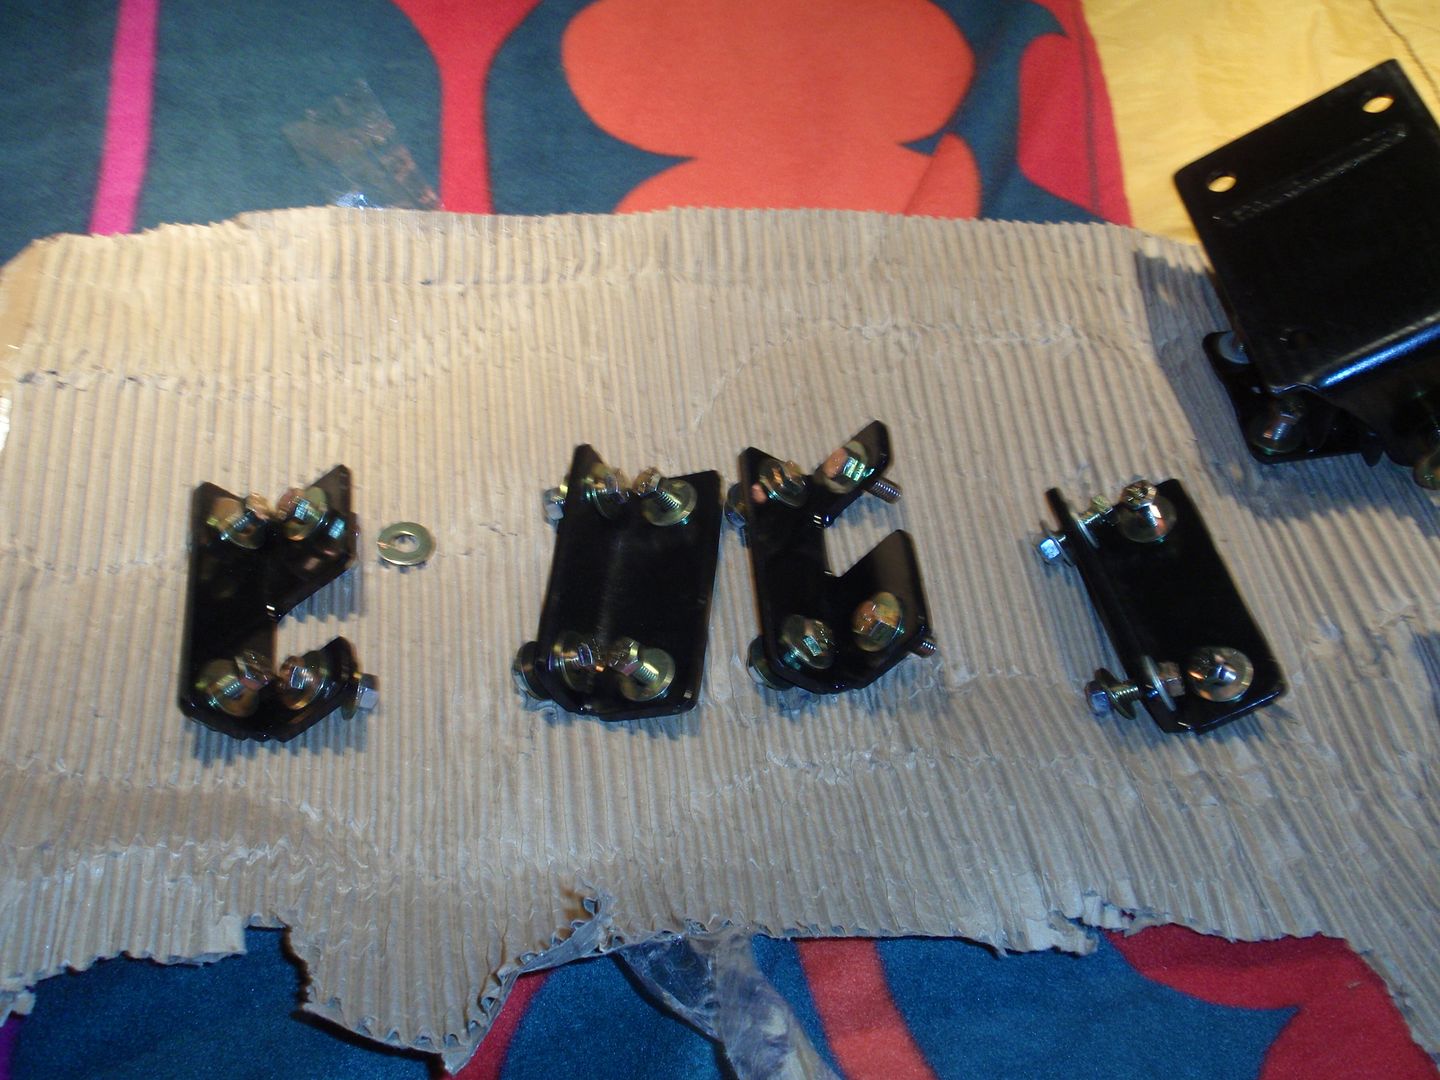
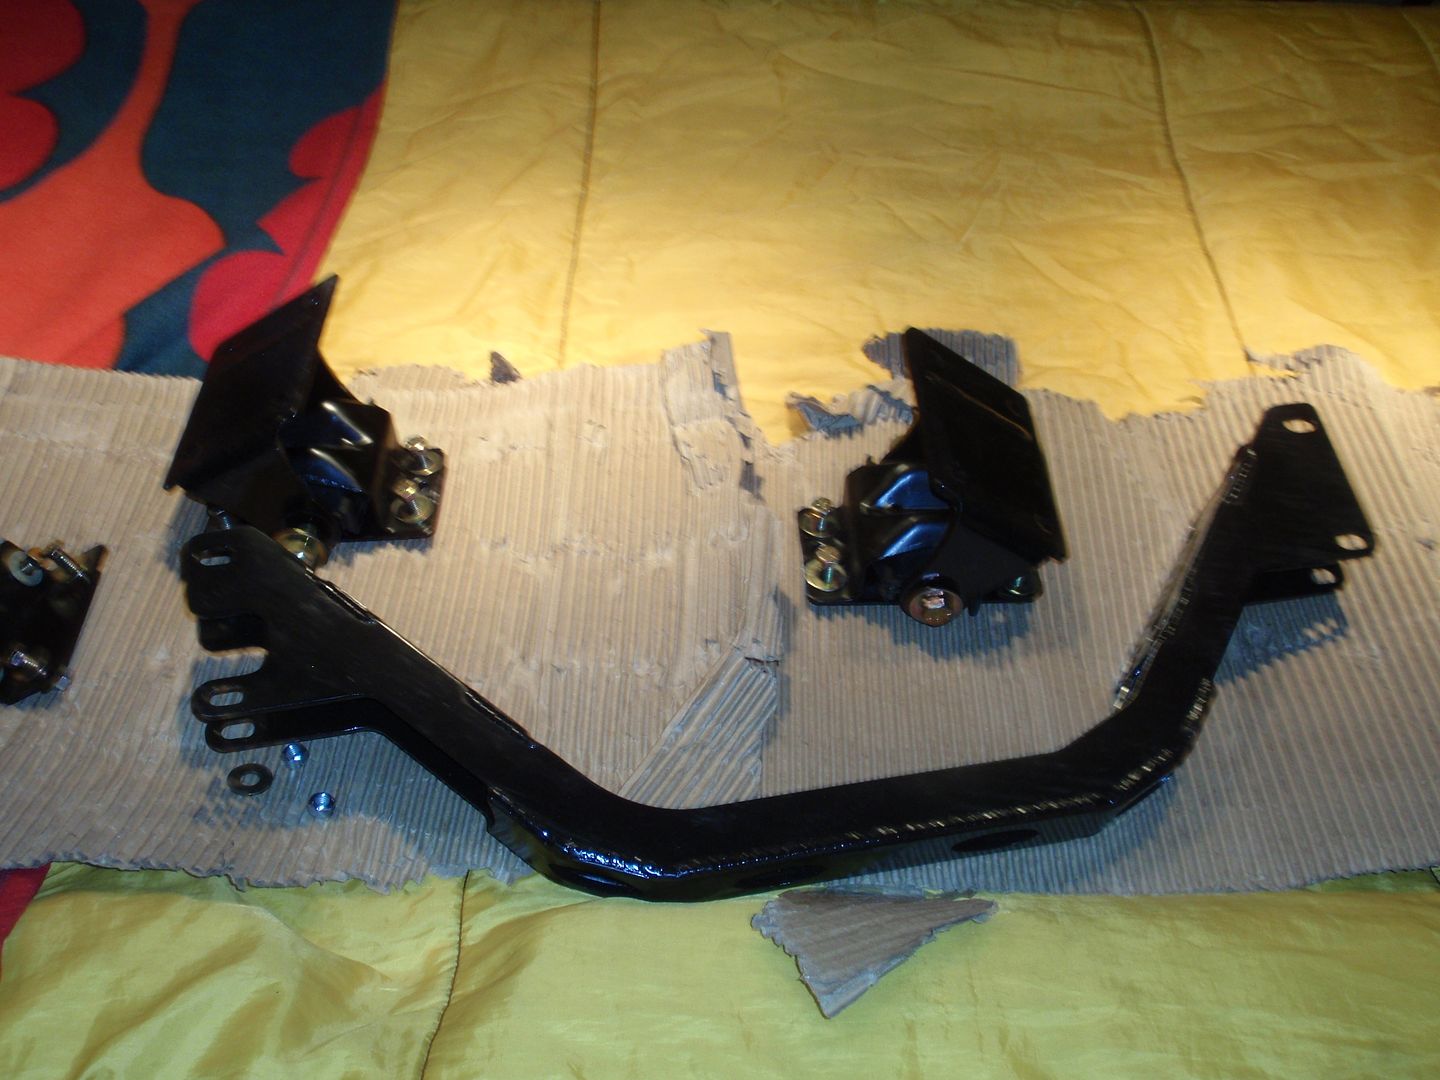
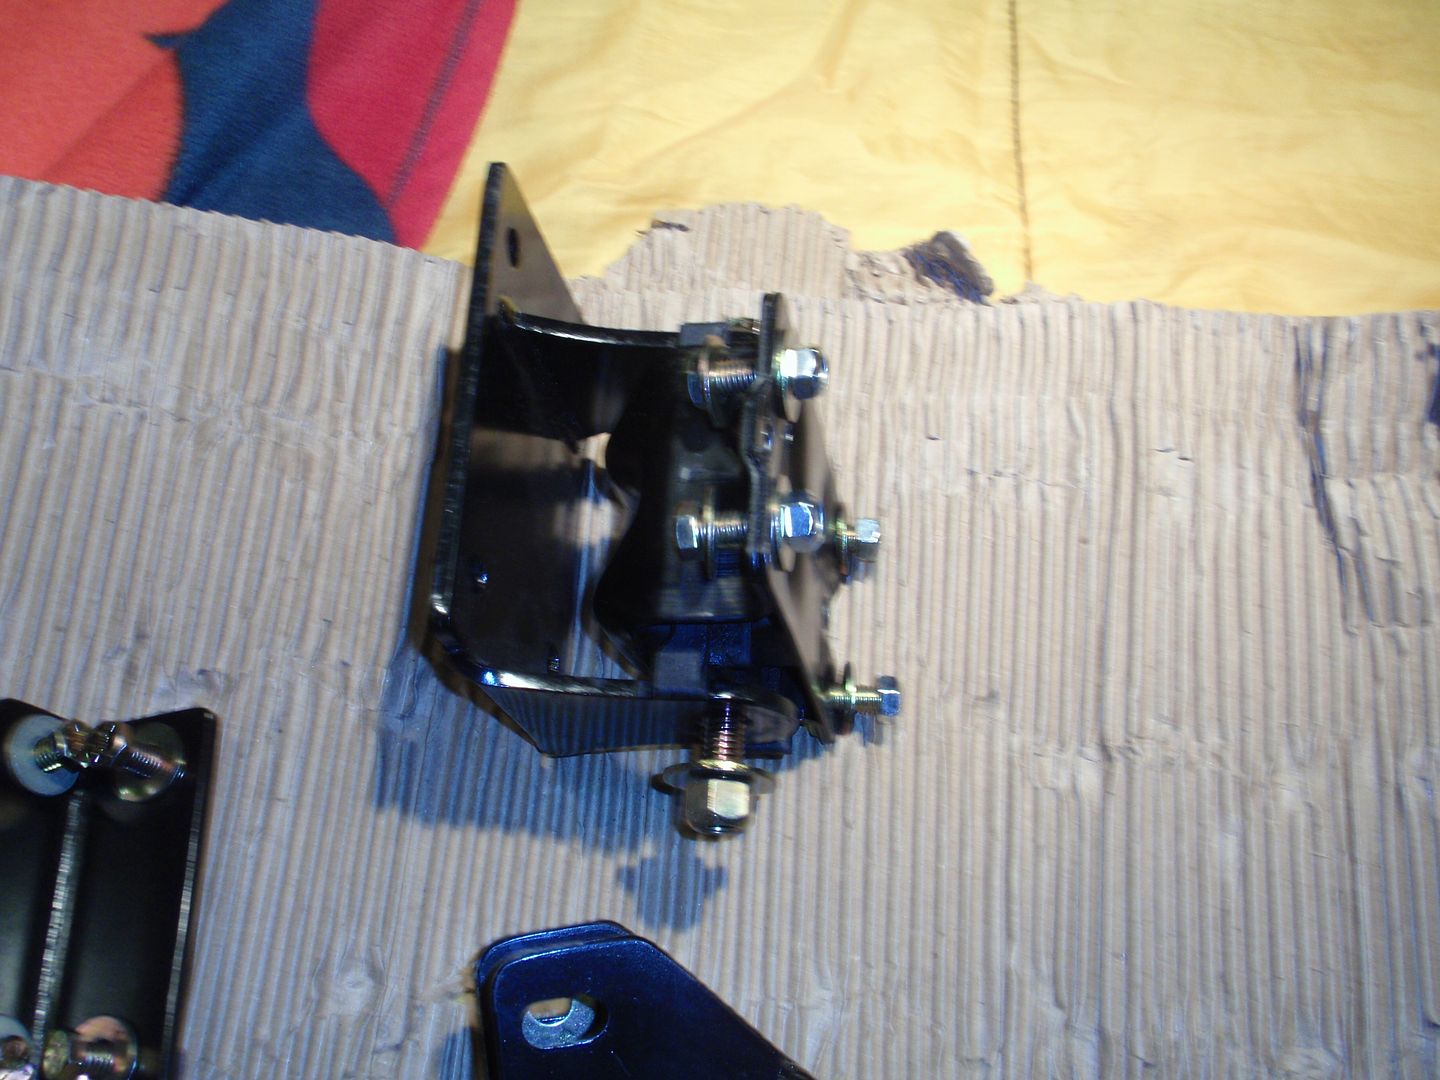
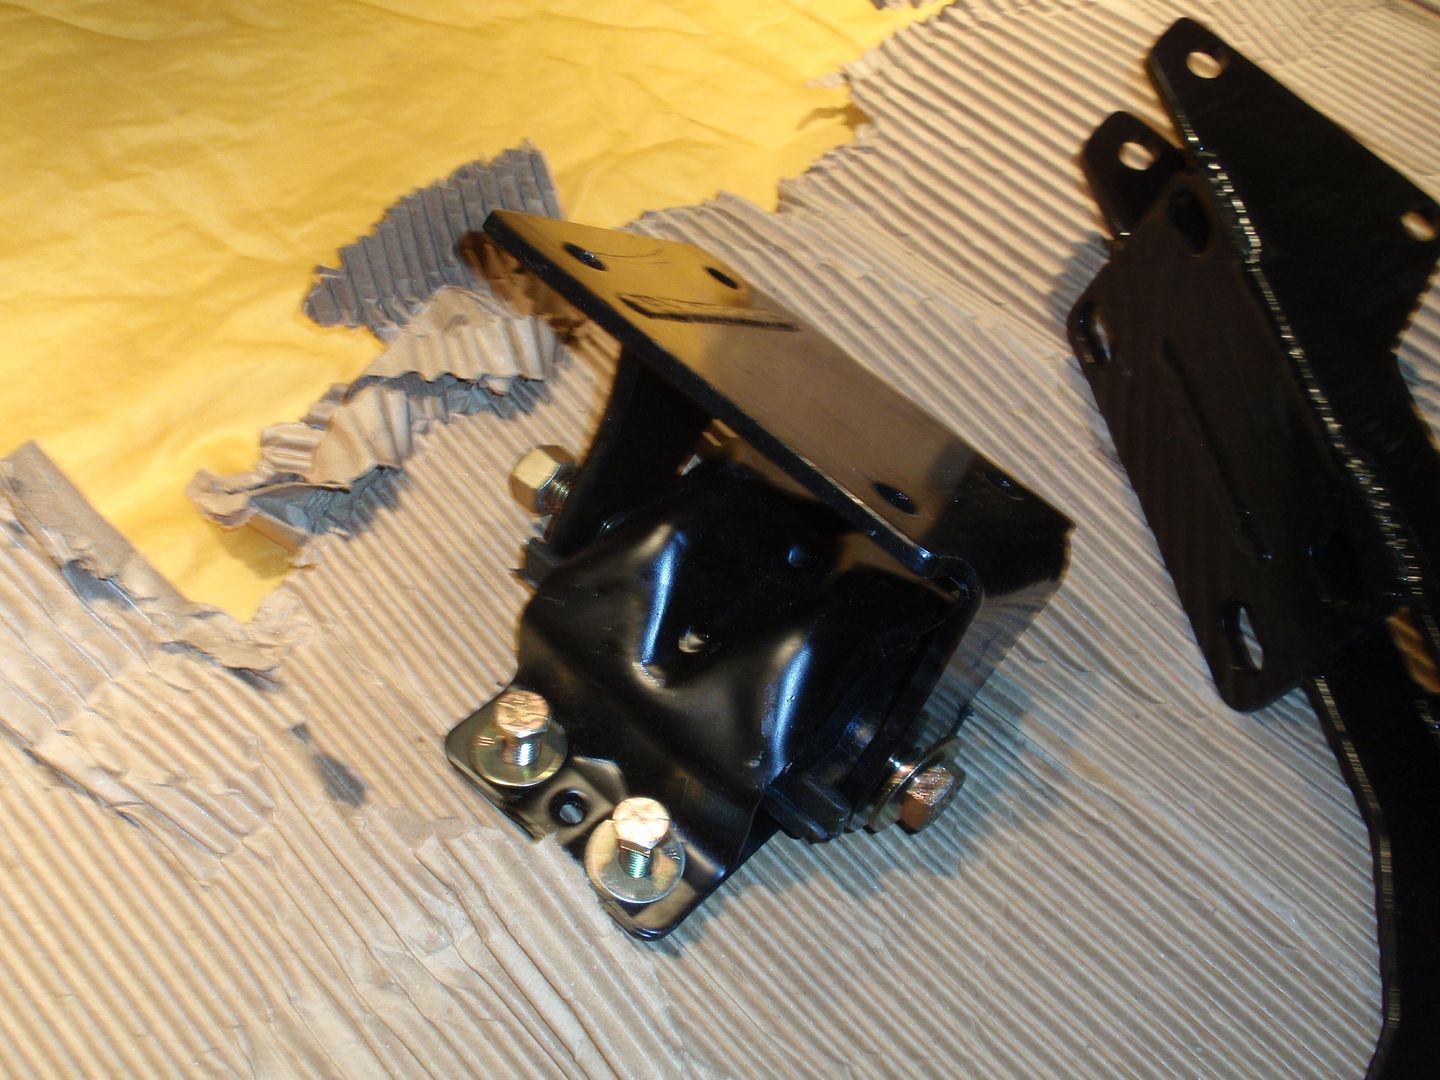
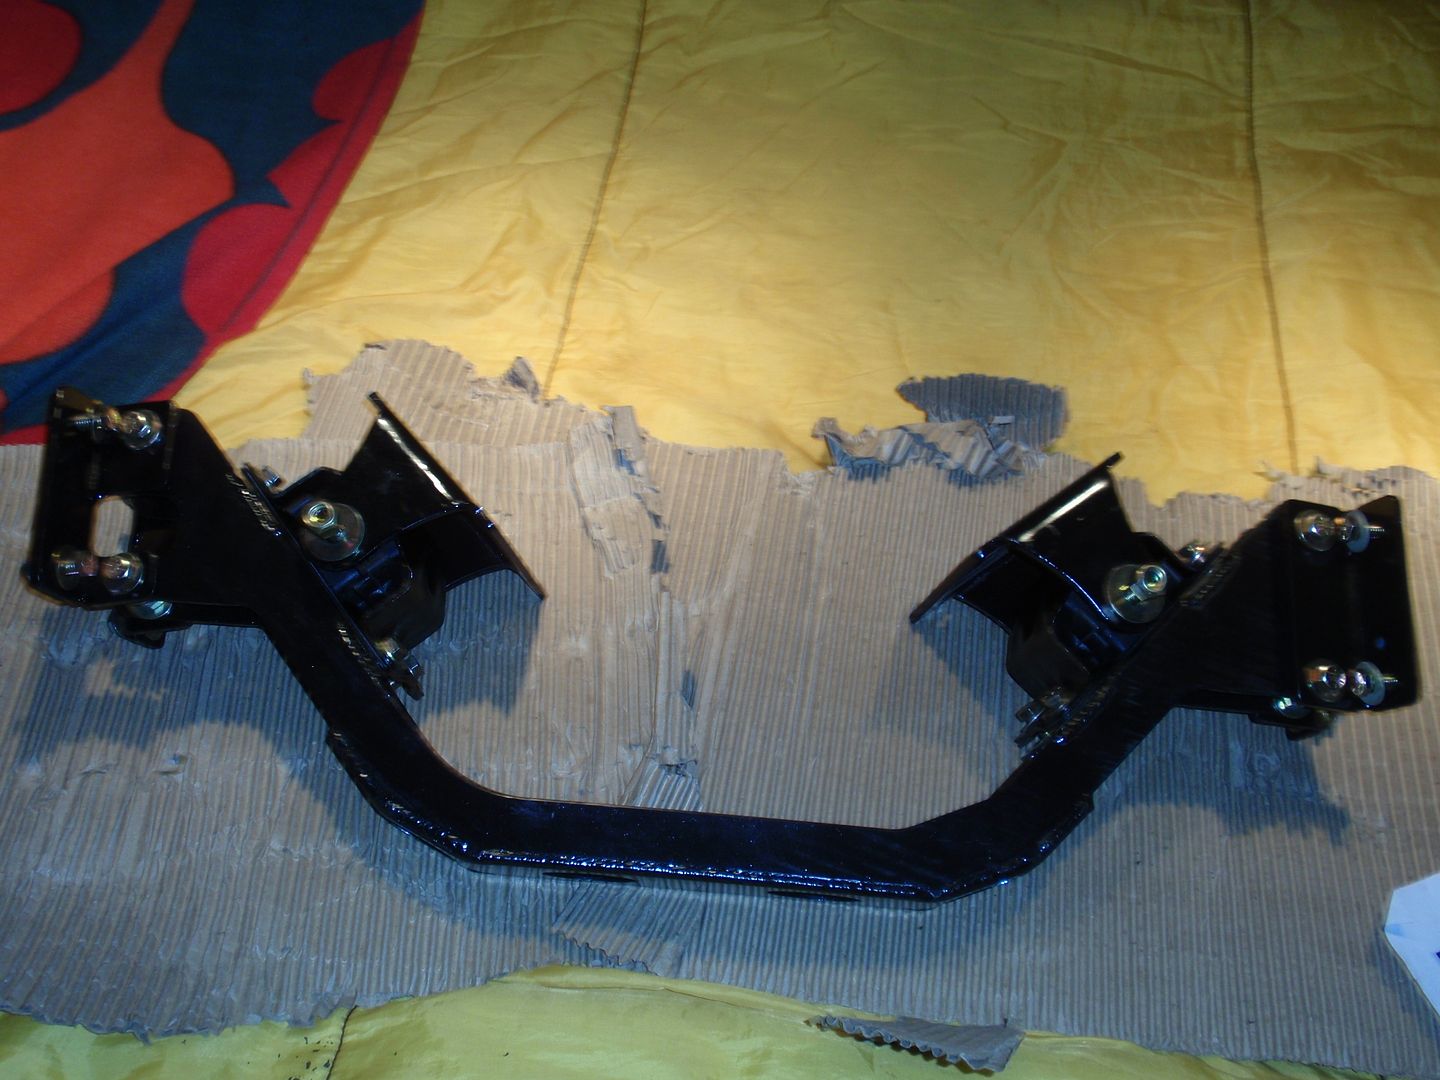
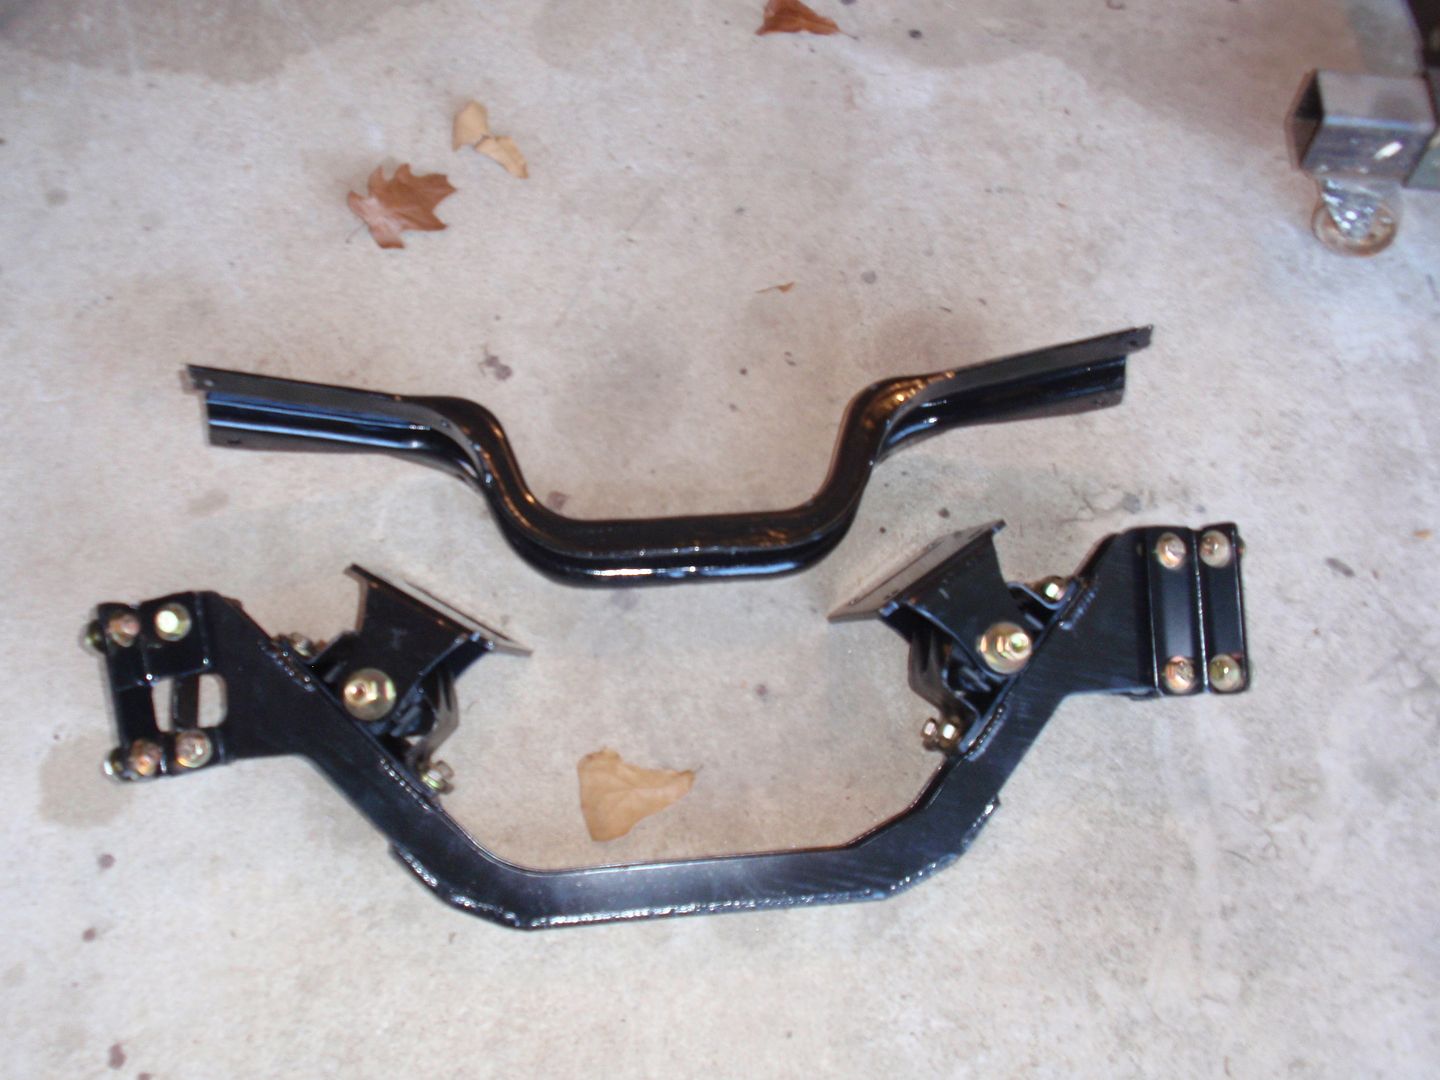
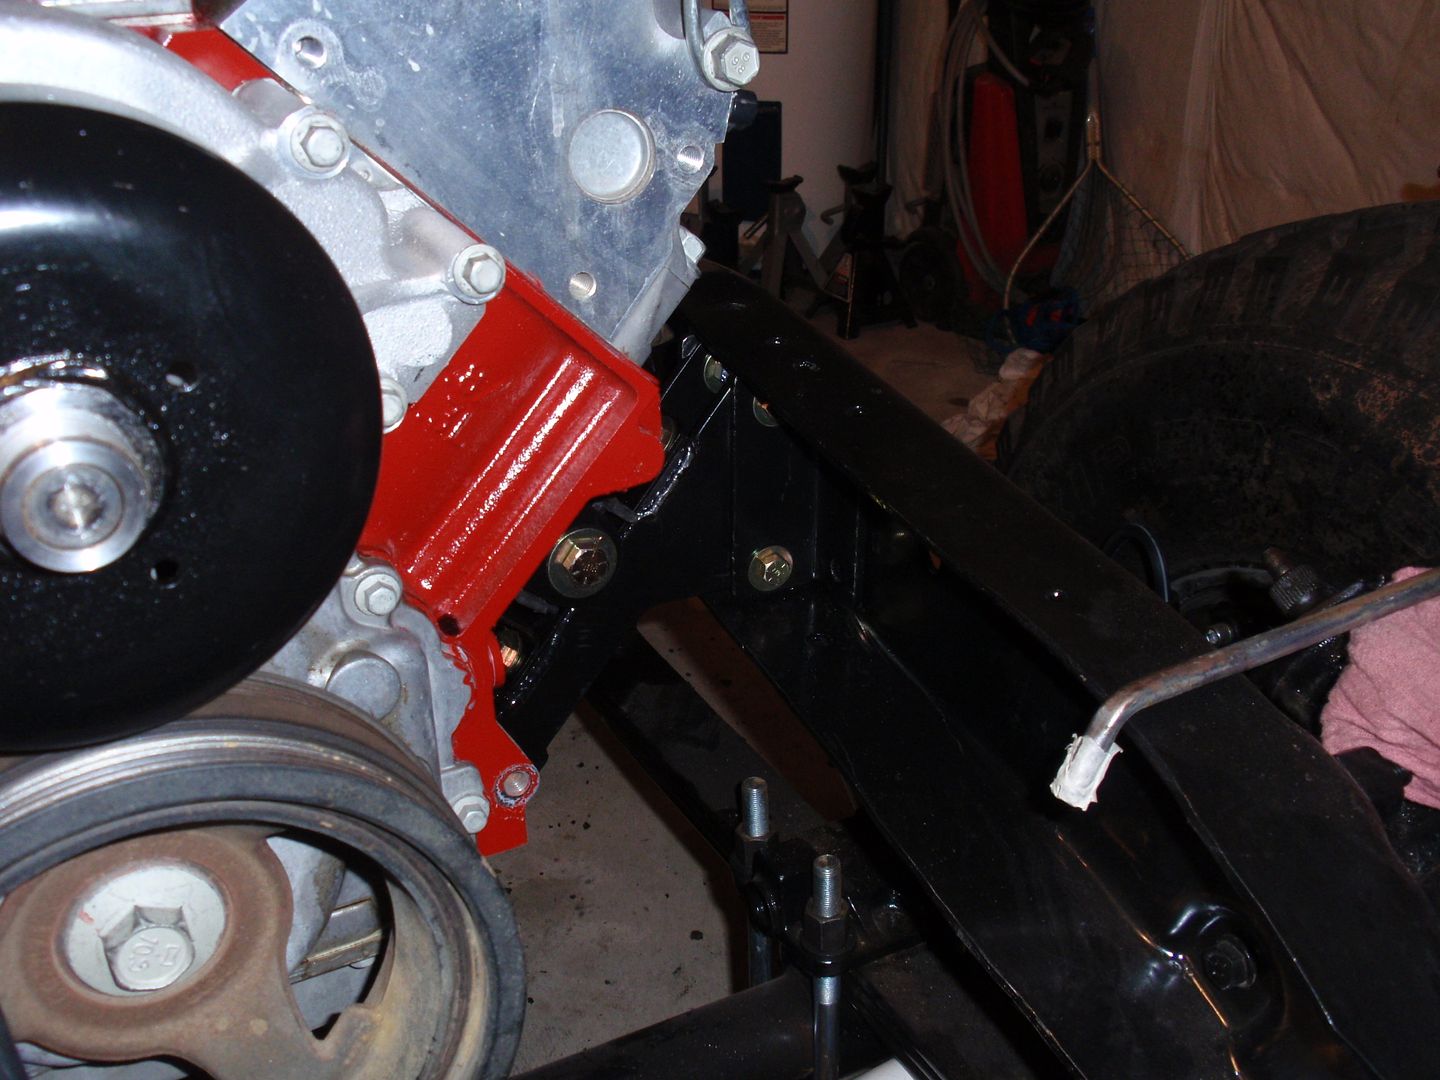
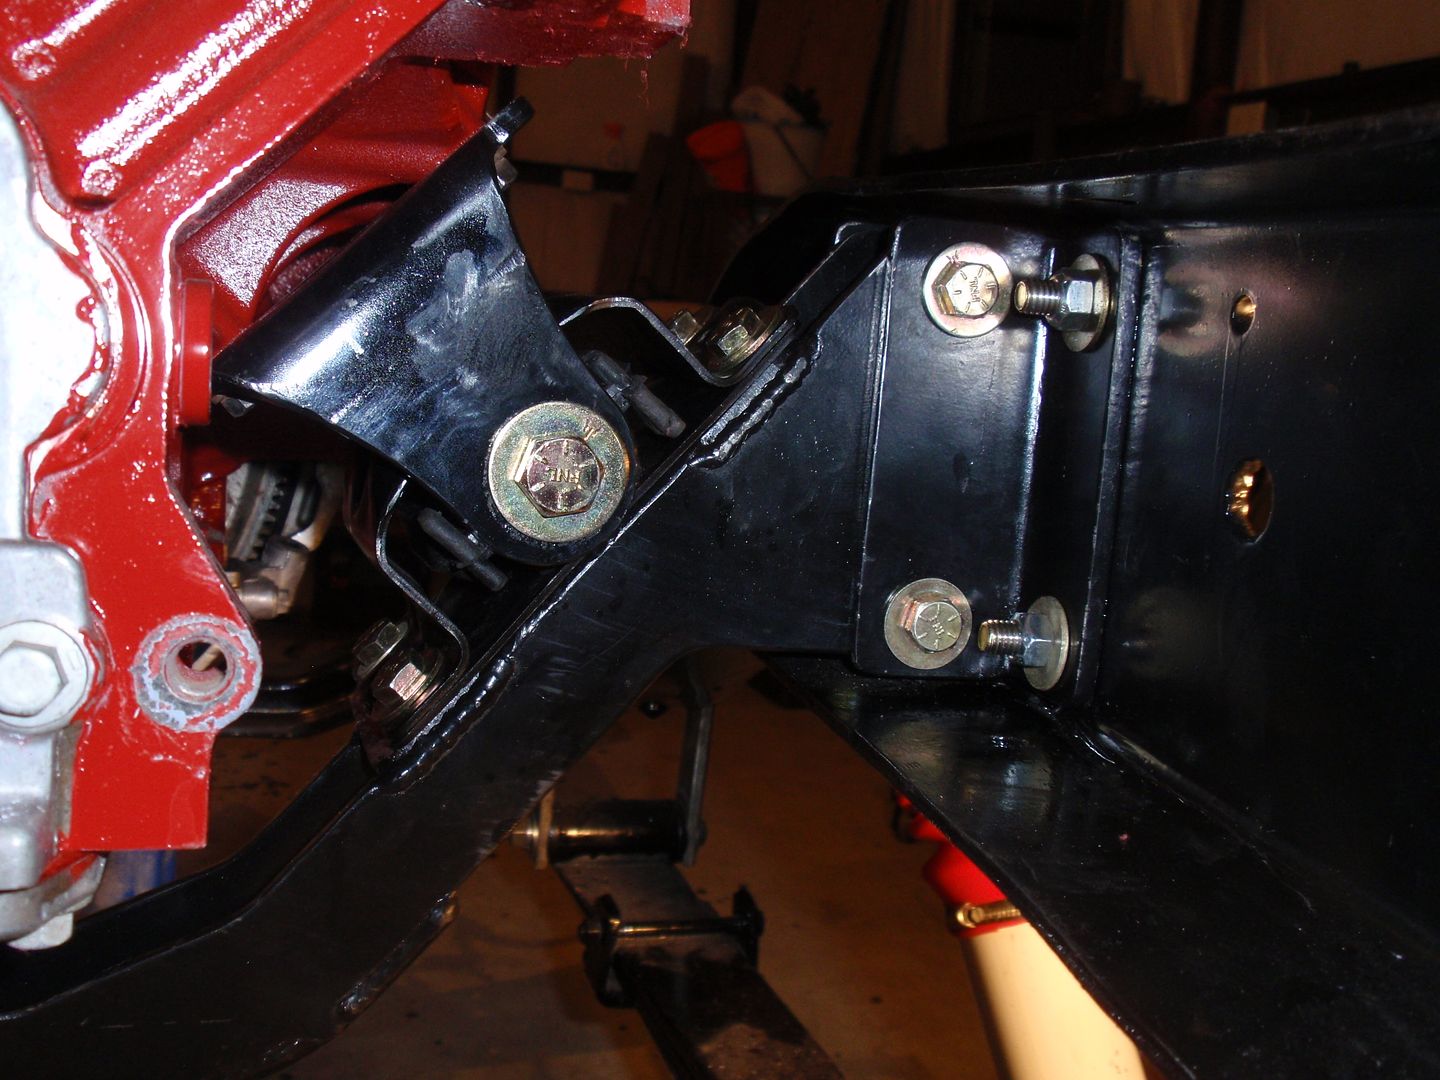
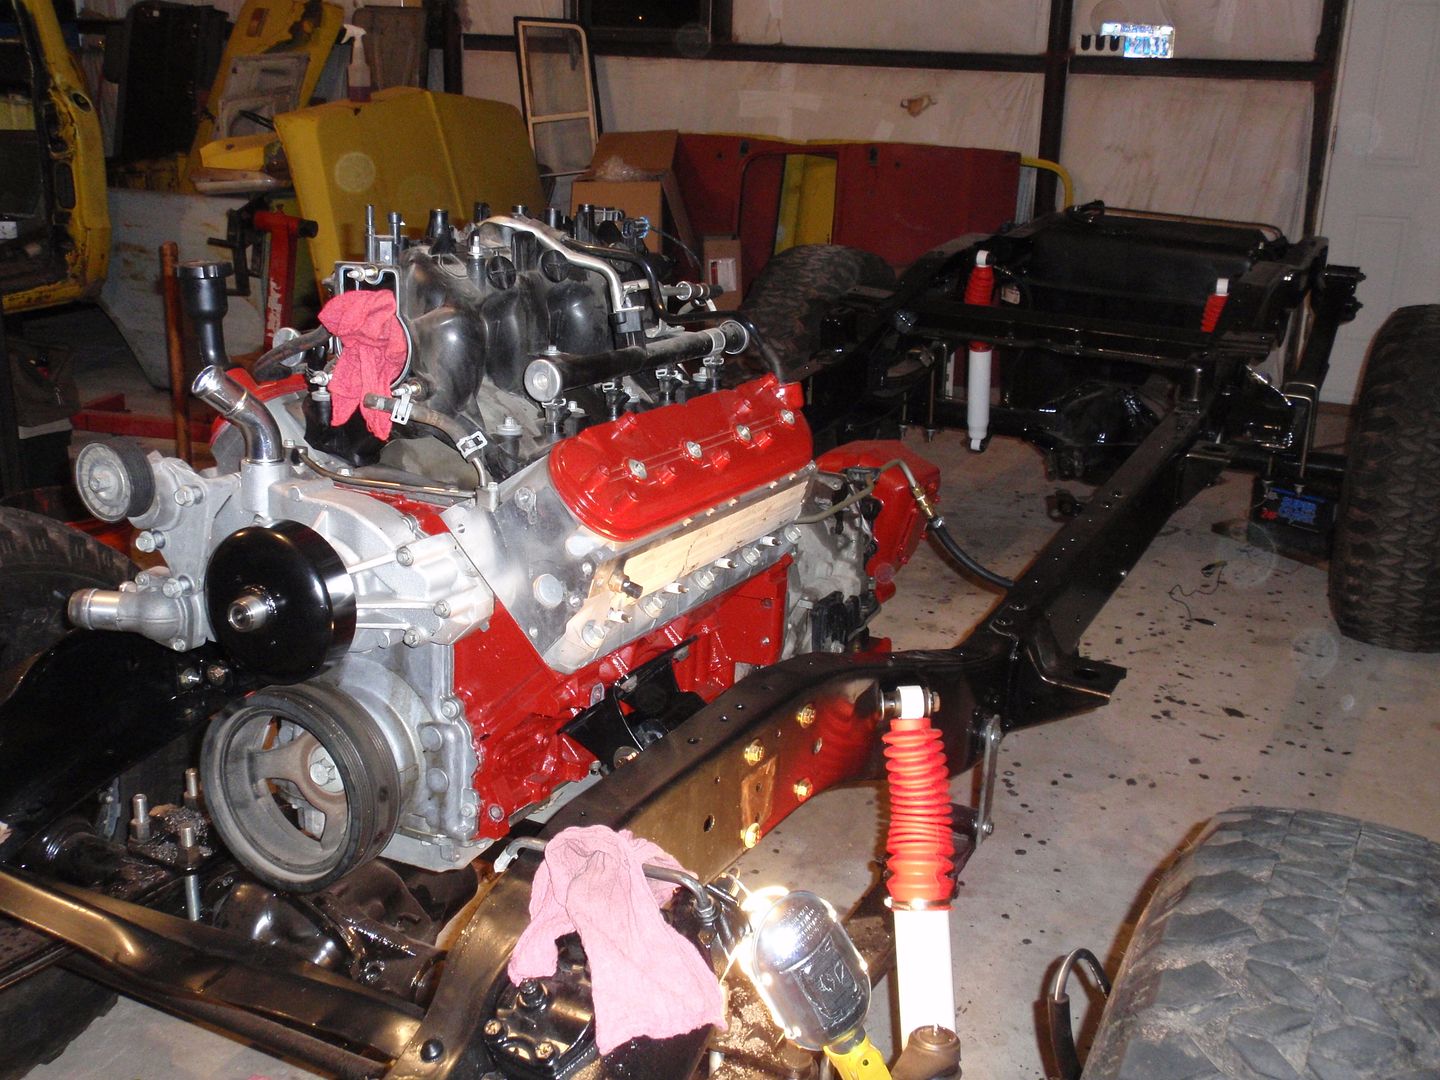
Tuesday I received the x-member from Pacific Fabrication. This was needed due to the 5.3L not fitting into my factory x-member. The x-member arrived at my house in perfect condition. All the pieces were wrapped in corrugated cardboard. The x-member appeared to be powder coated with a very nice black finish. All the bolts were high quality grade 8 bolts. The welds looked very nice and the clam shell motor mounts look like a high end piece.

Installation Installation is straight forward. Position the x-member into proper position, drill holes, and mount.. Obviously, there is more to it than that. The installation sheet states that the x-member is designed to be mounted with the motor out of the way. Basically, you remove the factory x-member, and then install the new Pacific Fabrication x-member. Mock the engine into place to determine the proper location for the x-member. After the position has been determined remove the engine, mark the location for the x-member to frame bolts, and then drill the 8 holes required to mount the x-member. Bolt the x-member to the frame and you are ready to swing the engine into place.
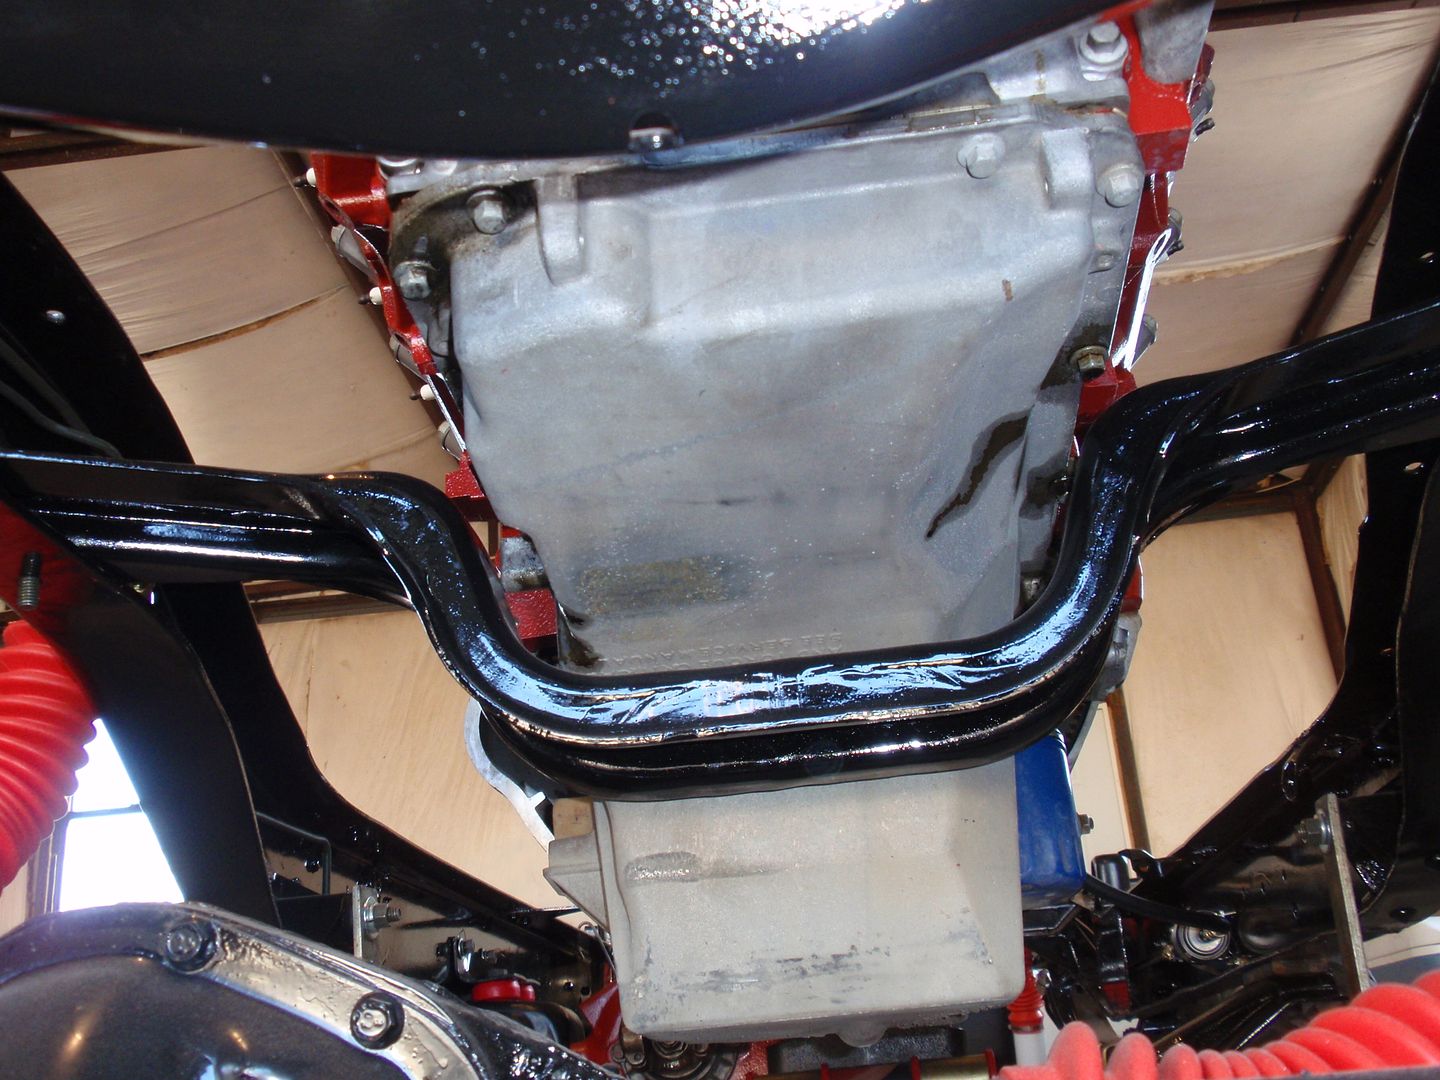
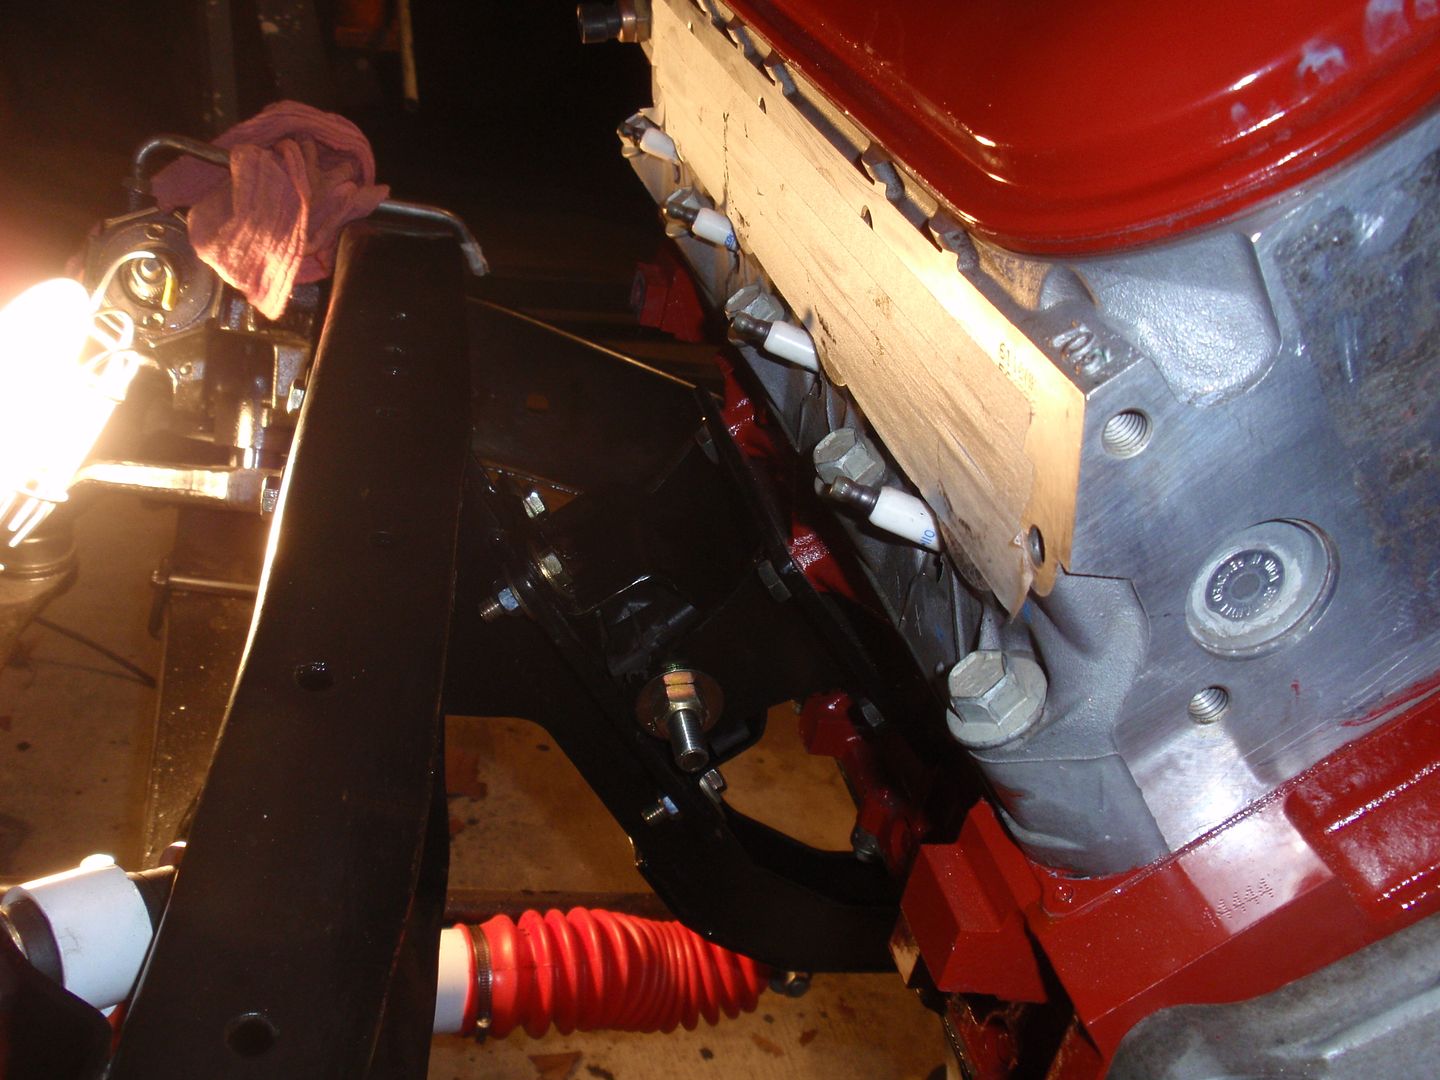
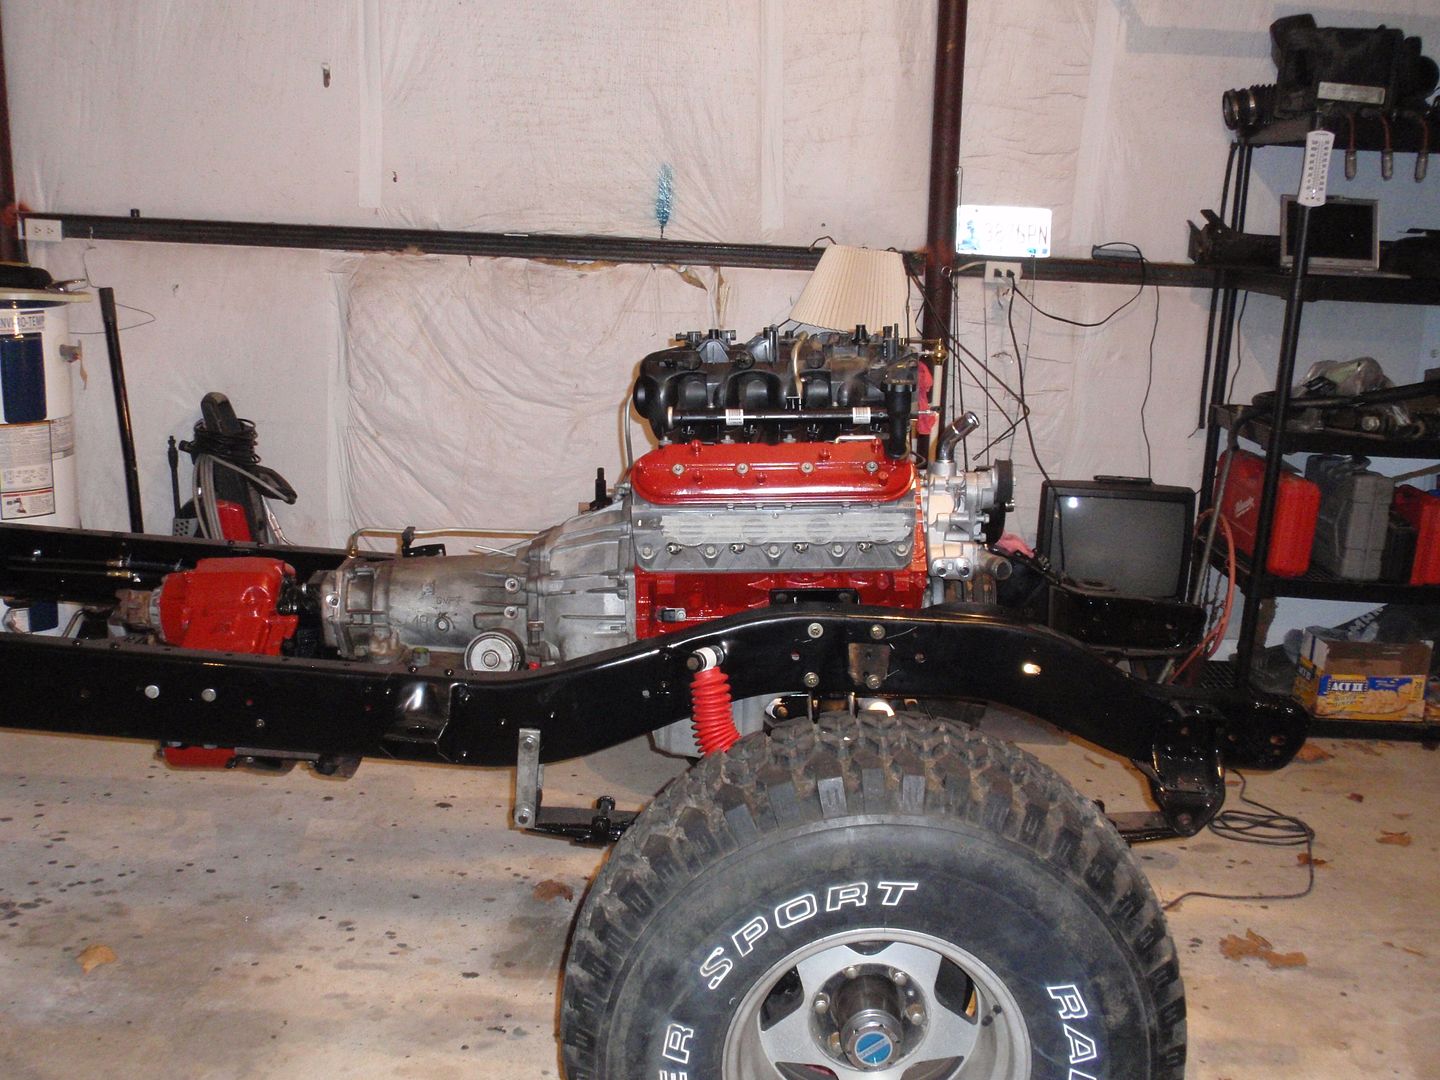
I decided not to follow that course. I installed the x-member with the engine in place and supported with a cherry picker. This made the installation difficult, but it is still very doable. I did run into some issue with my install due to my use of a 4L60e instead of the factory TH350. This required my engine to be moved forward 1.875 inches. Moving the engine forward allowed me to leave the transfer case in the stock location. This in turn allows me to use the stock drive shafts with no modification.
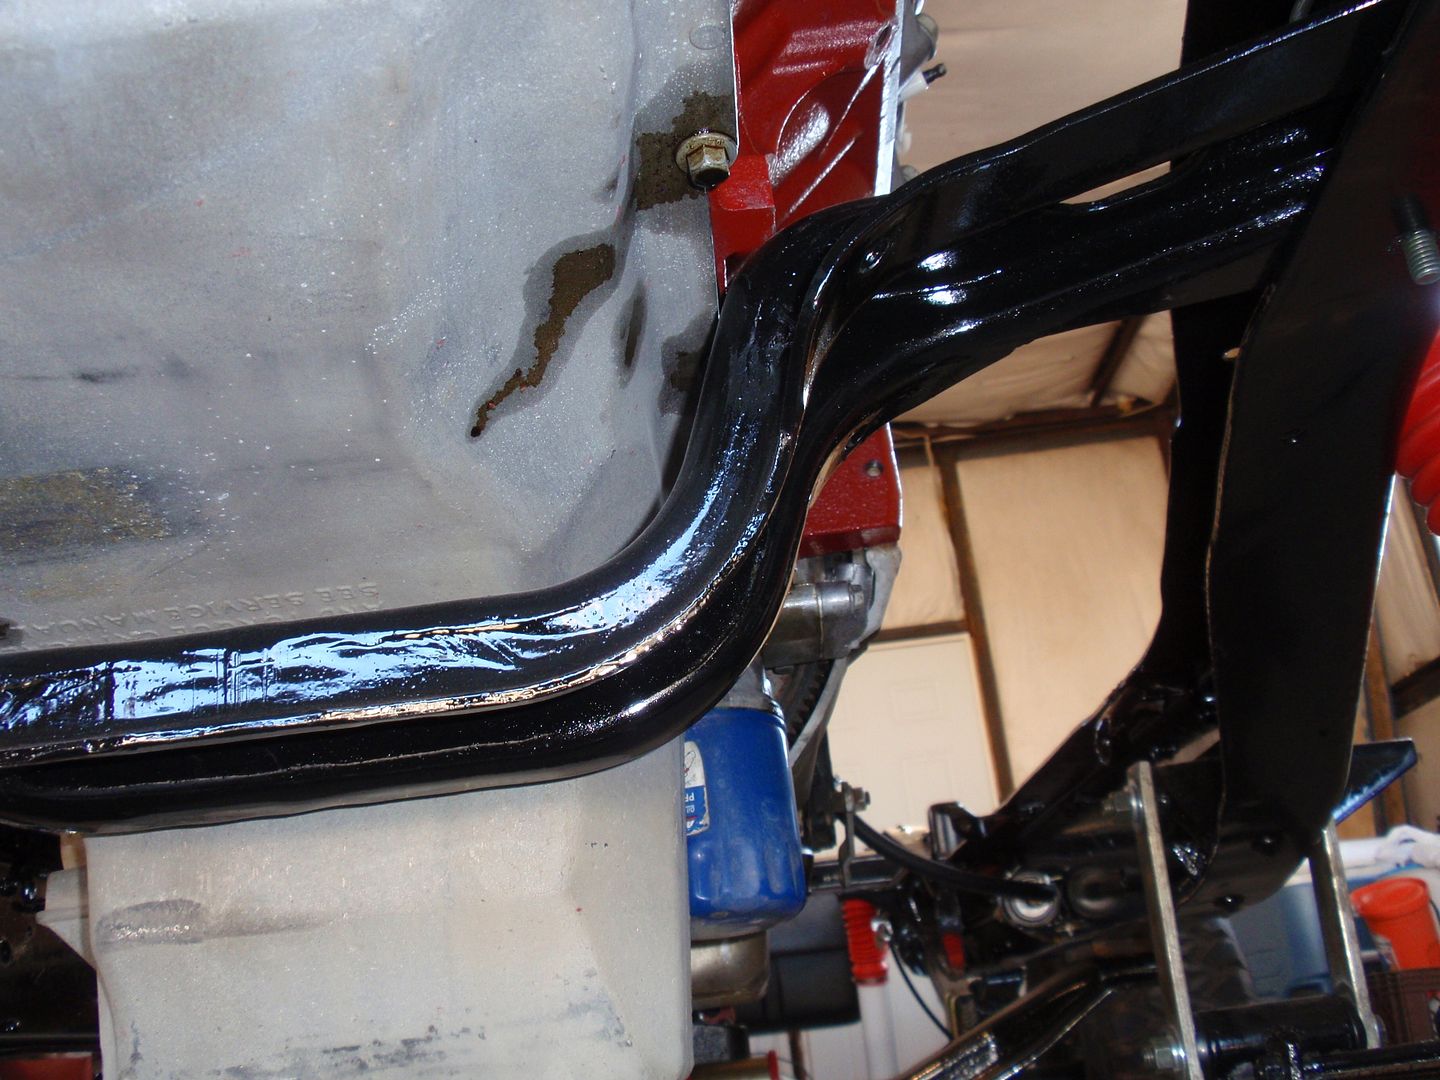
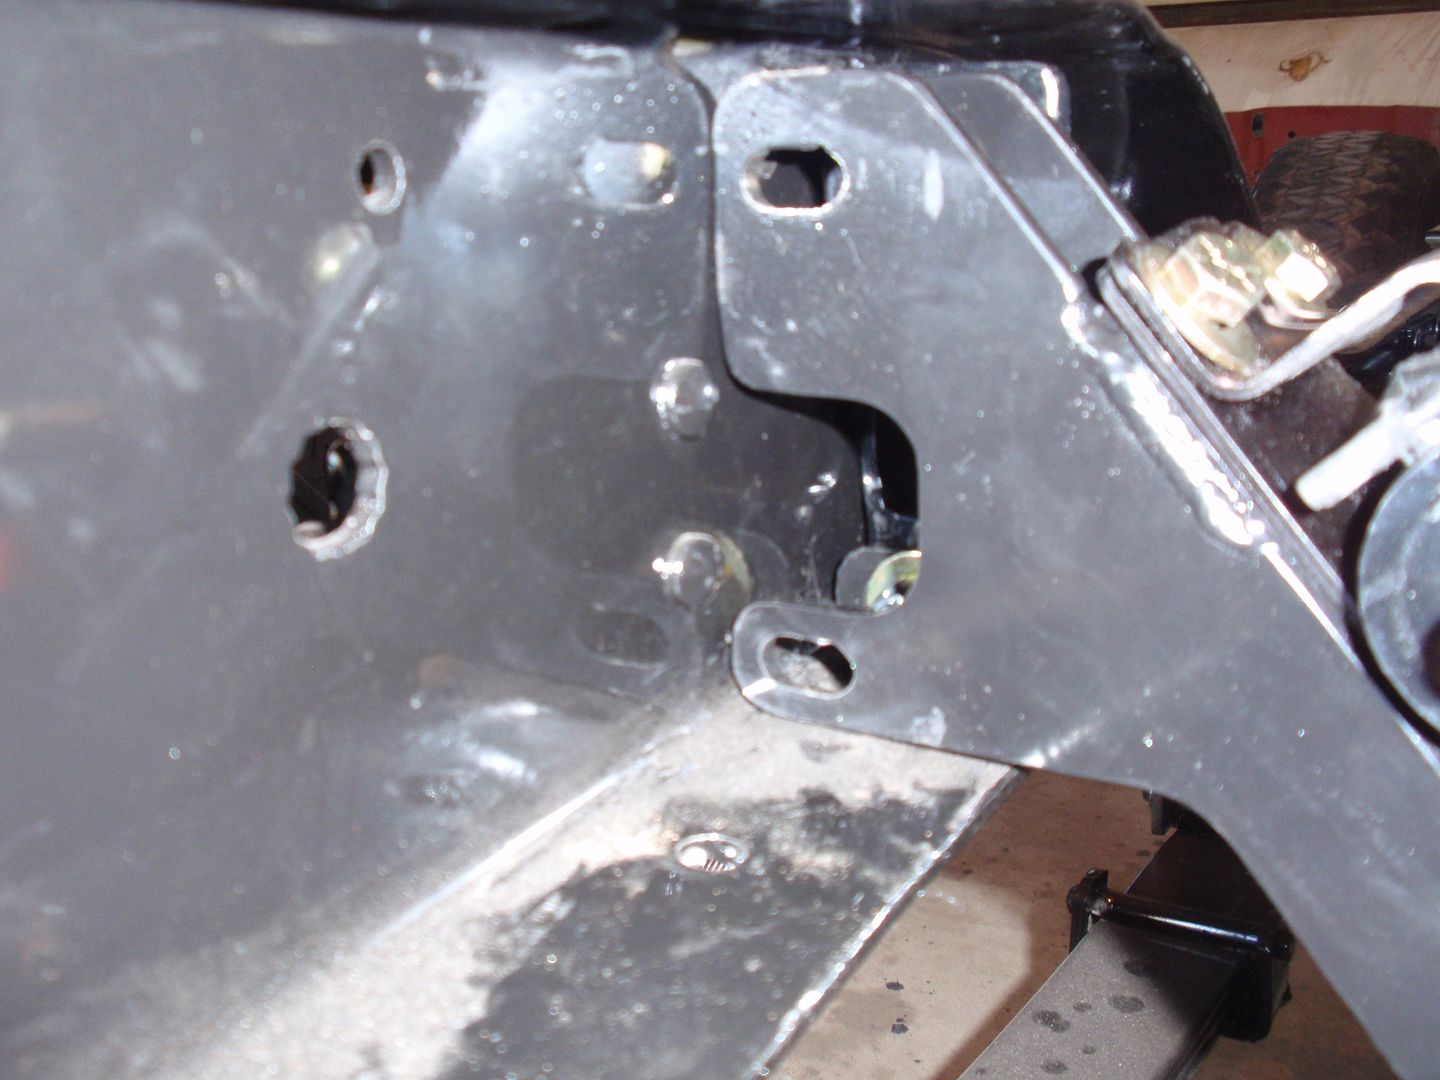
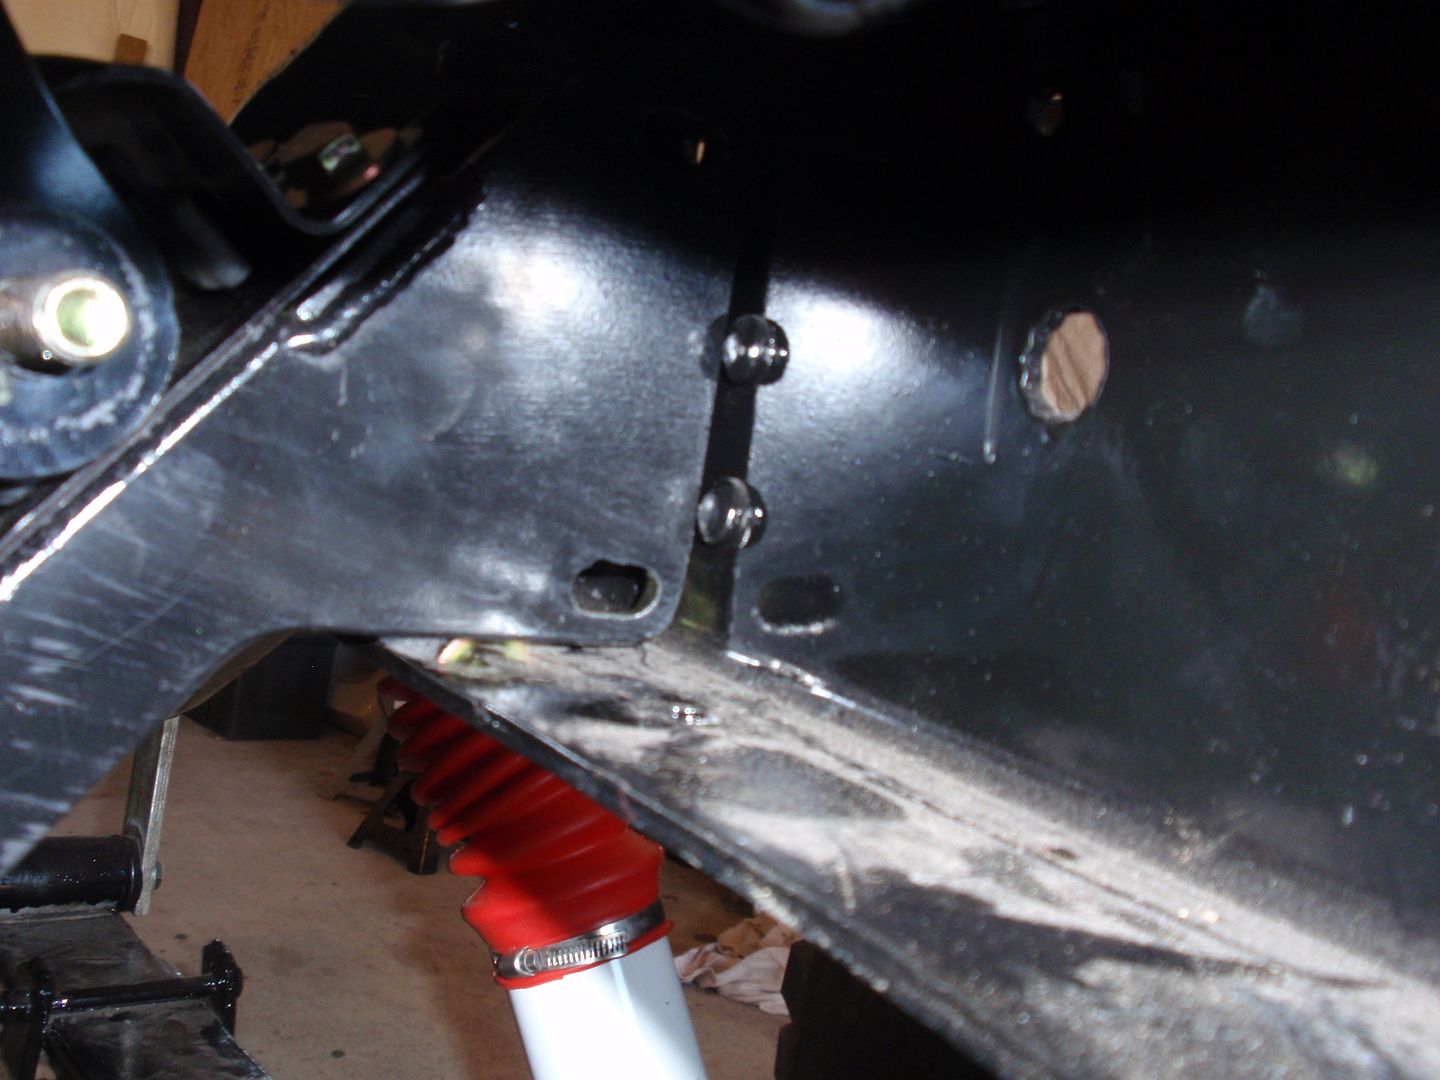
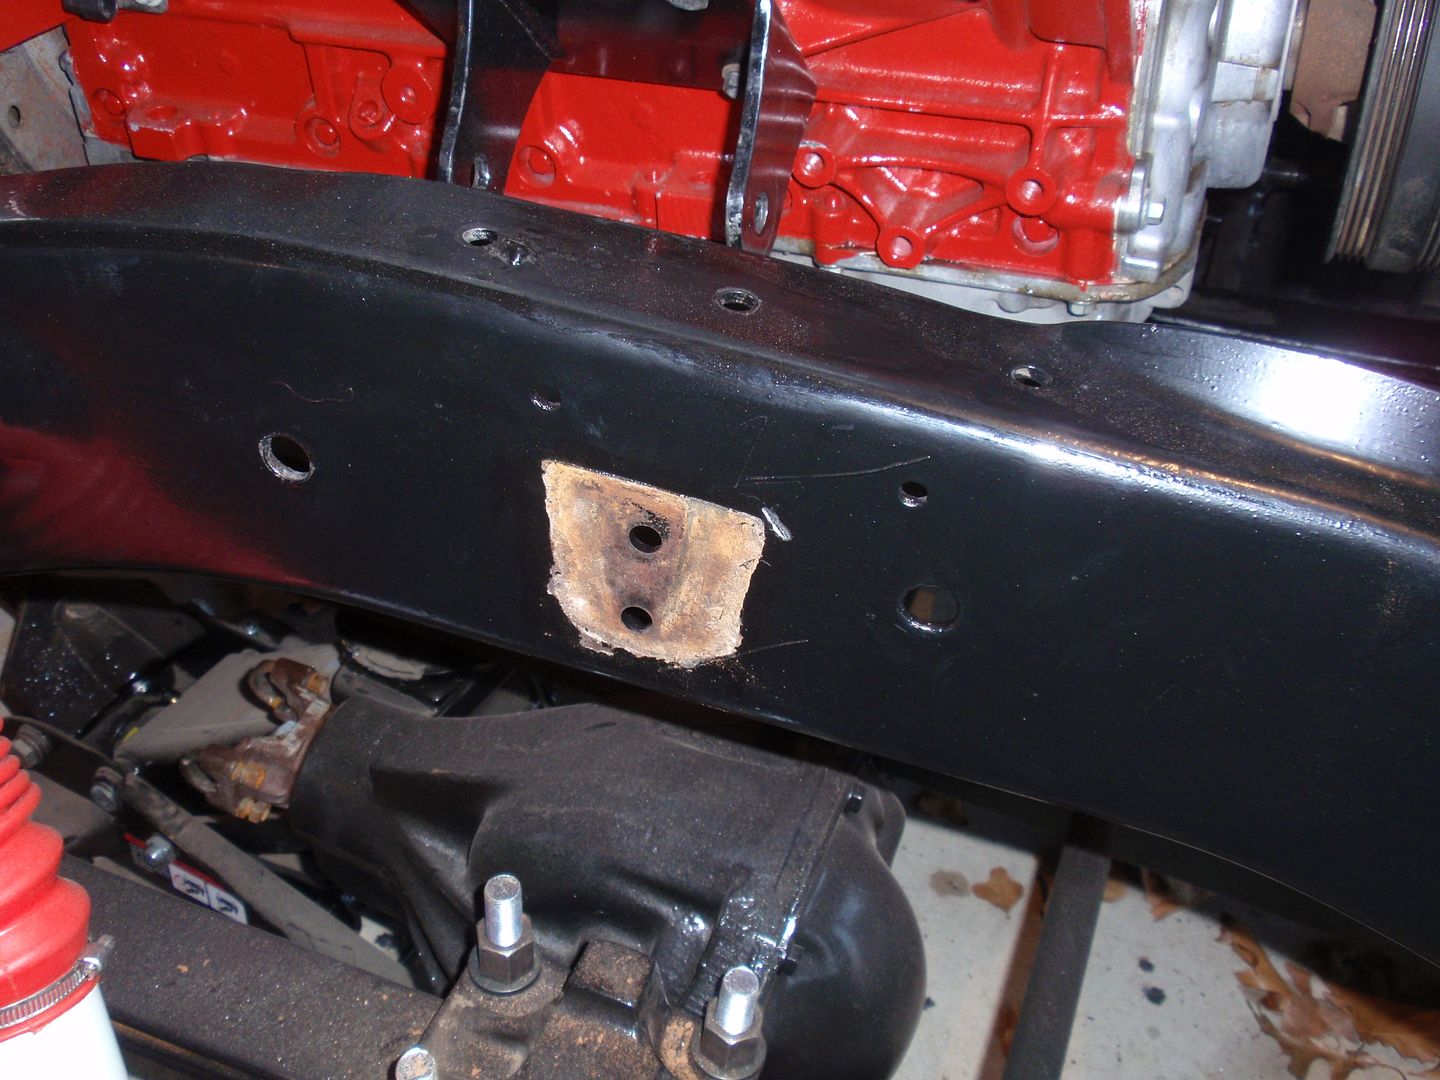
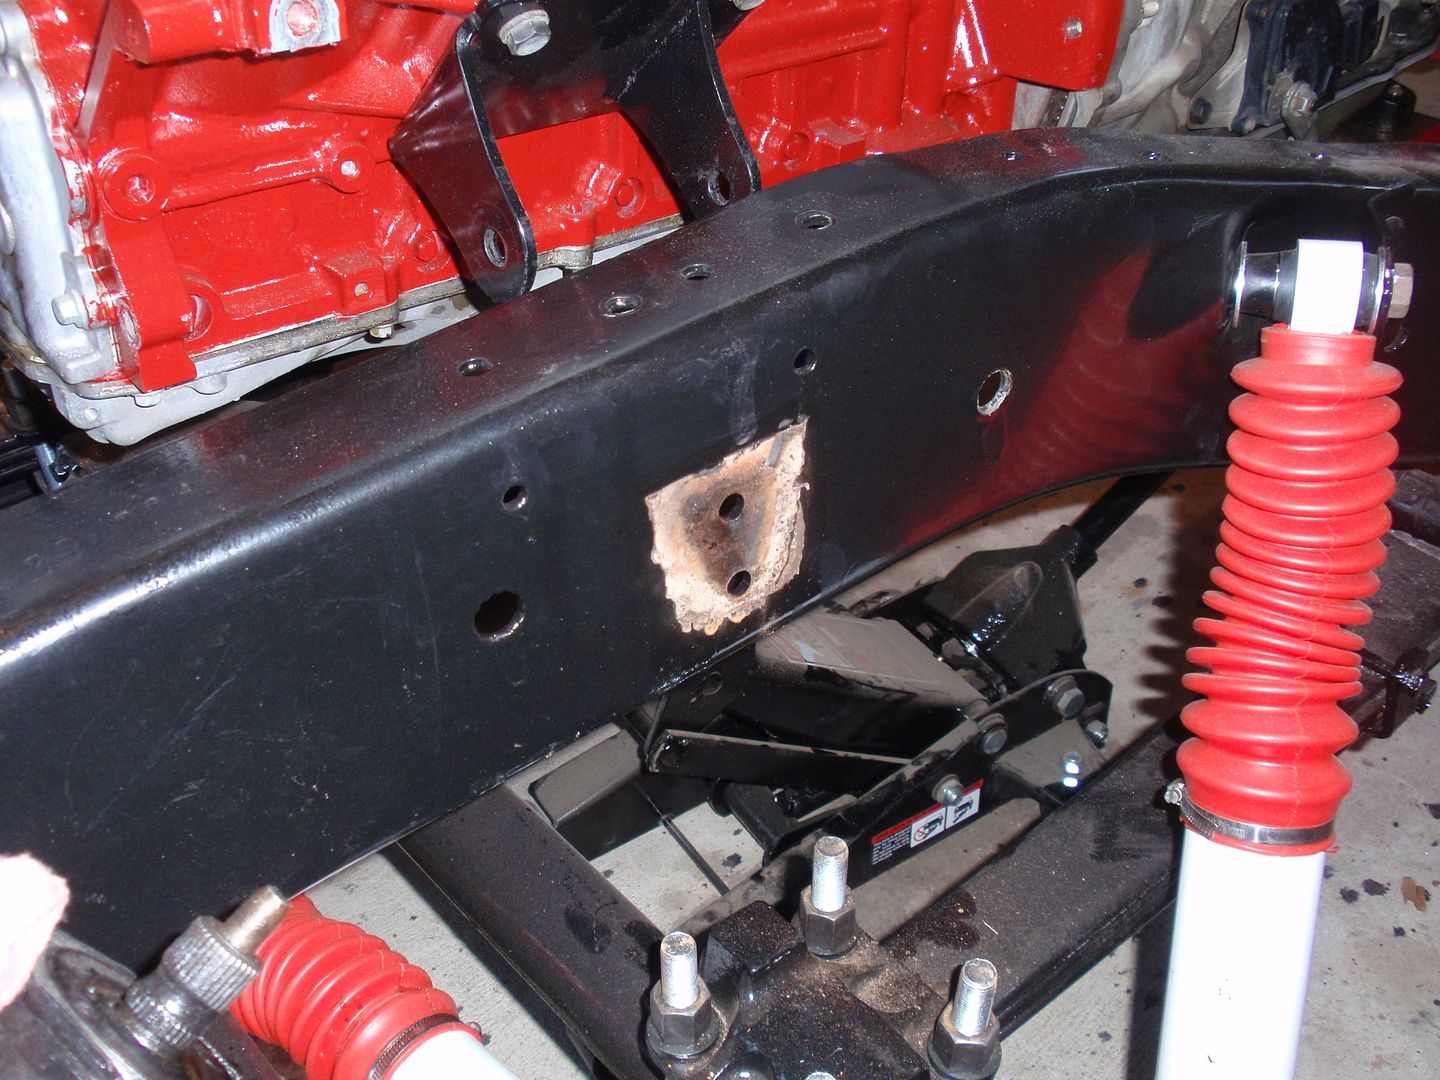
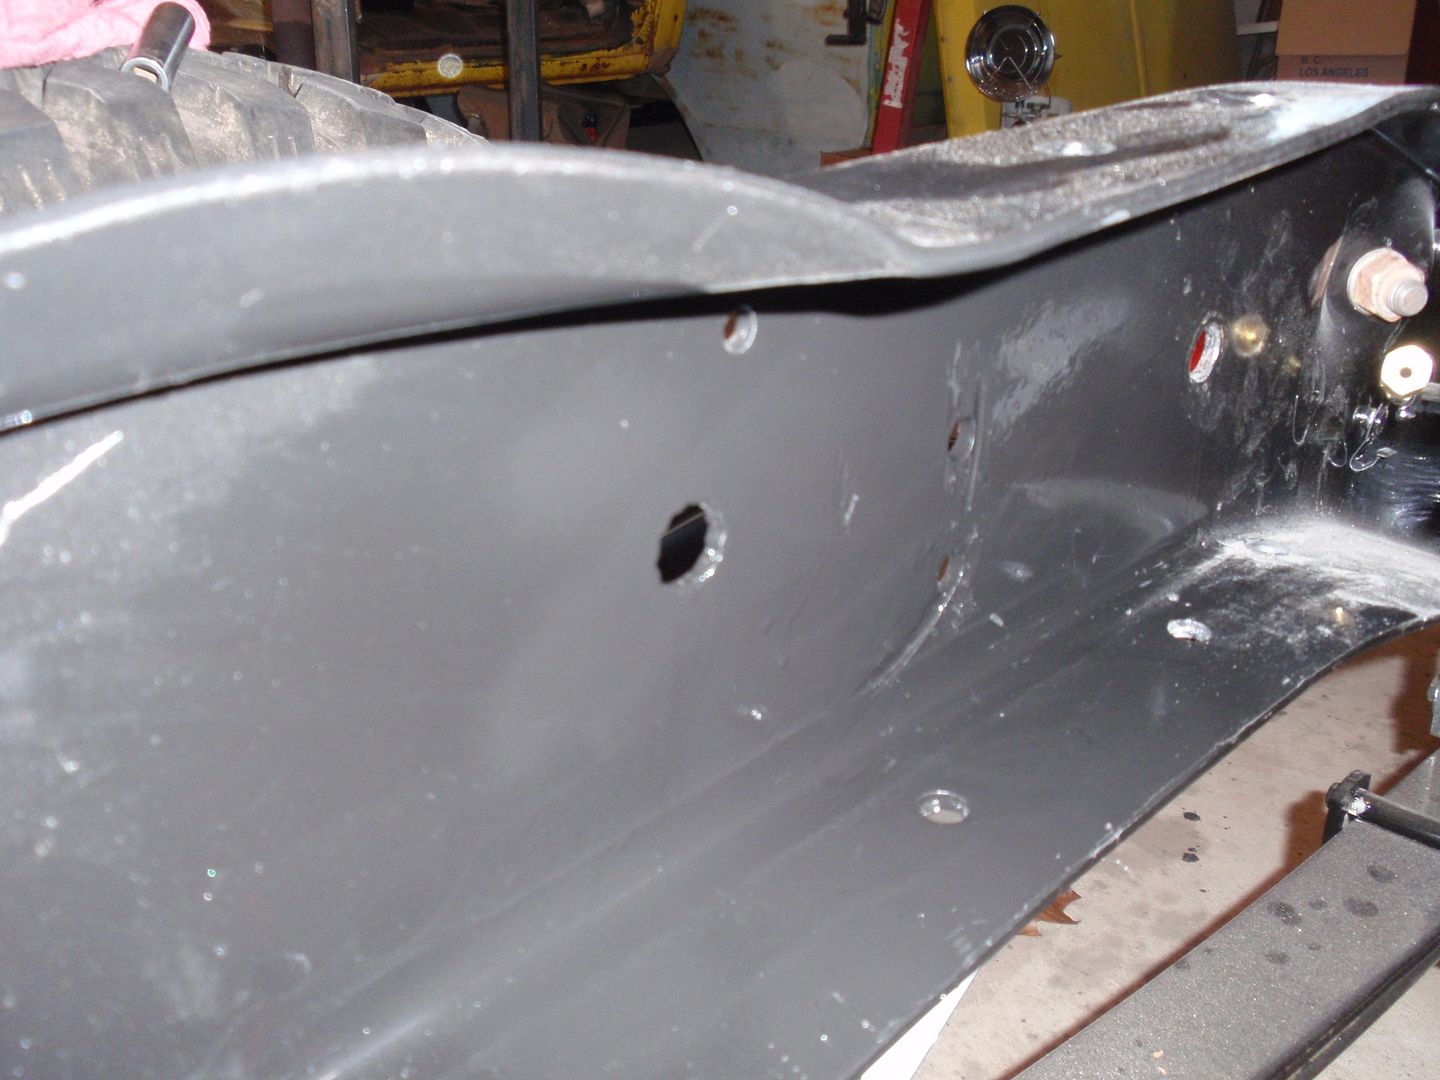
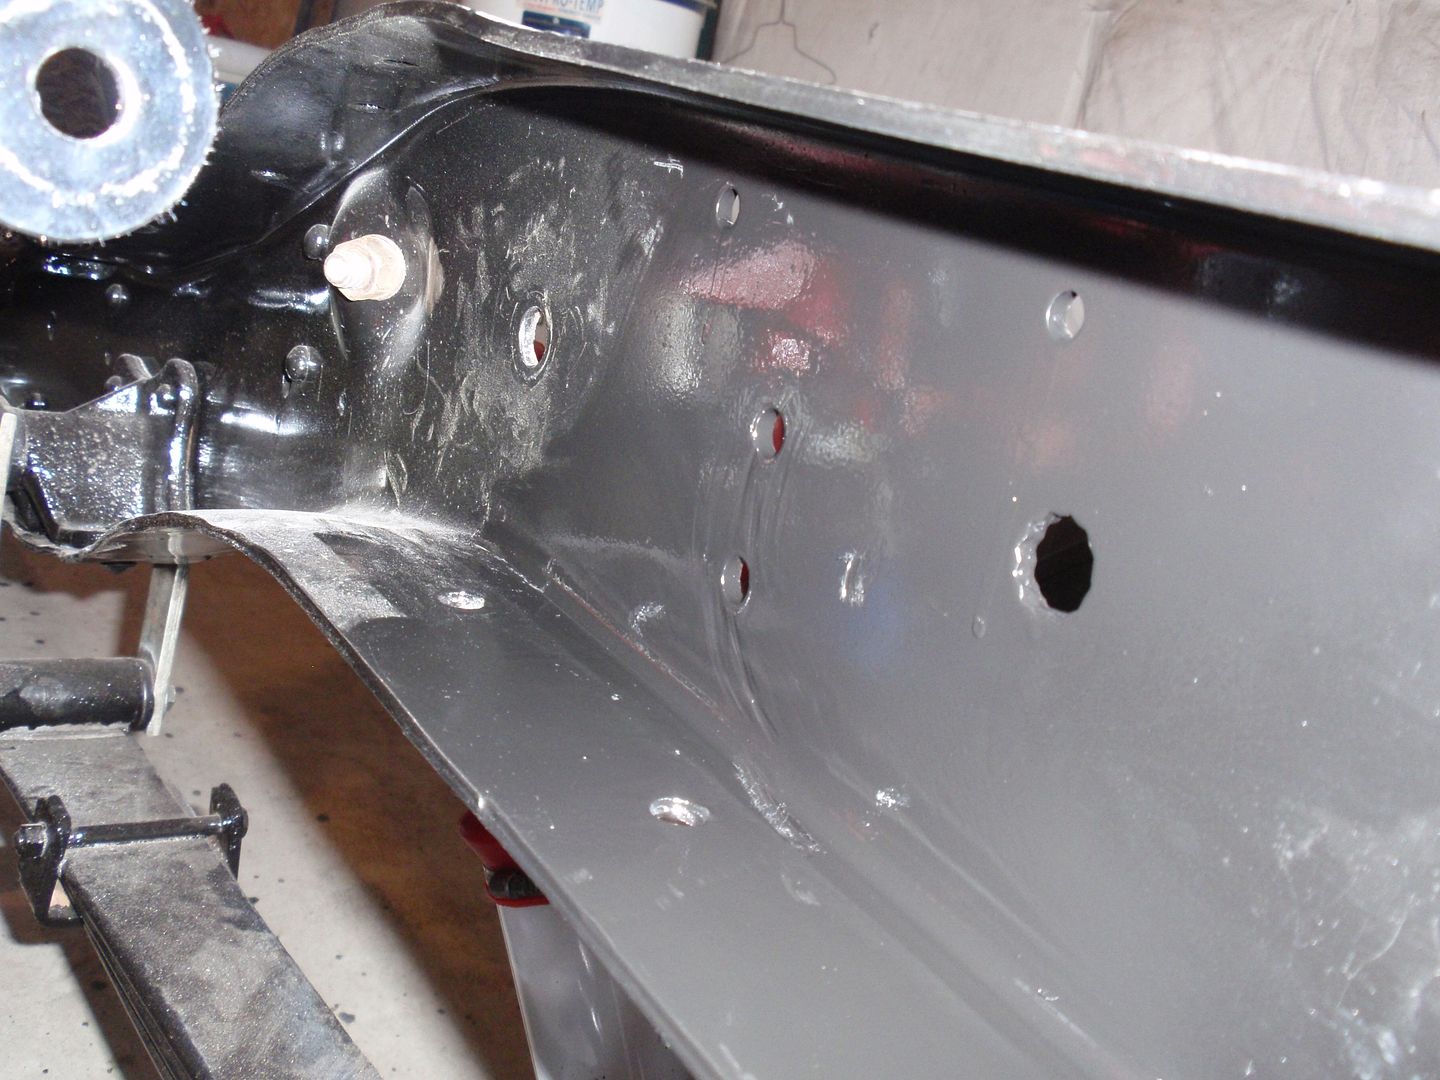
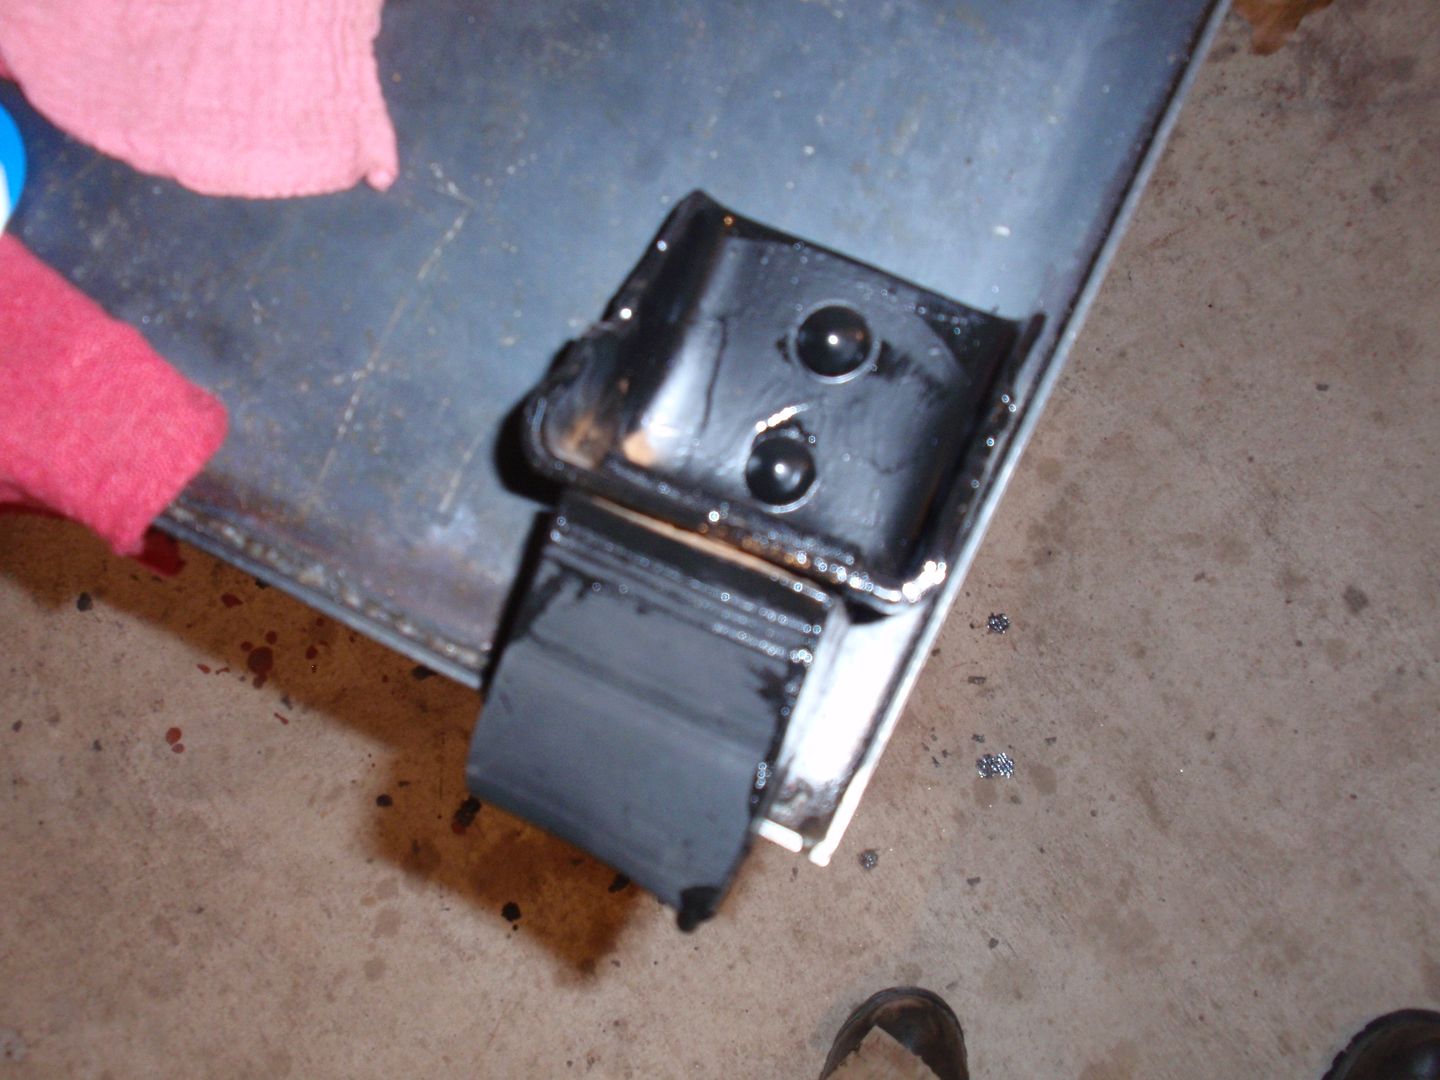
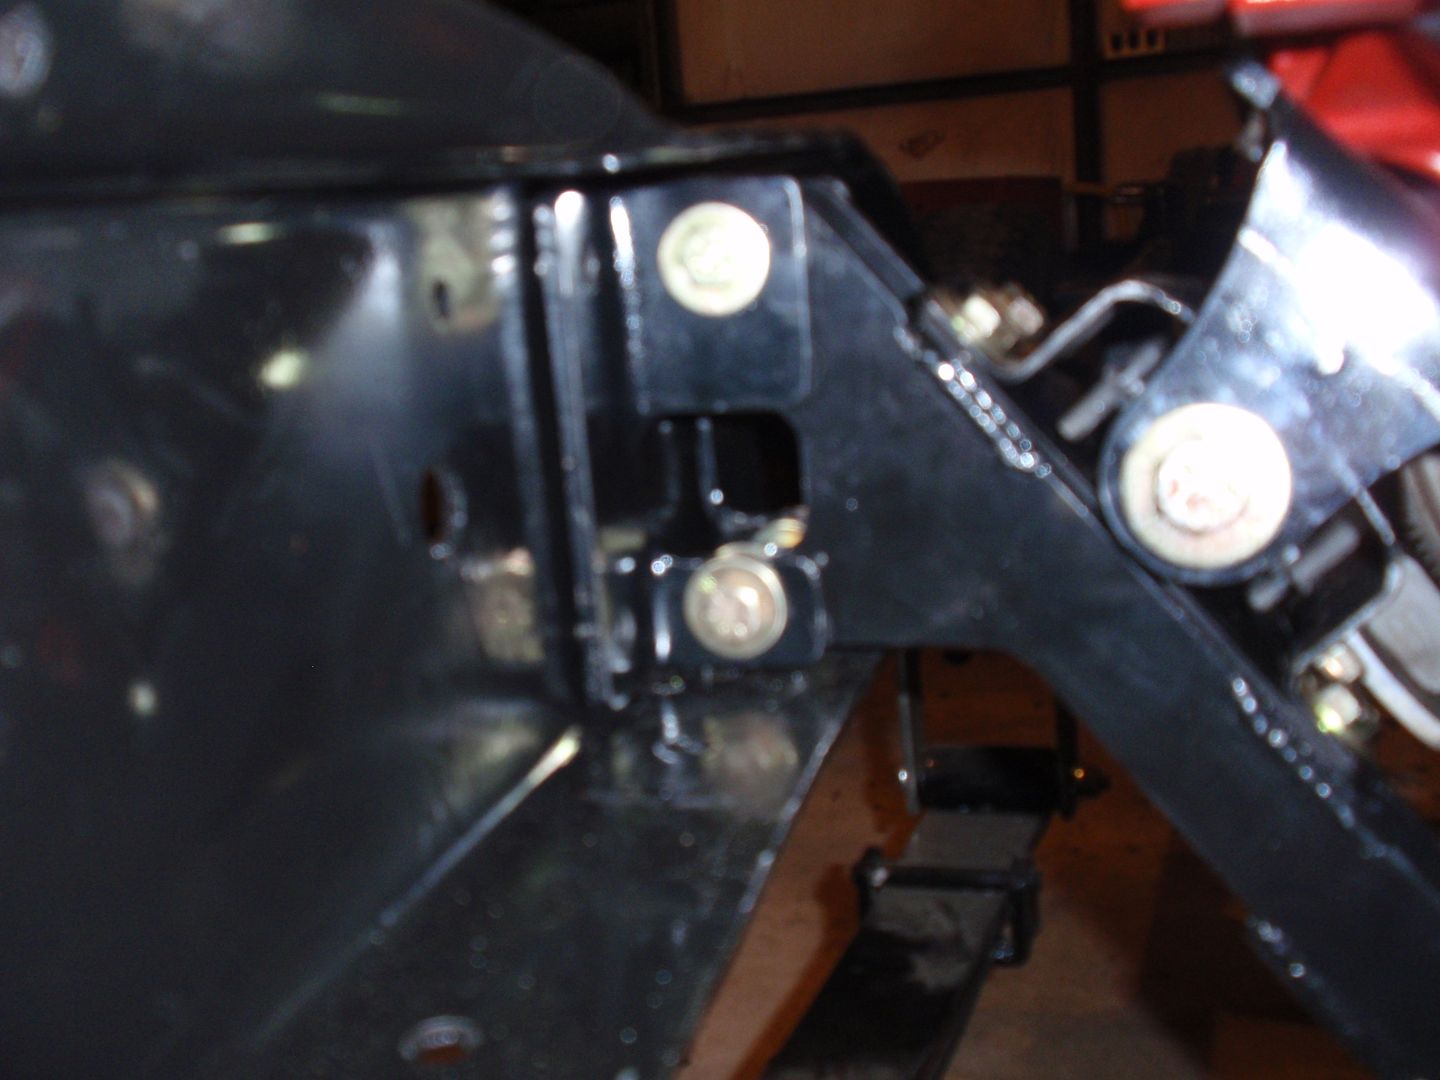
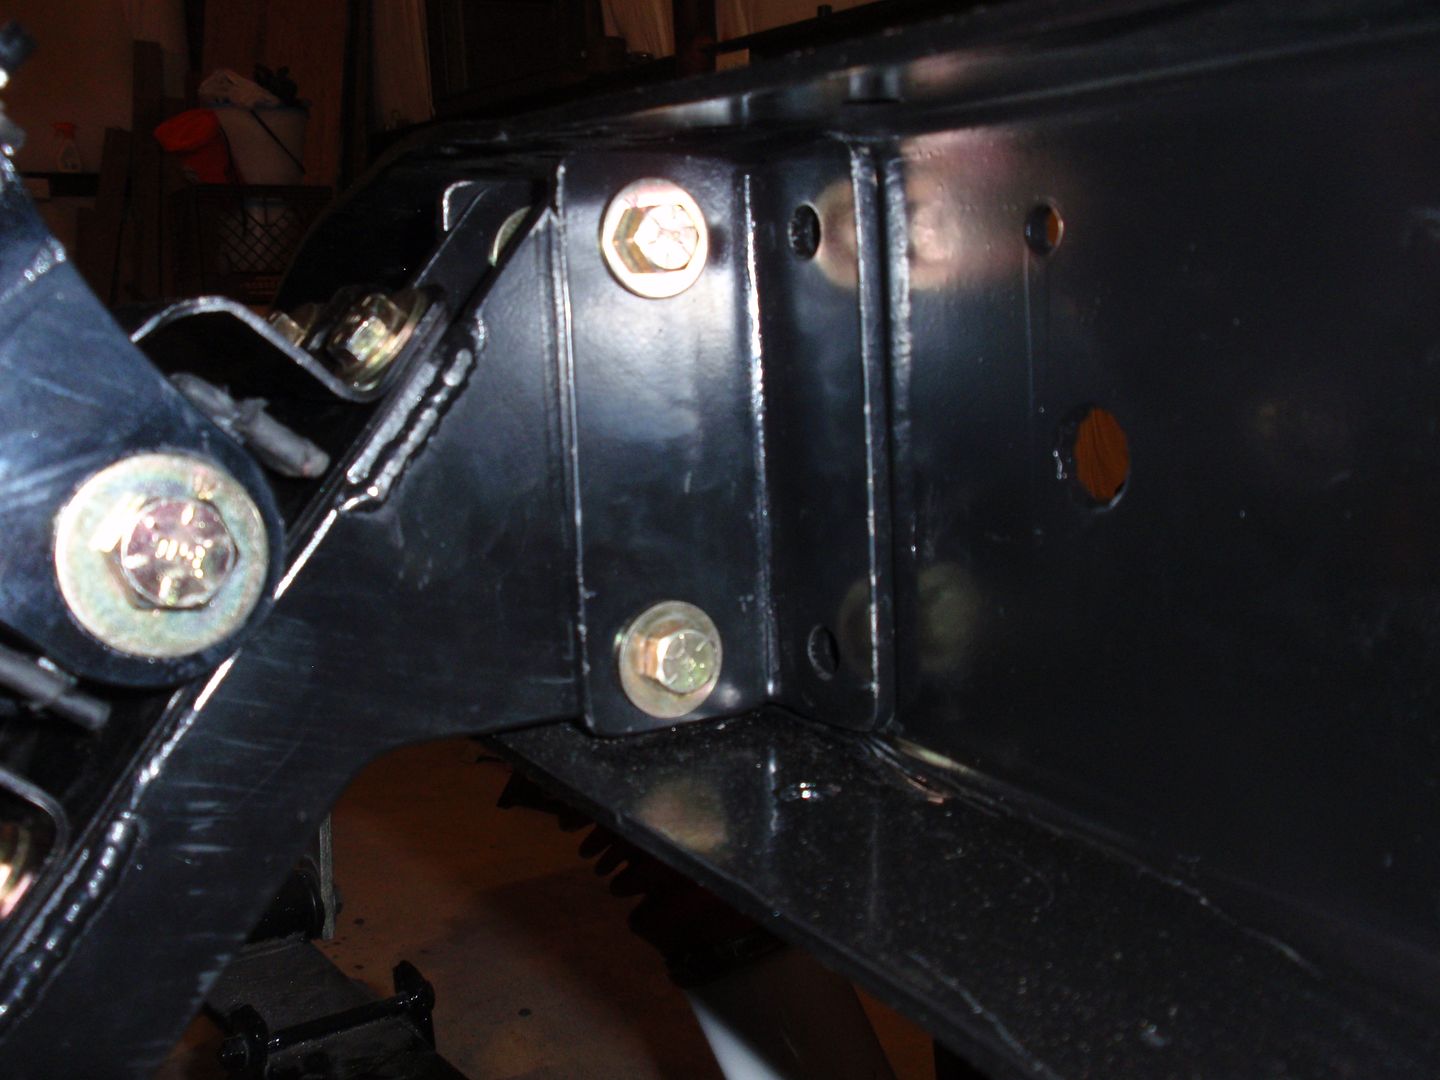
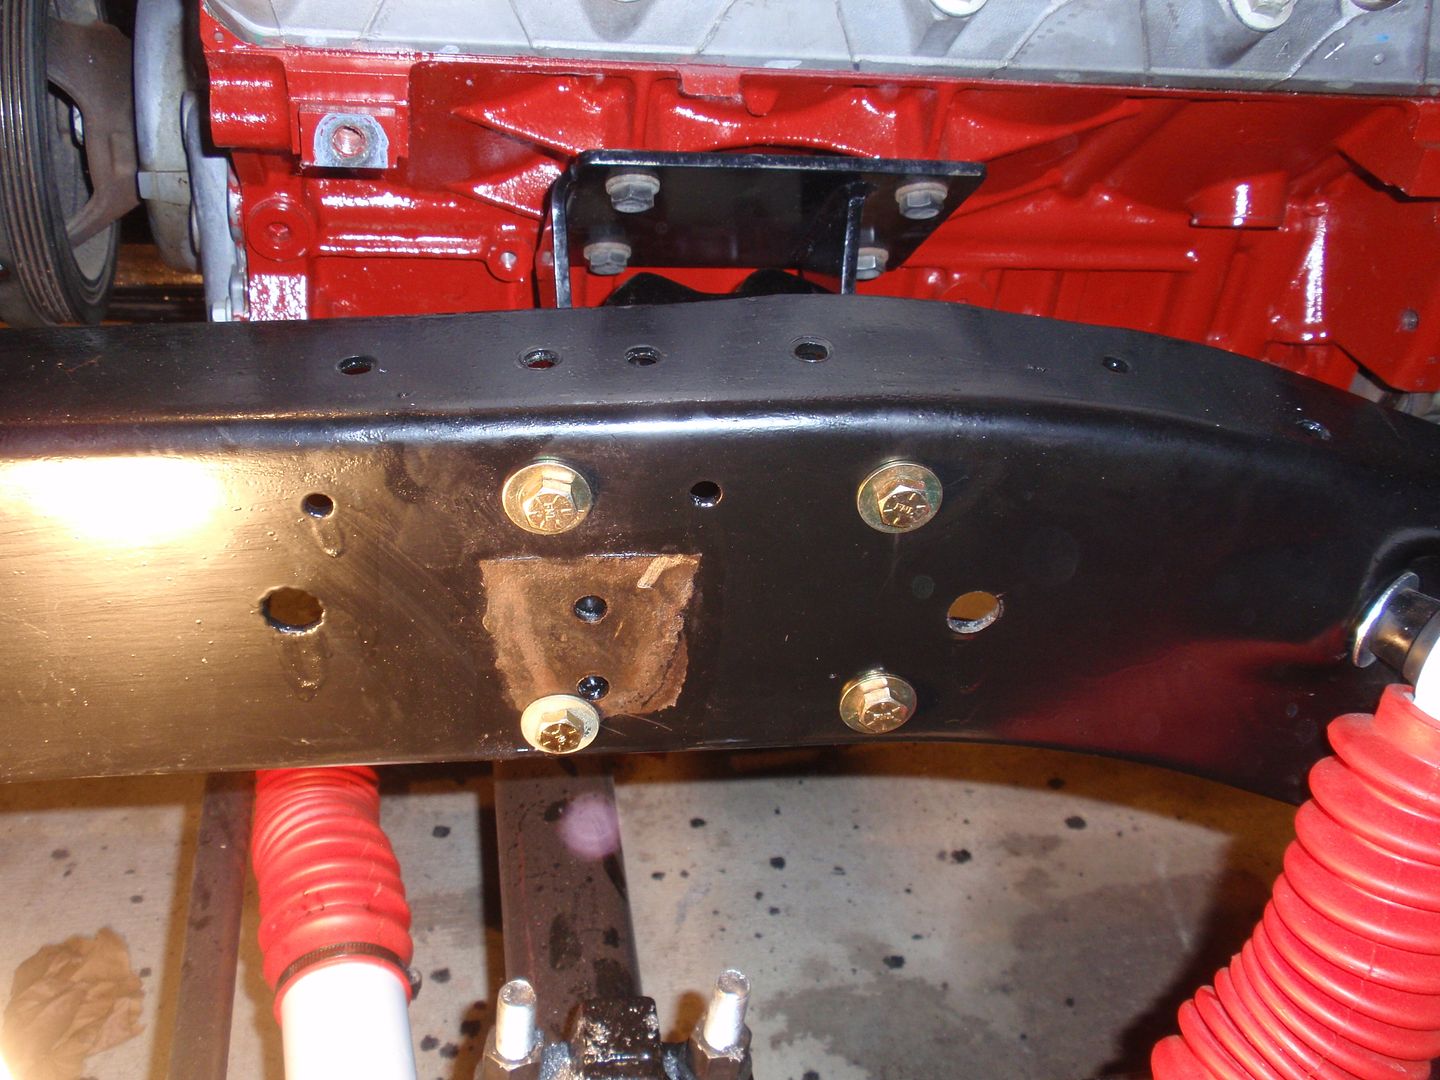
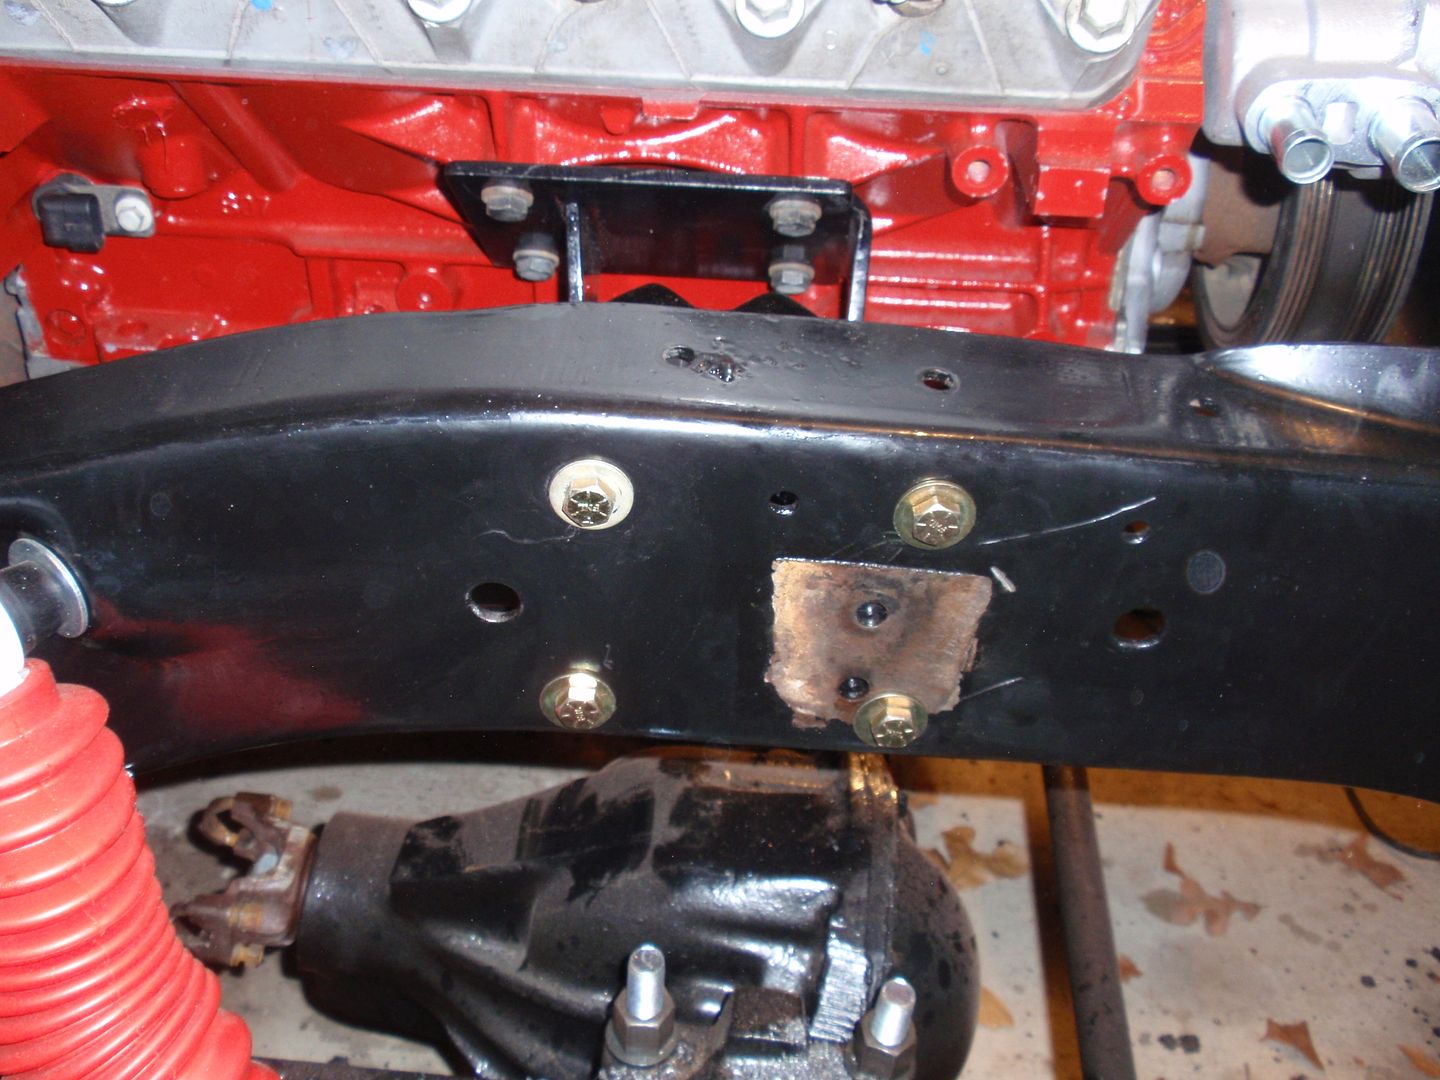
Moving the engine forward caused me to have to make a couple of modifications to the install. On a normal install the front of the x-member would slide right up to the rivets holding the front bump stops in place. In my case I had to remove the bump stops to get the x-member in the correct position (1.875 forward of stock). This would have been a 5 minute job with the engine out of the way, it took me a little longer.. maybe 20 minutes. The second modification was drilling the mounting holes from the outside of the frame instead of the inside. I needed to do some measuring and marking to transfer the bolt locations to the outside of the frame. Another issue that really turned into a non-issue is that the frame narrows as you move forward in the x-member area. This makes the x-member fit a little tighter than normal (due to moving the engine forward). It really wasnt a big issue after the rivets to the bump stops were removed.
Other items to note.. The x-member is notched on the passenger side for brake lines and fuel line. I went ahead and removed my brake lines to easy the installation, I believe it could be done without removing the lines.
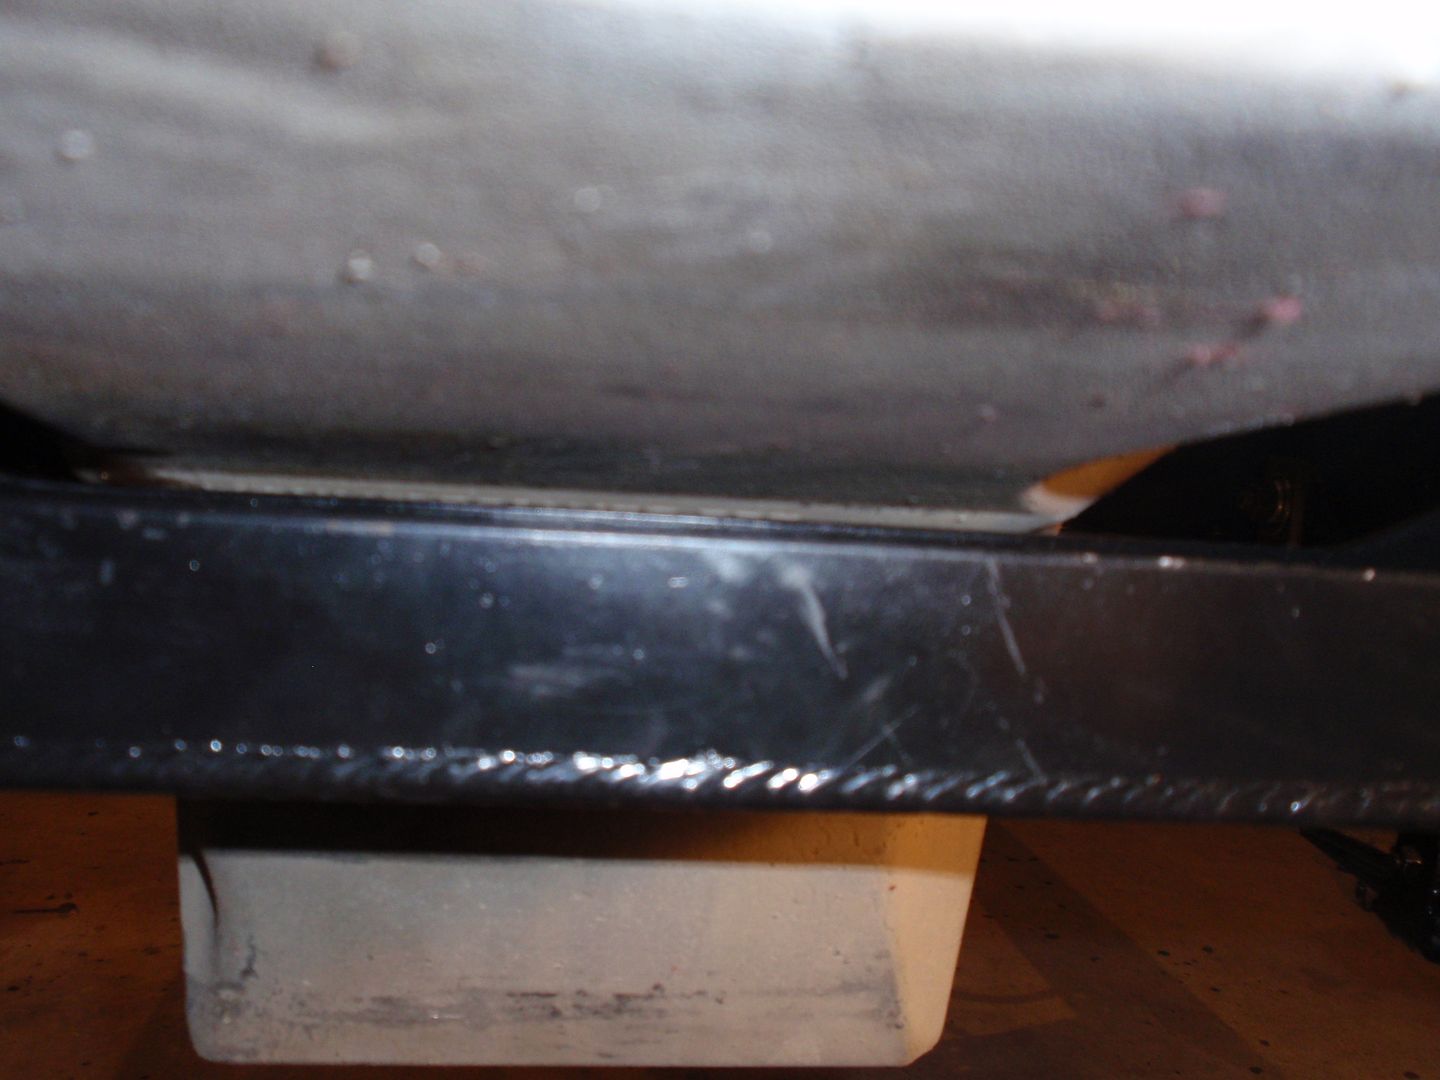
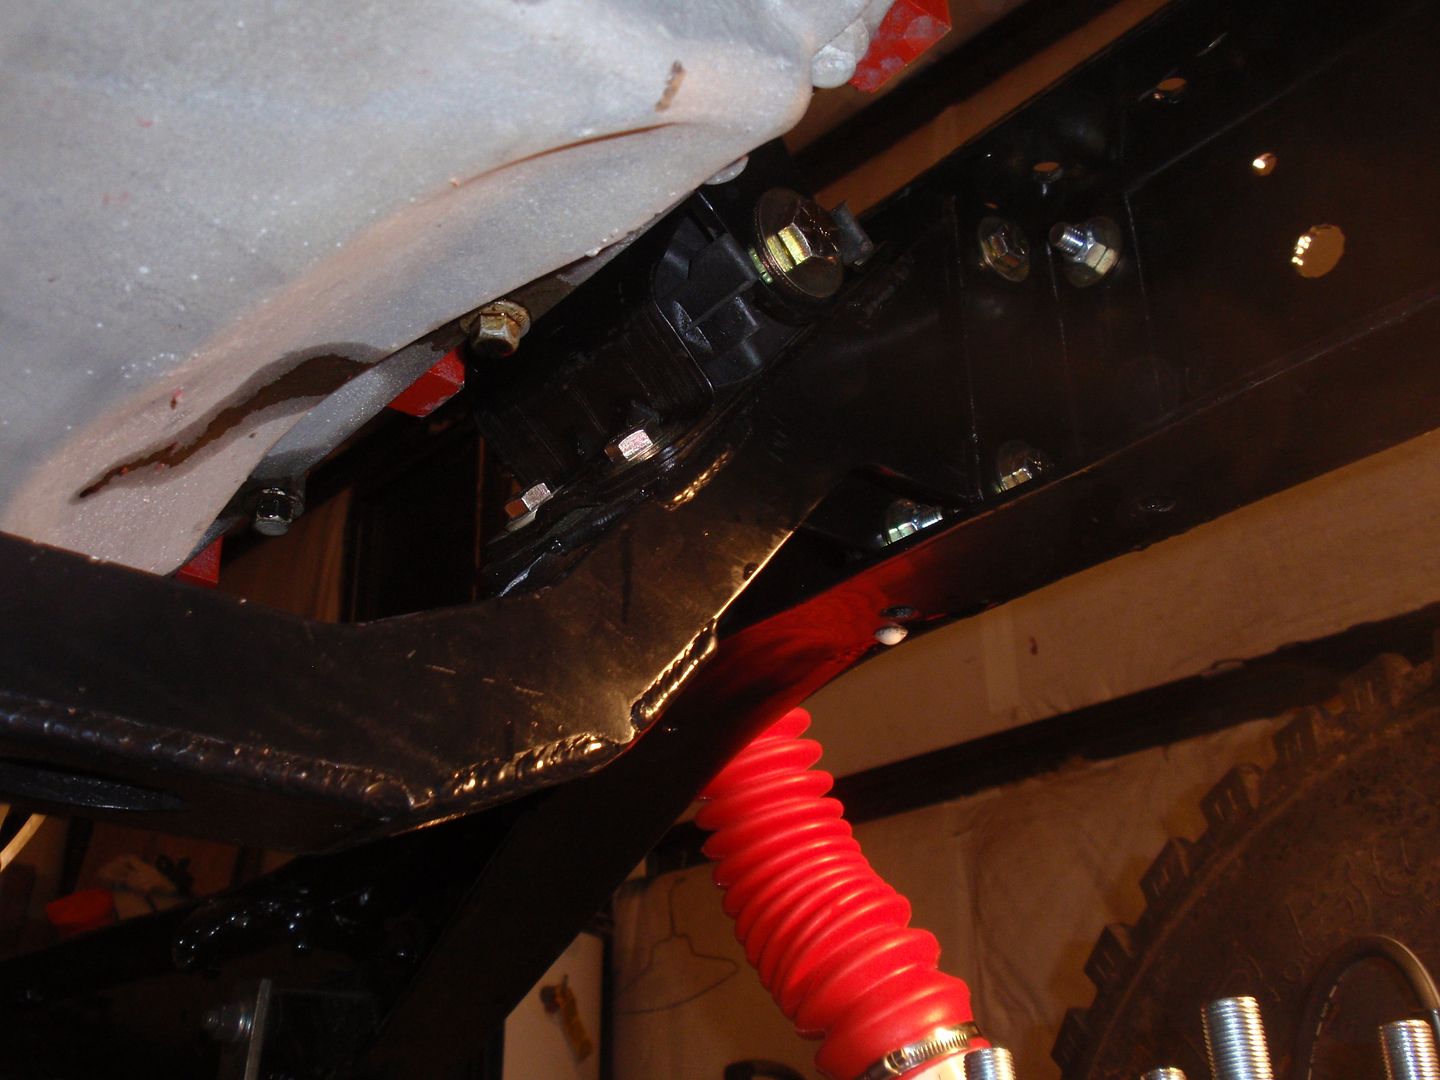
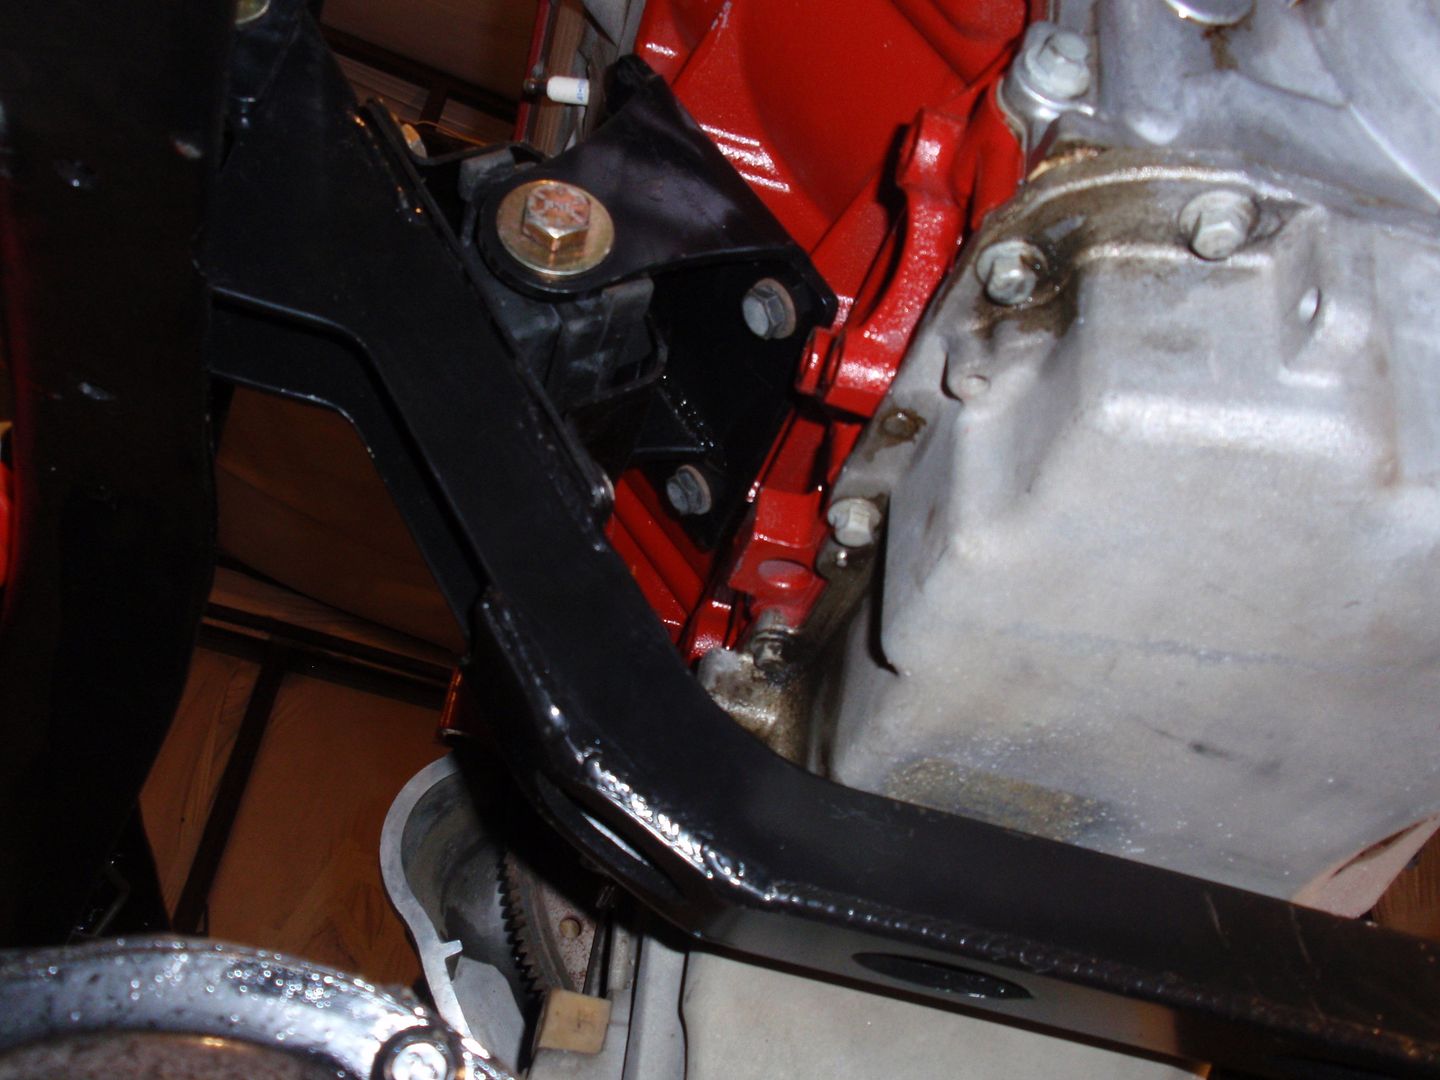
Below are some pictures of the x-member and installation.

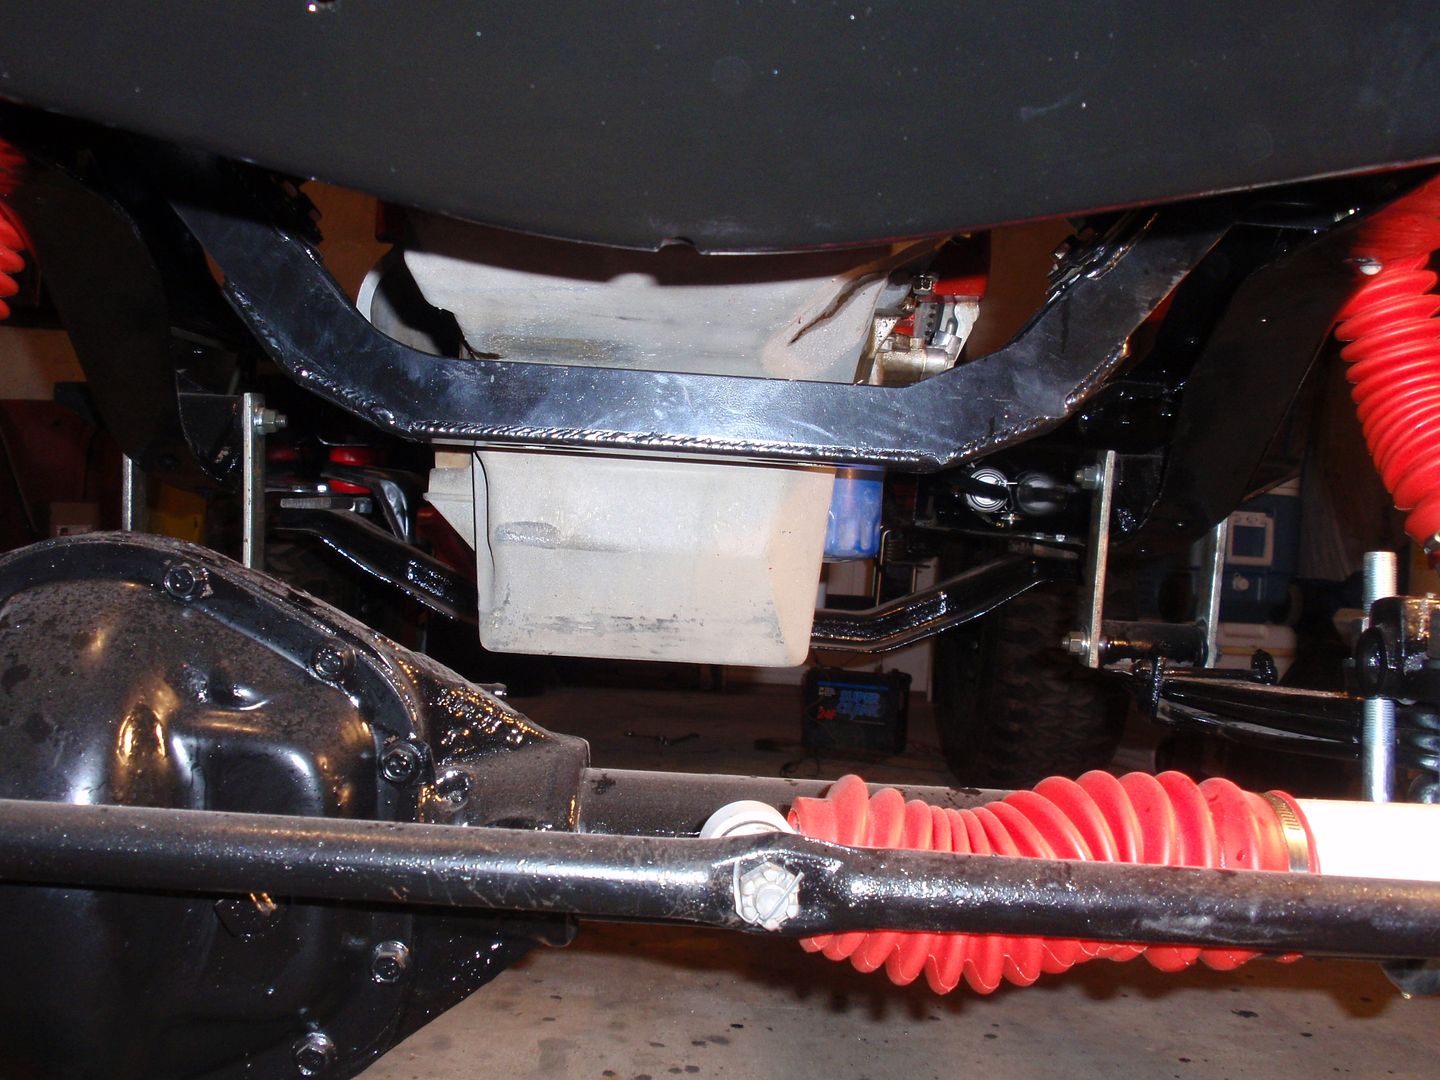


The entire installation took me about 3 hours. It could have been done in half of that time on the stock length transmission and following the manufactures recommendation on removing the engine.
Conclusion I would/will purchase this item in the future. It is very well designed and constructed. As I mentioned before, the item was well packed and delivered very quickly. I considered building my own, but by the time you included, the grade 8 bolts, the clam shell motor mounts, the ¼ plate material, and the time it would take to do the fabrication, I believe a person would be far ahead purchasing this from Pacific Fabrication.
I highly recommend this item.
Let me know if you have any specific questions on the x-member or the install.