Update time.. it has been 6 weeks since my last update.. Very busy with work, family, holidays, ice storms, earthquakes, etc...
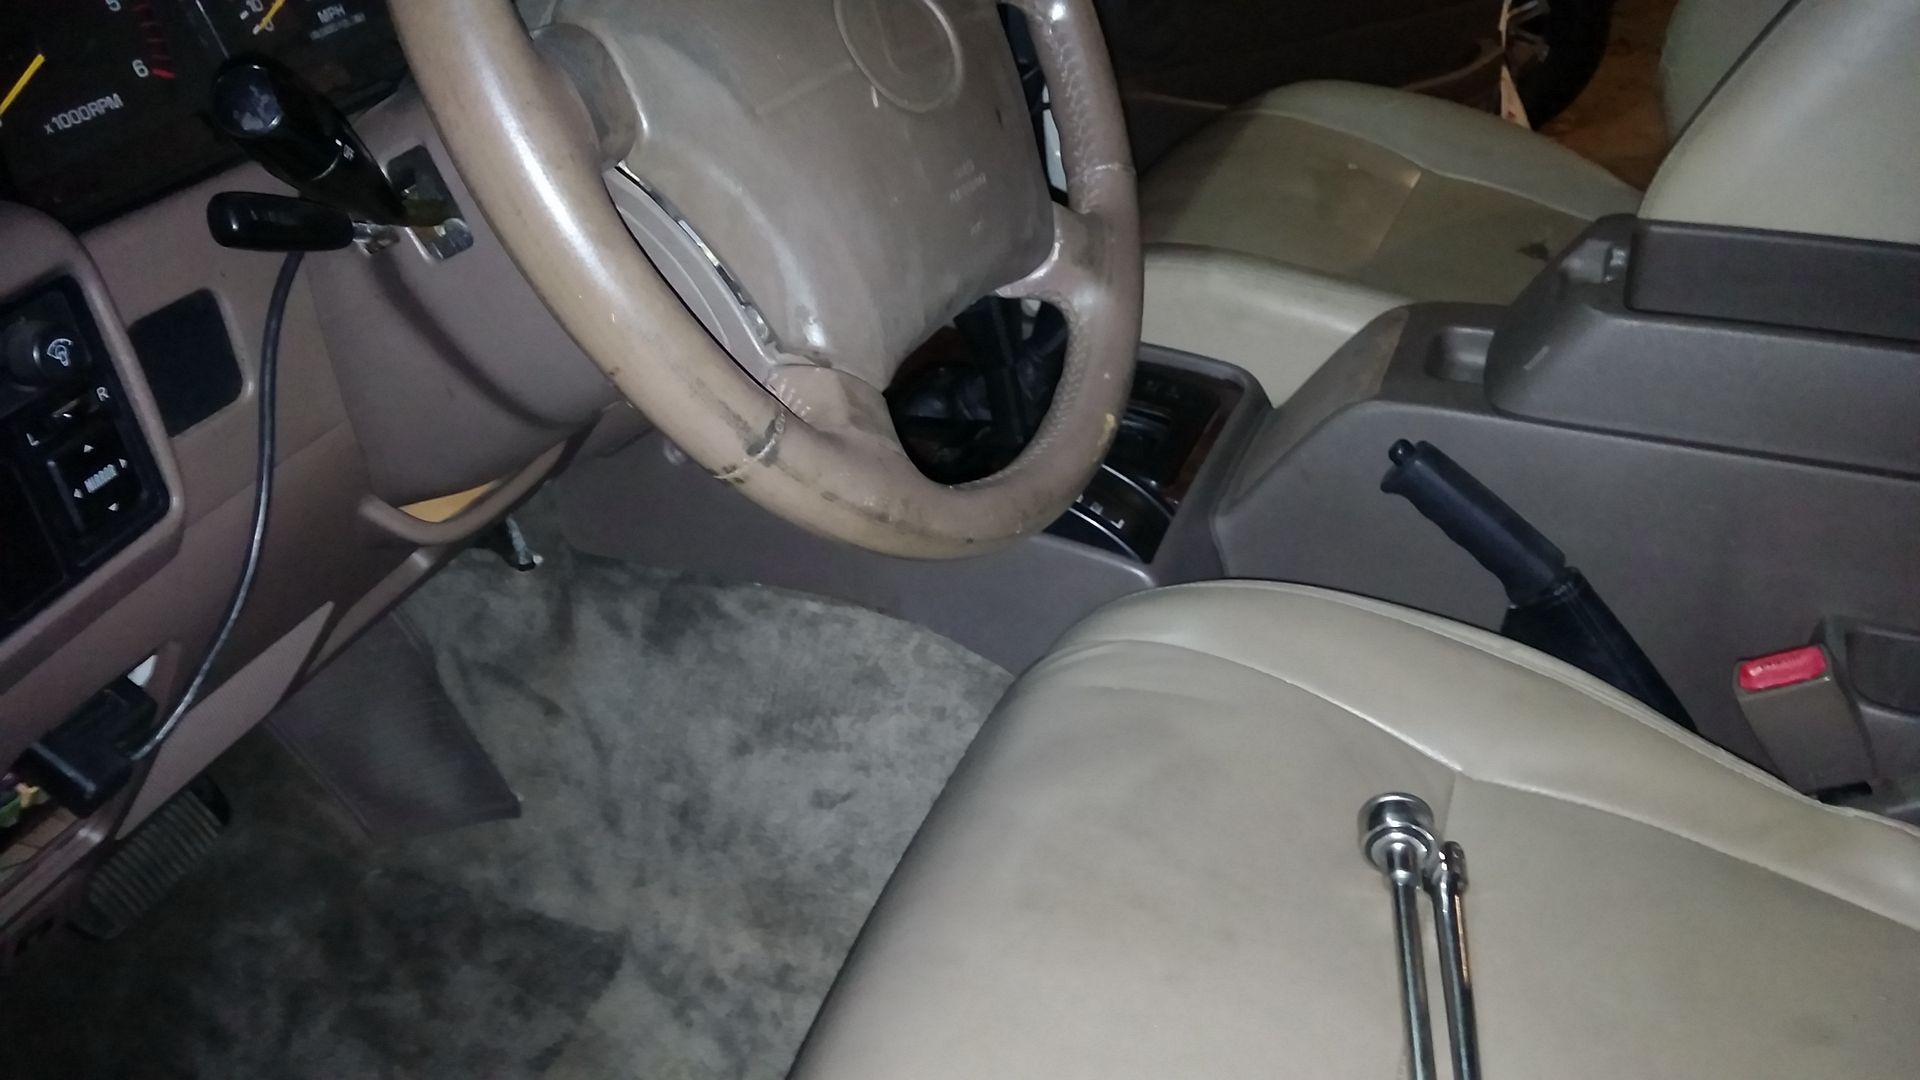
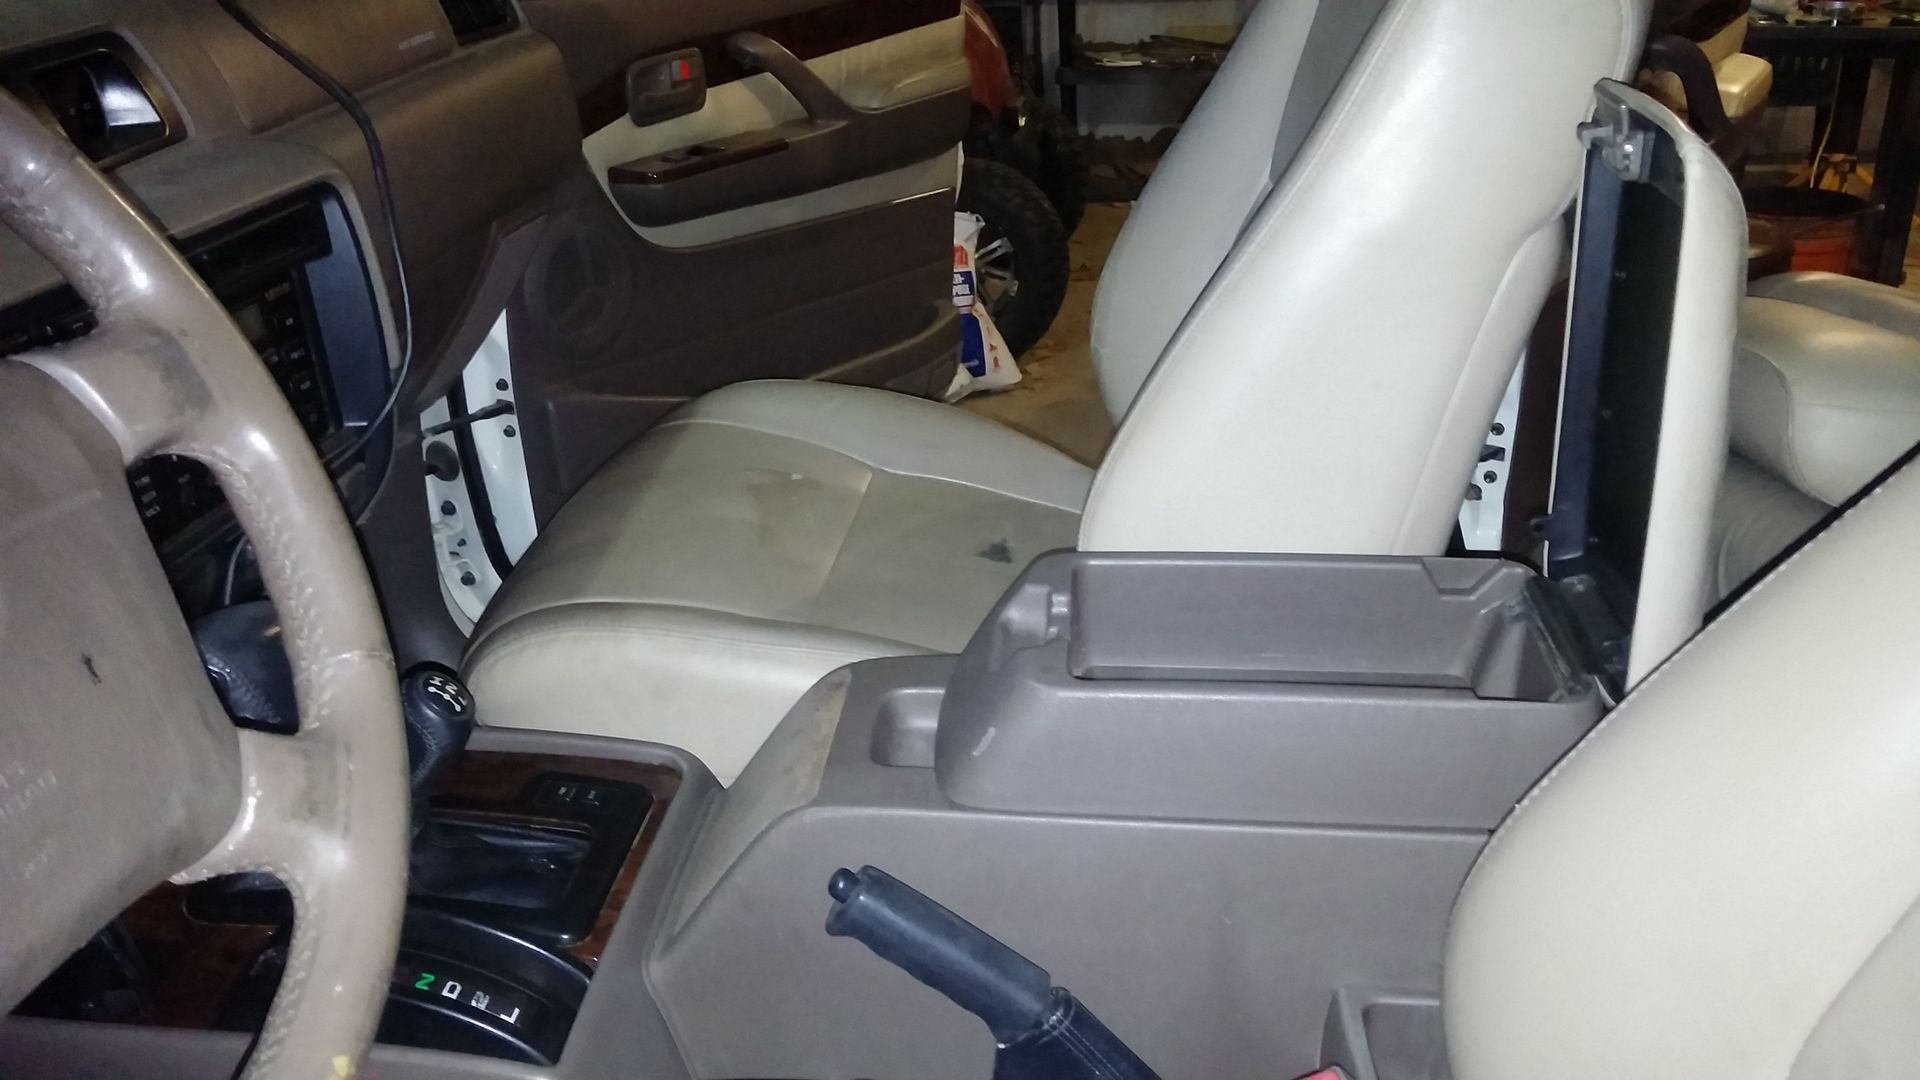
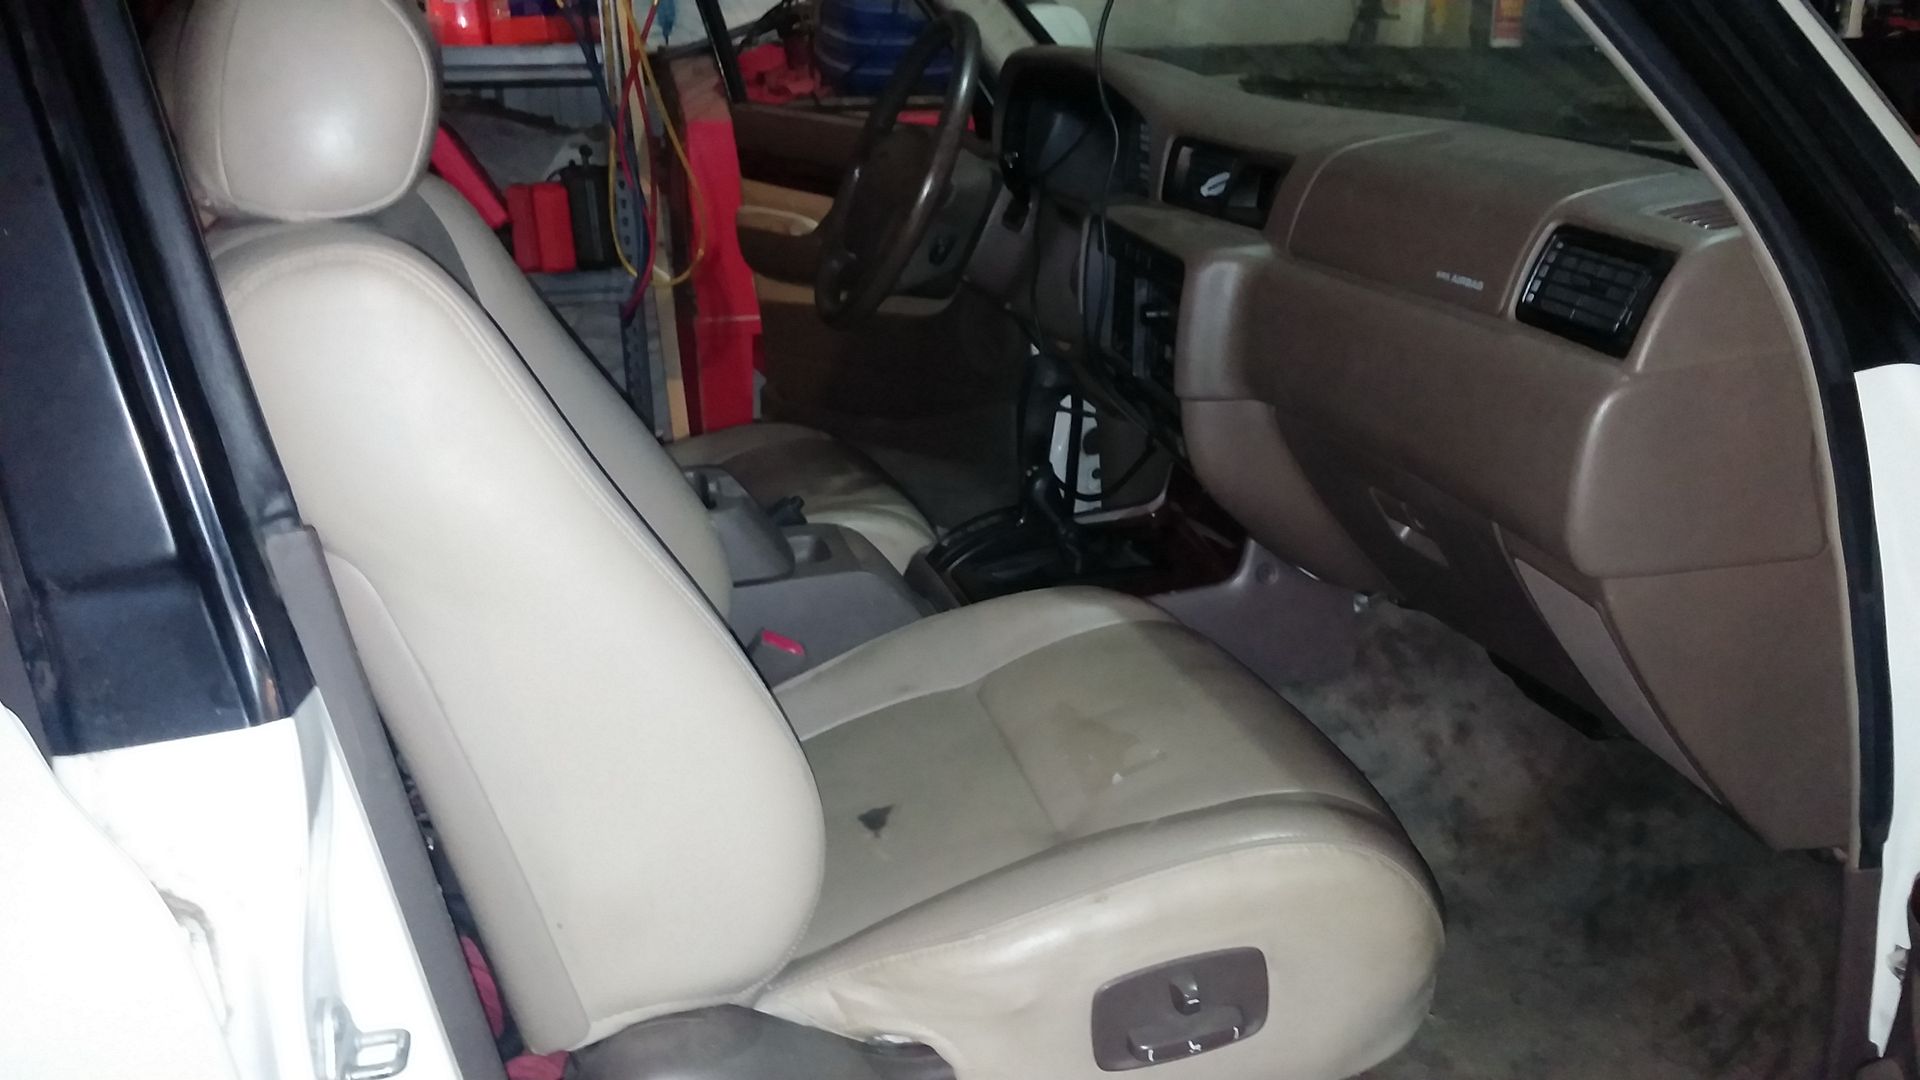
Got the interior back together… with most of the internal wiring completed.
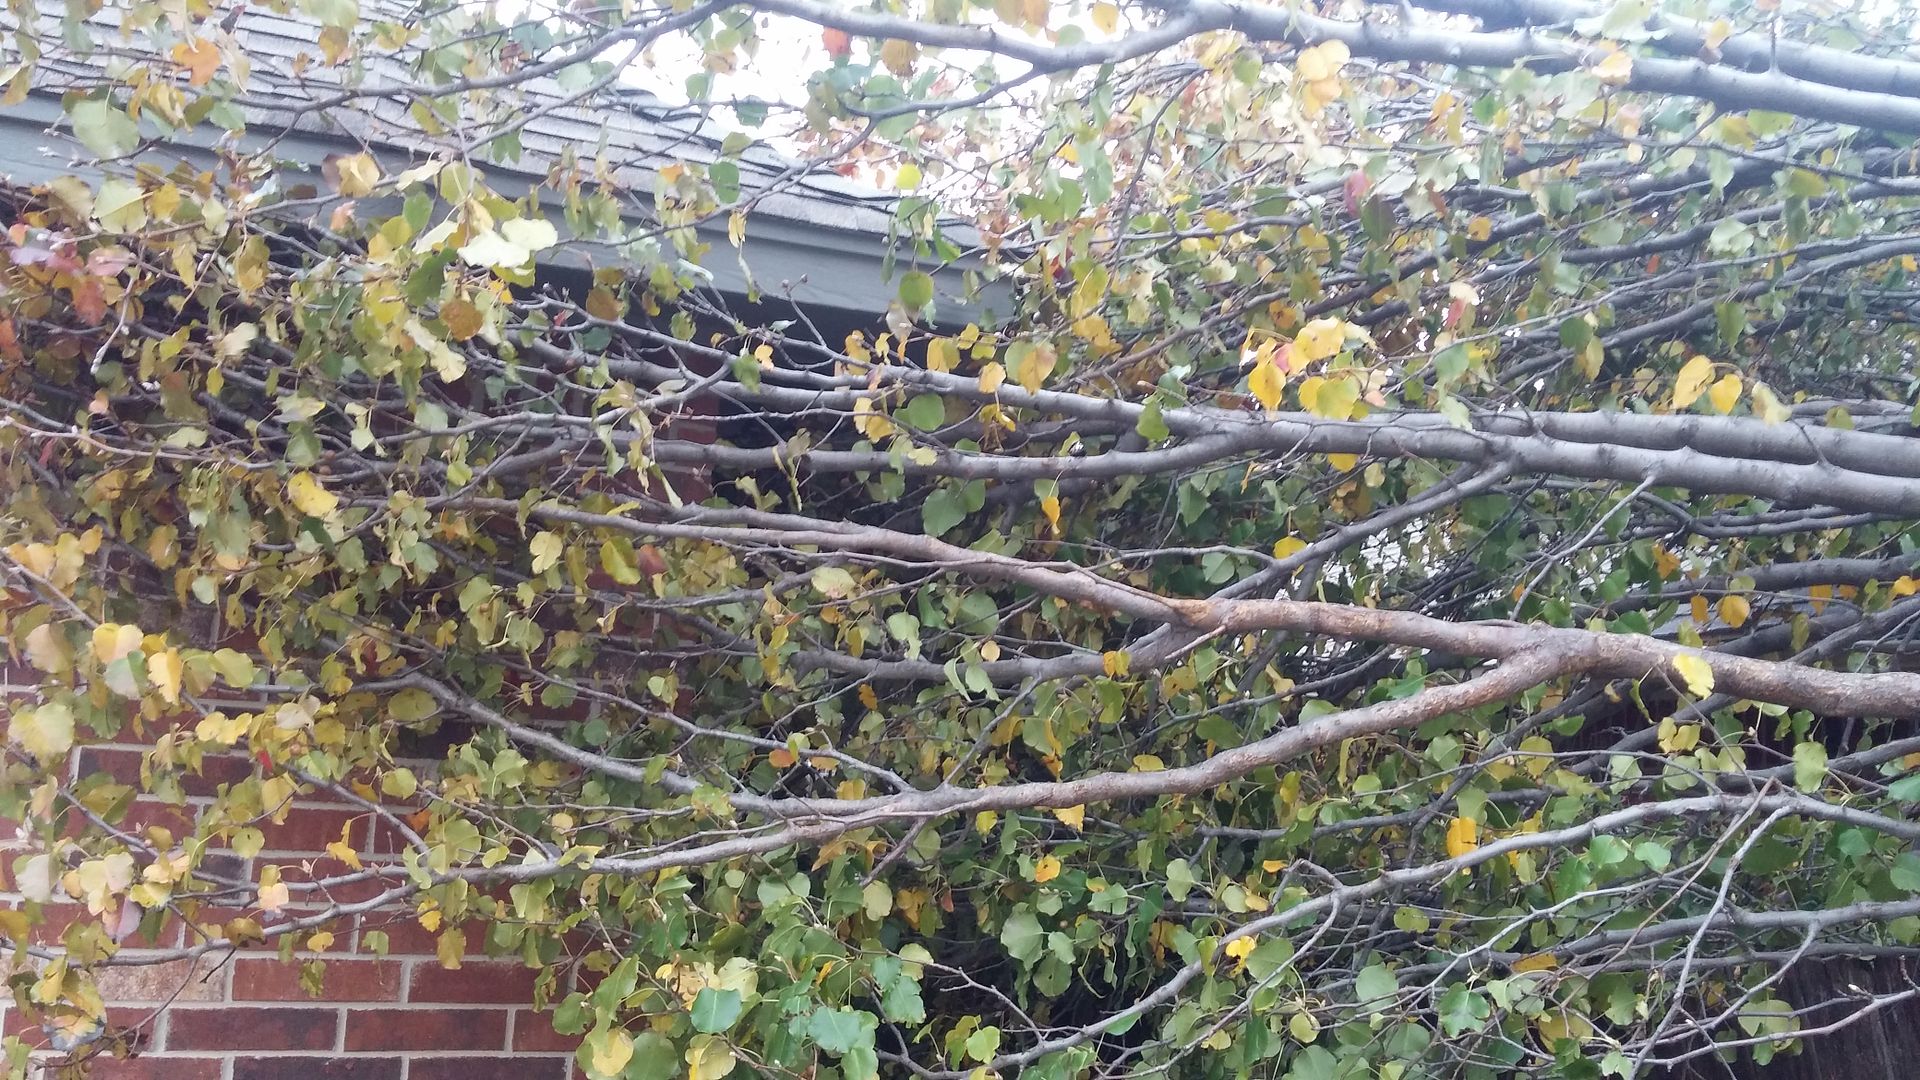
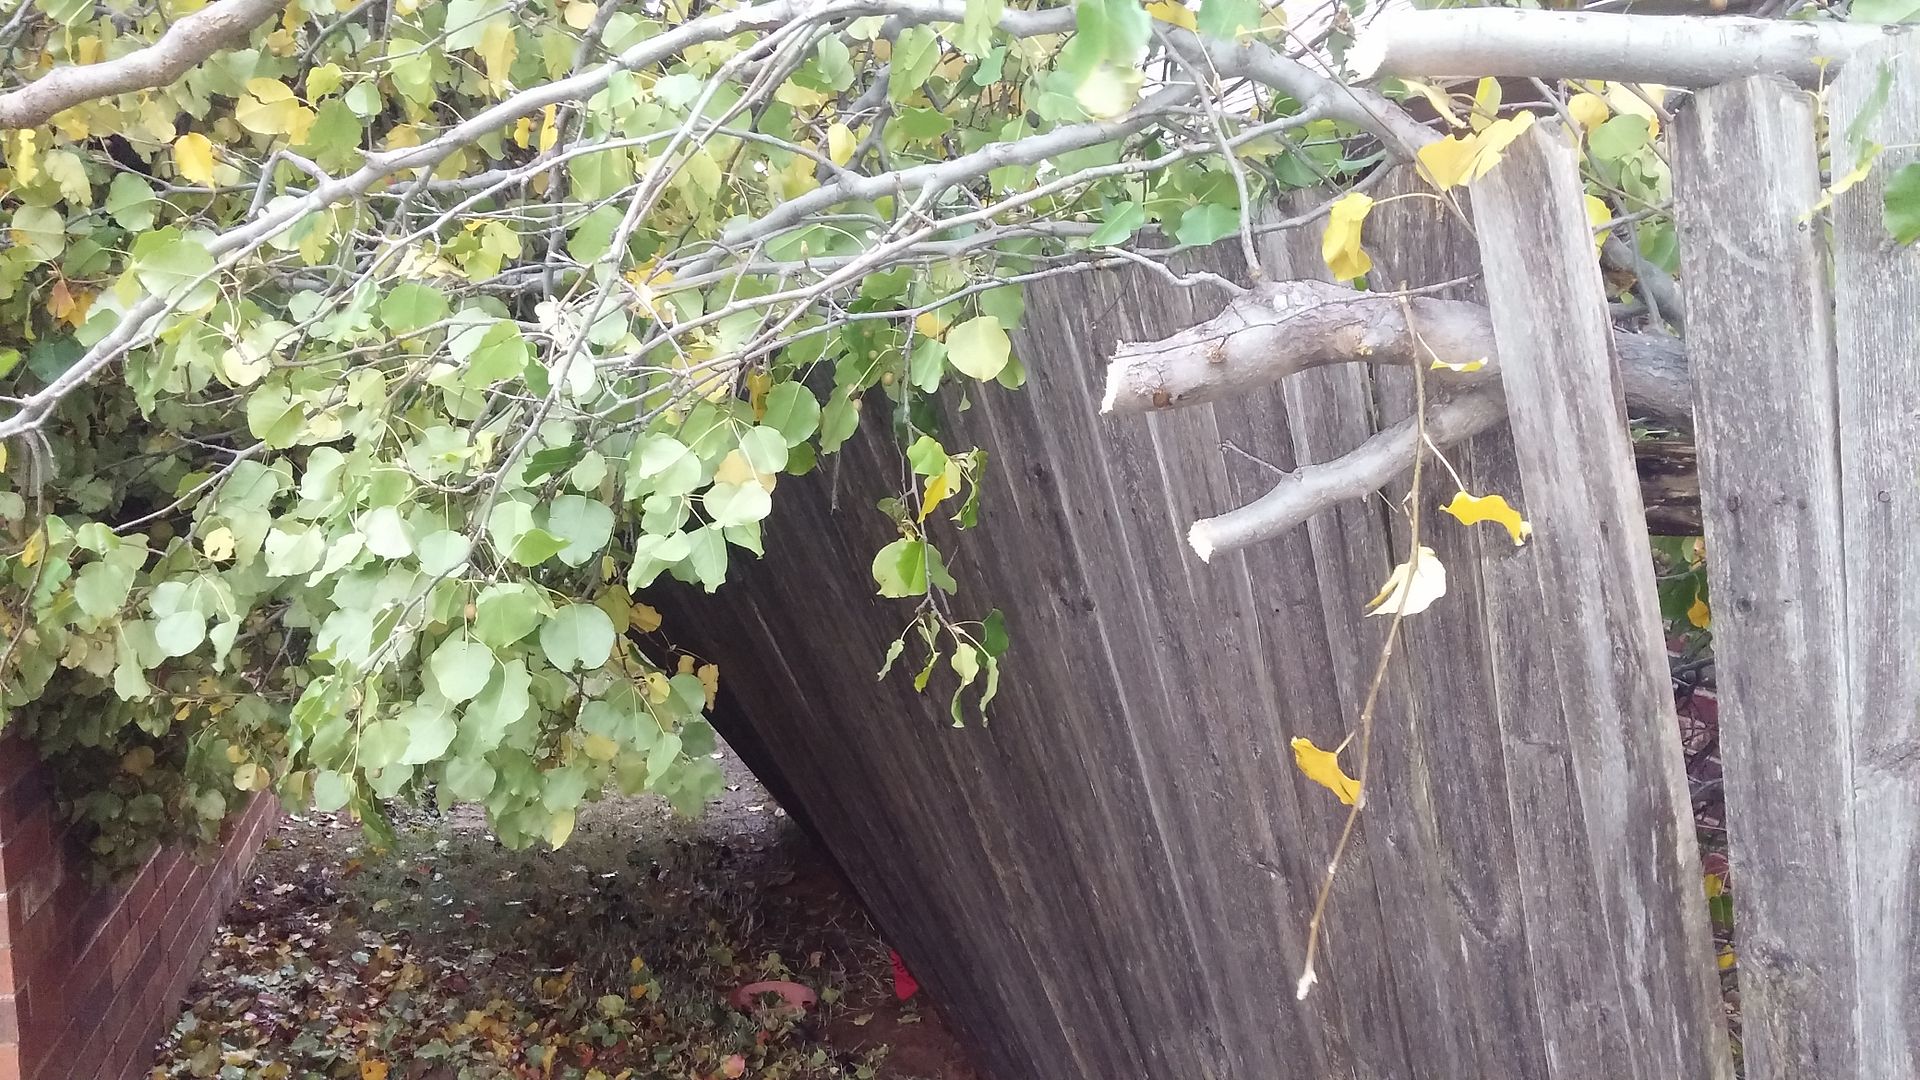
Then all progress stopped.. for a while.. we had our first ice storm of the year on Nov. 30th and I had a tree fall on my home… It really didn’t cause that much damage but it did scare the hell out of us at 3:00am. Lol.. took a little bit to clean it up..
Back to the LX450..
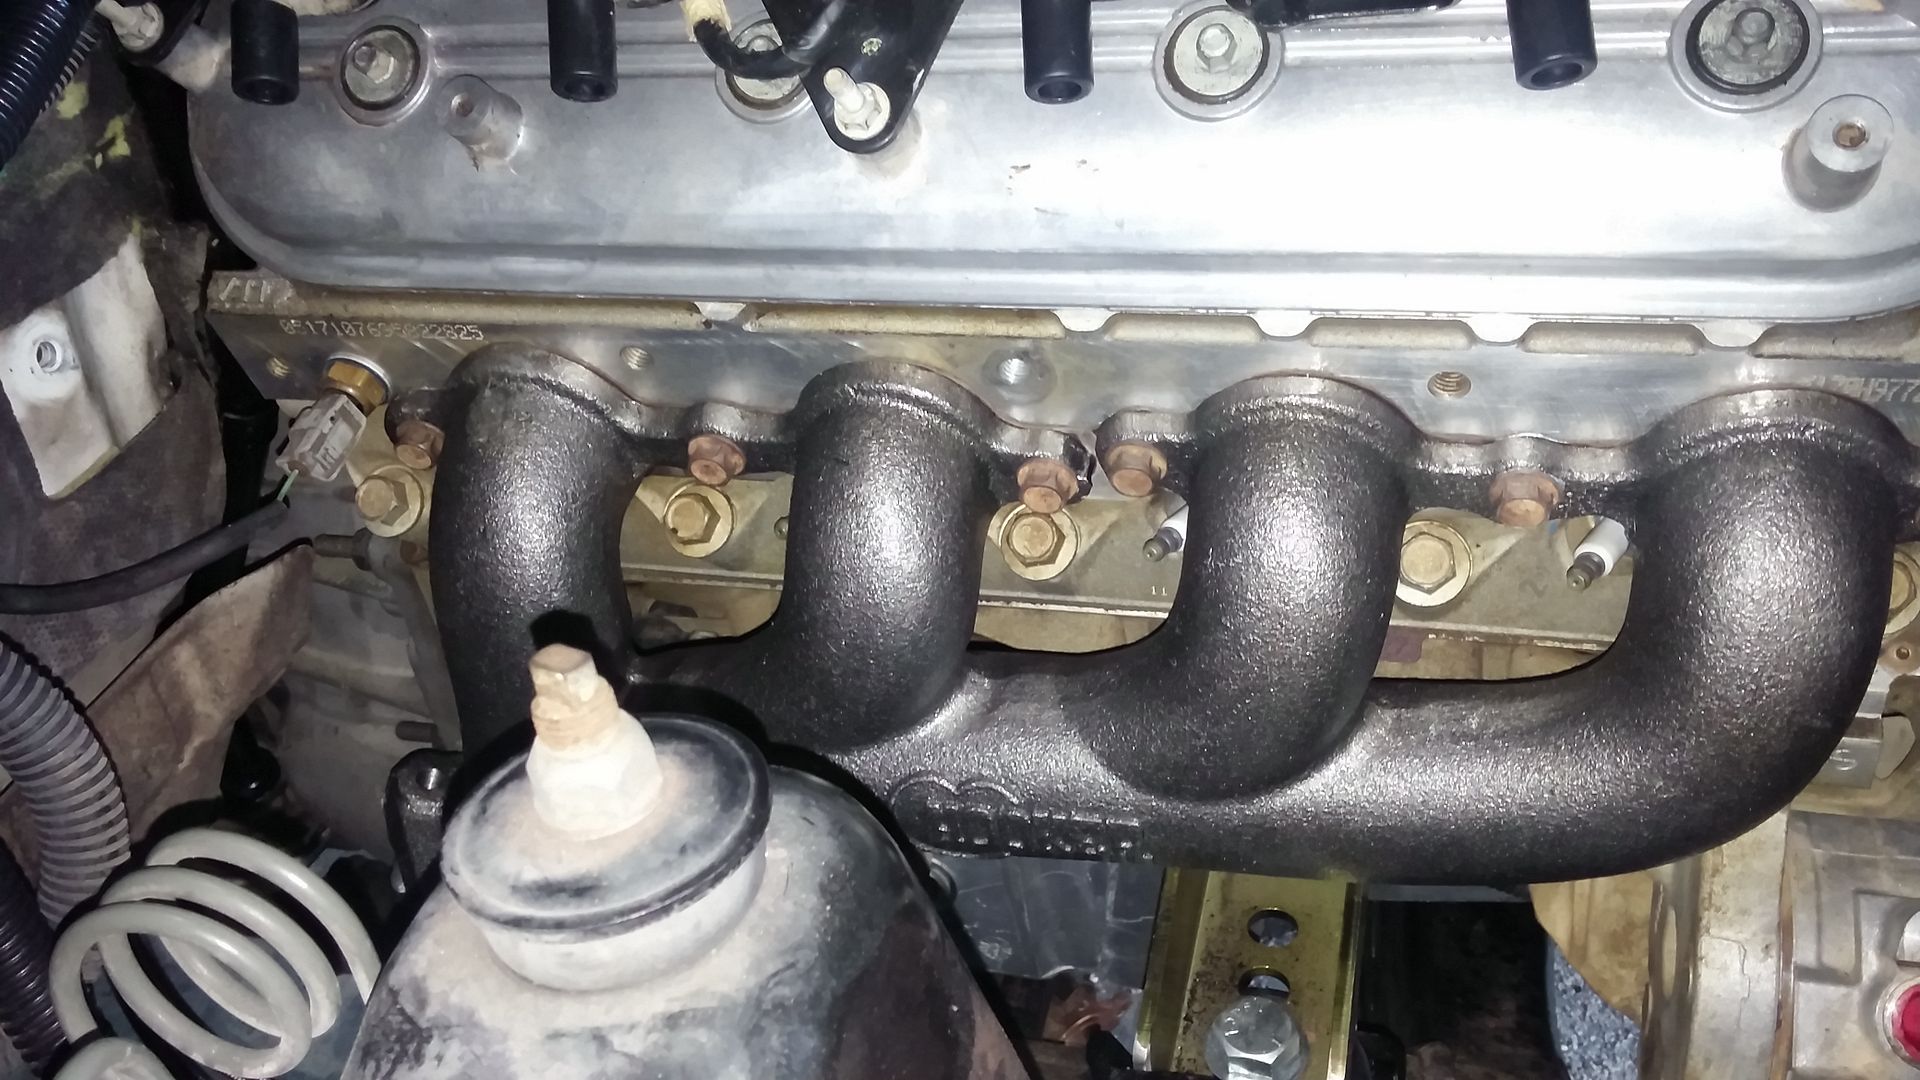
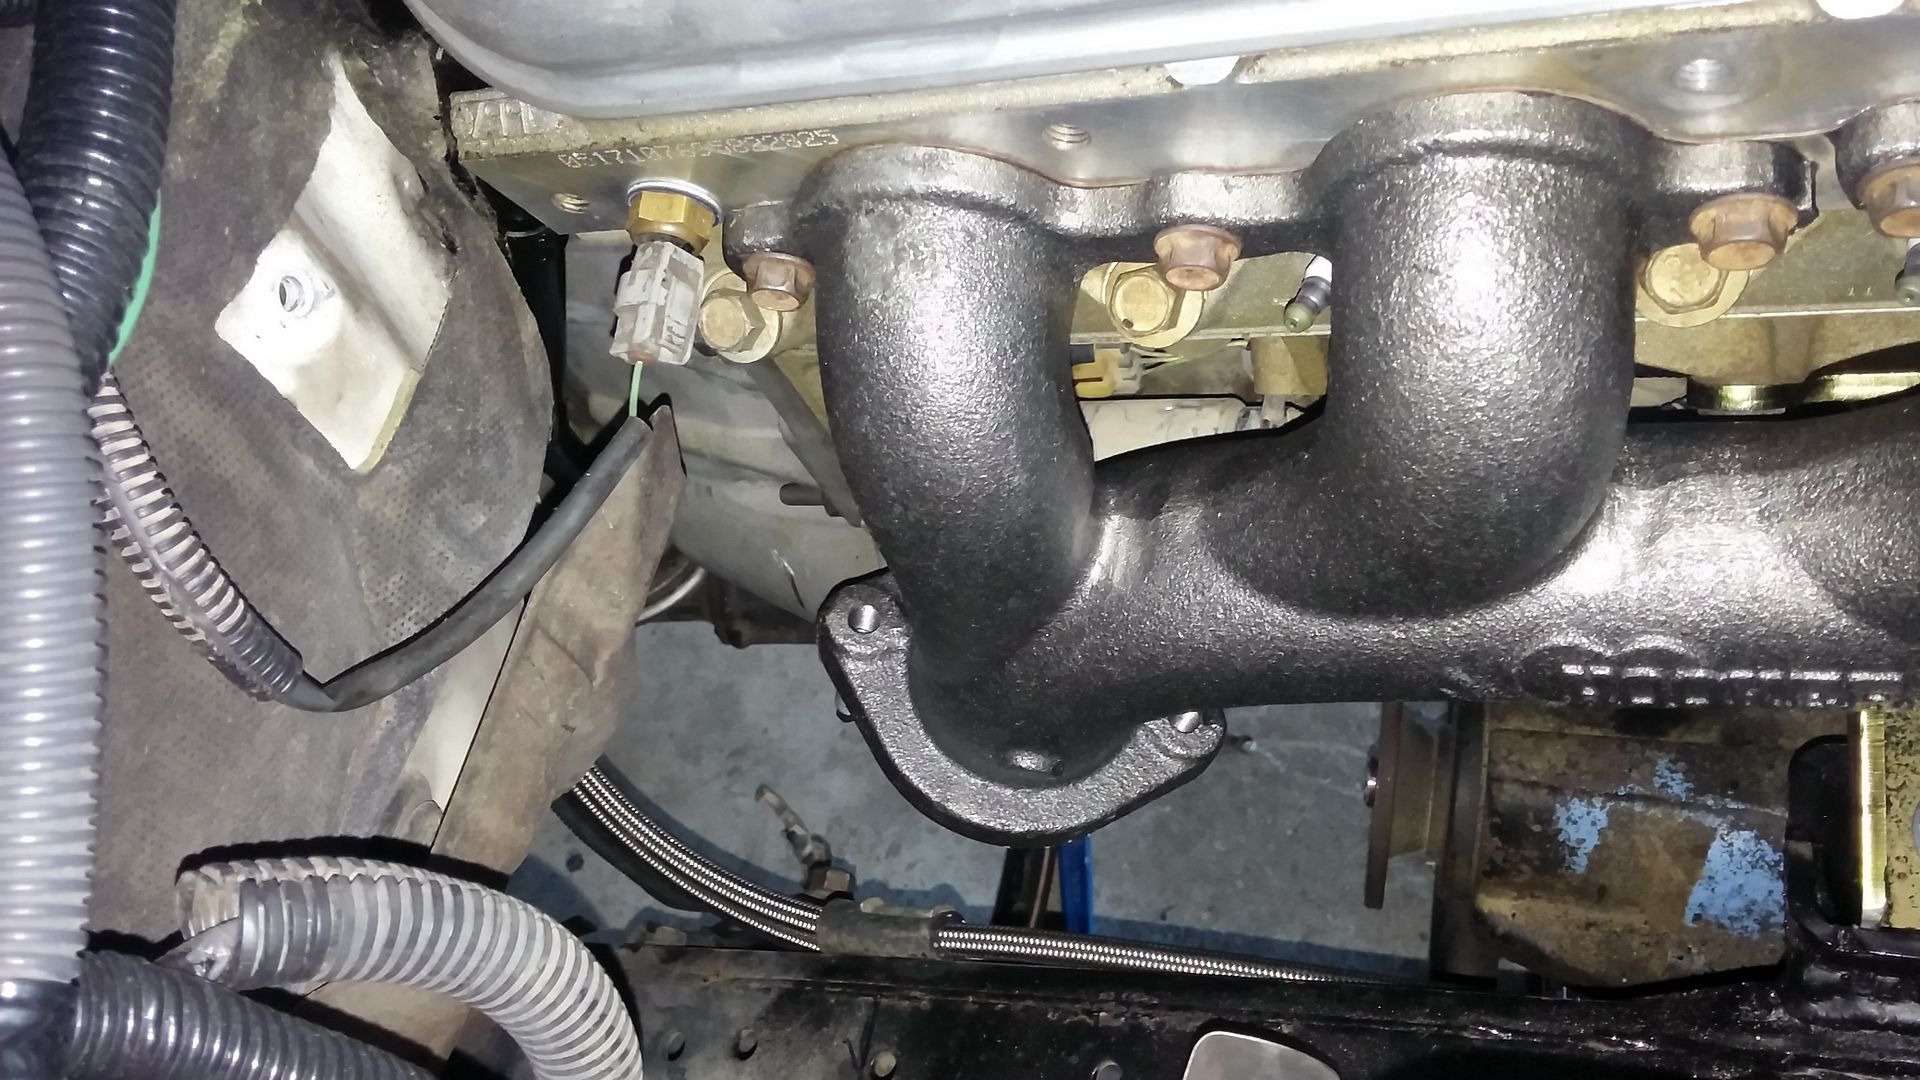
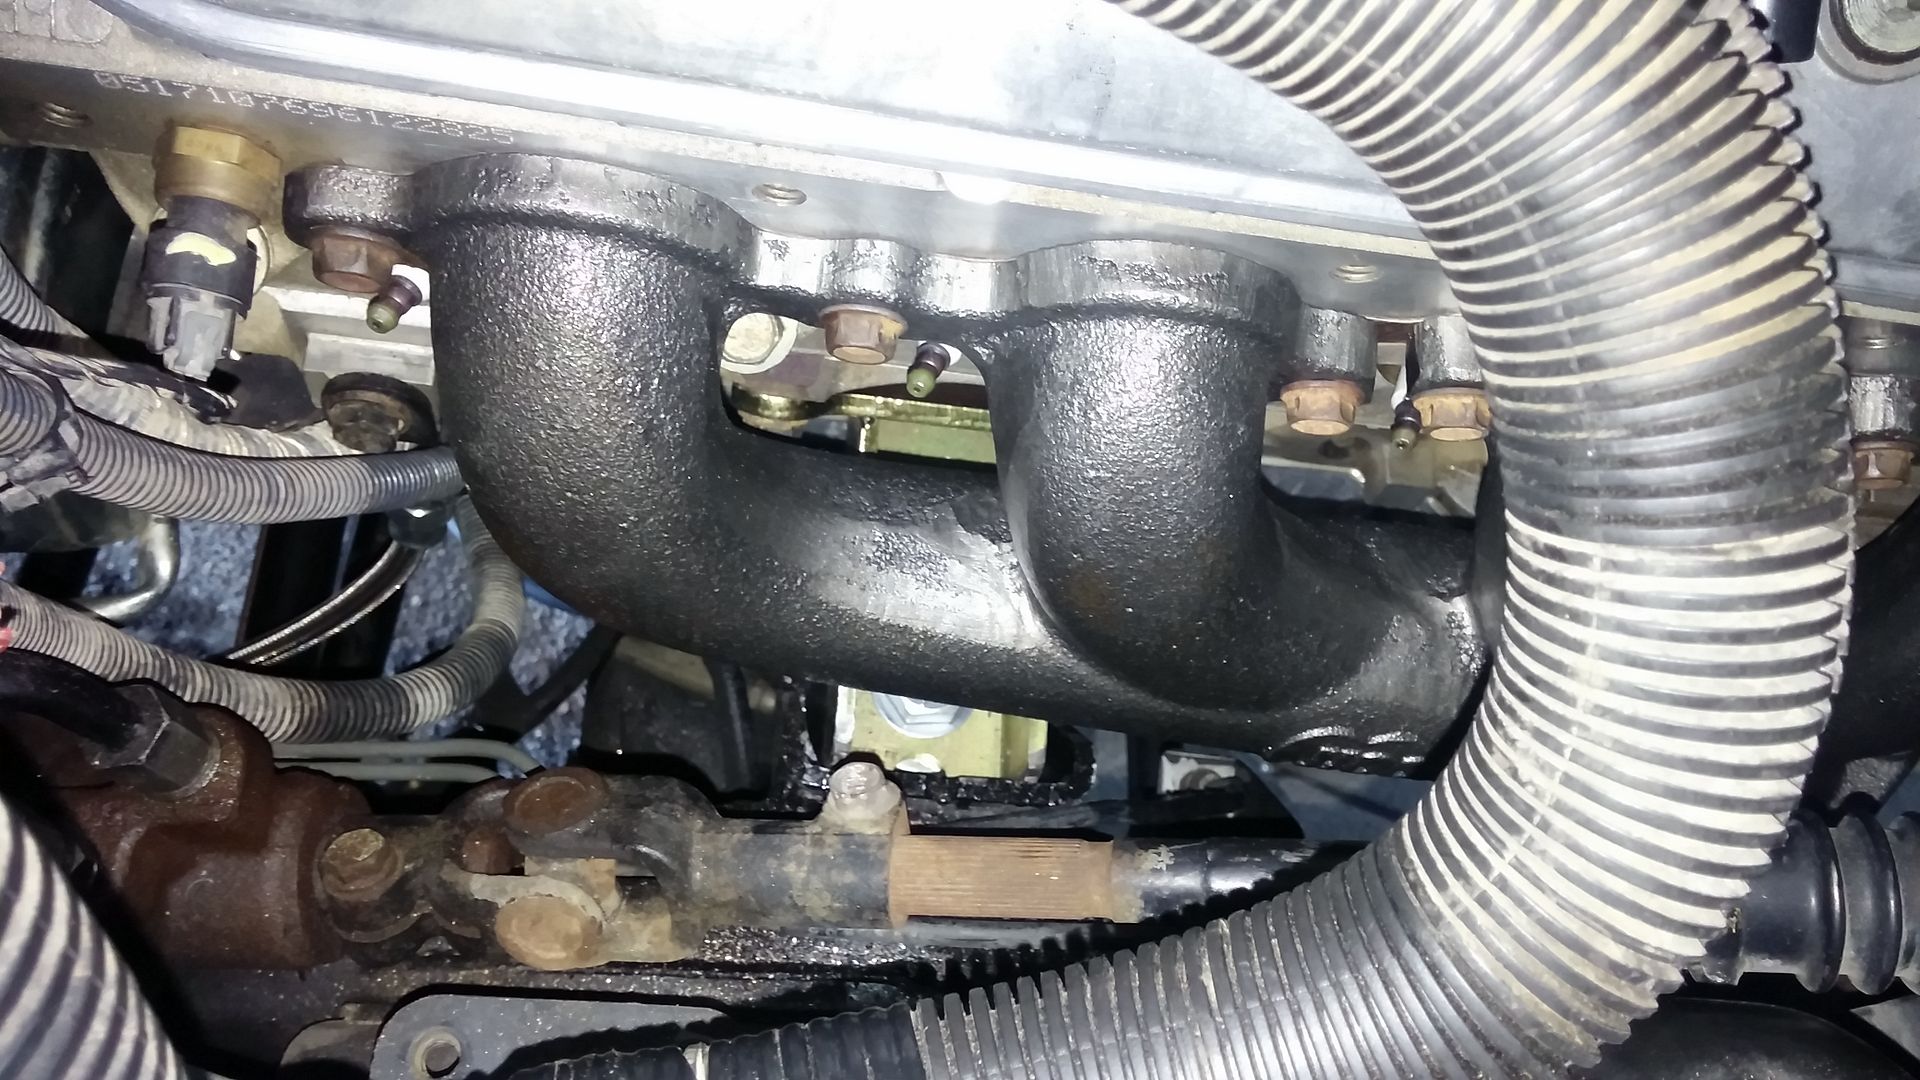
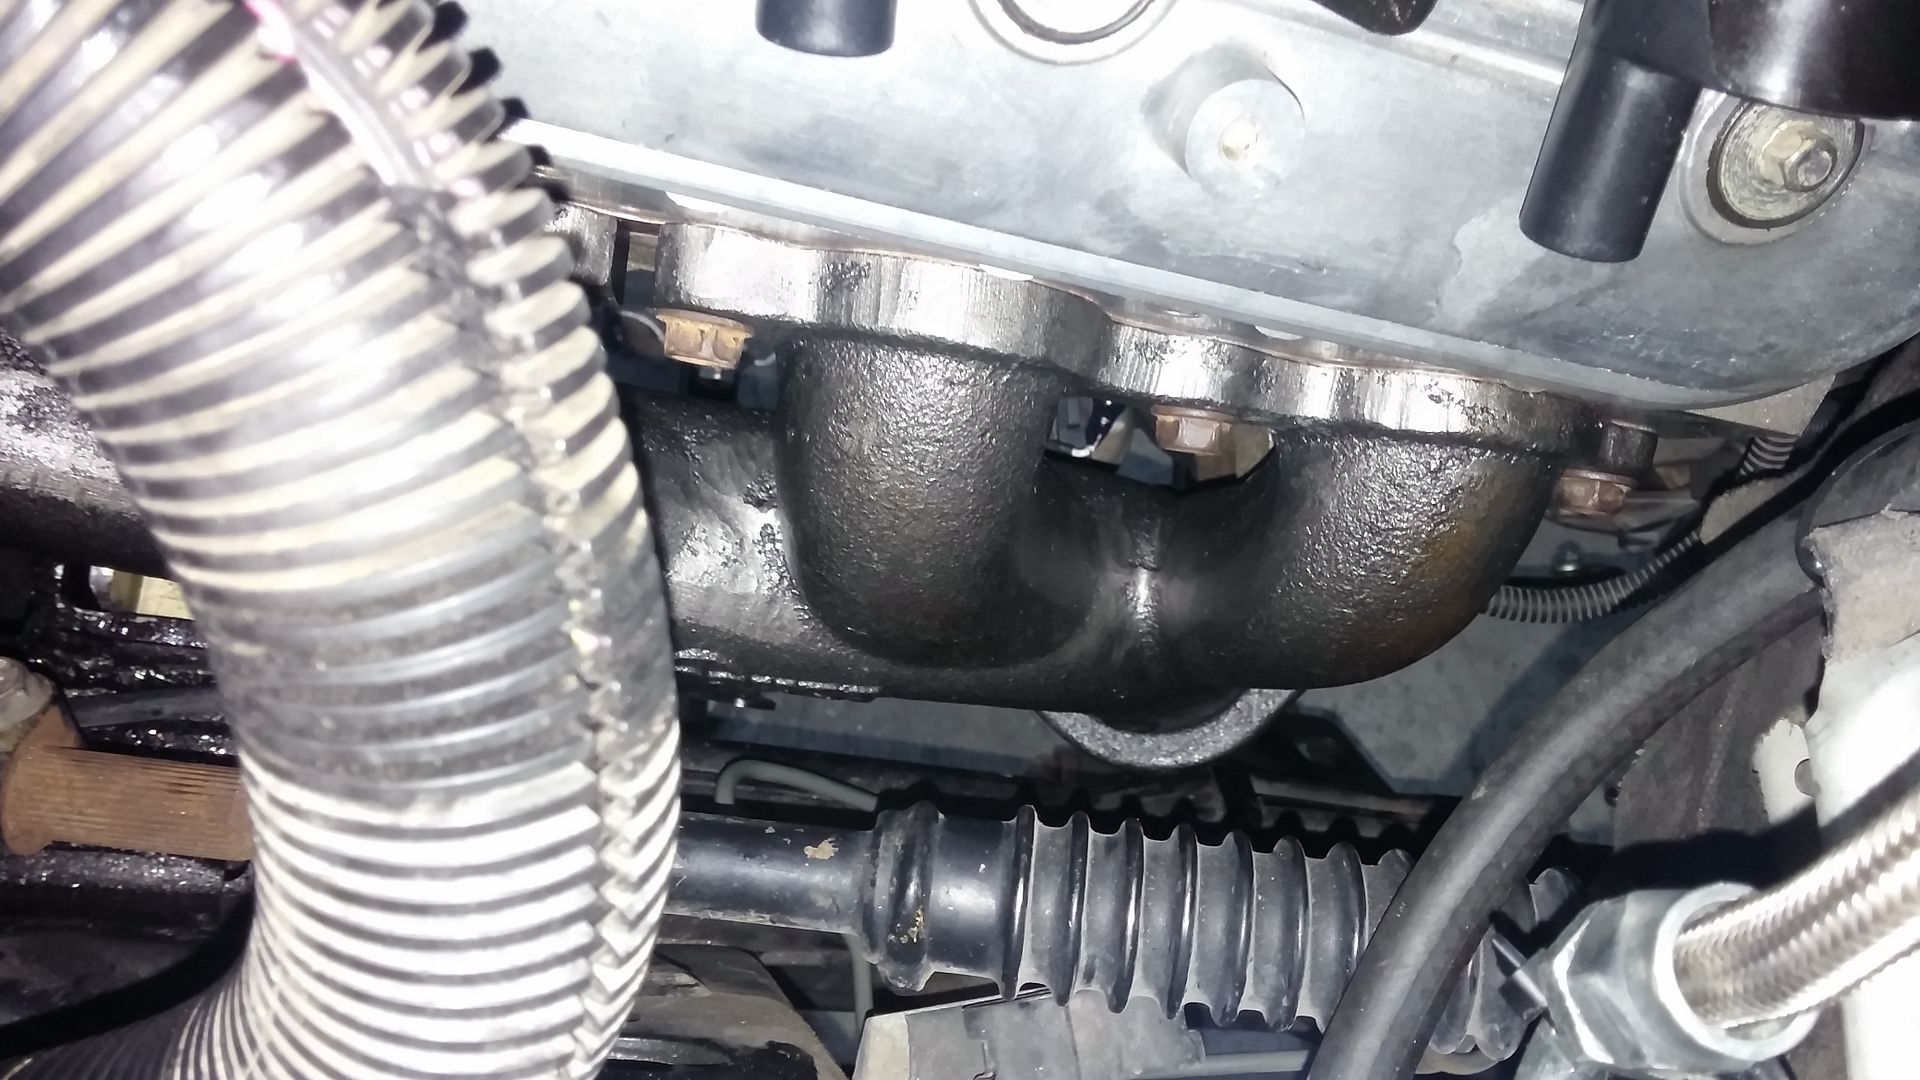
Decide to go with the Hooker cast iron manifolds instead of the advanced adapter block hugger headers. I like the way that fit better and they exit in a better location than the block huggers.
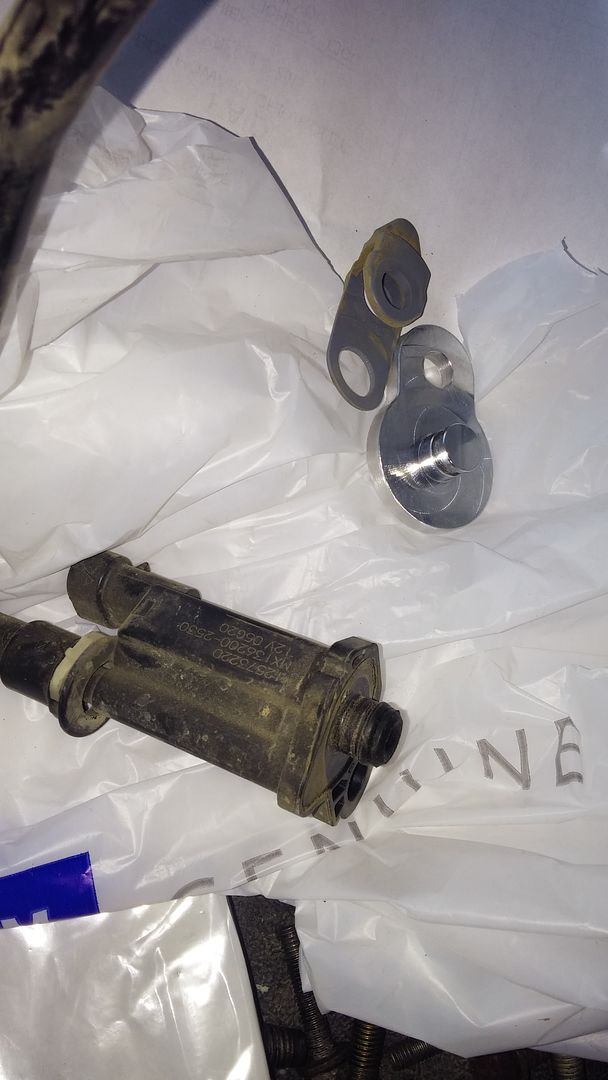
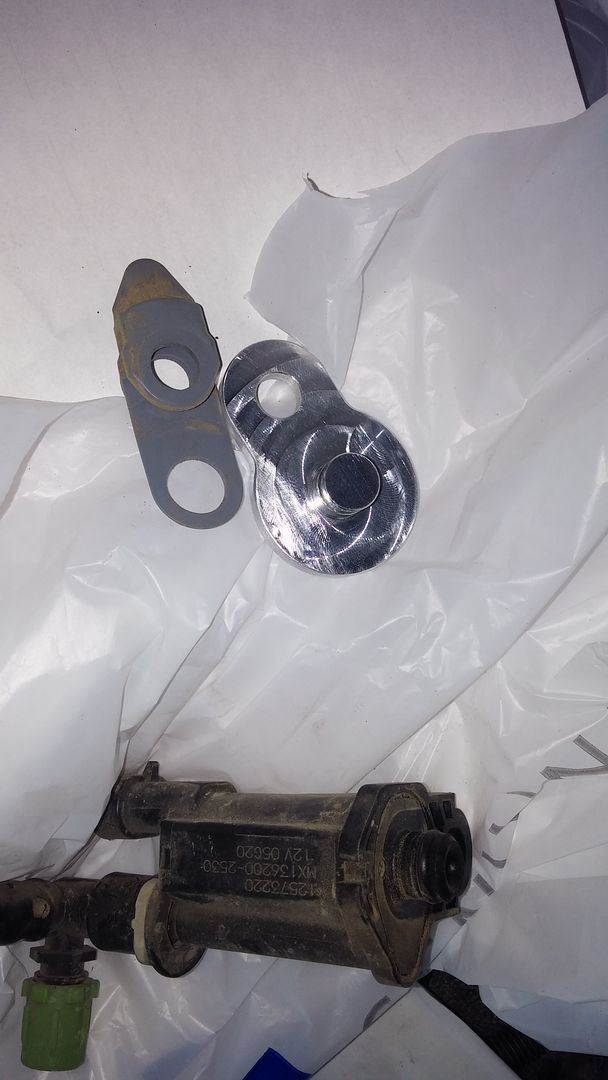
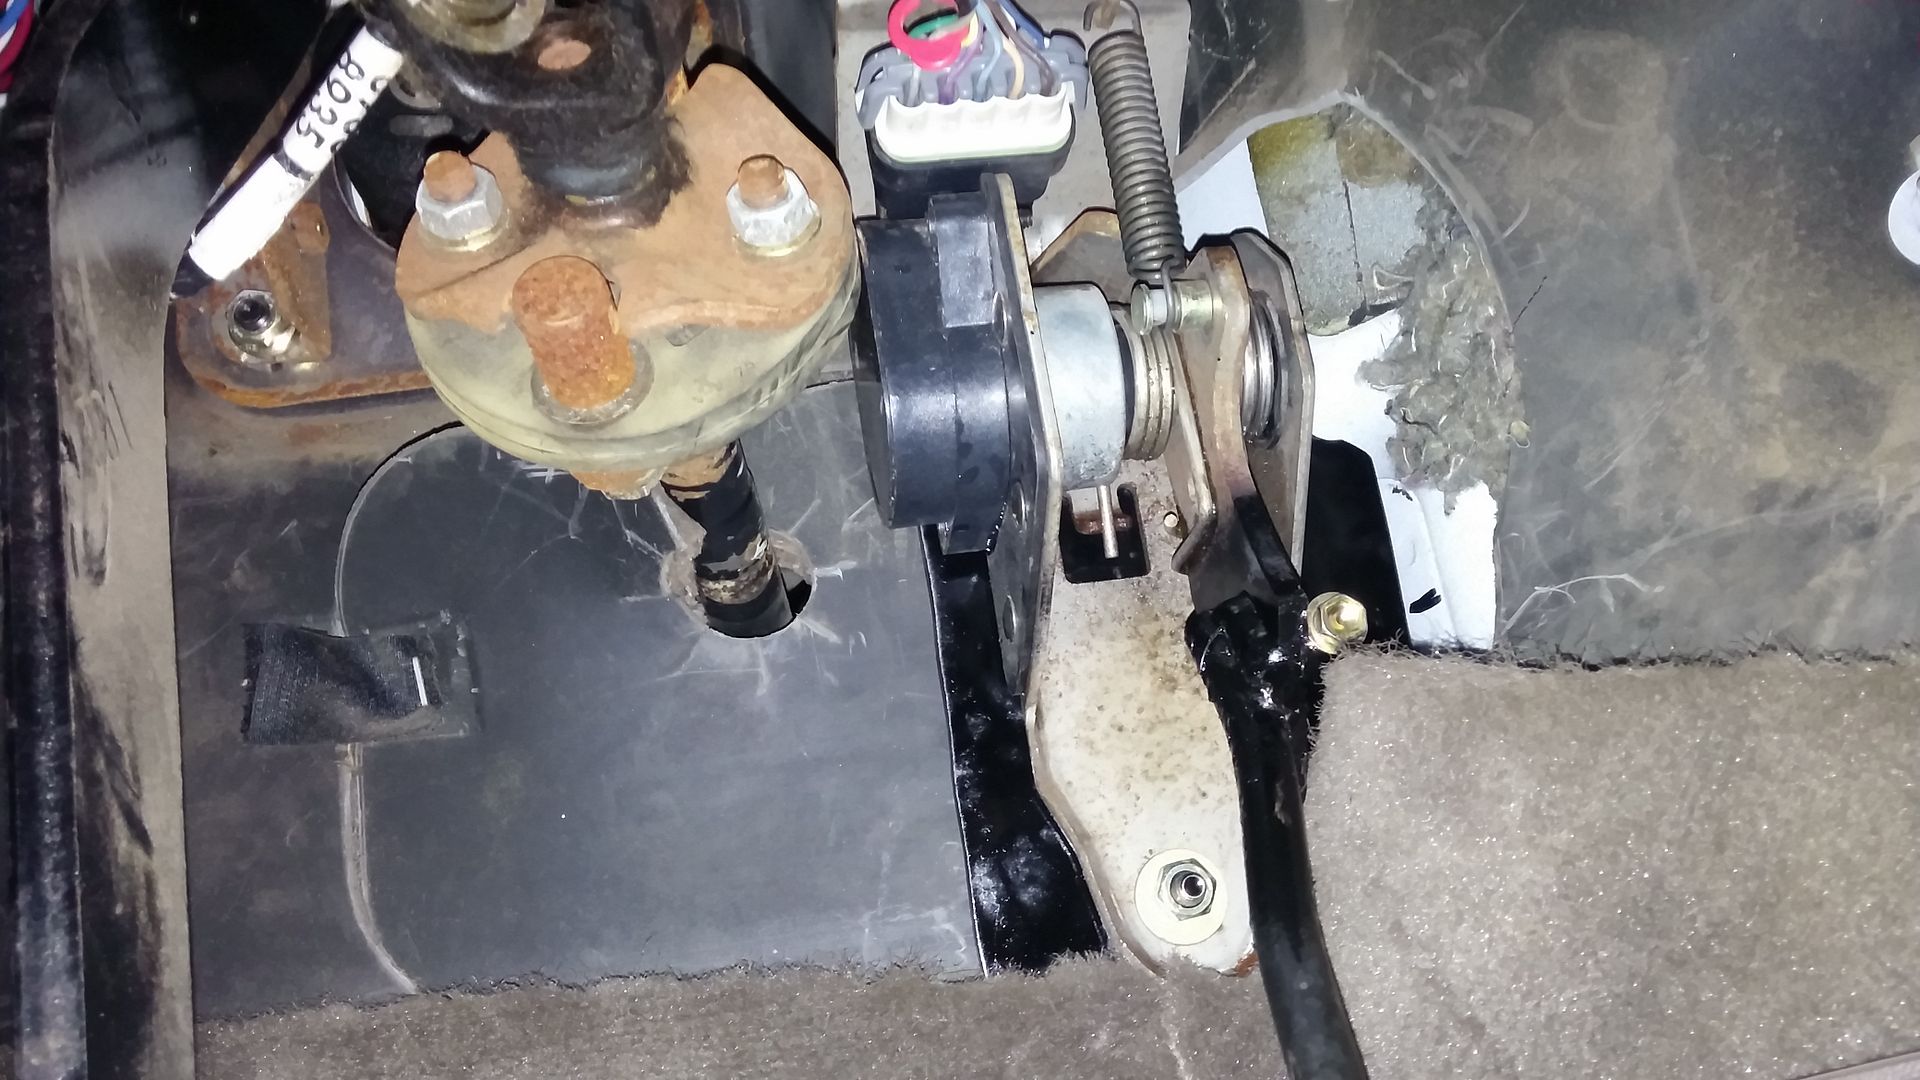
Replaced the evap solenoid with a custom piece that a good friend made for me.. Thanks again.. Mike (mcbassin)

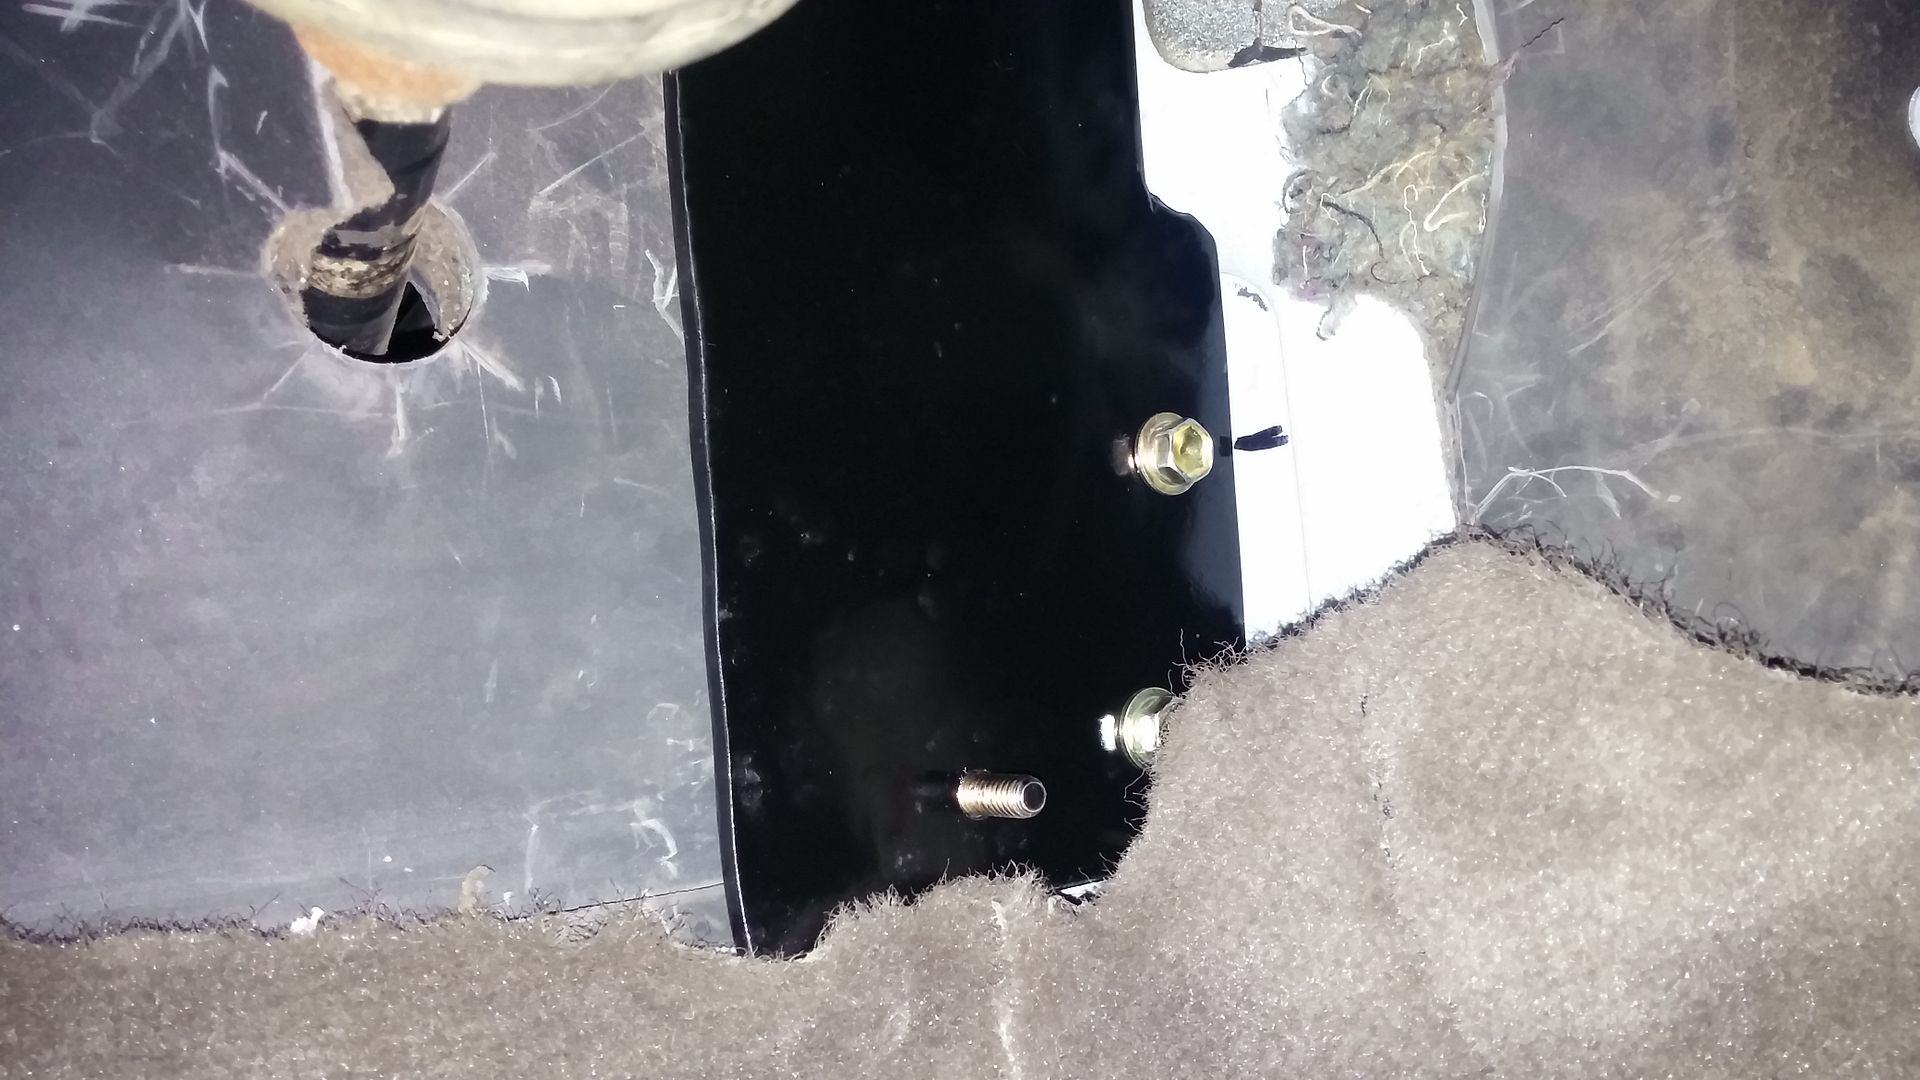
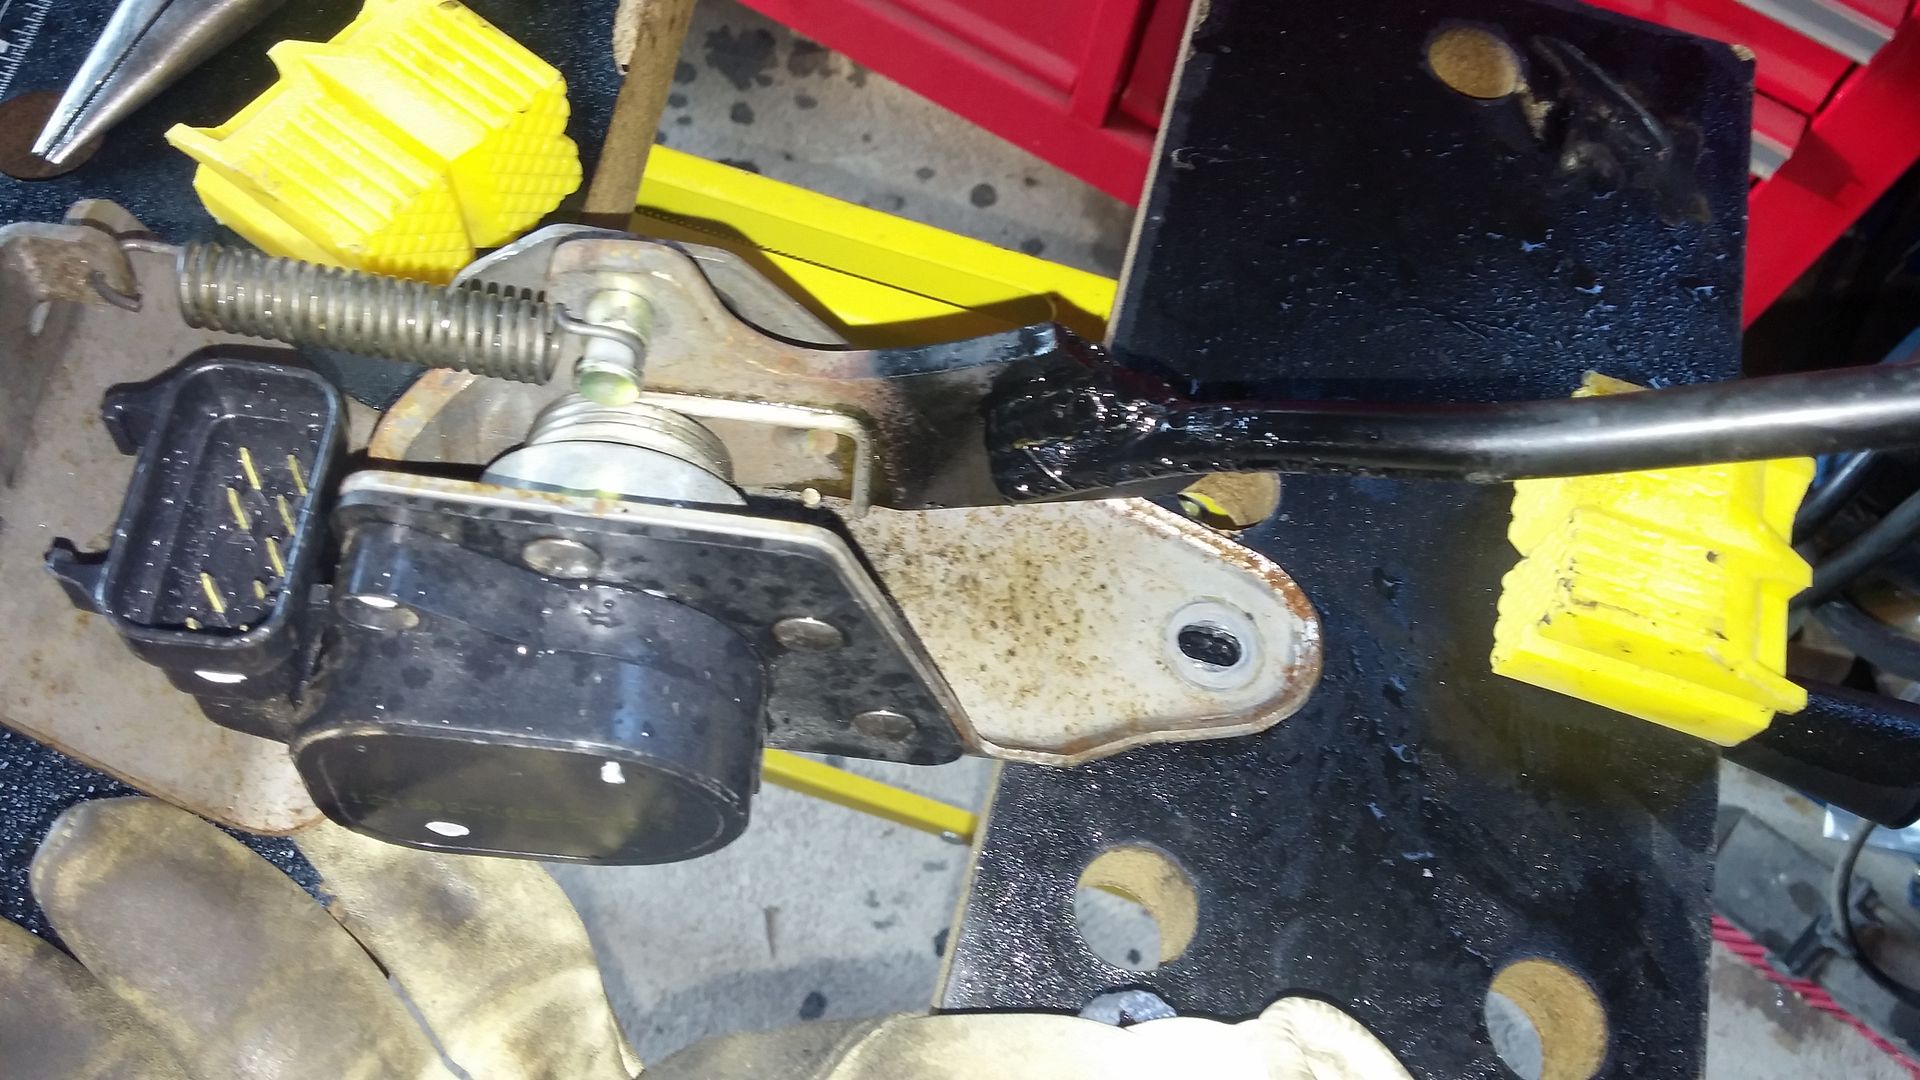
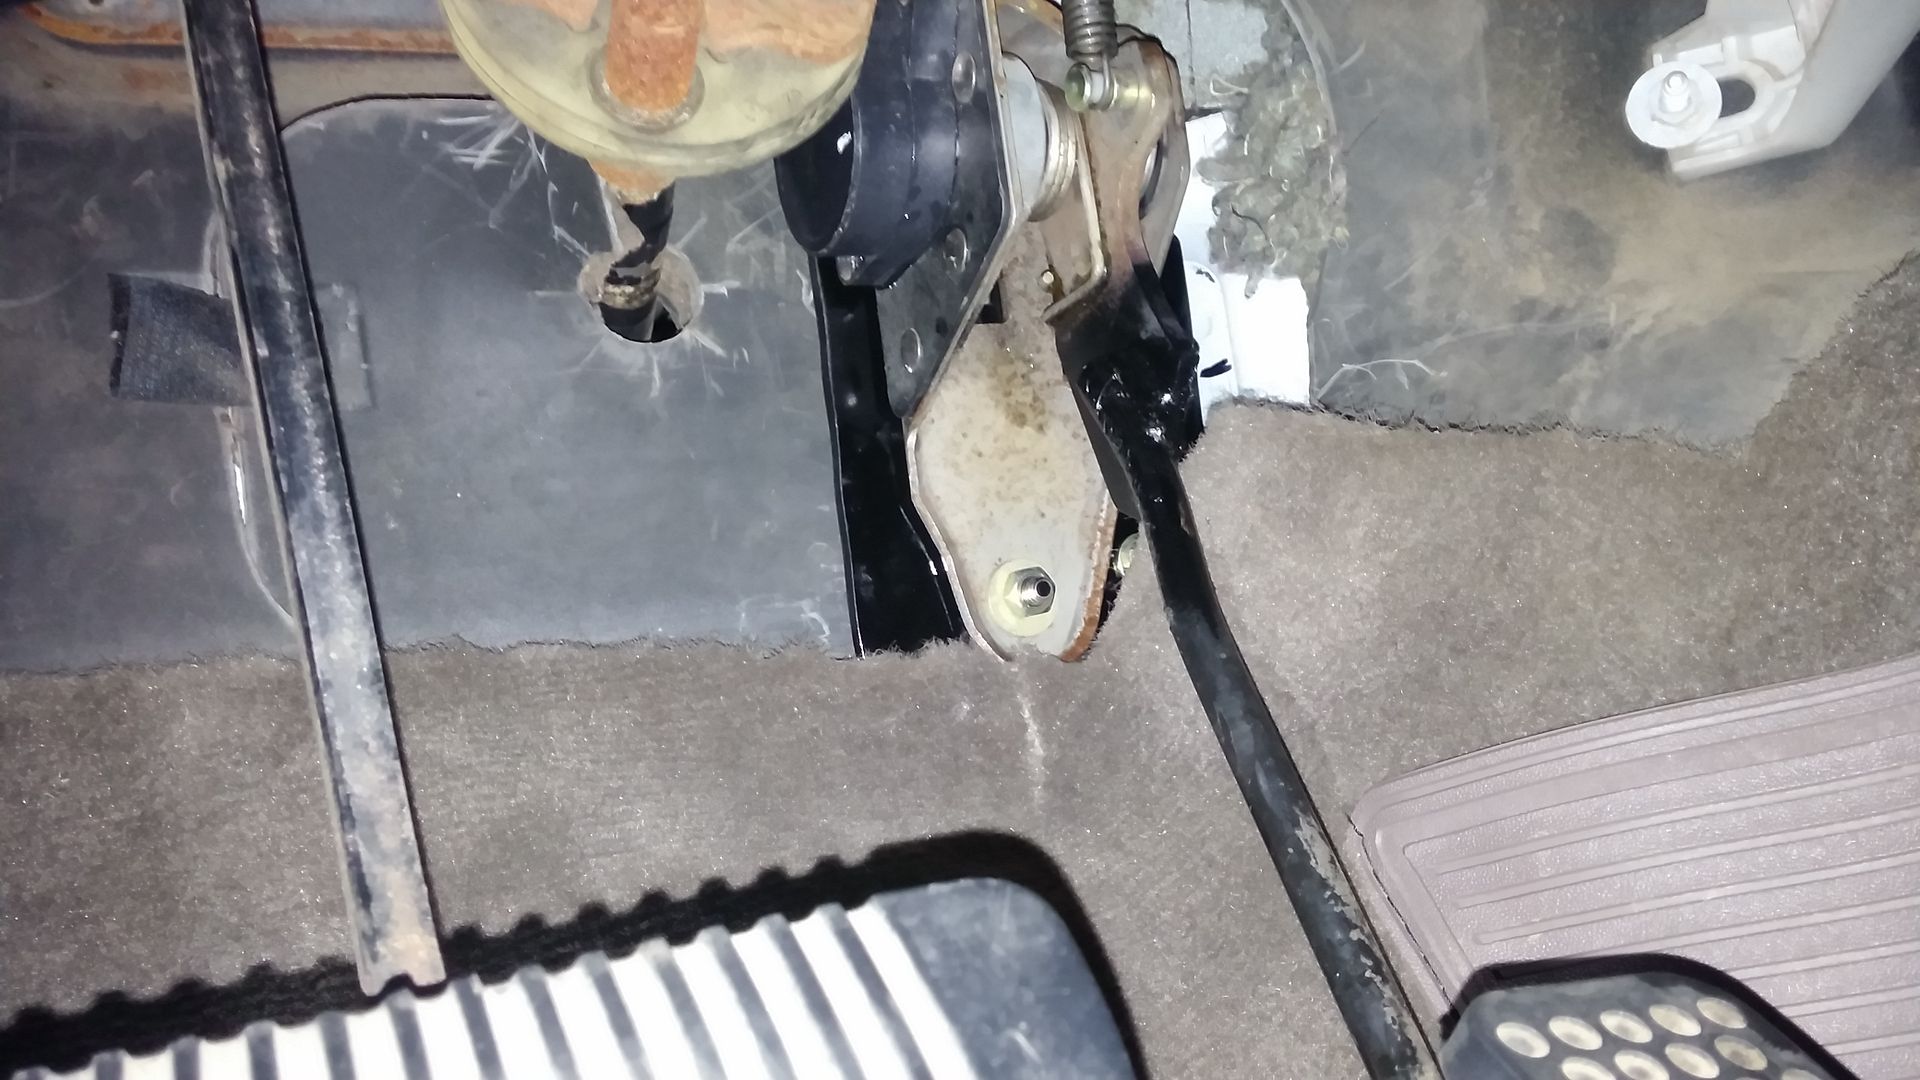
Built a plate to mount the DBW foot pedal assembly. It mounts in the original LX450 foot pedal mounting holes.
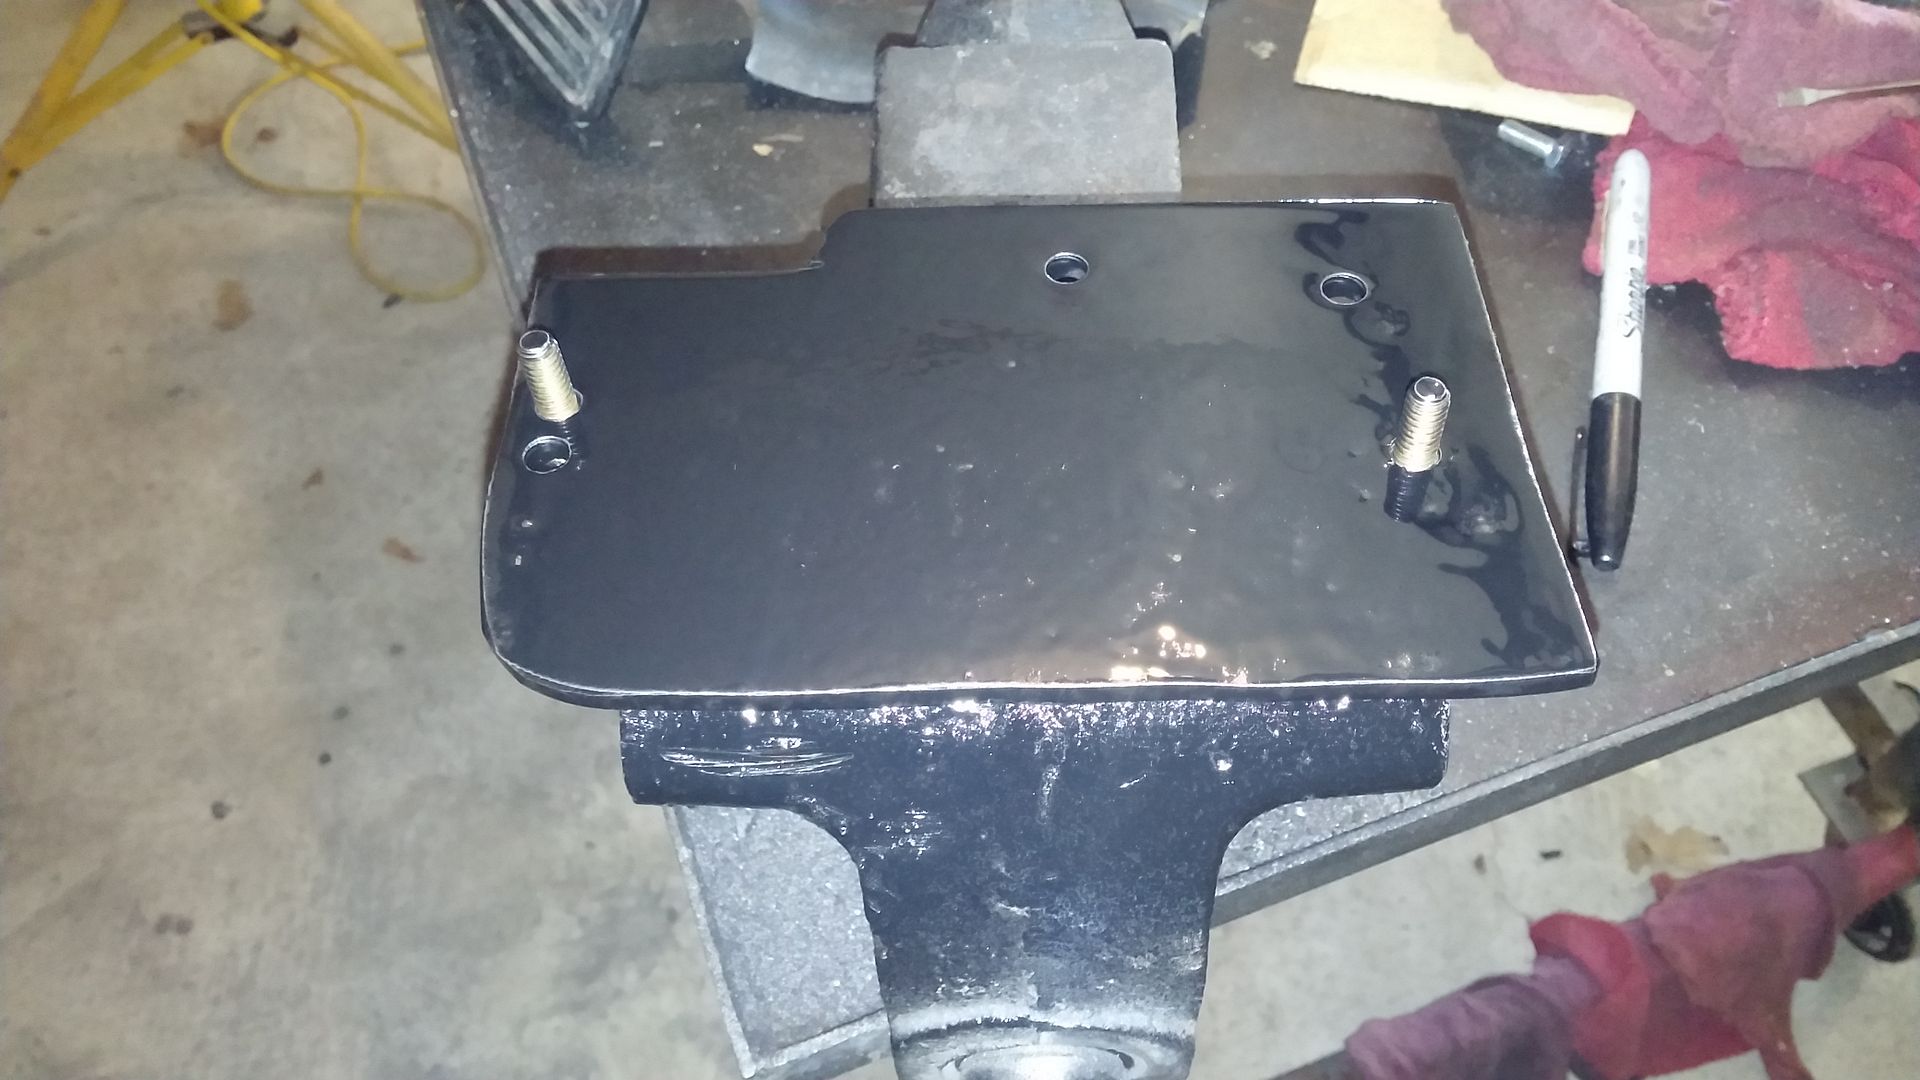

Modified the assembly by added the LX450 pedal.
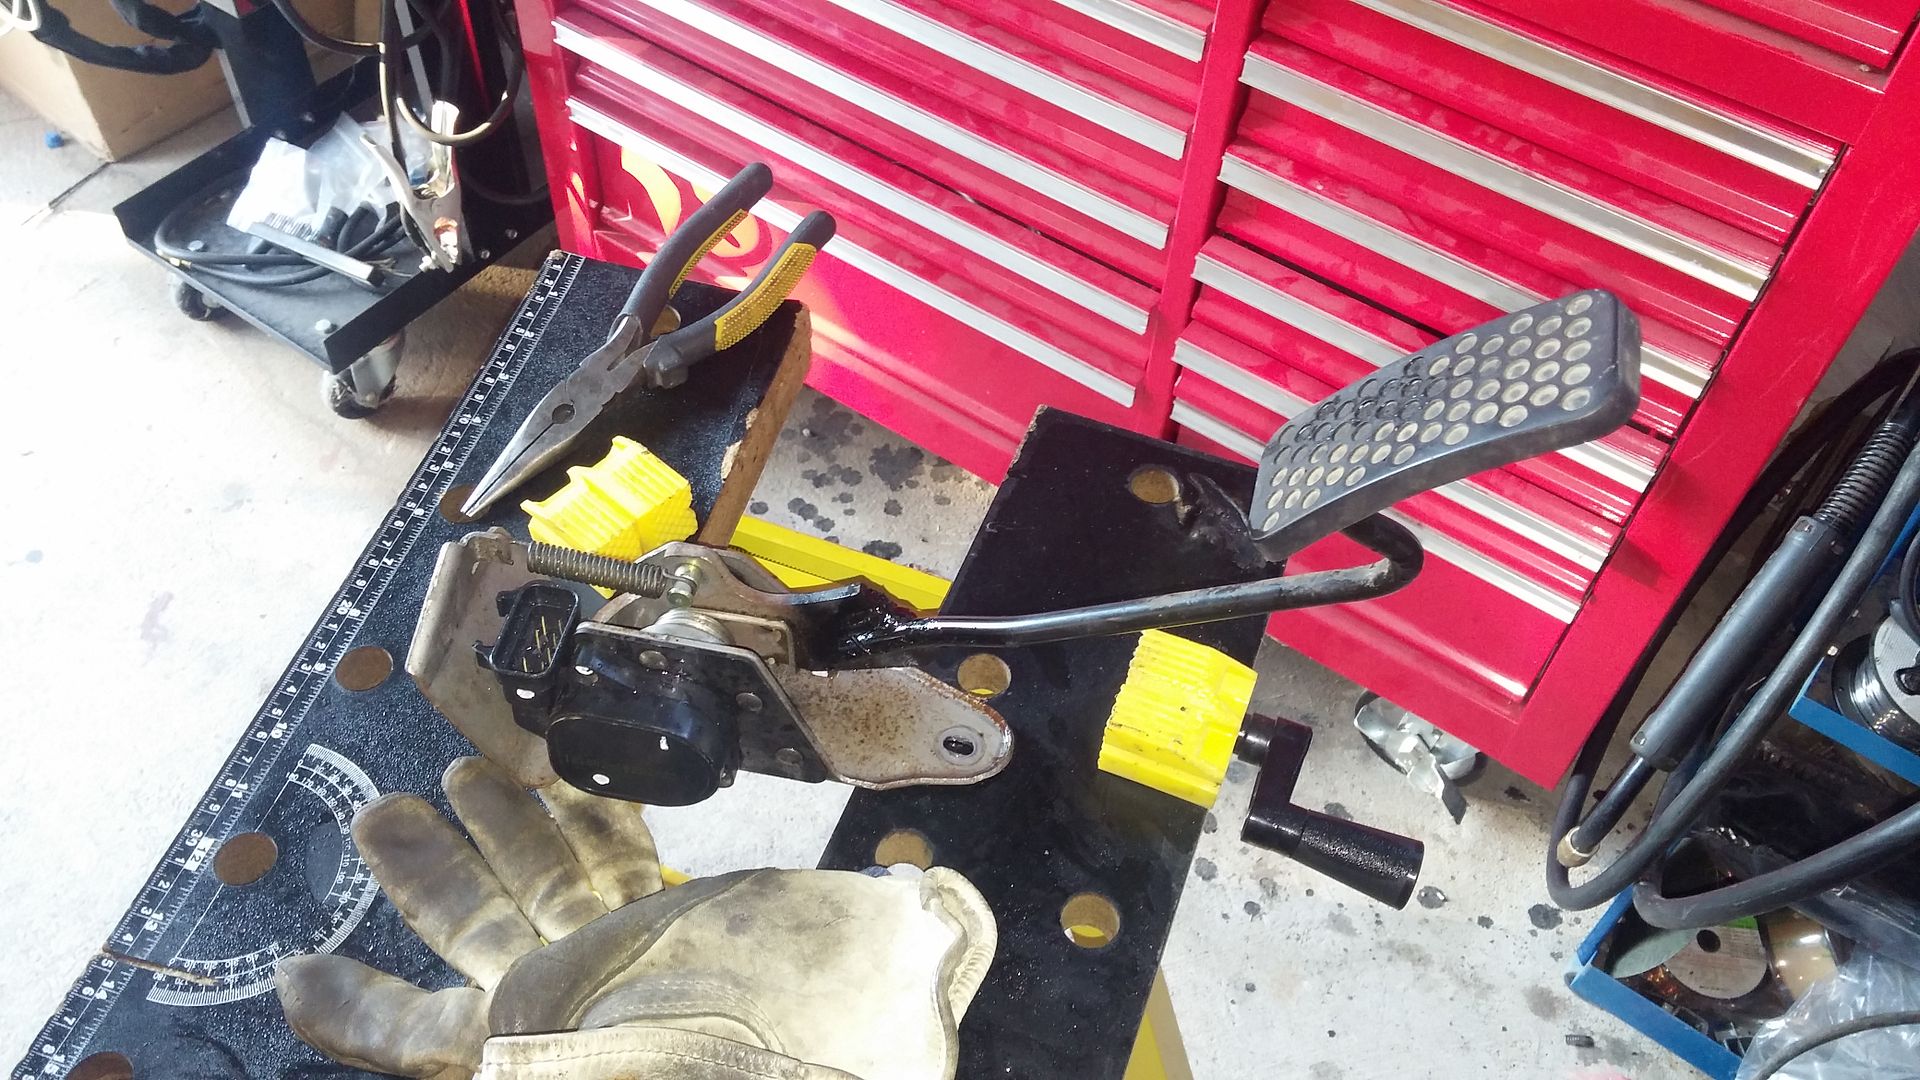
All together..
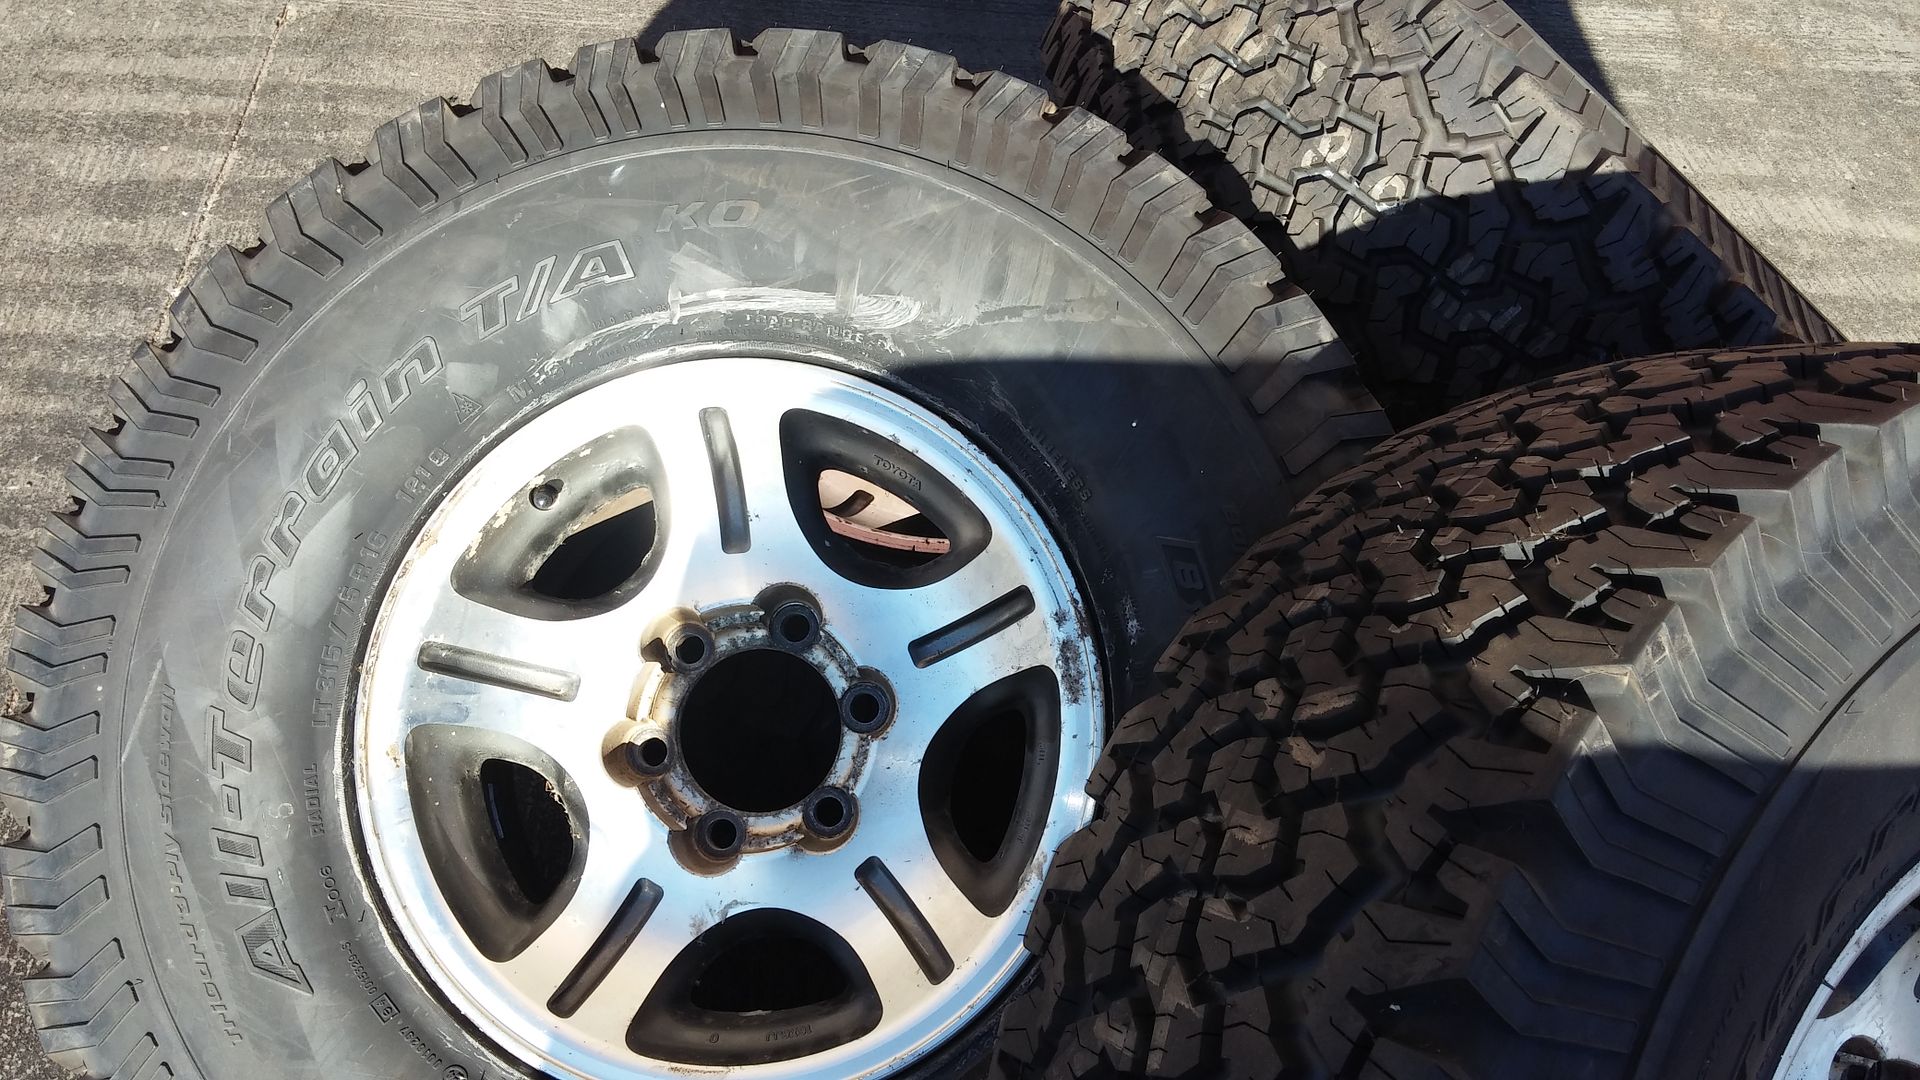
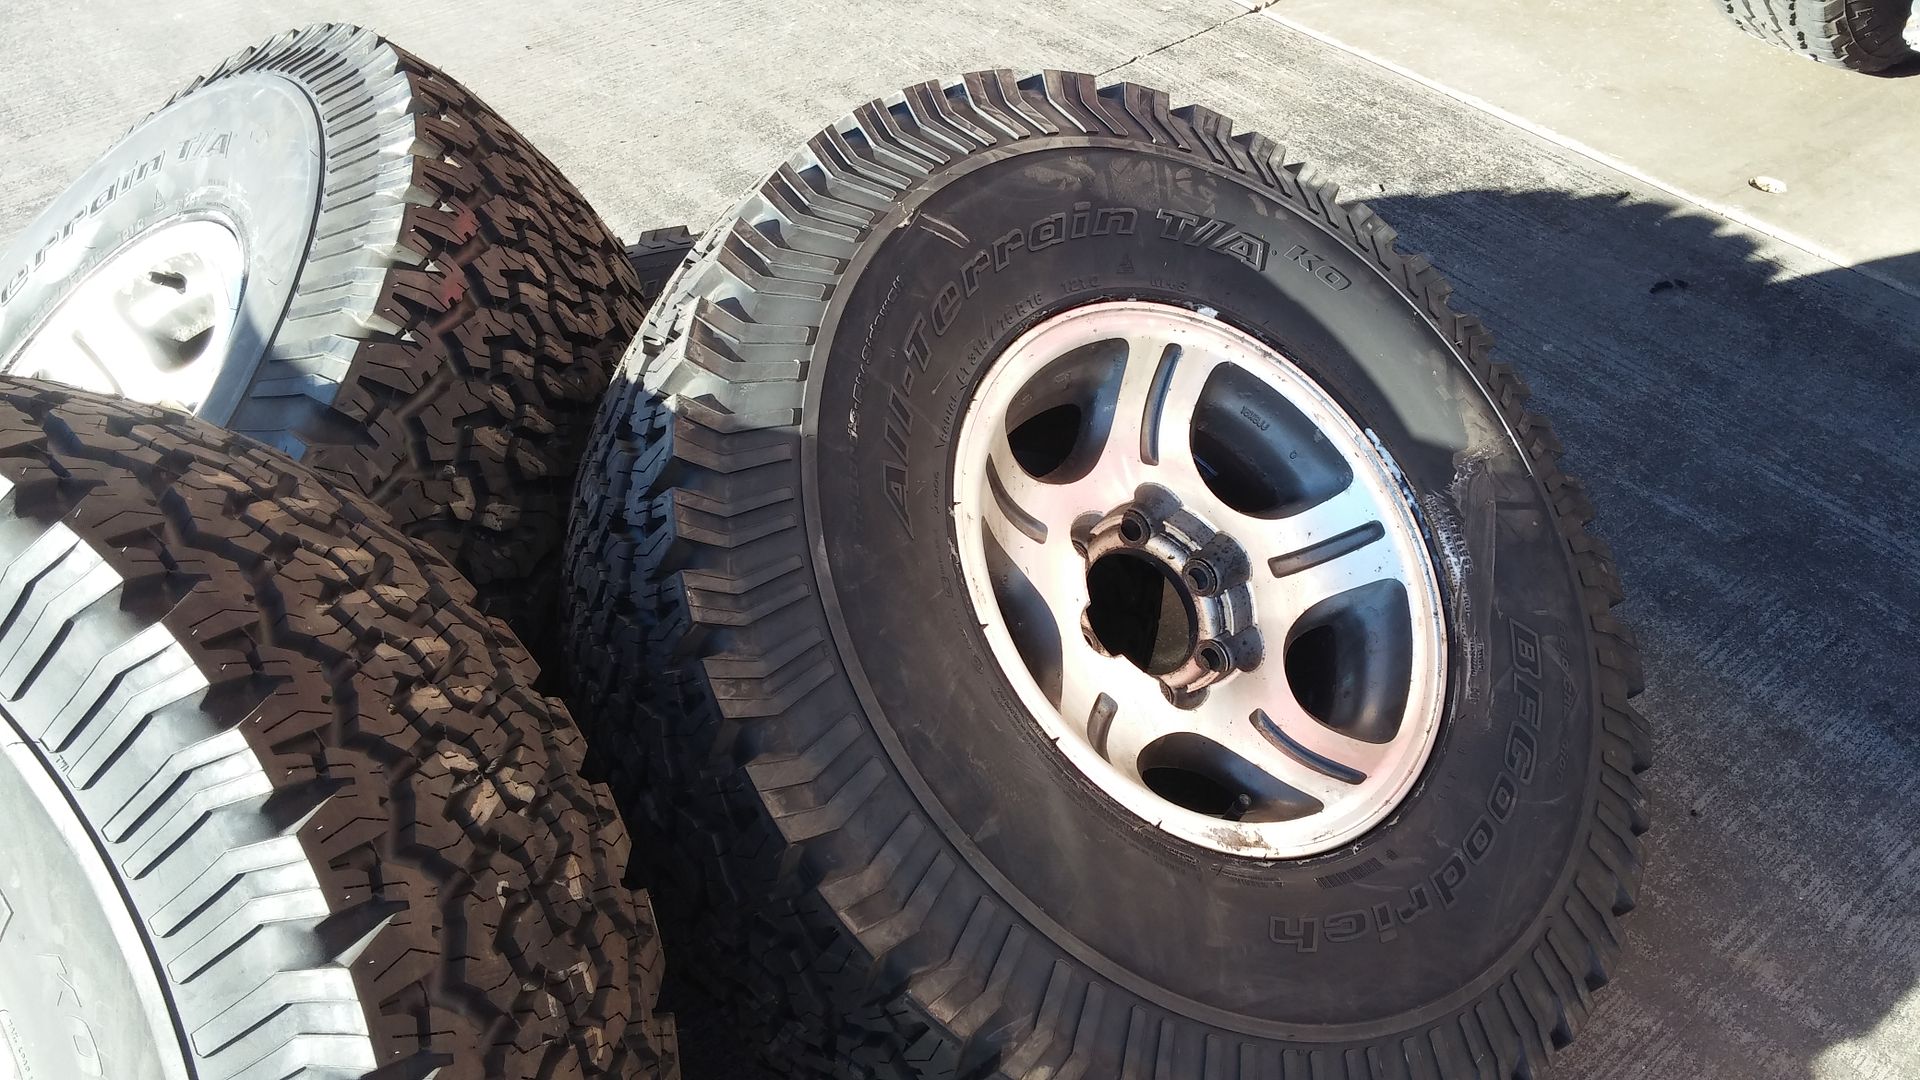
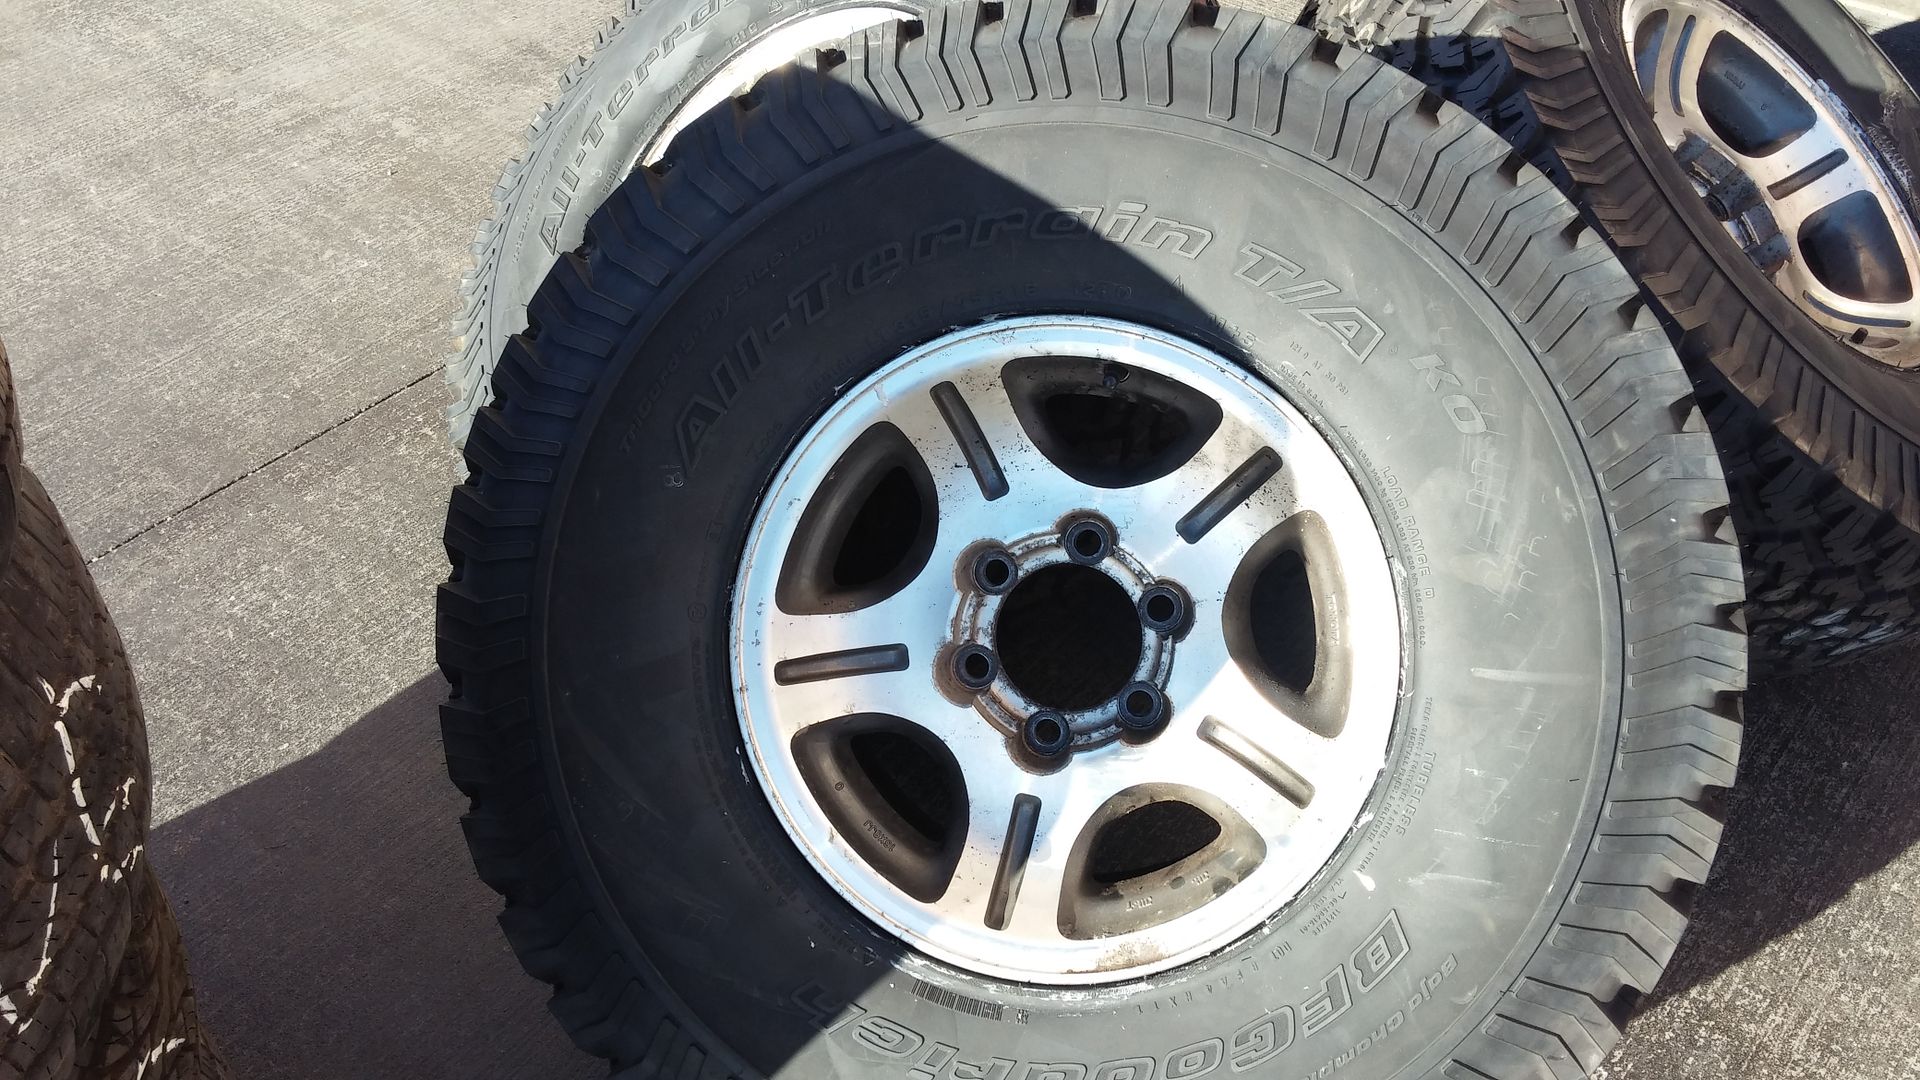
It was then time for wheels and tires.. after pricing what I thought I wanted, I decide to wait and see if I could find anything used… a quick search on Craigslist found a set of 4 BFG AT T/A 315/75/R16’s.. New never been mounted.. I was able to negotiate a decent price.. $750.. That made the wheel selection easy.. I decided to go with the factory LX450 wheels..
Before I could mount the wheels and tires, I had a couple of task to complete…
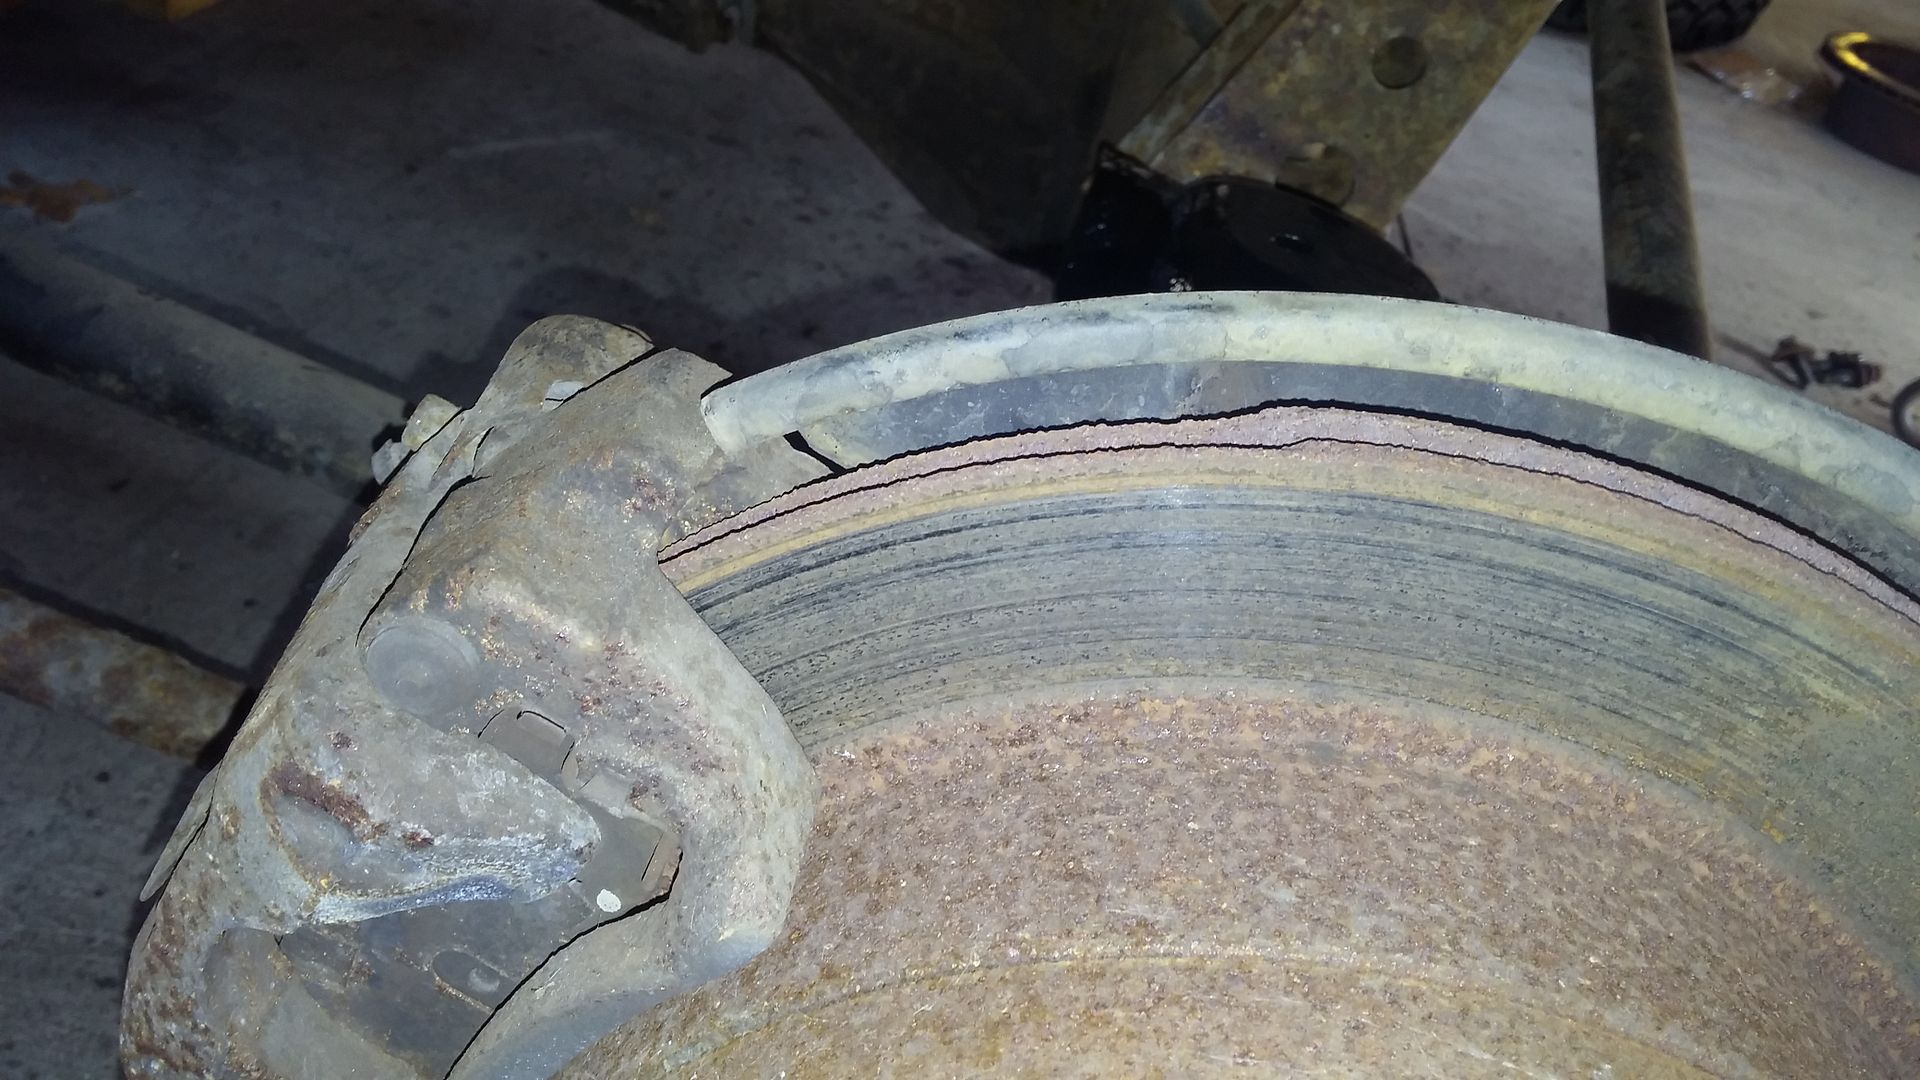
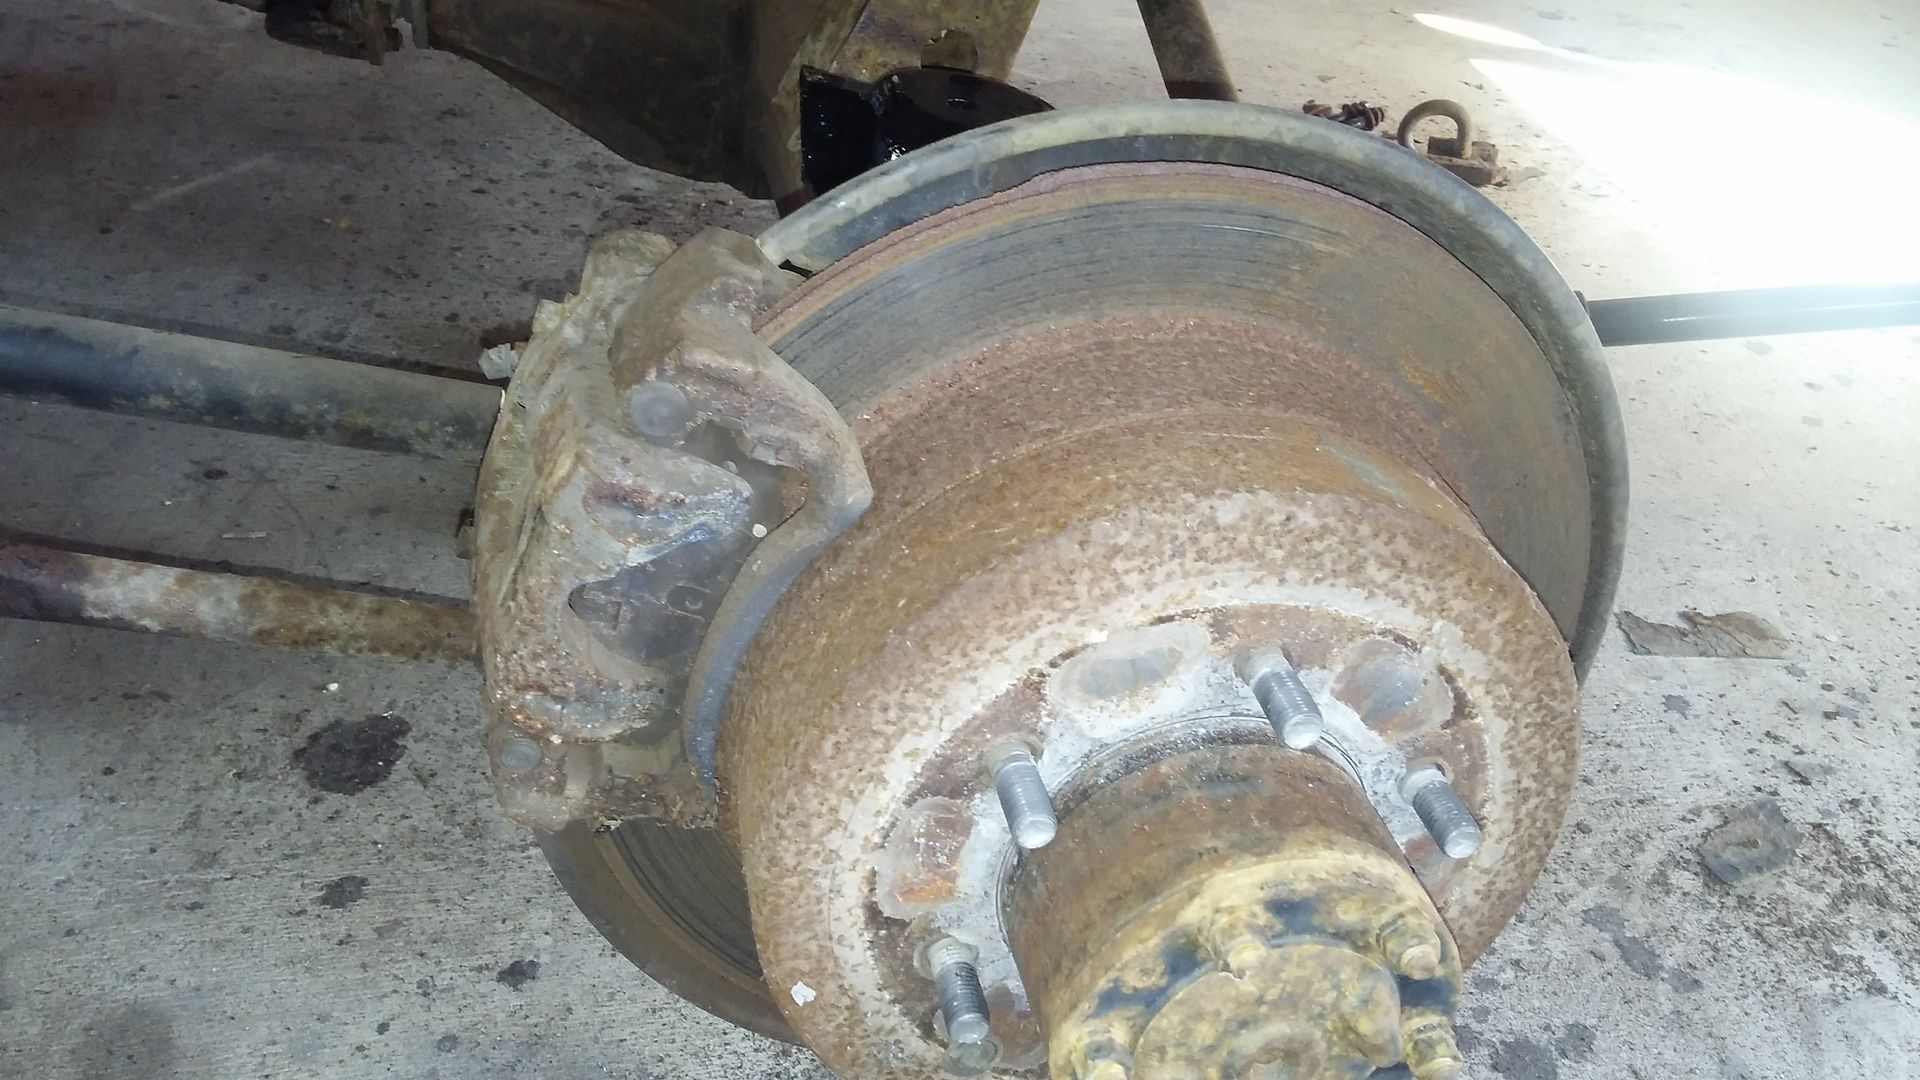
One rear brakes… The rear rotors were so thin they were falling apart.. Decide it was time to replace them..
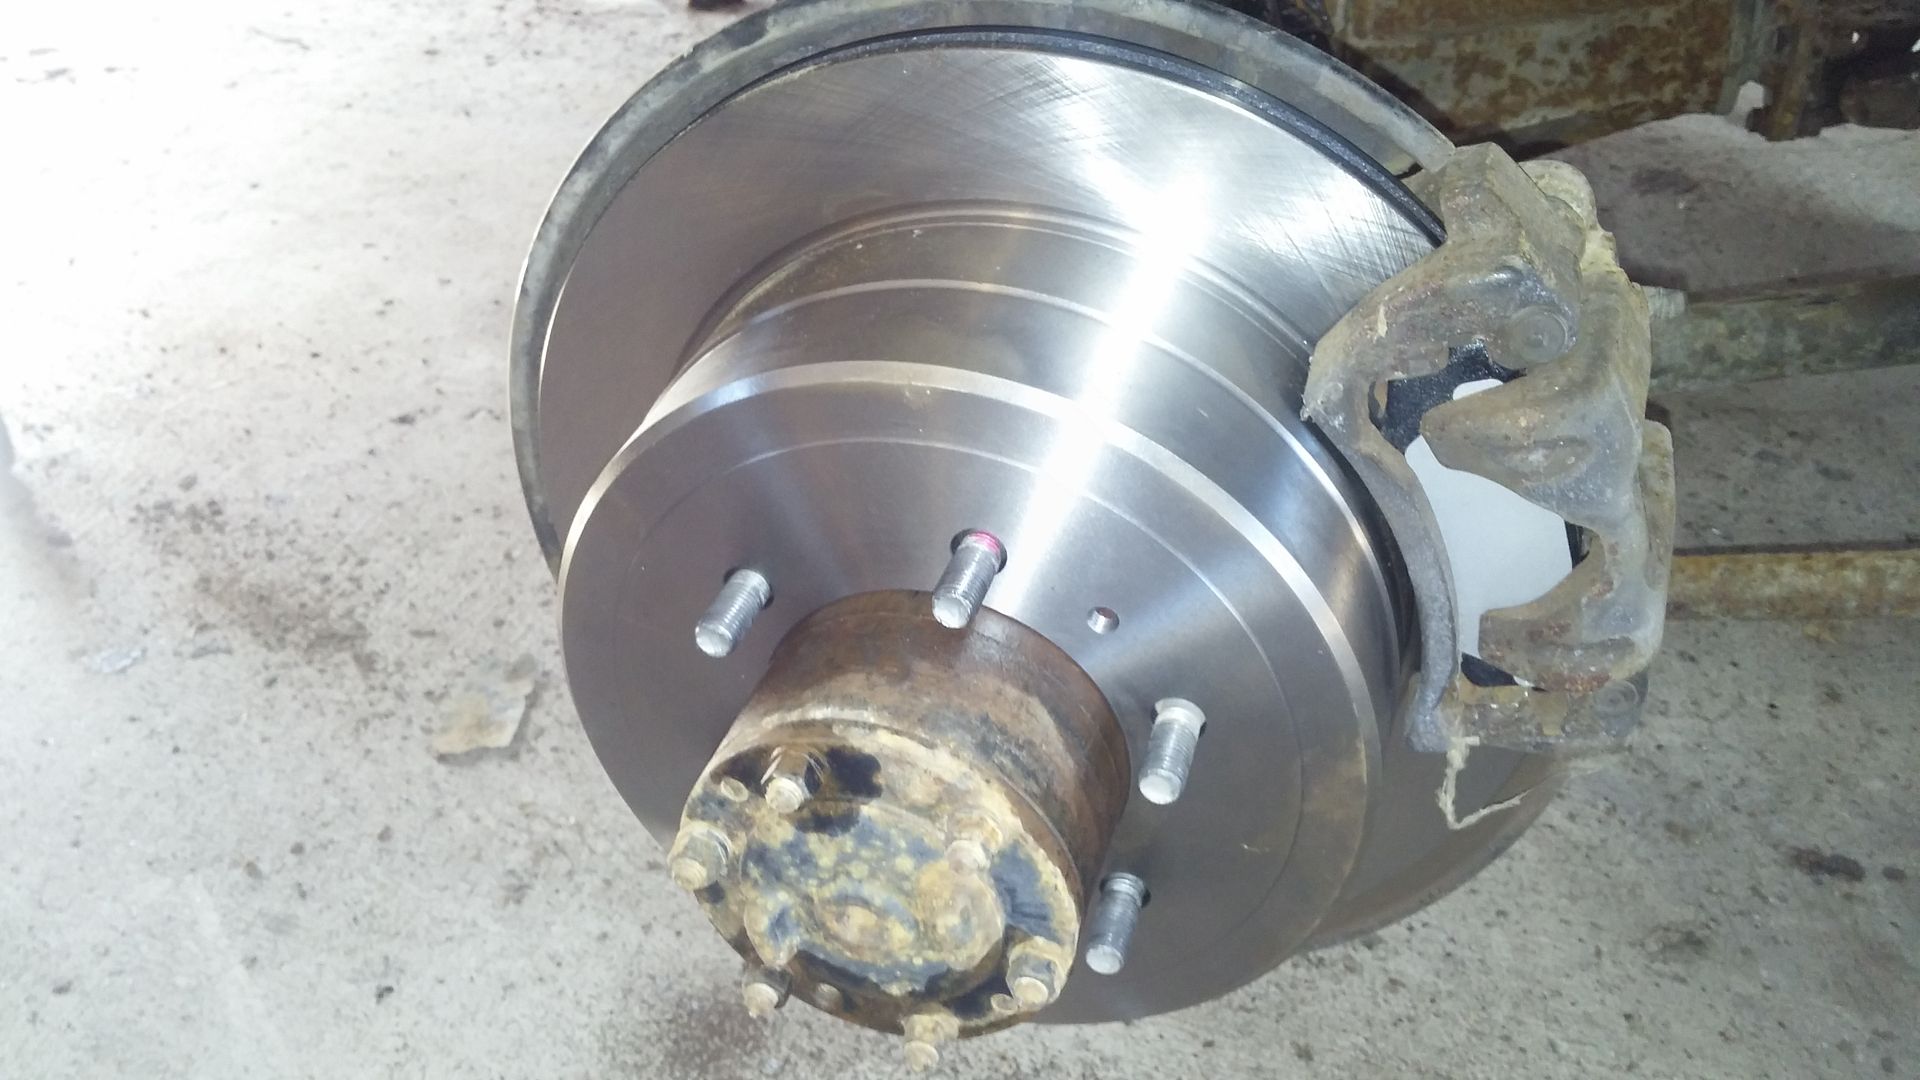
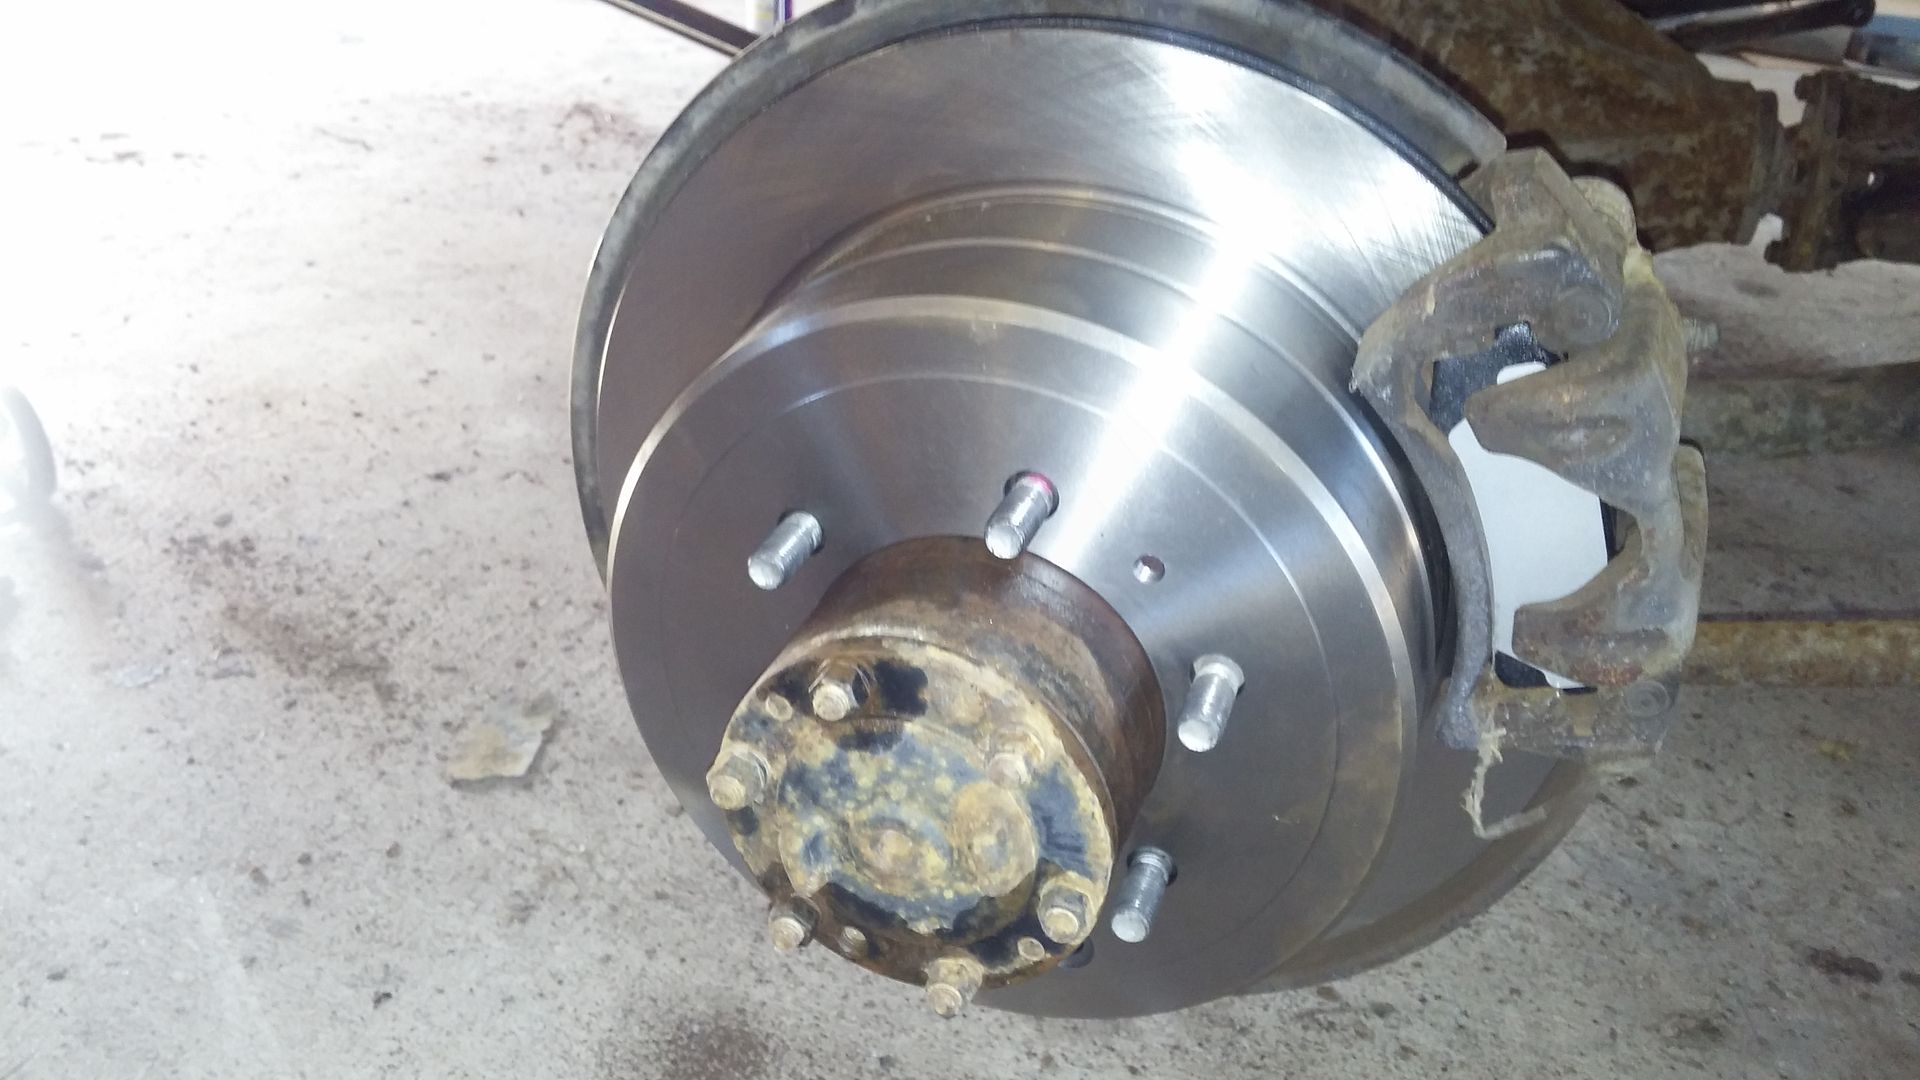
New..
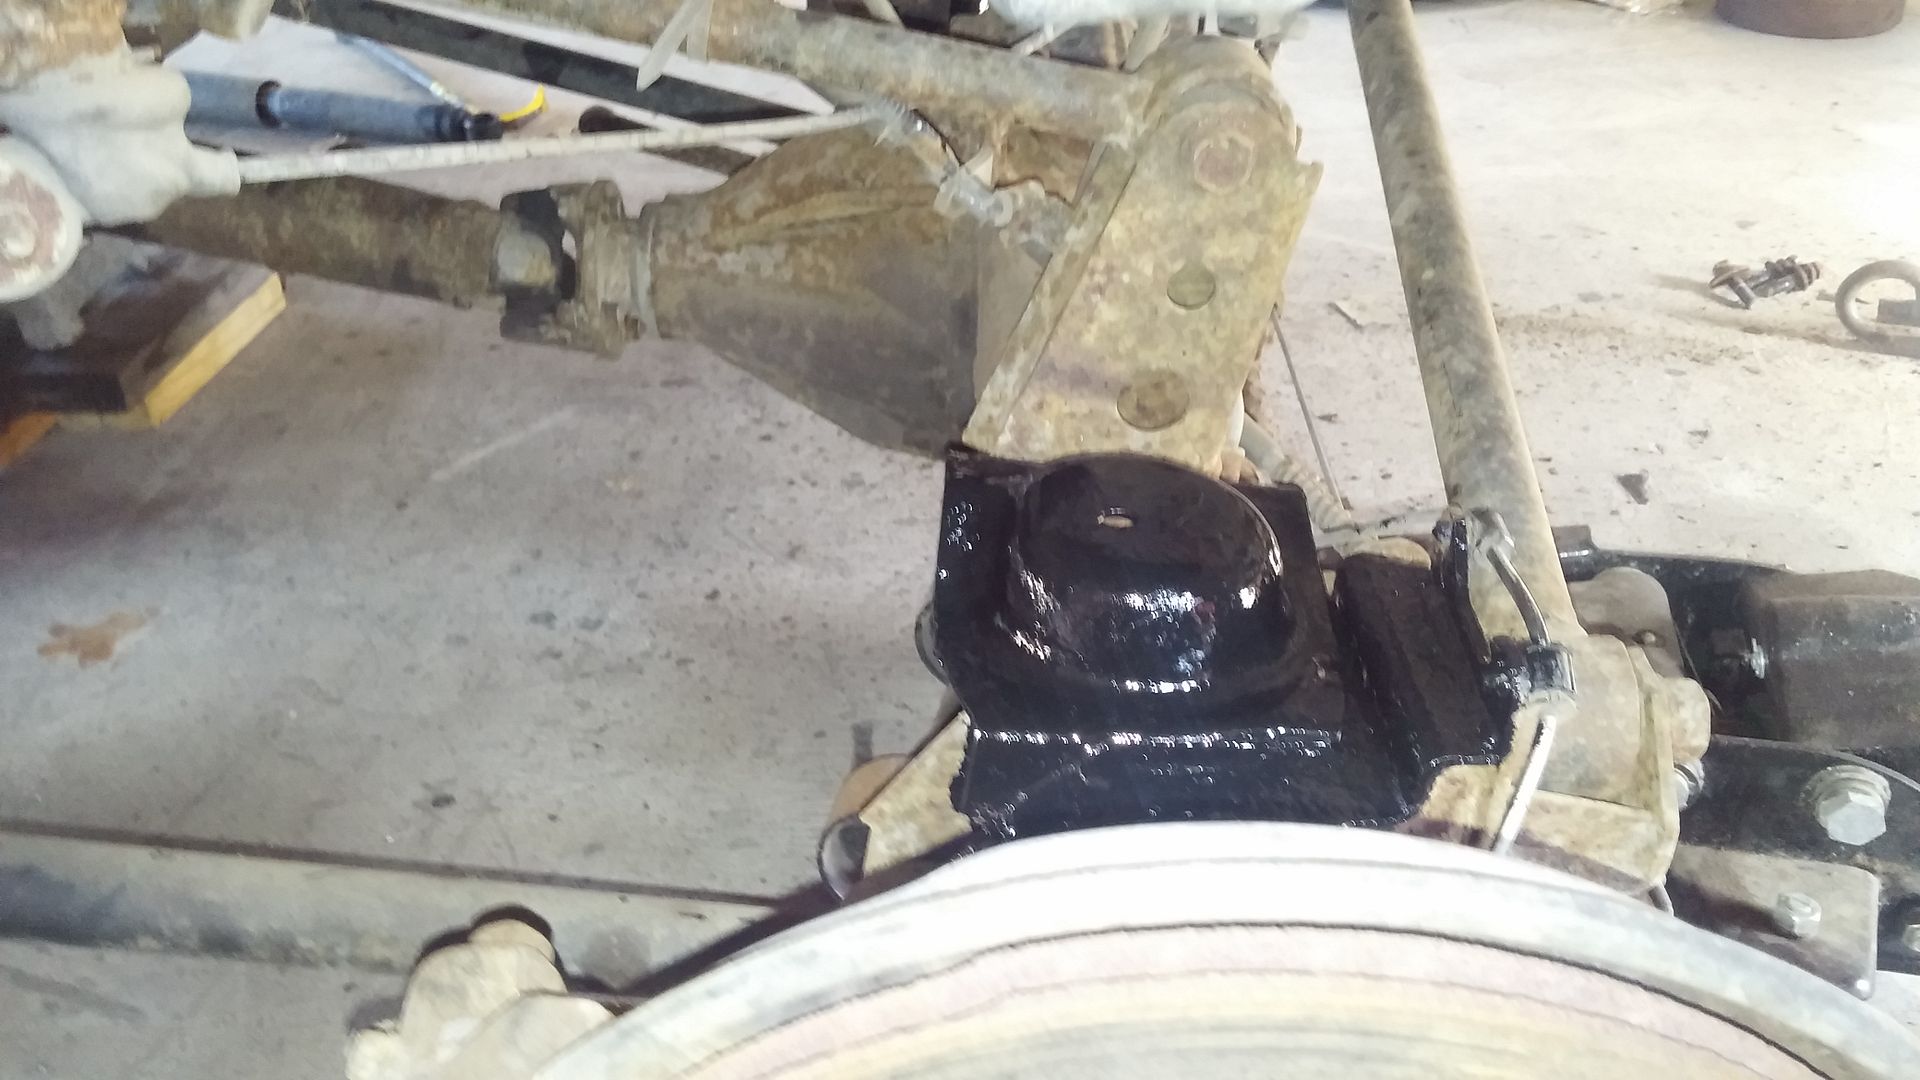
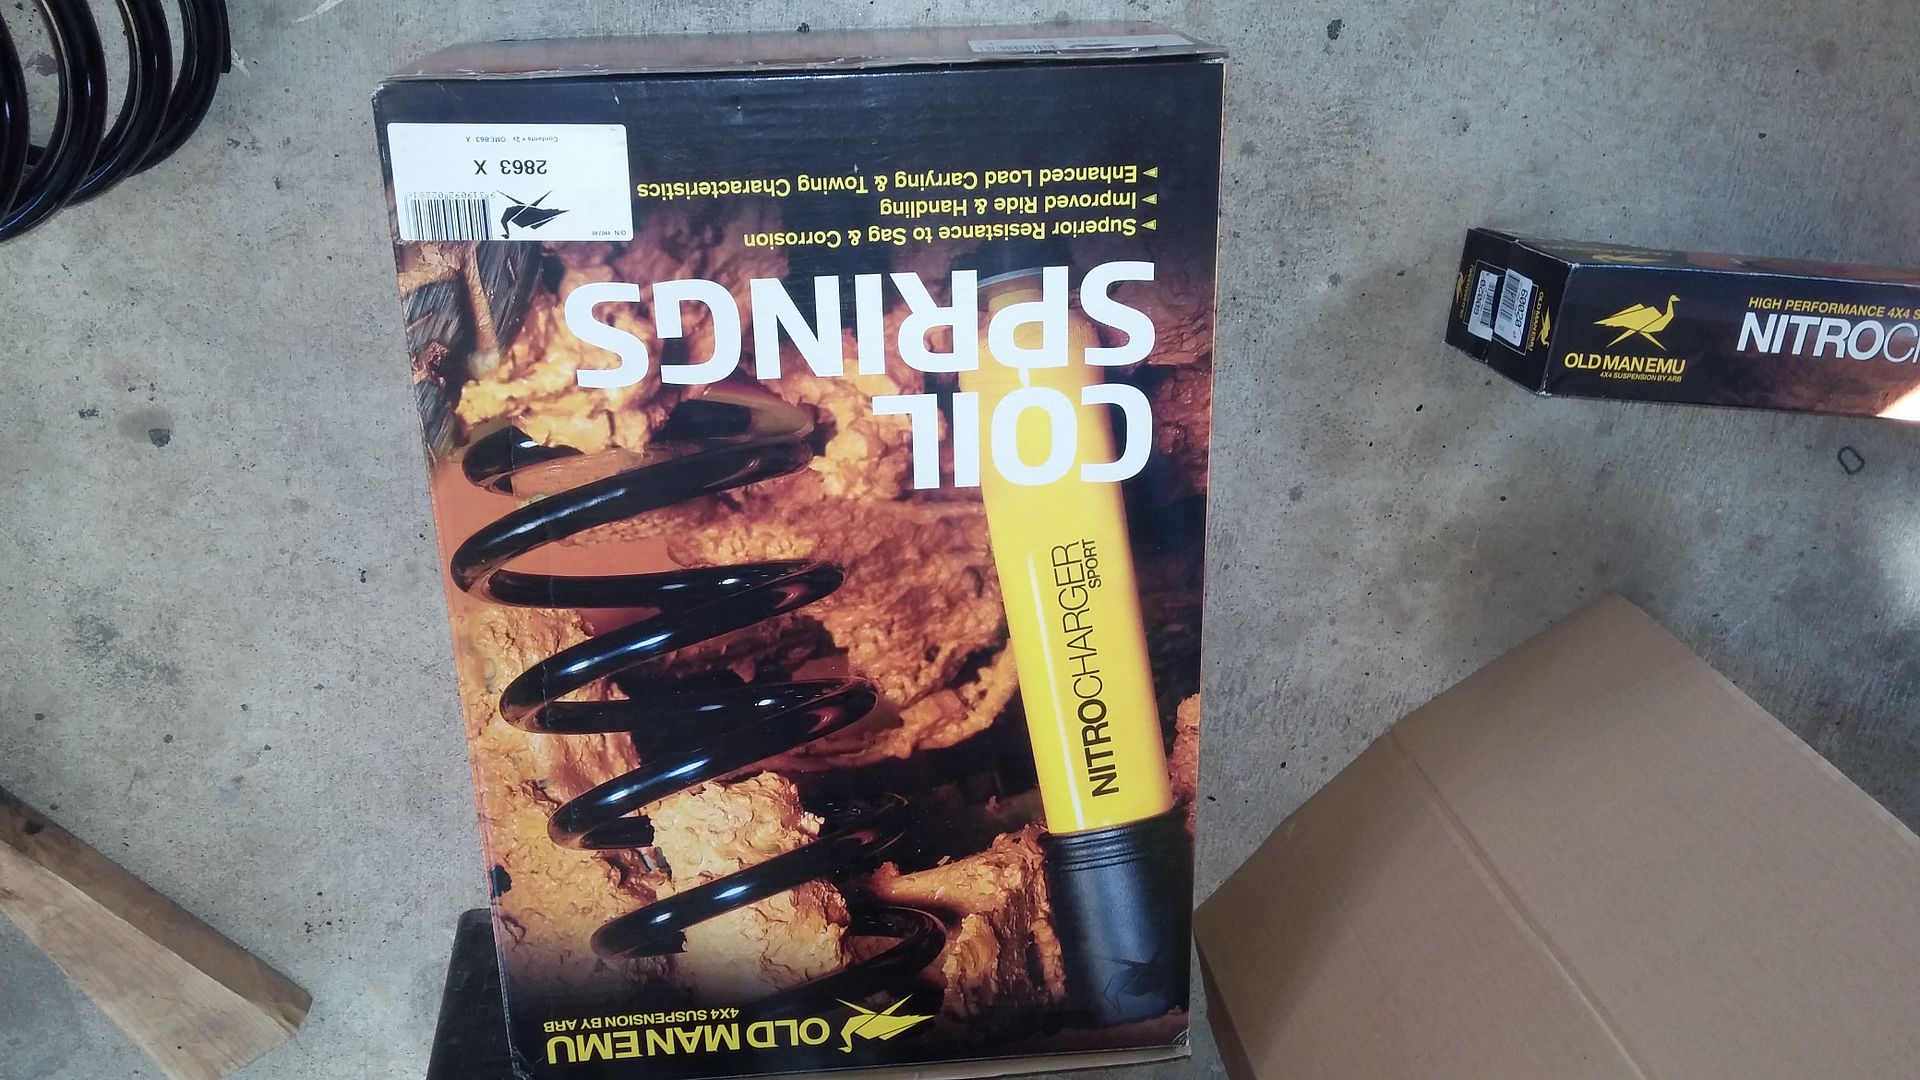
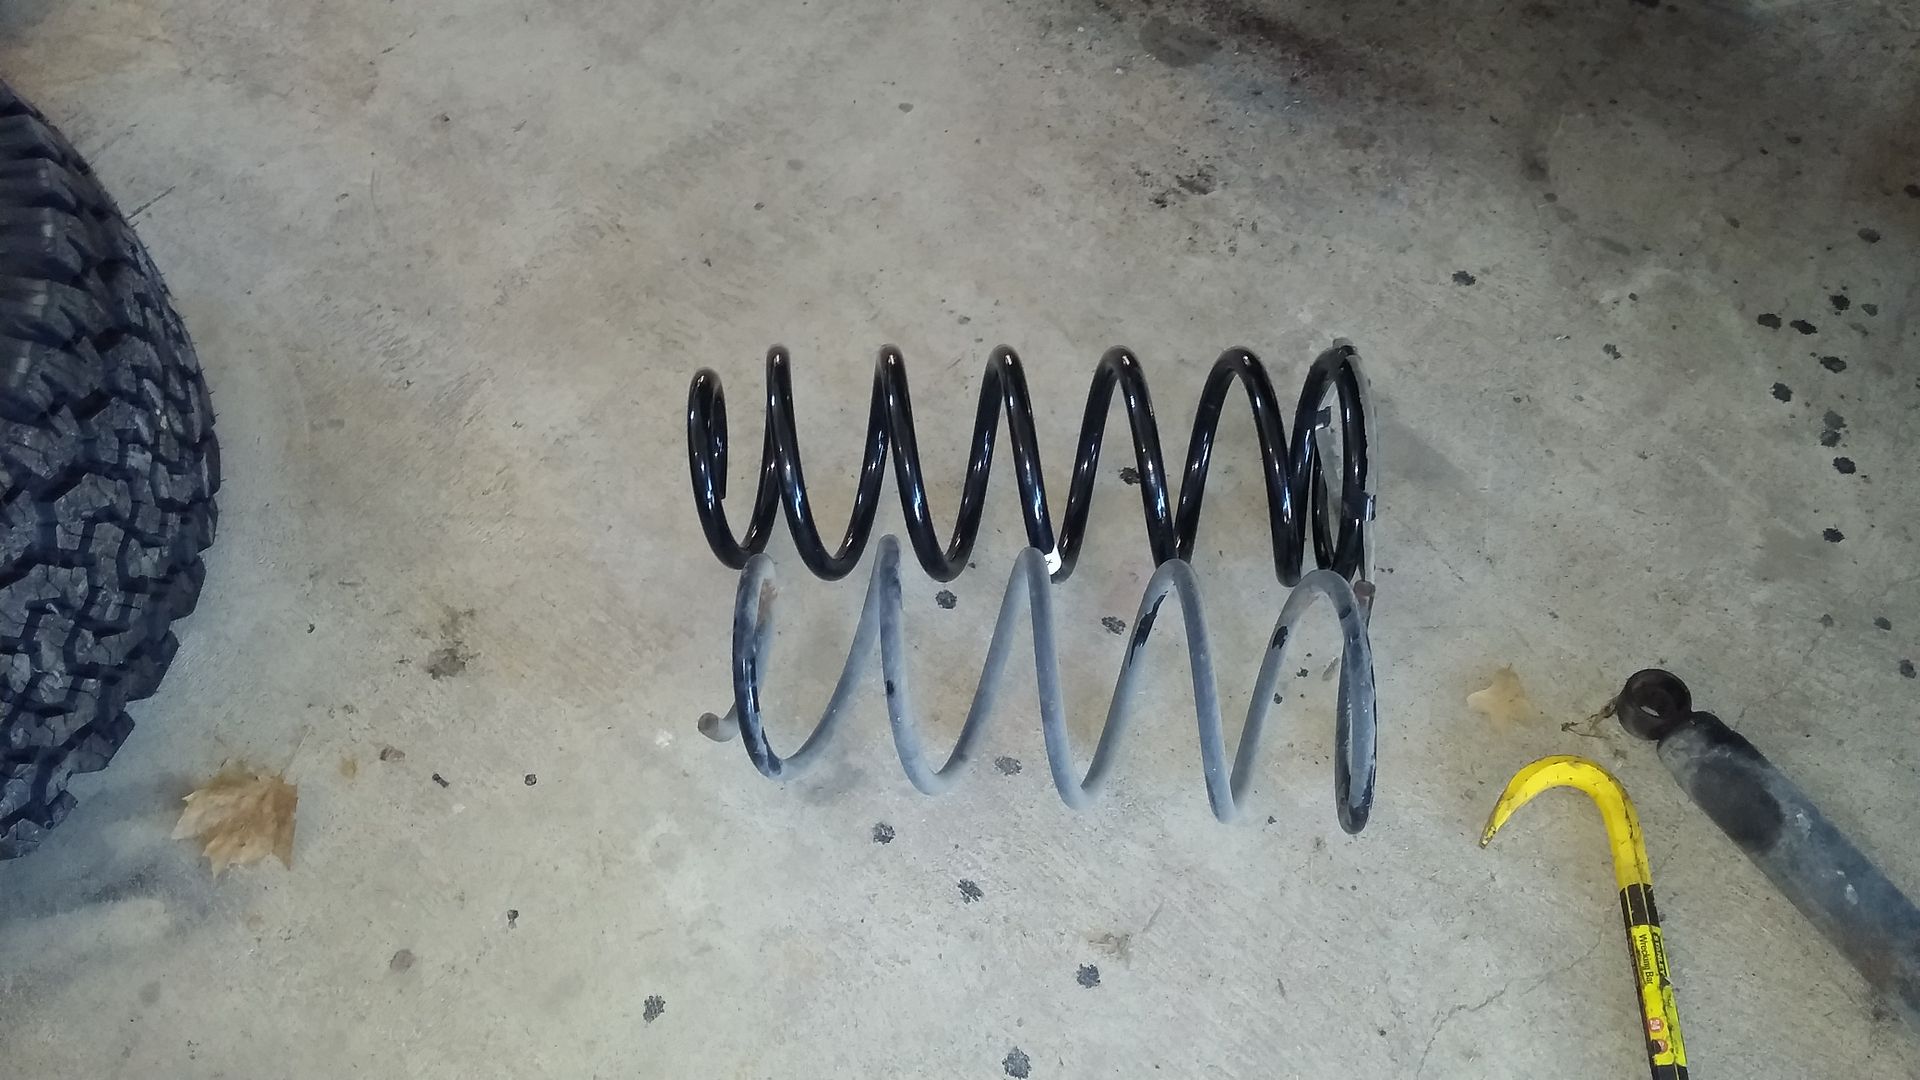
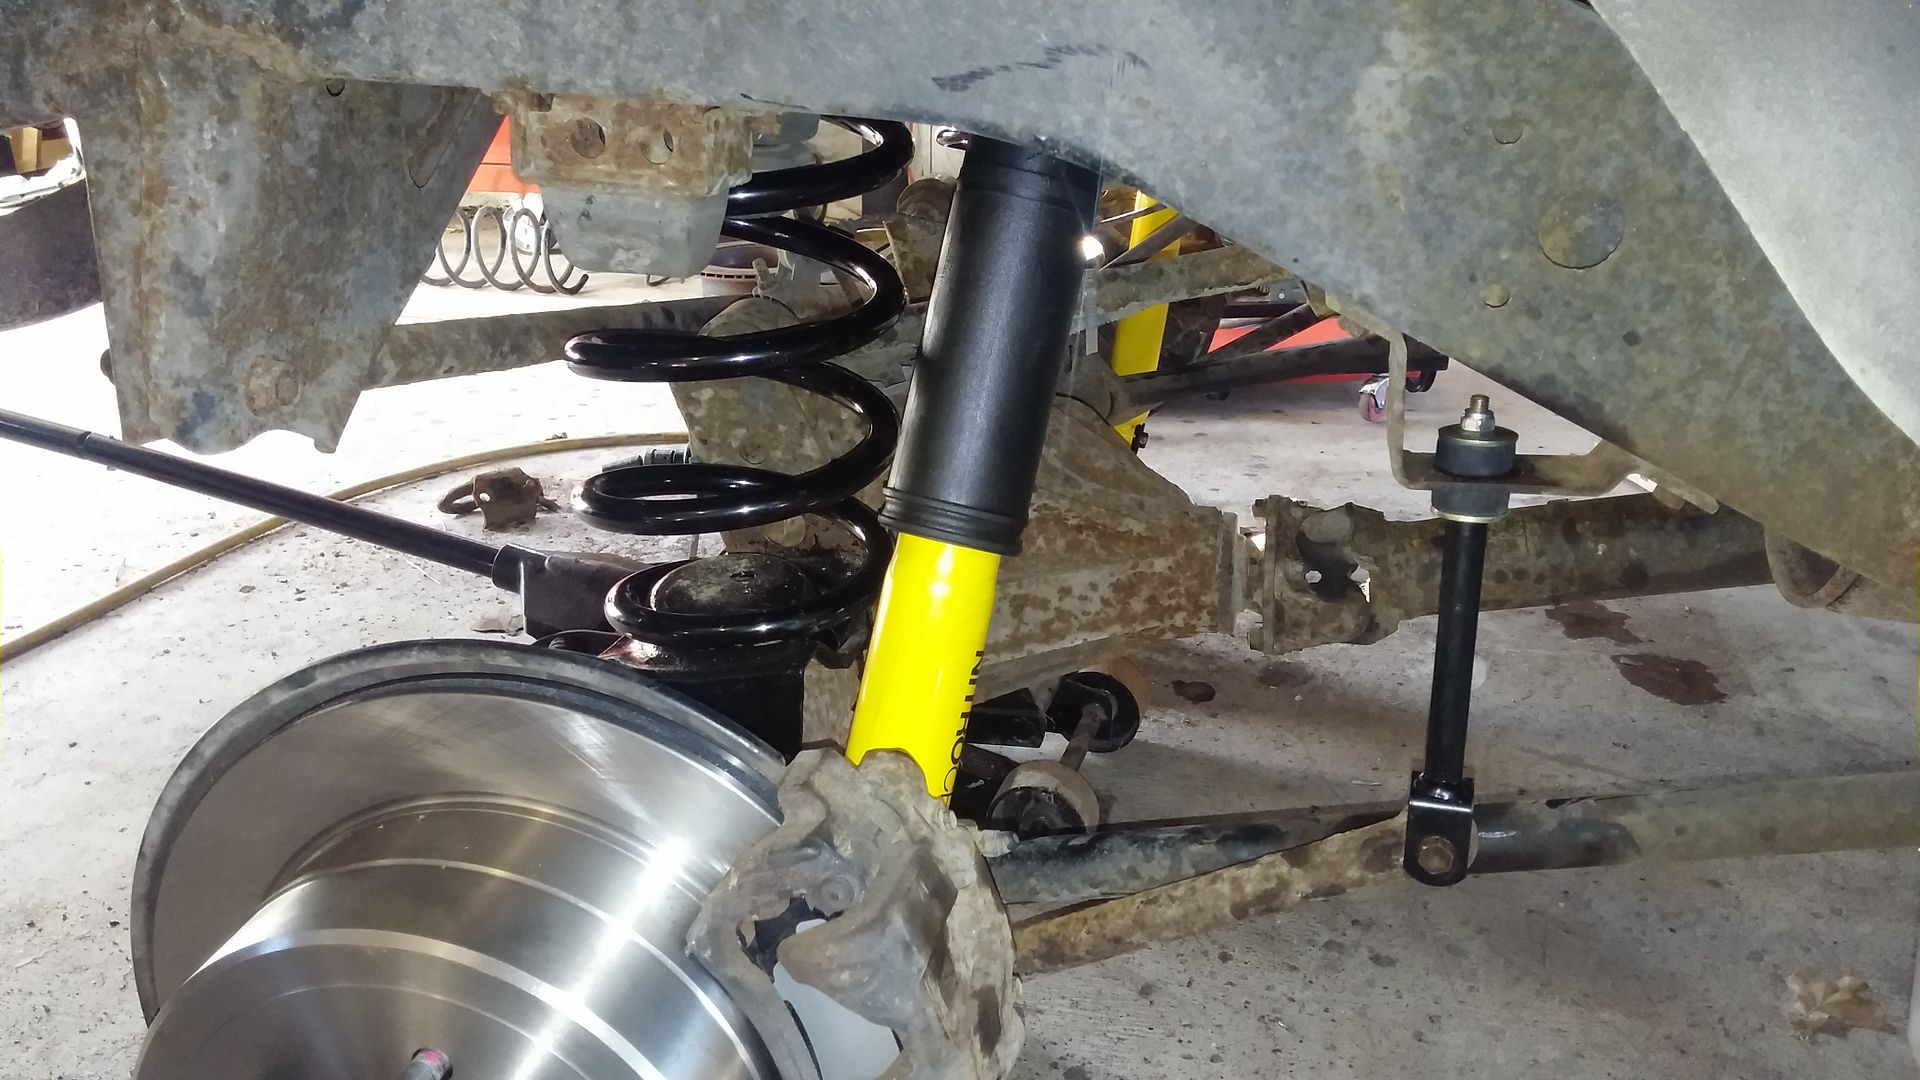
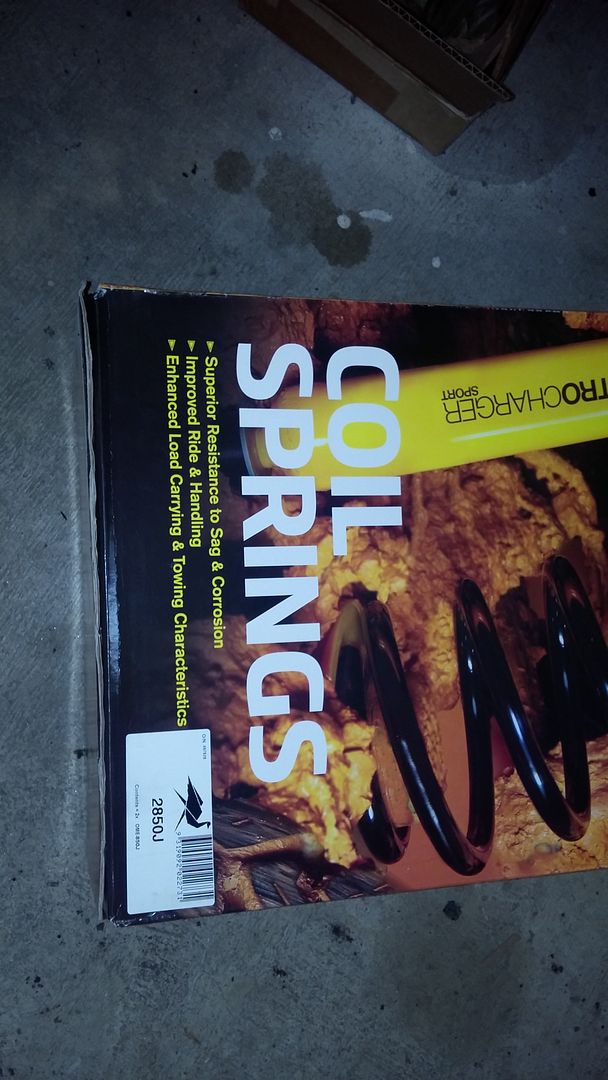
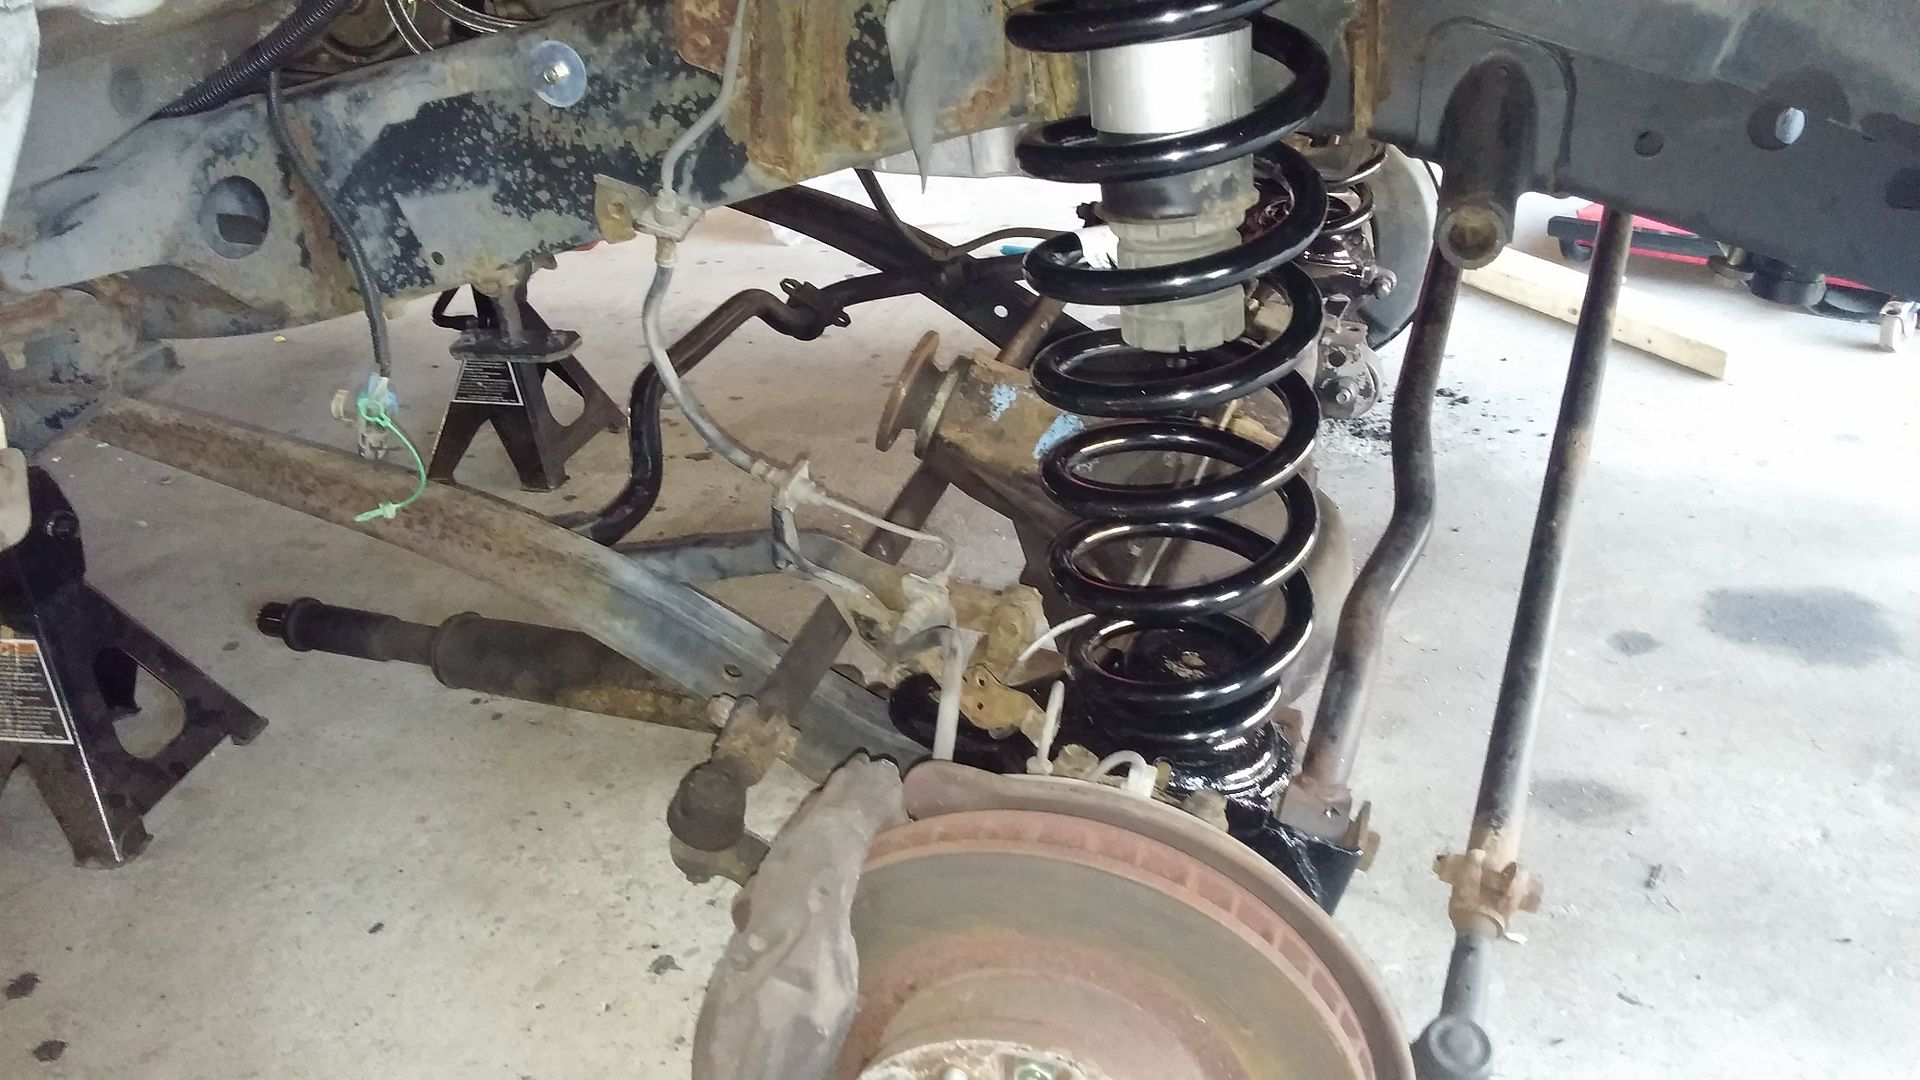
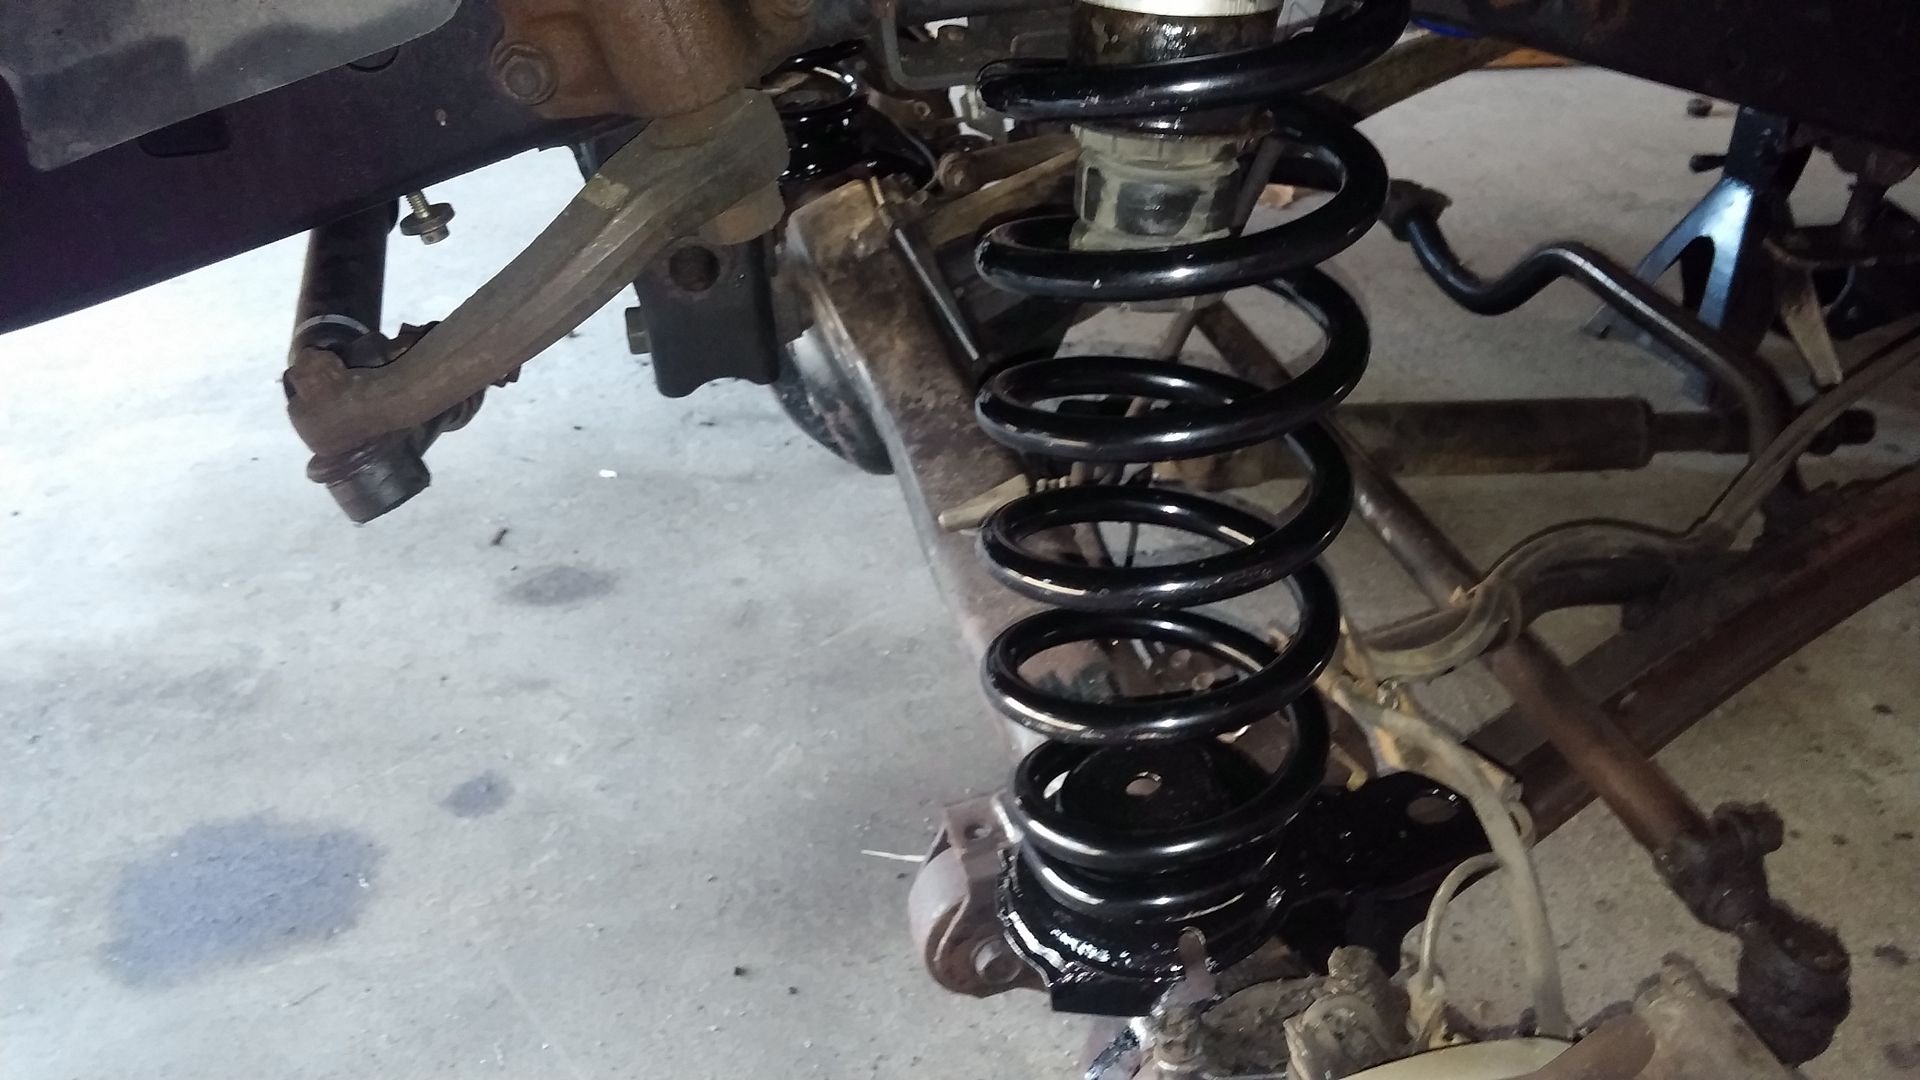
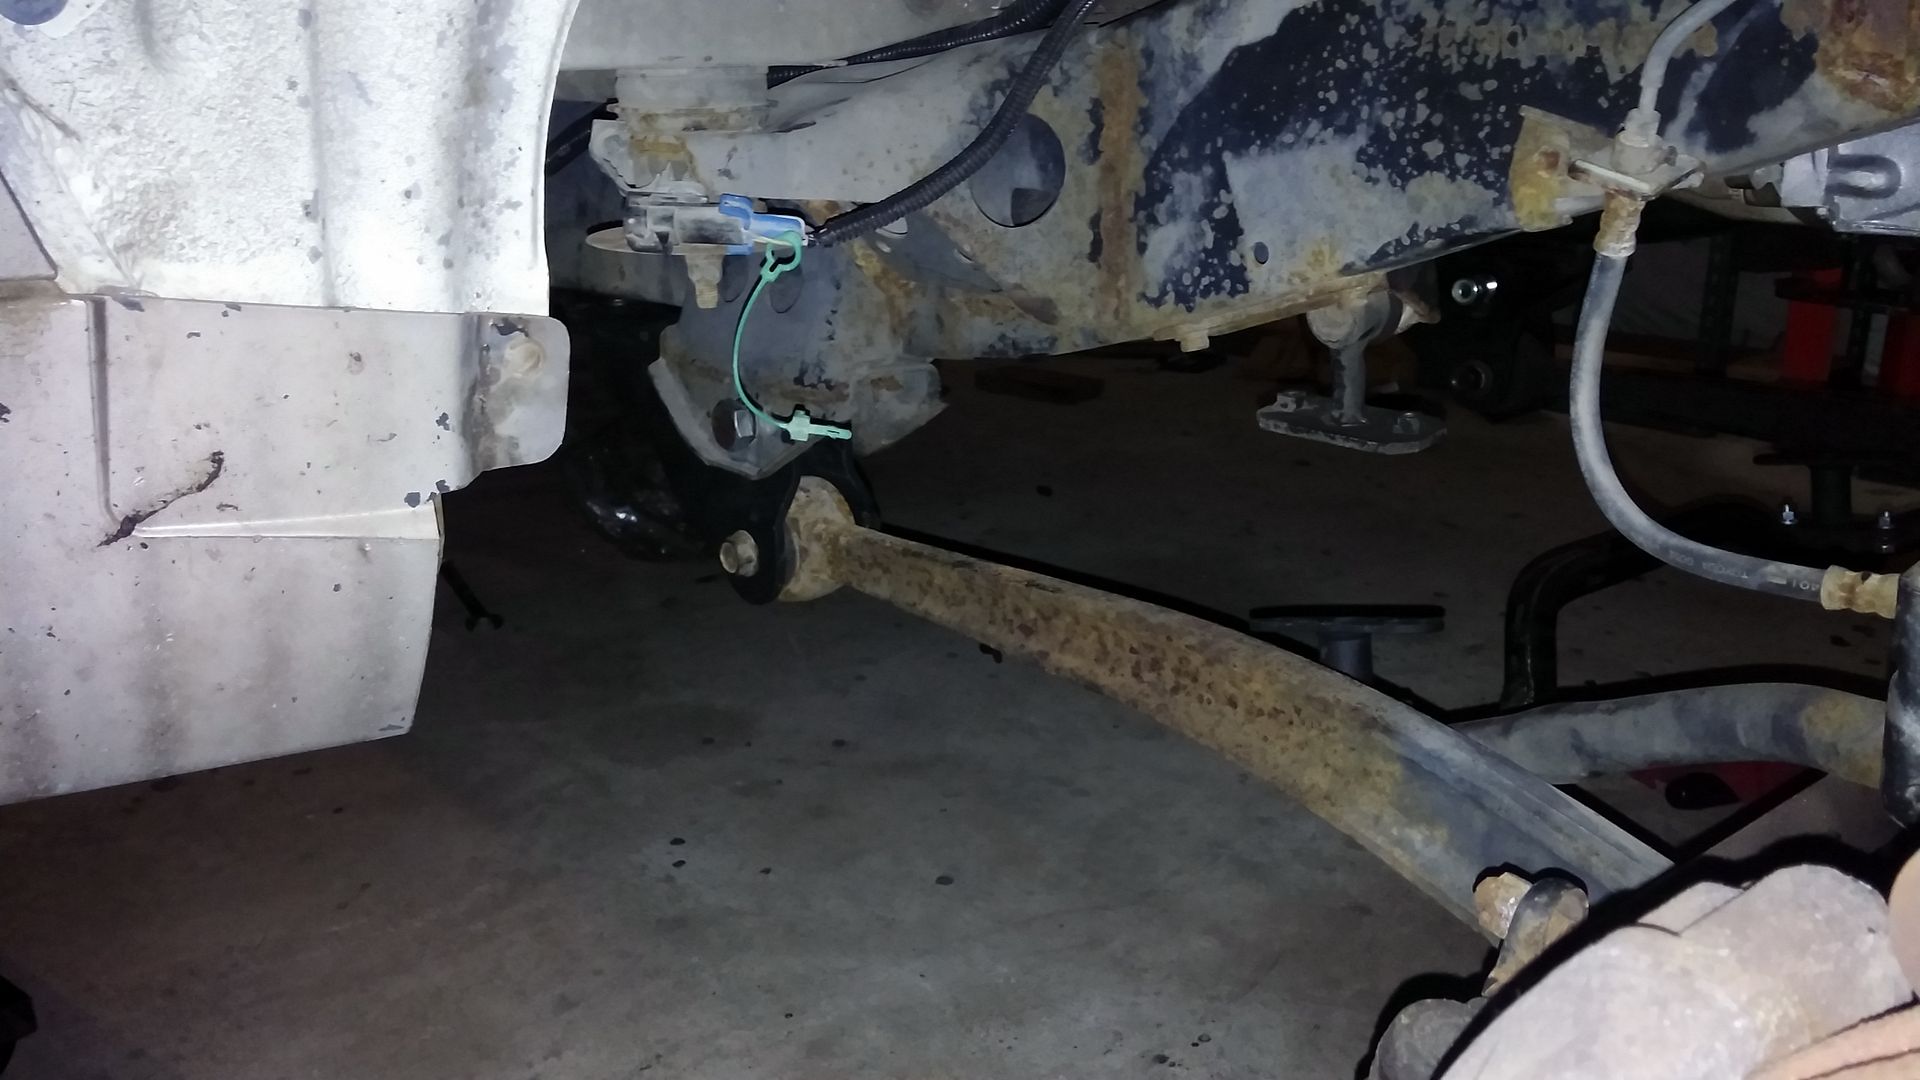
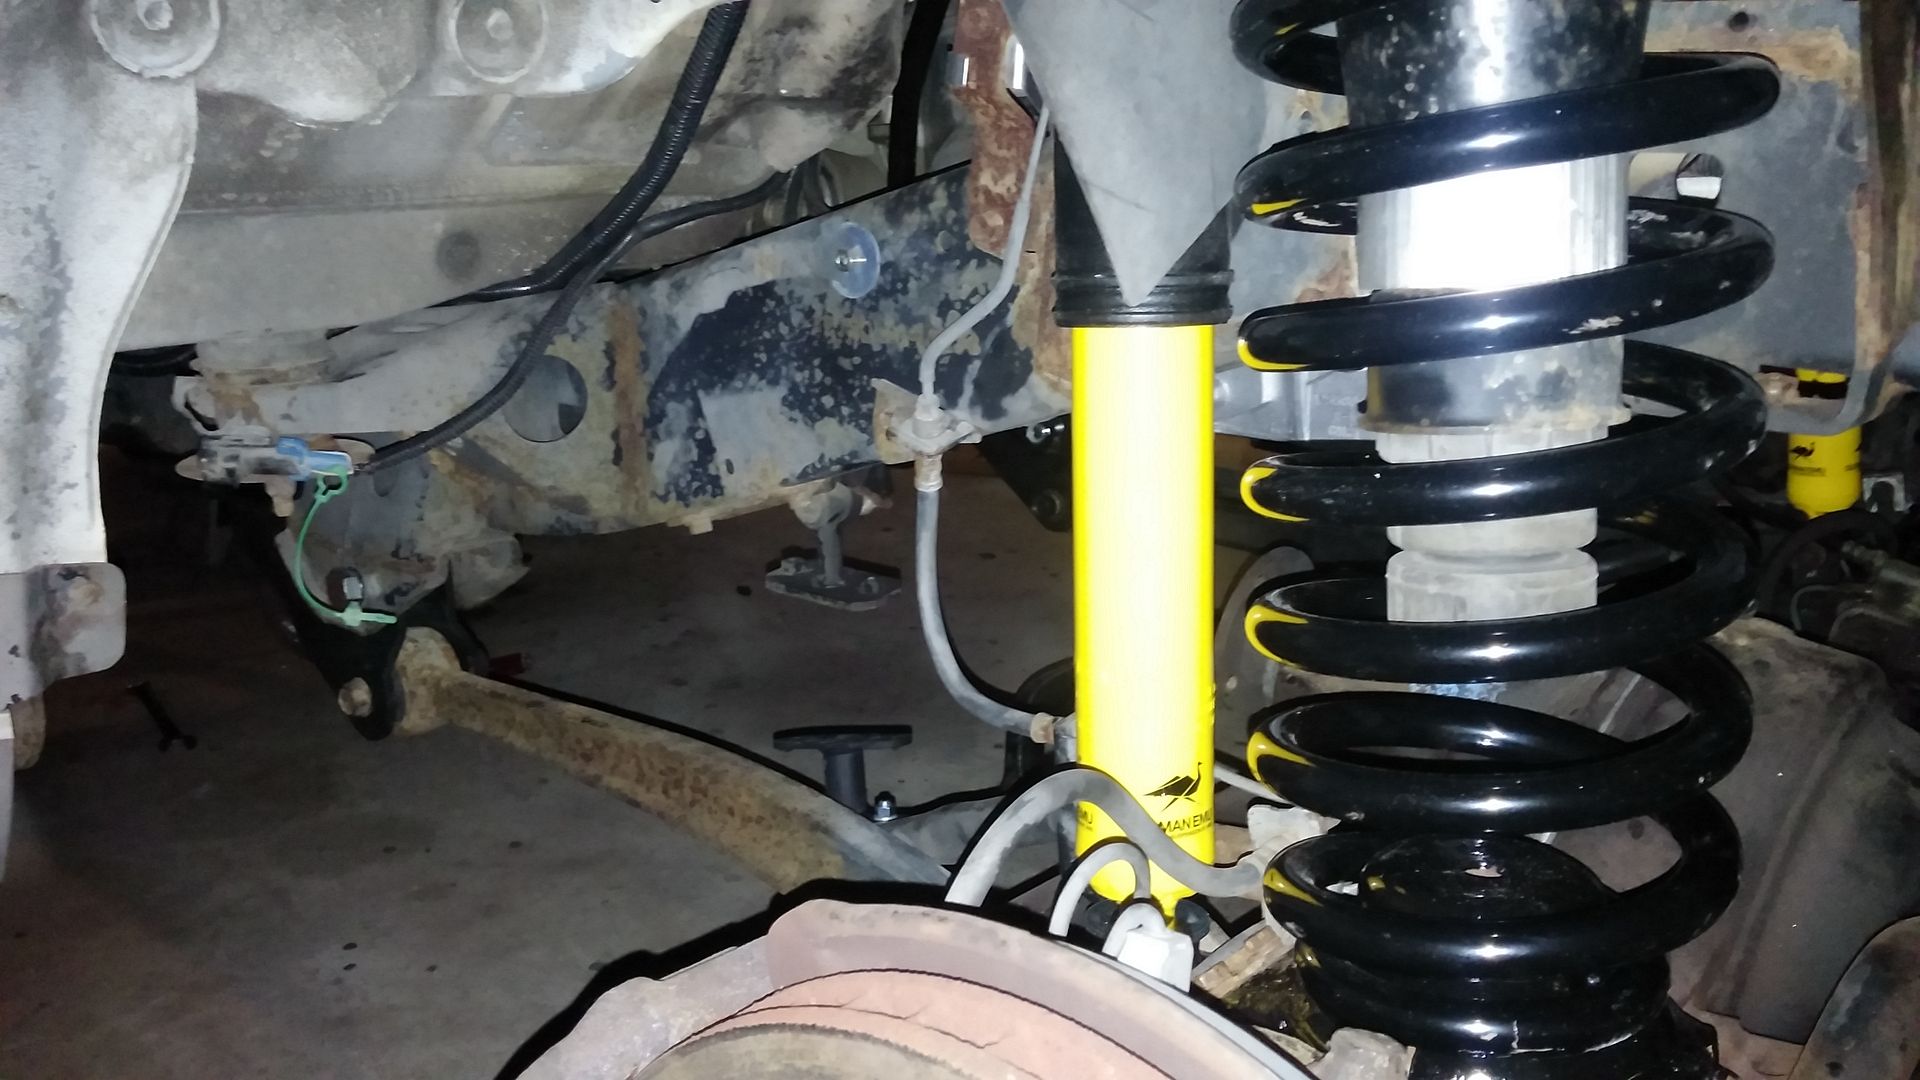
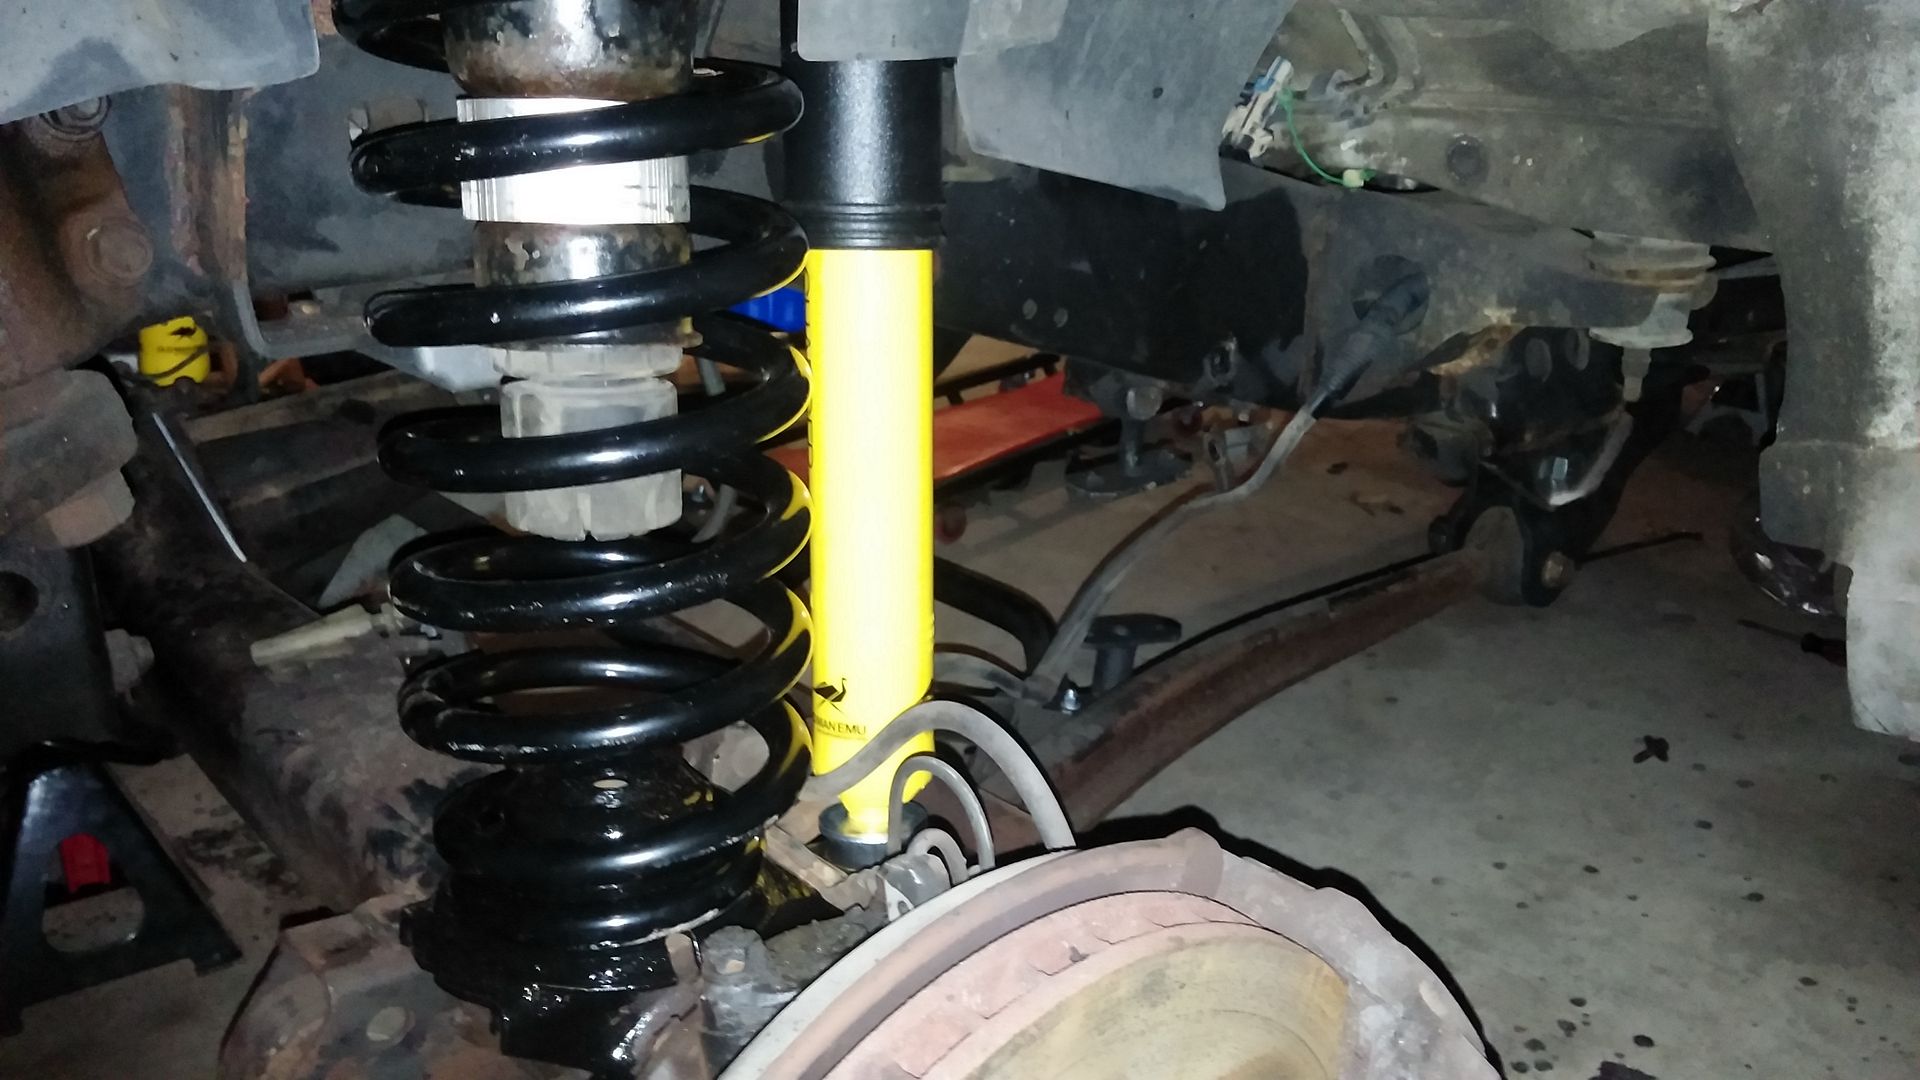
Next step was lift kit.. I decided to go with OME.. I bought a 3” front – 2” back leveling lift.. Very pleased with it.. rides a little rough.. but that should get better after I had the rear storage and spare tire, and front winch. I have some surface rust so I decided to clean and POR15 the Coil Spring mounting pads..
Rear
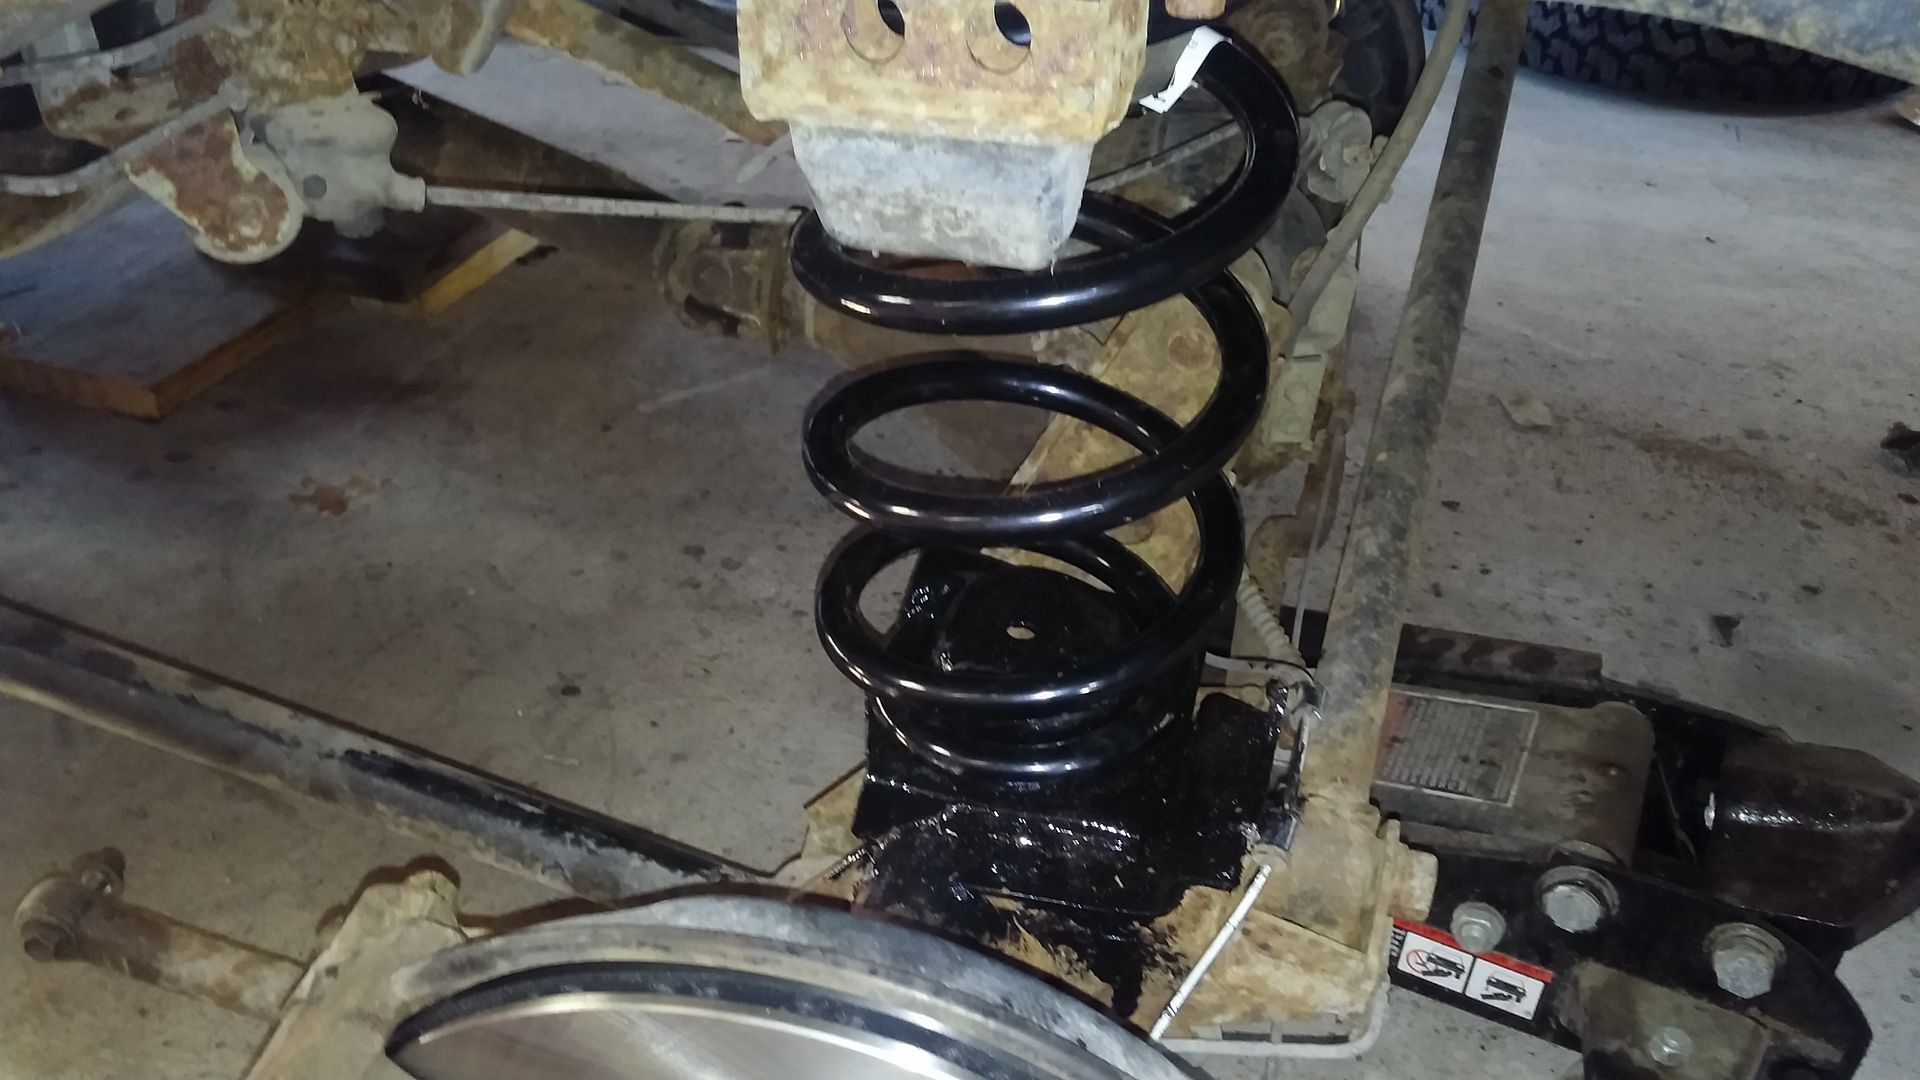
Front
Brackets..
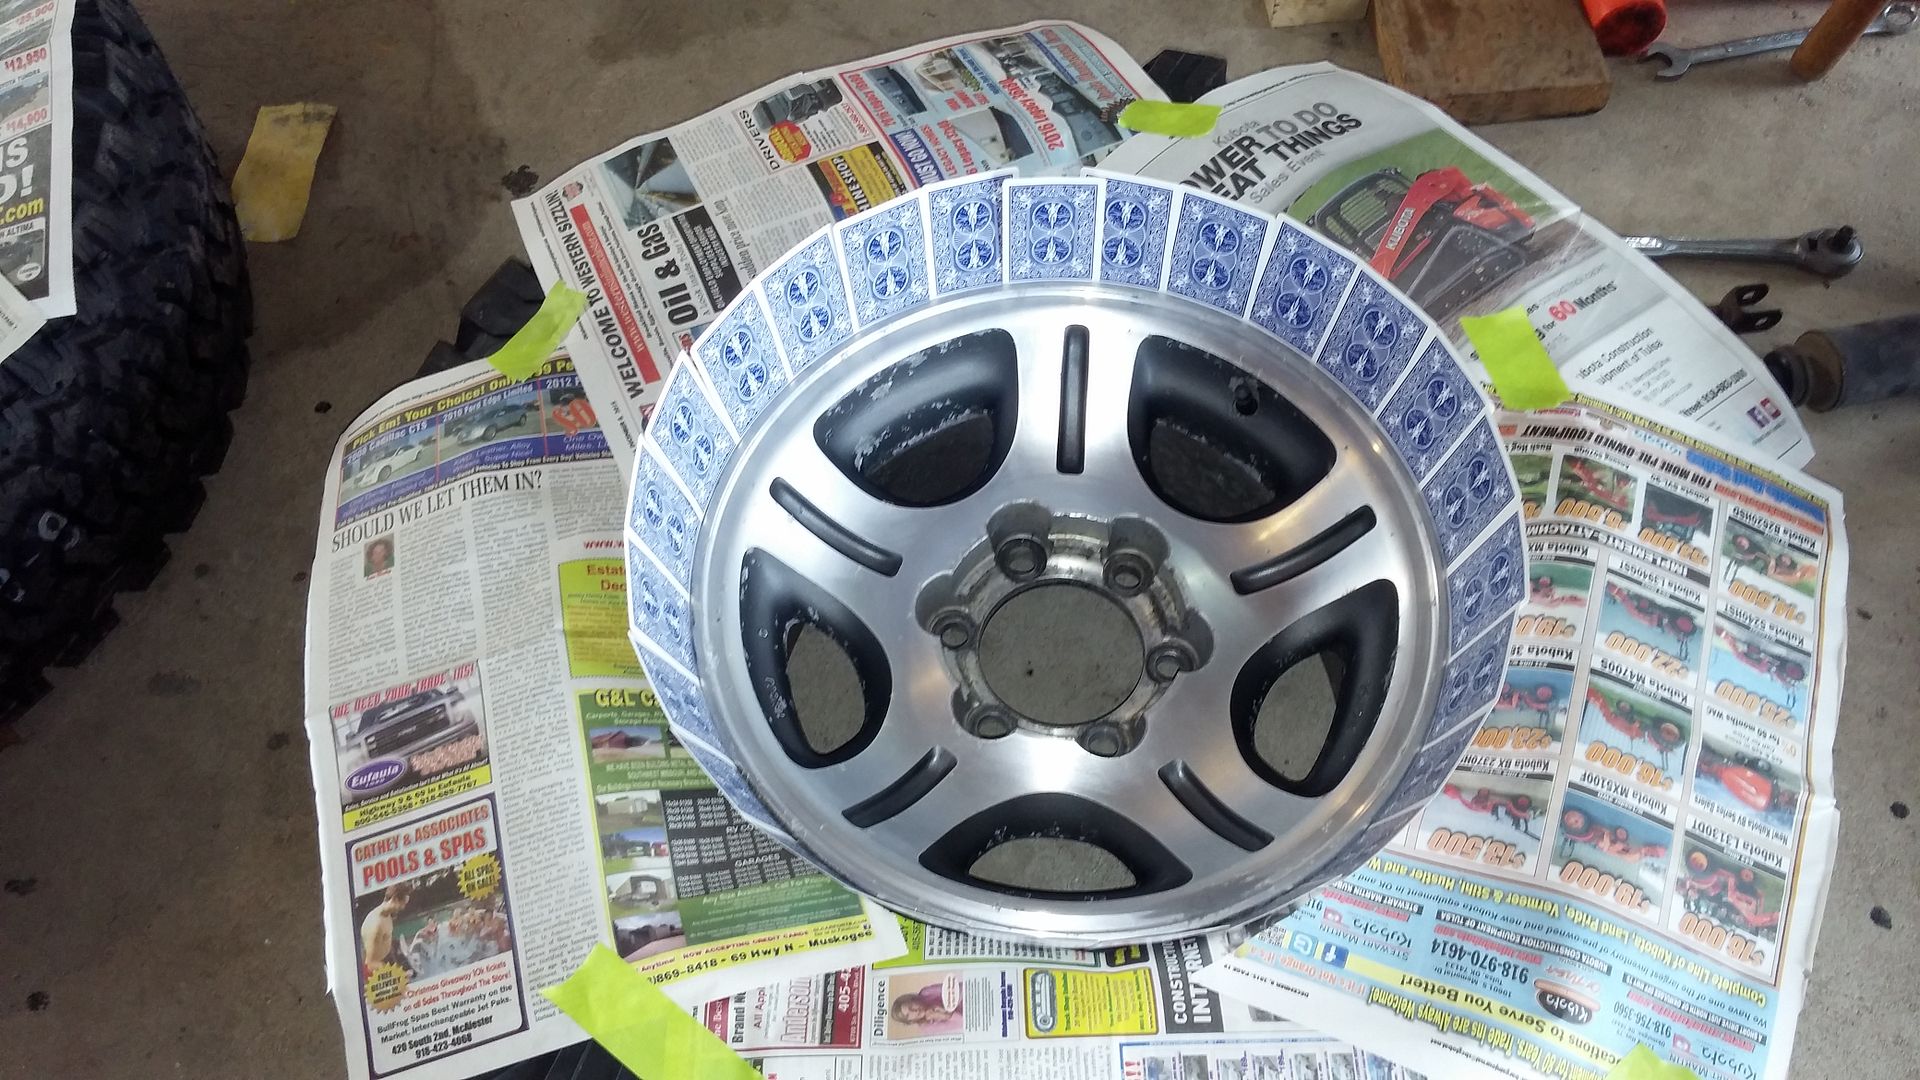
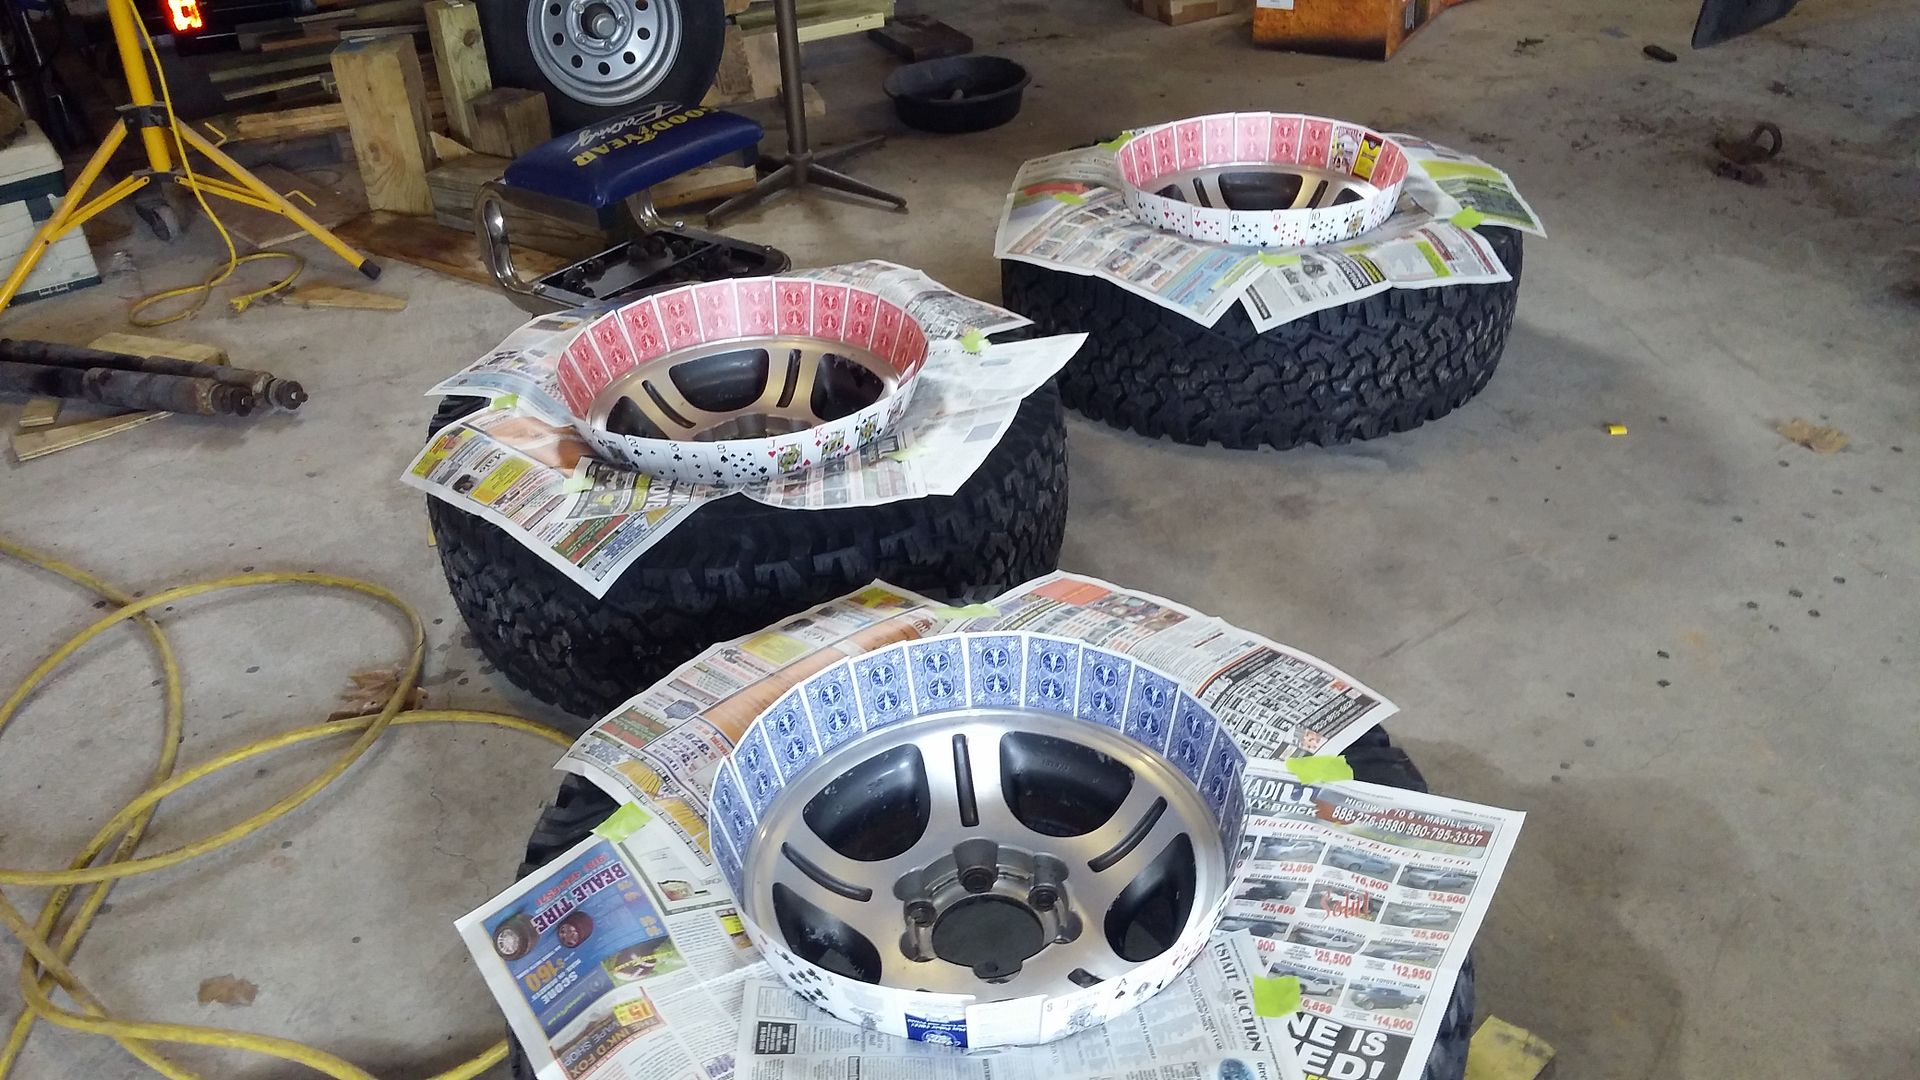
It was getting close to time to mount the wheels and take it for a spin.. but before I did that, I wanted to paint the wheels black…
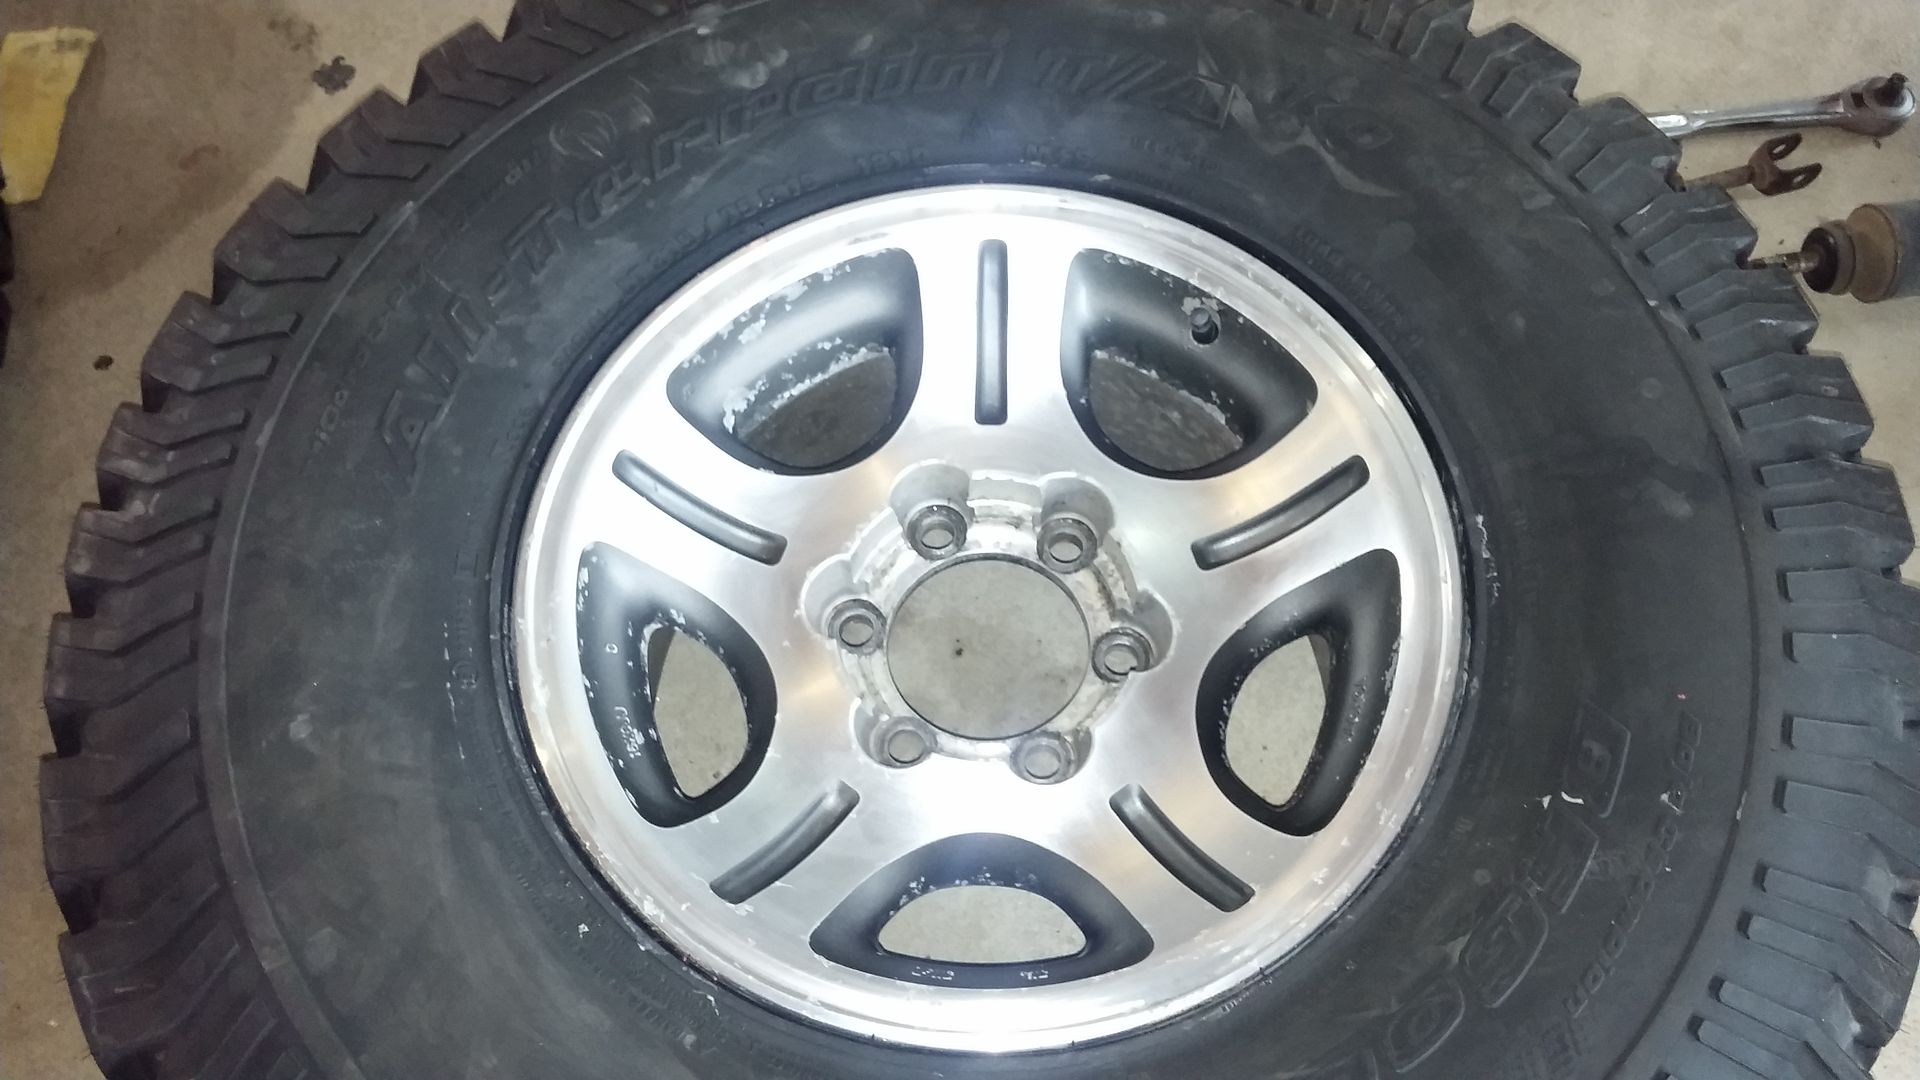
Sanded the clear coat off and then masked…
Primer..
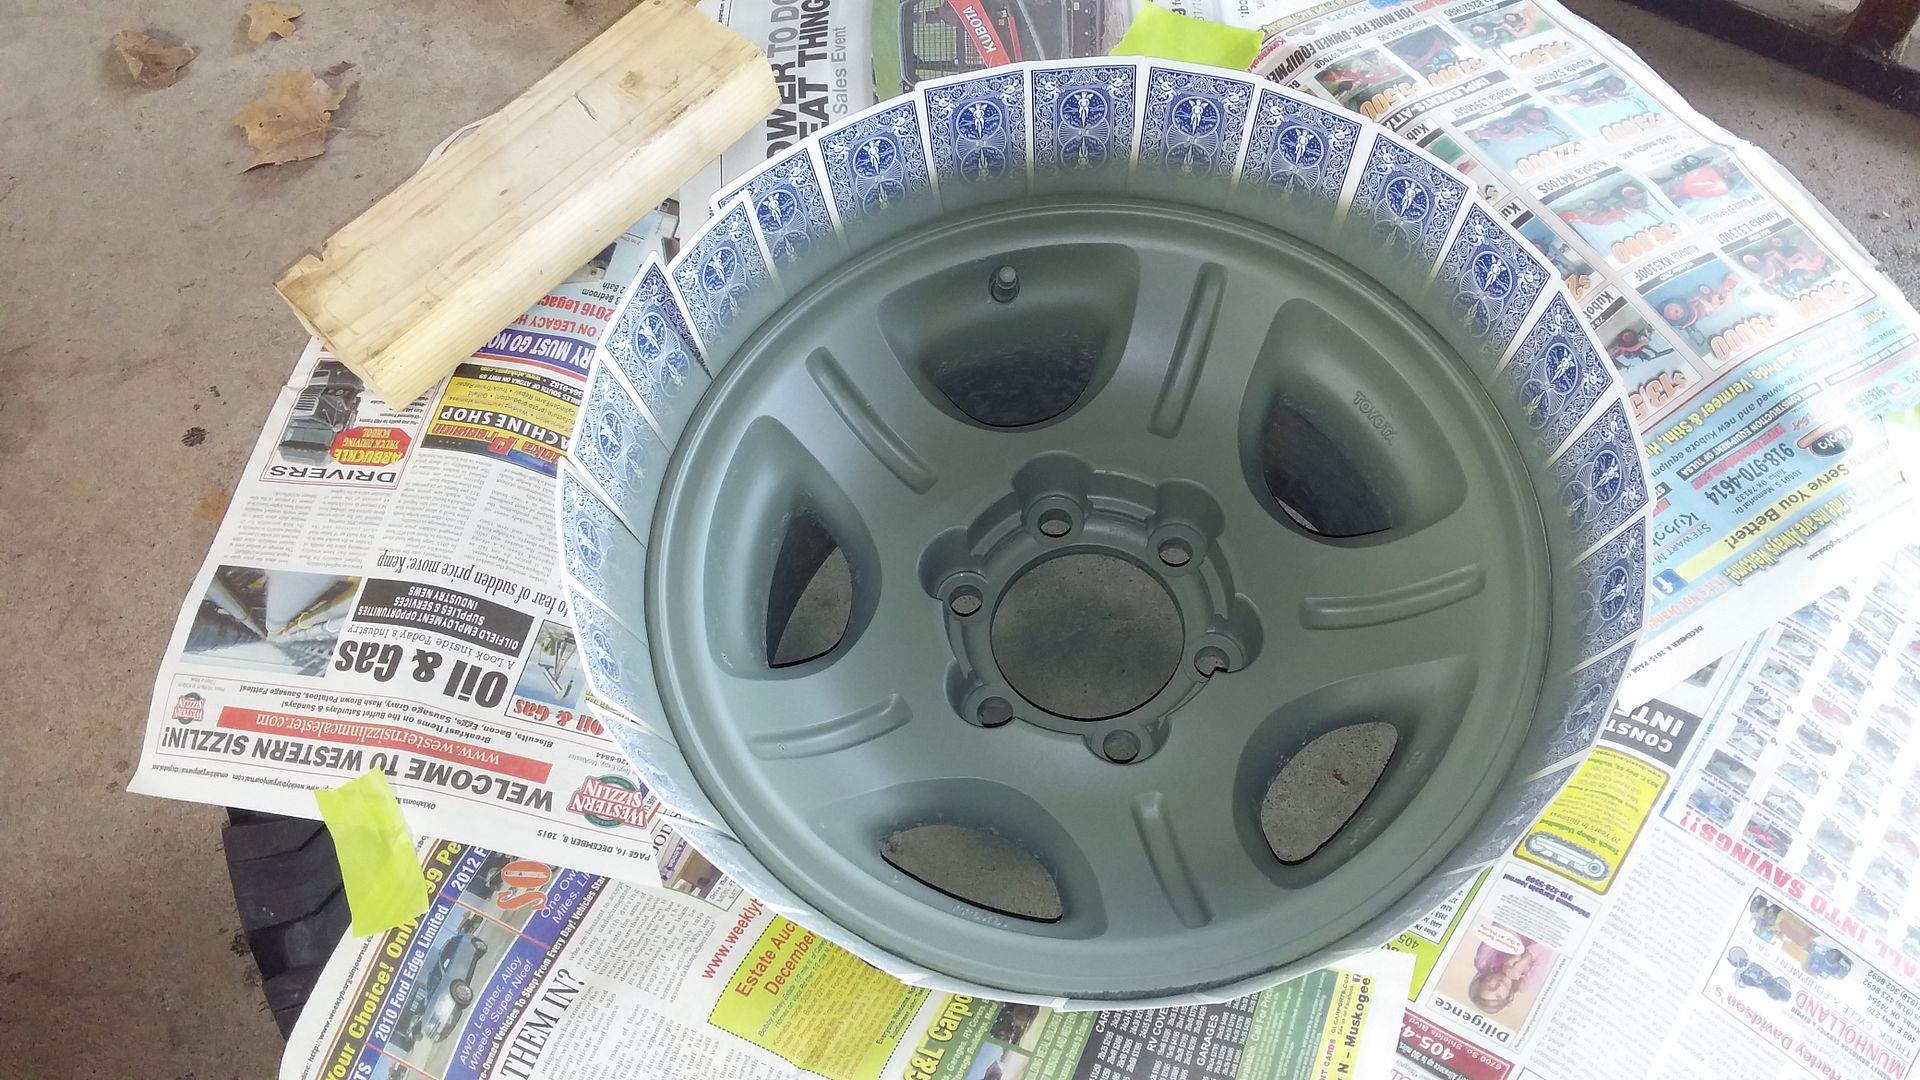
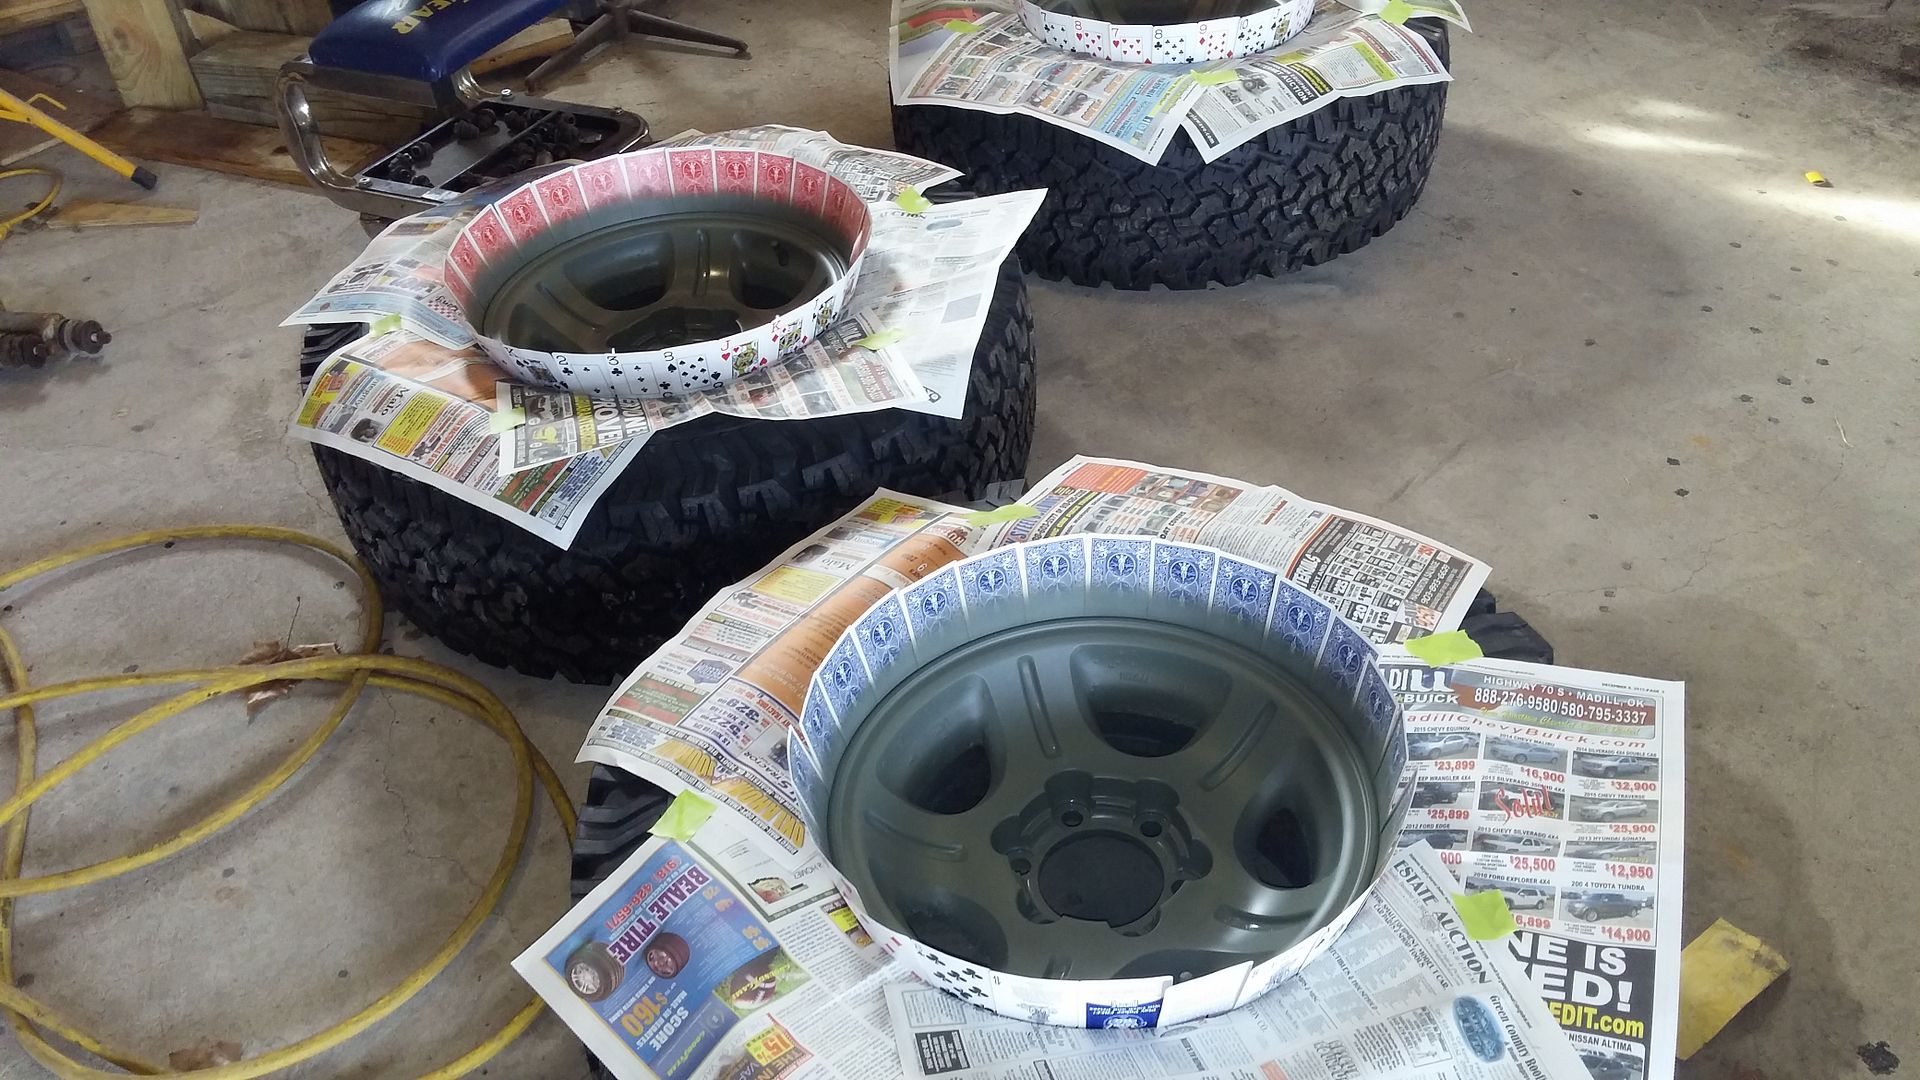
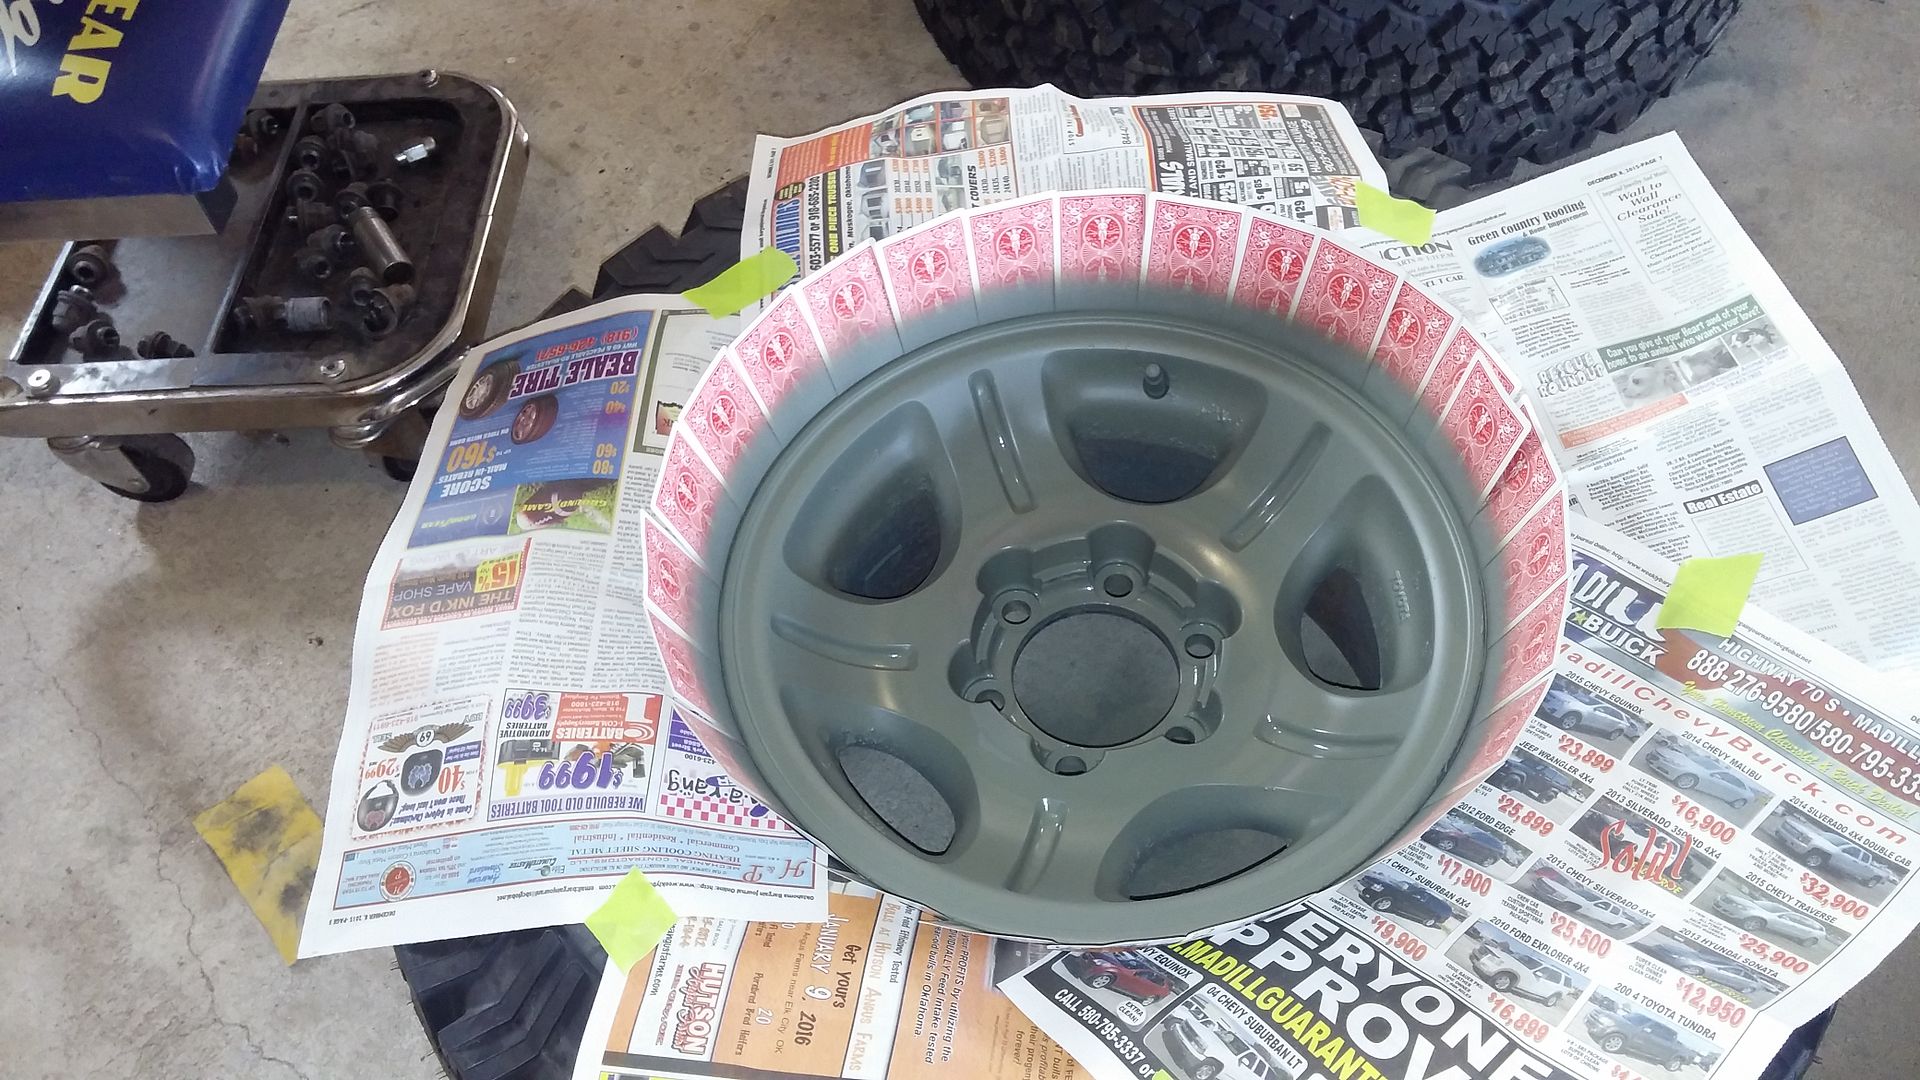
Sorry.. forgot to take picture of painting the wheels..
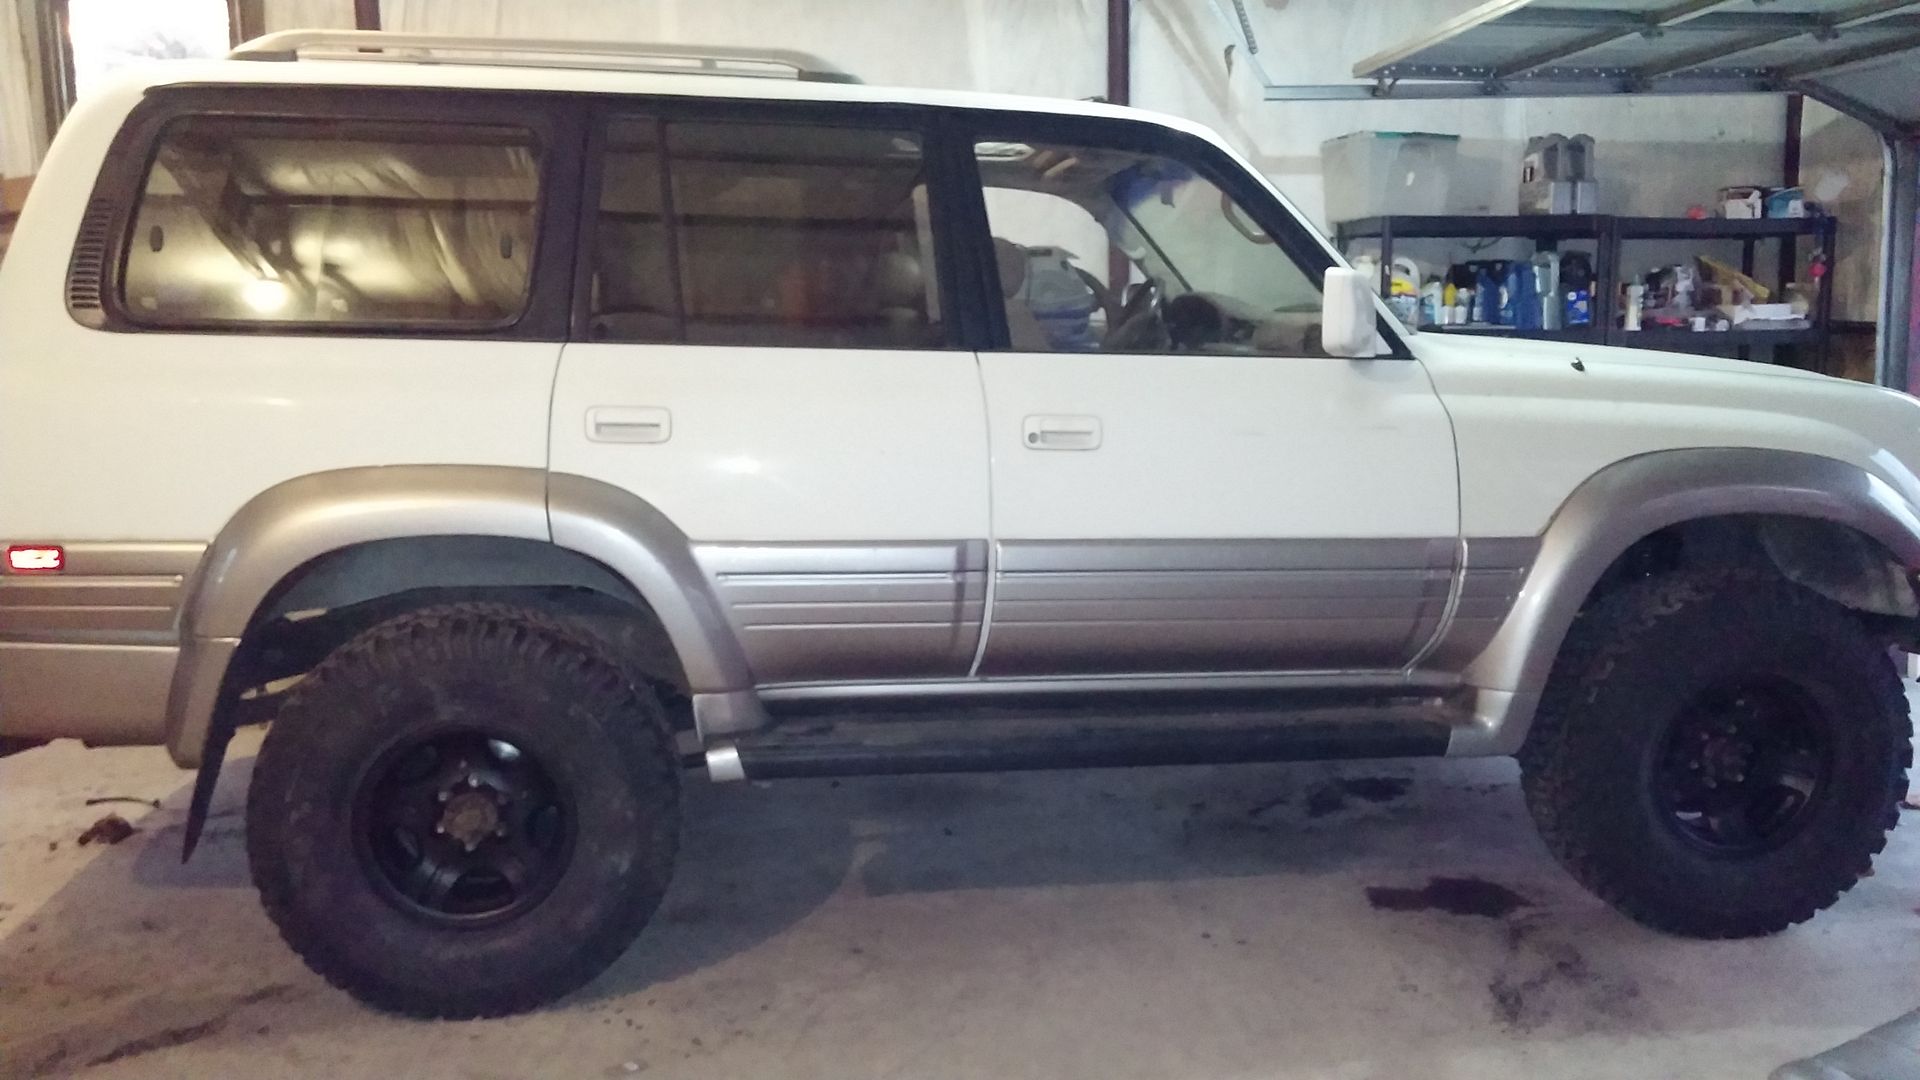
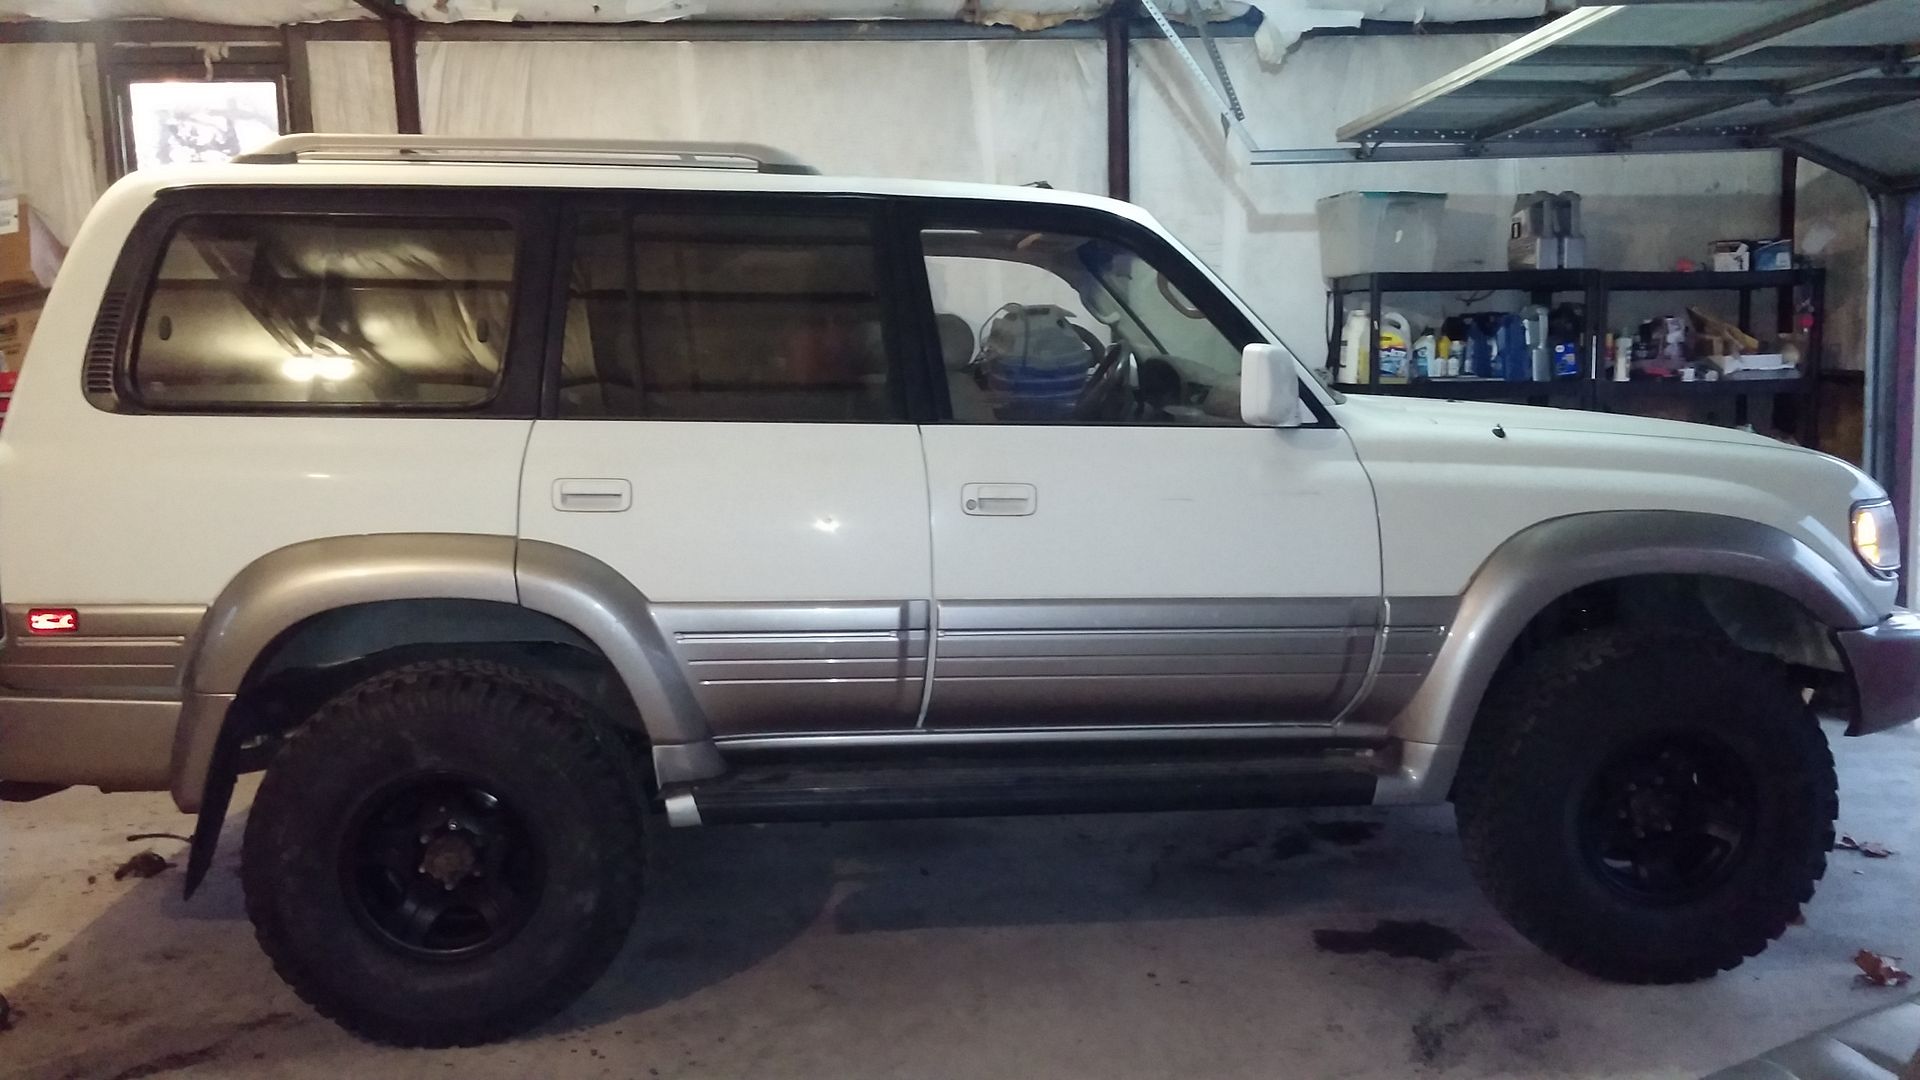
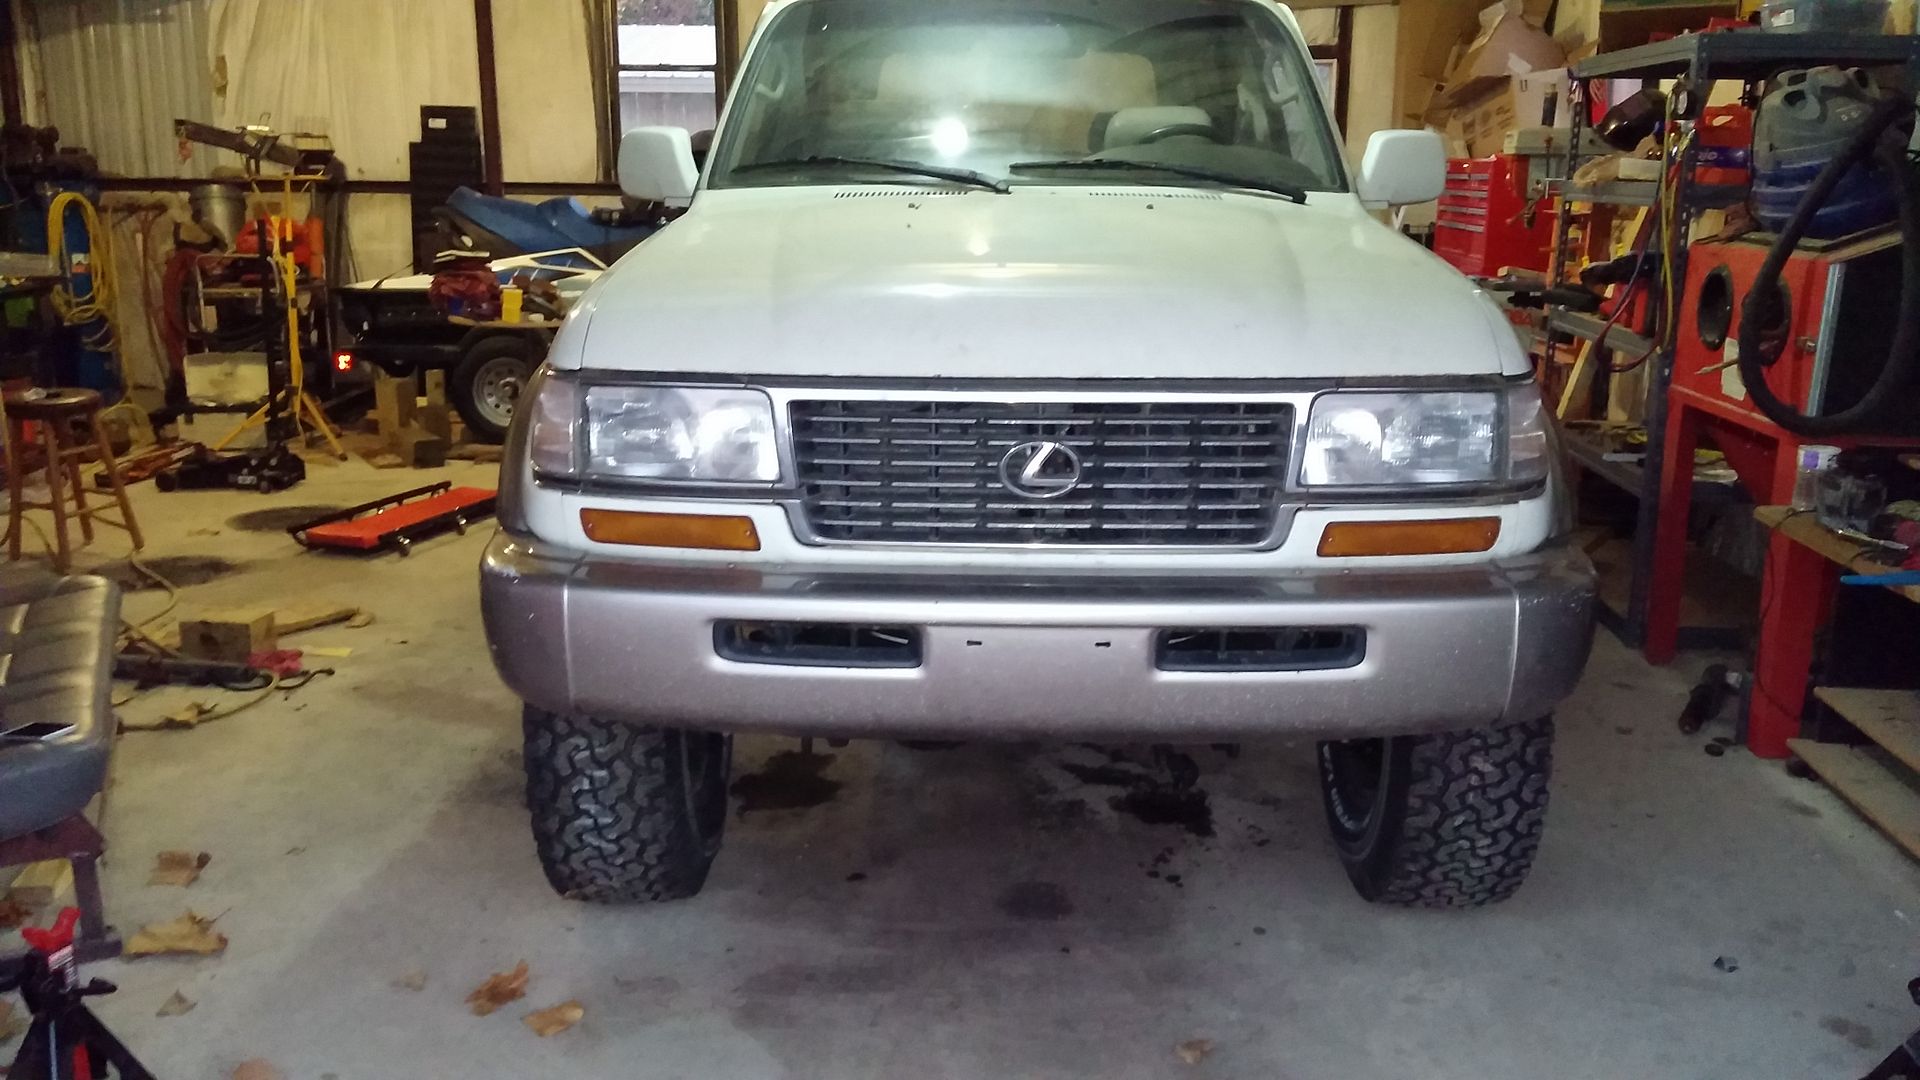
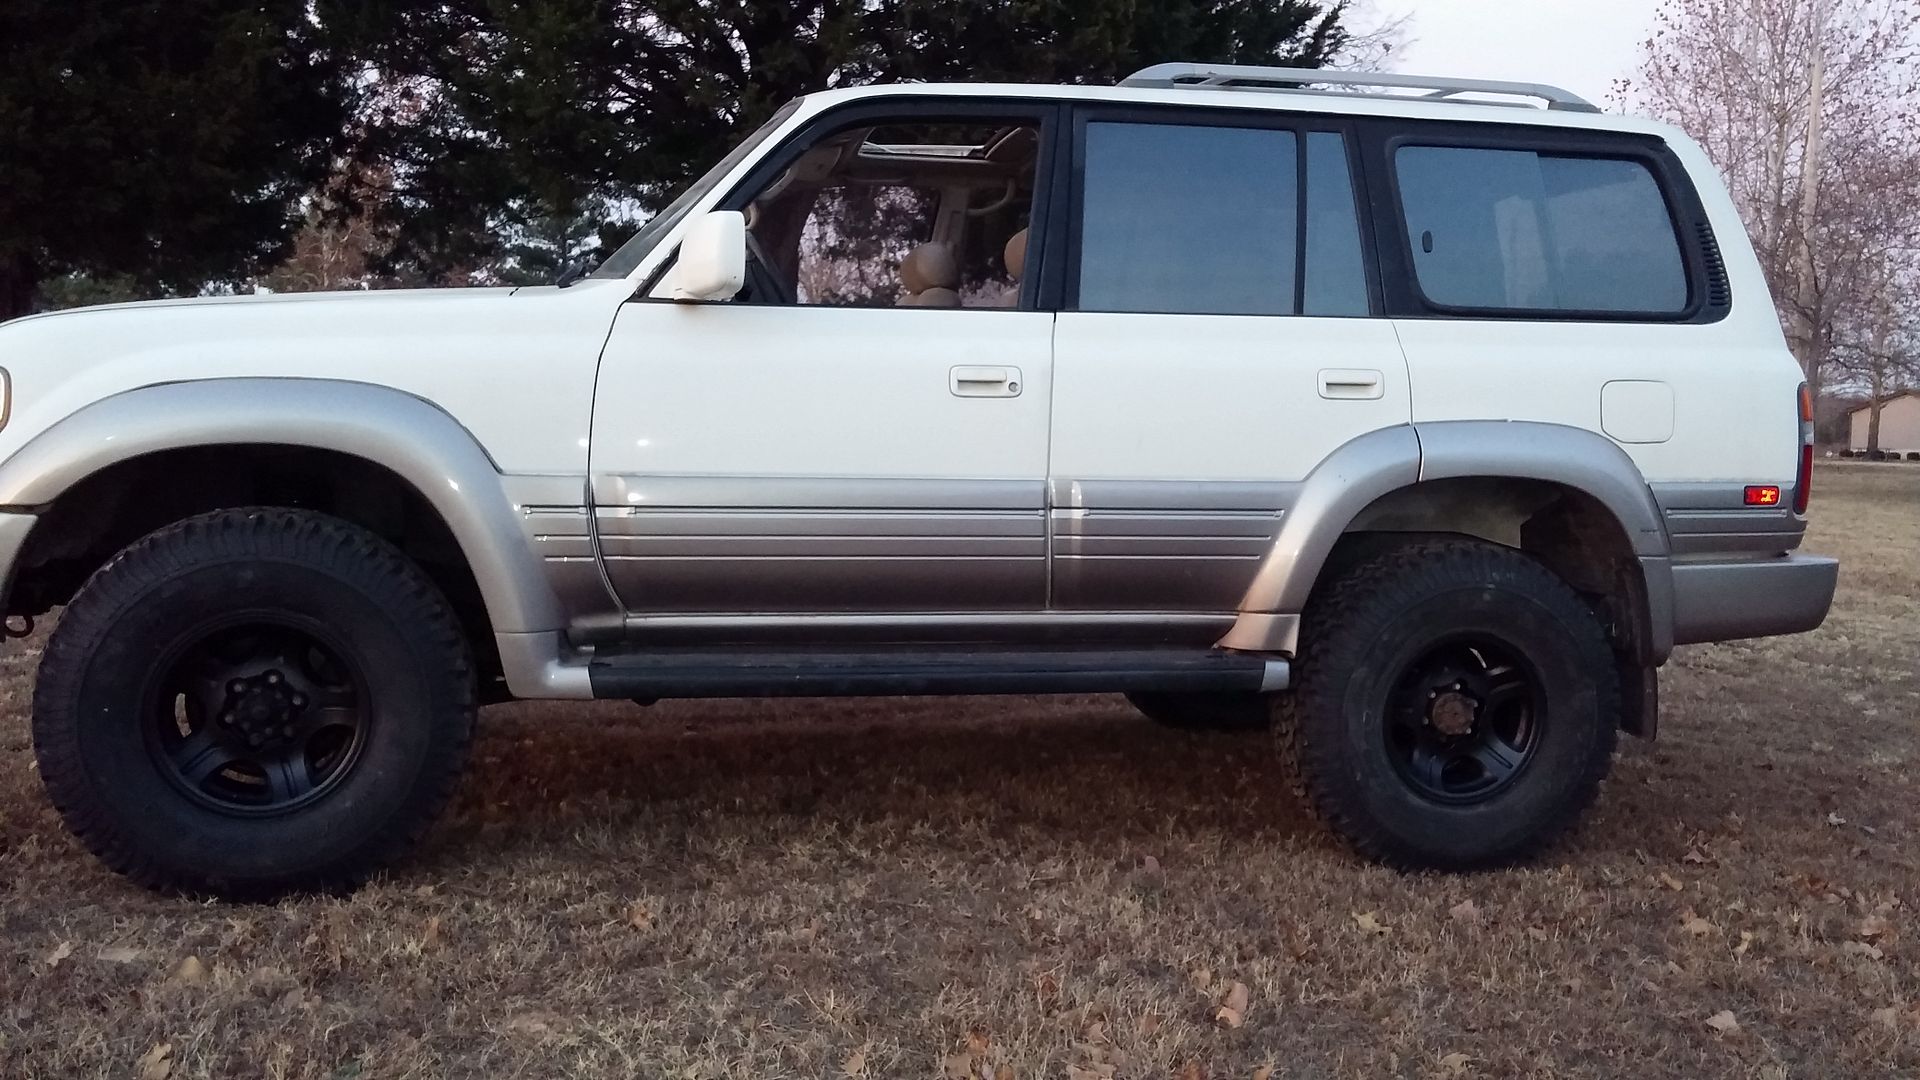
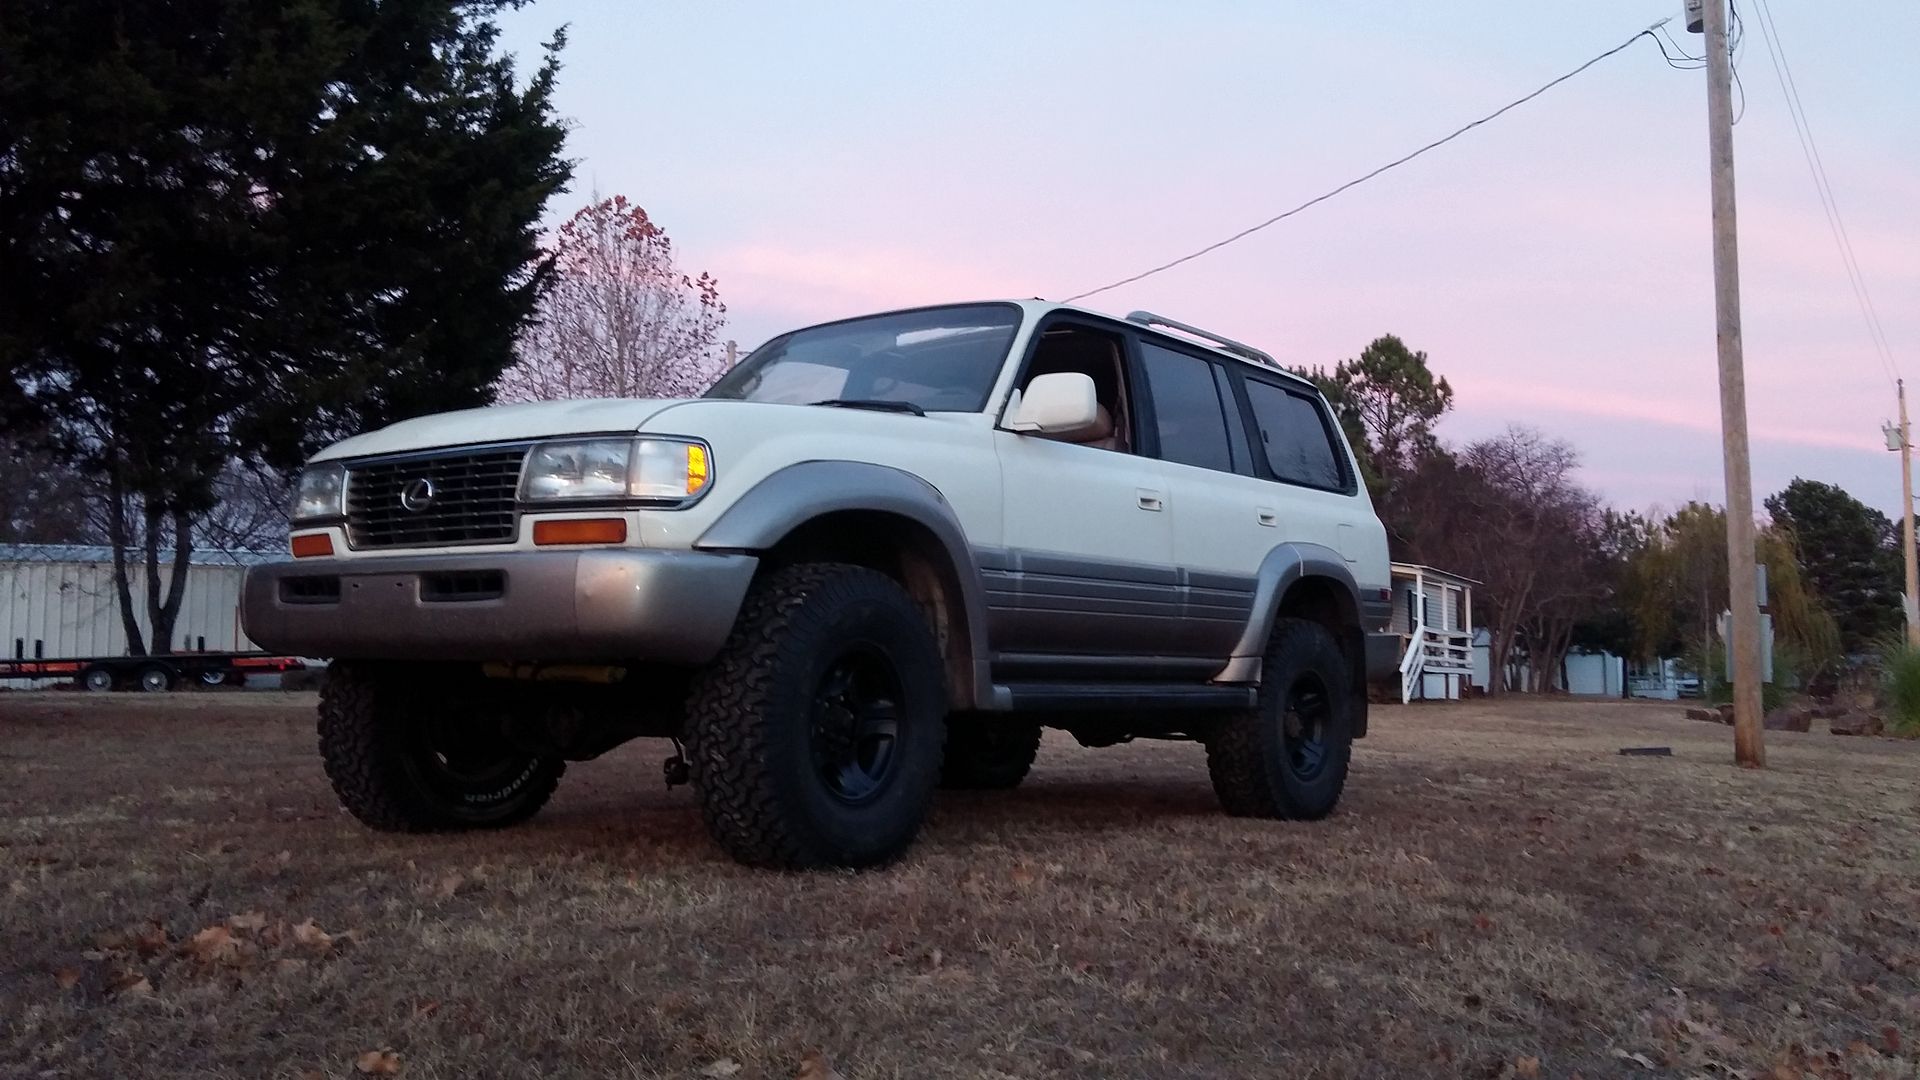
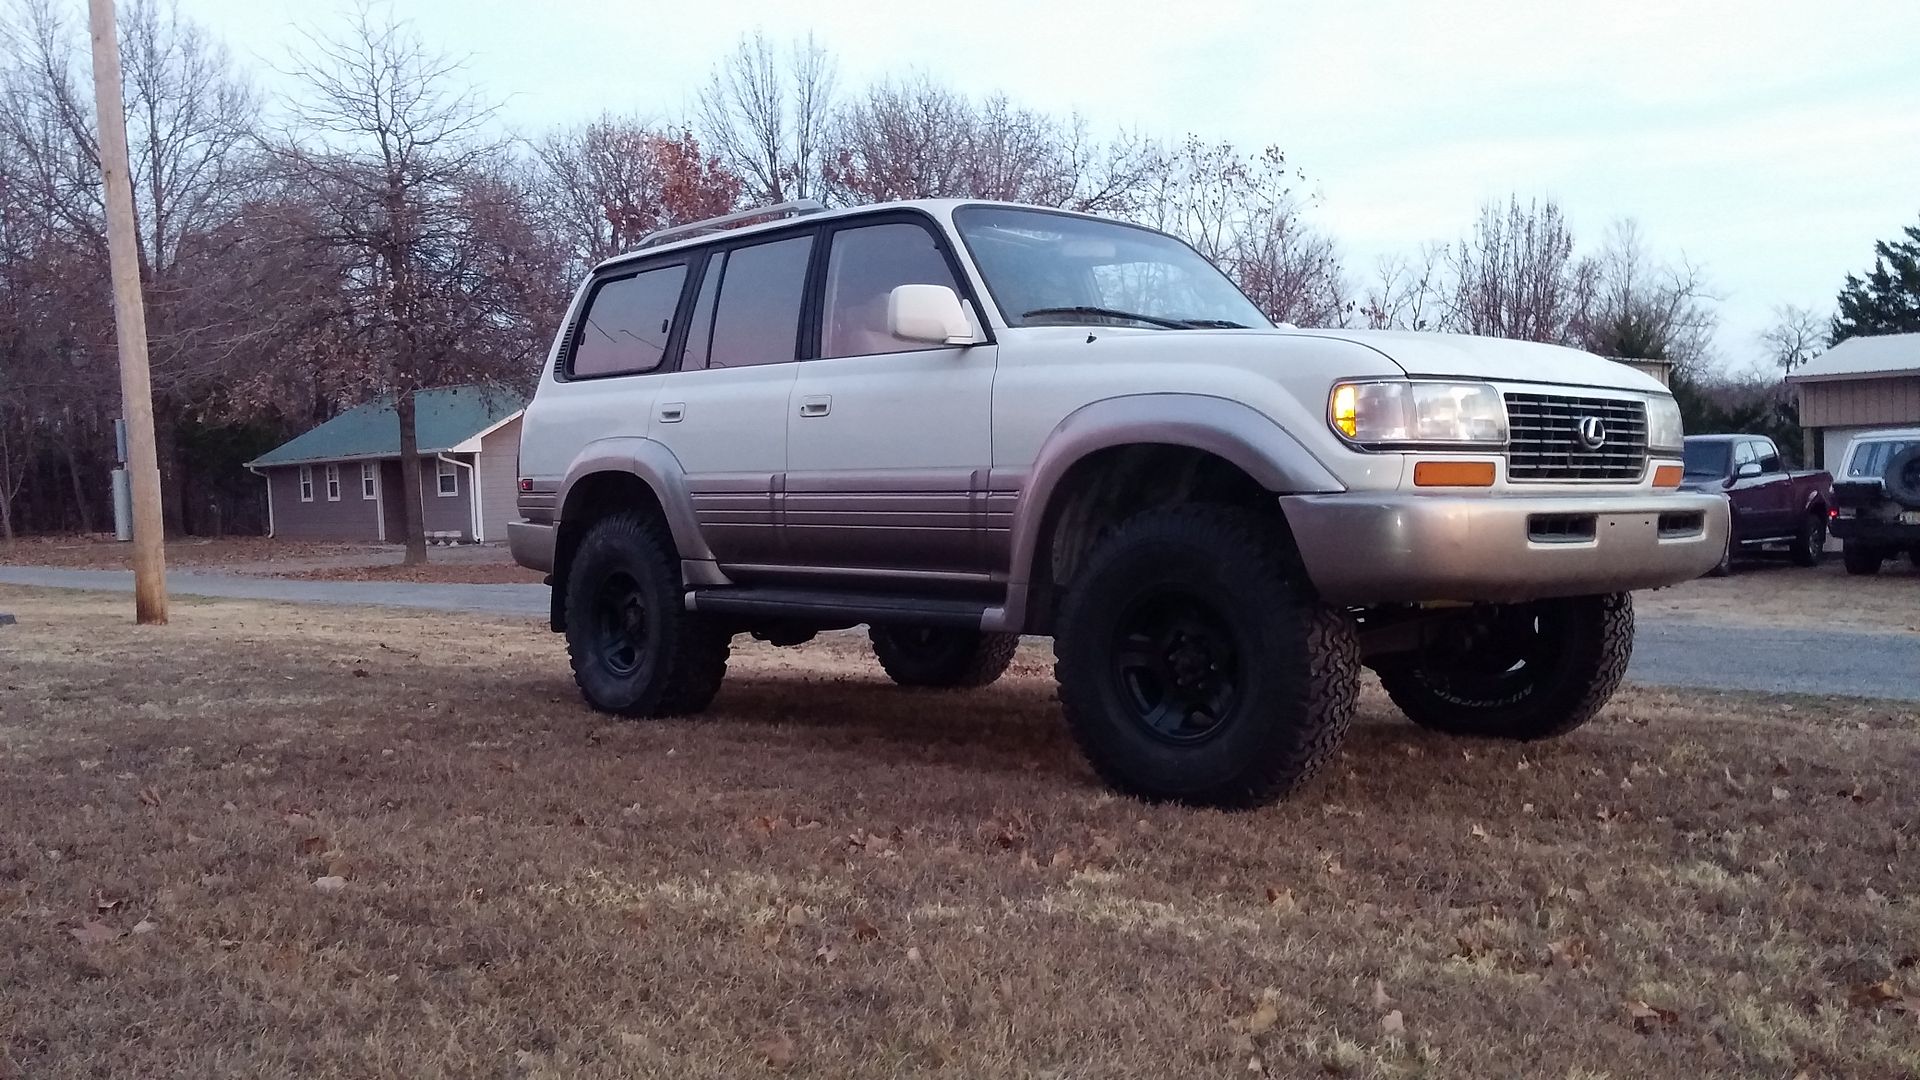
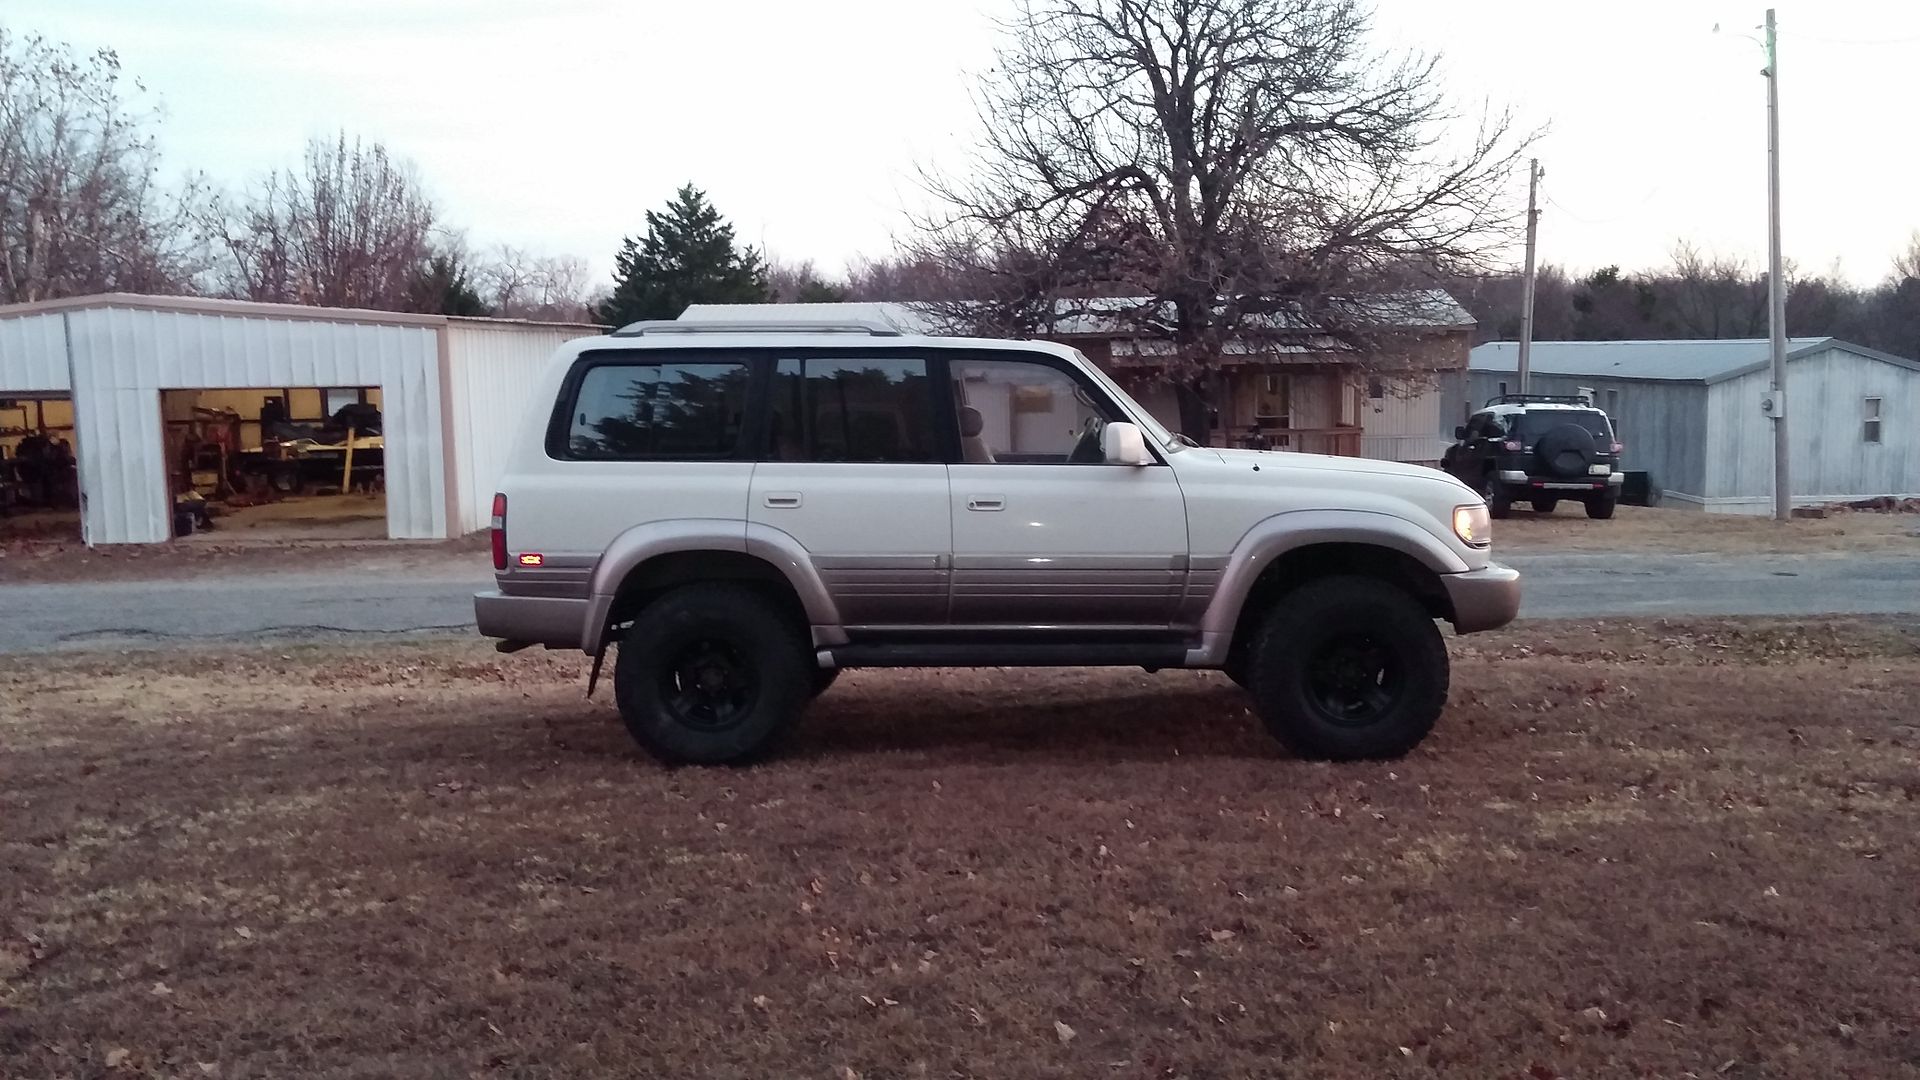
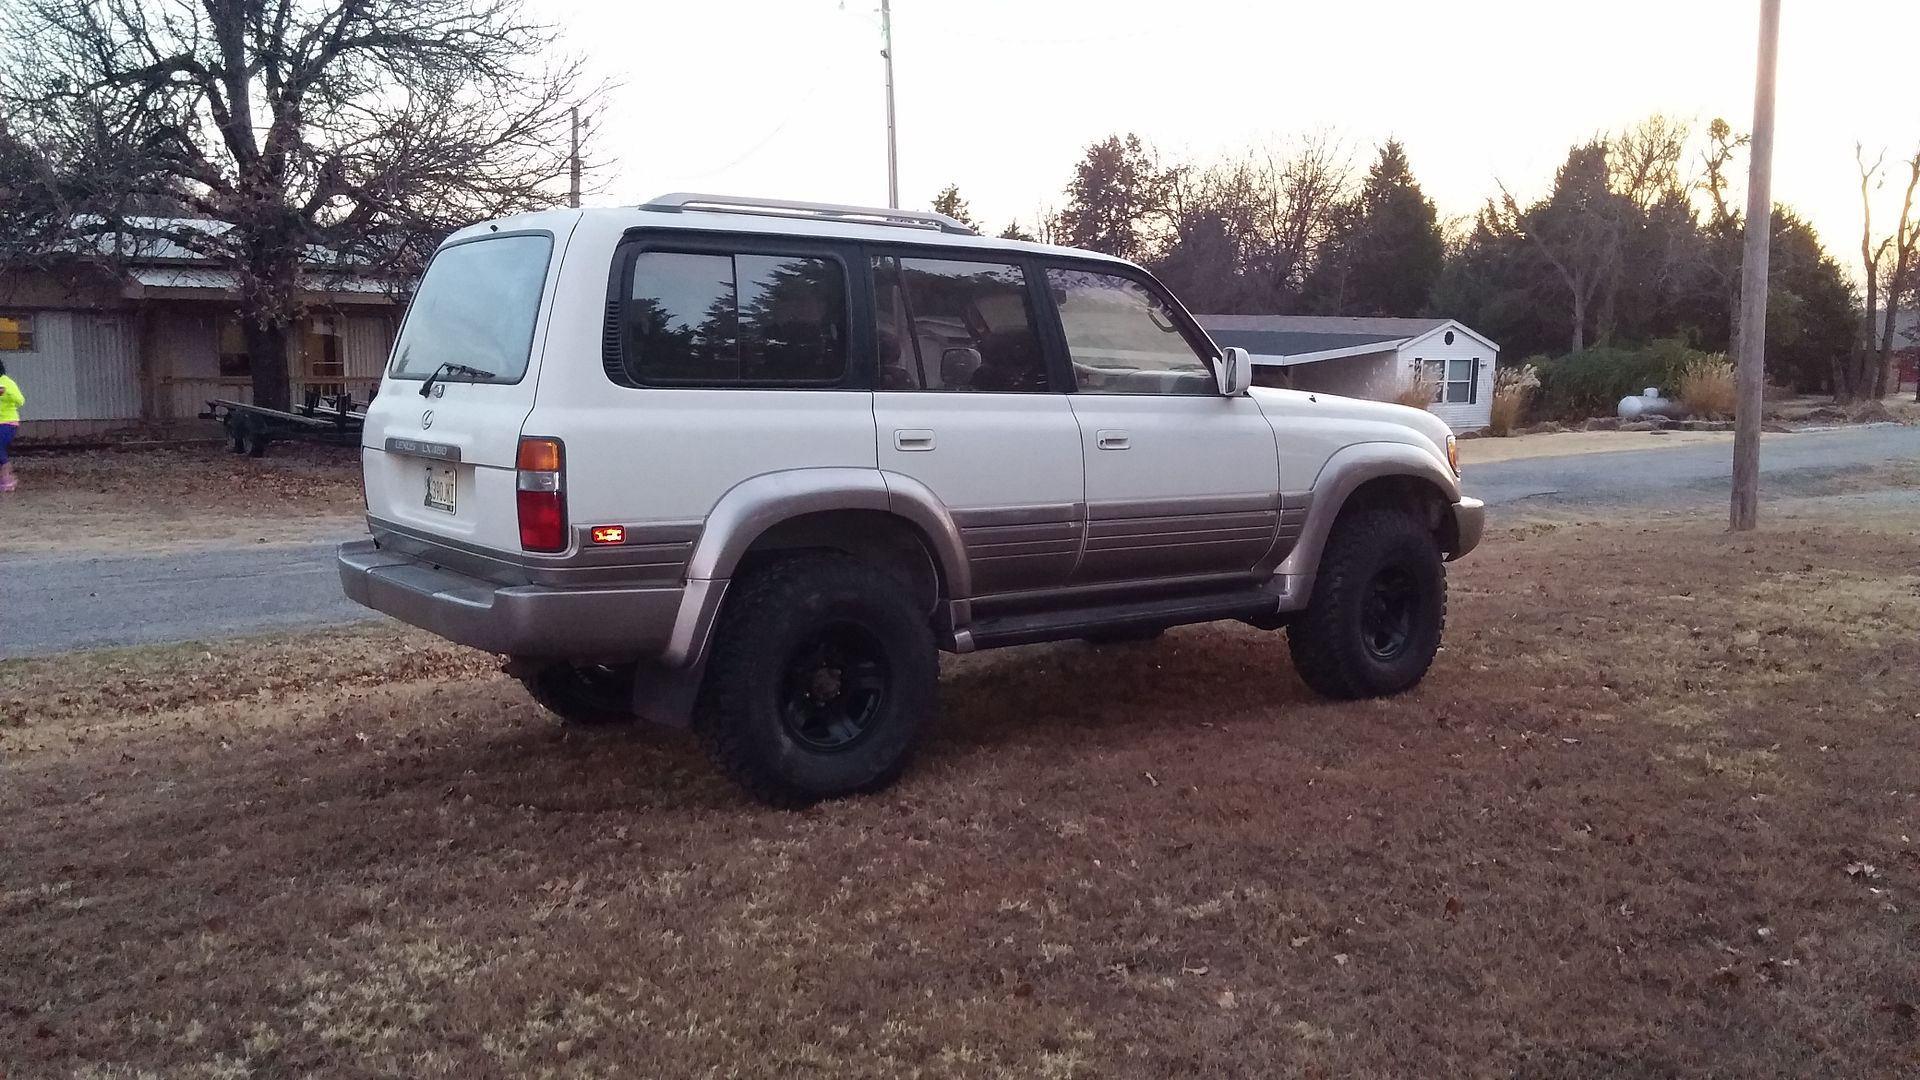
Mounted.. And the LX450 is now drivable..


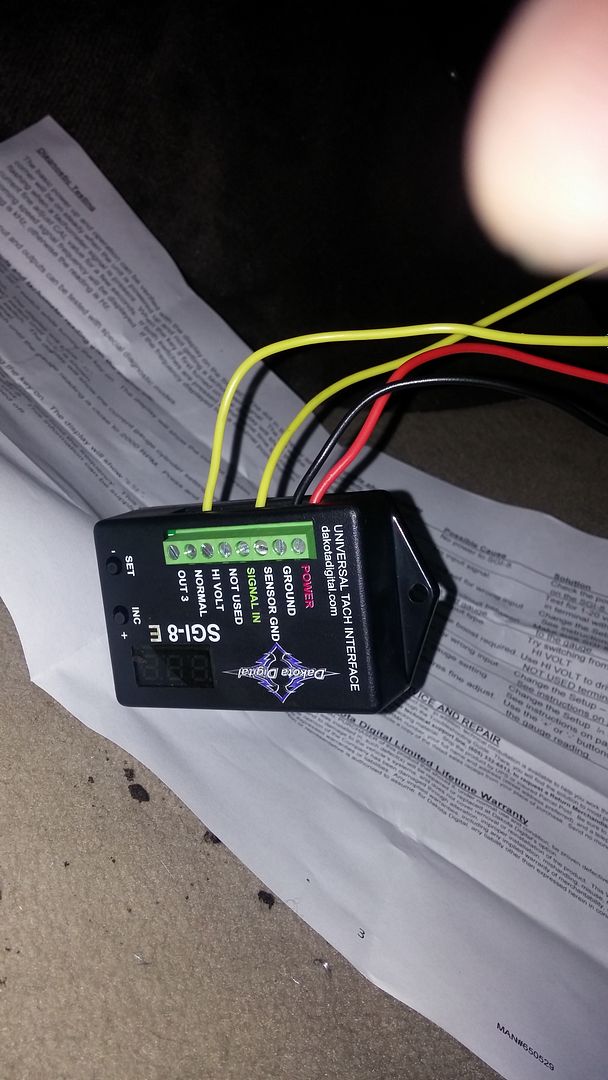
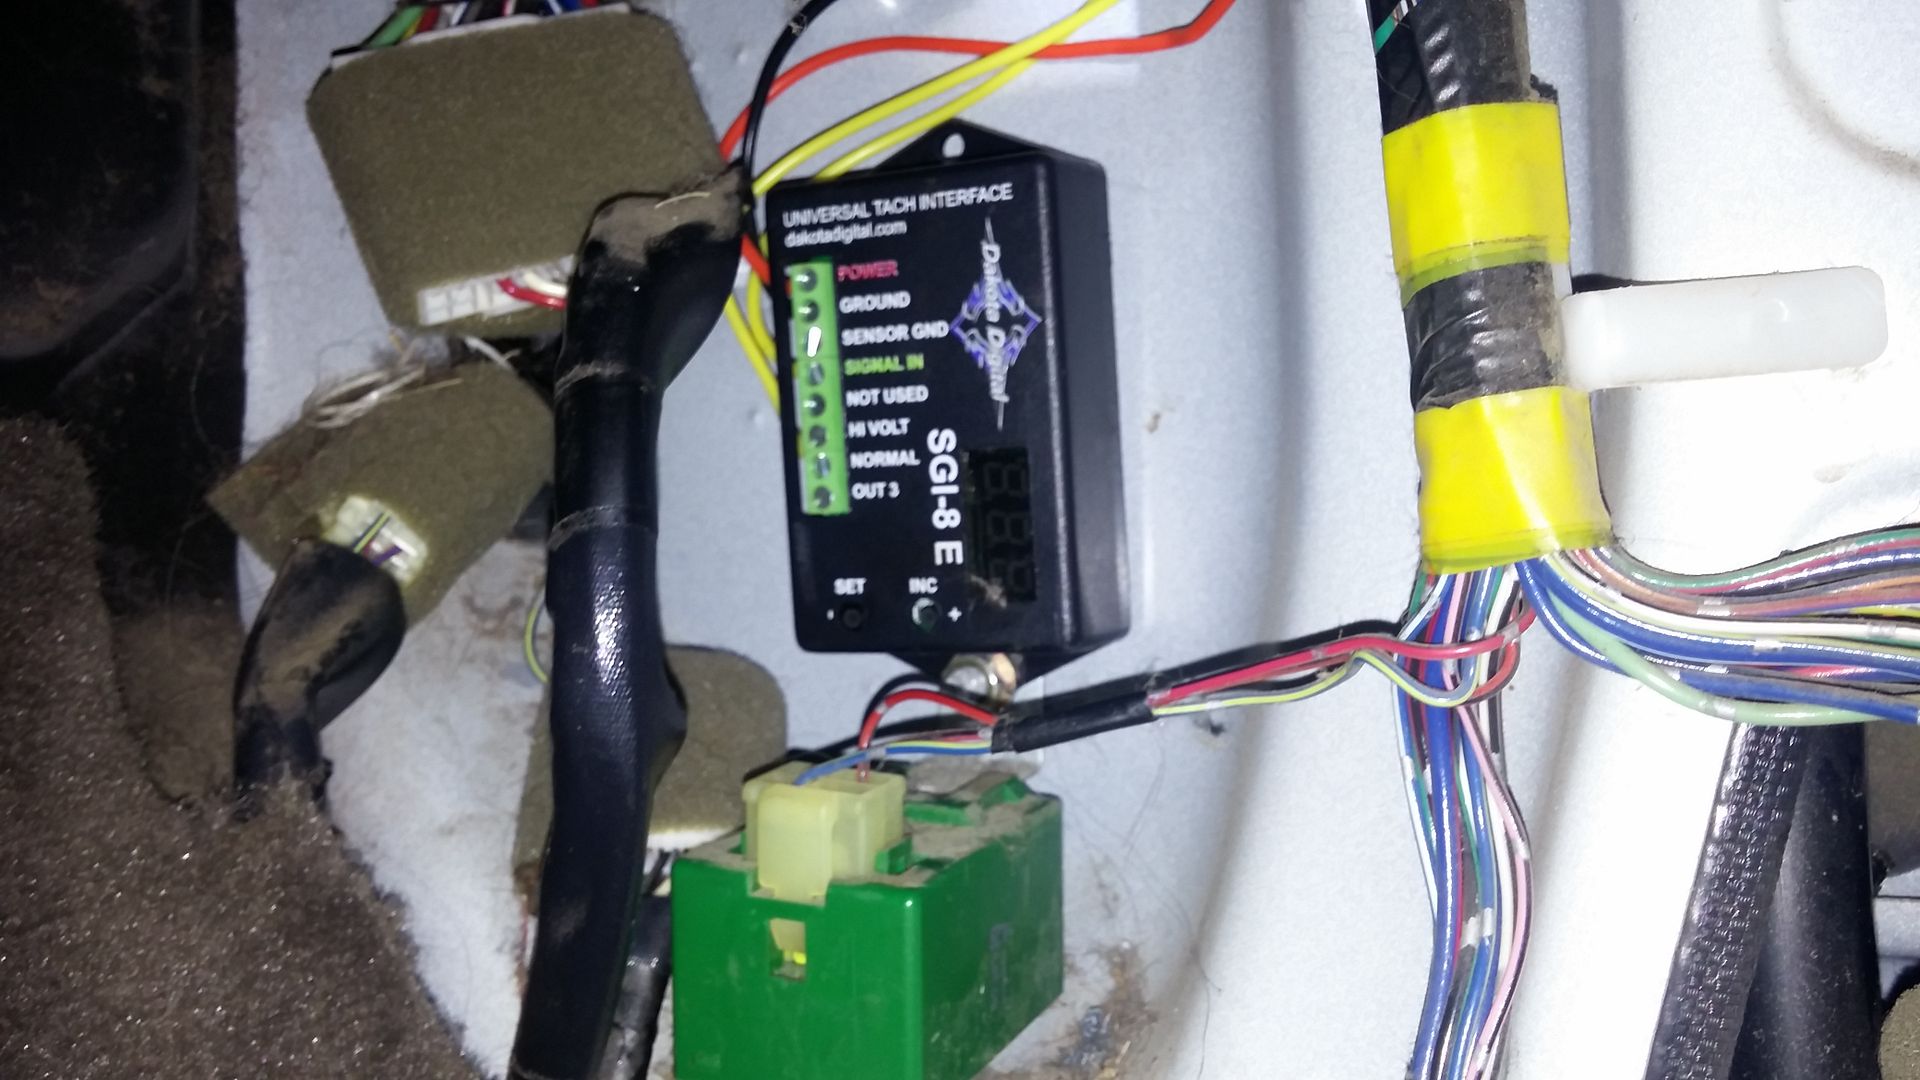
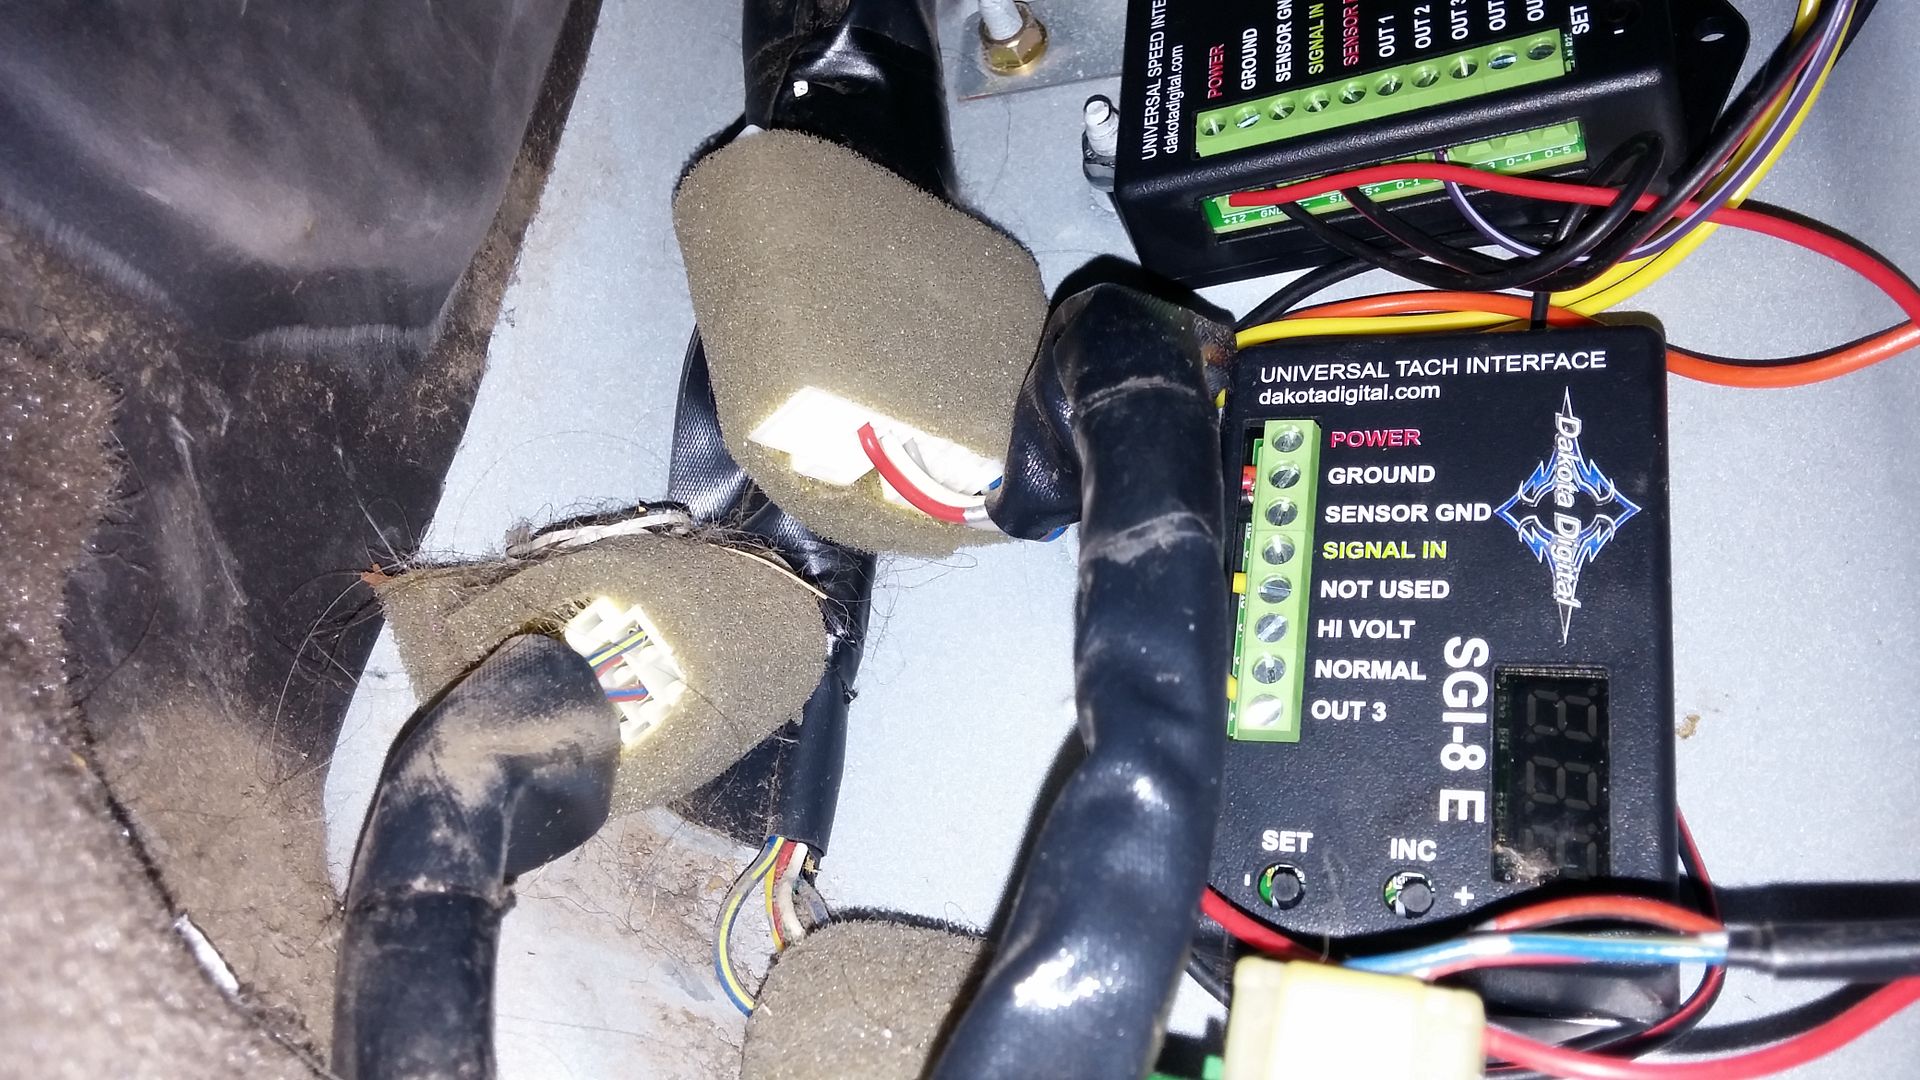
Next step was getting the Tach working and reading accurate.. I decided to go with the Dakota Digital SGI-8E.. Less than $90, and I have found that Dakota Digital produces reliable interfaces… This was very easy to setup and calibrate.
Mounted it in the passenger kick panel area.
I took the LX450 to the local Muffler shop to get the exhaust done.. They did a great job… ran both pipes down the passenger side.. I provide them the muffler.. went with the Mangaflow 11385..
http://www.summitracing.com/parts/mpe-11385/overview/ I really like it.. I had the pipes exited in the stock LX450 location, and I love the way it sounds.. much better and somewhat quieter than the setup on my 88 FJ62.. Once again I apologize for not getting pictures.. it was late when they finished and they were in a hurry to leave. I will get some the next time I have it on a lift.
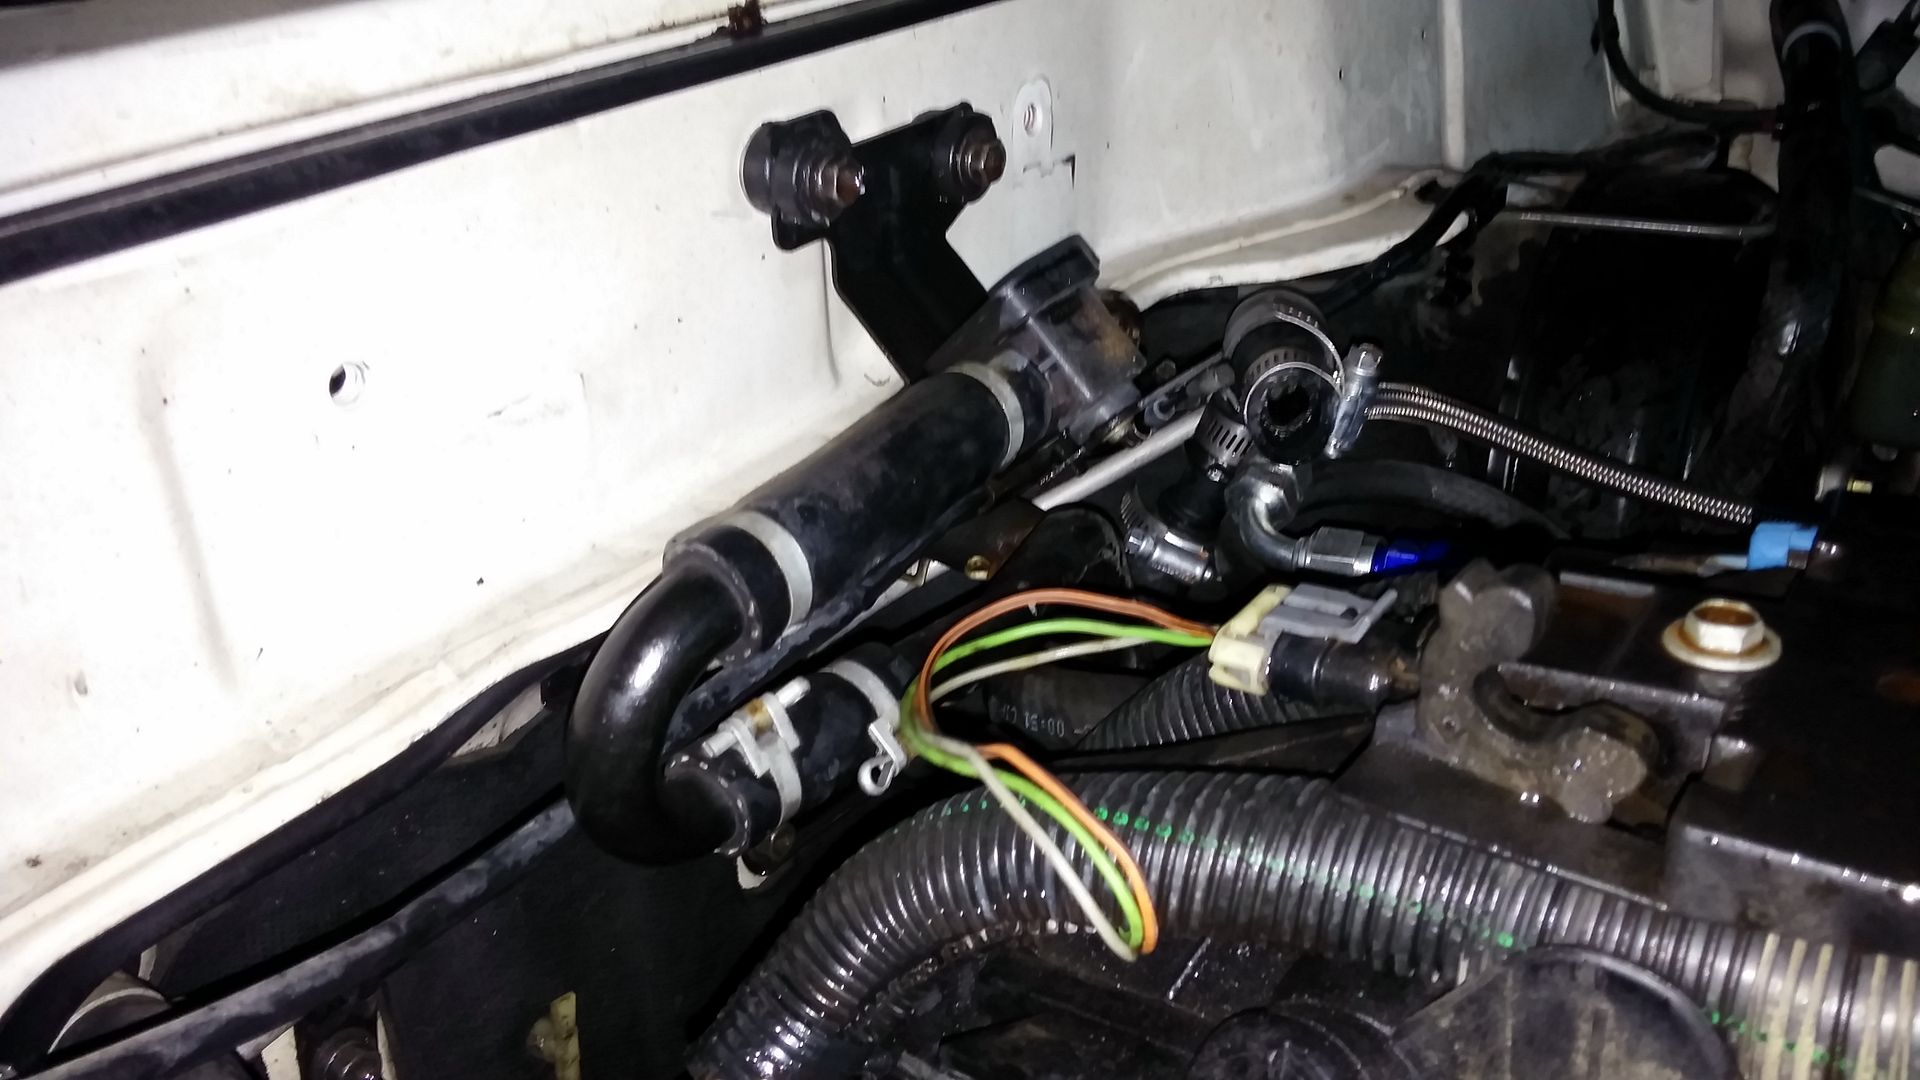
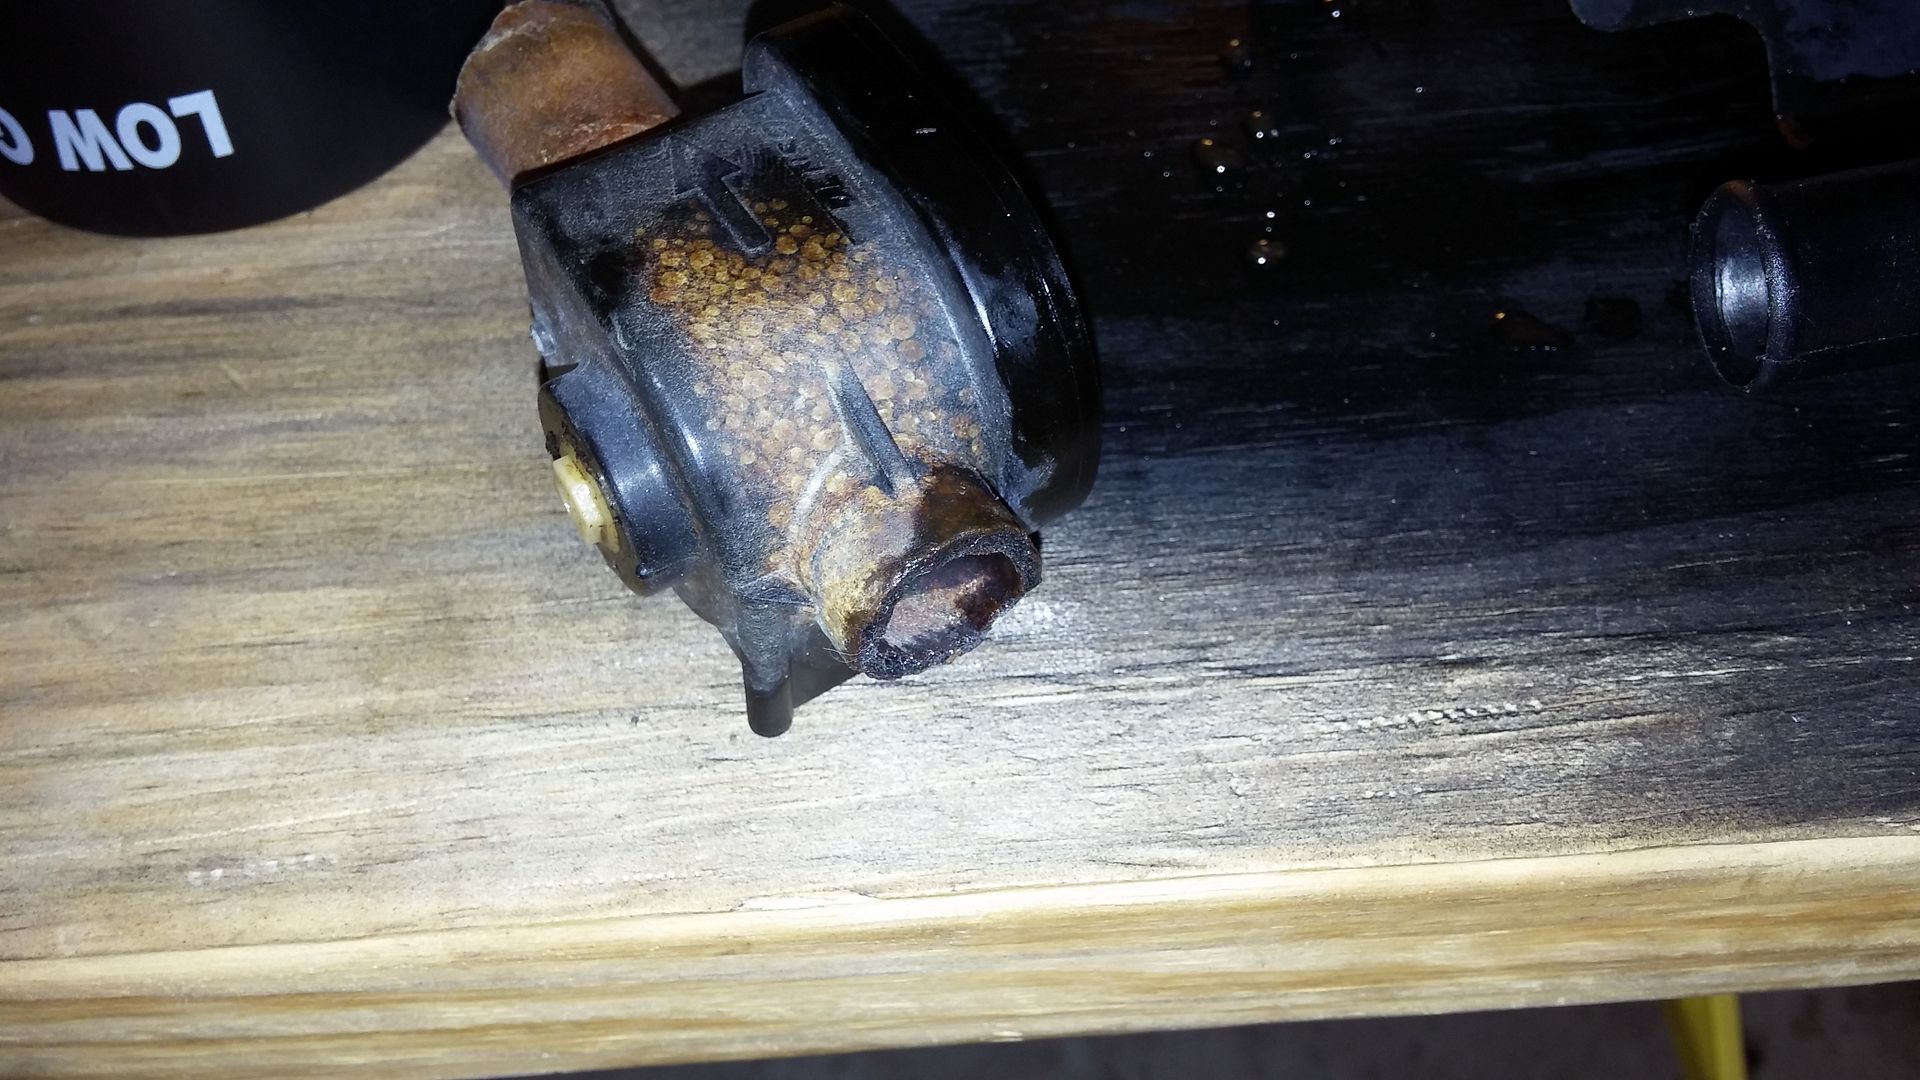
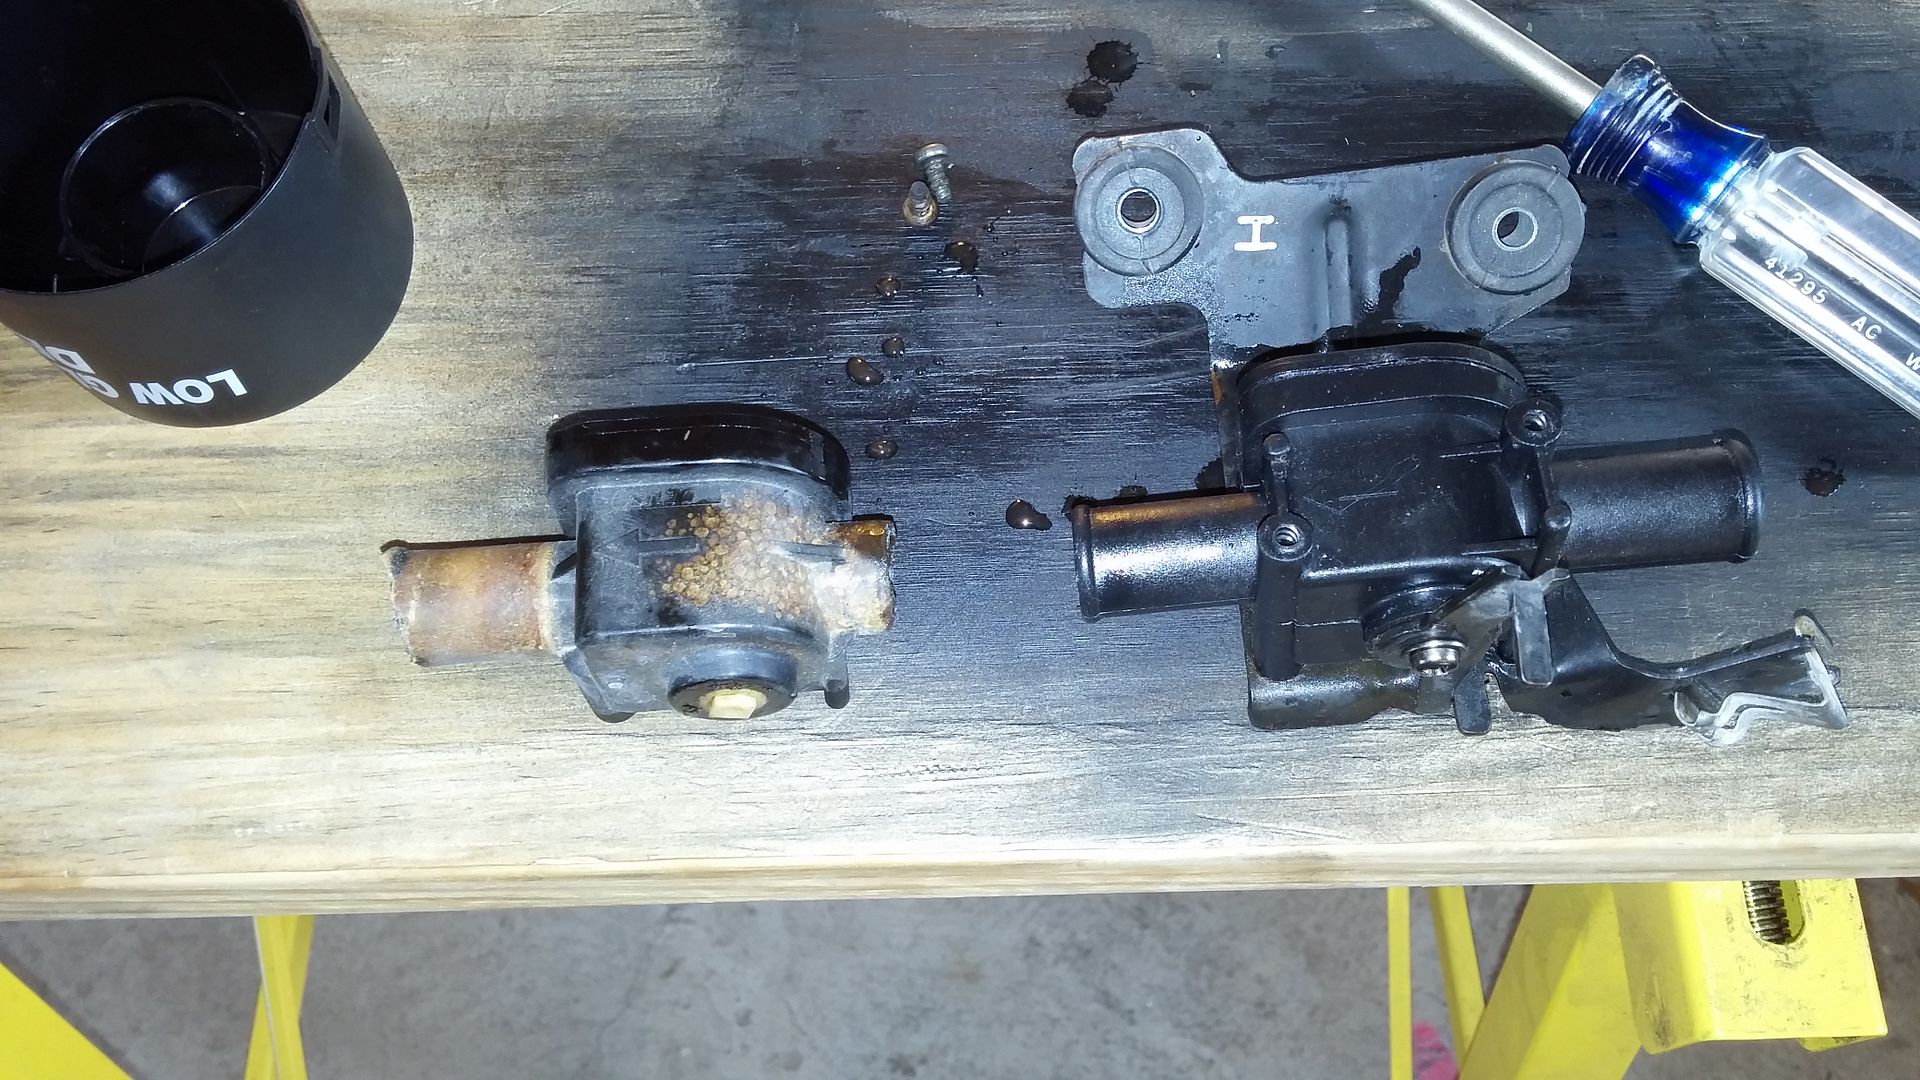
I mentioned earlier that I had an issue.. I had the heater control valve fall apart on me during a high speed test run.. Luckily I caught it early and shut it down..
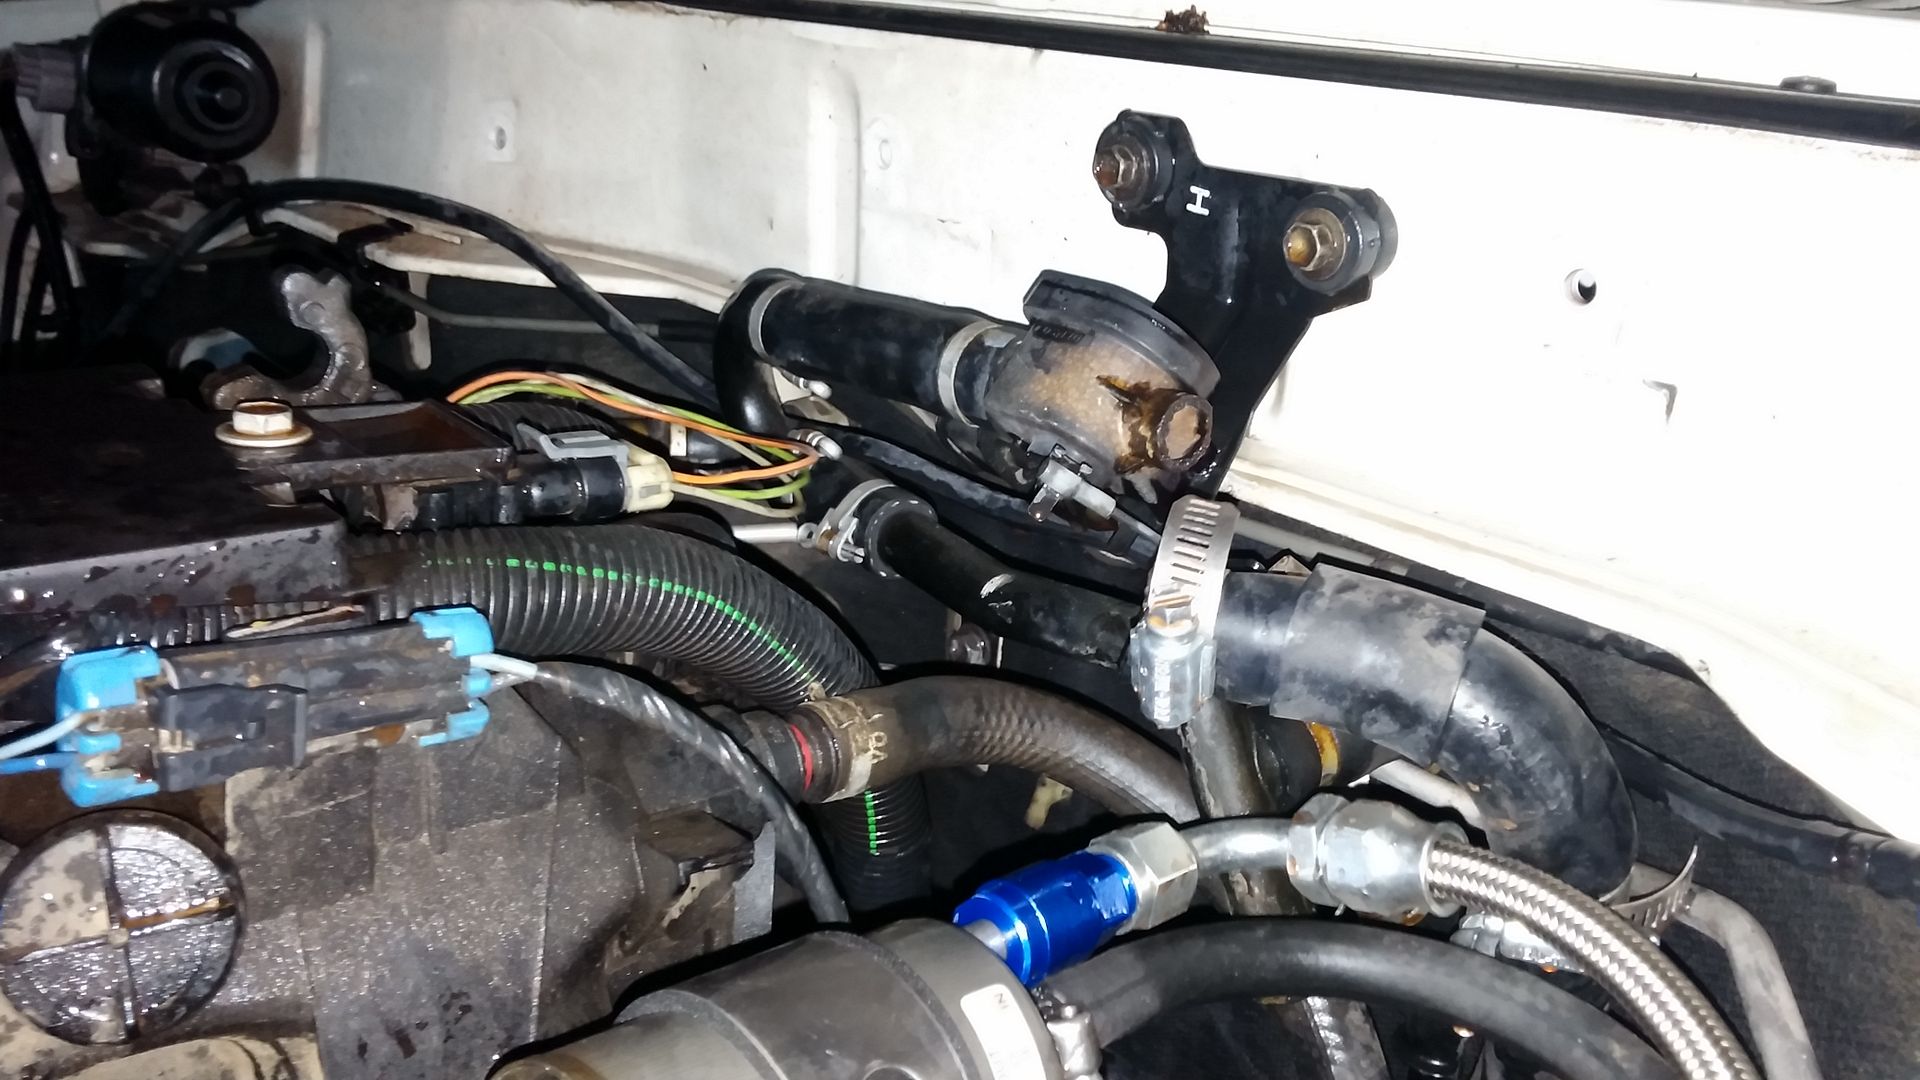
Replaced it with on from NAPA.. direct fit..
Built a bracket and installed my ScanGauge II ..
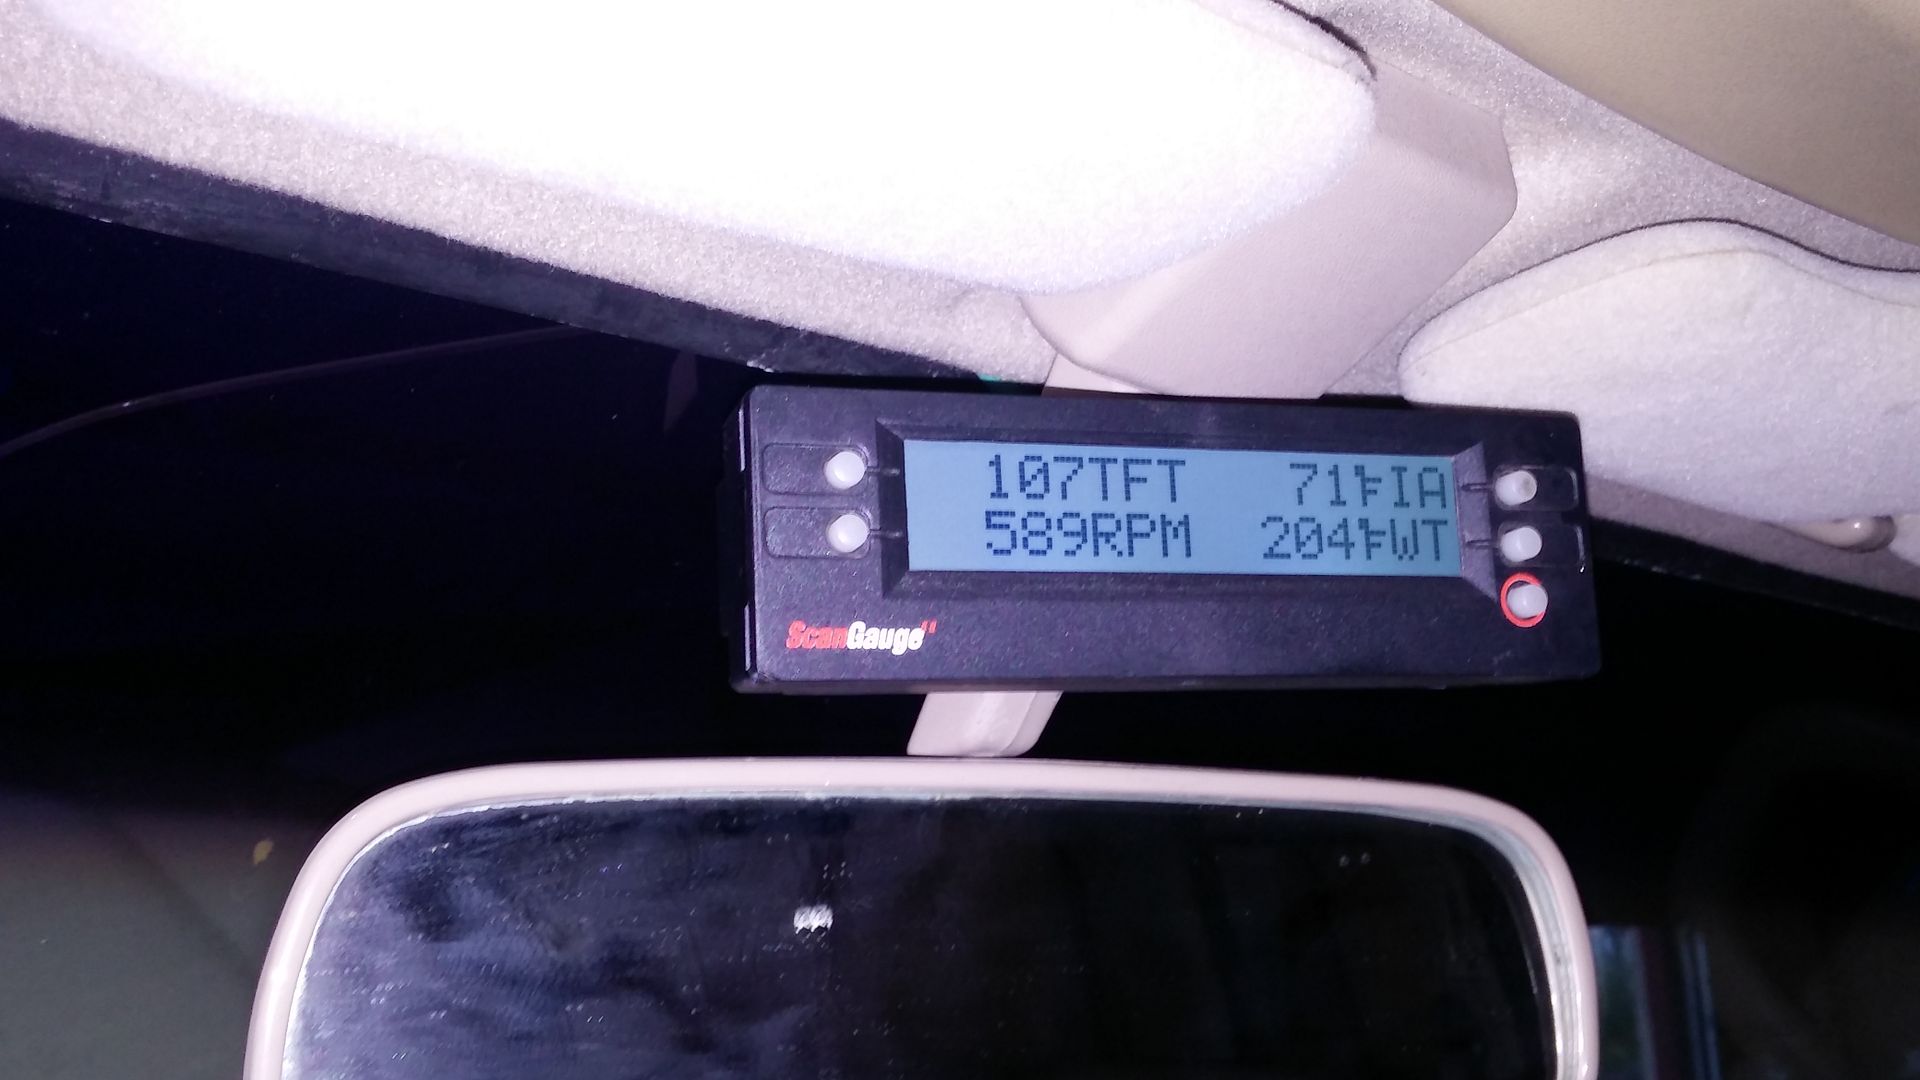
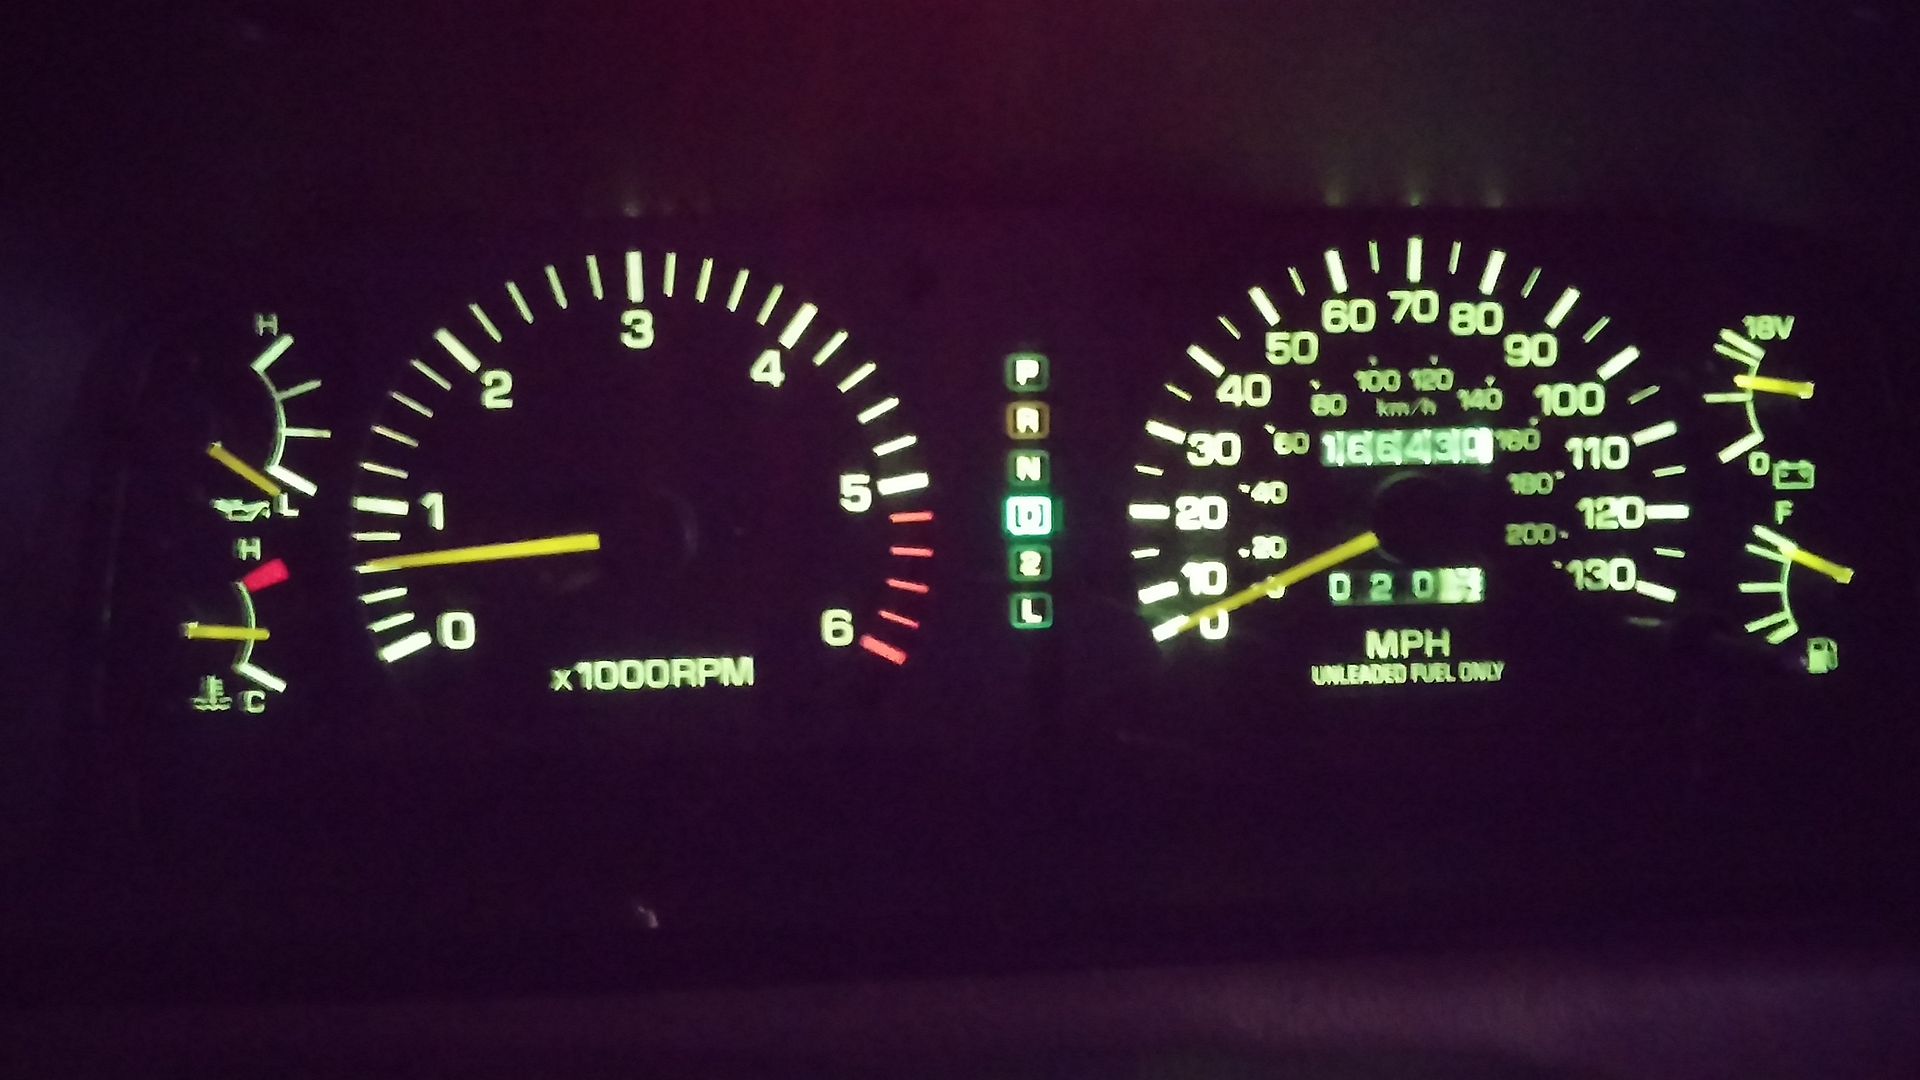
So far.. all the gauges are correct expect for the Speedometer and the oil pressure.. the speedometer is off due to the larger tires.. The oil pressure in another story.. later..
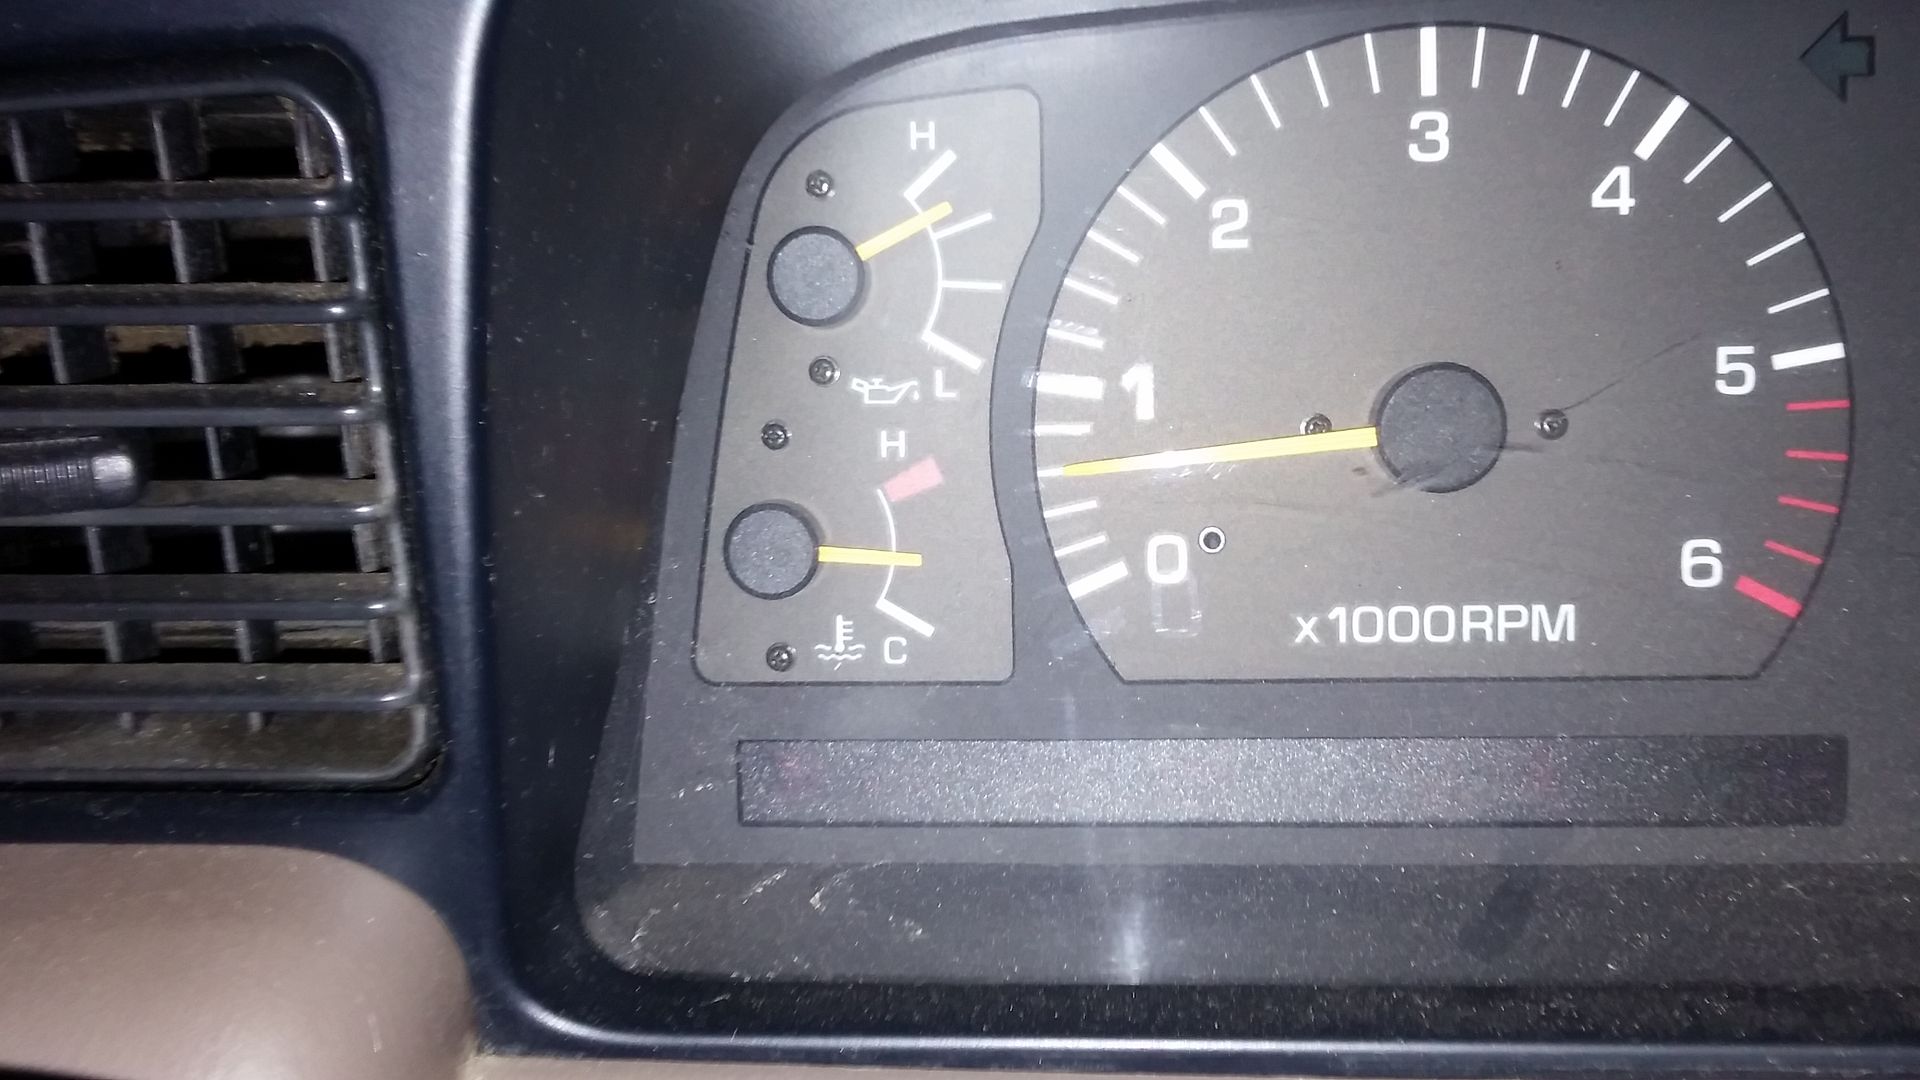
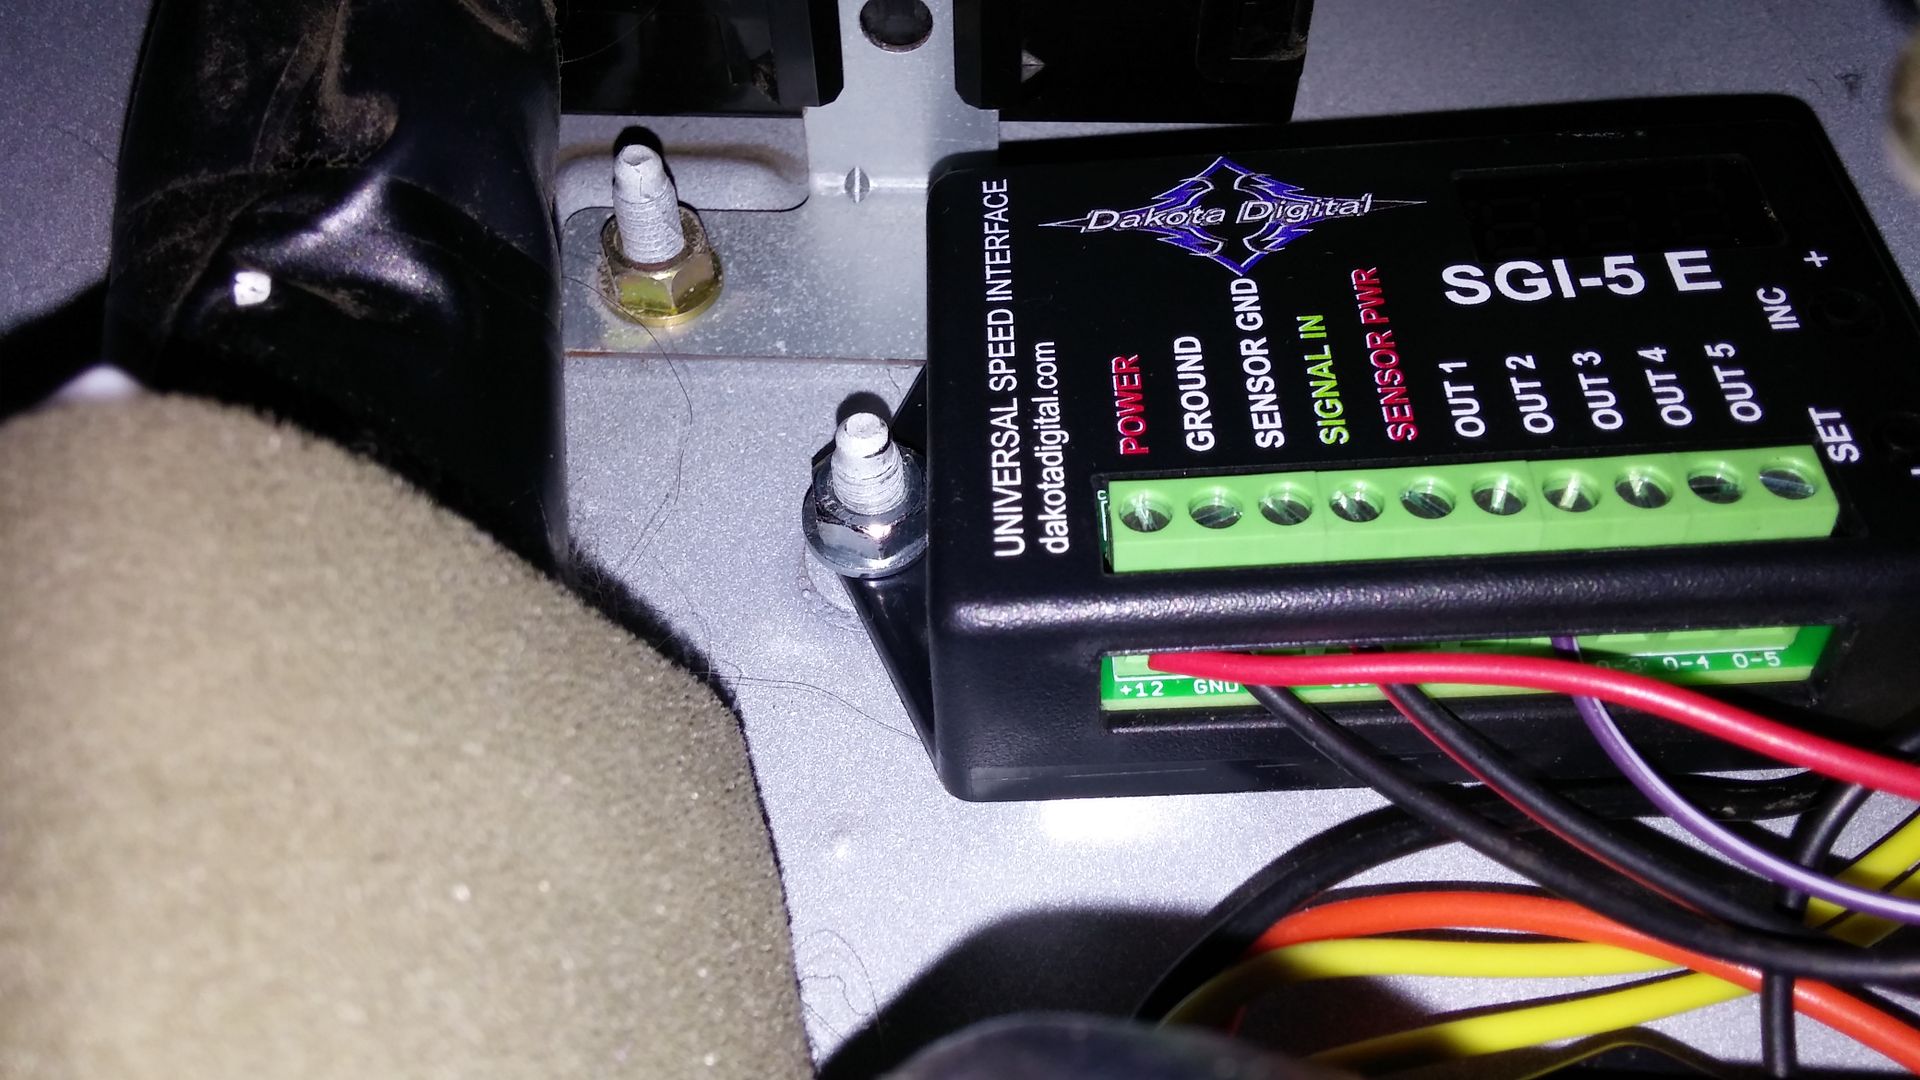
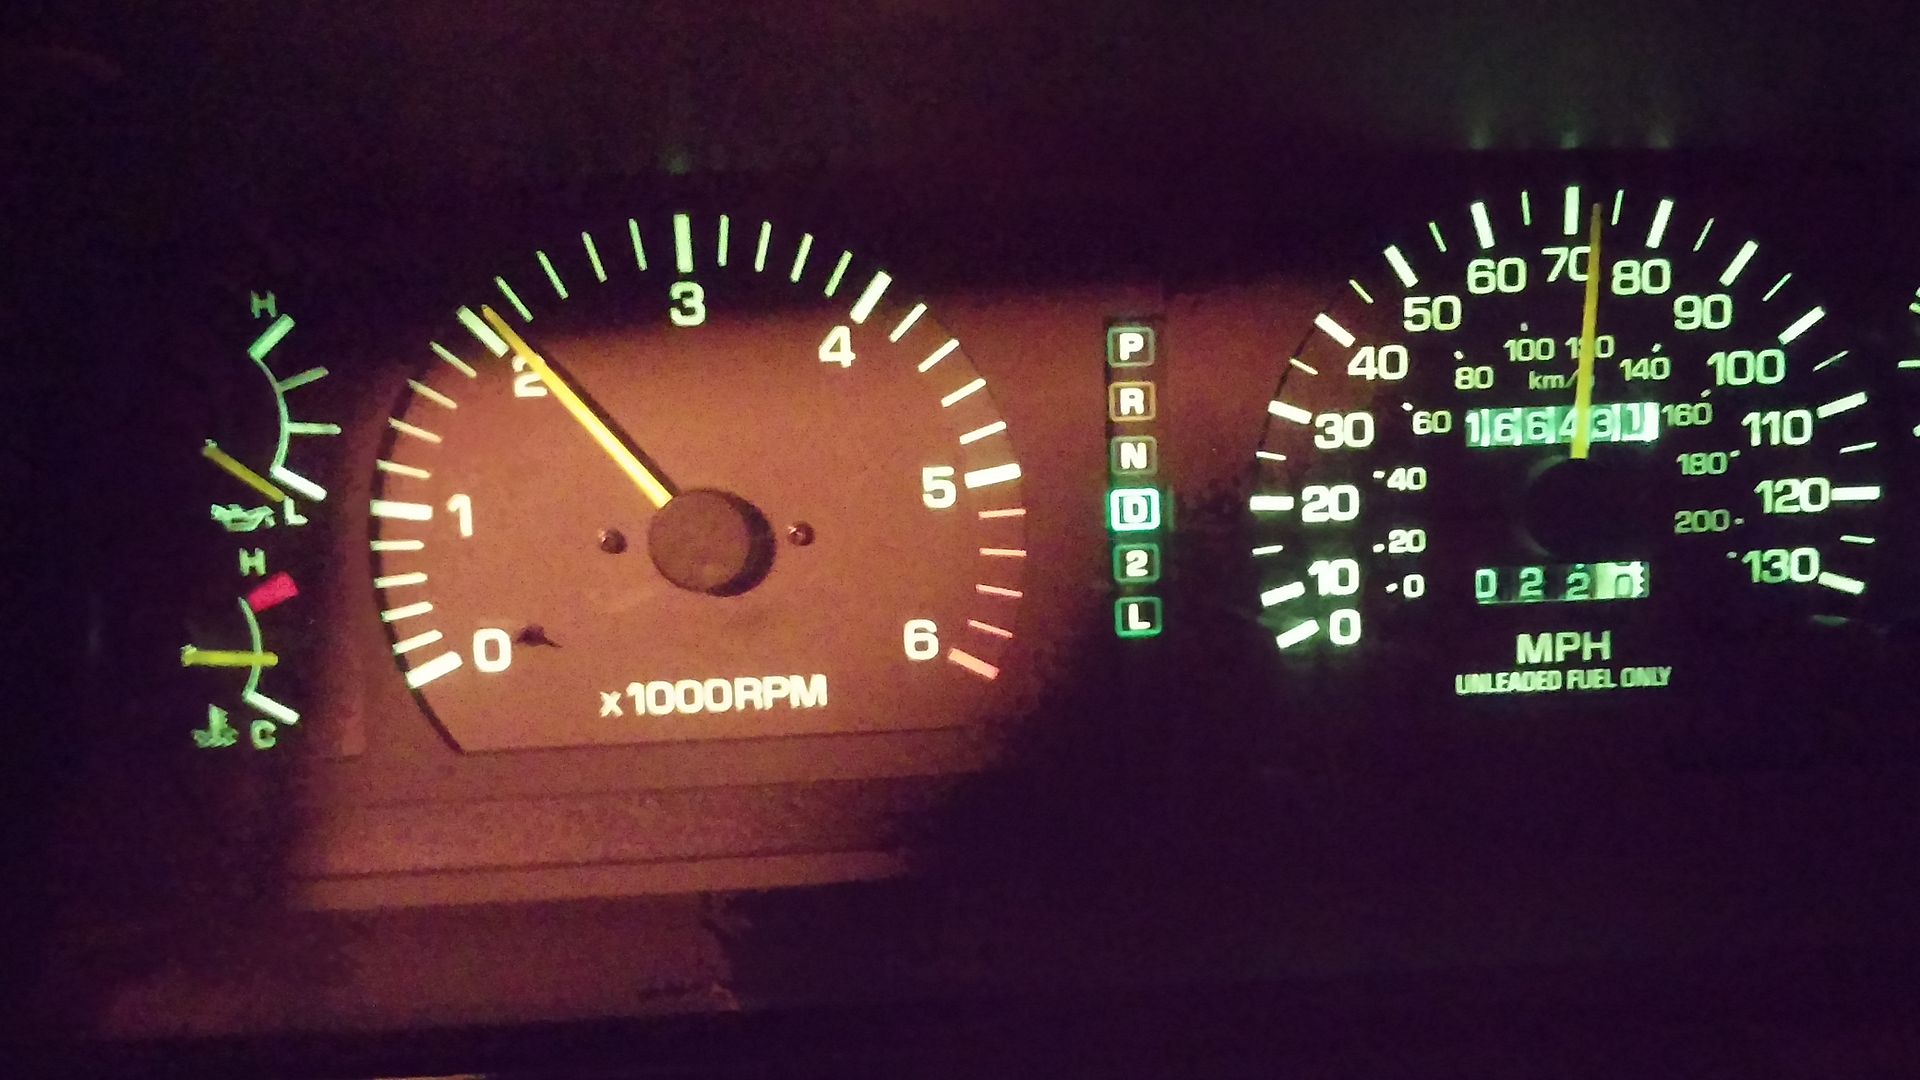
To correct the speedometer I decided to go to Dakota Digital again.. this time for their SGI-5 E speed interface.. Once again.. very simple to use.. Mounted in the same location as the Tach interface.
Now everything is right except for the oil pressure…
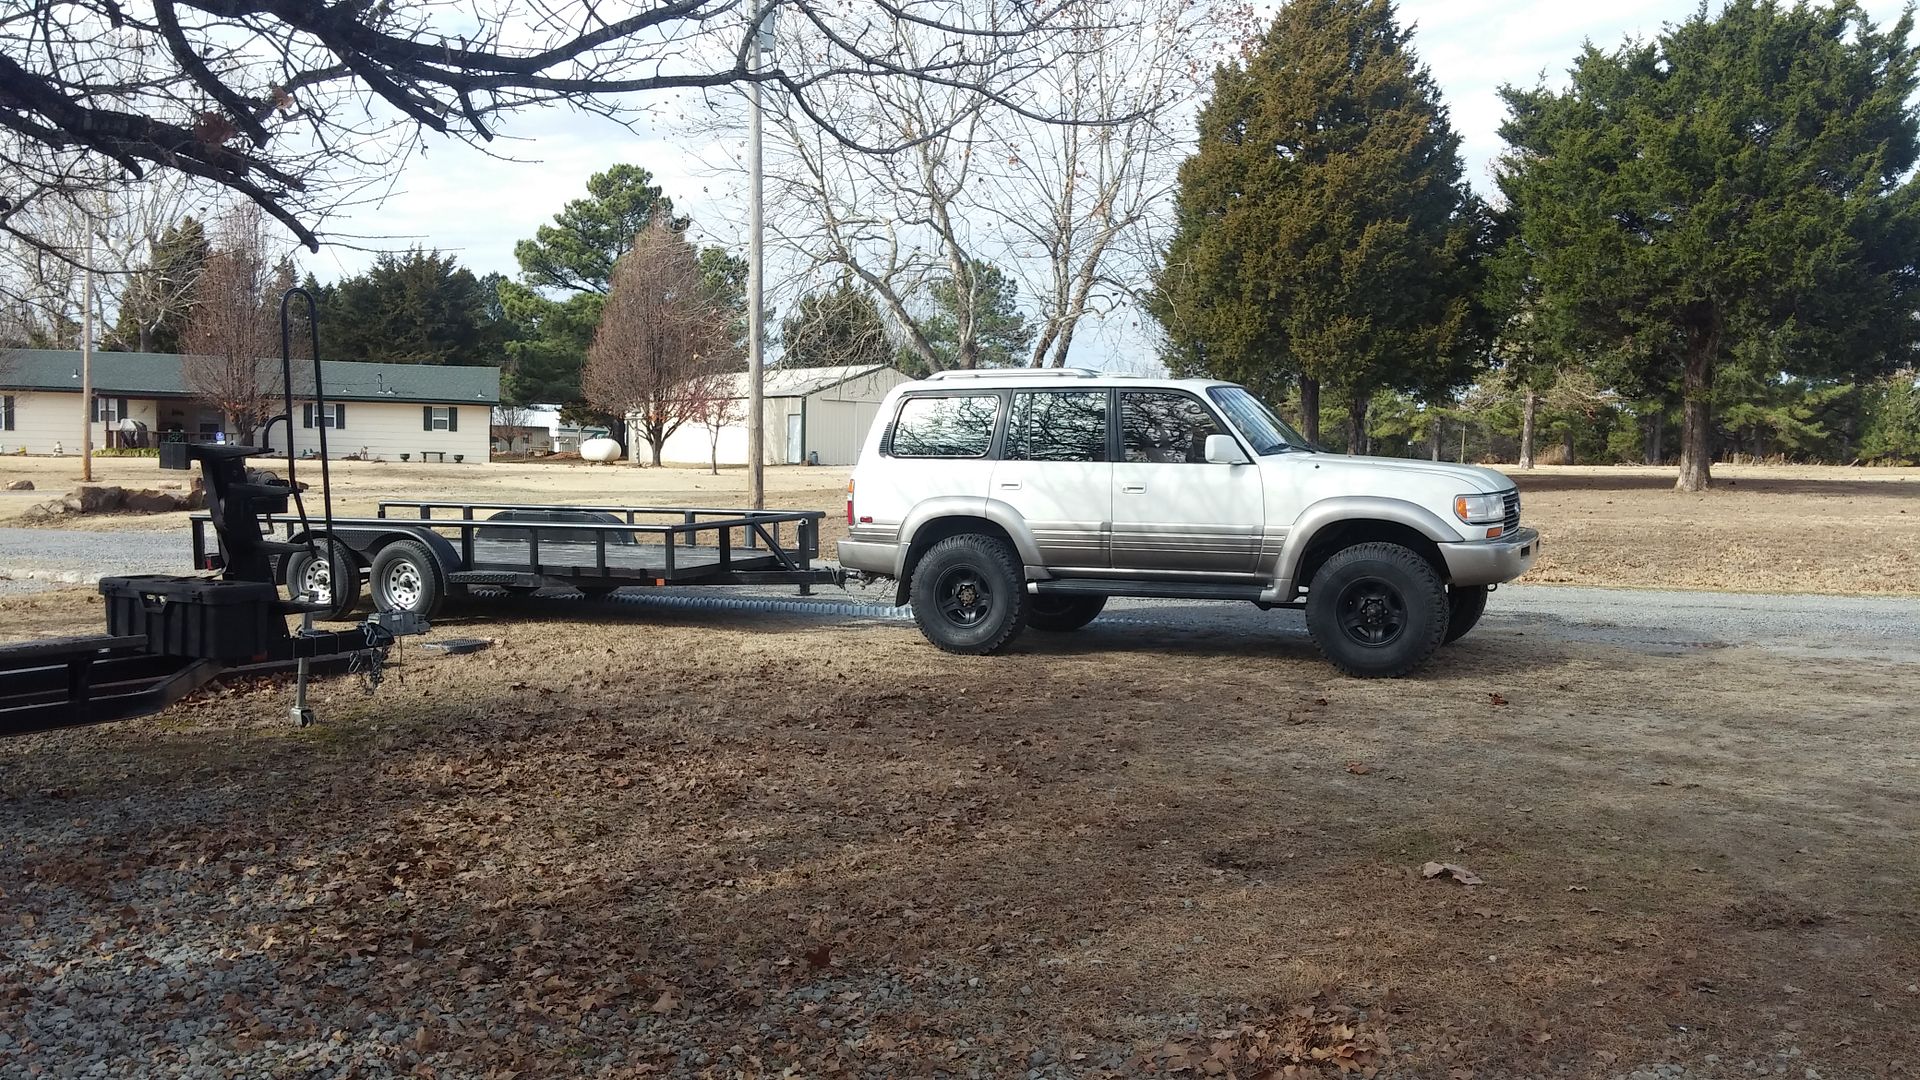
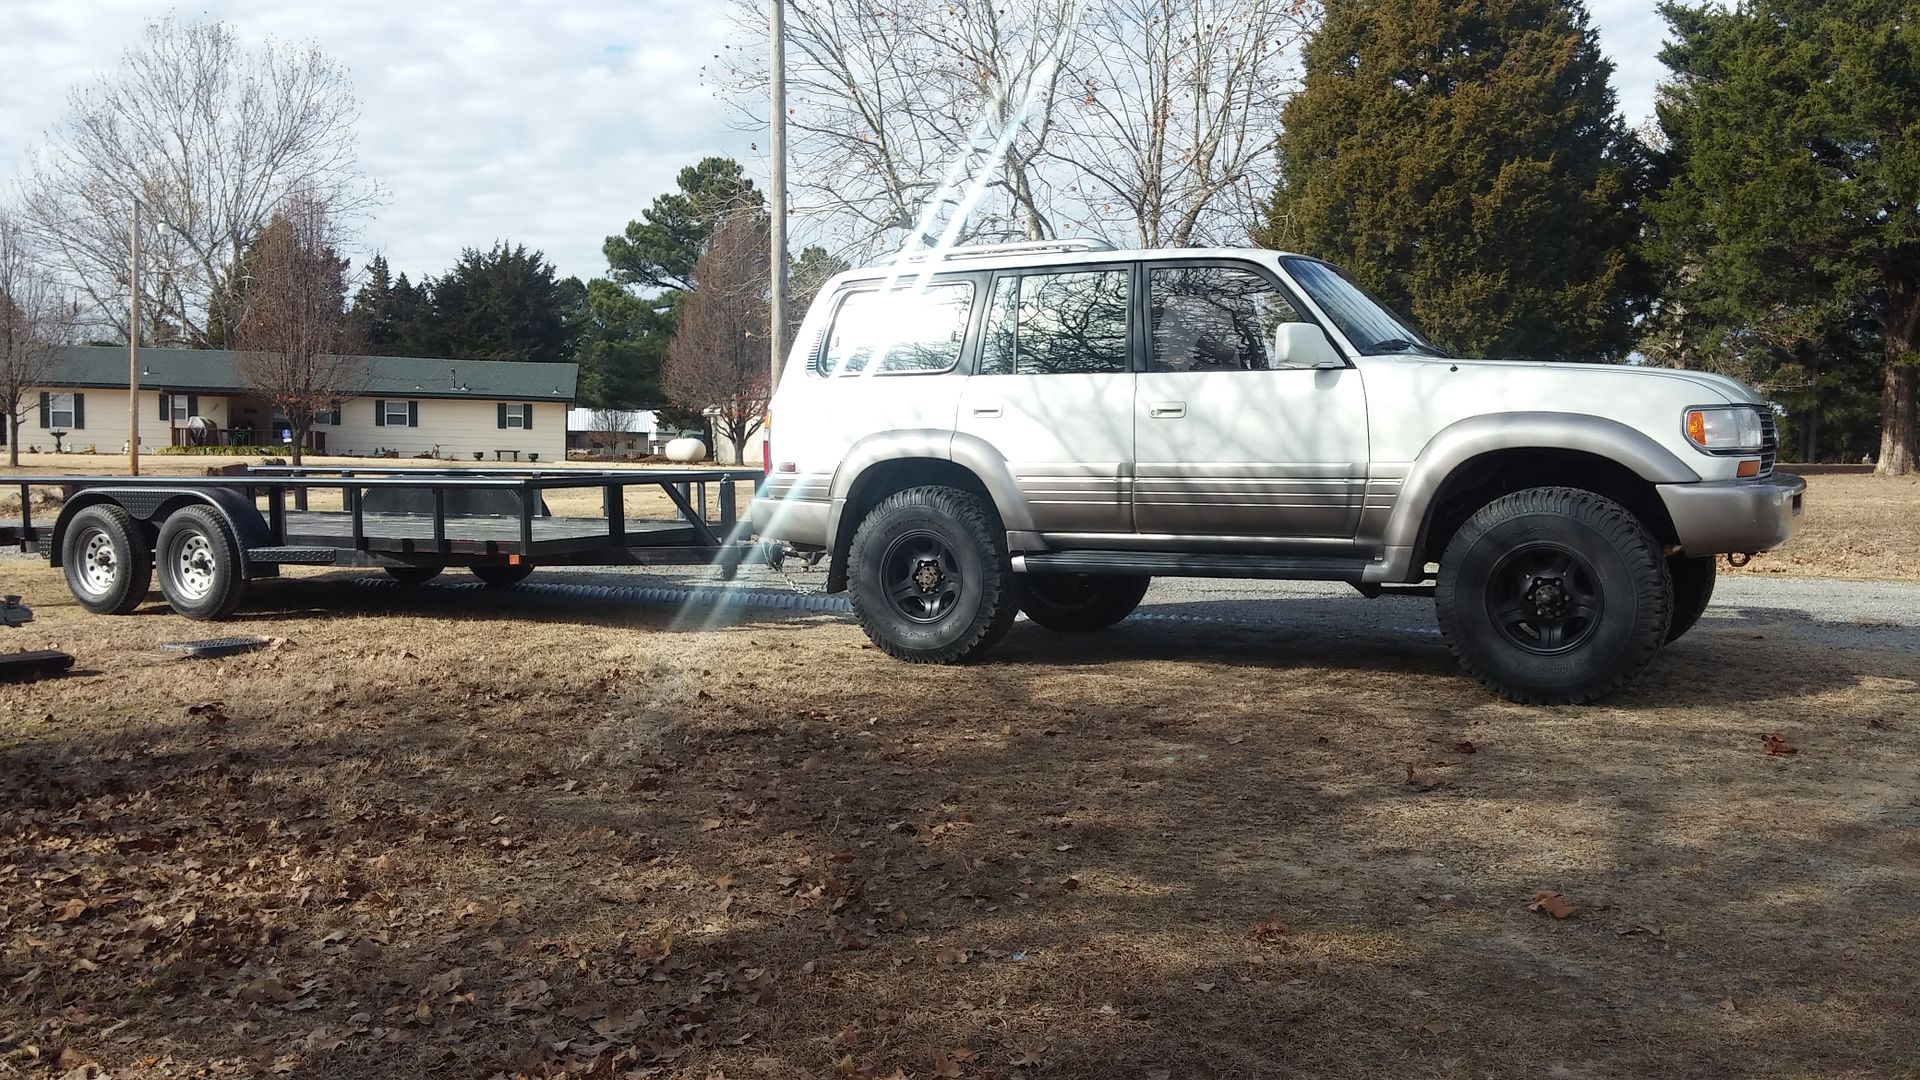
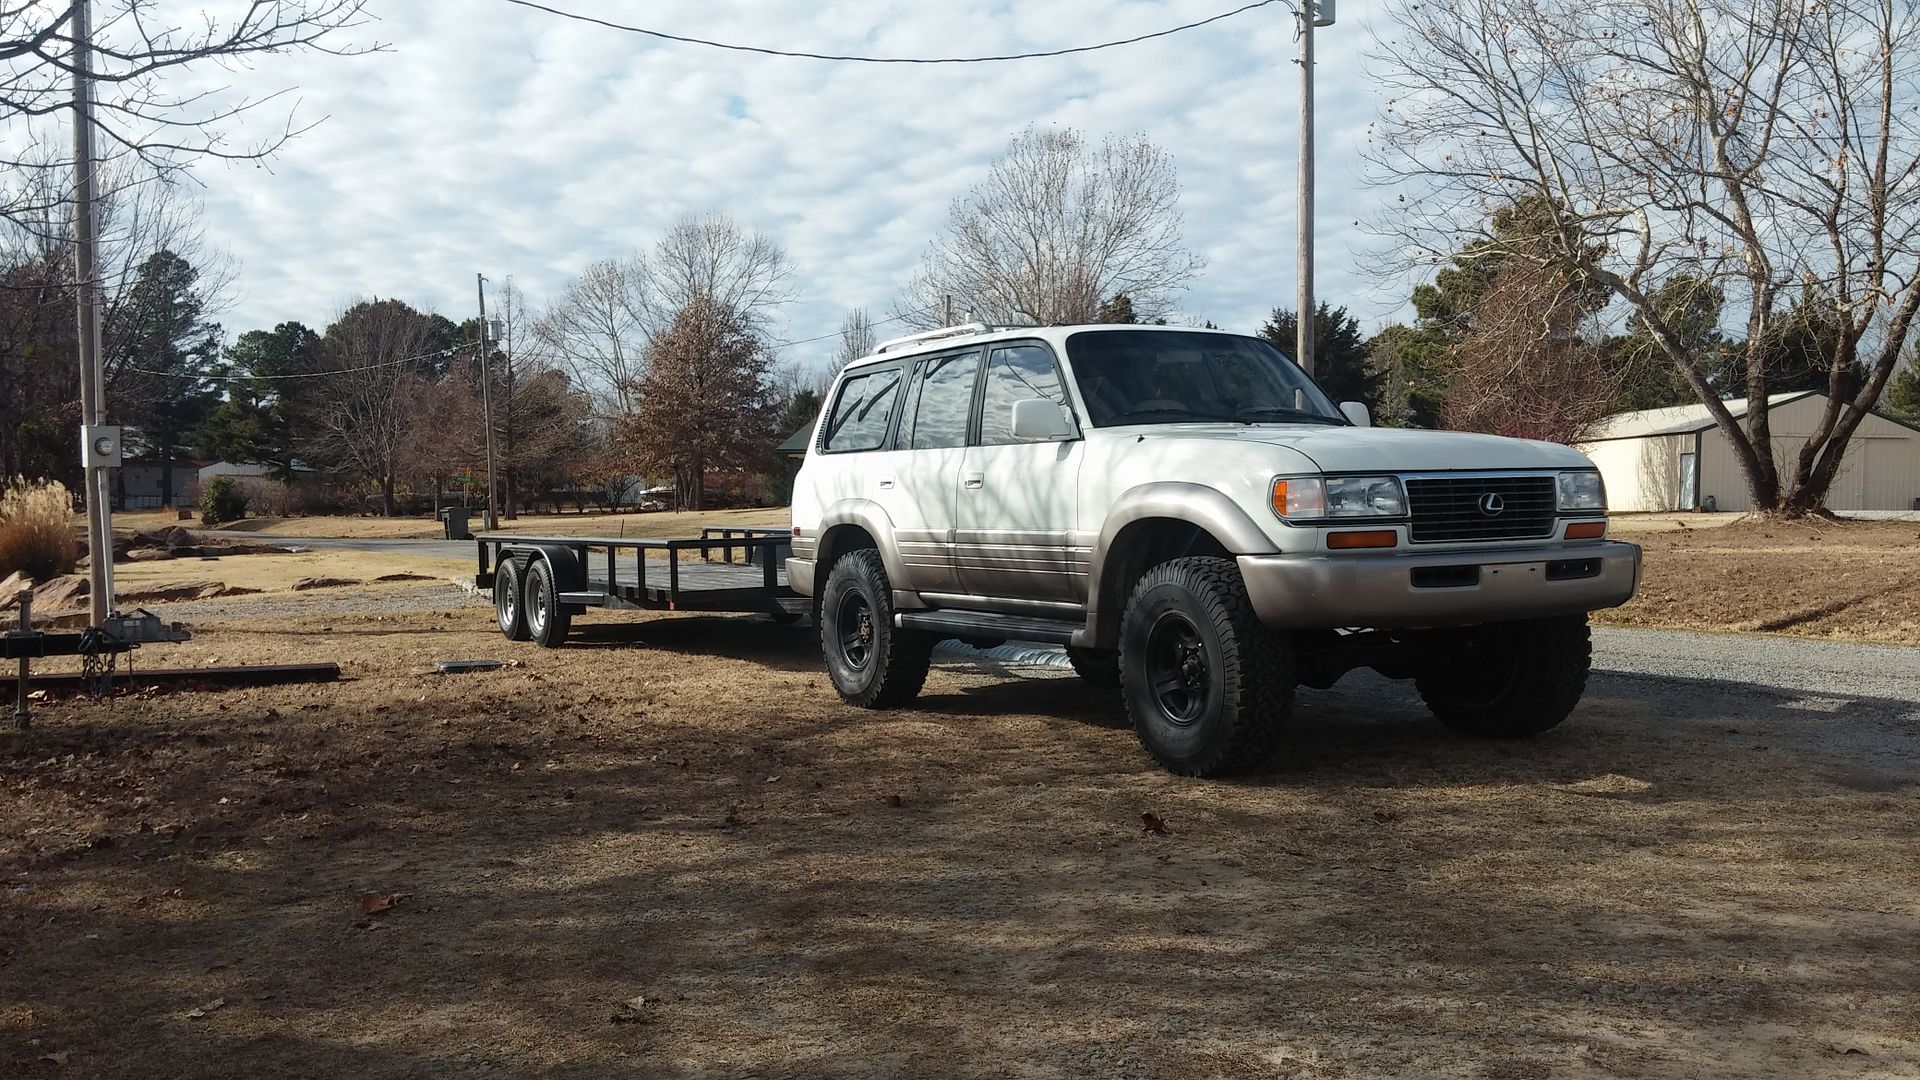
Time to haul the trailer back to my sons house…
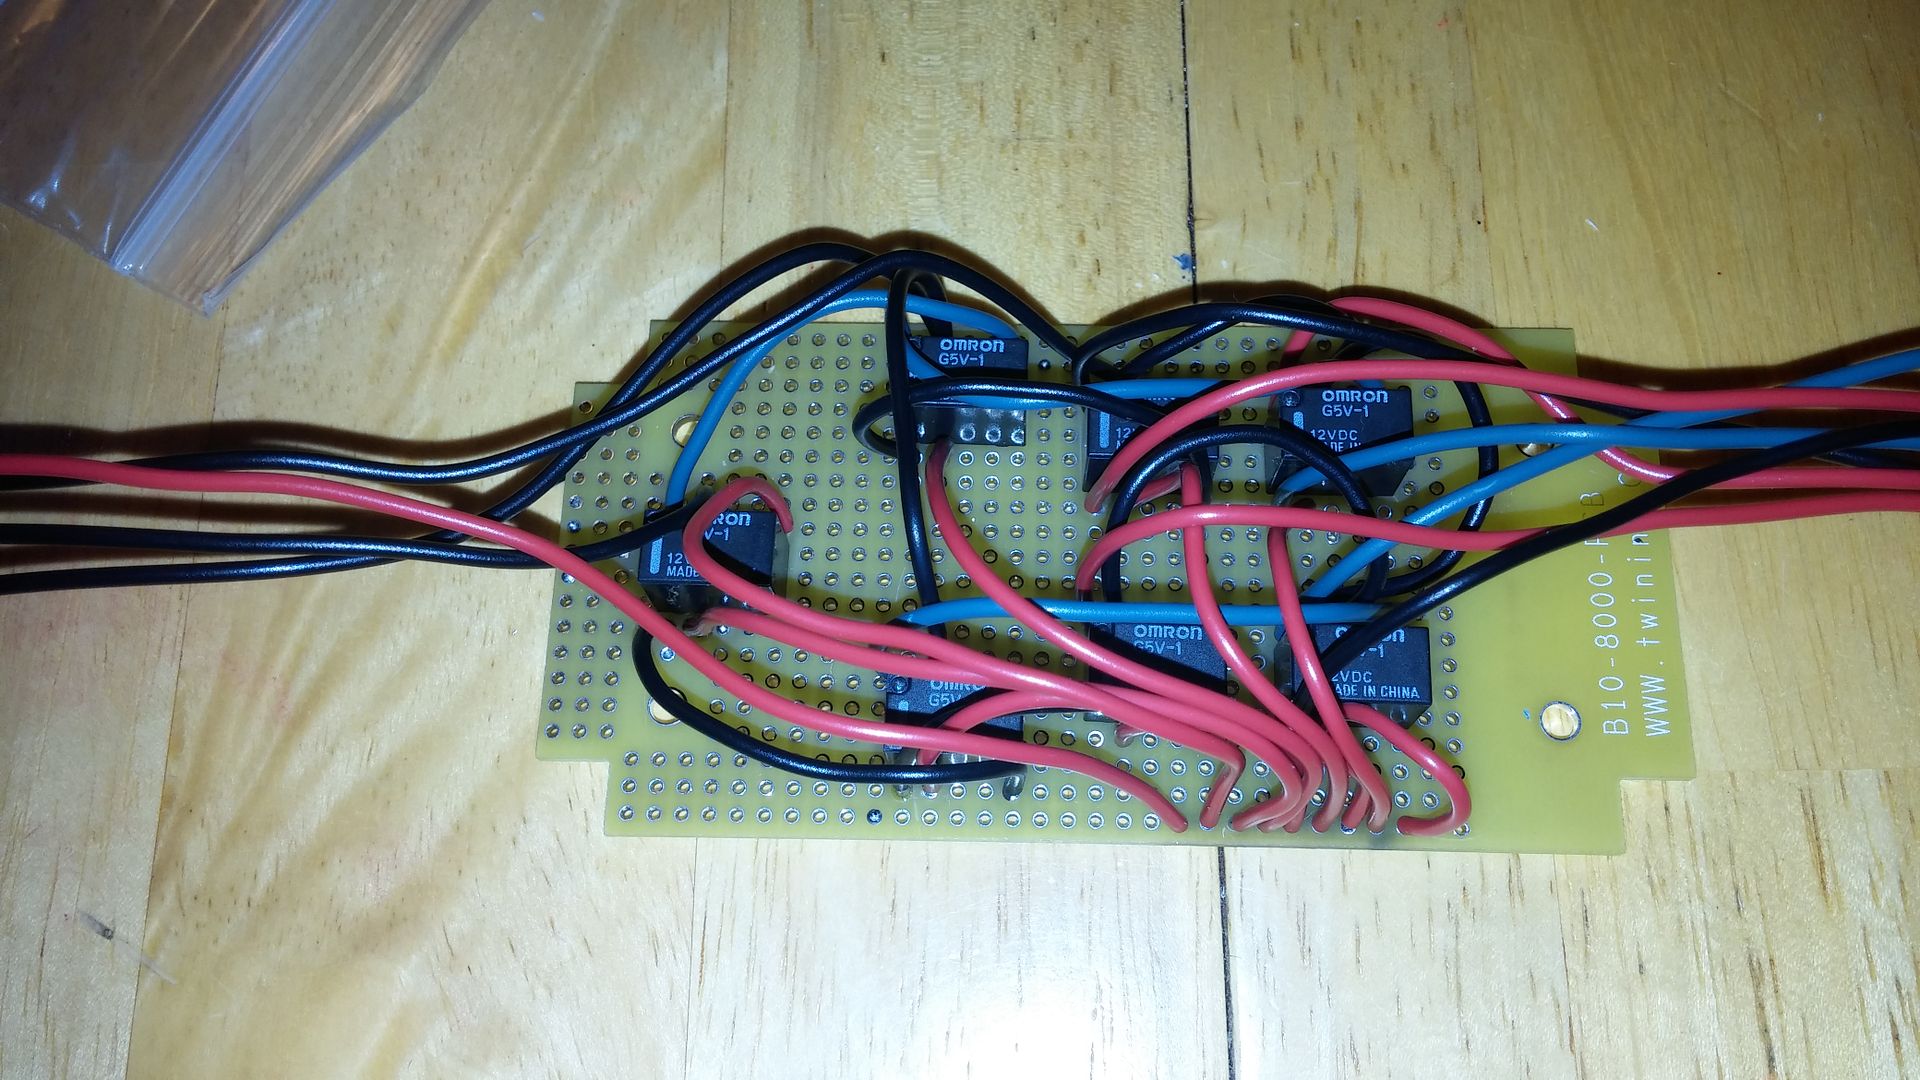
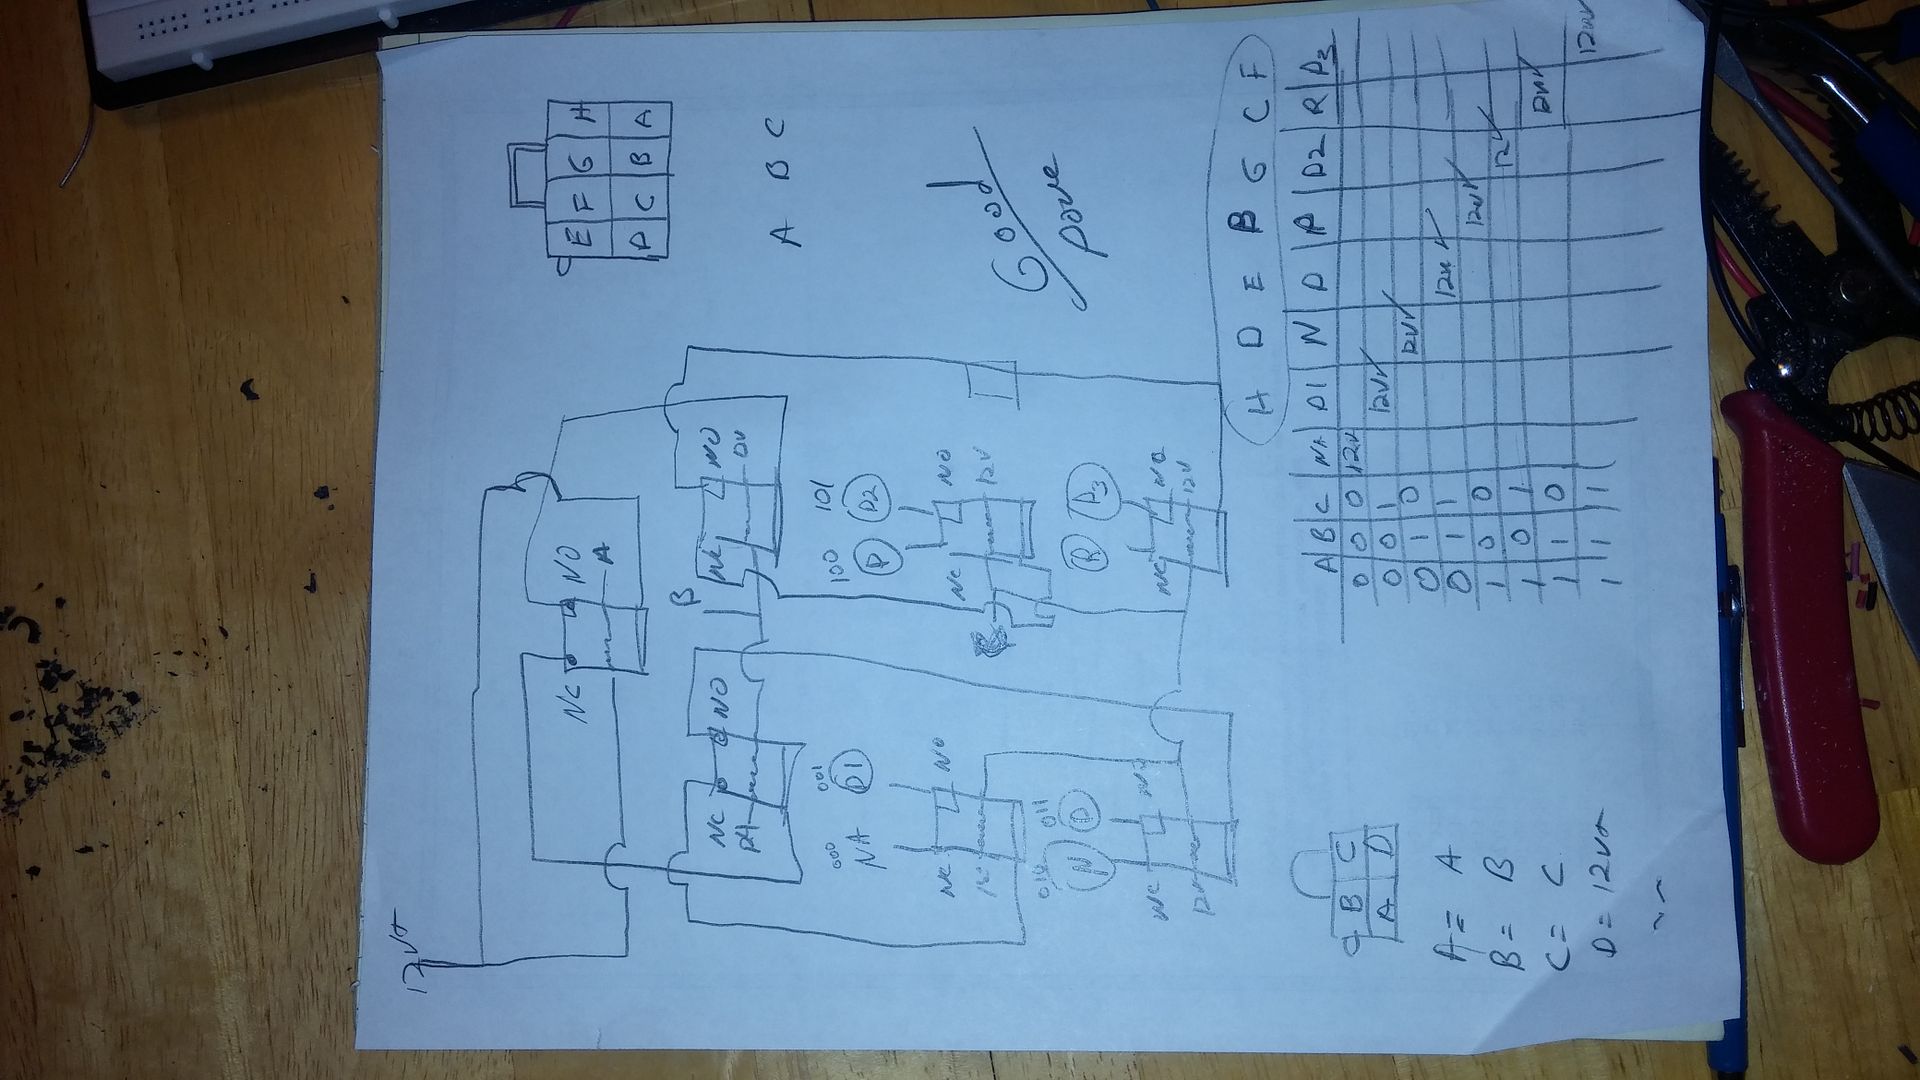
Next step was to get the transmission selector position indicators working on the dash.. There are probably many ways to accomplish this.. this is how I did it.. I used the Sift Range A, B, C from the GM PCM to create a 3 to 8 decoder that I connected to the inputs to the gauge indicators. My solution uses 7 small signal relays.

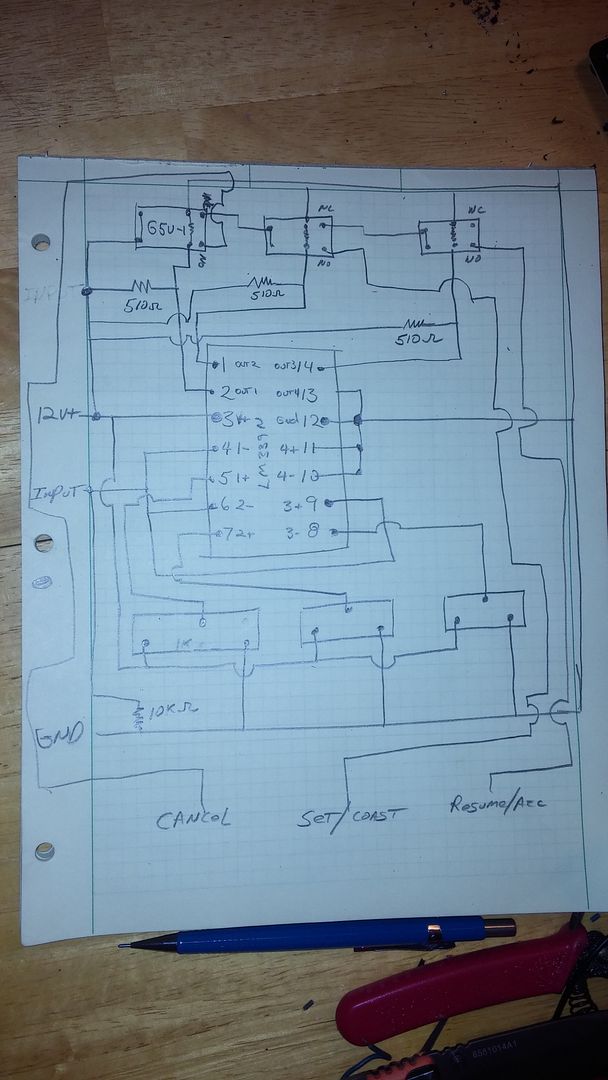
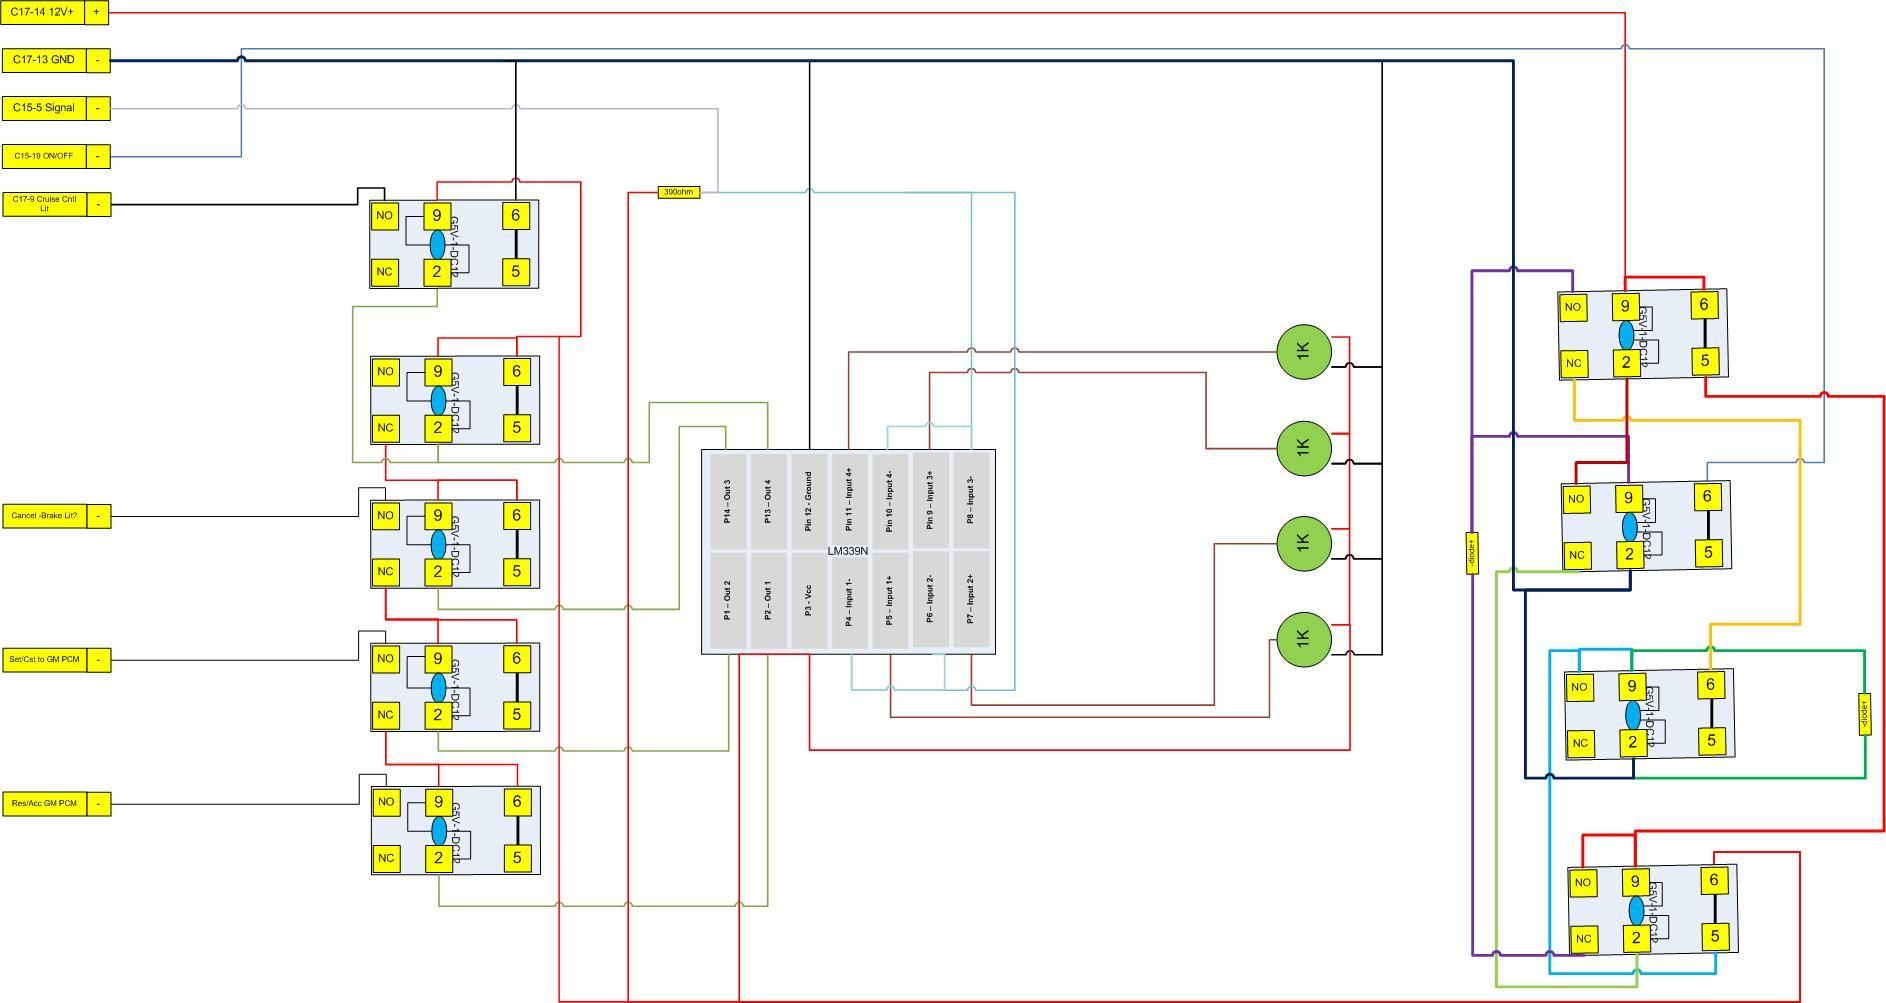
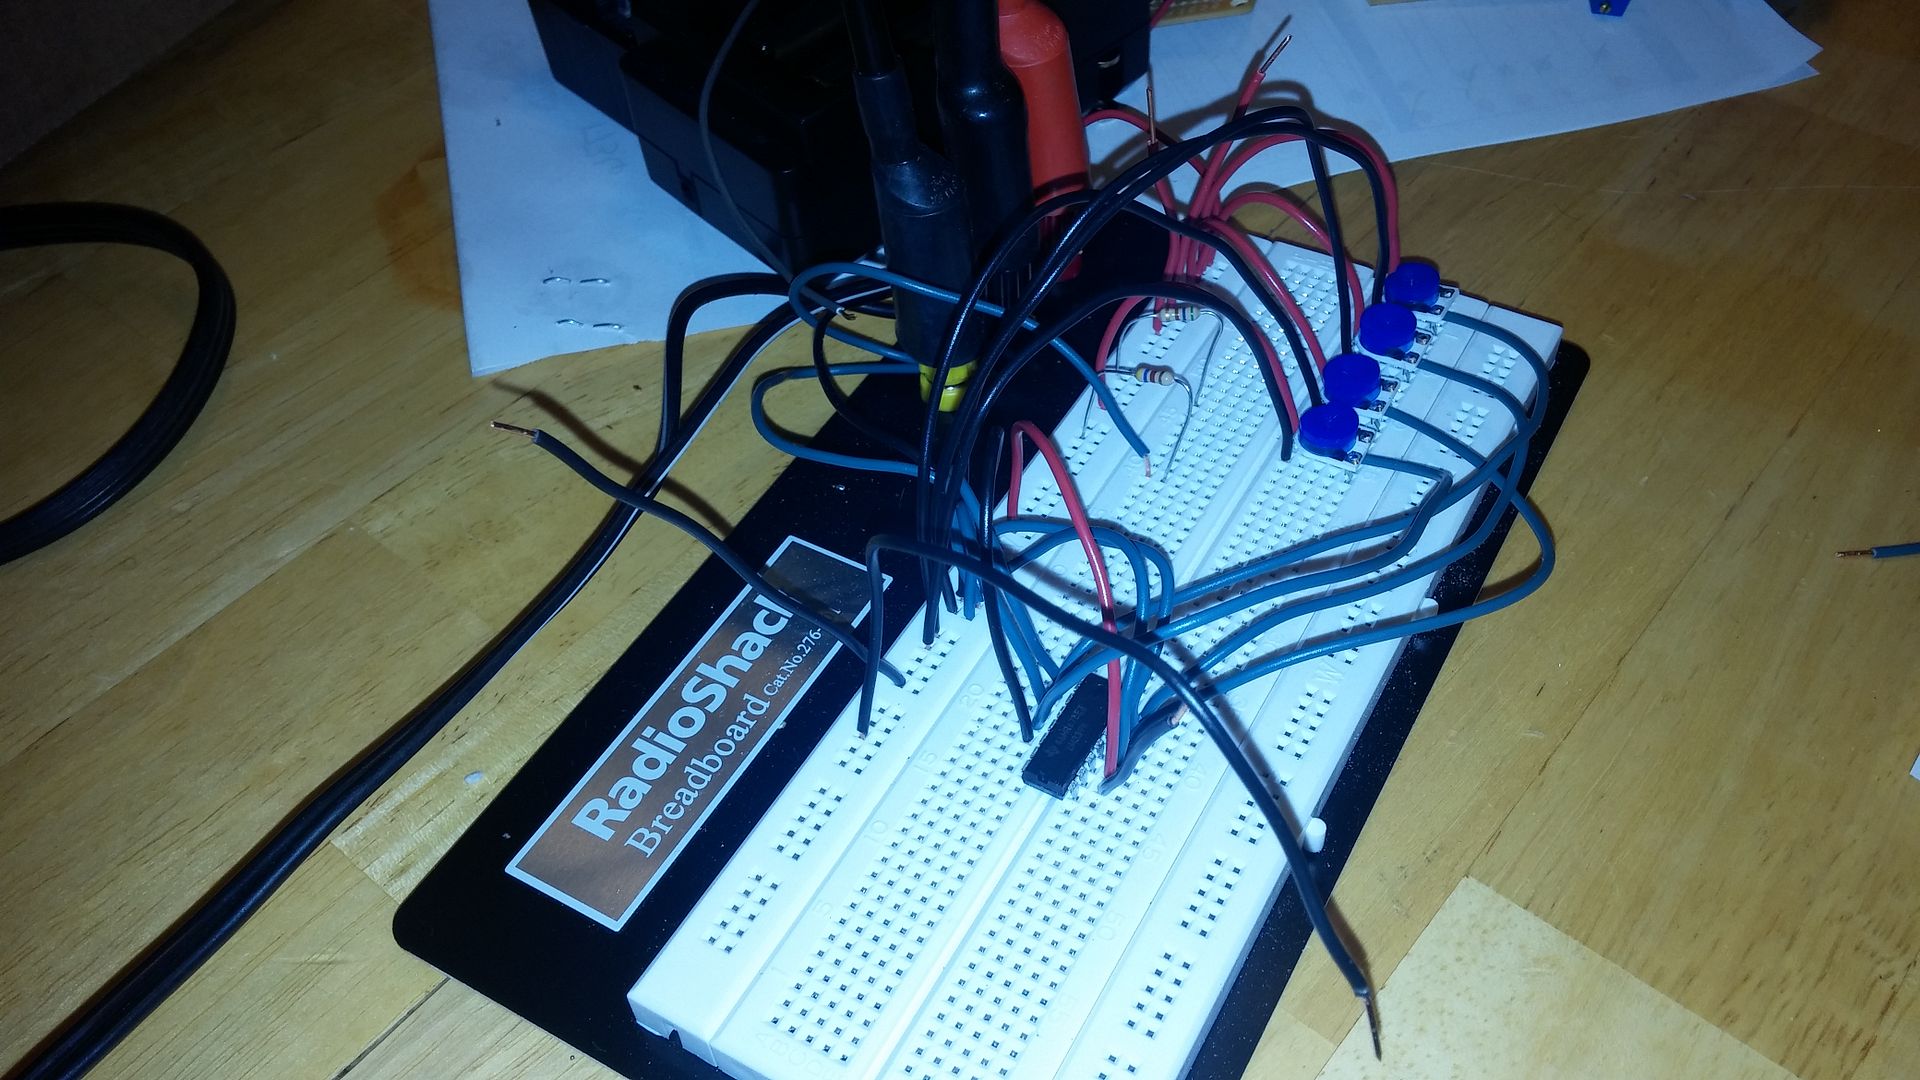
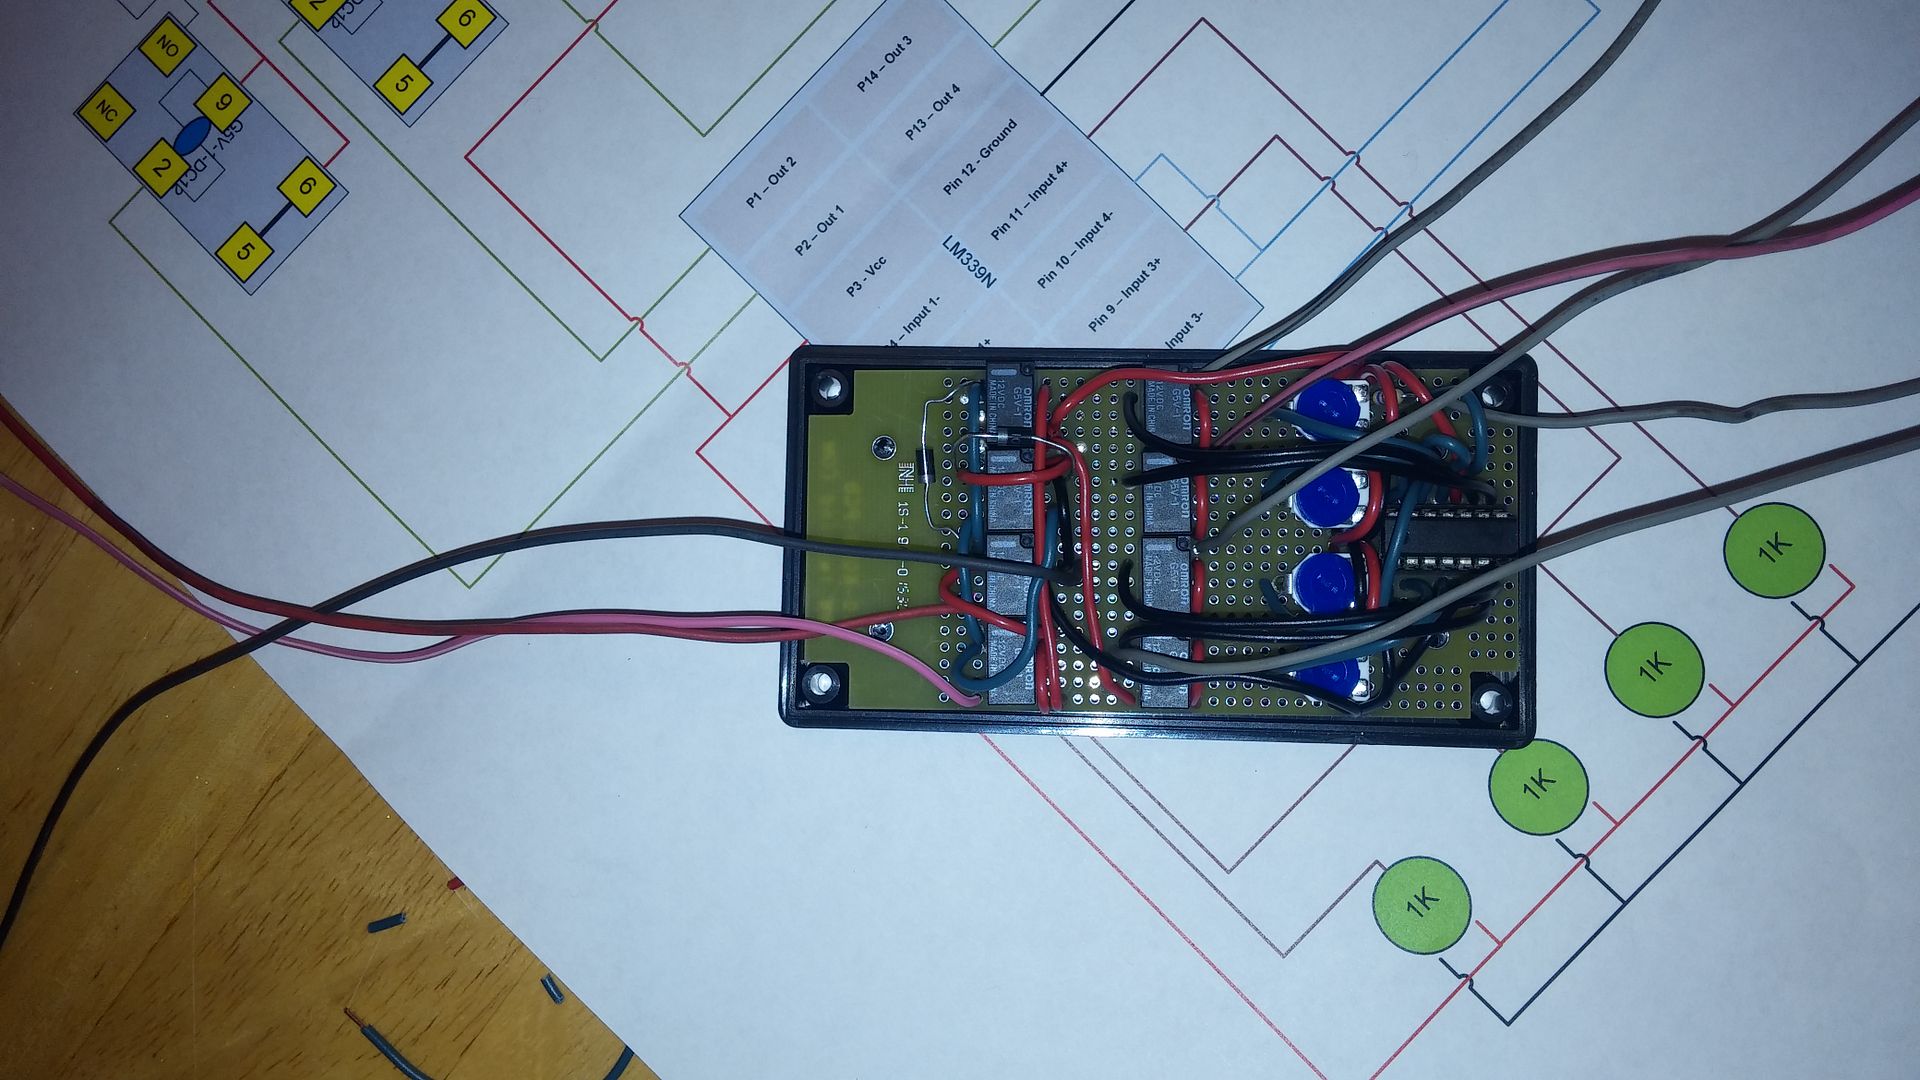
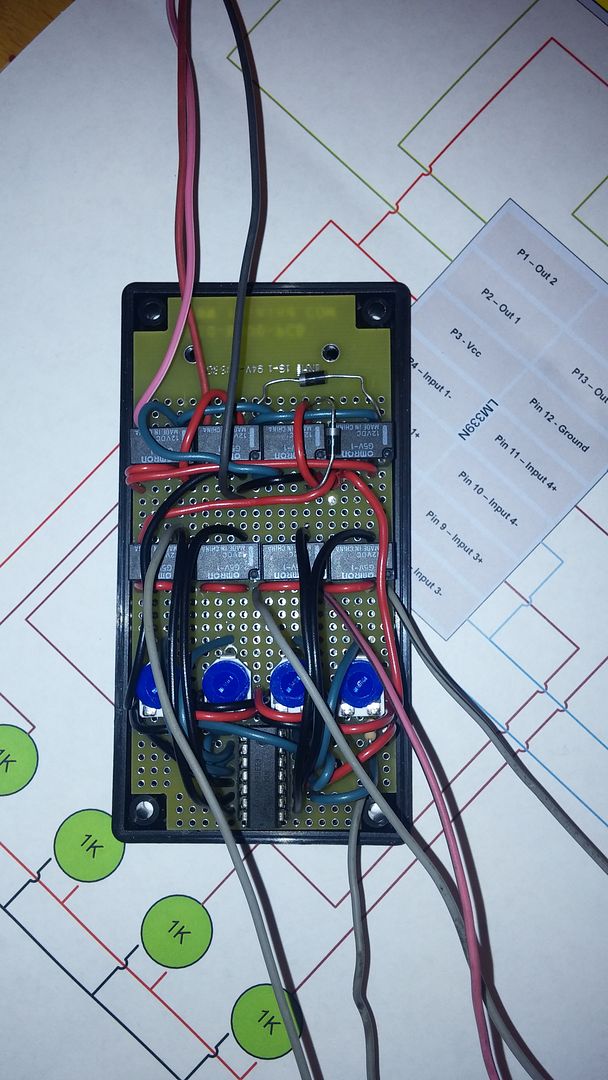
Next I decided to address the Cruise Control. I initially setup the cruse using a momentary SPDT rocker and a SPST switch. But I wanted to make the factory LX450 control work. Anyone that has looked into this before knows that this is not an easy task due to the wat Toyota implemented on these vehicles. In order to make this work I decided I need to use a Analog to Digital convertor (ADC). After some research I decided to use a LM339N voltage comparator as the core to my ADC. I first used a prototyping bread board to validate my theory.
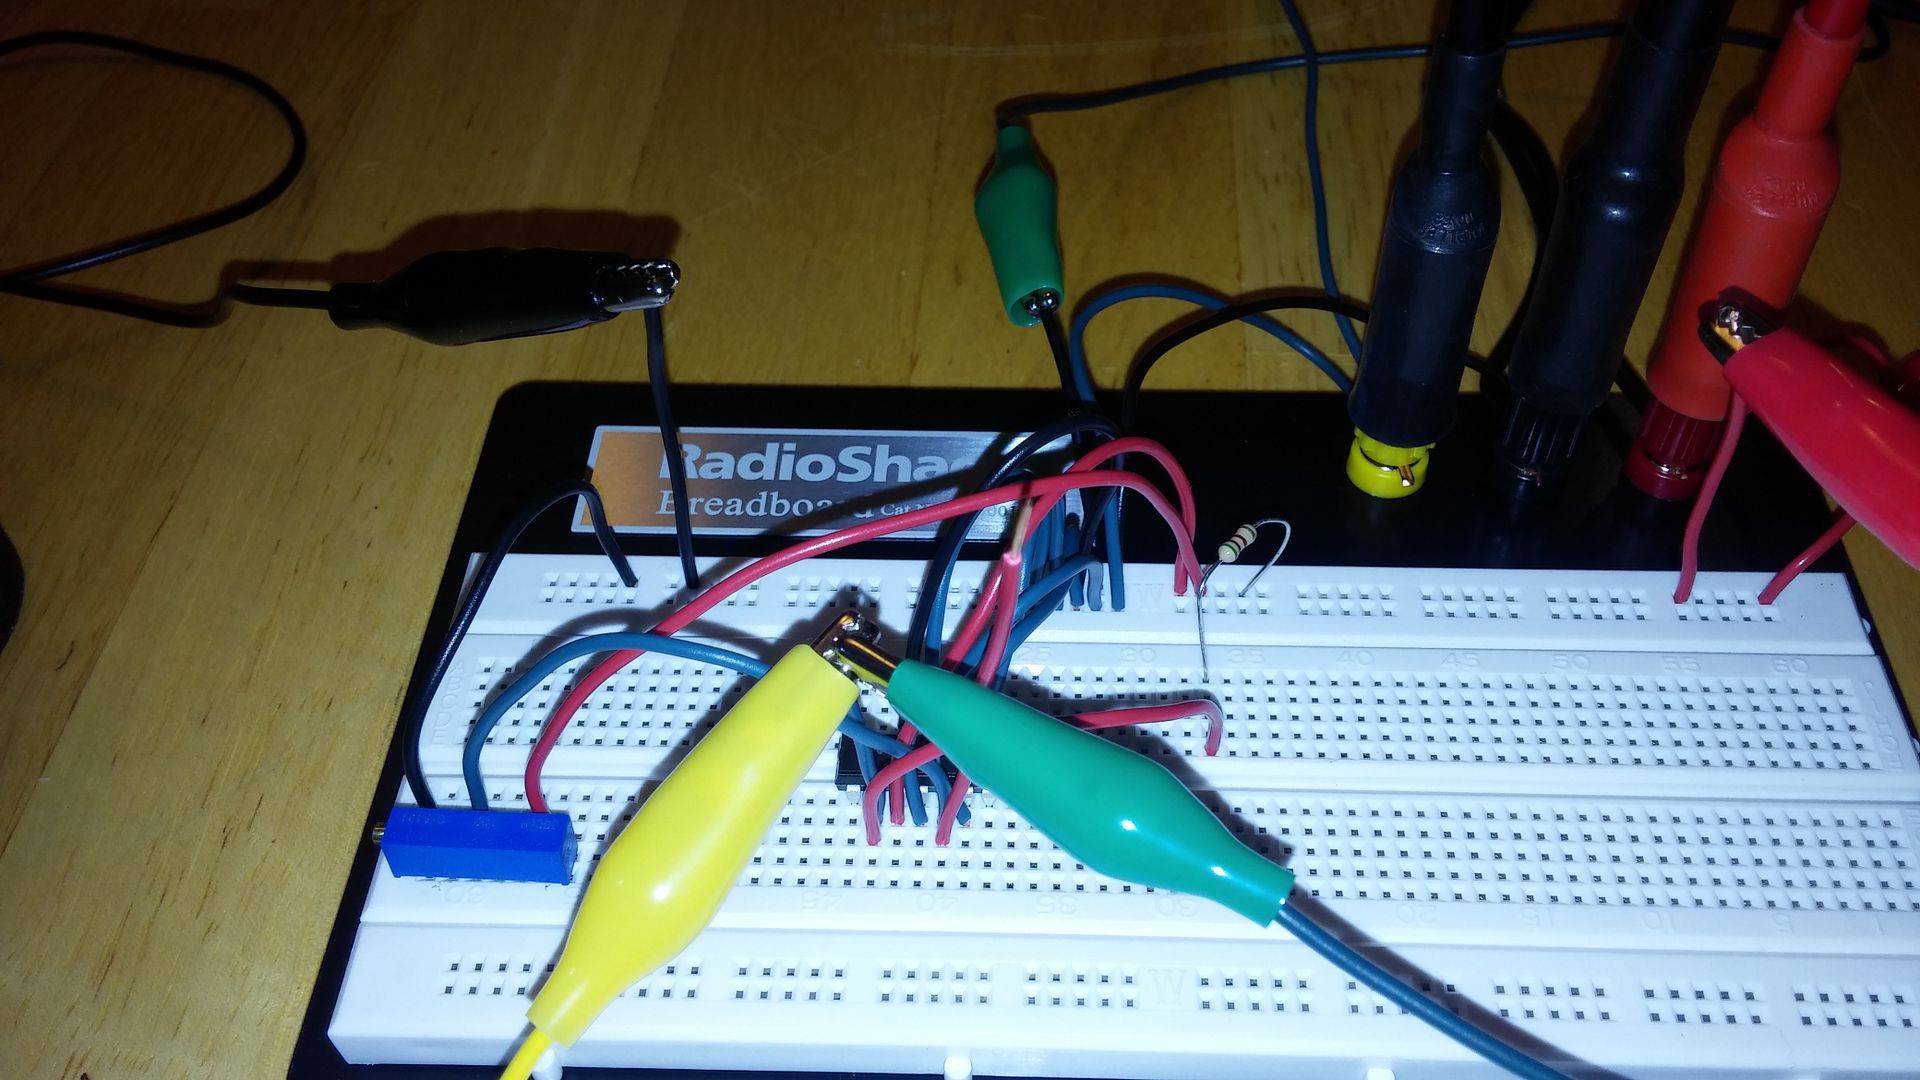
1st prototype..
Looks really nice..

Problem is that it don’t work correctly.. I designed it to use some of the existing signals from the LX450 Cruise control Computer. That was a bad plan due to the errors the system was seeing from not having the original PCM.
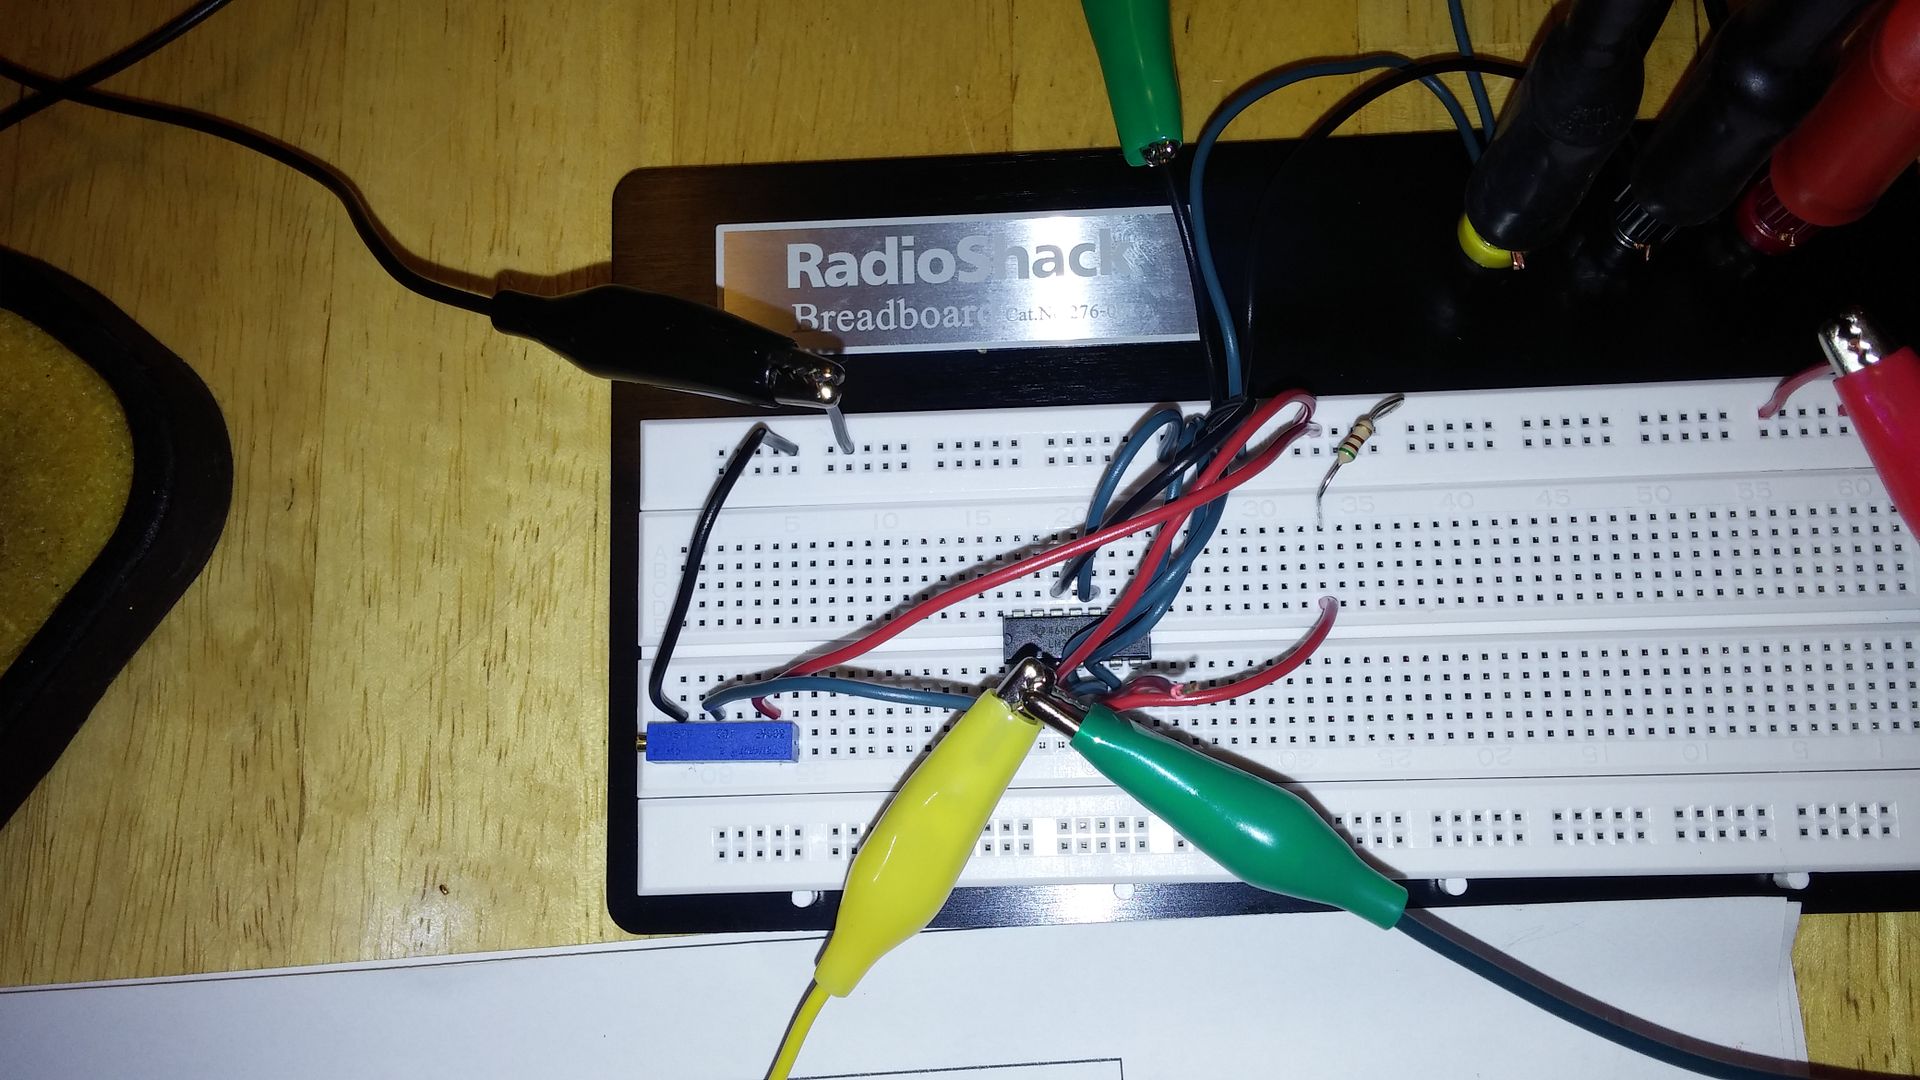
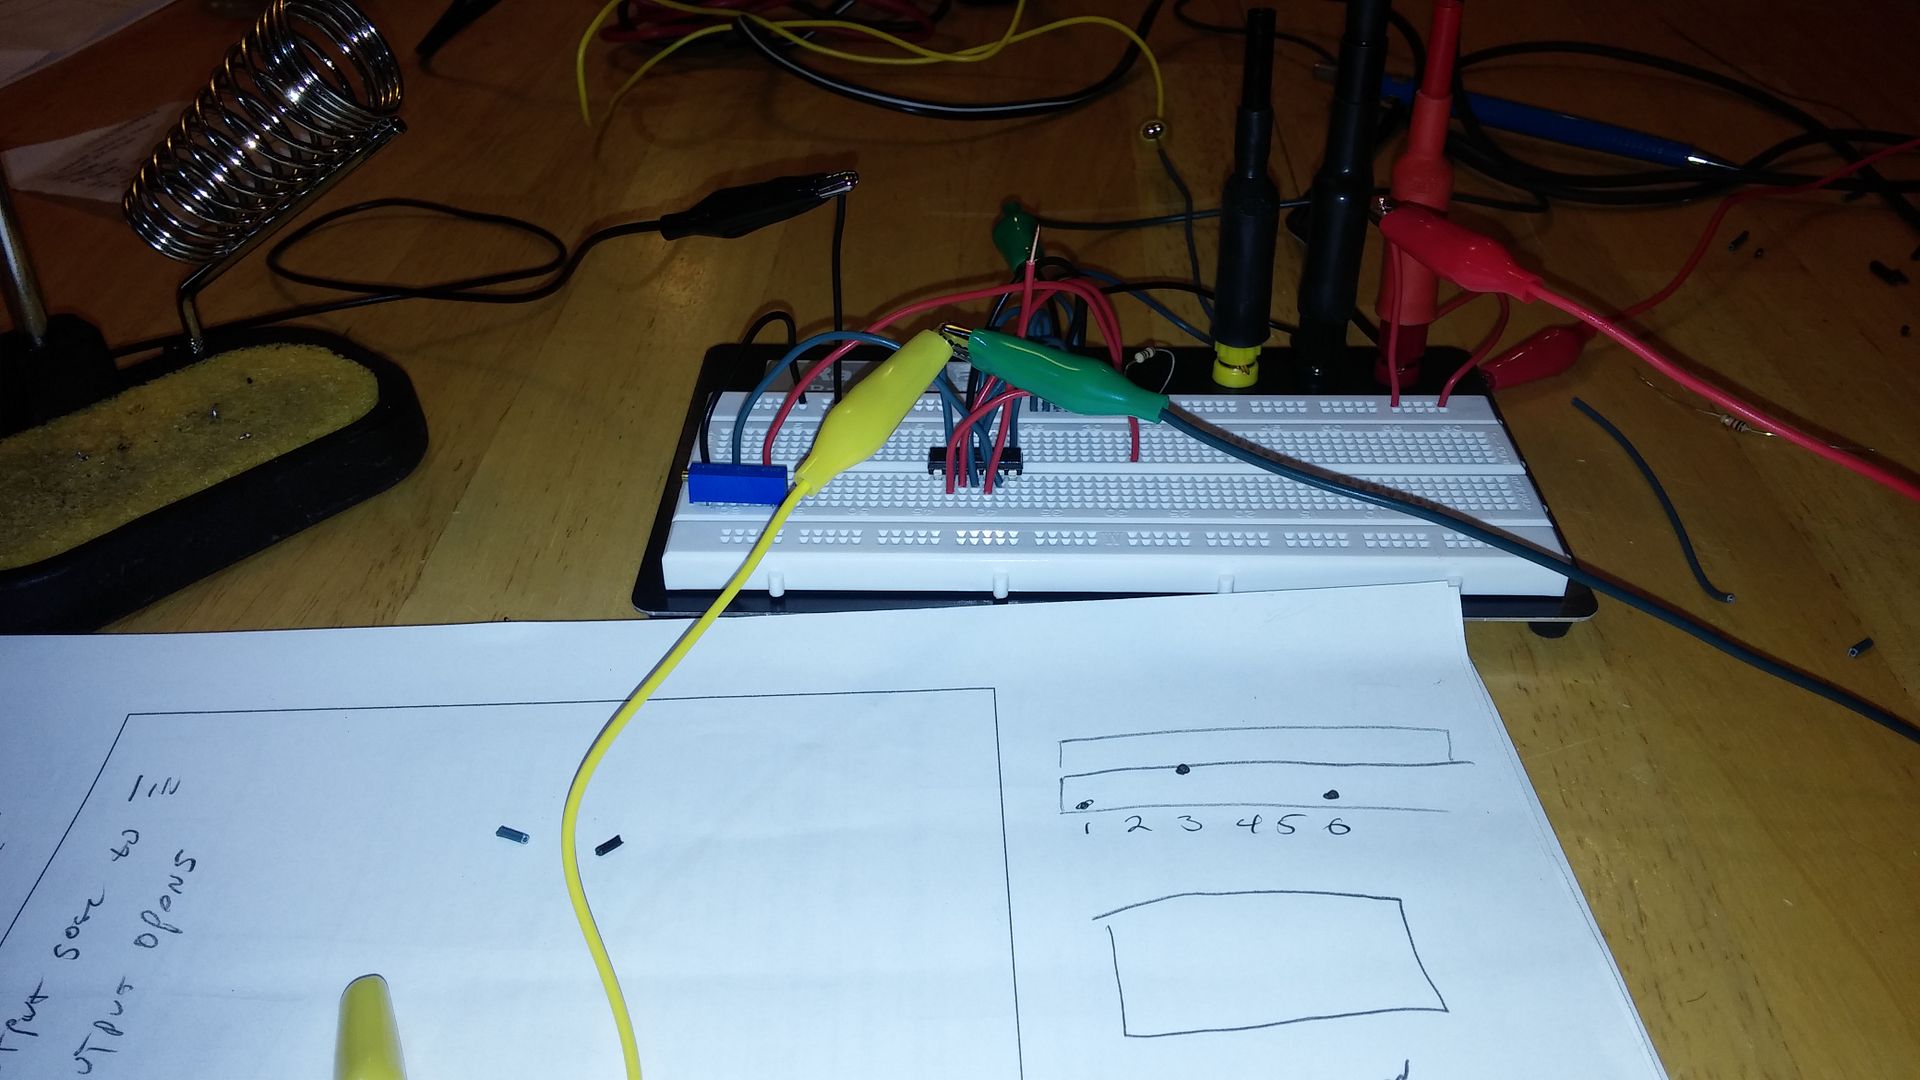
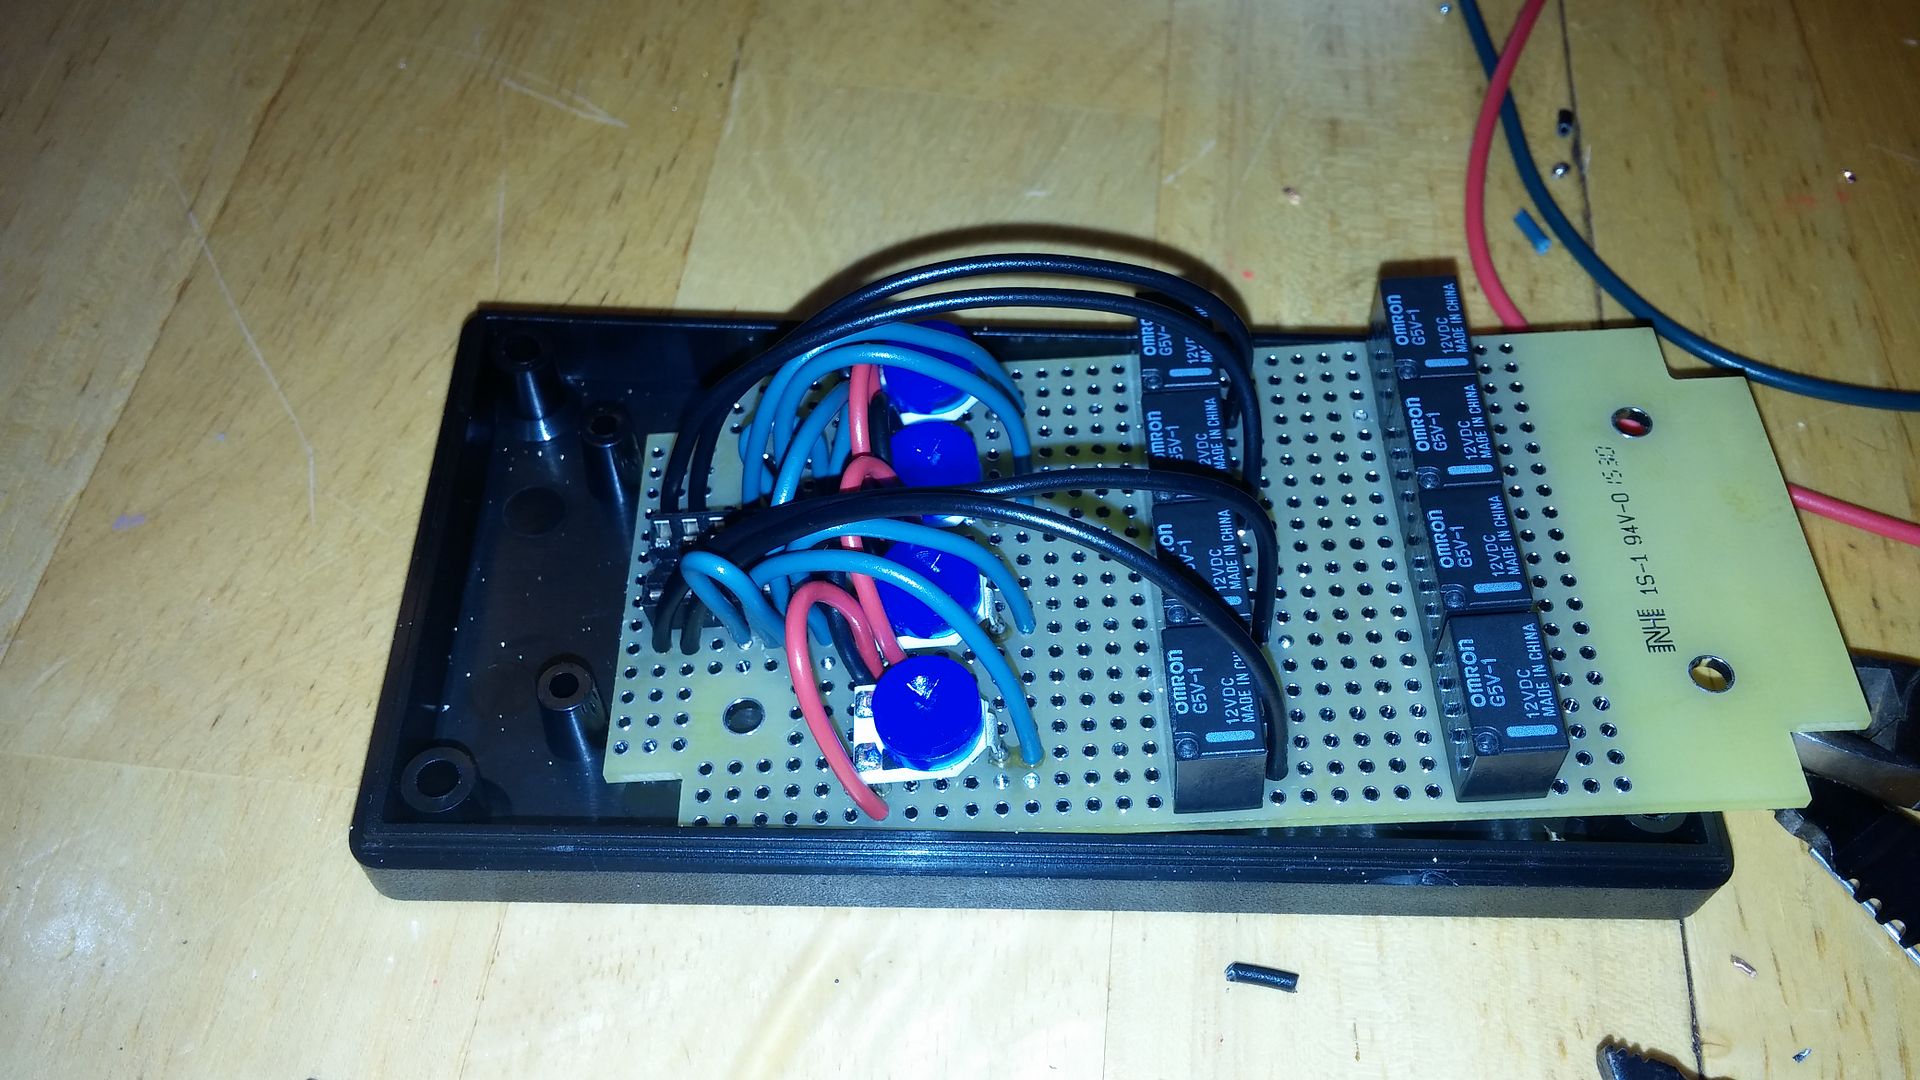
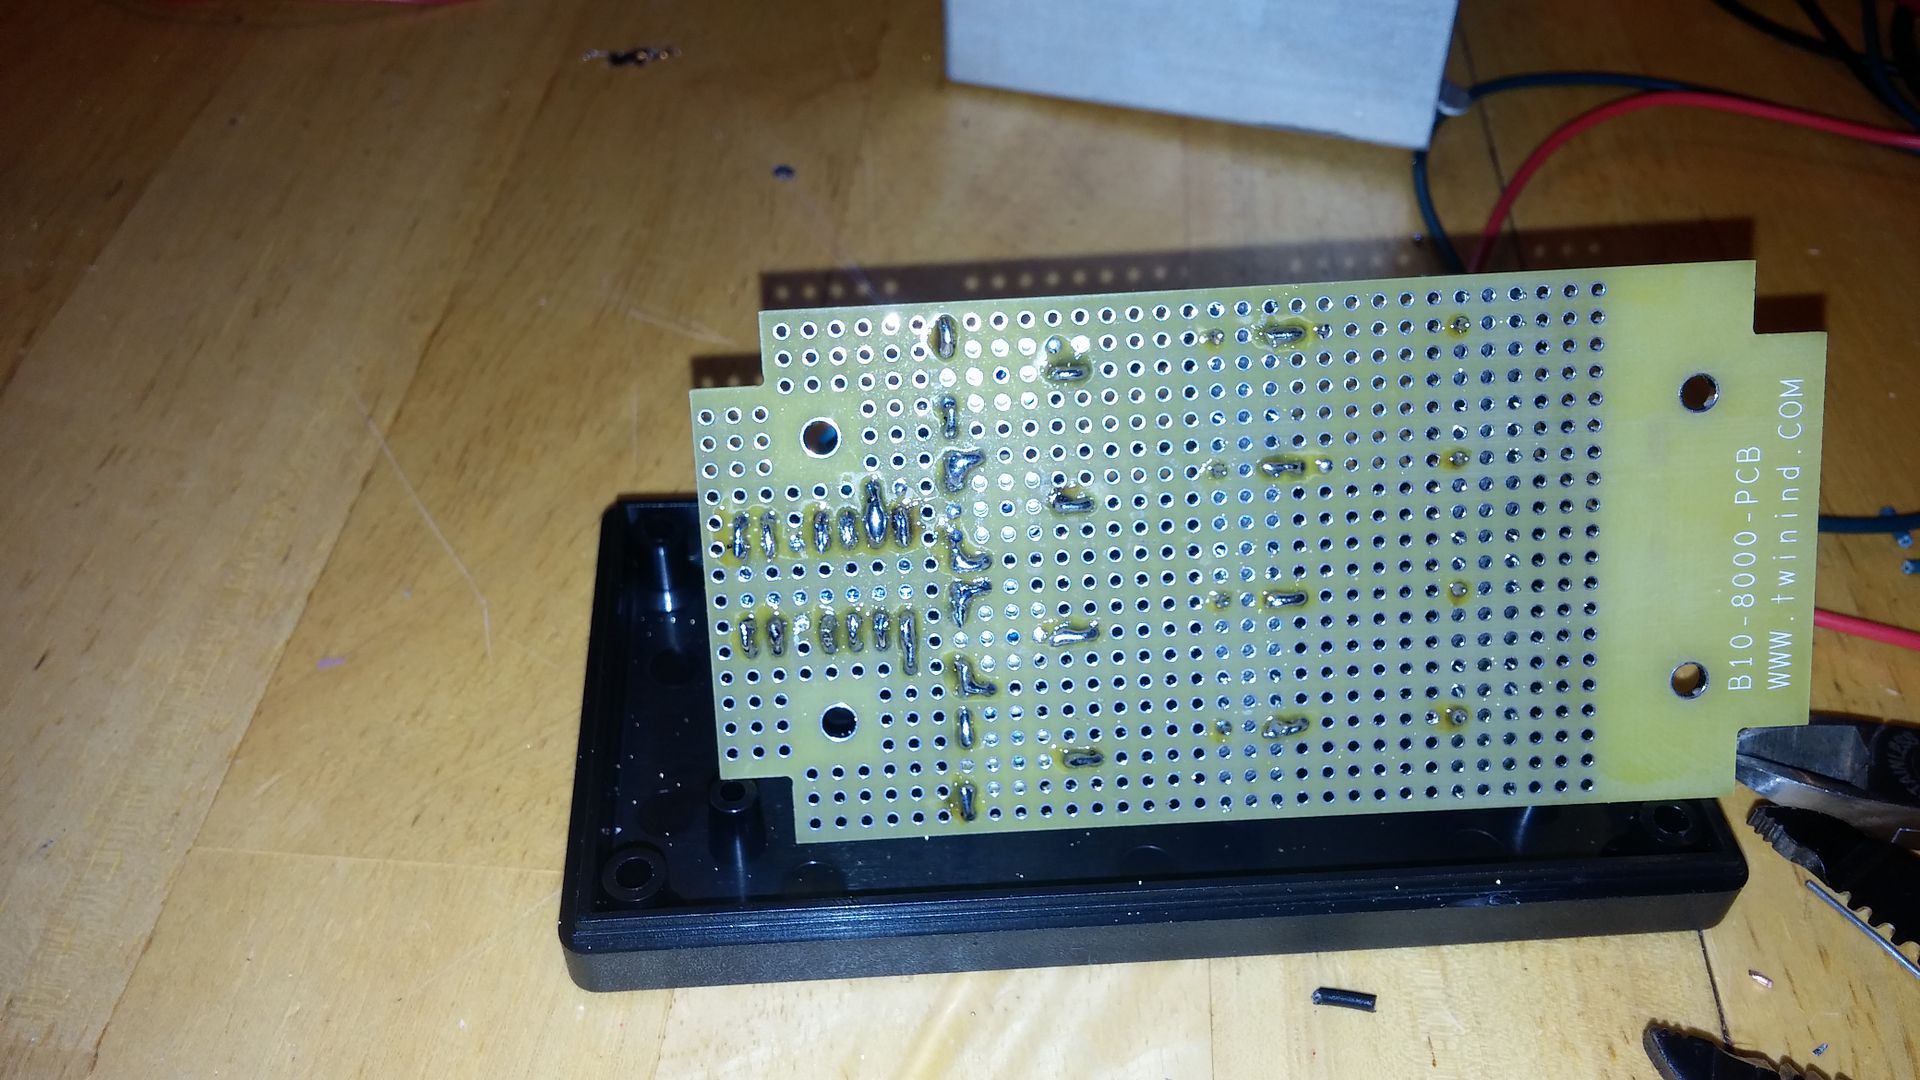
Back to the drawing board..
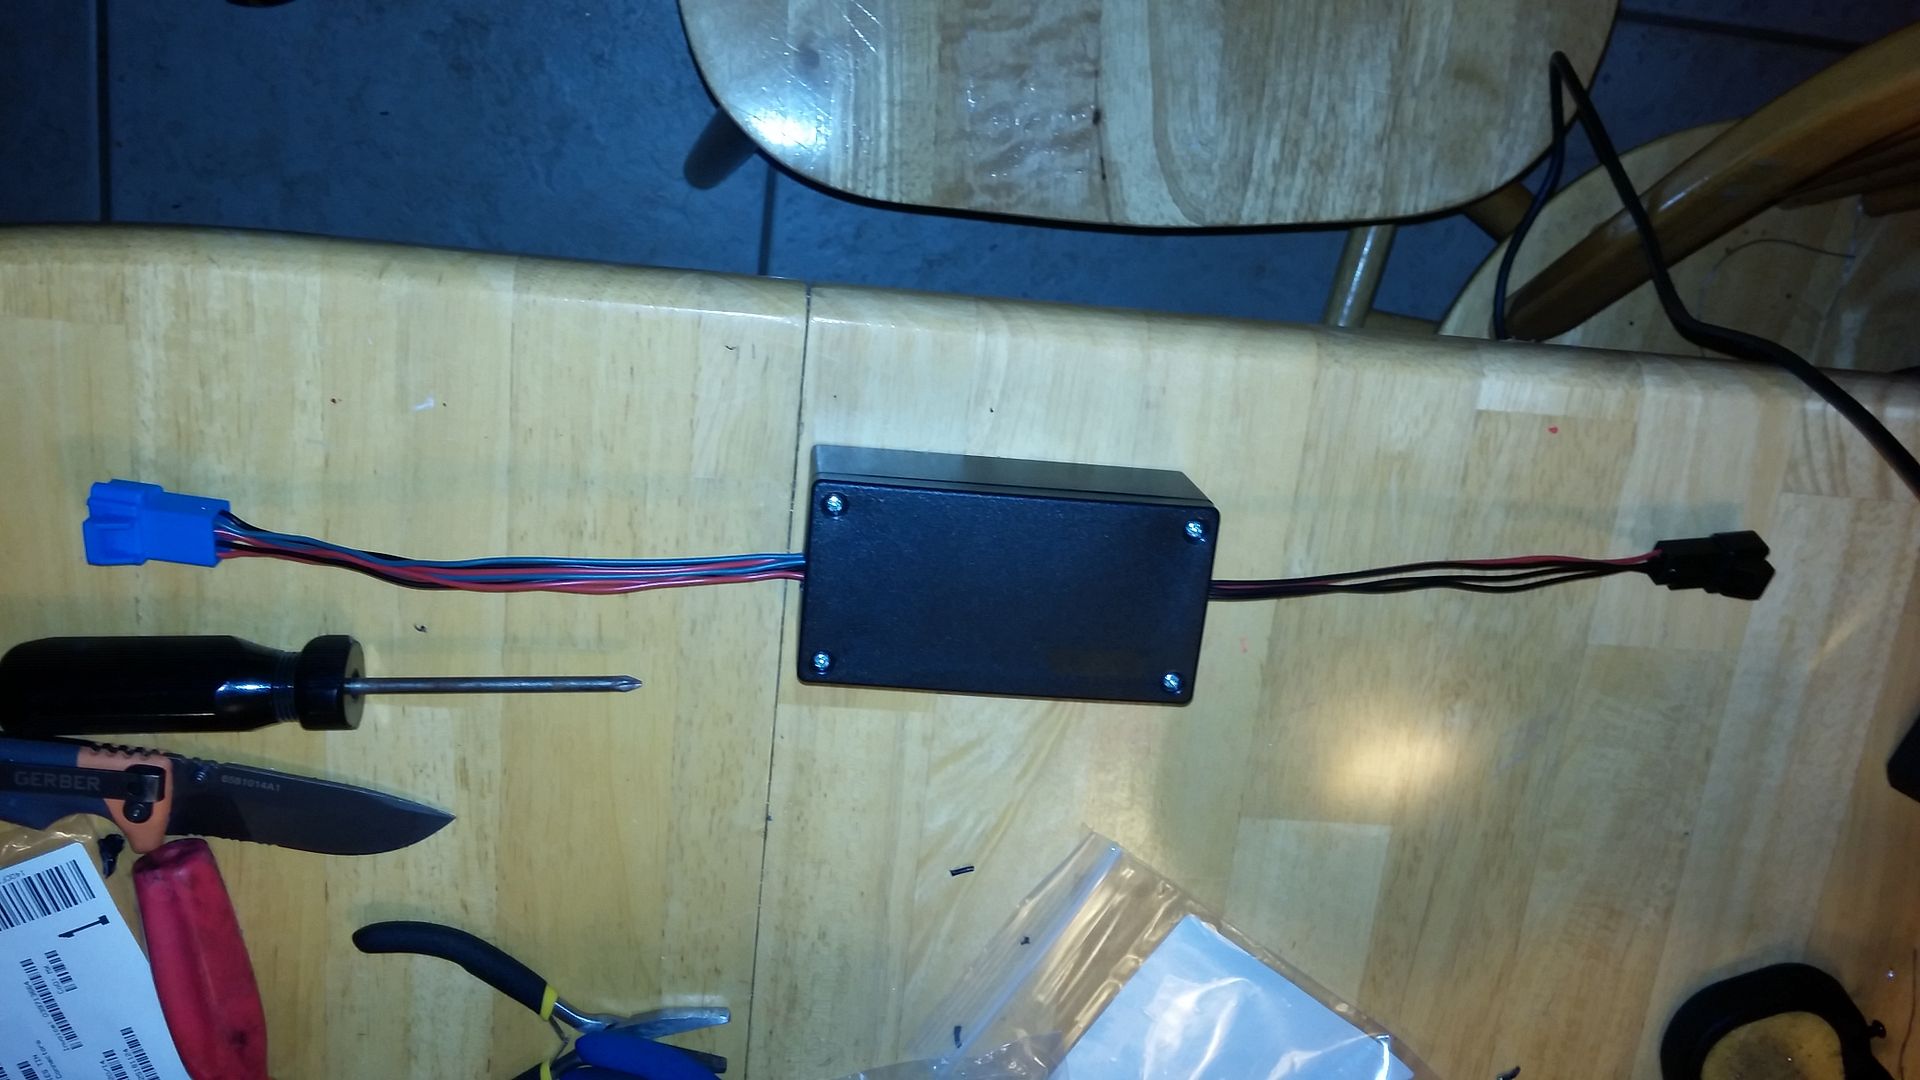
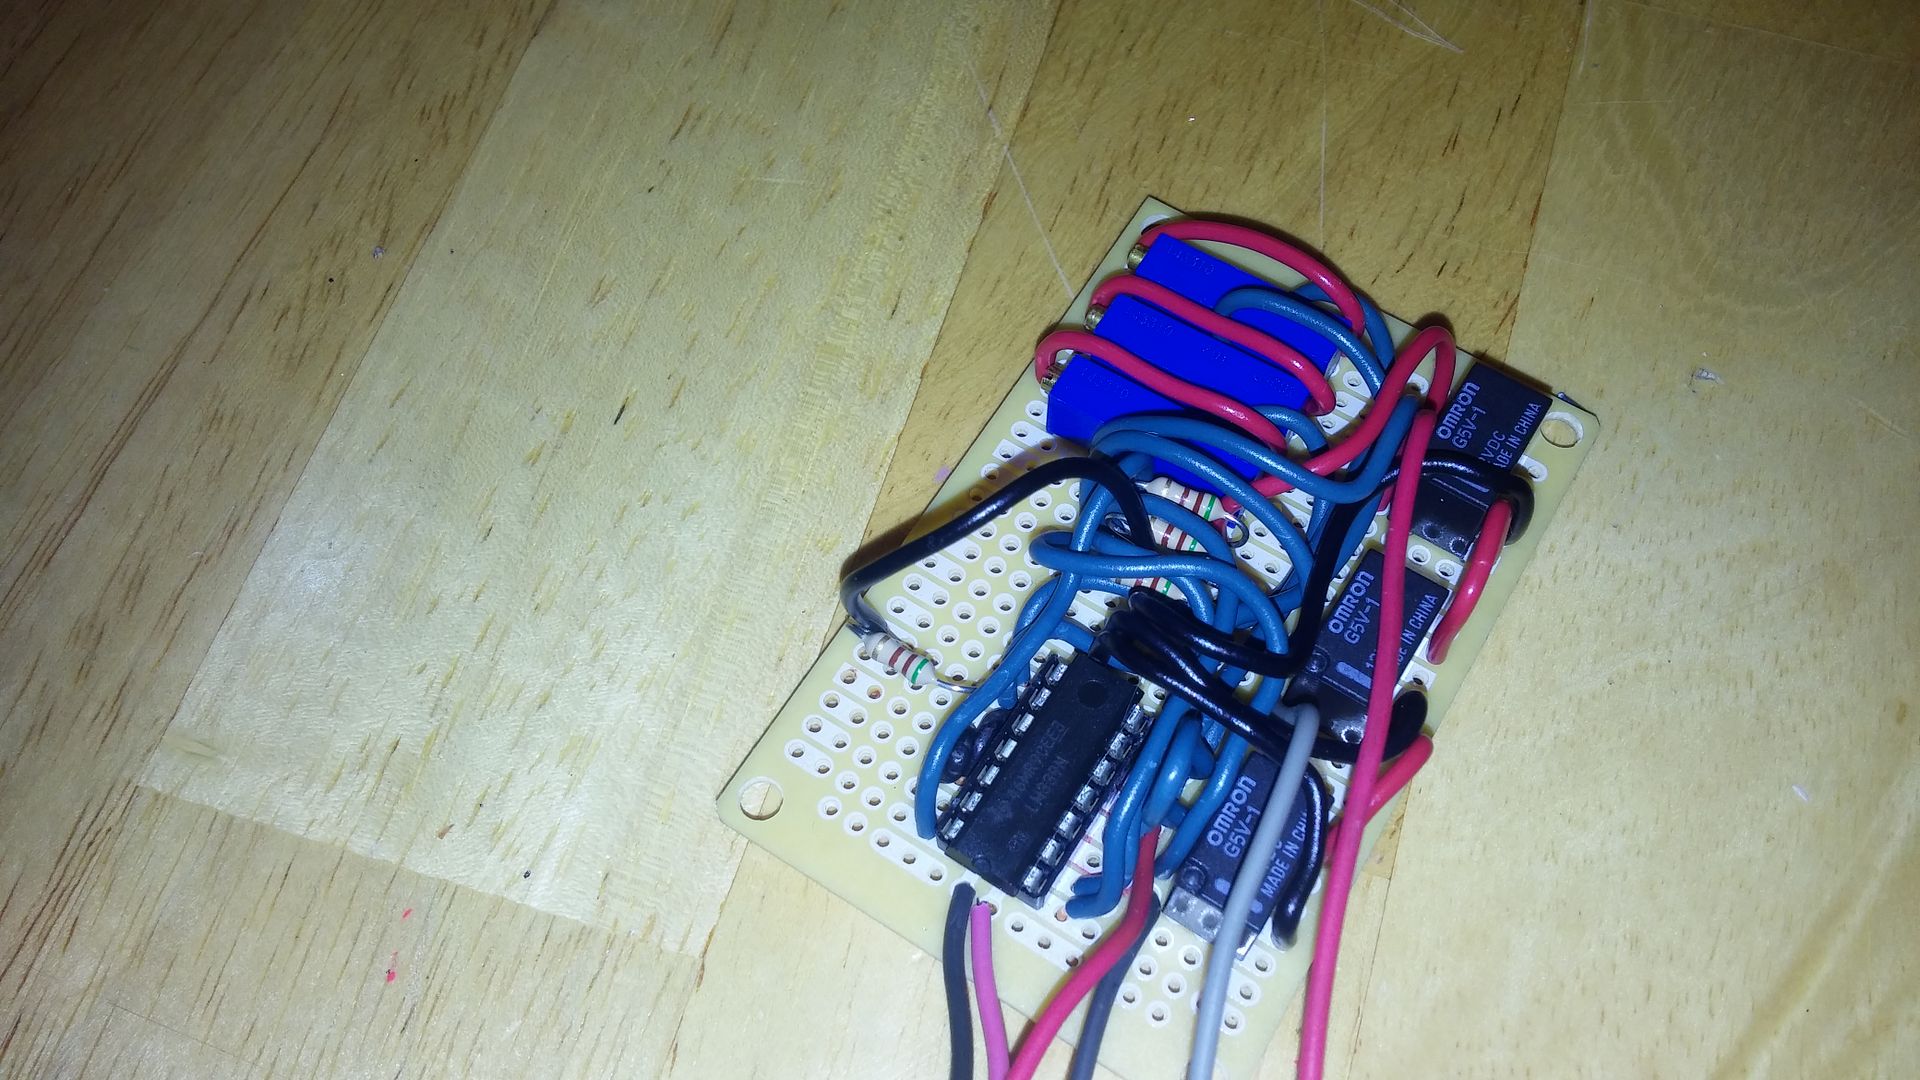
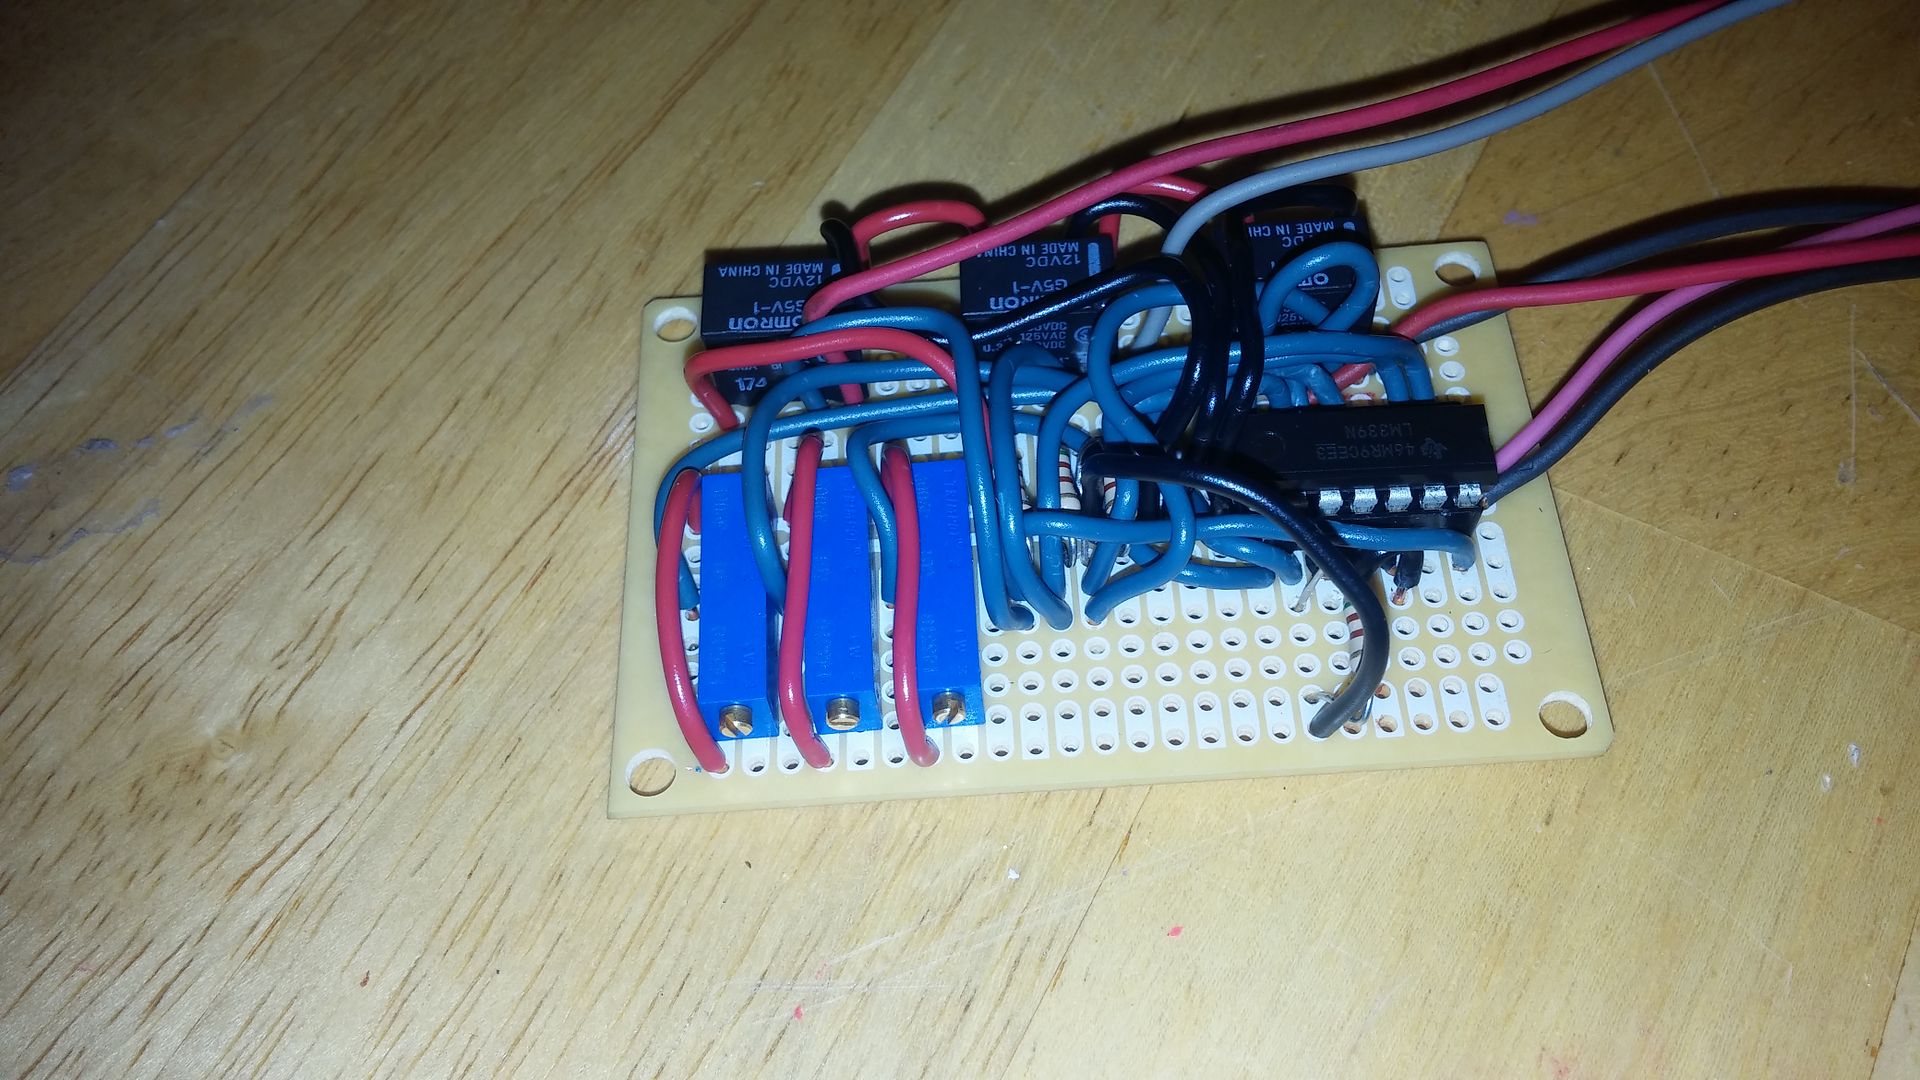
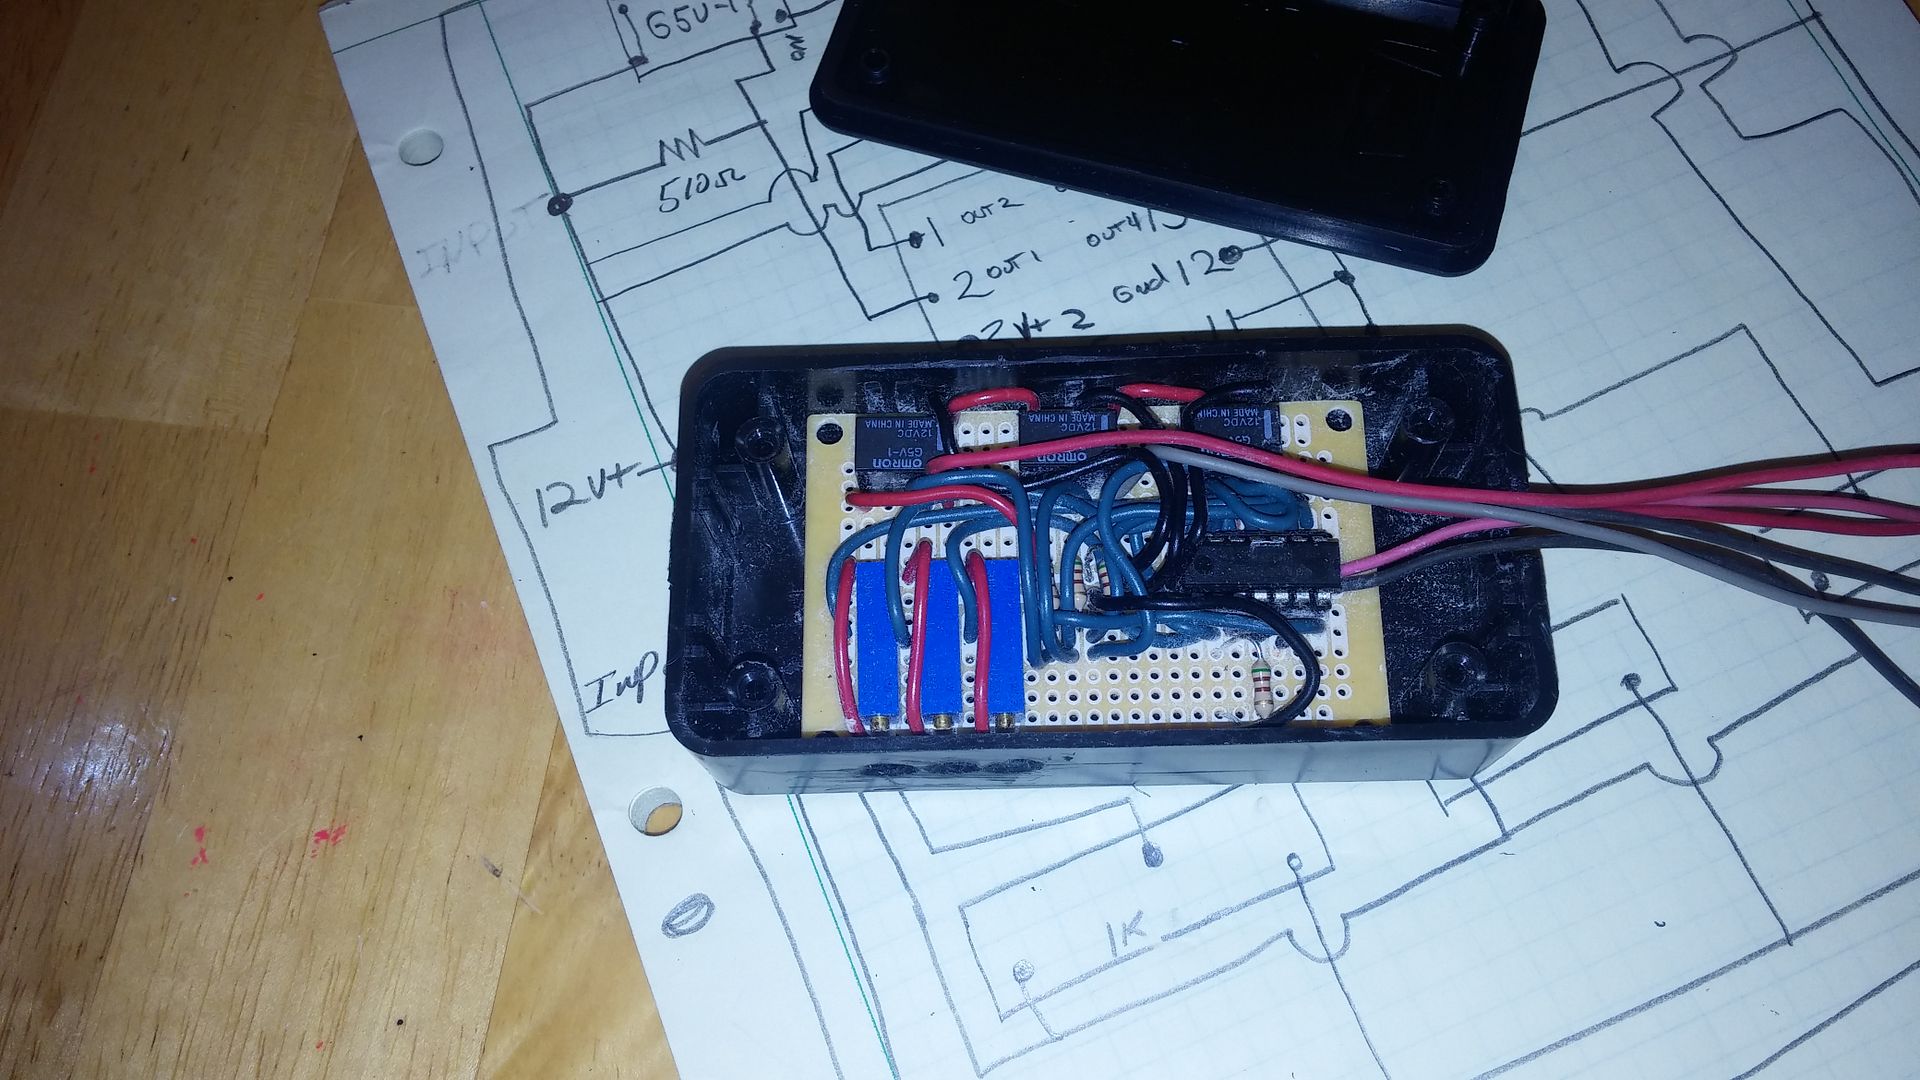
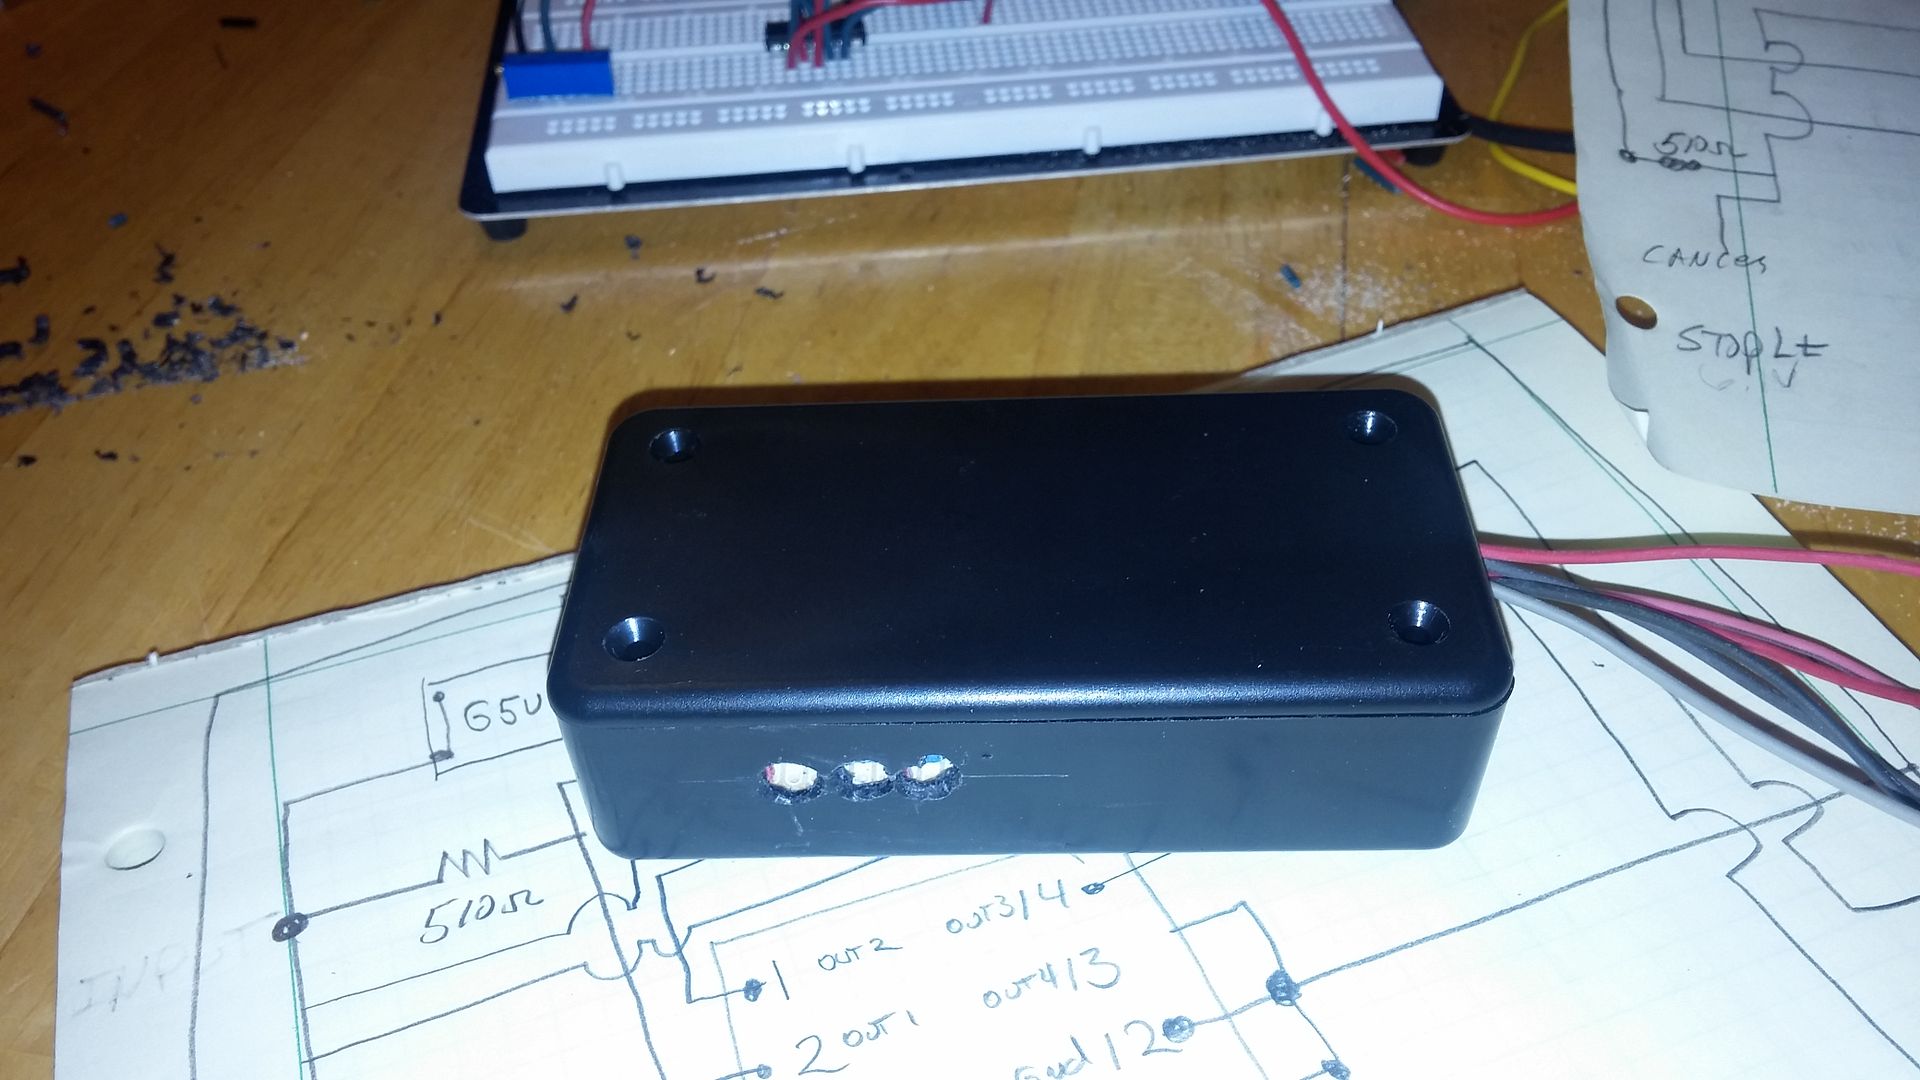
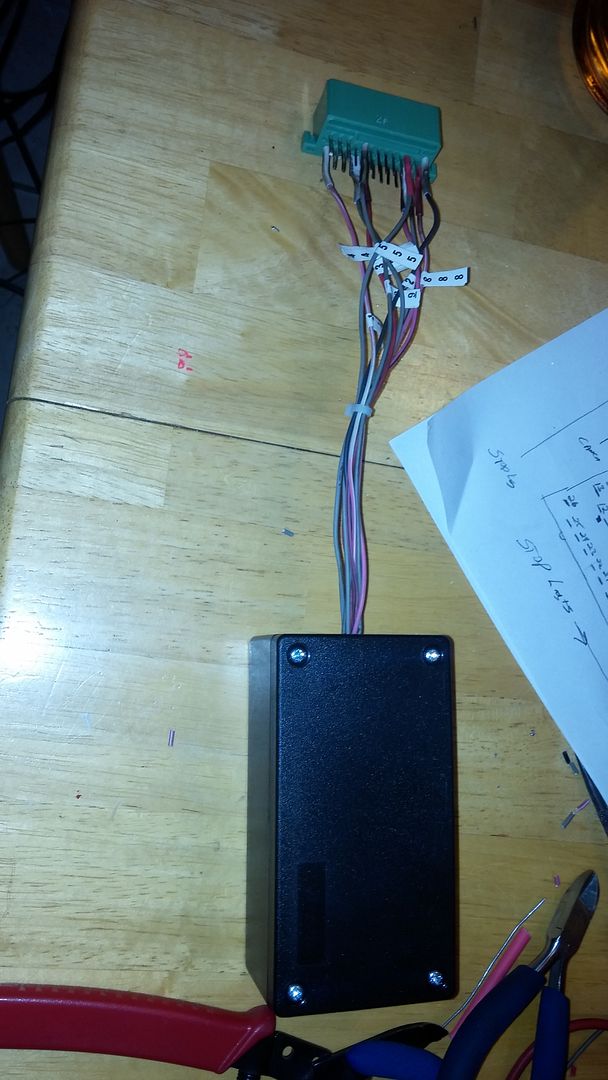
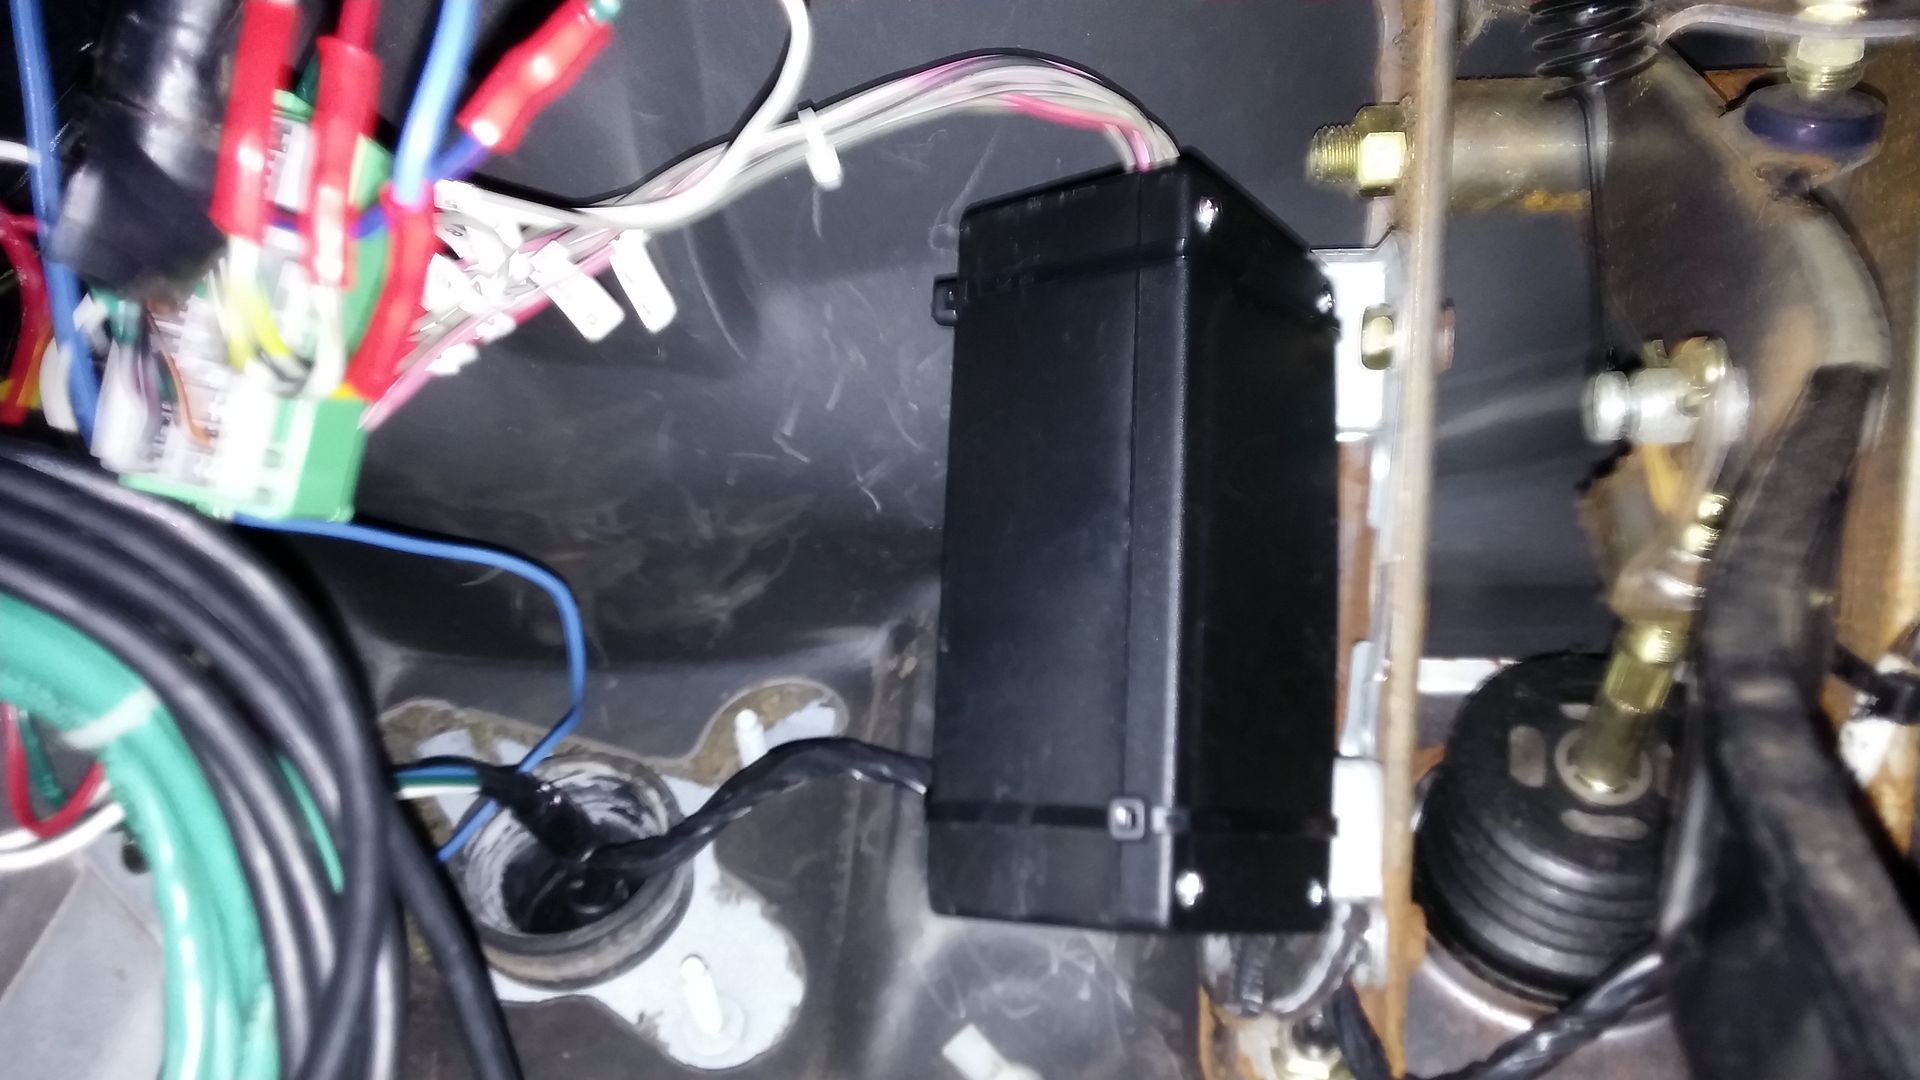
New design..
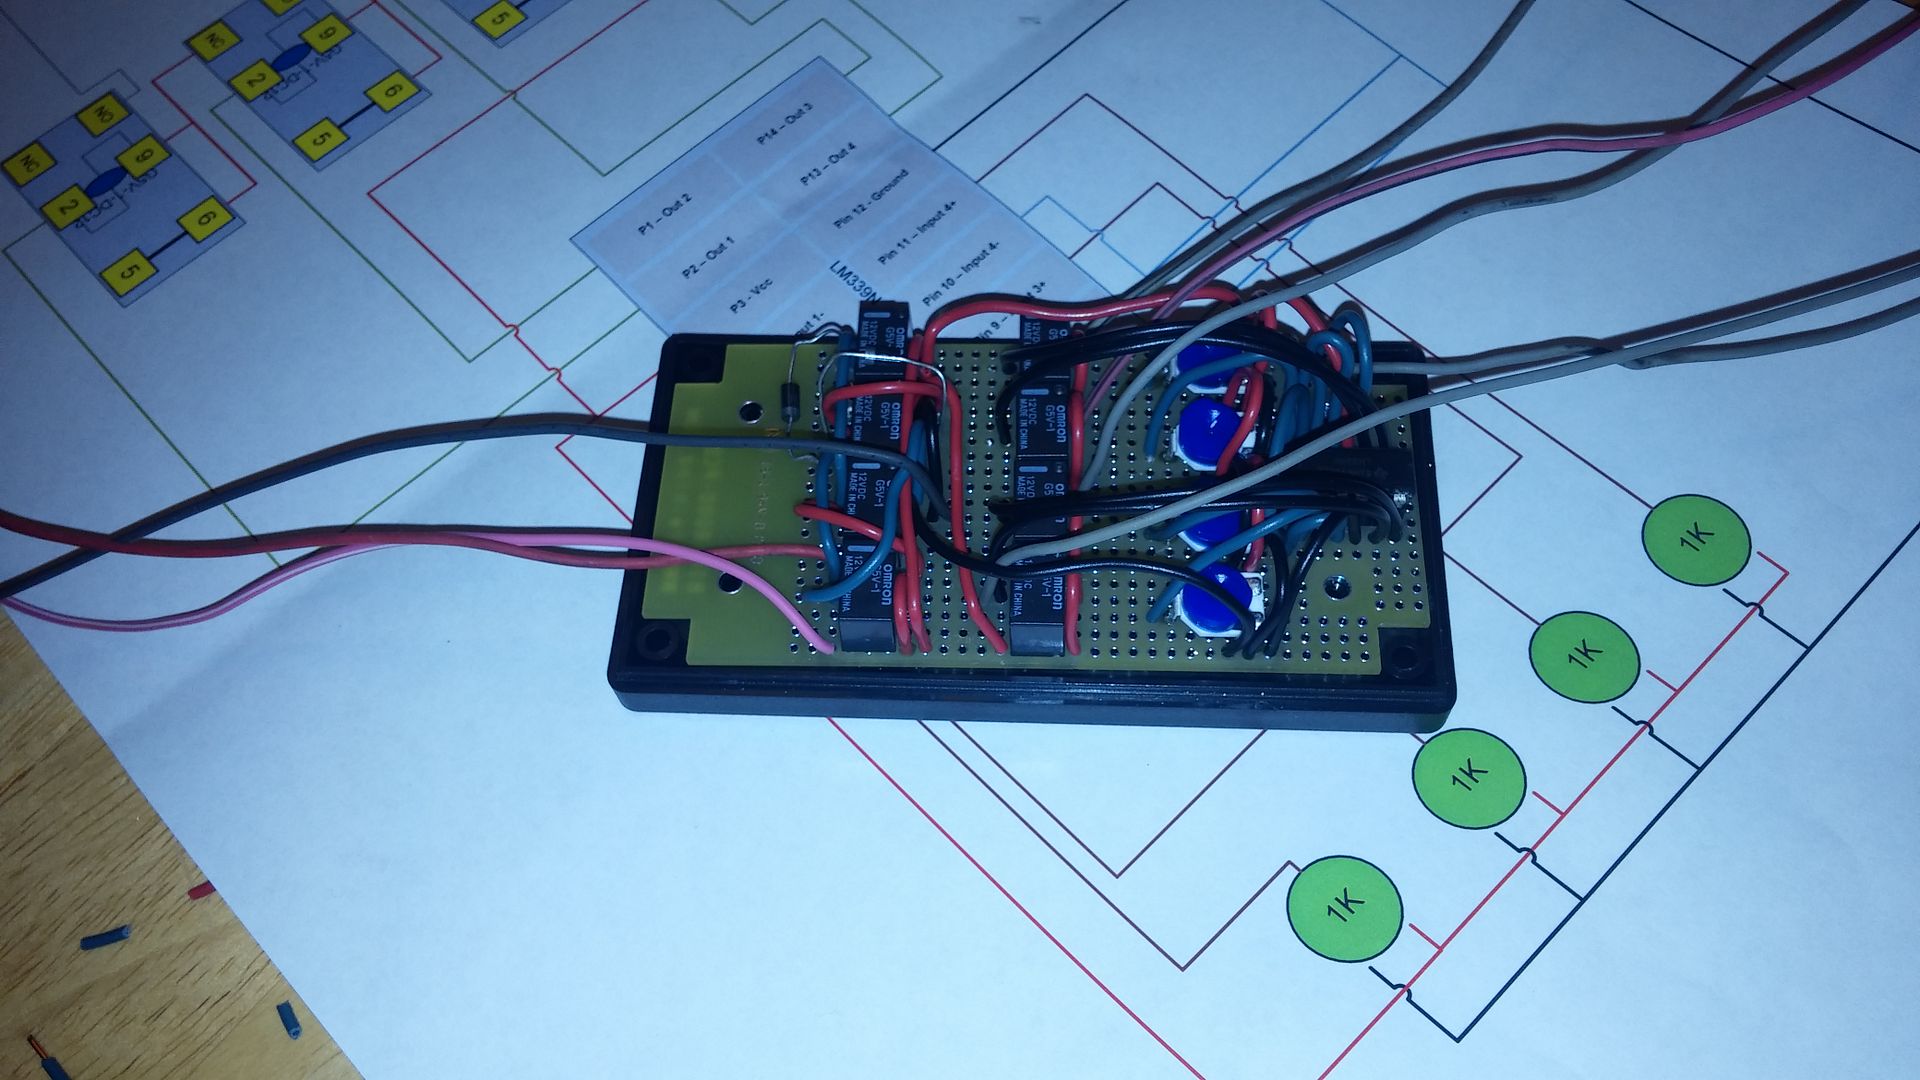
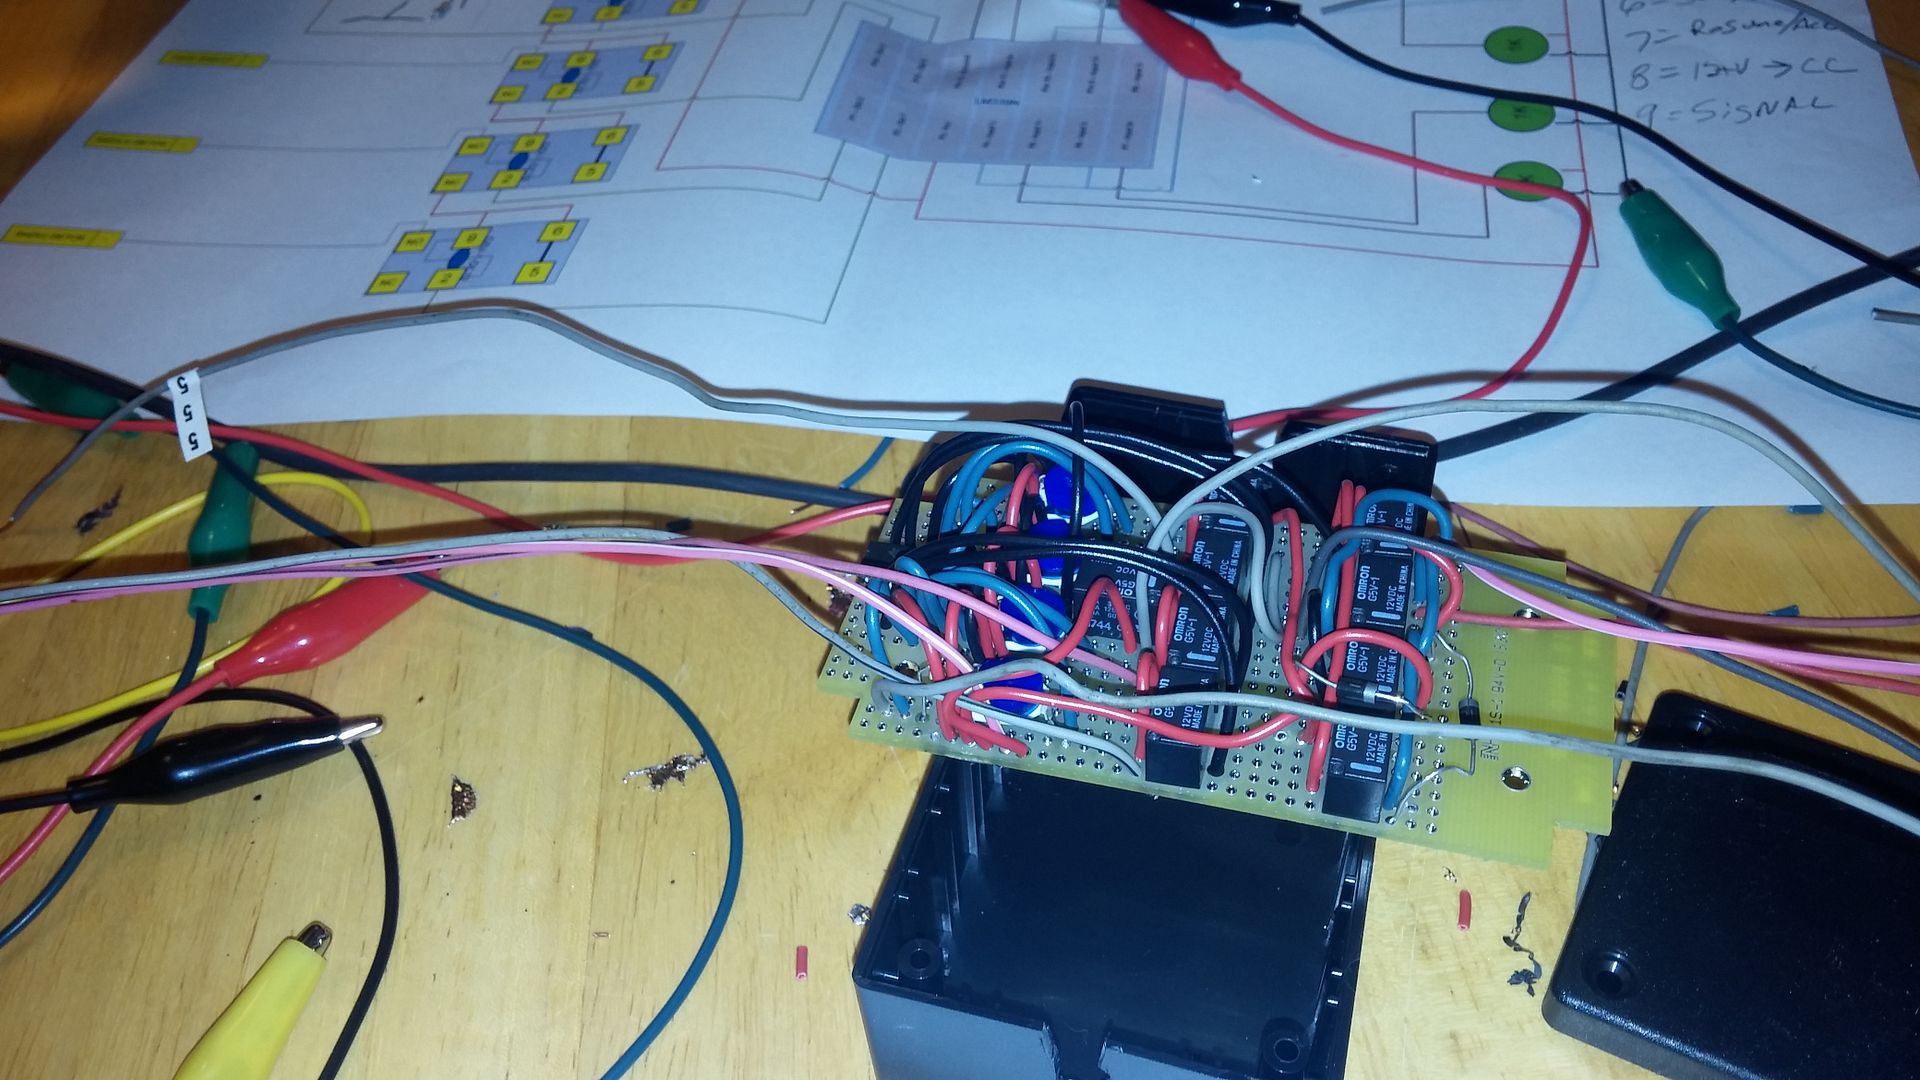
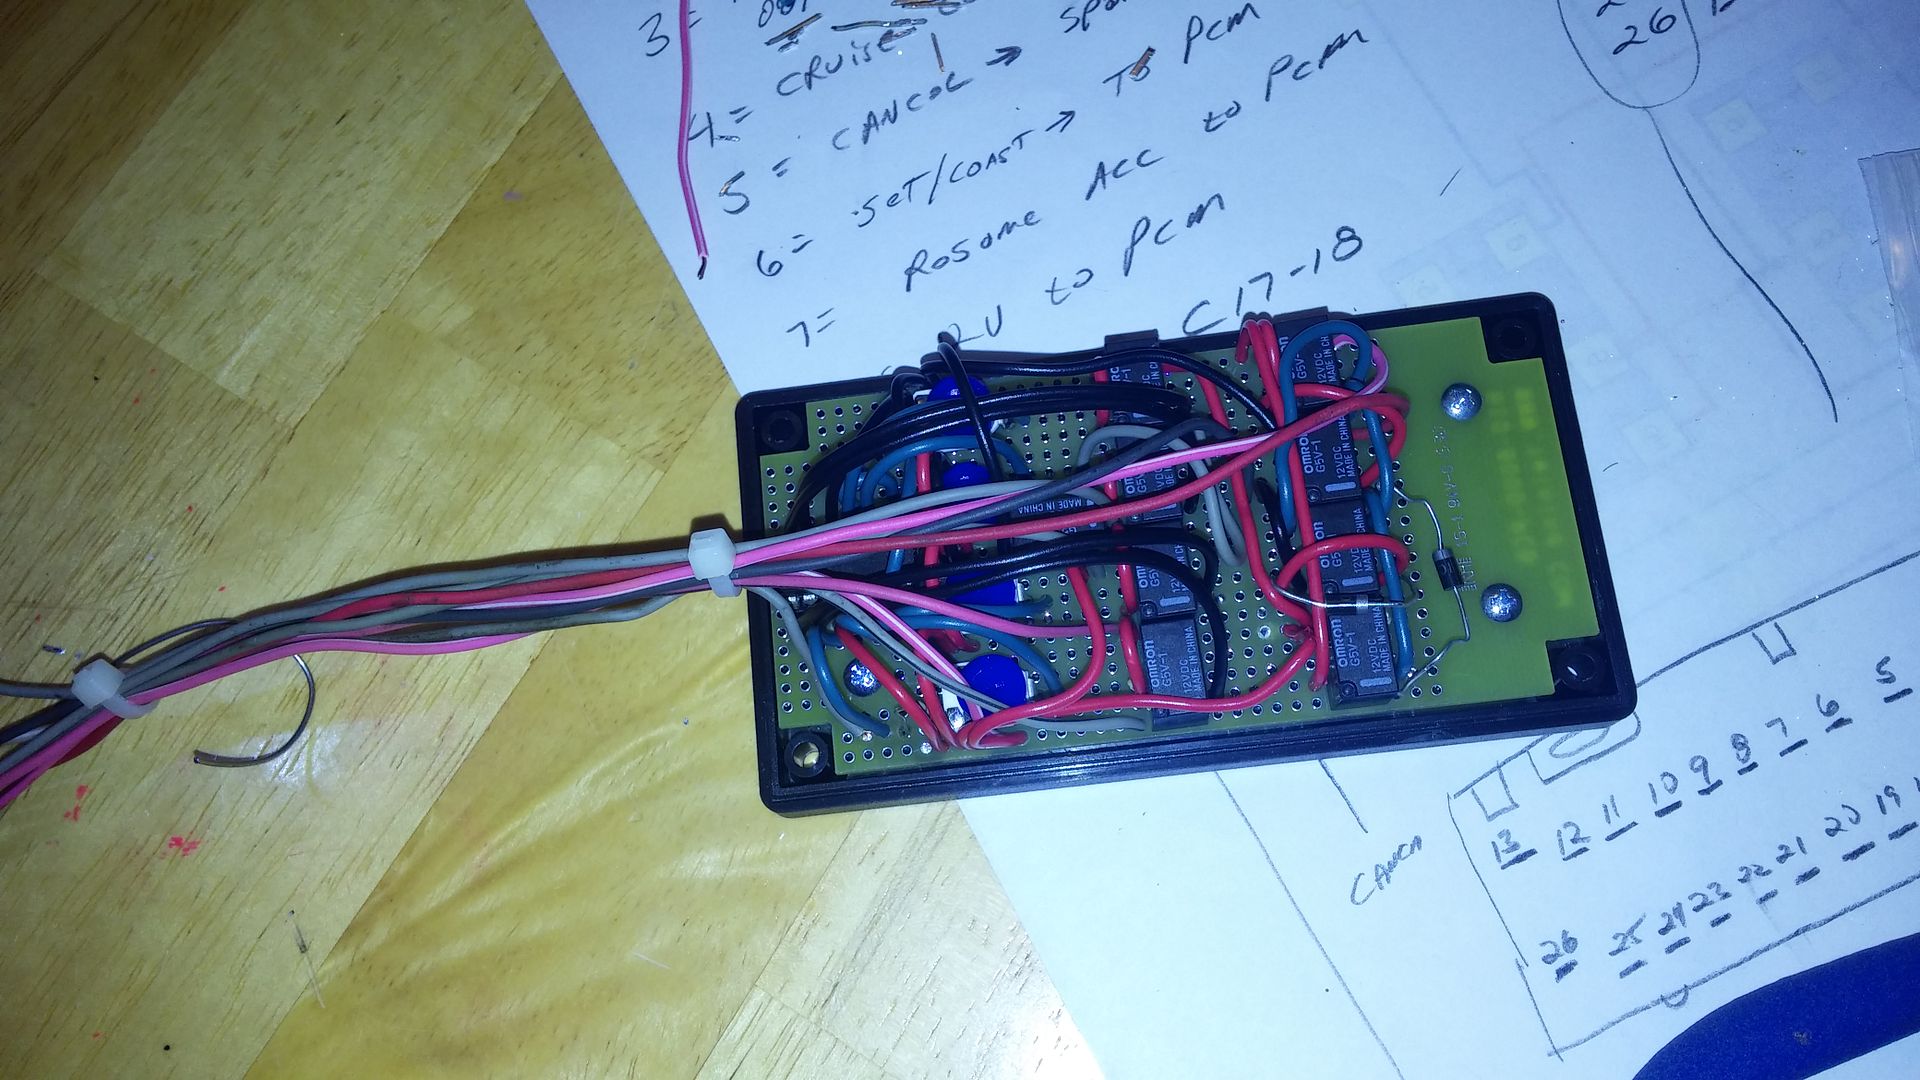
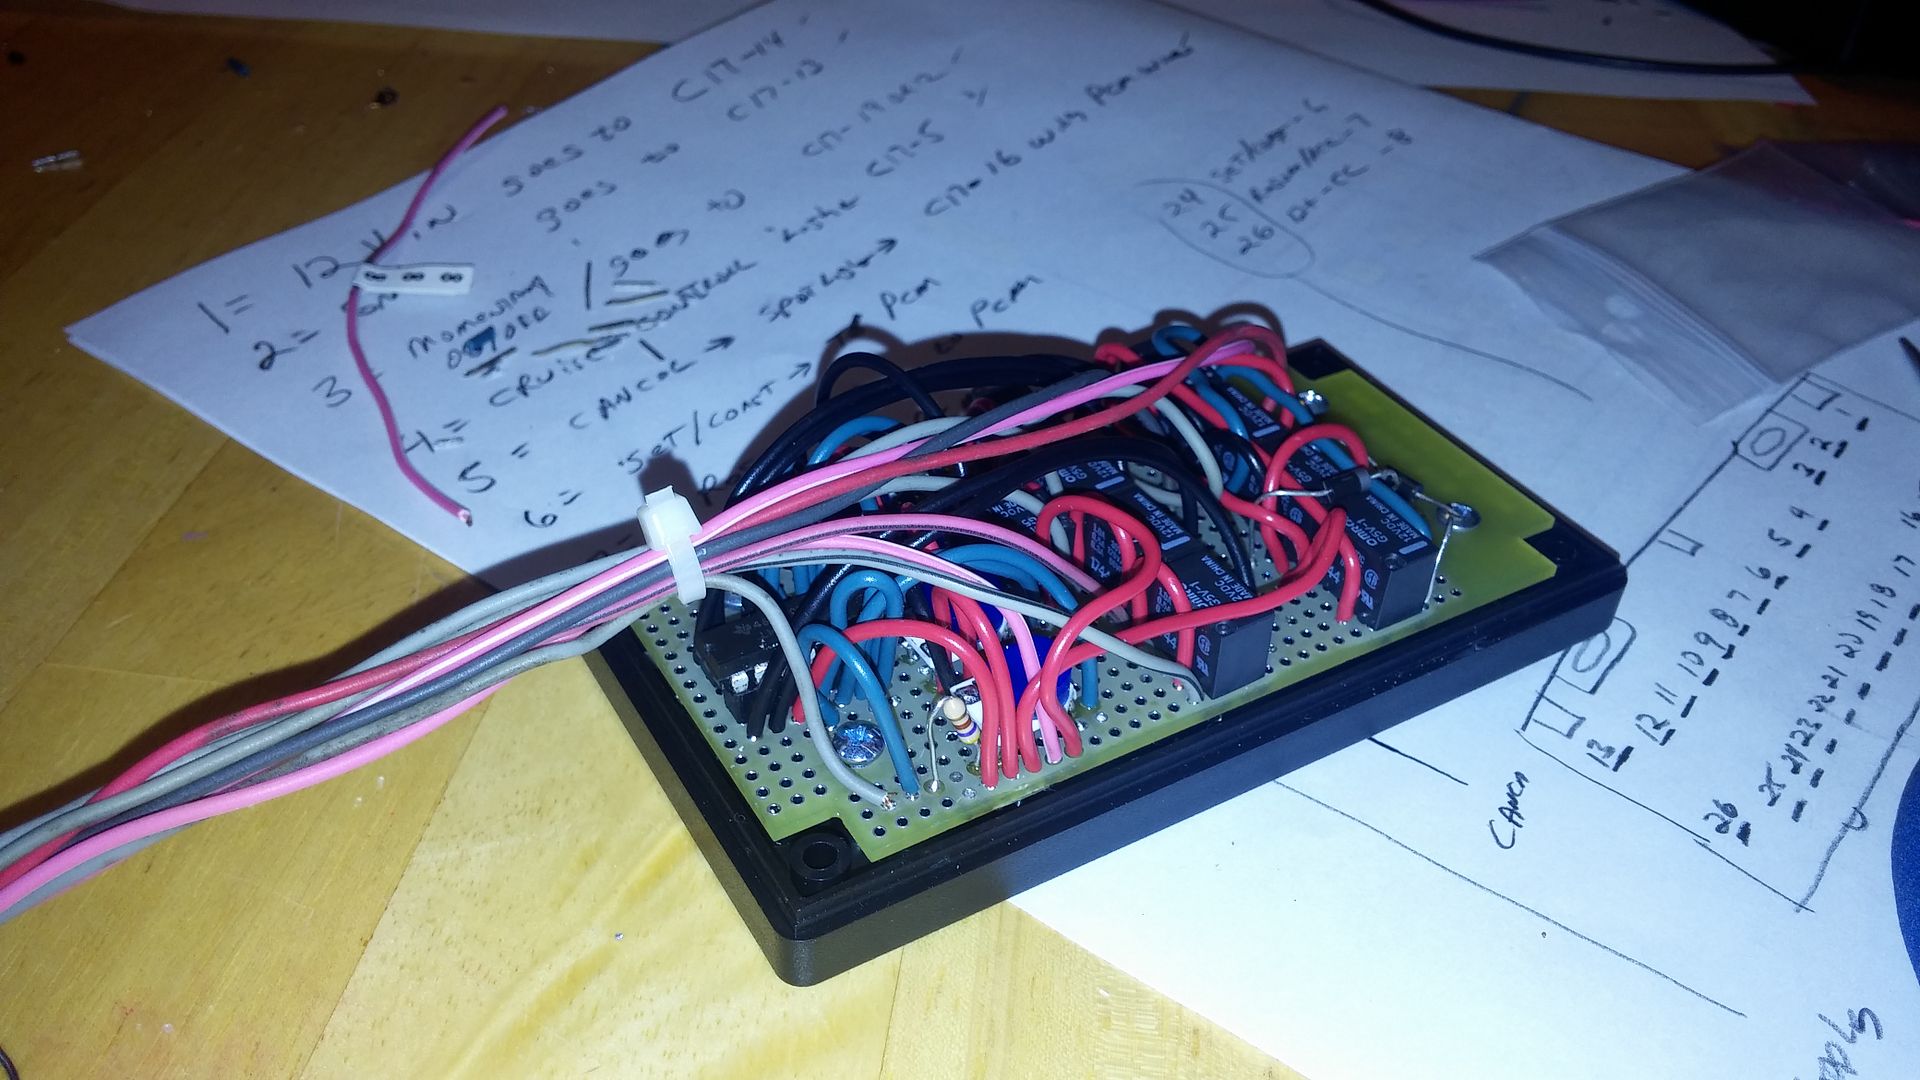
I used the original Cruise Control connector.. ignore the soot on the wires.. I used a bad lighter to shrink the heat shrink.
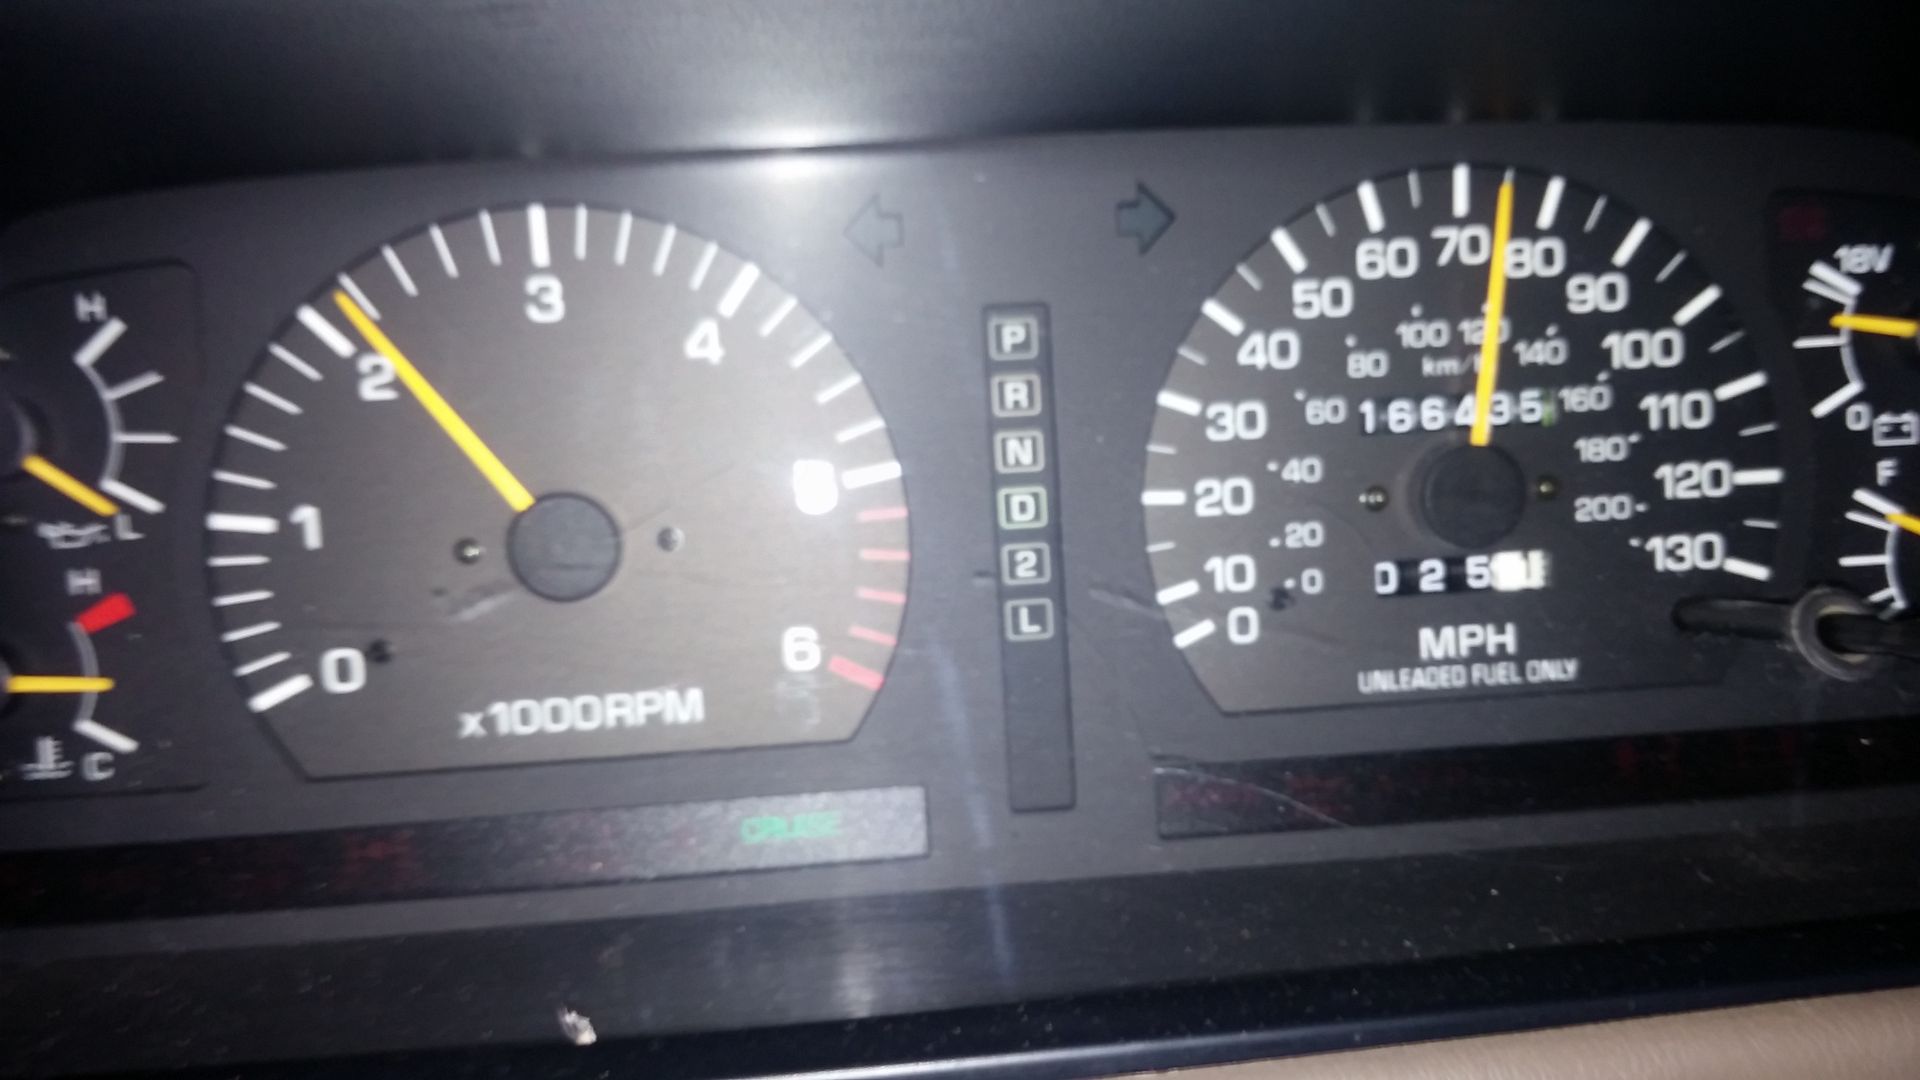
This version works great… except for the Cancel.. Cruise Control Cancel is not a function that the GM PCM has, however, I believe I can you the stop light wire to control the Cancel.. Need to do a little testing first, I will let you know what I find..
Driving expression.. The LX450 is a much more refined driving experience when compared to the FJ62.. That is to be expected of course.. The LX450 doesn’t seem as quick as the FJ62, of course that is most likely to the 35” vs 33” tires.. and part time vs full time 4wd. I really enjoy driving both.. and they both have a place in my garage.. Time will tell which one get drove the most..
Punch List
Install Tach Signal Convertor DONE
Modify and Install DBW pedal DONE
Install new gear on Passenger power seat.. It is stripped out. DONE
Exhaust DONE
Considering swapping out the block hugger headers for Hooker cast iron manifolds. DONE
Need to decide if I am going to do the exhaust system, or have it custom bent for me.. leaning toward custom bent DONE
Going to use magnaflow 2 in to 2 x-pipe muffler DONE
Install lift kit going with 3 inch leveling kit – This is needed for the 4l60e/driveshaft clearance DONE
New brake lines DONE
Install plug wires DONE
Install O2 sensors DONE
Finish up the air intake system DONE
Brake booster hose DONE
Modify OBDII port to allow the fuse box cover to work with my ScanGauge DONE
Install rear seats and the rest of the interior DONE
Figure out what I am going to do about tires.. Leaning toward 315/75/16 or 295/75/16 tires on the stock wheels.. not sure about the width of the tire to wheel. Thought about 255/85/16, but tough to find and might be to skinny… DONE
Re-check every bolt on the drive system DONE
Need to do…
Figure out Oil pressure gauge
Need to get backup lights working
Remote Start
Nav system
Rear storage
Winch
Spare tire
Center caps
Engine Cover
Rebuild seal front axle
Front brake rotors and pads