More progress on the wagon. While reassembling the front end, Jared noticed the fenders were a bit high at the cowl. This next picture shows it, although the perspective makes it a bit exaggerated.
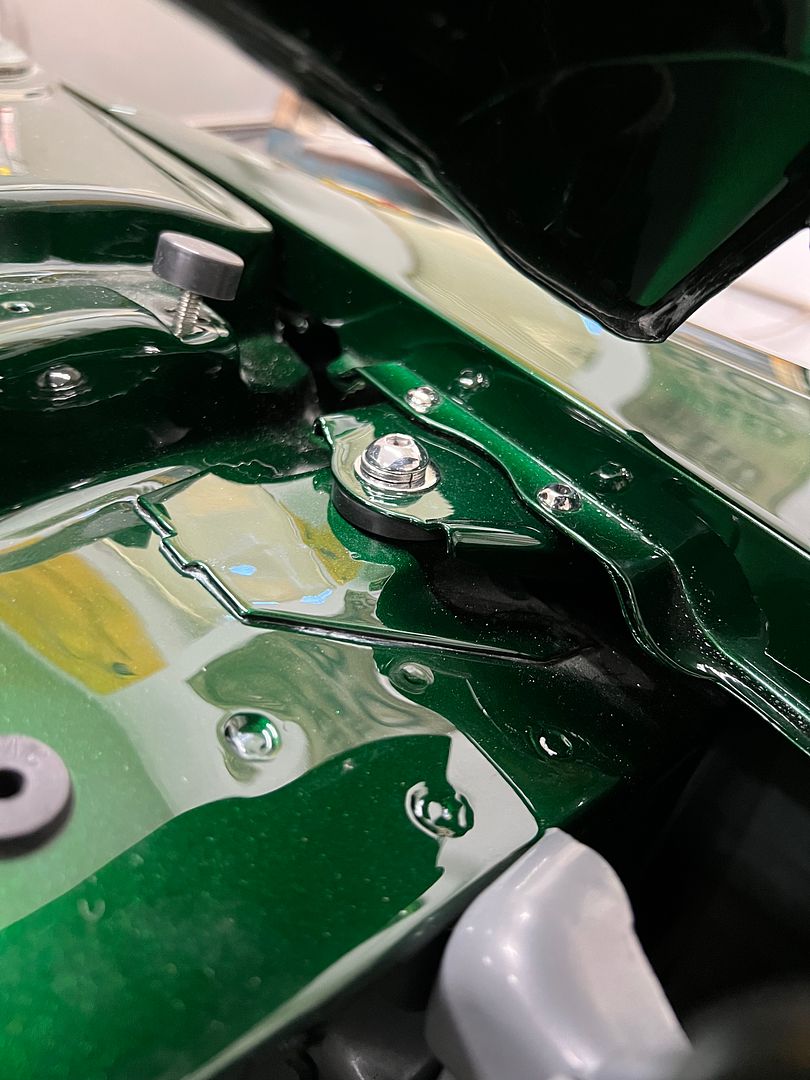
So we pulled each of our new shims we had made and shaved another 1/16" off the height.
This shows the fender height after adjusting the shim height.
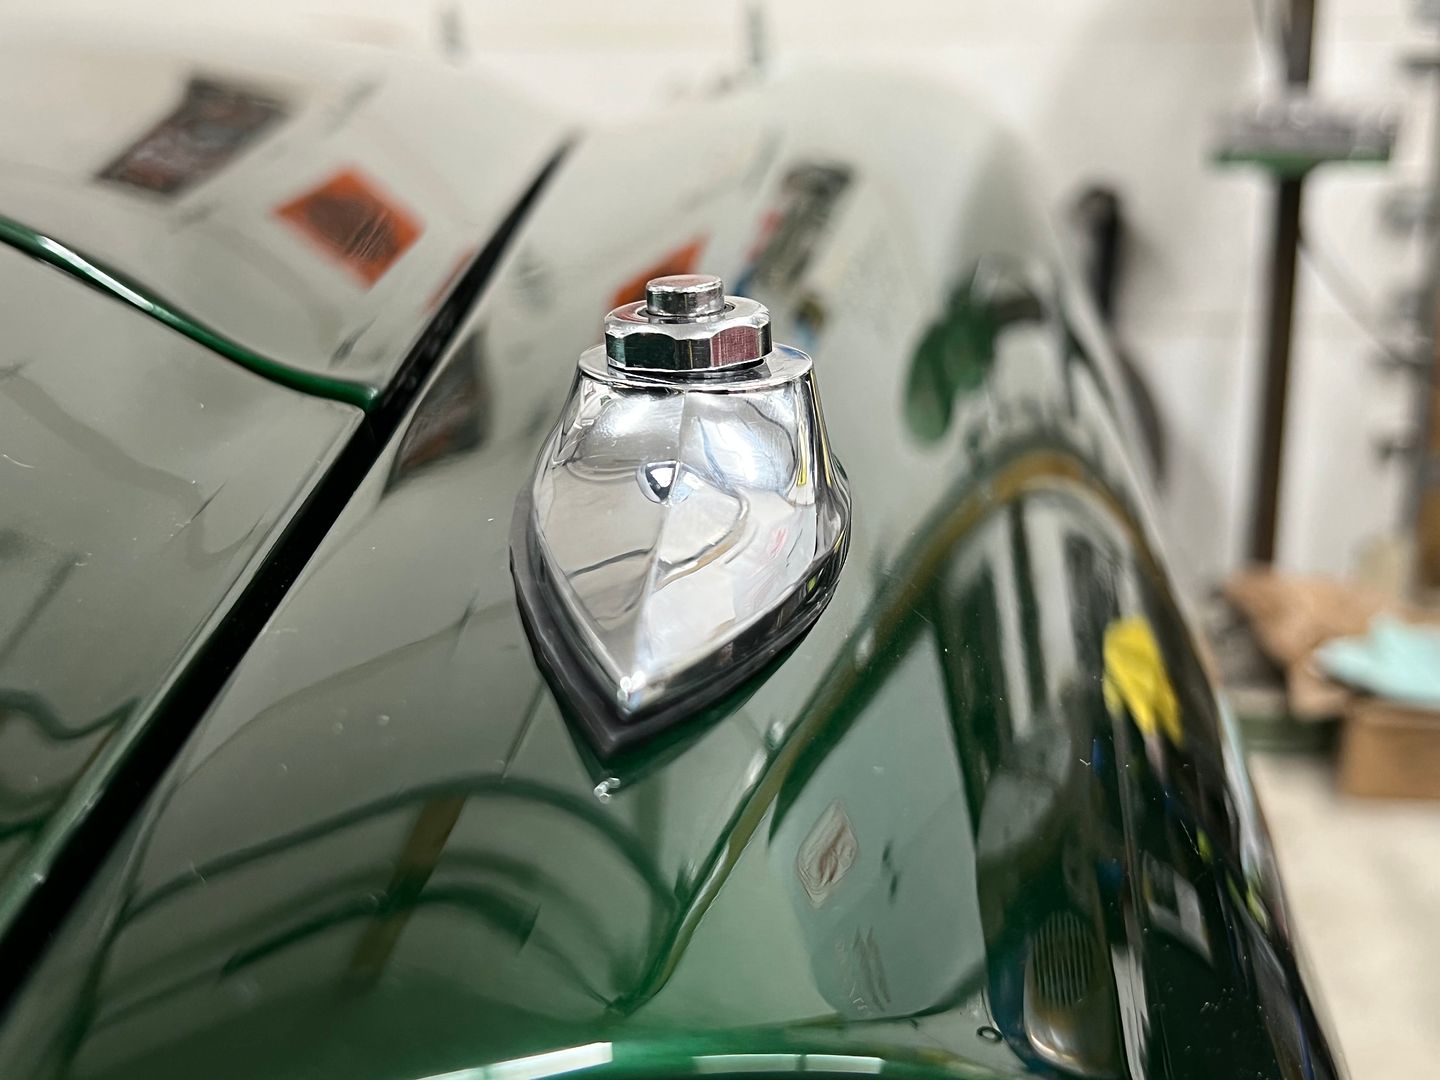
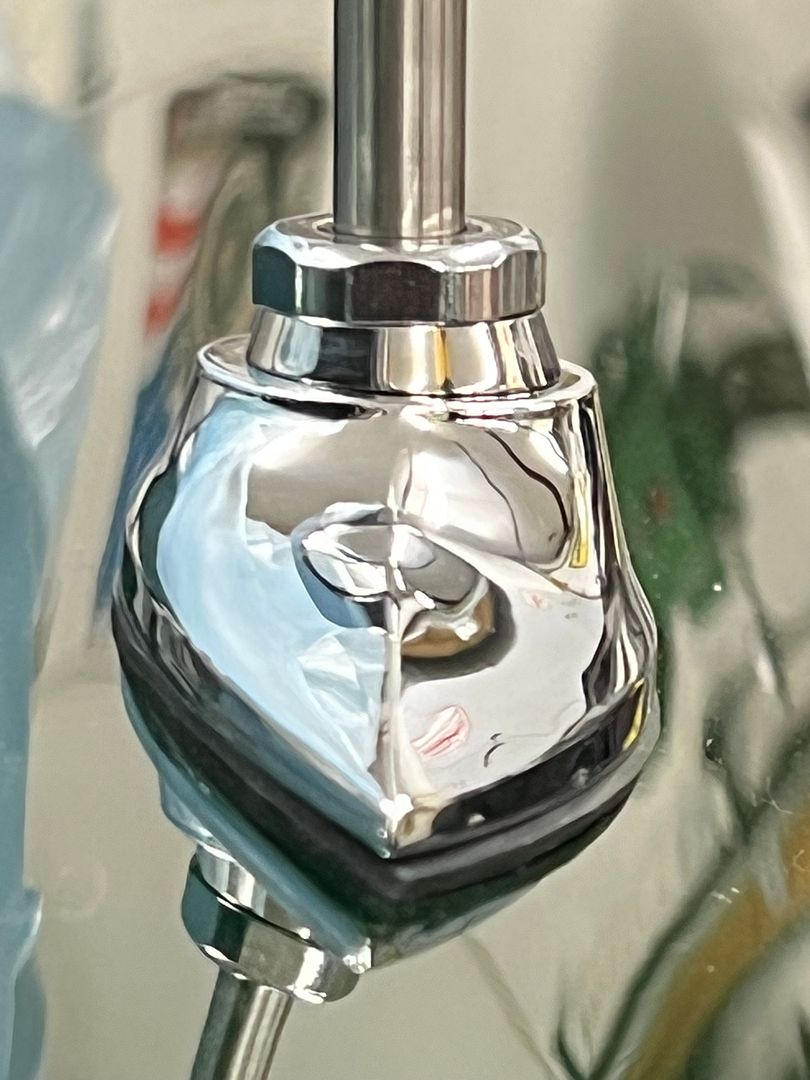
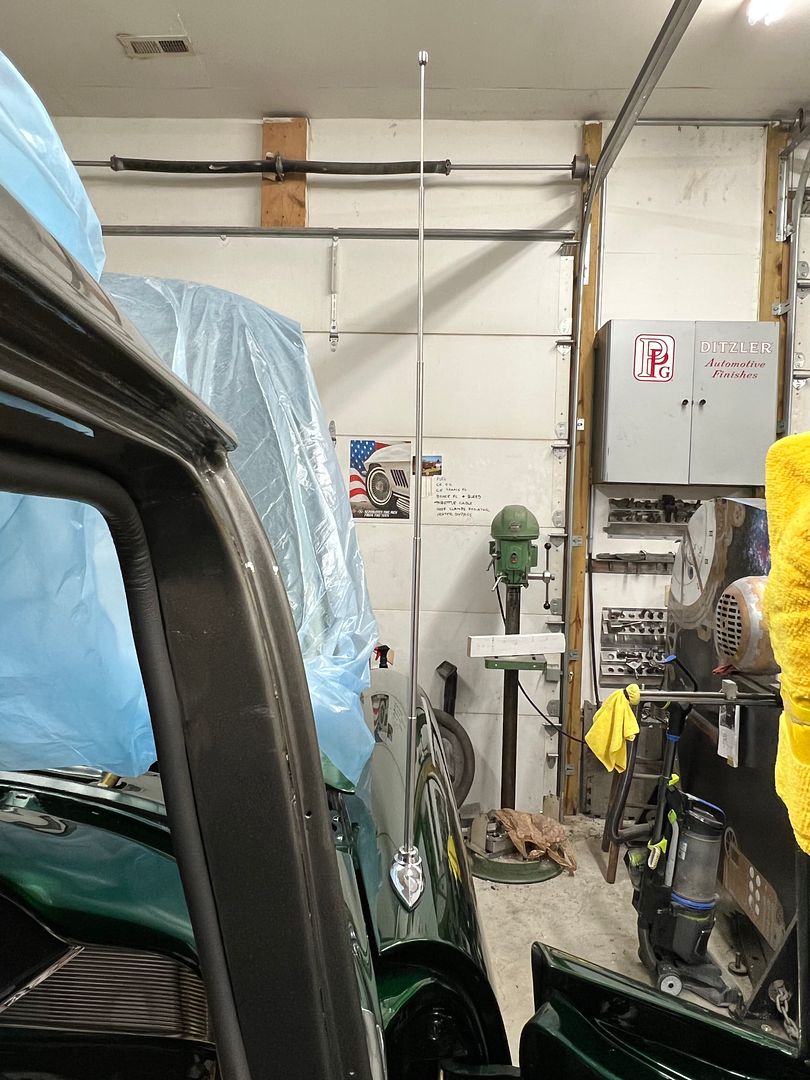
But shows our next back up and punt moment. The wedge shim we had made for the antenna was too steep, and this shows the actual angle needed. So we made another with less angle...
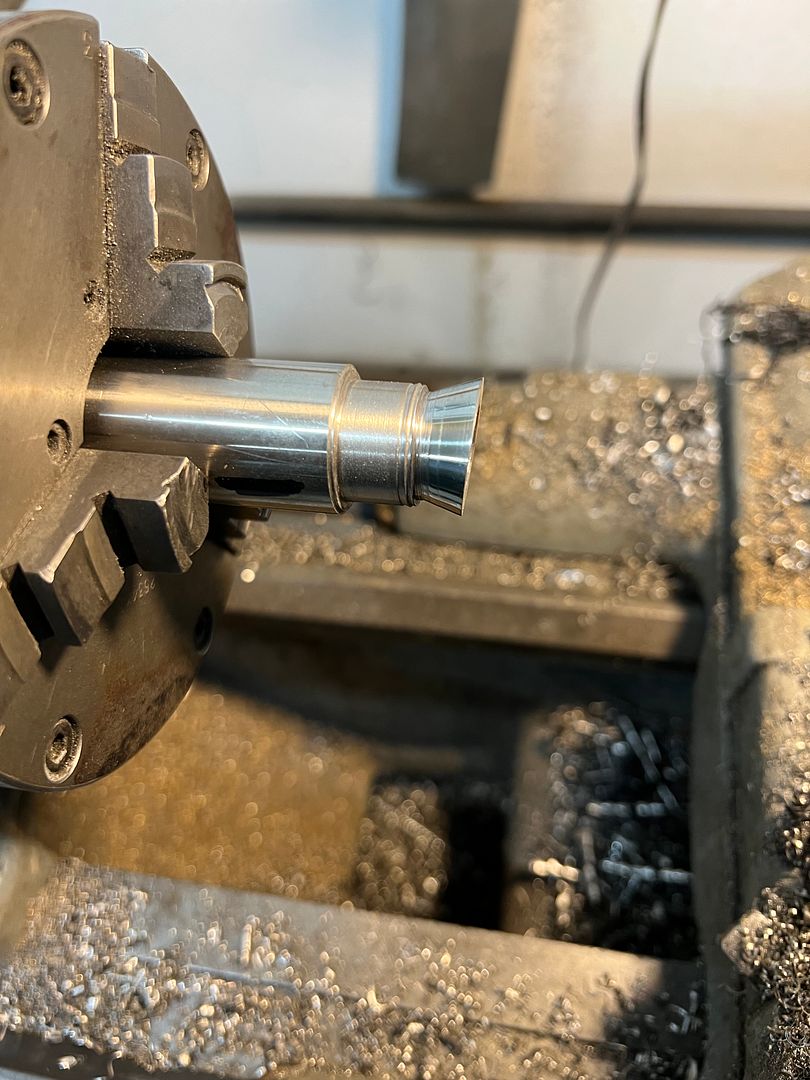
Note some "pre-polishing" was done on the lathe prior to cutting off the wedge to make things a bit easier. Final version installed and vertical orientation verified...
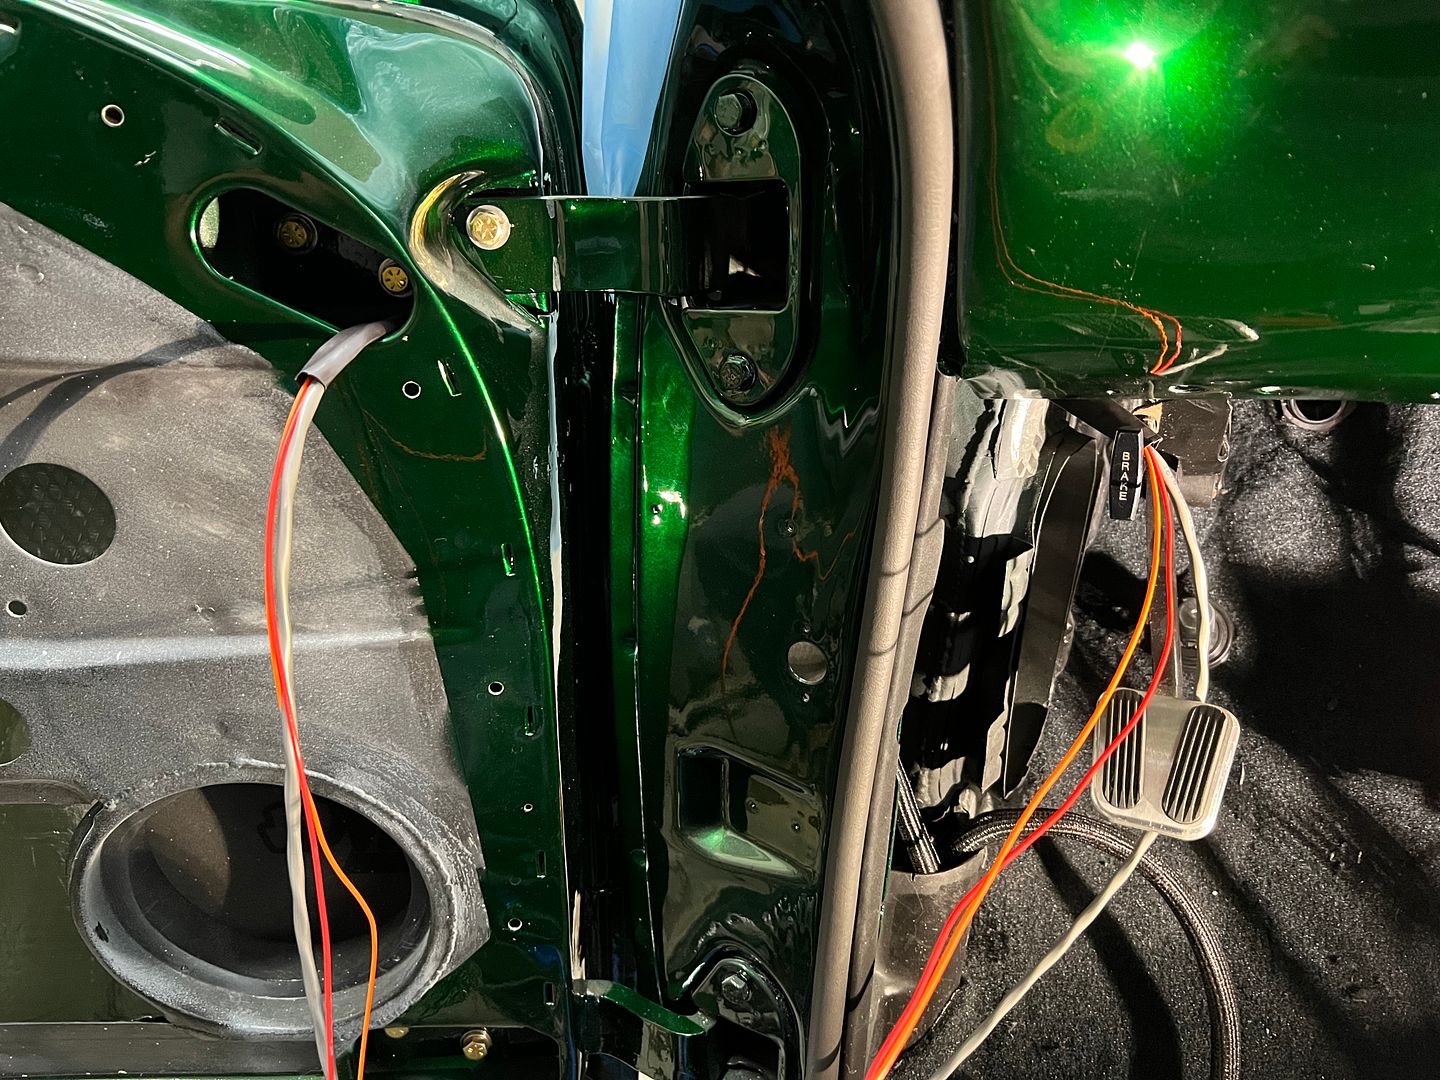
Next, we got the driver's door wiring routed through the upper door hinge... much easier after the trial-and-error practice we did on the passenger side.
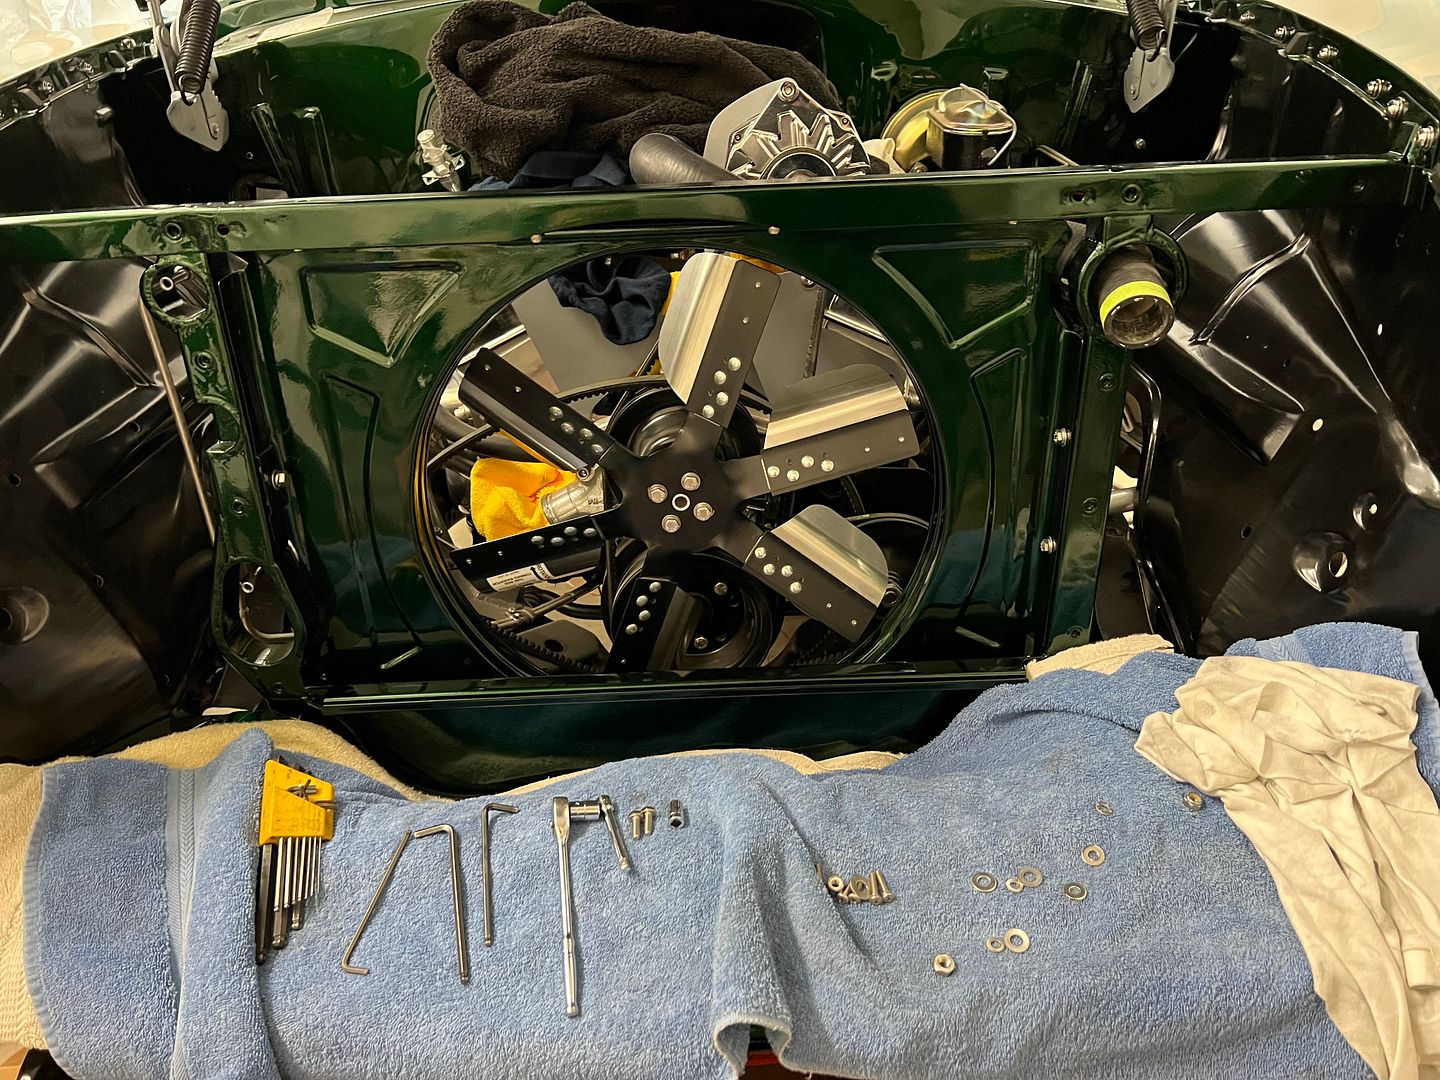
...and with the front fenders back on to stay, Jared reassembled some of the core support parts.
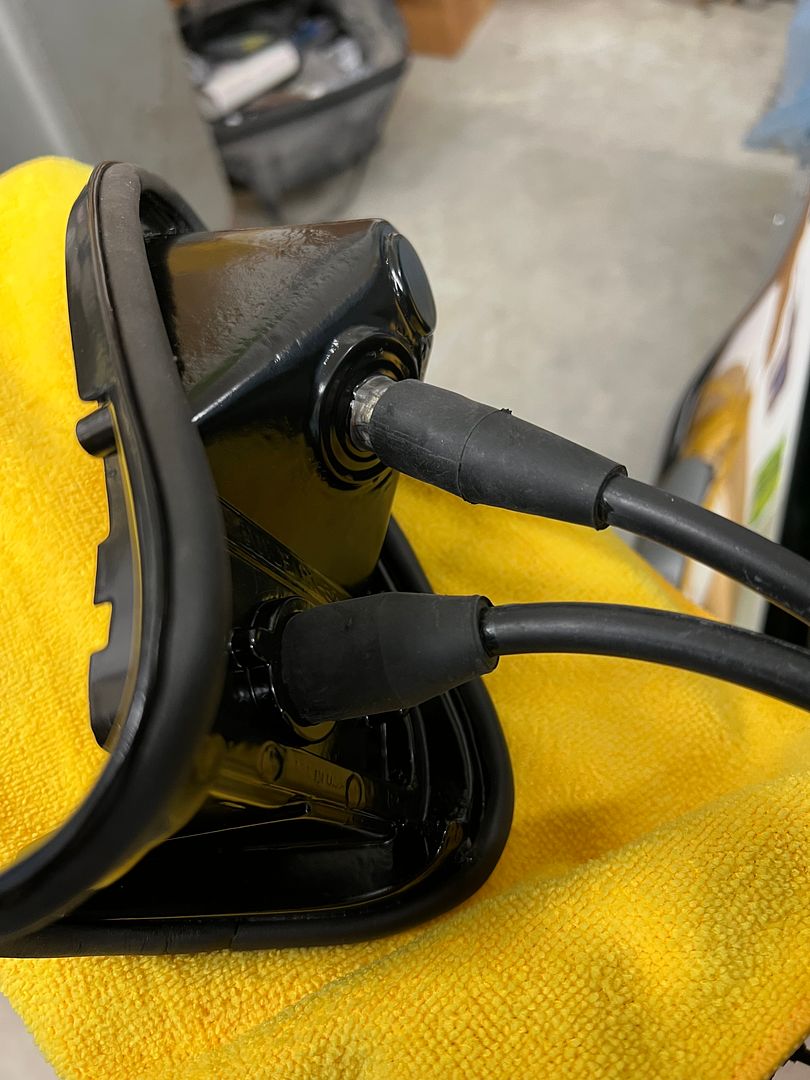
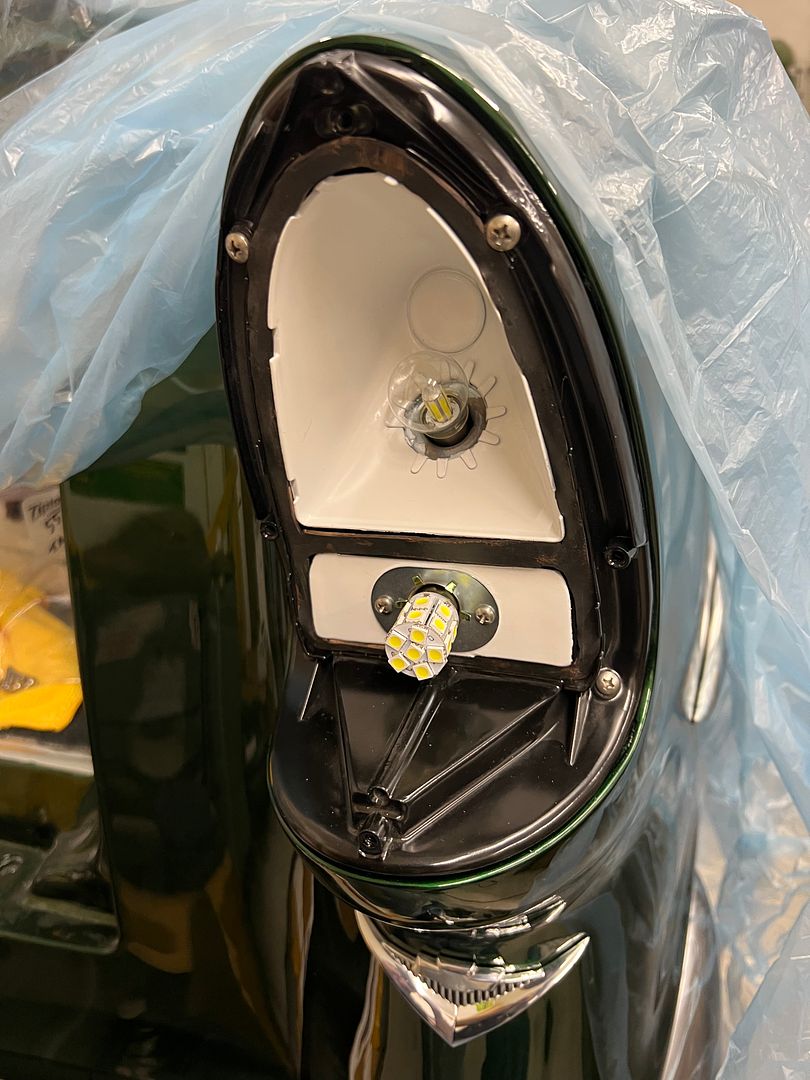
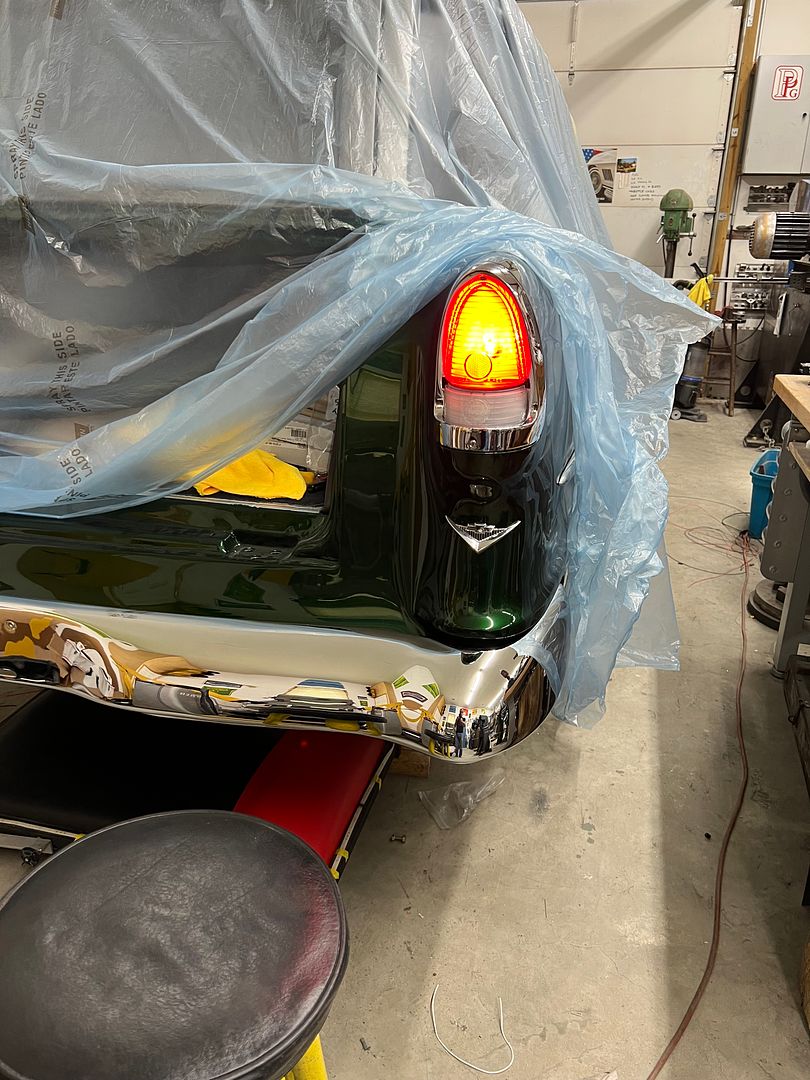
Moving to the rear of the car, we started the rear tail-light install now that they have been painted inside and out. Wiring was routed through OEM style boots to help minimize any water intrusion into the lamp sockets. Replacement button contacts were used in the sockets (w-crimp) to eliminate any unneeded splicing of the wiring. Wiring complete, with bulb seal attached to the housing:
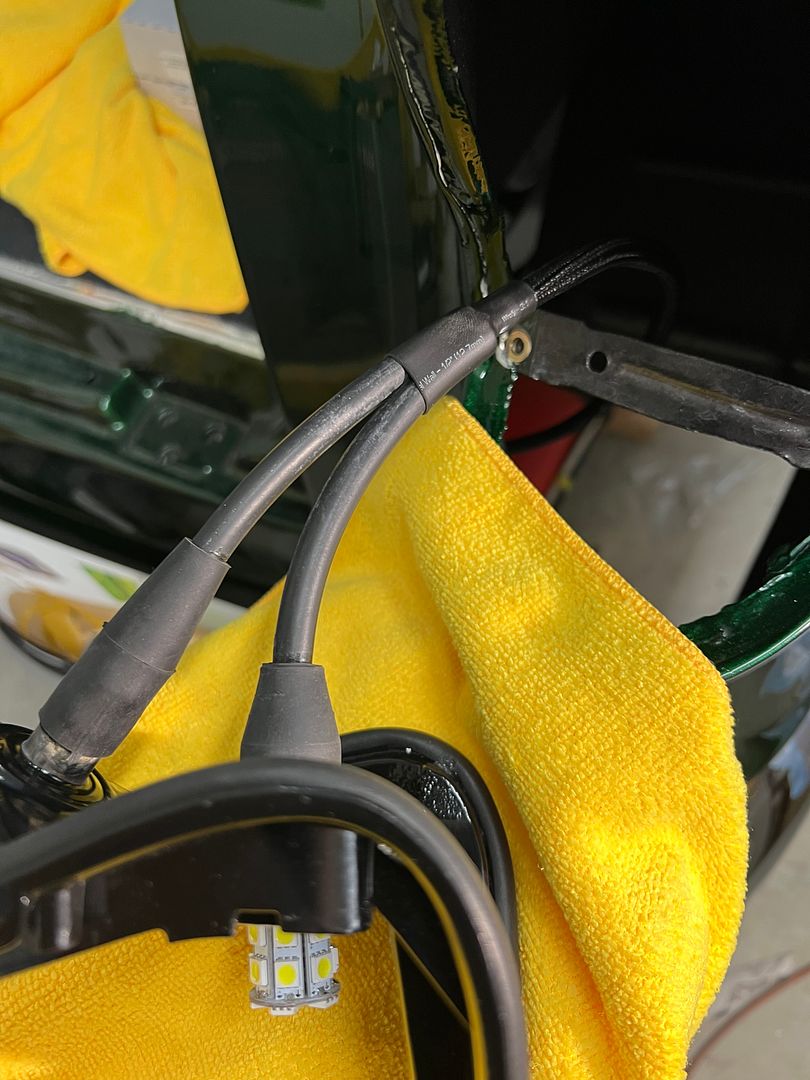
Rivet-nuts were installed for mounting the housing....
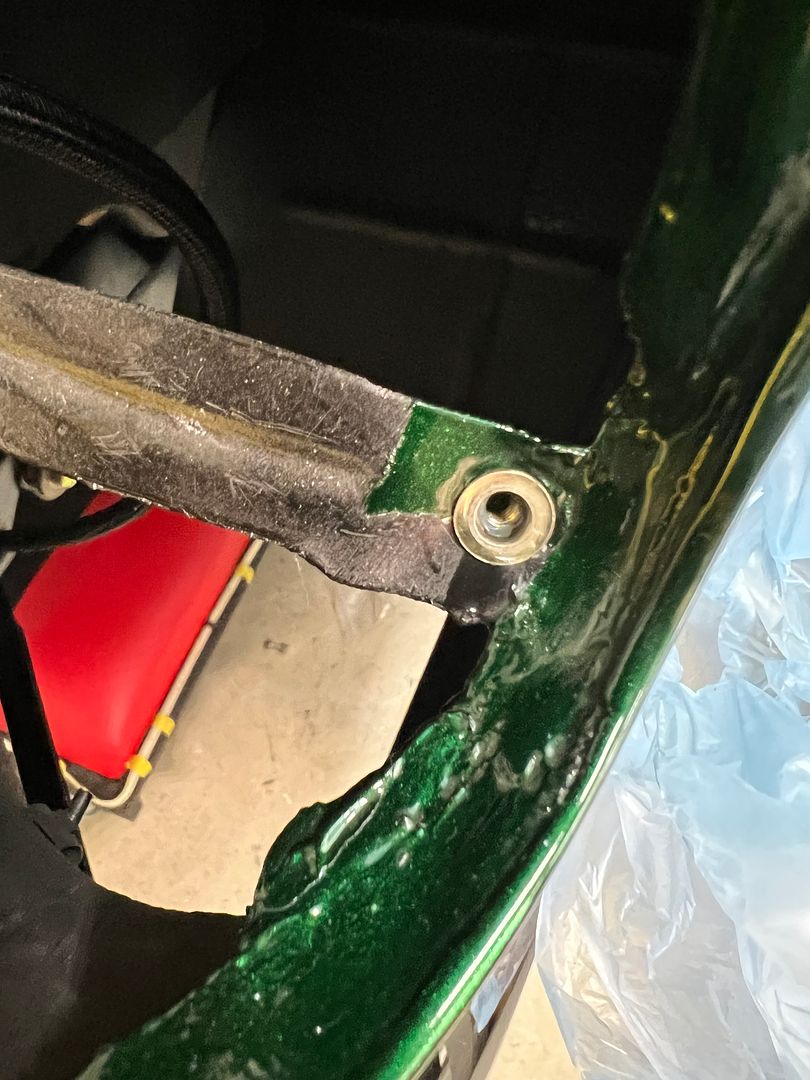
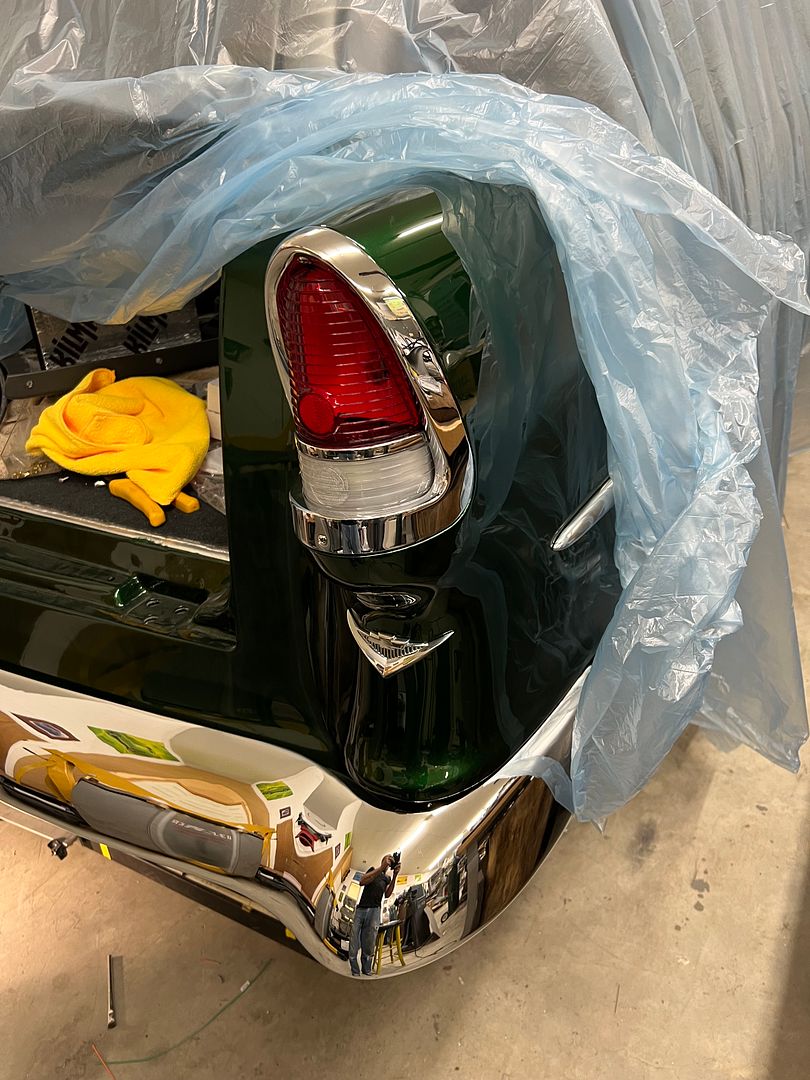
Nice snug fit to the body, and a functional test to make sure we're done here..
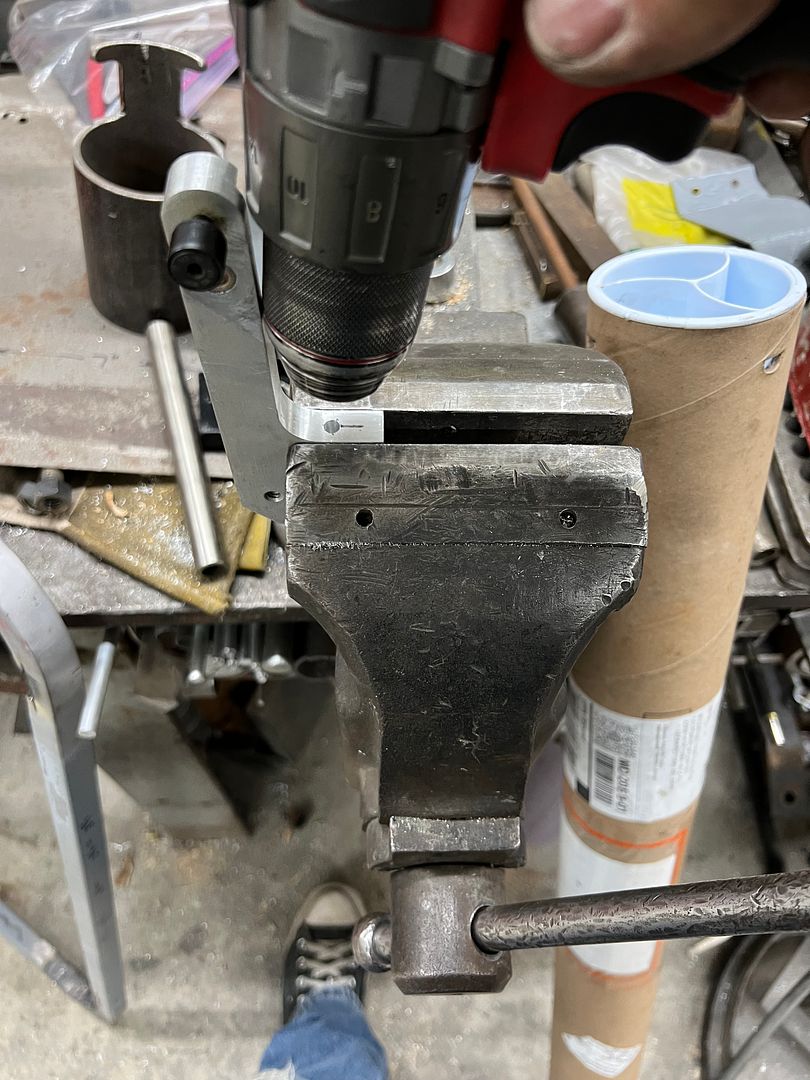
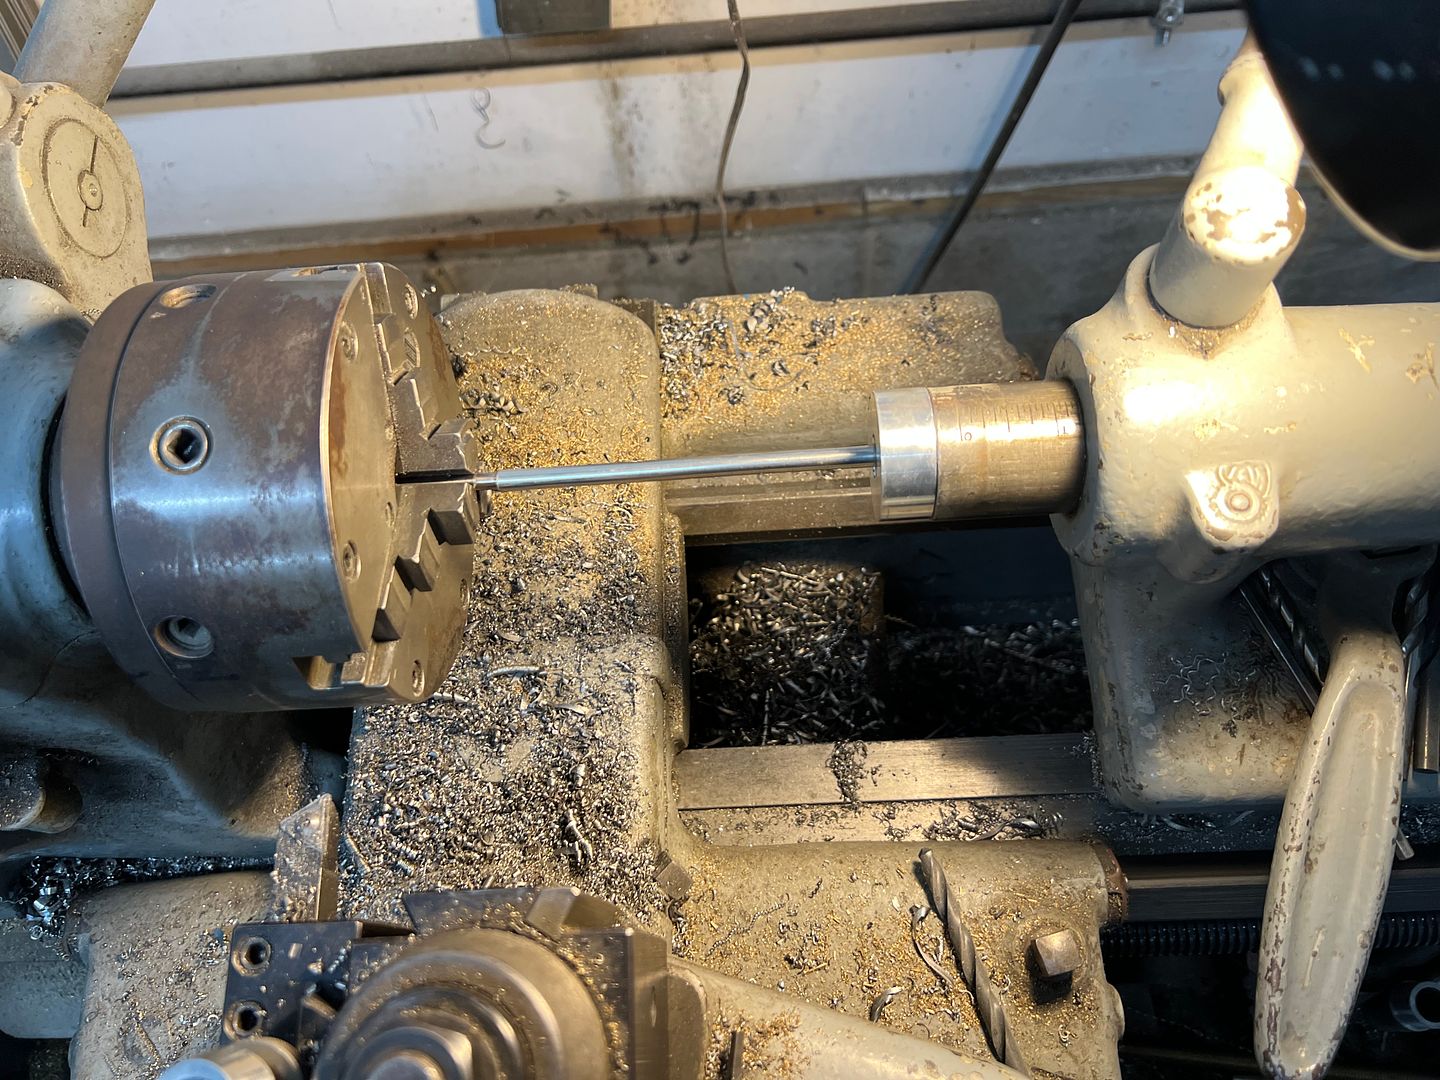
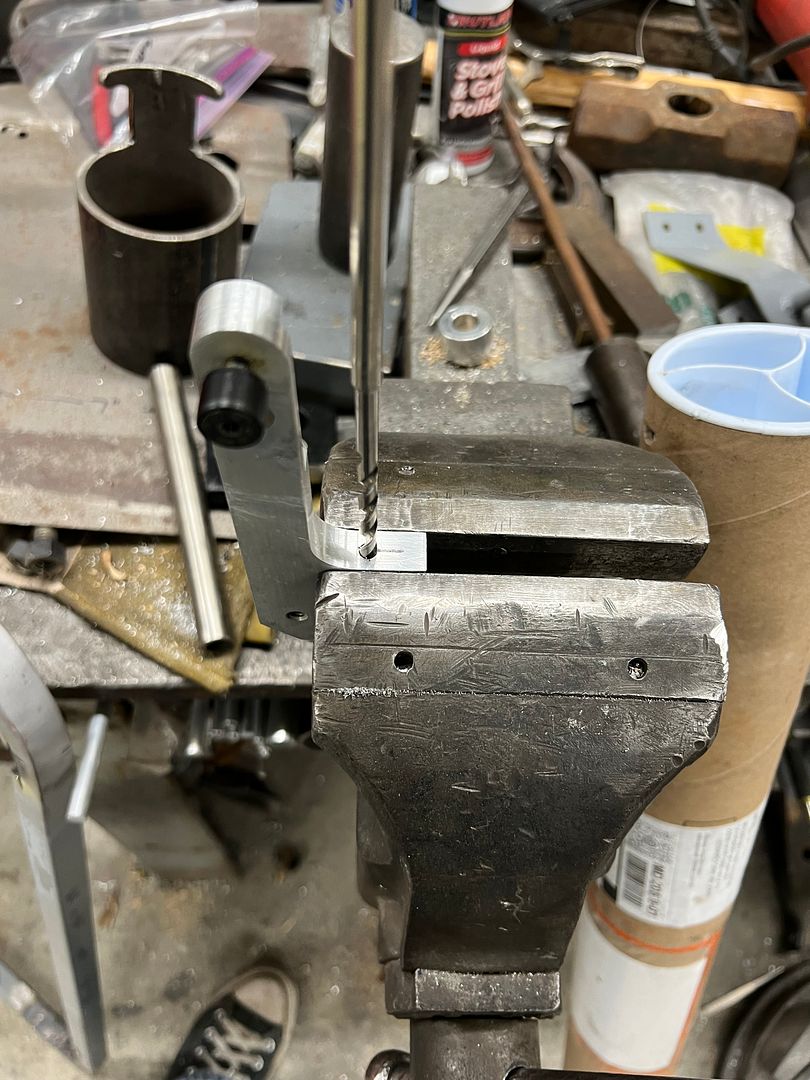
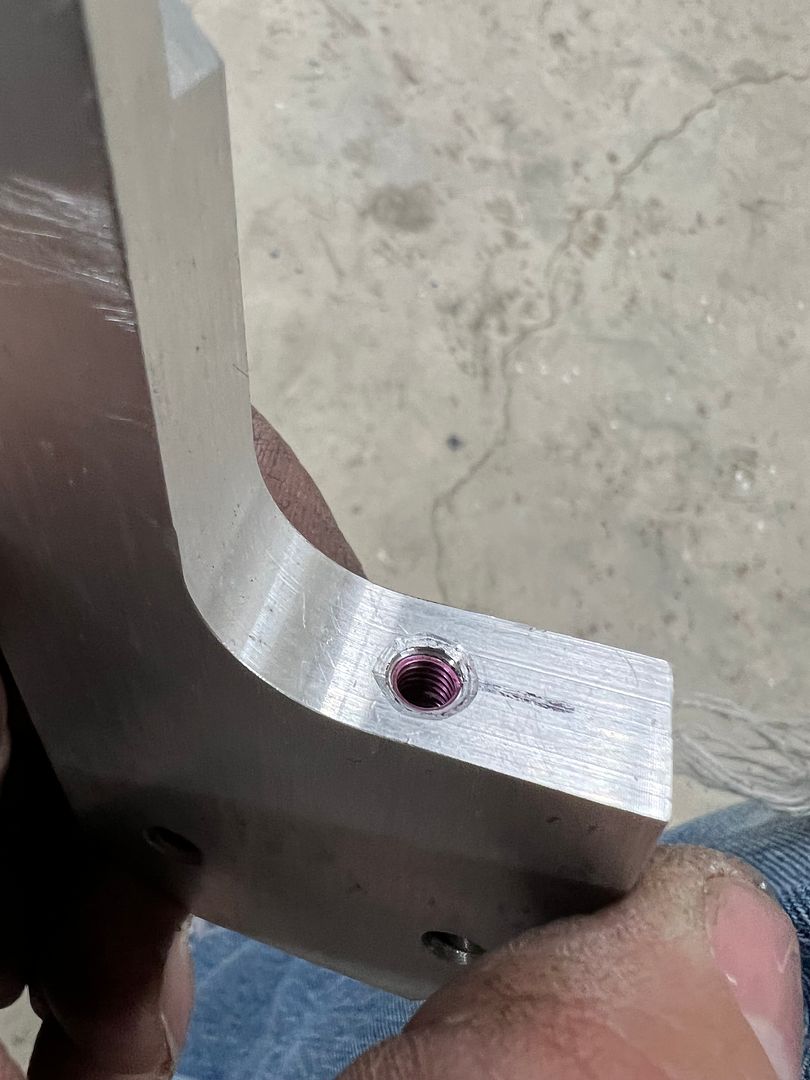
Moving to the passenger side, we'd need to secure the harness to the tail-light swing arm mechanism (part of the hidden gas door mod) so we planned to add some heli-coils in the arm for adel clamps. I had a long 1/8" bit to get in close to the corner, but our final size of 13/64 for the 10-32 heli-coil tap would be another issue.
Then I noticed some tubing in the scrap pile that had a 3/16 ID, just undersized. So our drill bit was clamped in the 3 jaw chuck of the lathe, and the tail stock used to press the two together.
Now we had an extended bit to complete the heli-coil installation.

...and a functional test of the wiring on the arm...
https://www.youtube.com/shorts/JzA6W2BdyyQ