
|
Register or Log In To remove these advertisements. |
|
|
|
|||||||
|
|
Thread Tools | Display Modes |
 02-15-2014, 03:53 PM
|
#1 |
|
Registered User
Join Date: Dec 2009
Location: Columbus, OH
Posts: 75
|
Installing 700R4 in '64 C10 (same for '64-'66)
I am posting this to help anybody that may be doing this conversion. I will also start with saying that there are a million ways to skin a cat. In other words, this worked for me and my truck. I'm sure others have done it differently and have other methods. Feel free to post them if you like.
I am doing this conversion using the stock front engine mount brackets (relocated) and the POL transmission cross-member. (http://www.performanceonline.com/196...N-CROSSMEMBER/) I will get some comments out of the way upfront. In my opinion the only way to use the POL cross-member and retain the factory emergency brake is to use a Caprice style tailshaft housing on the 700R4. It allows for a trans-mount further back on the trans. If you use the mount that is cast into the case, the trans x-member will be trying to occupy the same space as the brake cross-member/support. Also, the x-member is not bolt in if you go my route. You must re-drill all new holes. I had to move the engine forward to make this work. The reason is that because I was using the stock front mounts and the fact that the 700R4 has a larger case, I could not get the trans to fit right without interfering with the body flange that joins the firewall to the floor. I also didn't want to hillbilly it up by bashing it all with a hammer to get clearance. Also, my truck was originally a I6 w/ 3spd manual. The previous owner torch-cut out the mid mount X-member. It was ugly but I intend to clean it up later. Your middle x-member will need to be removed as well. The POL x-member will be strong enough to restore chassis strength once installed. So to start, I unbolted the stock front mounts. I moved them to the next set of holes forward of their stock location on the top rails of the chassis. I used 1/2" nuts under them to act as spacers because the frame pinches in that area and lifting them up puts them farther apart and almost exactly the same distance apart as the rear holes. You should have about 15.5" between the mount holes when relocated if using the stock rubber mounts. I did not tighten them down all the way so that I could position them when drilling for the lower holes on the mount brackets. I did this by getting the brackets where I wanted them and then drilled elongated slots in the front X-member like the factory did. I then removed the stock emergency brake support to get it out of my way. 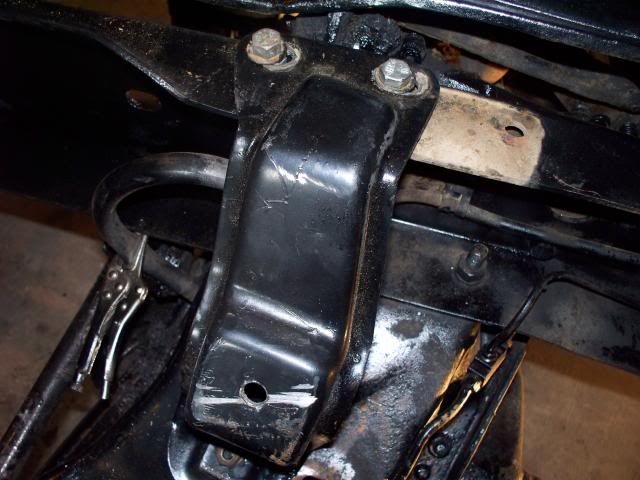 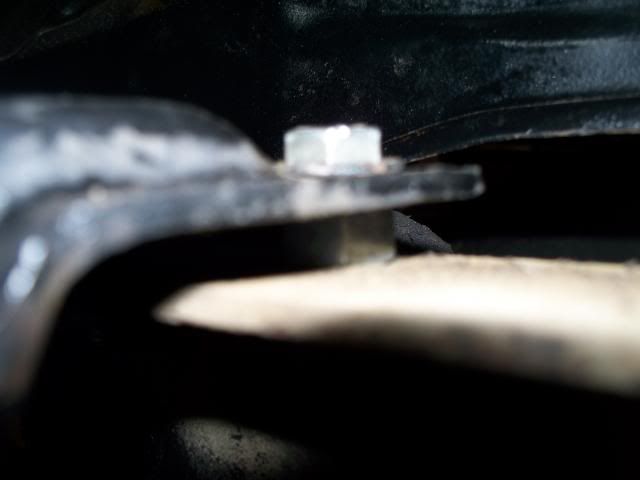 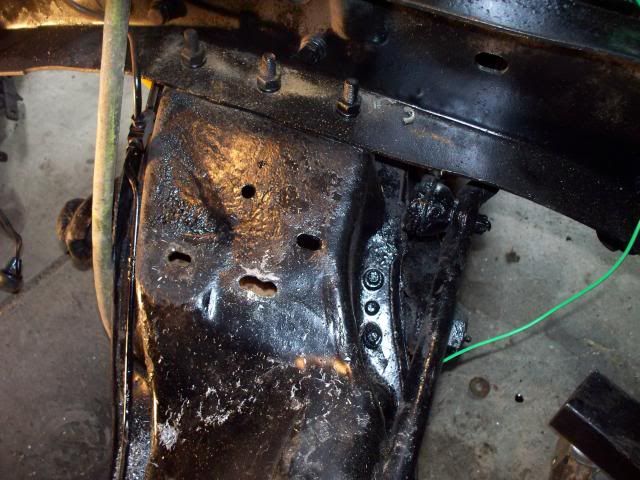 I then bolted up the mount brackets to the front mount. I left all the bolts only attached and not tightened so that I could get everything where I wanted it first before tightening them down. I then dropped the engine and trans in as one unit. I used an engine leveler and a hydraulic jack at the trans tailshaft to guide it to where I wanted it. With the mounts loose and the engine still on the crane, I installed the motor mount bolts to join the engine to the mount brackets. I only hand tightened those for the same reason as above. For the next step to work, there is an exhaust hanger that is riveted to the inside of the chassis on the driver's side about at the rear door of the cab. That has to be removed because the POL x-member ends up there. I used a grinder and air-hammer to get the job done. You can see it in this picture: 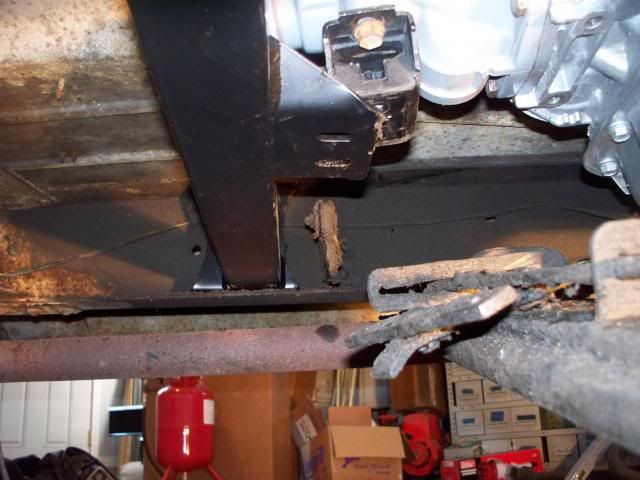 I then went to the rear and centered the trans and got the POL x-member where I wanted it. It ended up being about 12.5" forward of the rear x-member (where the trailing arms mount) to the rear of the rectangular tubing of the x-member. I then pulled horizontal and diagonal measurements to make sure everything was square and then used Vise-grips to clamp the x-member in the chassis for drilling. Once drilled, I lower the trans onto the X-member and put the bolts in loosely. Once everything was where I wanted it, I went back and tightened down all the bolts. The end product moves the engine about 3" forward, conveniently that is almost the same length that the 700R4 is longer than the Powerglide and TH-350. So you most likely can use the driveshaft you had before for this. The added space gives a lot more room between the engine and firewall so if you desire you can run a HEI distributor without any problem and have room to spare. 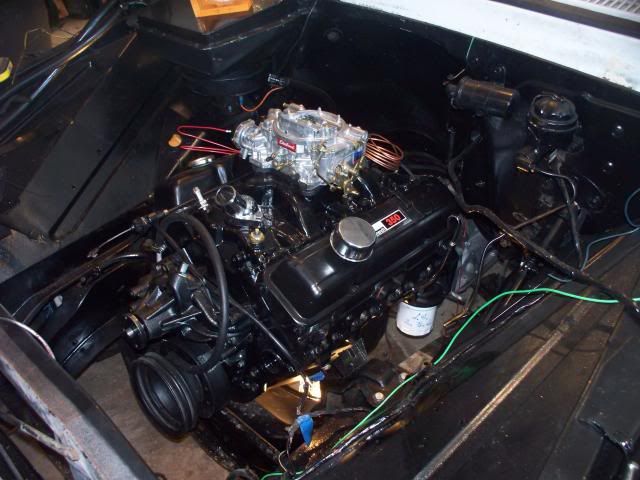 I admit, I would prefer if the engine was closer to the firewall because I never run HEIs and I think the lack of the gap looks a bit better, but for this combo and my methods, it was required. Keep in mind you will likely need a shorter fan spacer once it is all said and done. So that is how I did it. Like I said before, I know others have done it differently. This was just my method. I hope that it helps somebody. If you need better pictures or other pictures of the end product, let me know and I will try to help. If you don't like the distance between the firewall, You could could likely keep the engine spacing by modifying the front mounting brackets to make them shorter and using a dropped trans x-member, but you would not be able to retain the factory emergency brake. You might also run into interference issues with your driveshaft and rear x-member. In this case you would also have to use a shorter driveshaft due to the added length of the 700R4. 1990's 2wd S-10 driveshafts will work with the rear U-joint changed. Just another way to do it. |

|

|
| Bookmarks |
|
|


 Threaded Mode