
|
Register or Log In To remove these advertisements. |
|
|
|
|||||||
|
|
Thread Tools | Display Modes |
 05-14-2014, 06:55 AM
|
#11 |
|
Watch out for your cornhole !
 Join Date: Jun 2003
Location: Azle, Texas
Posts: 14,162
|
Re: My Luxurious late model truck (not so much)
First priority was to get the engine squared away so I could judge how much of my old truck building budget was gonna get used up.
I began with the research. GM used two different 350 engines in pickups during these years. I looked closely at the options and found that there were the 350s used in the half ton and light duty 3/4 ton, and there was a second one that was used in heavy 3/4 ton and 1 ton applications. My buddy at the dealership told me the only difference between the two was 2 bolt vs 4 bolt mains. As I got to looking deeper, I found two more differences. First, the heavy duty engines are listed as lower compression ratio. Further investigation revealed that the heavy engines had a deeper dish piston to do that. Second, the heavy engines have different exhaust valves. The stems are larger, and they are stellite valves. If you want to geek out, here is further reading. http://www.aera.org/engine-professio...ve-technology/ Let me reiterate, the valve stems are larger. You cannot put stellite valves from a heavy engine into light duty engine heads as an upgrade. You'd have to machine the valve guides larger. The purpose of the larger exhaust valve stems was to more thoroughly transfer the heat from the valve through to the head. My main goals for the engine were to keep cost down and to use a roller cam. These TBI engines of this era were machined for roller cam usage even though they were equipped with flat tappet cams. So, I wanted to take advantage of this. with the modern oils we have, a flat tappet cam is always in jeopardy of failing whereas a roller isn't. First step was to knock all cam bearings, freeze plugs and oil galley plugs out of the block. Then much cleaning of the entire block inside and out, all oil passages etc. After that, I used my hone and drill to clean up the bores. Tech tip: A rifle cleaning kit from the sporting goods section of Walmart works killer for cleaning all of those long oil galleys. 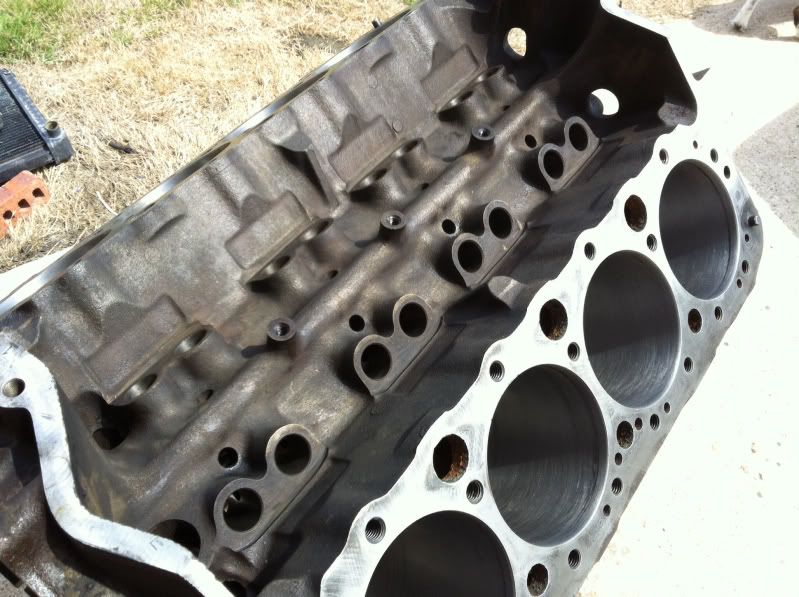 In an effort to further my abilities, I bought cam bearing installation tools from Summit. They were like 30 bucks or something. Basically about what a machine shop would charge to install them for me, but I'm left with a new tool for my arsenal. 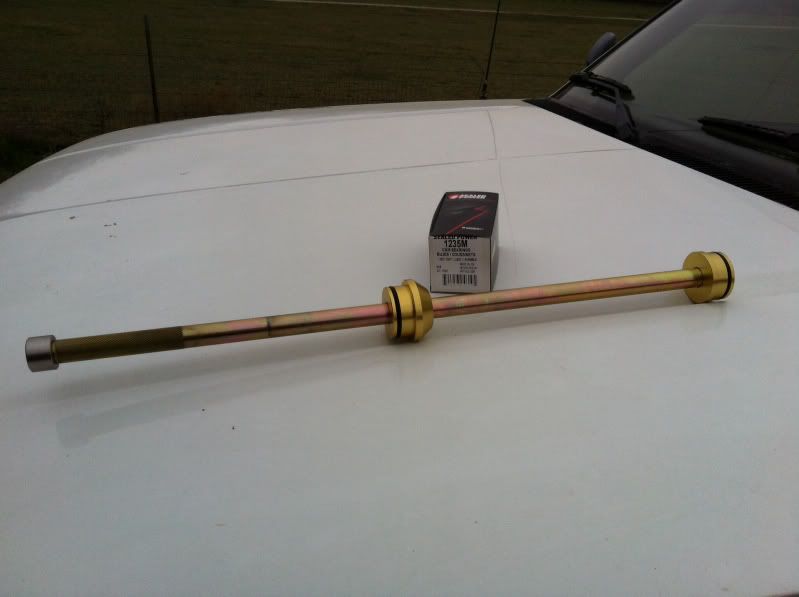 Cam bearings are stupid easy once you've got the tool. Maybe five minutes to install all of them. New cam bearings, block plug kit and cam thrust plate (for the new roller cam setup). 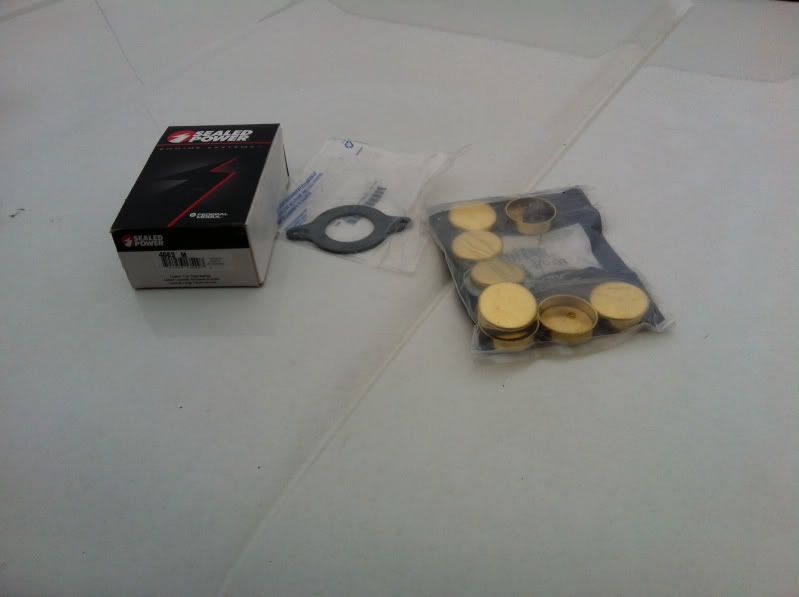 Now, I needed a roller cam and lifters. Some folks don't realize, but the great thing about roller cams is that the cam and lifters are infinitely reusable. I had an old Vortec 350 under my workbench that my stepson had destroyed via overheating (see my Lemonade truck build for that story). So I plucked the roller cam and lifters out of it for this build. 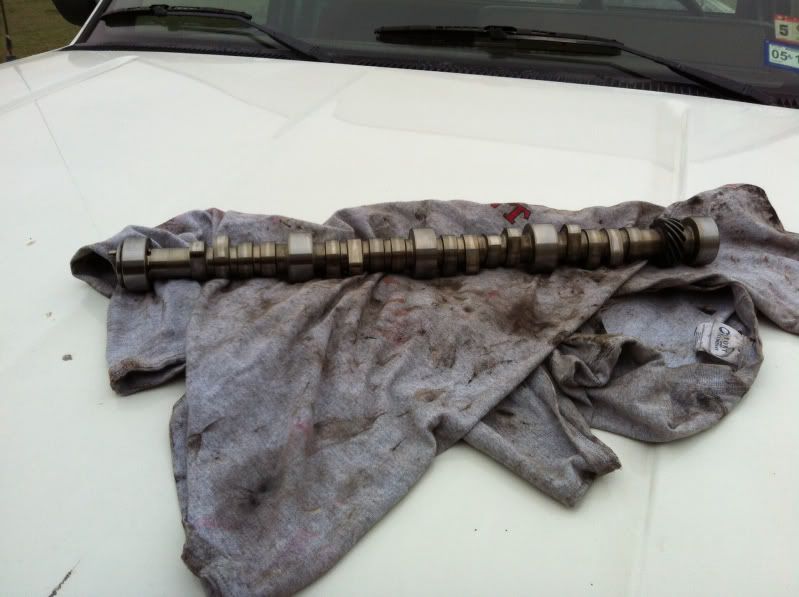  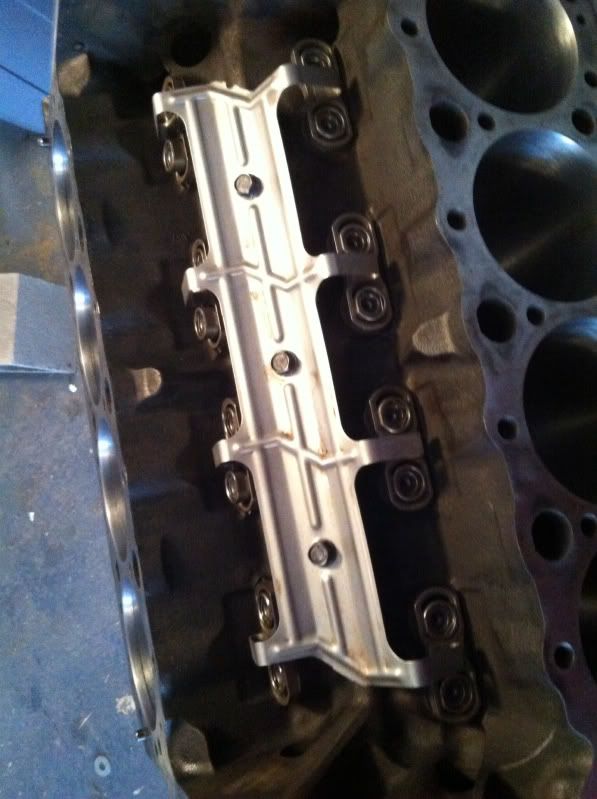 The crankshaft in the Vortec engine was a bit smoother and nicer than the old TBI engine so I used it too. Notice the lovely 4 bolt mains. 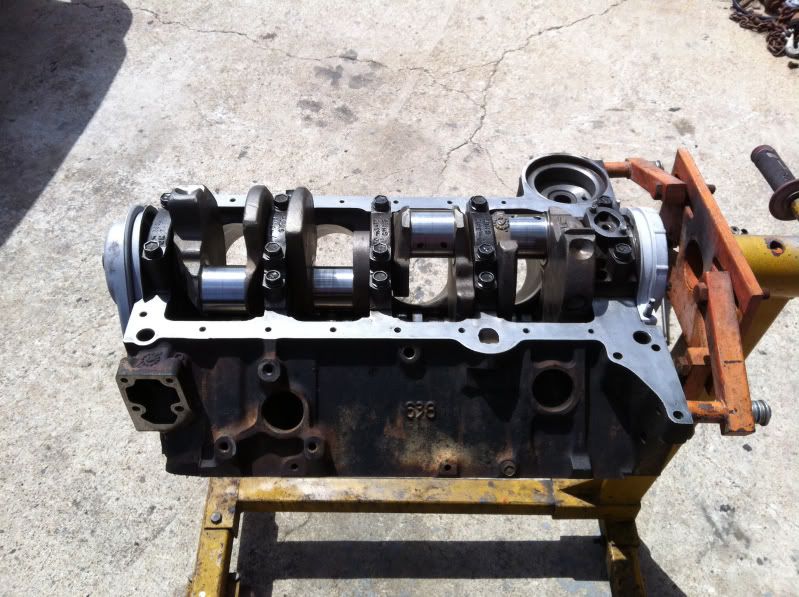 Disassembled and cleaned the oil pump so I could reuse it. The original engine had great oil pressure so I knew the pump was a good one. 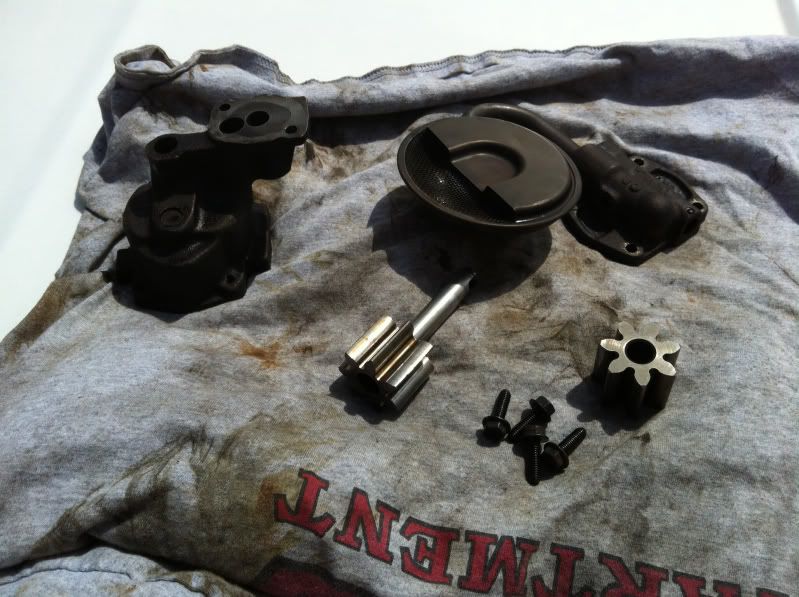 A picture of installing the rear main seal. This is obviously a 1 piece rear main seal engine. The press and a scrap of steel plate make the job easy and drama free. I don't want to be using a hammer on a 20 dollar seal. 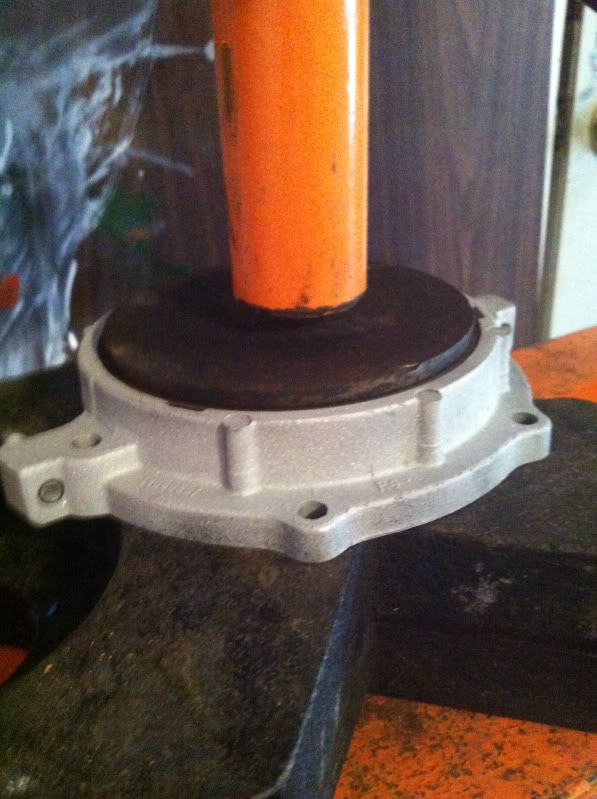 Vortec engine are reputed to have high quality rods. To my eyes, they do look nicer than most so I decided to use the Vortec pistons and rods. First step was to soak them in diesel for 24 hours to loosen the carbon. 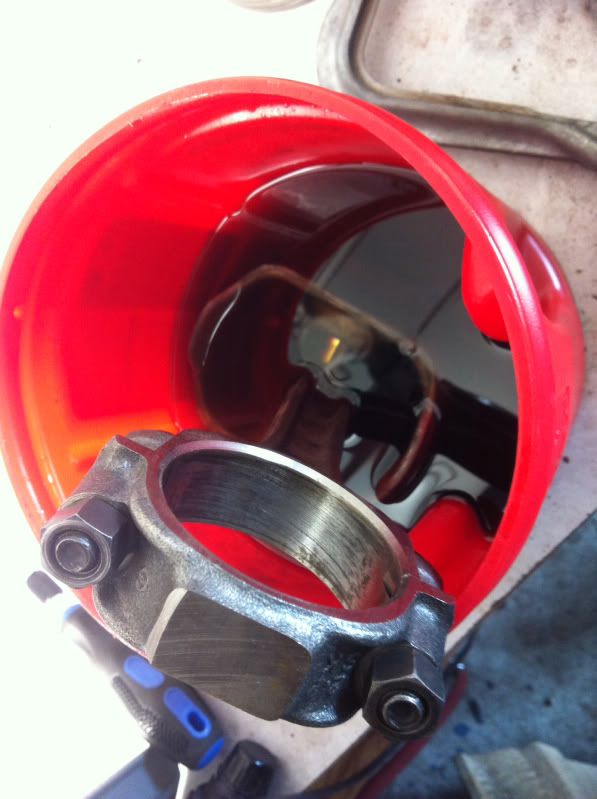 Comparison shot of the Vortec piston and rod (left) versus the TBI parts (right) 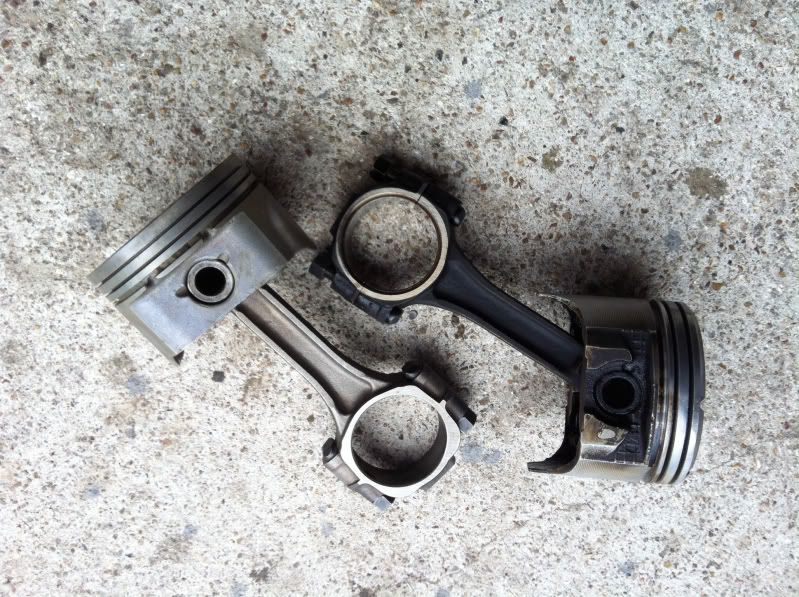 Again, Vortec left and TBI right. You can see the Vortec pistons offer less dish volume for a bit higher compression ratio. 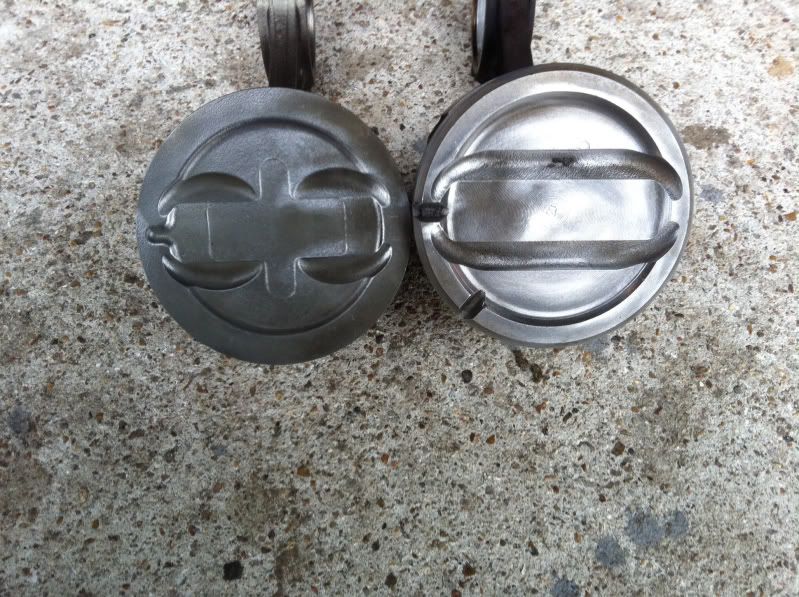 Vortec left, TBI right. Notice the Vortecs have shorter skirts for less resistance and significantly thinner rings. Look closely, the rings are little narrow things. This bit me on the parts cost because the skinny ring sets are about 20 dollars more expensive than the normal thick ones that so many engines used. 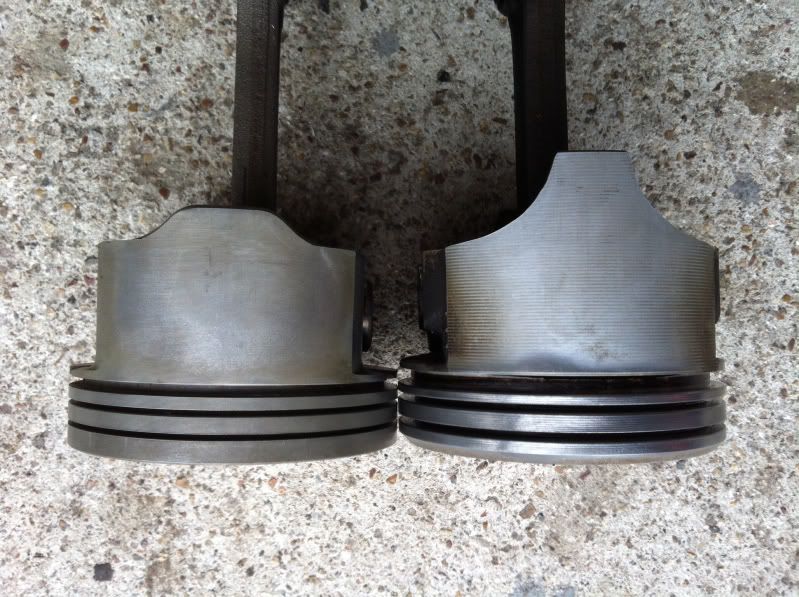 In the next post, I'll do the top end.
__________________
I'm on the Instagram- @Gearhead_Kevin Last edited by Tx Firefighter; 05-17-2014 at 12:03 PM. |

|

|
| Bookmarks |
|
|


 Threaded Mode