
|
Register or Log In To remove these advertisements. |
|
|
|
|||||||
|
|
Thread Tools | Display Modes |
 11-04-2014, 02:01 PM
|
#1 |
|
Registered User
Join Date: Dec 2010
Location: Carnation, Wa
Posts: 142
|
Subaru bucket seats & a console without any new holes to my floor - How I did it
So, I wanted buckets & a console, but the price of factory bucket/console combos are approaching $1000, and even then they'll likely need to be recovered.
When it's all said and done, you'll have 1800 bucks into 40 year old seat technology. I've bought whole trucks for half that price! Yes, factory correct stuff is the right way to do it, and for some trucks out there, it's the only way to go. But what if you've just got a driver and just want a happier butt? Including the wallet it's sitting on. I scanned the forums, found some decent threads, like Beaumont's 73-87 bucket adaption And the Picture request thread on seat swaps But no decent write-ups on start to finish of odd-ball wrecking yard seat swaps, so here we go. This is the first thread I've ever started, so bear with me... Before  After  My wife likes Subaru's the same way I like Chevy trucks. After numerous road trips in her numerous Subaru's, I realized that I can sit in those seats all the way across the country, and still function the next day! So when we visited a wrecking yard for parts, I snagged a pair of seats out of a 2007 Impreza. $140 or so.  These seats don't mount to their floor flat, and I wanted flat surfaces to work with. So I ground off all of the Subaru specific mounts and ground the rails down flat, being very careful not to wreck the sliders. When I had a flat level surface at each corner, I welded some bolts I had in my 5 gallon bucket of spares- making sure that the threads were all similar and they were grade 5 or better. I used a square to try my best at getting them perpendicular to the rails and parallel with each other. I give myself a B- on that accomplishment...  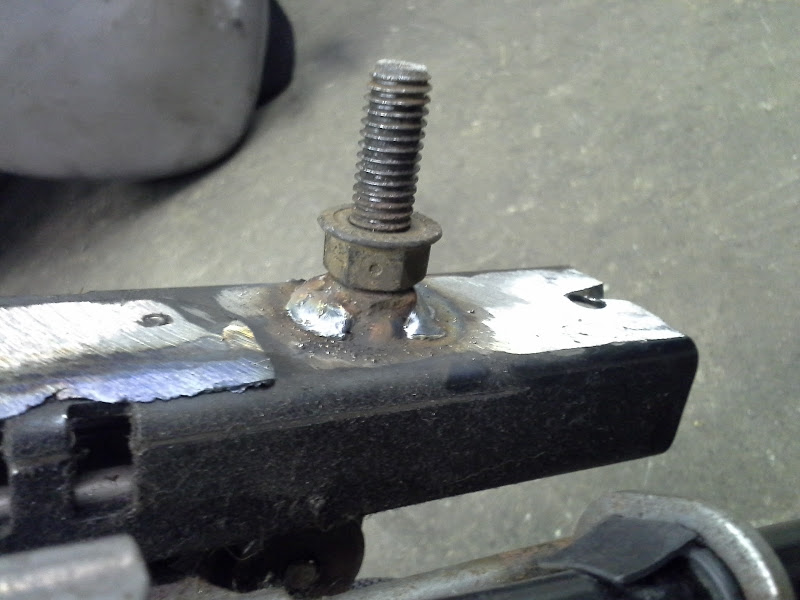 After the bolts cooled off, I ran some nuts- the kind with a shoulder on them- upside-down on my new threads. This will give me some adjustment of things aren't 100% level from corner to corner. Or if I have to, I can crank them down and lift the seat up a little bit, but I'll rely on good measurements before I have to resort to that... |

|

|
| Bookmarks |
| Tags |
| bucket seats, buckets, console, installation, wrecking yard |
|
|


 Threaded Mode