
|
|
|
 02-04-2013, 11:05 PM
|
#1 | |
|
Registered User
Join Date: Jan 2013
Location: Leonardtown, MD
Posts: 1,637
|
Re: 55 Wagon Progress
Thanks for following the thread! The day job kept me travelling much of last year, so the posts were few and far between. I'm trying to catch up a bit now..
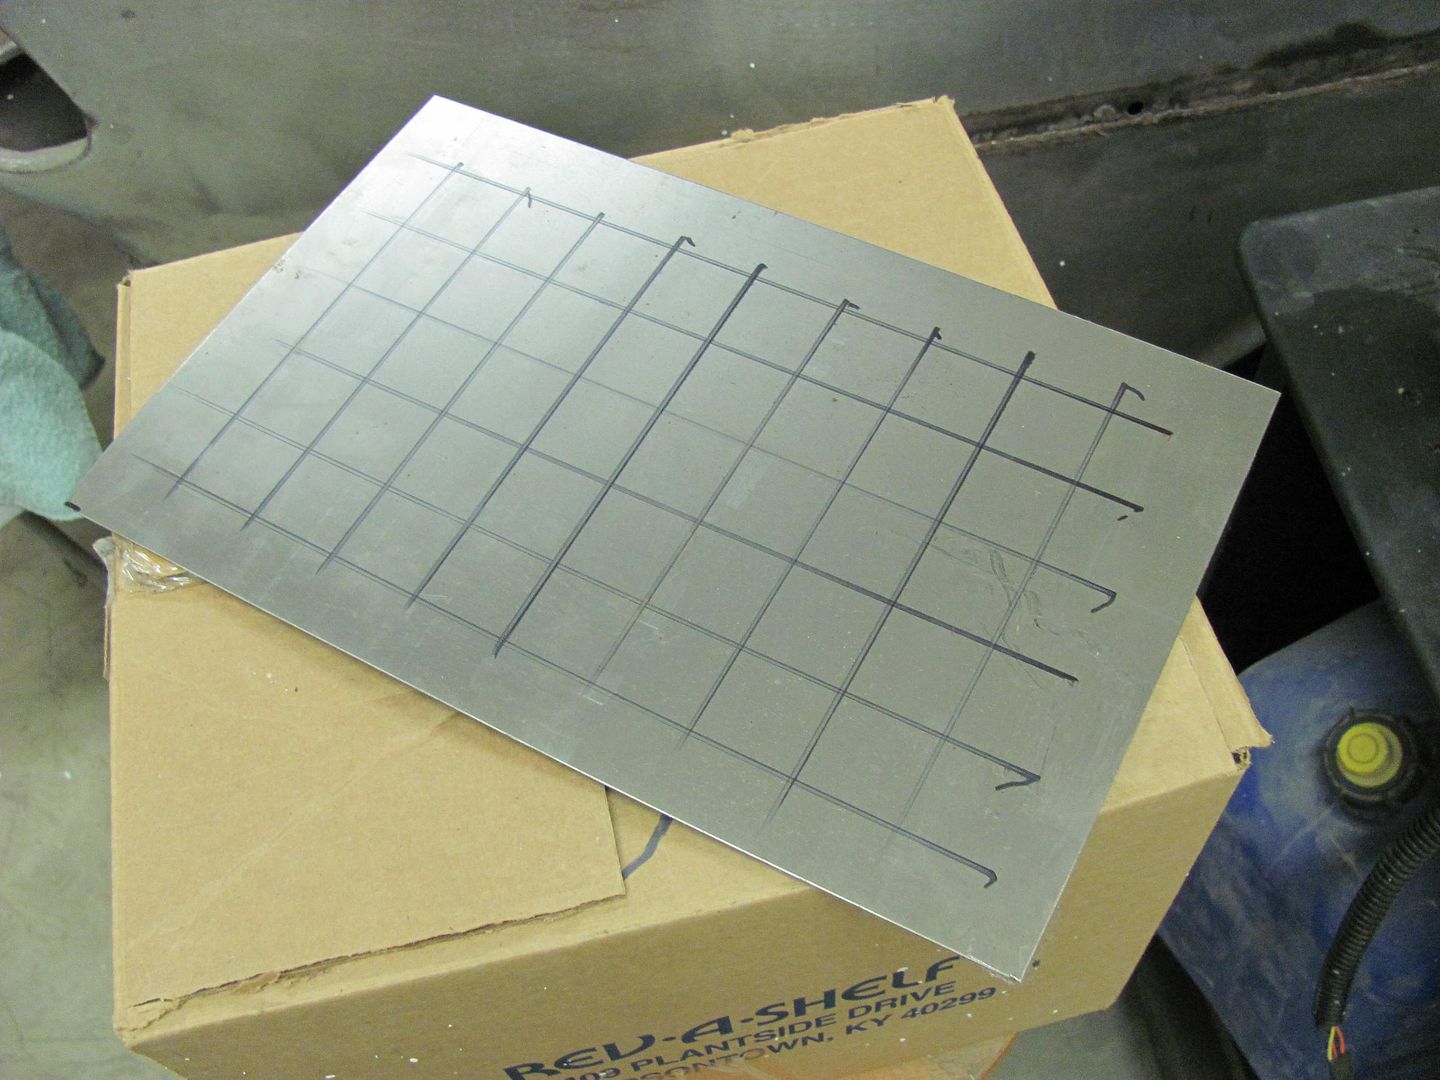
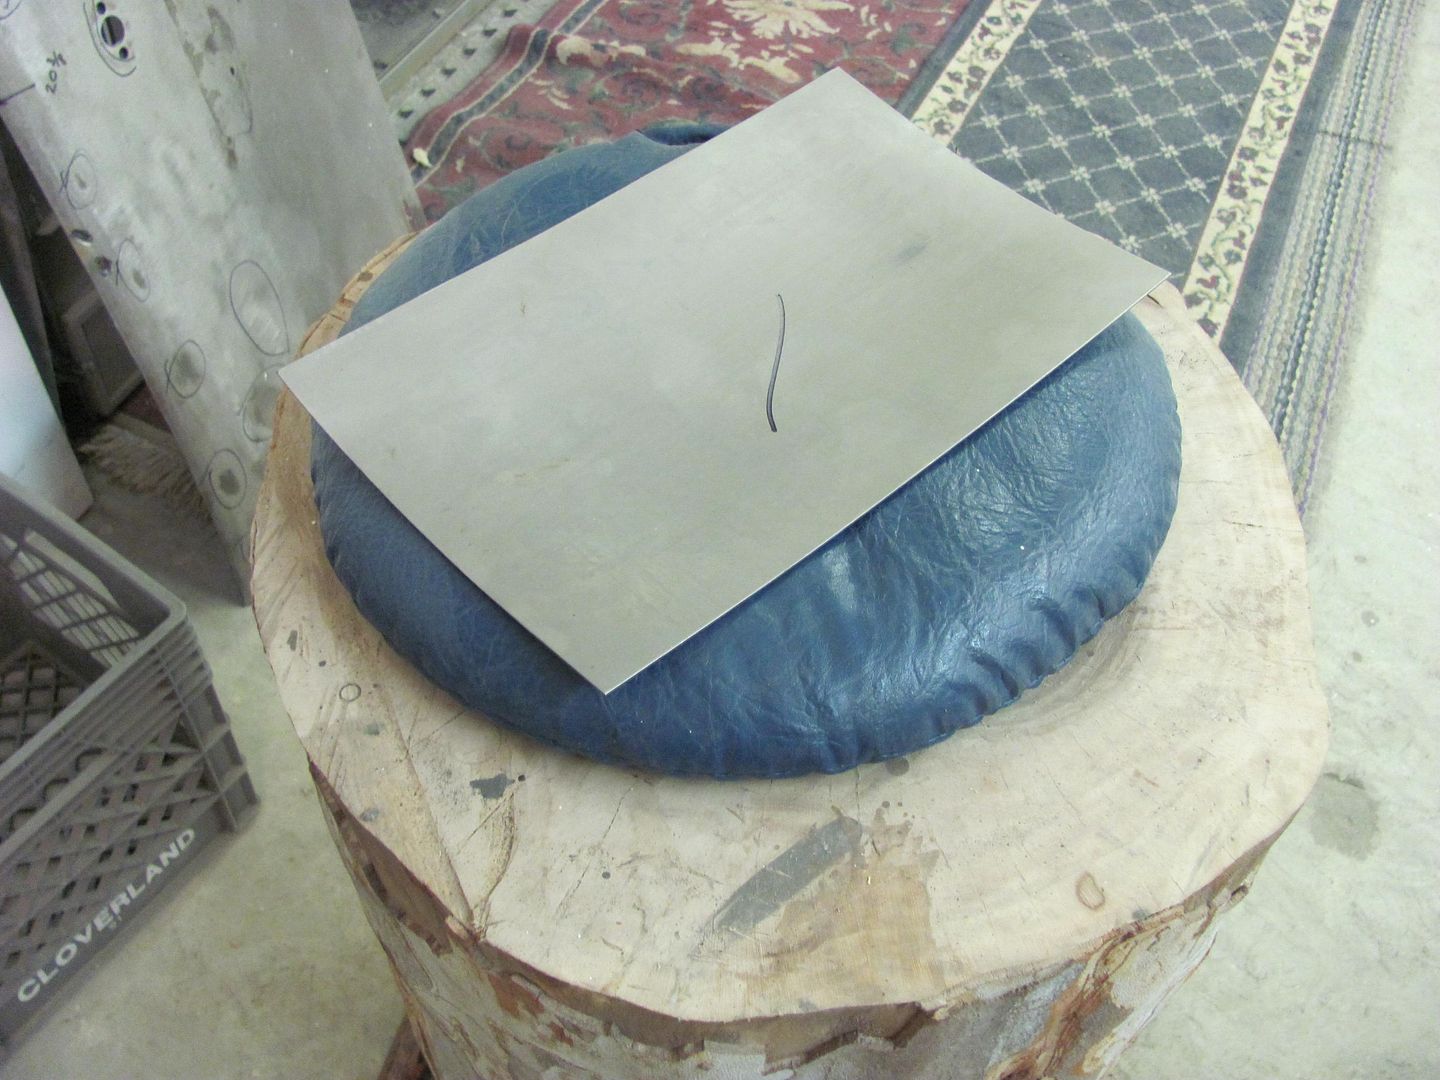
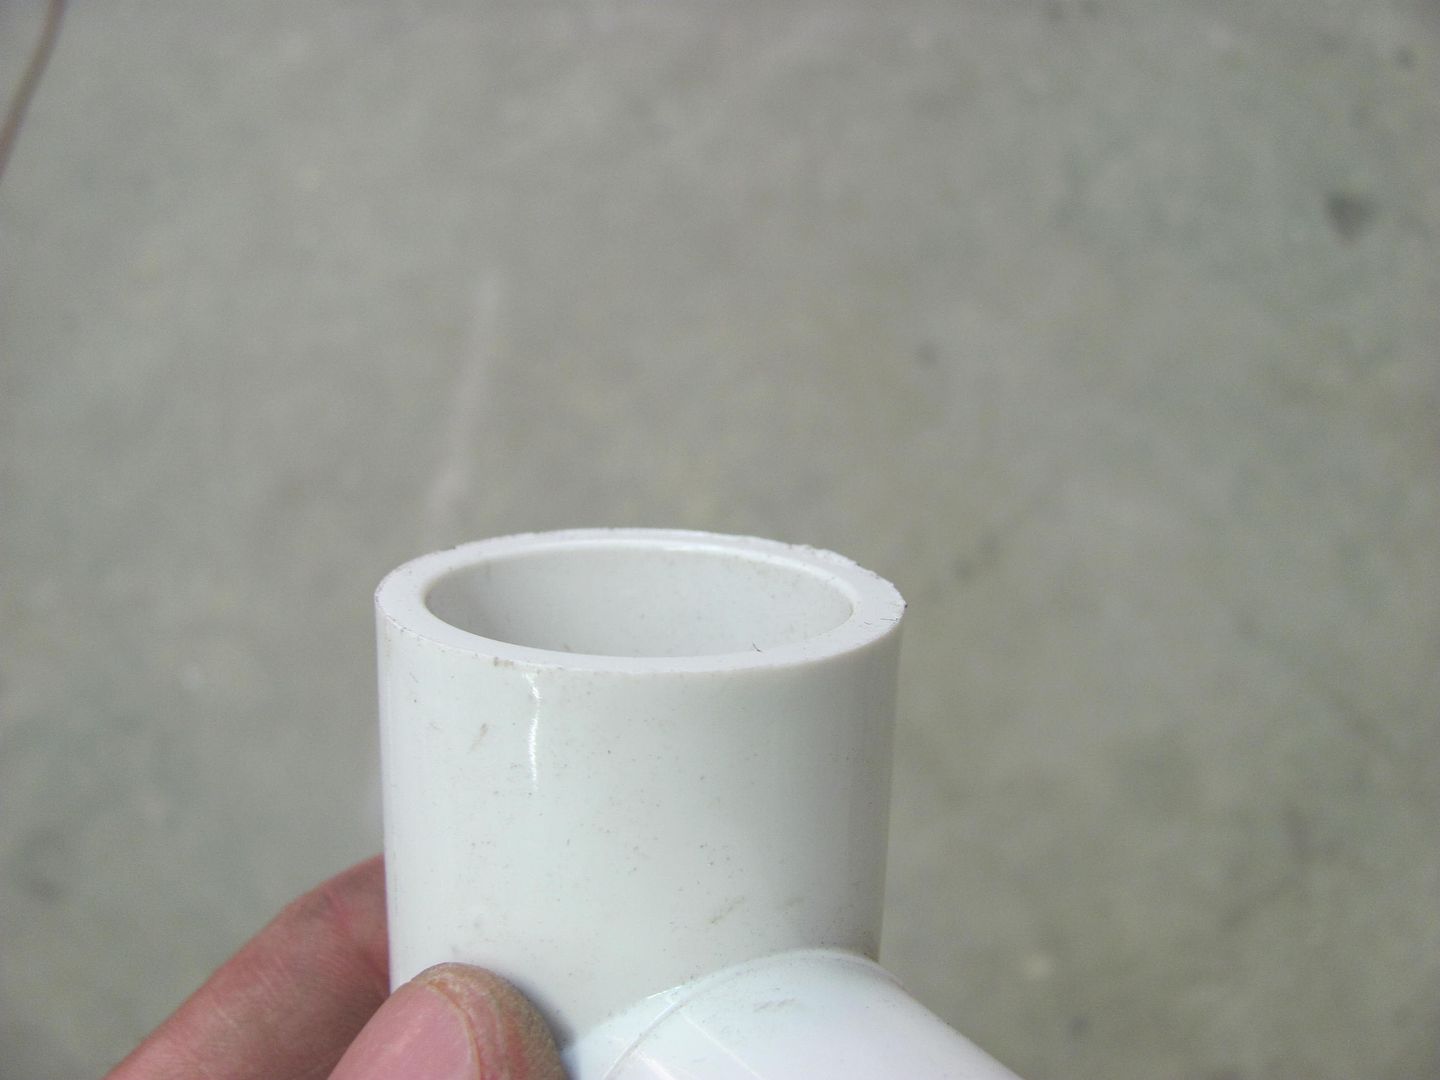
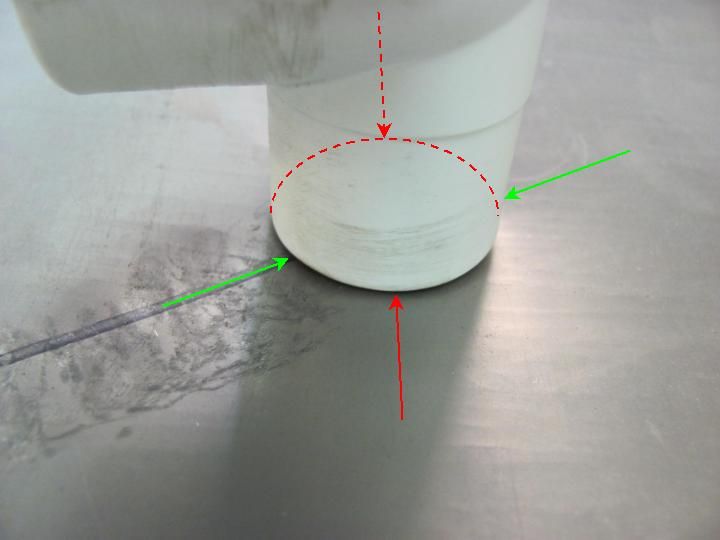
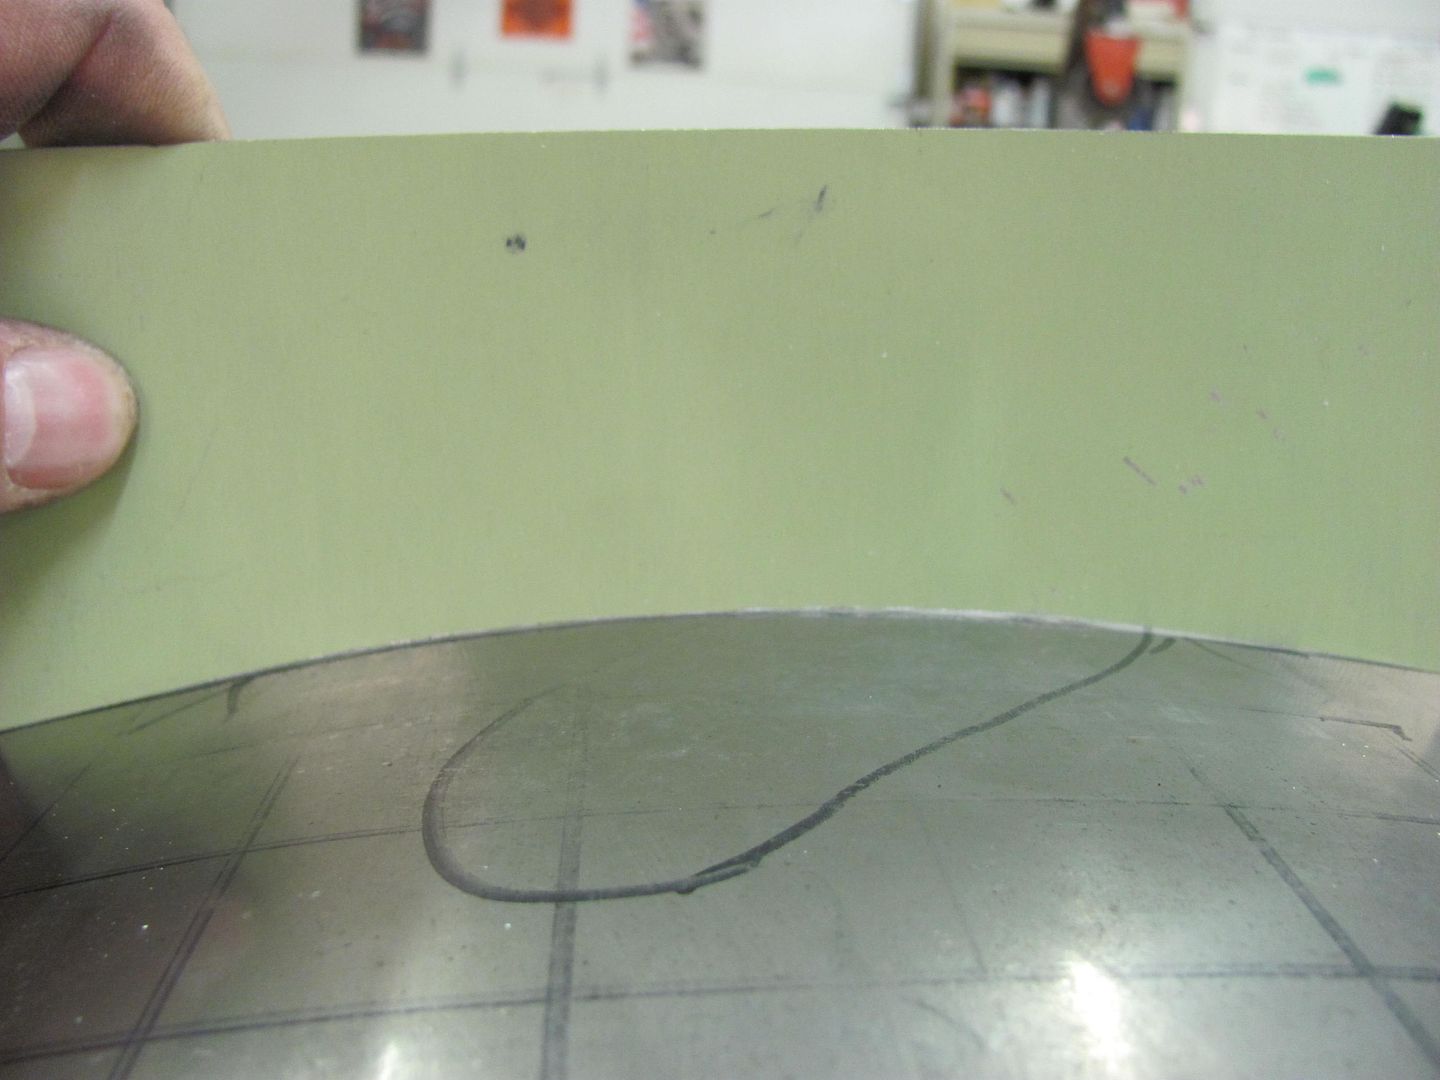
I've got a couple threads I did on the donut dolly, one on 18 ga cold rolled steel using my fake donut dolly, and another on a flat of sorts aluminum door, that seemed to respond much better. I think the factory 19 ga steel would respond much better than the 18. But anyhow, here we go... Donut on steel: Quote:
__________________
Robert |
|

|

|
|
02-04-2013, 11:10 PM
|
#2 | |
|
Registered User
Join Date: Jan 2013
Location: Leonardtown, MD
Posts: 1,637
|
Re: 55 Wagon Progress
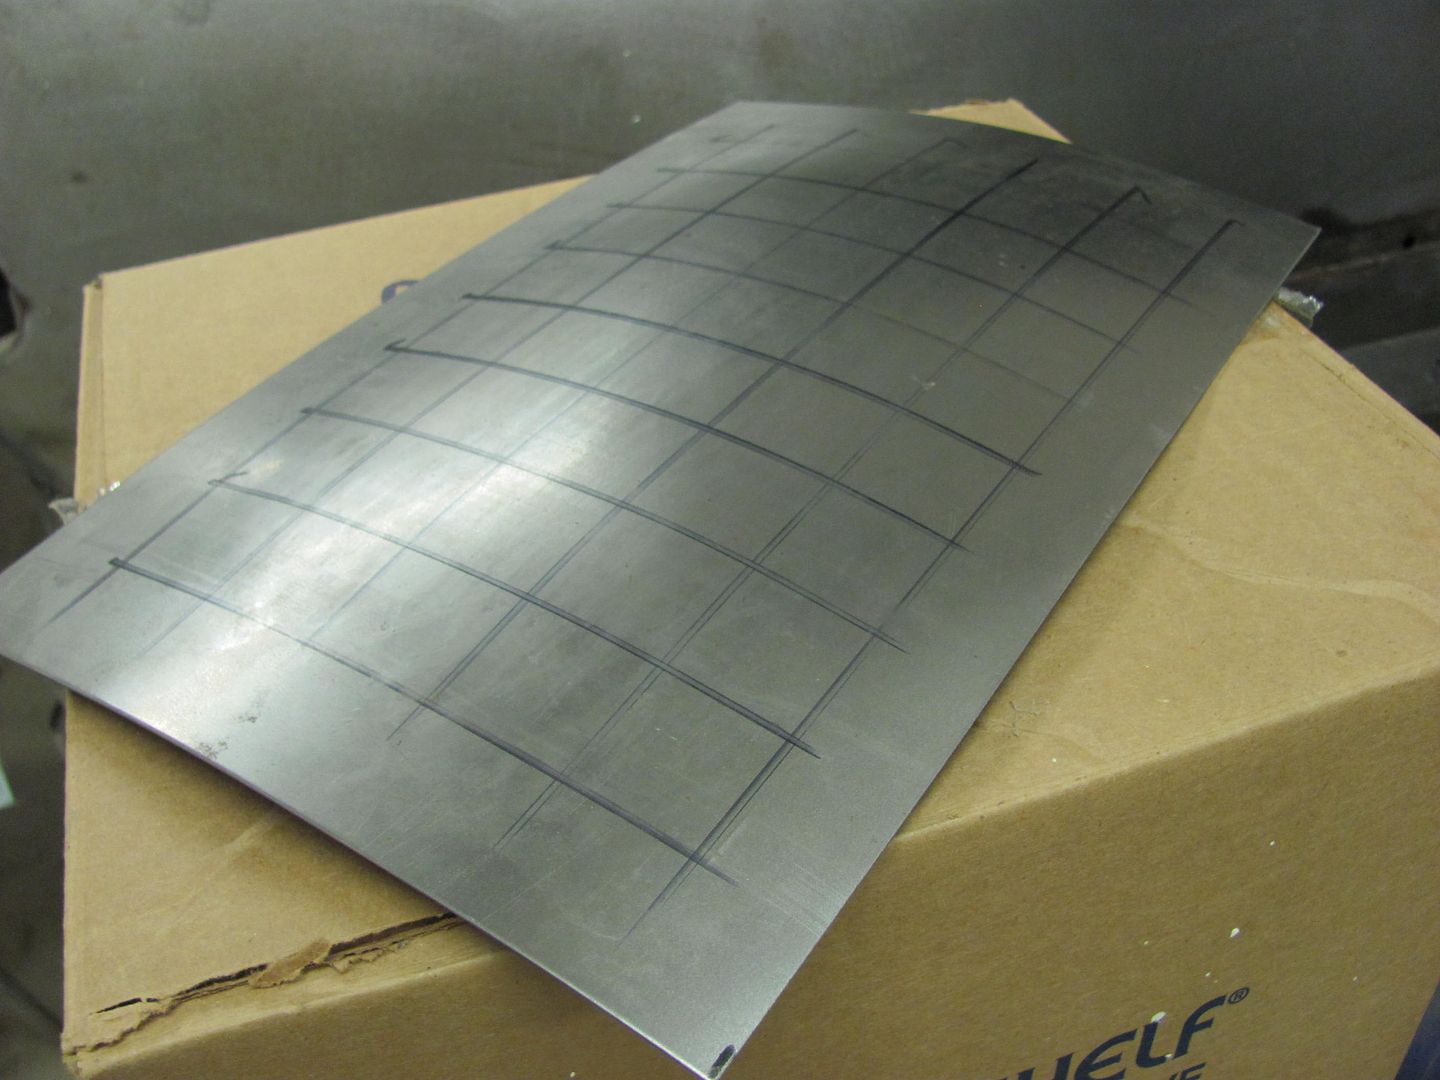
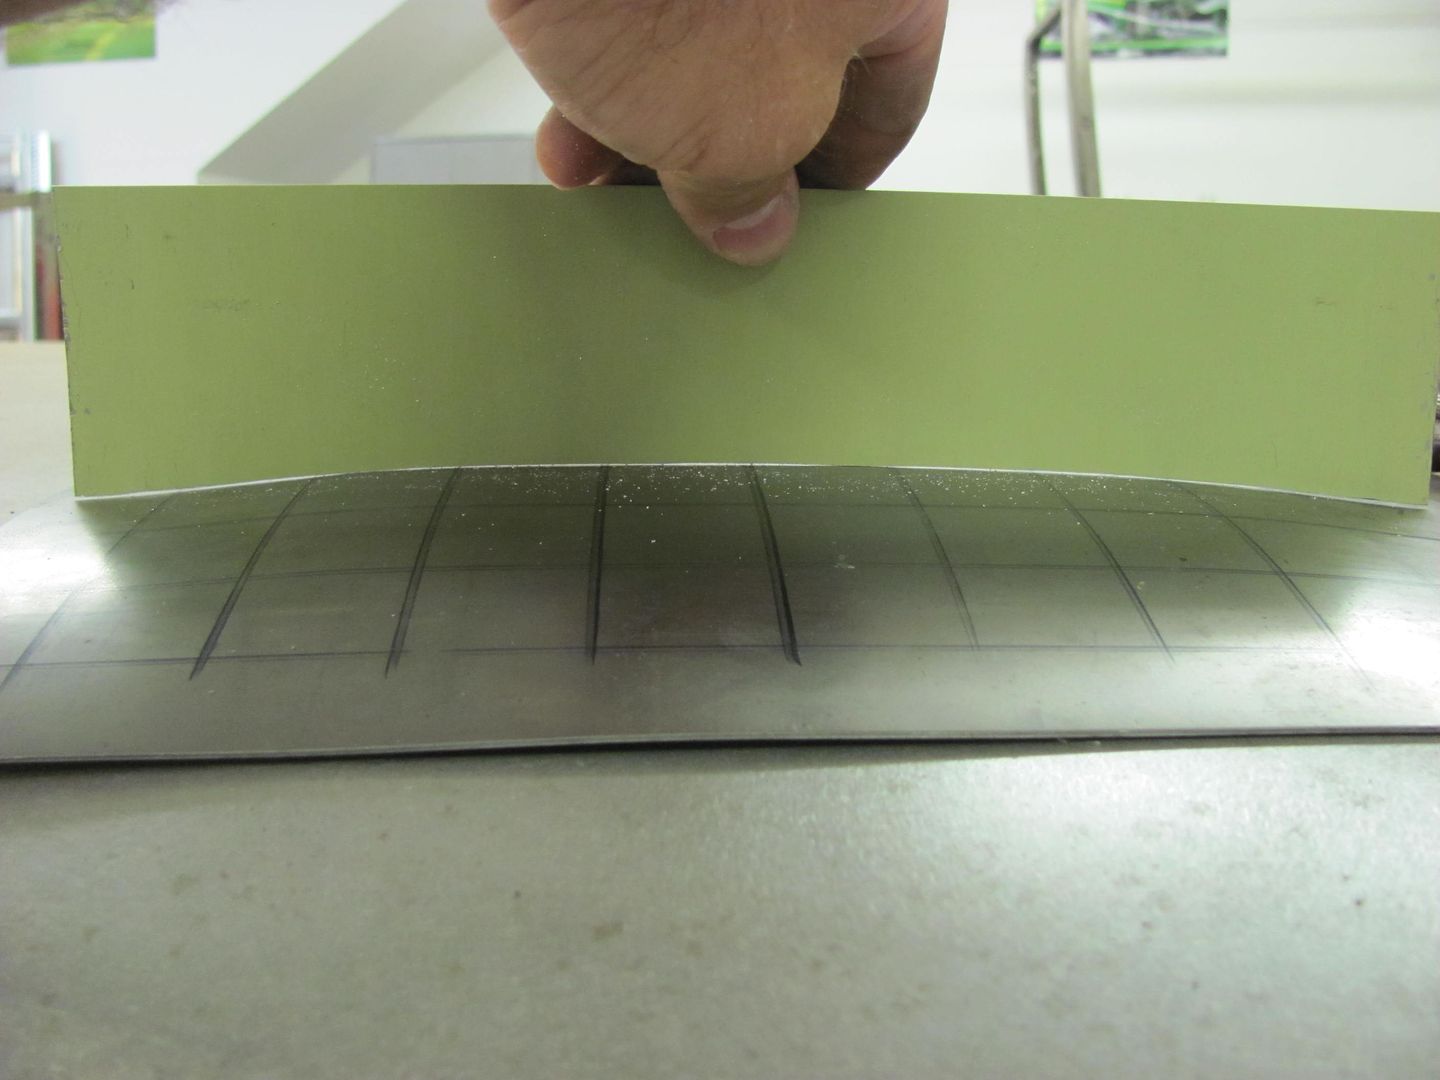
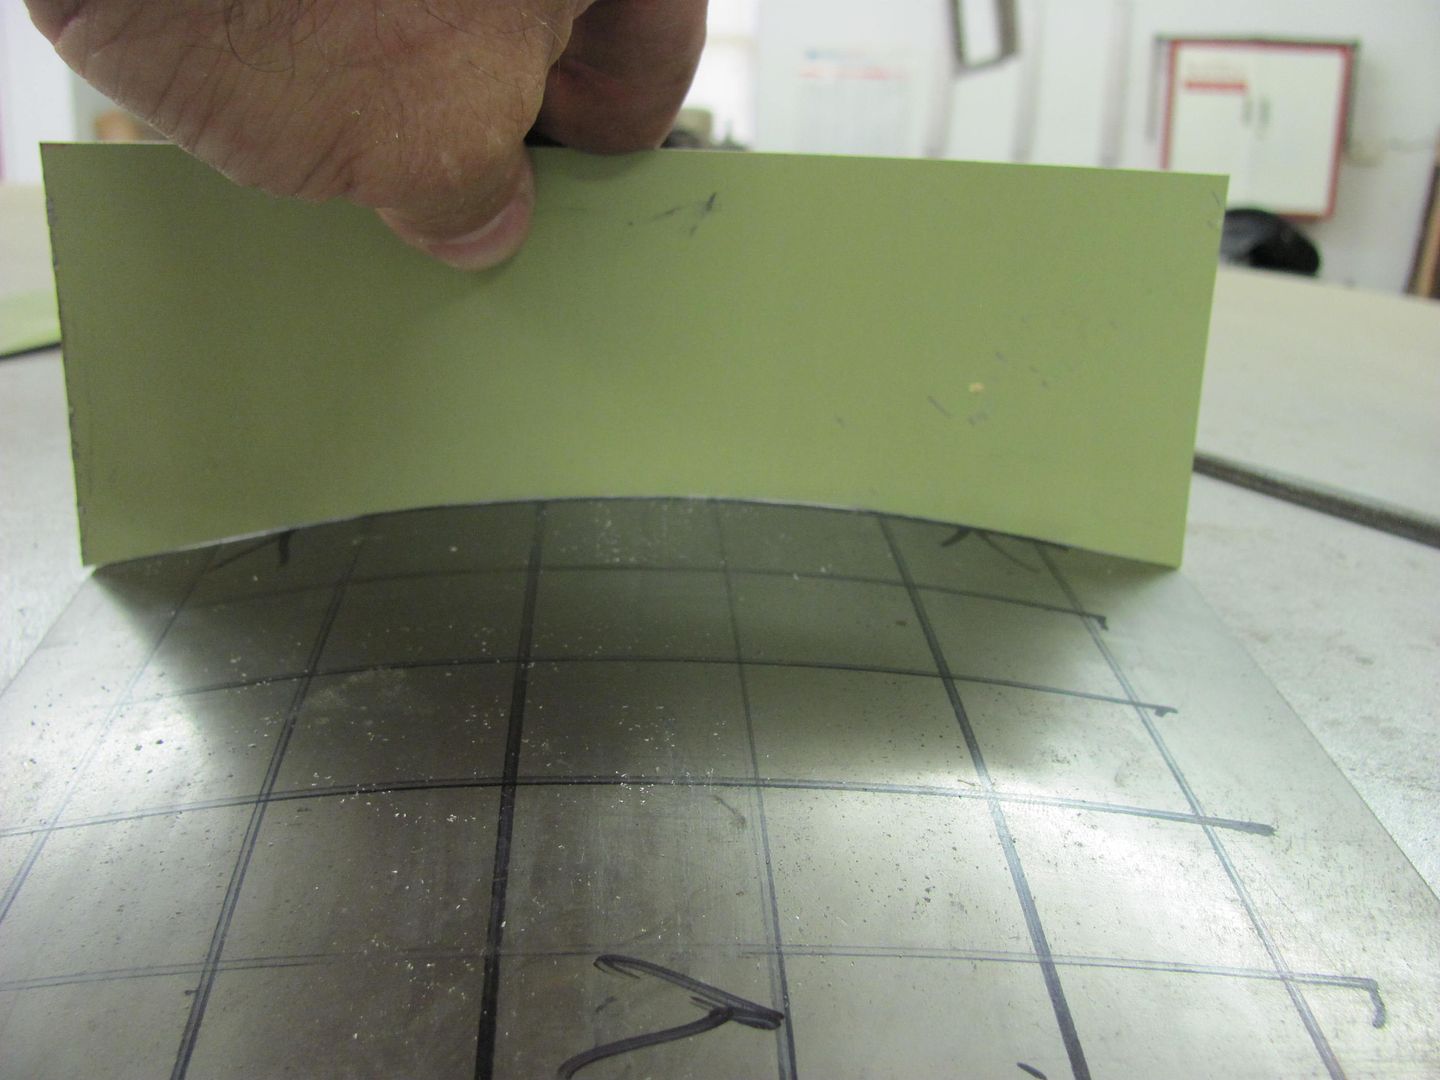
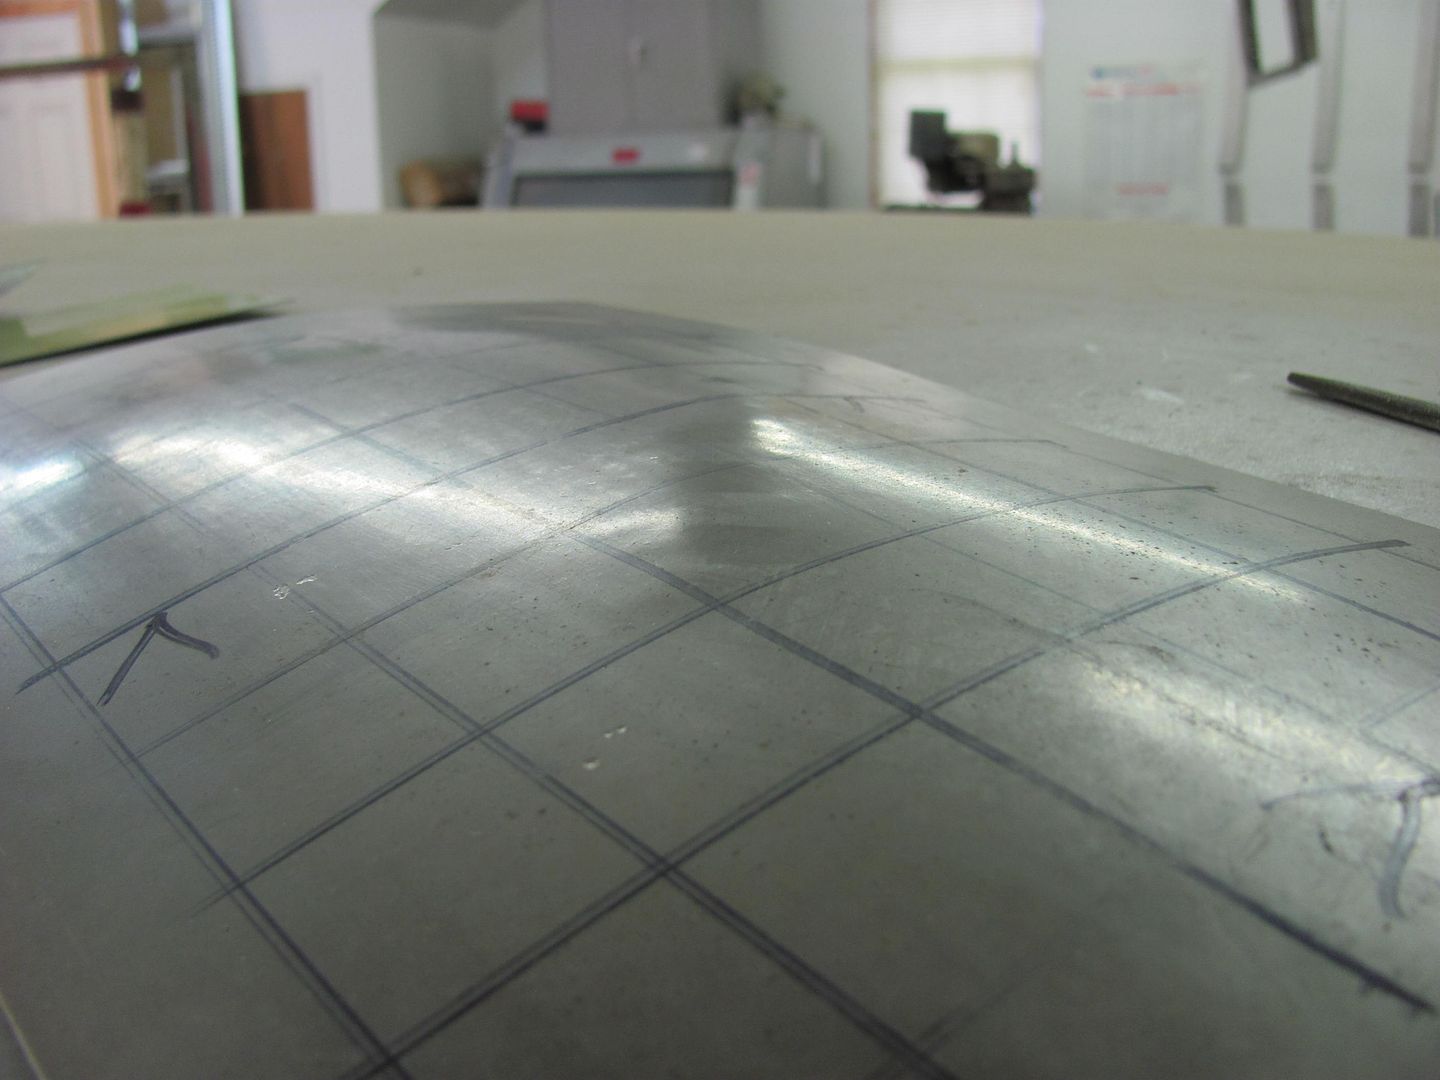
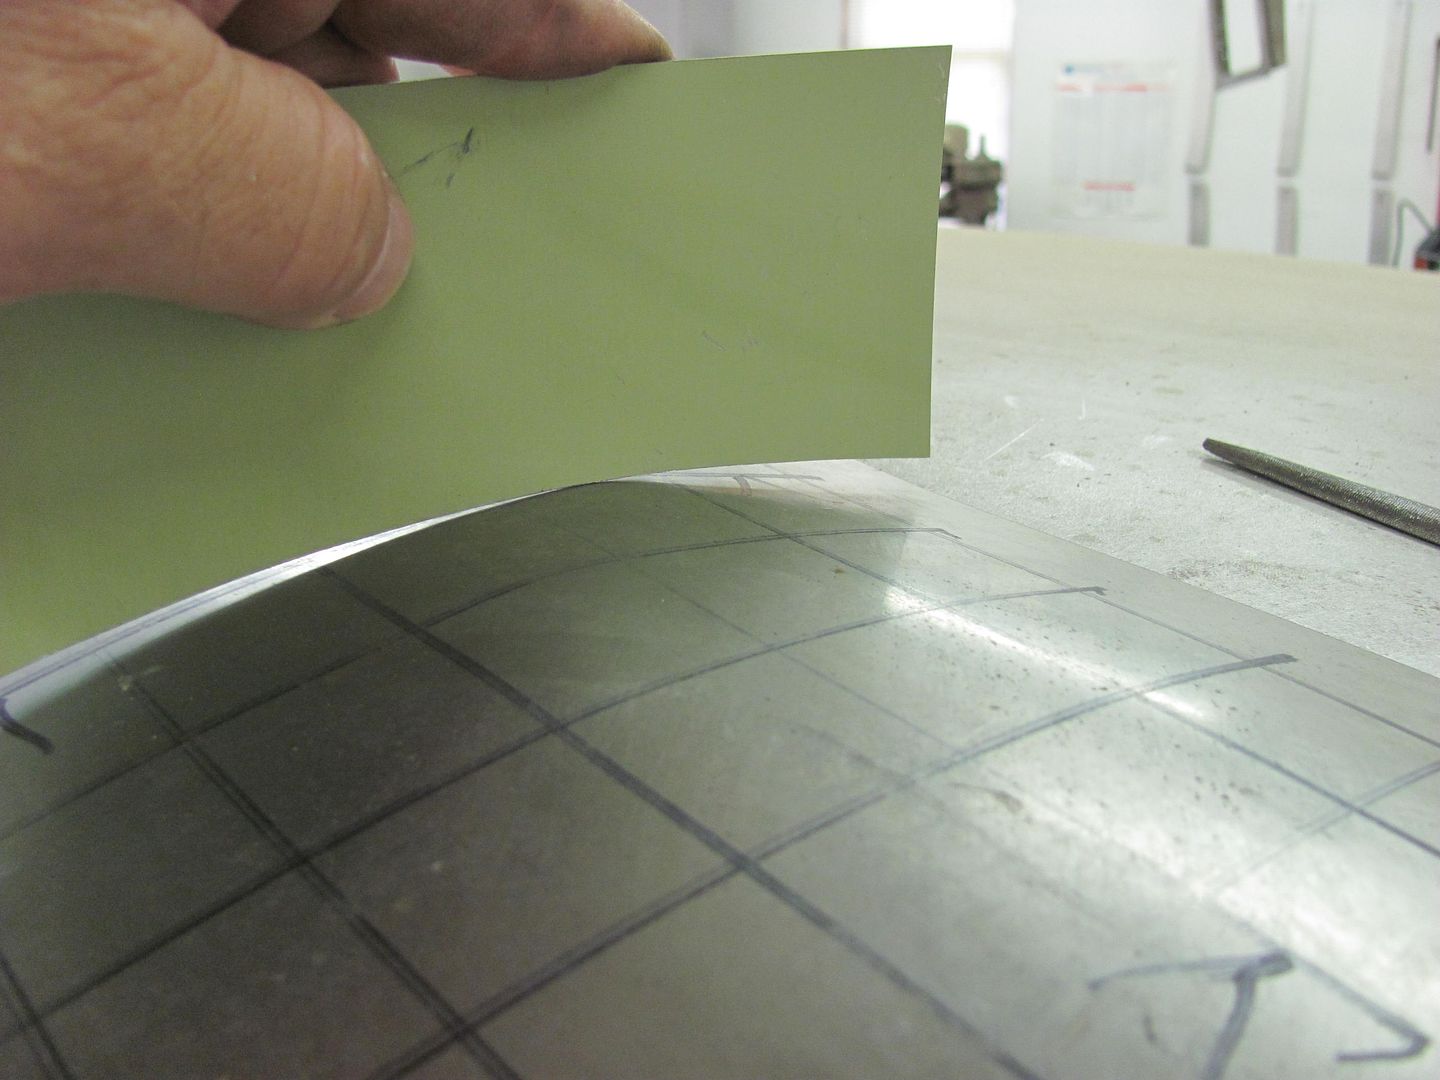
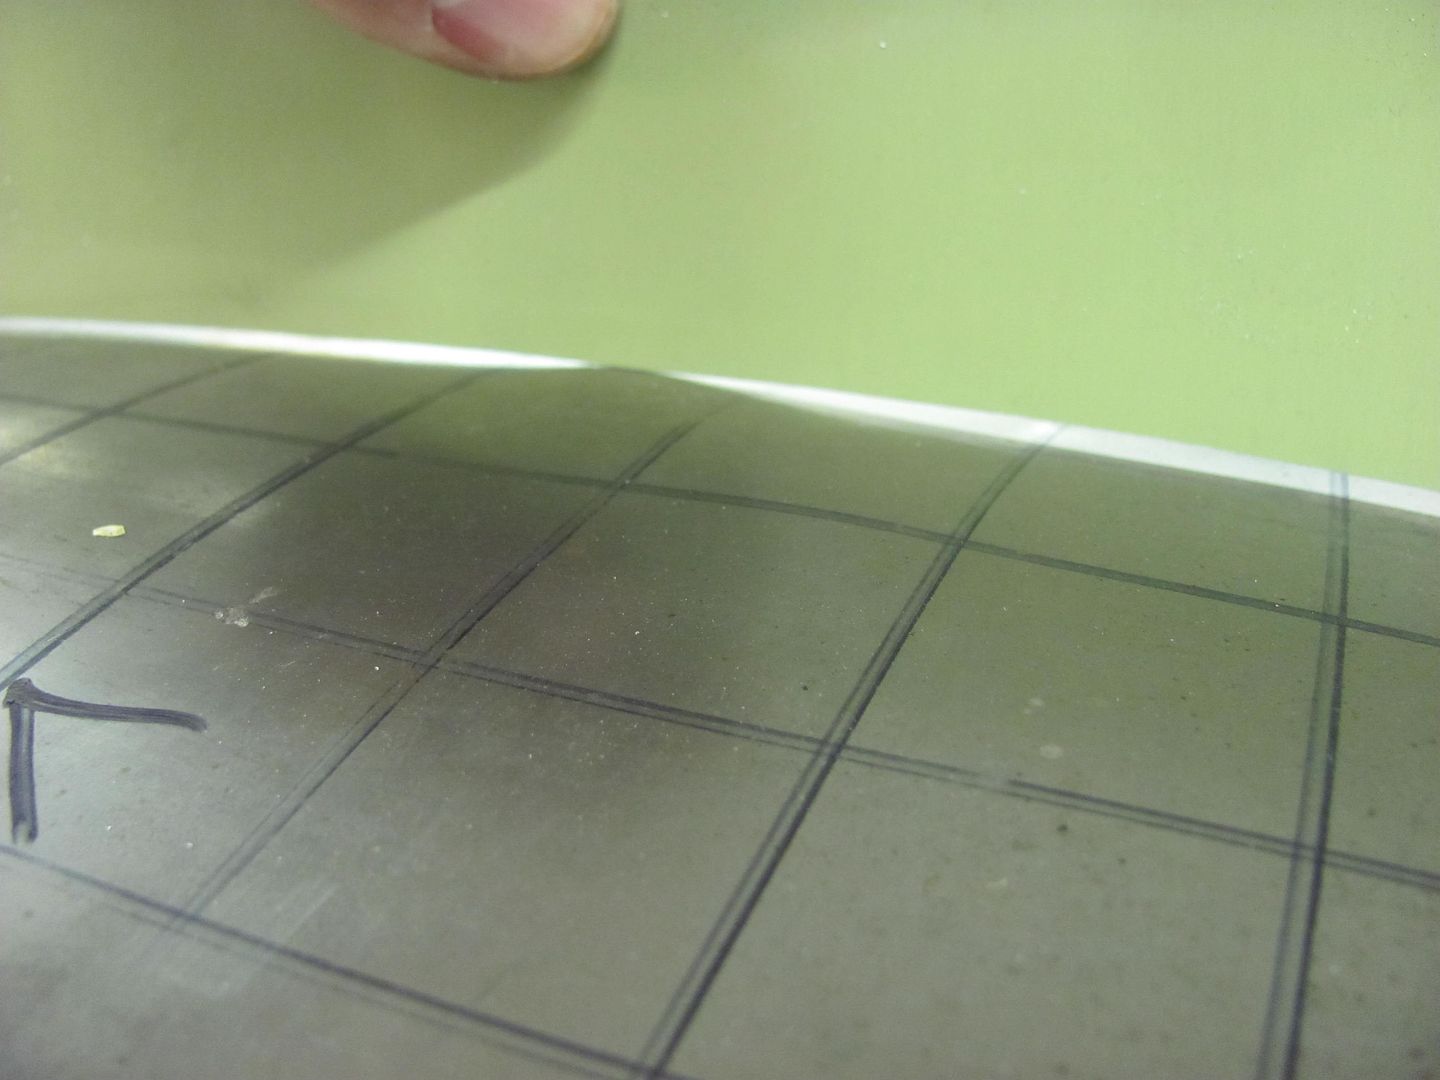
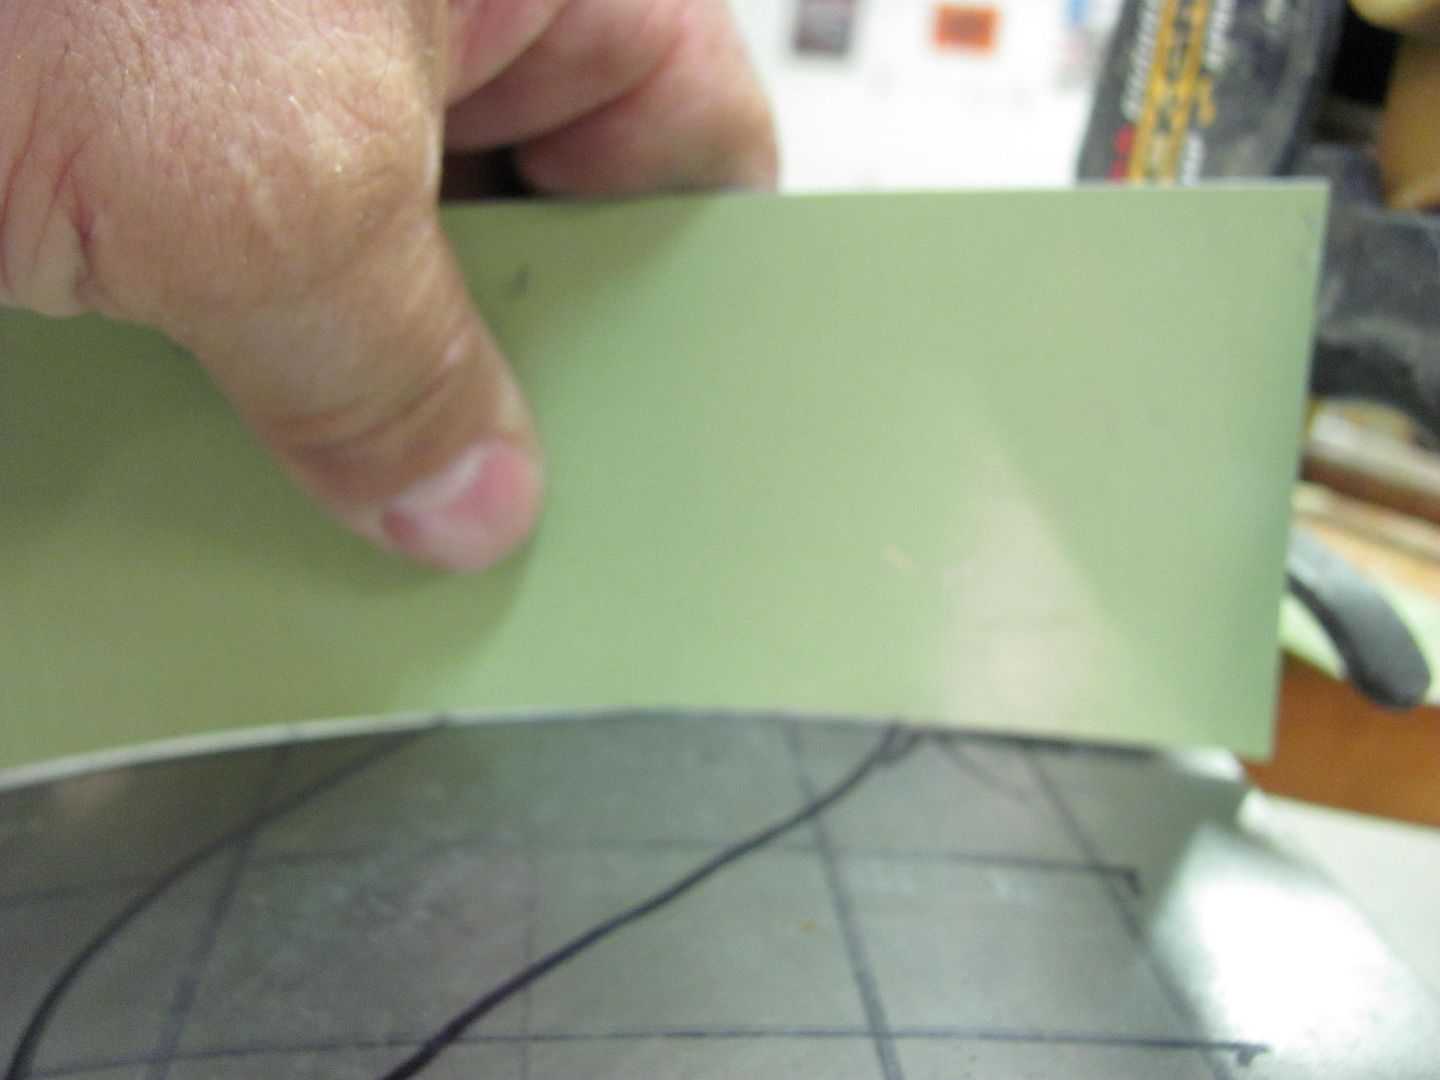
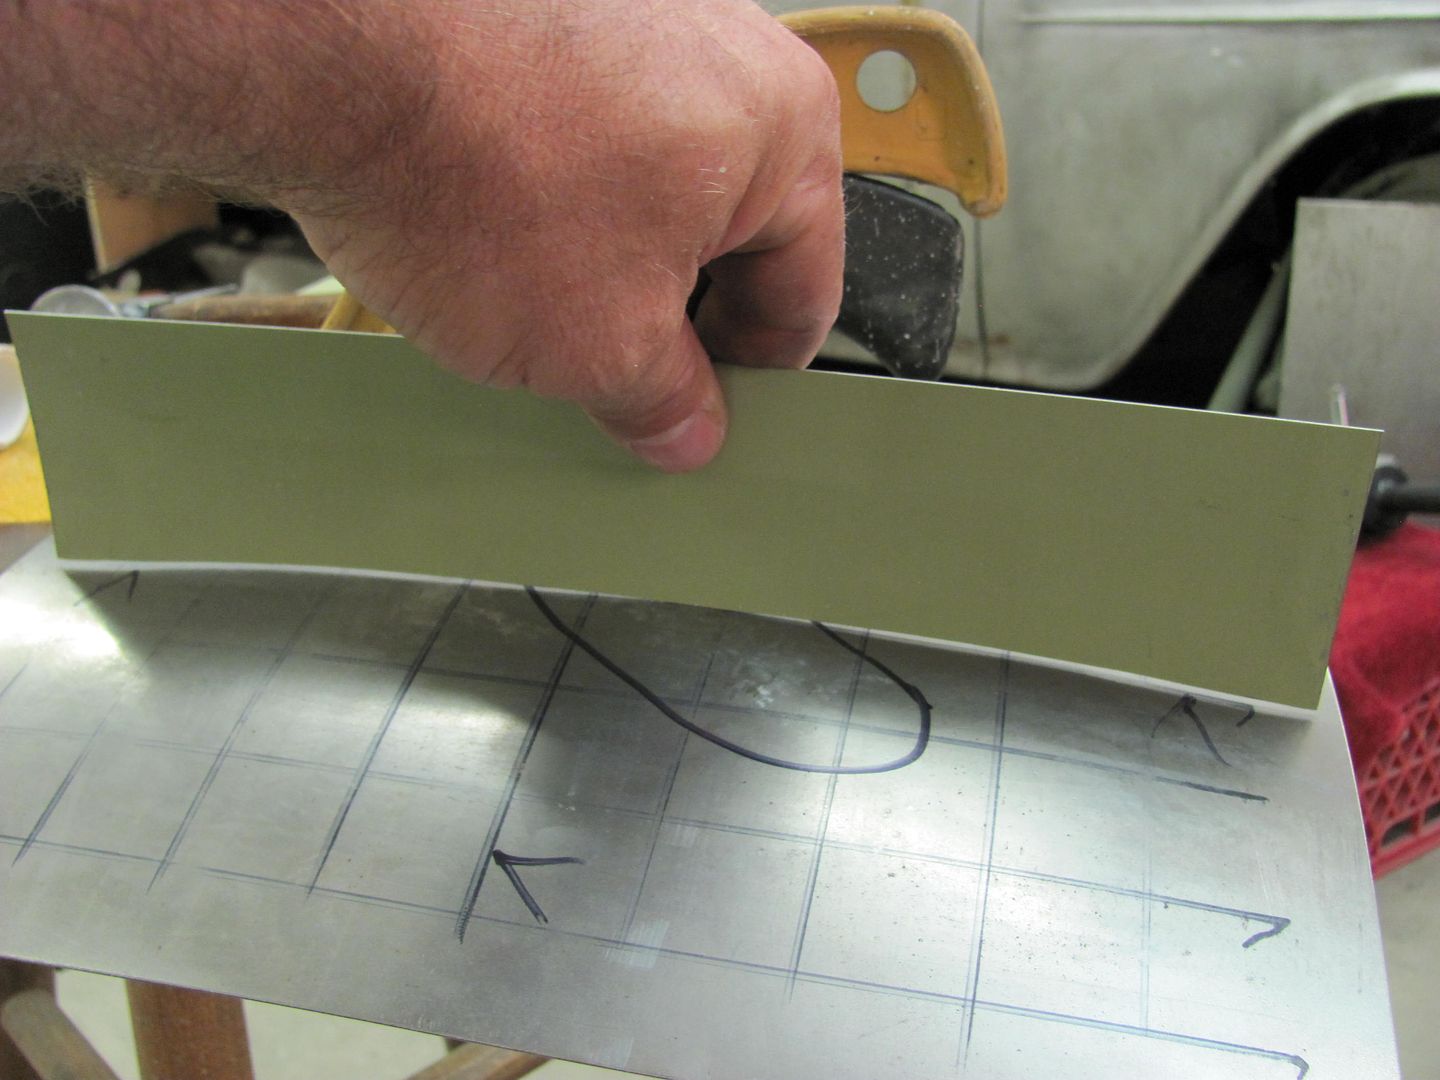
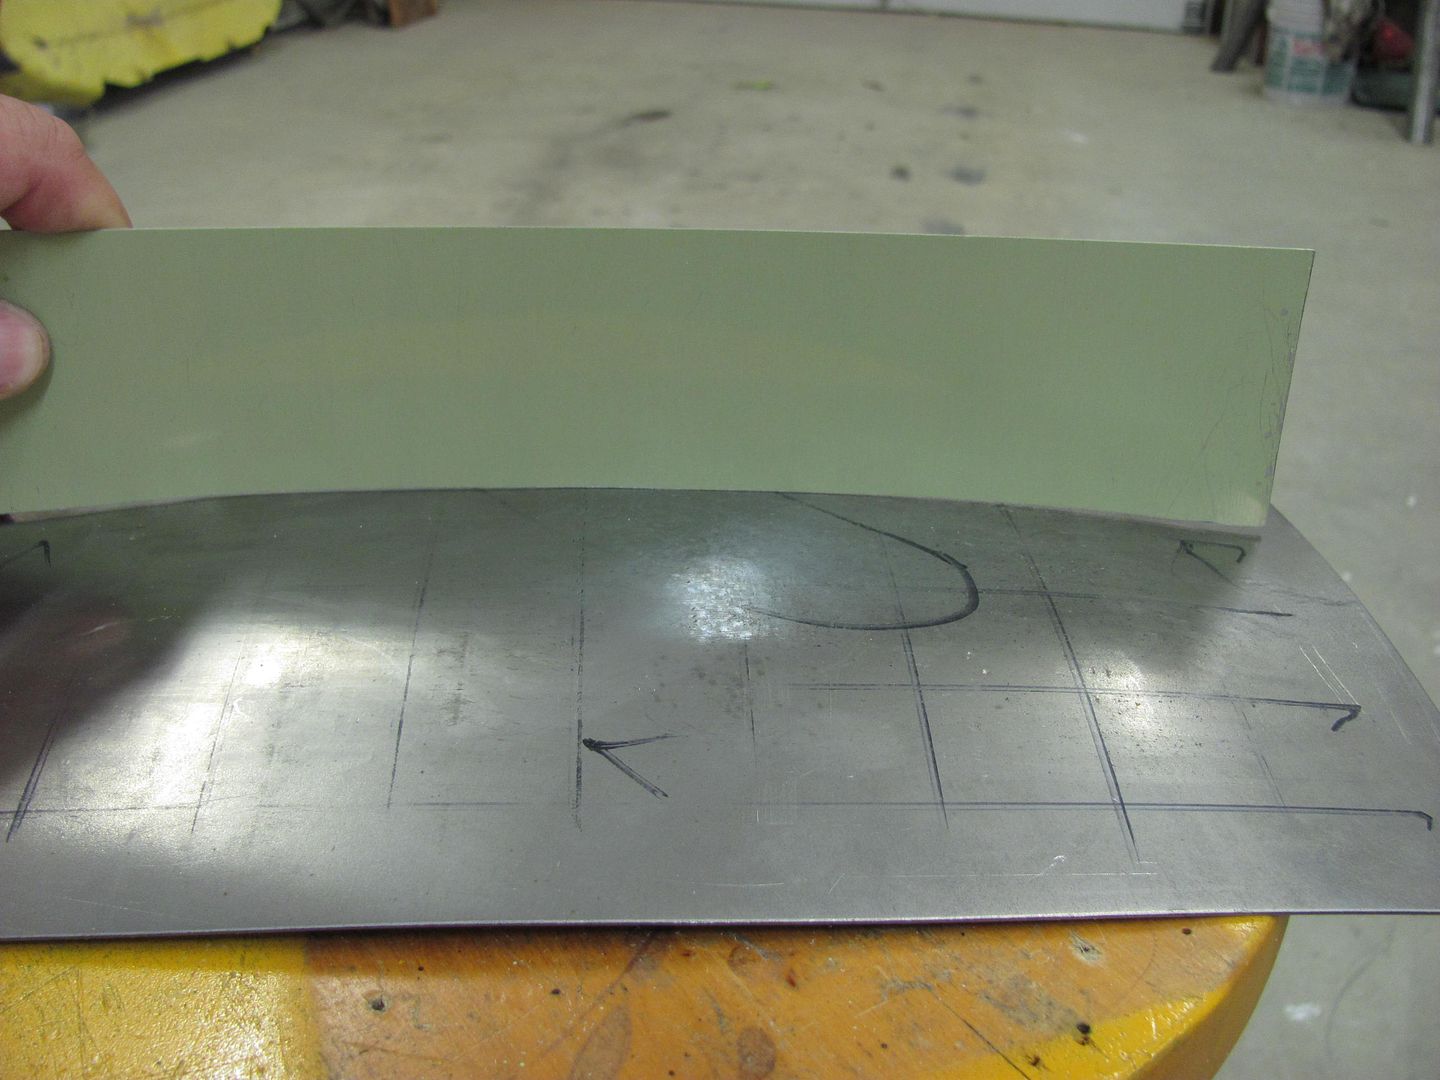
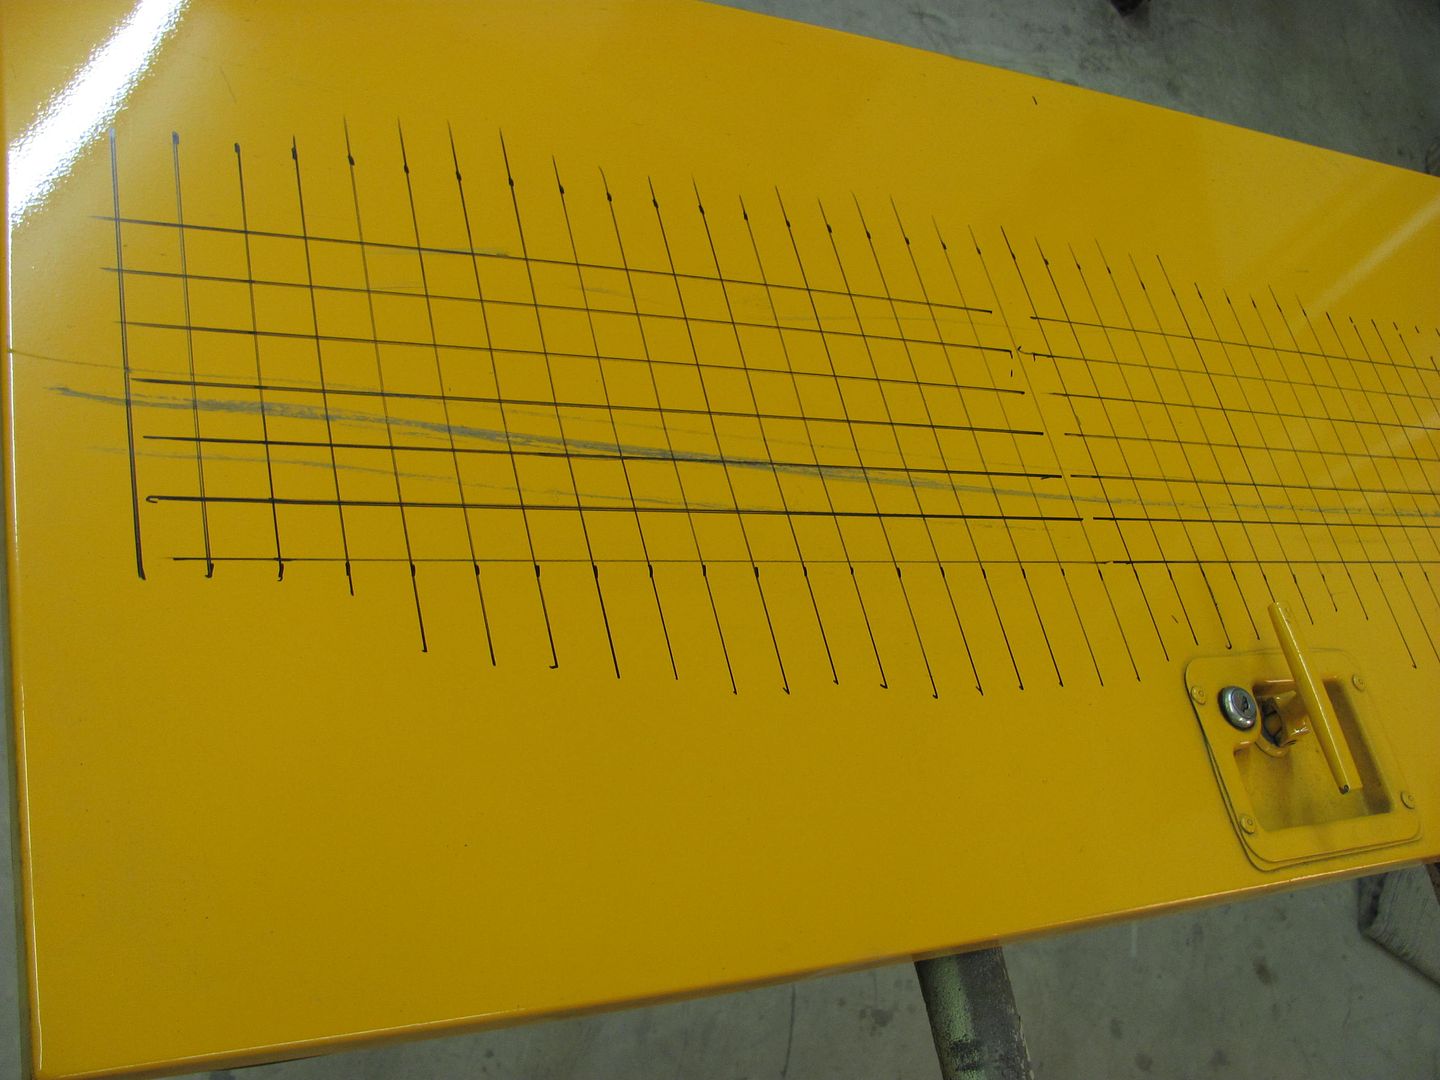
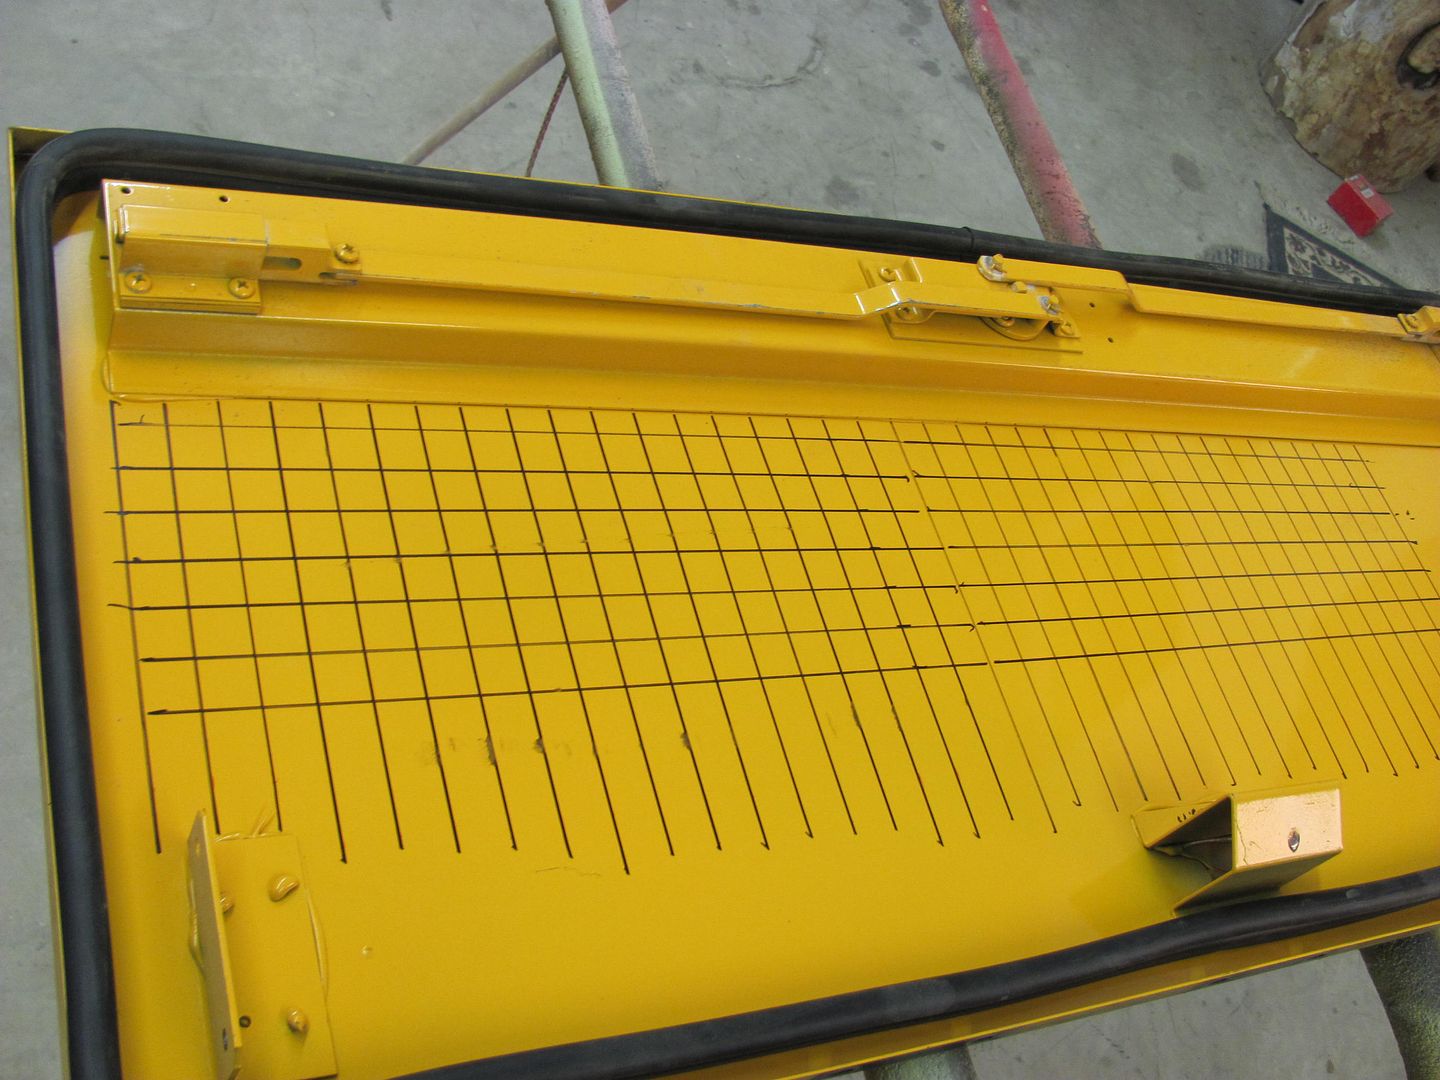
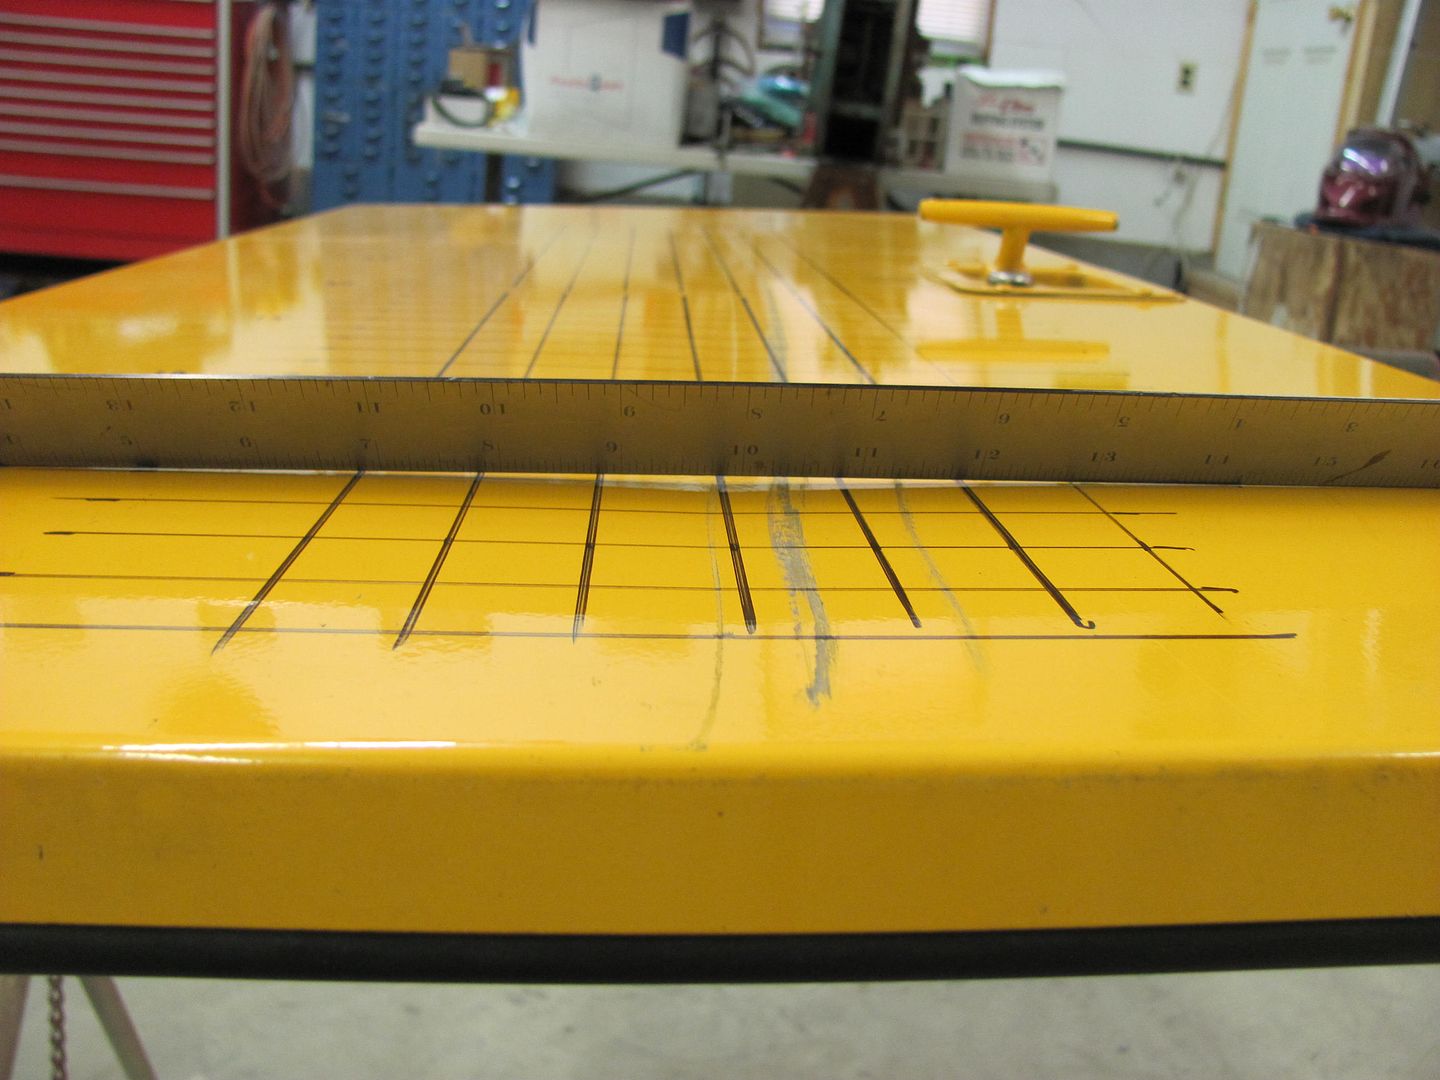
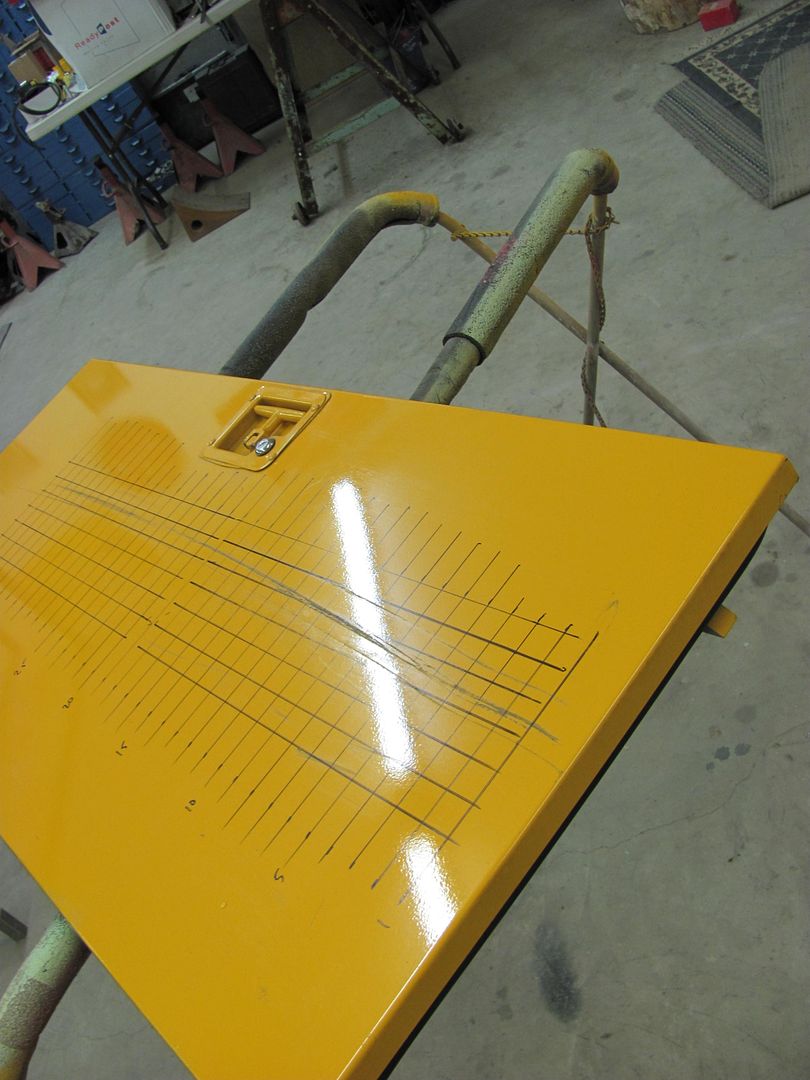
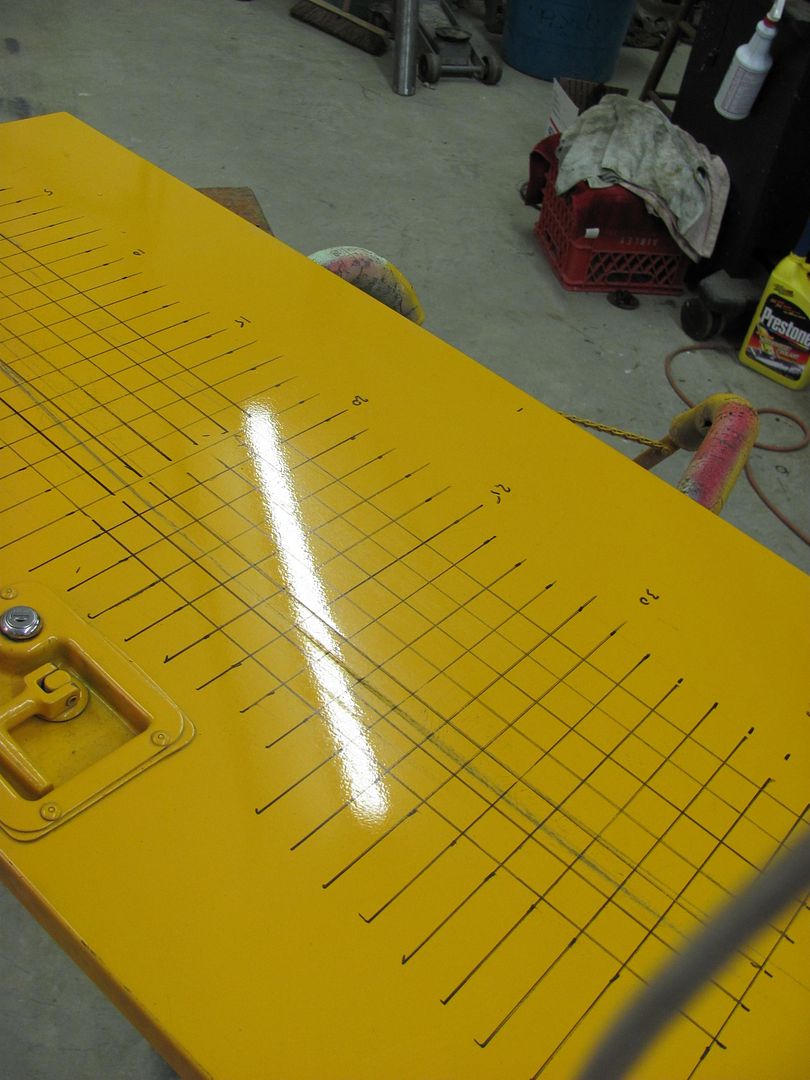
Donut on Aluminum:
Quote:
It was difficult to hold a hammer, donut dolly, and camera all at once, so what you don't see is that the hammer is used on the inside of the door, or "high" side of the dent, and the dolly was used on the outside, or "low" side of the dent. So that shows the theory of the donut dolly, basically using off-dolly principle but by spanning a dent/ding, the off dolly benefit is realized on both sides of the dent for more effective bumping.
__________________
Robert |
|
|
|
|
|
02-06-2013, 10:52 AM
|
#3 |
|
Registered User
Join Date: Jan 2013
Location: Leonardtown, MD
Posts: 1,637
|
Re: 55 Wagon Progress
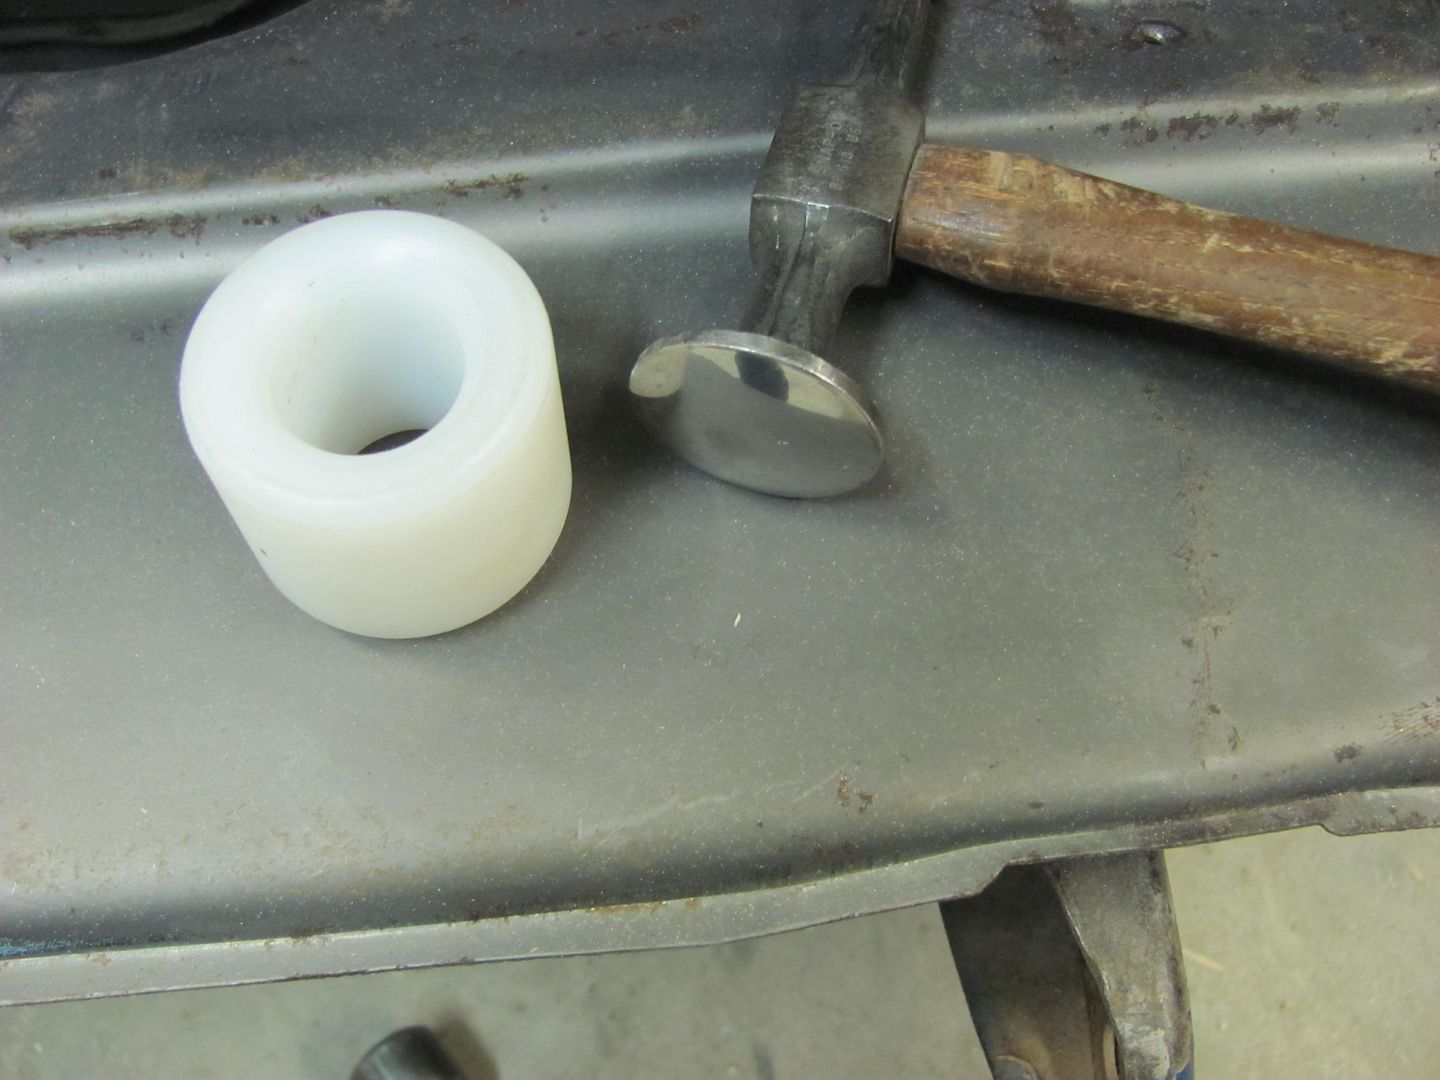
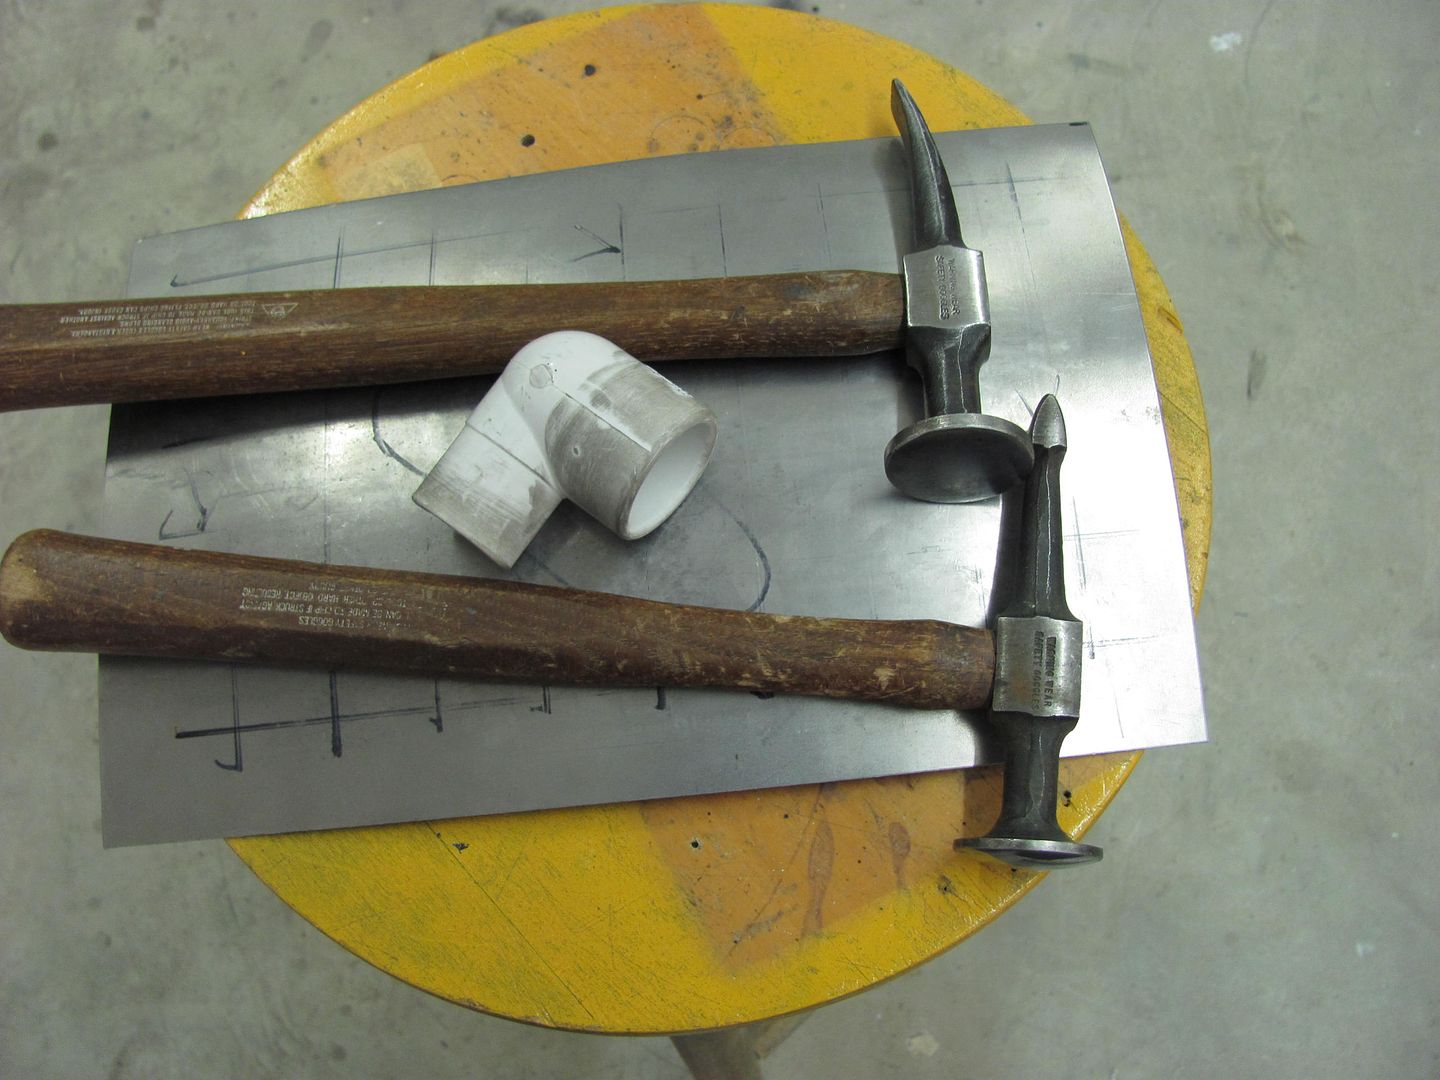
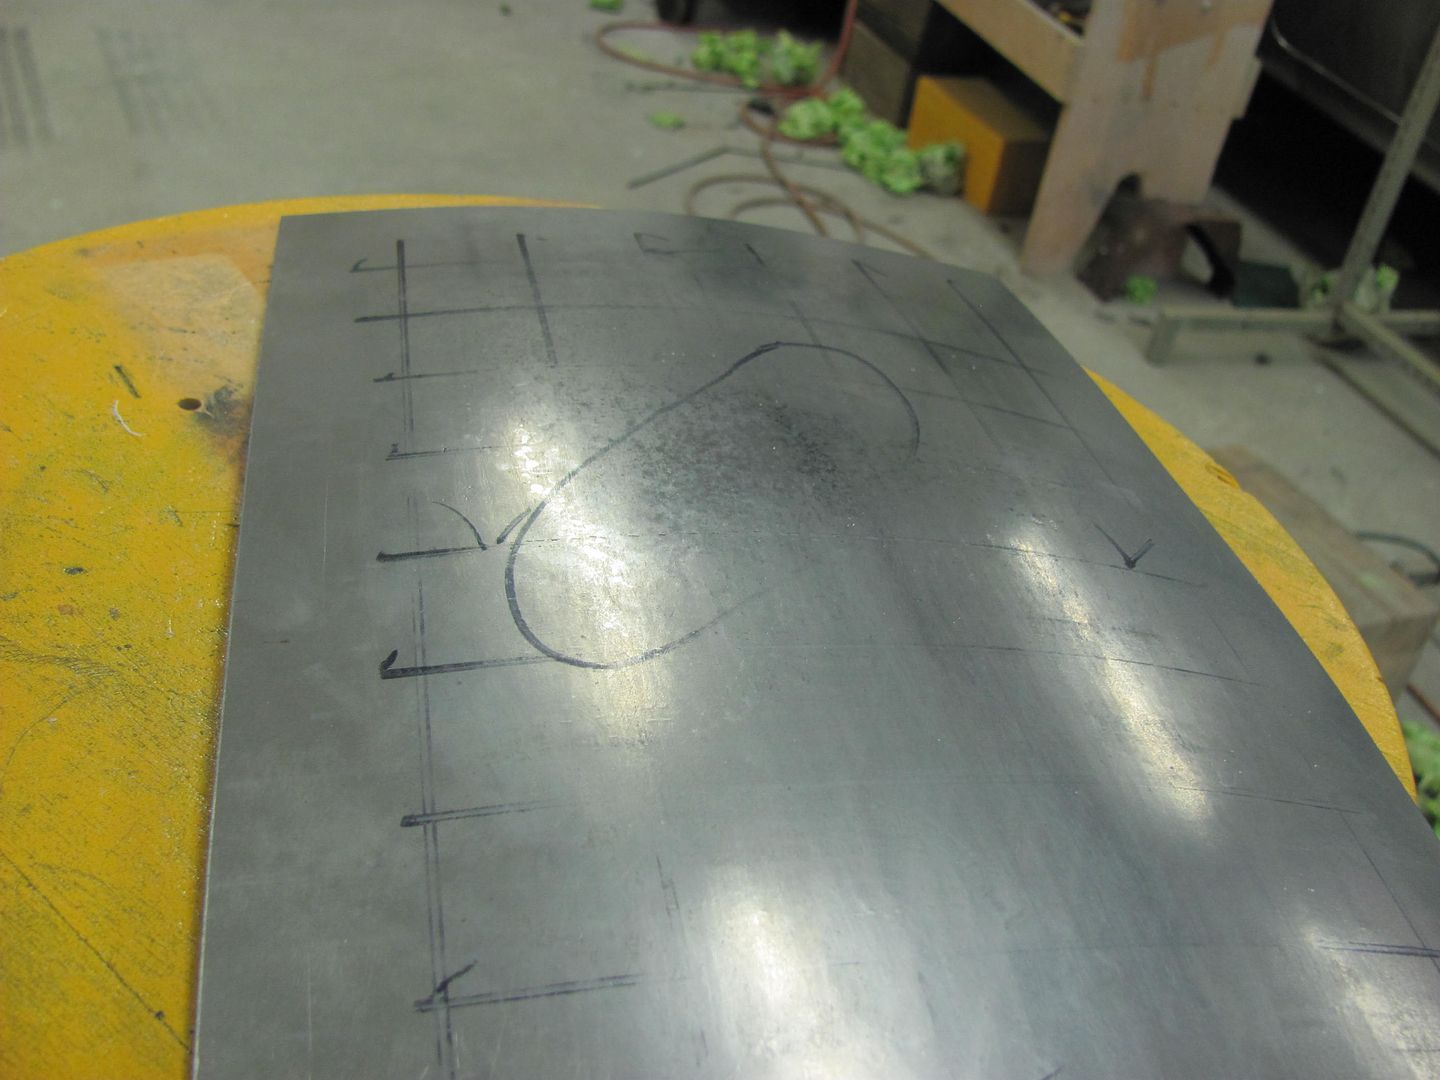
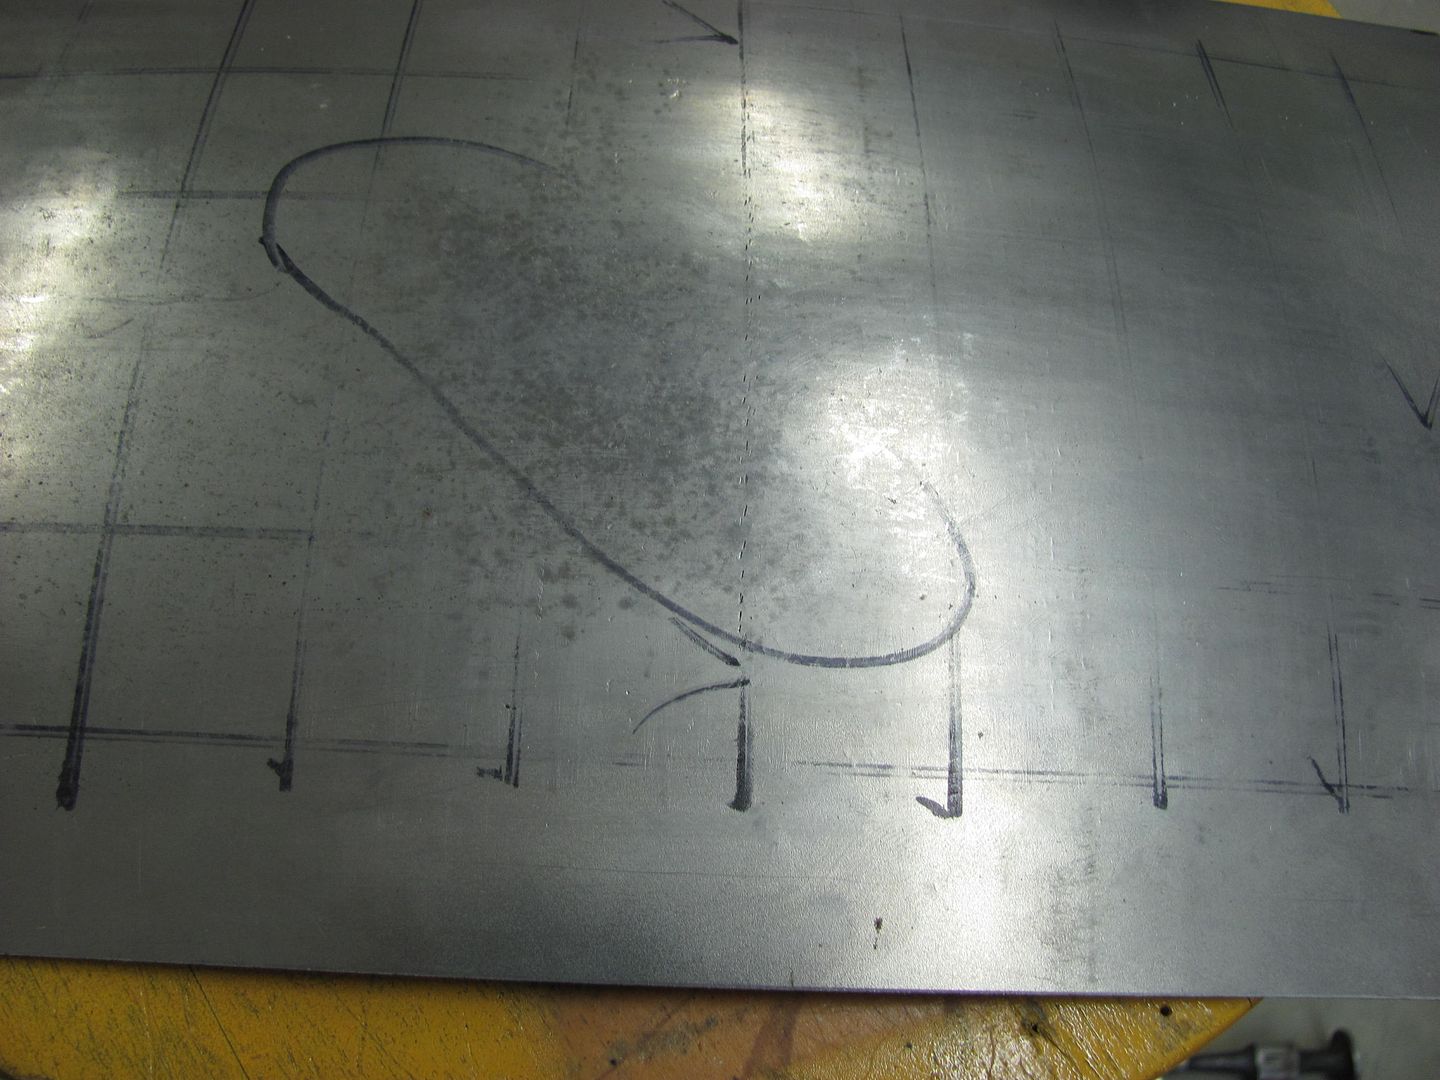
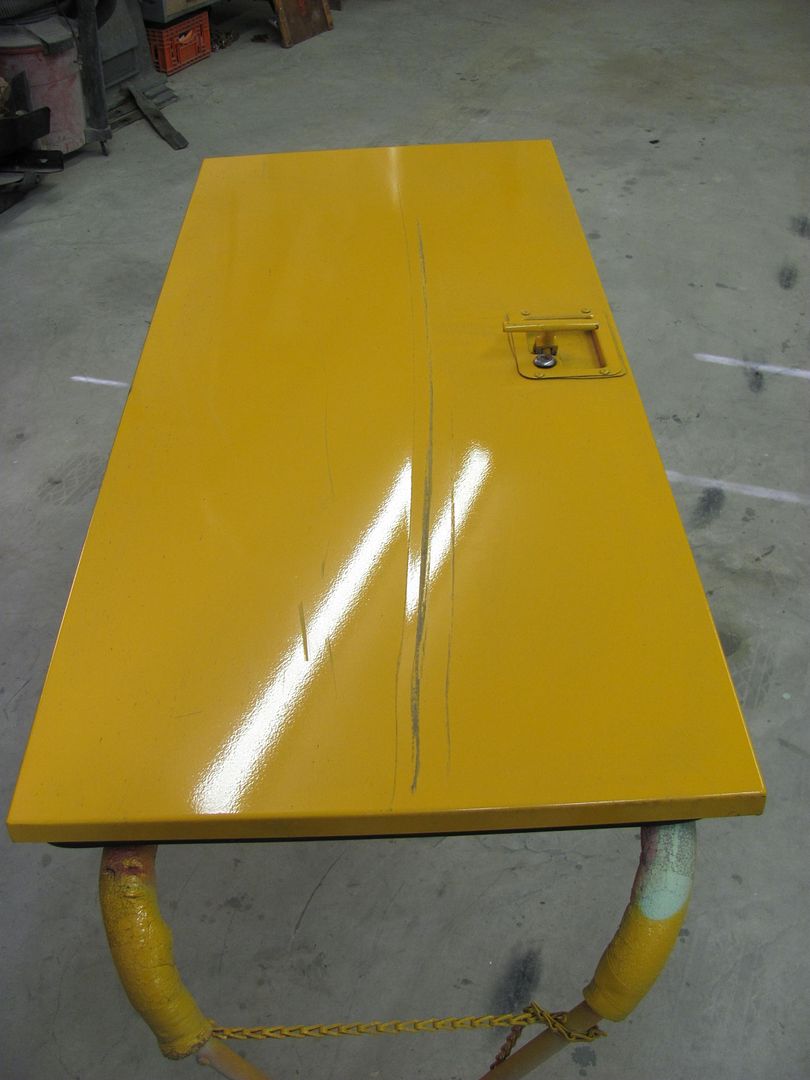
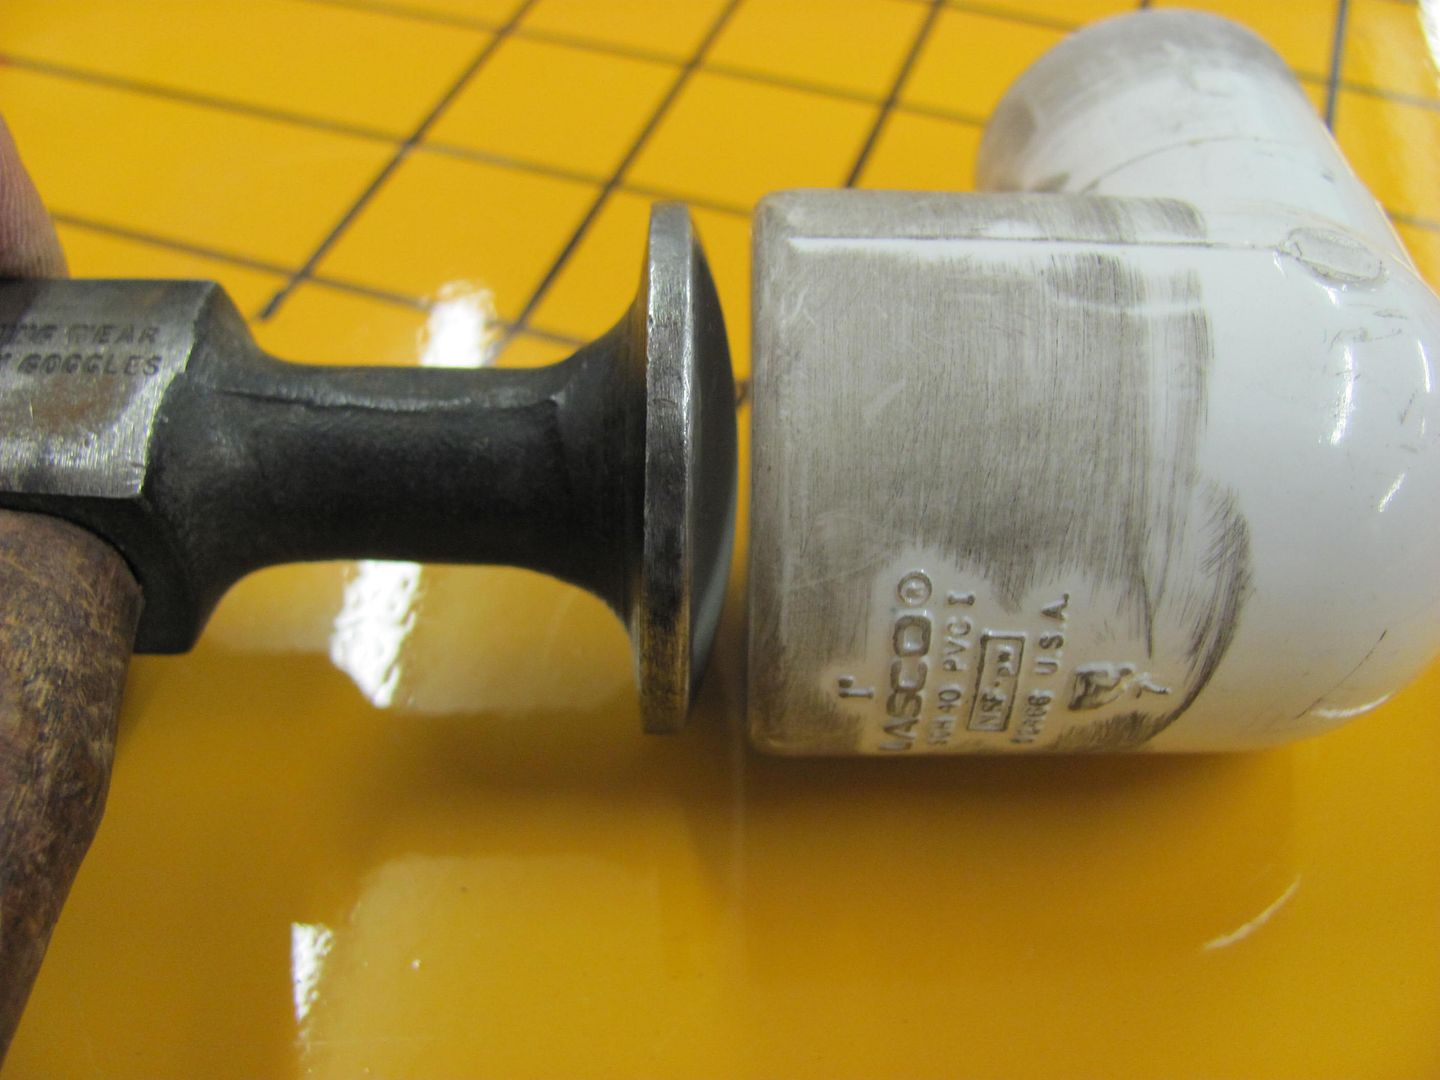
This picture shows the actual donut dolly instead of the PVC fake. As you can see, a bit more mass...
__________________
Robert |
|
|
|
|
02-09-2013, 10:22 AM
|
#4 |
|
Registered User
Join Date: Jan 2013
Location: Leonardtown, MD
Posts: 1,637
|
Re: 55 Wagon Progress
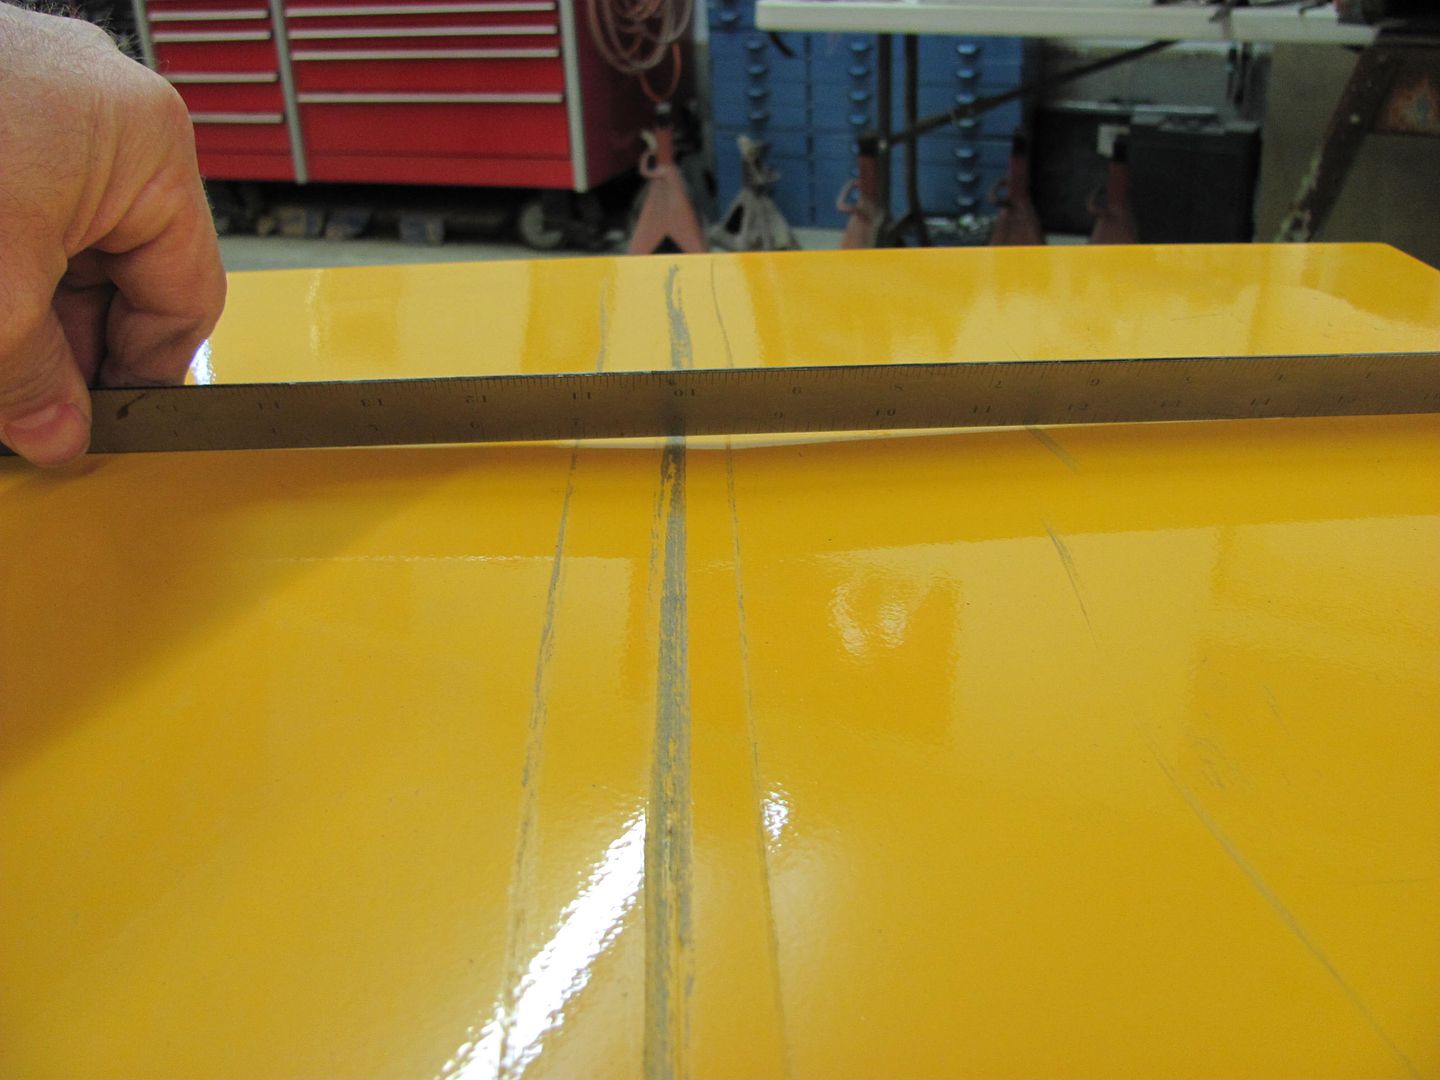
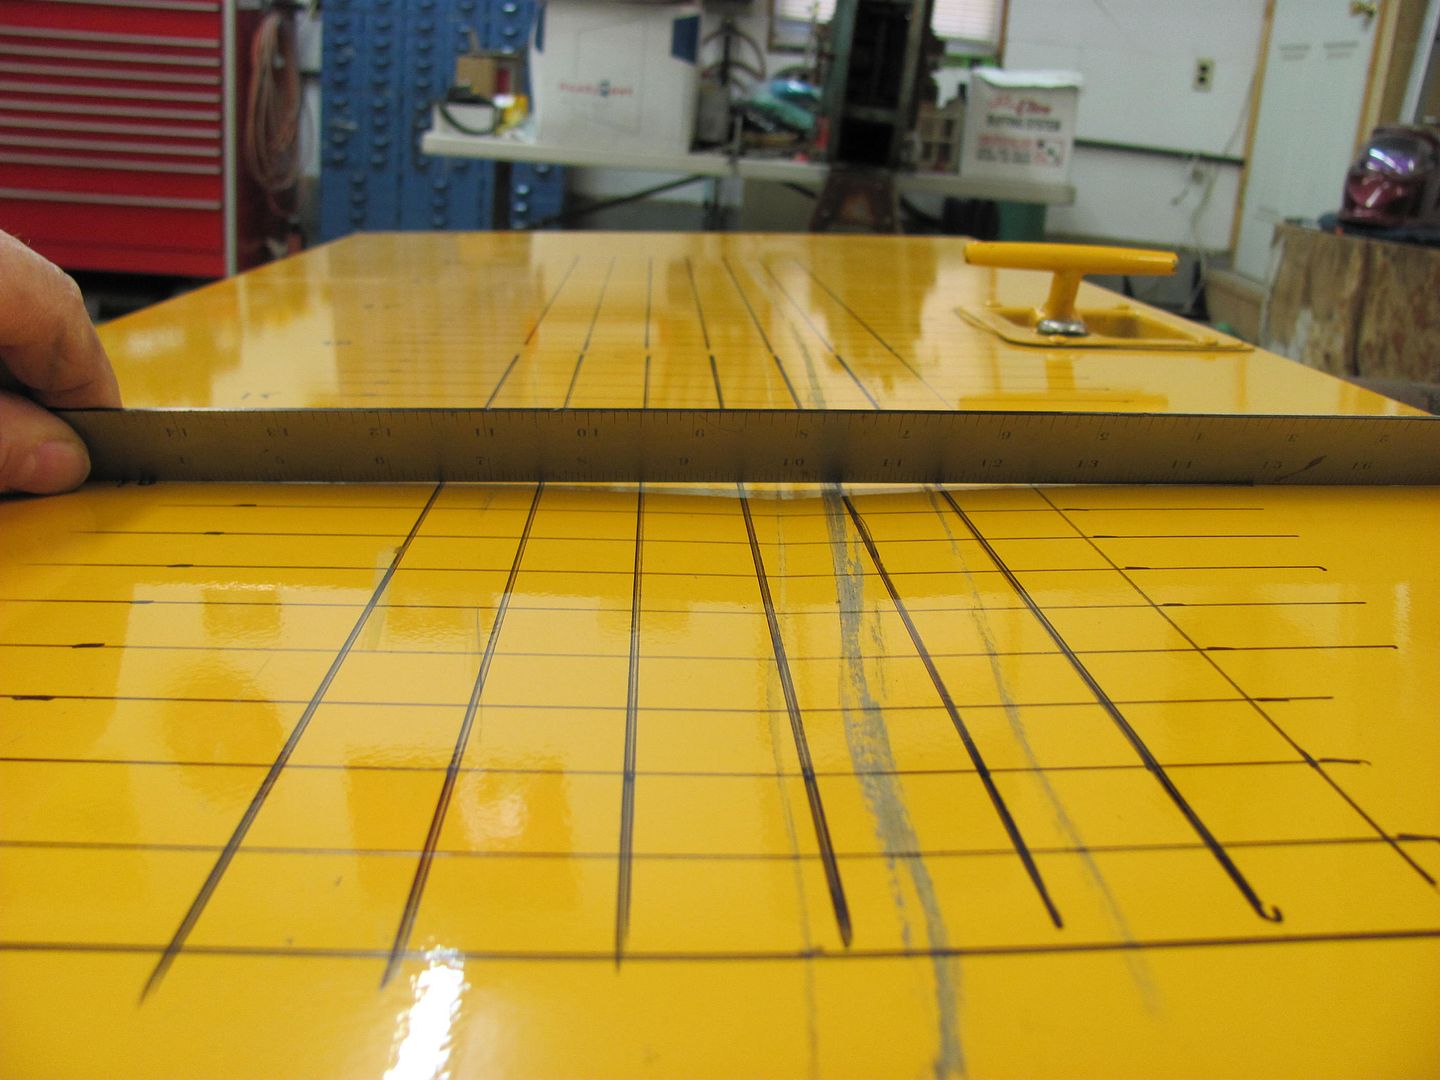
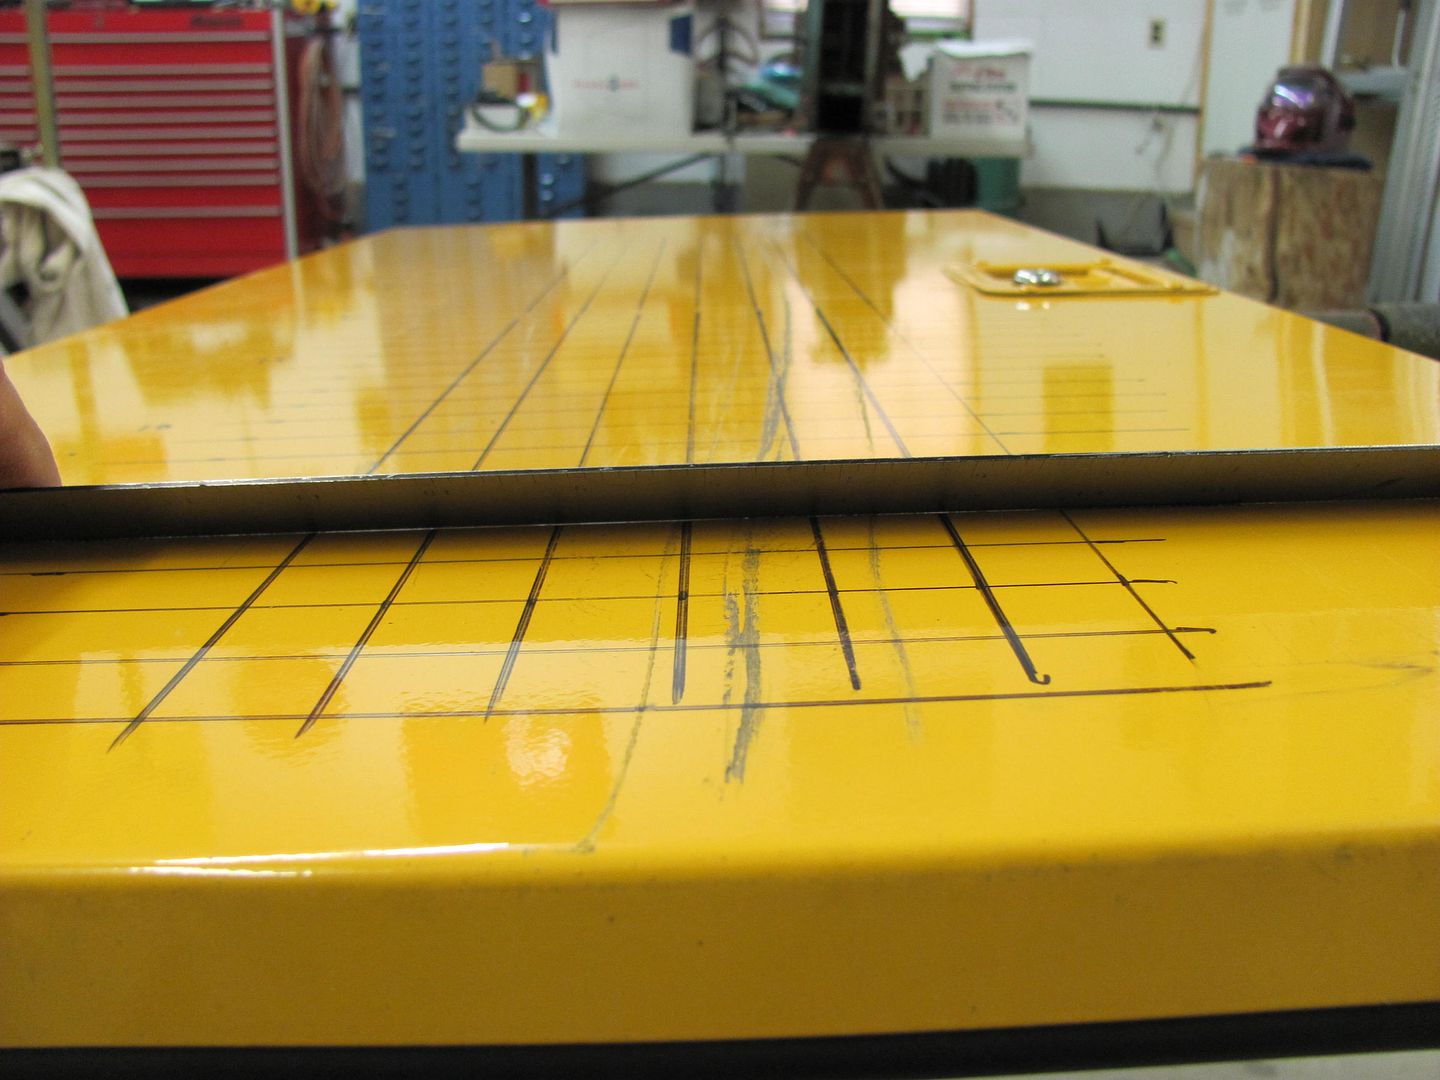
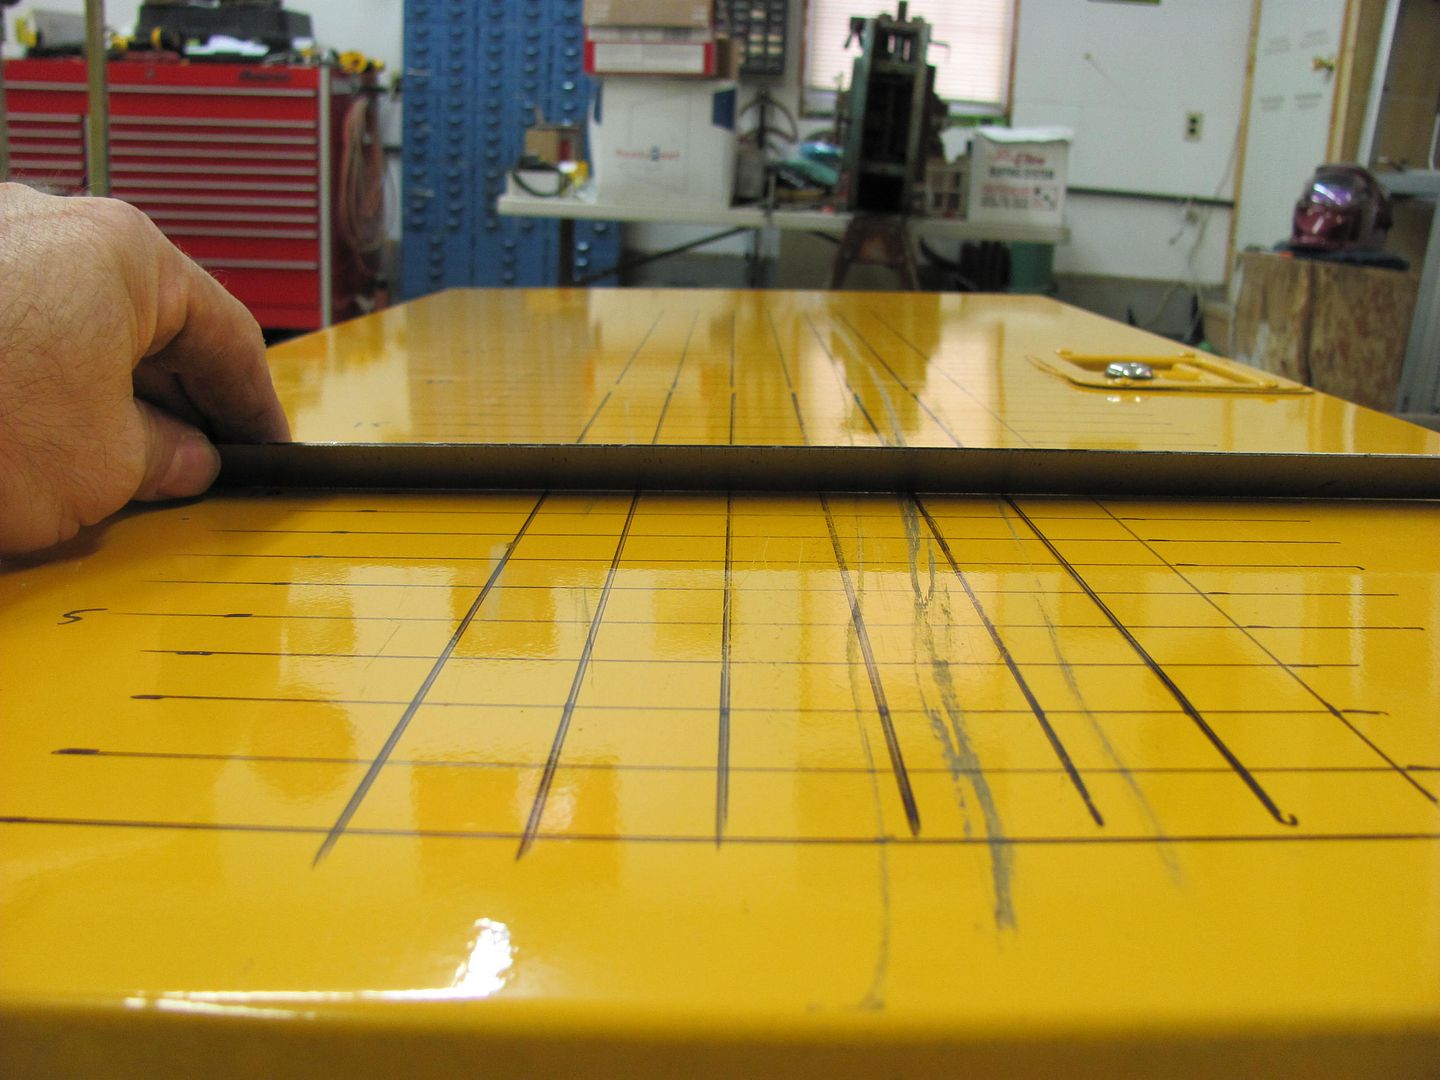
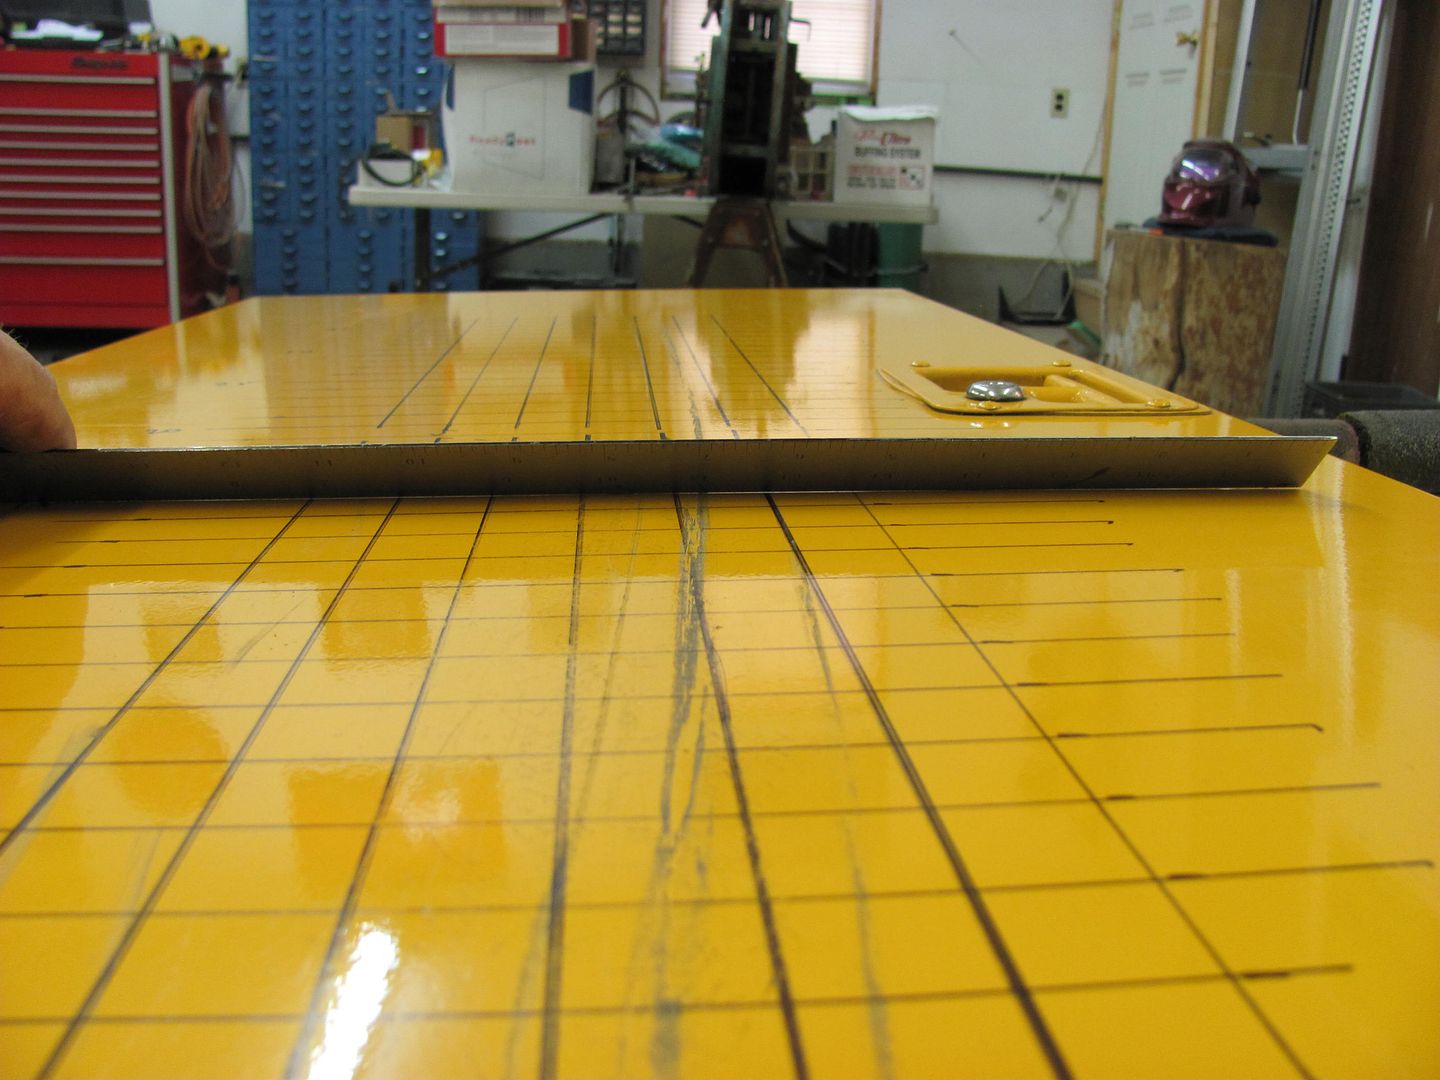
Started the prep for shaving fender number two.....
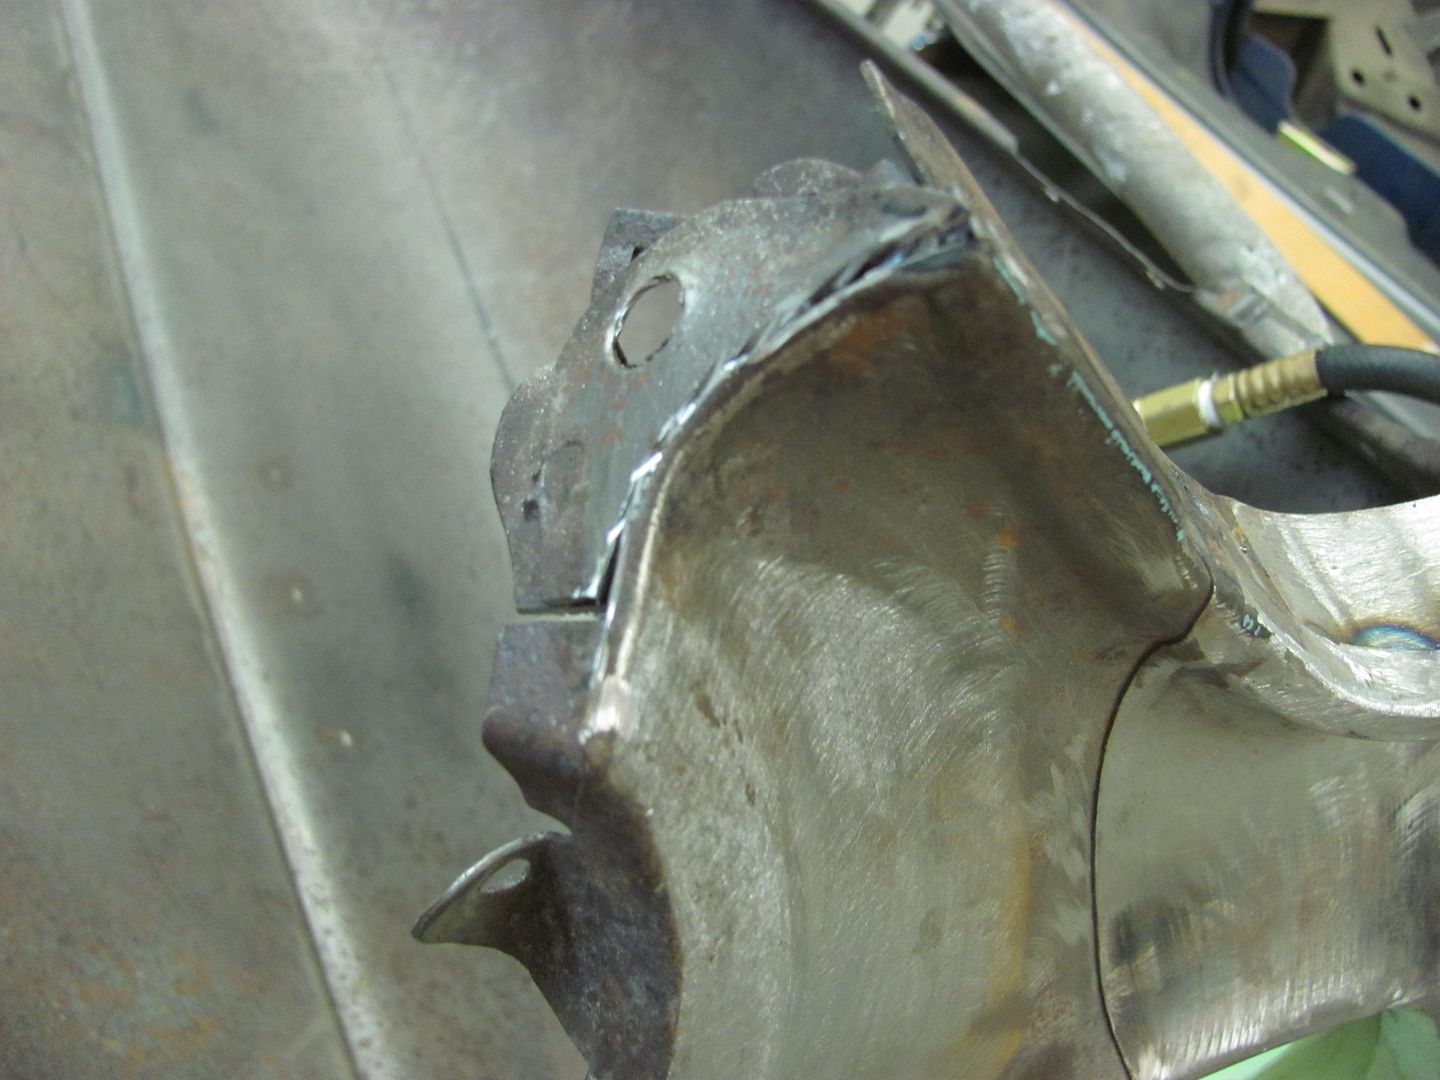 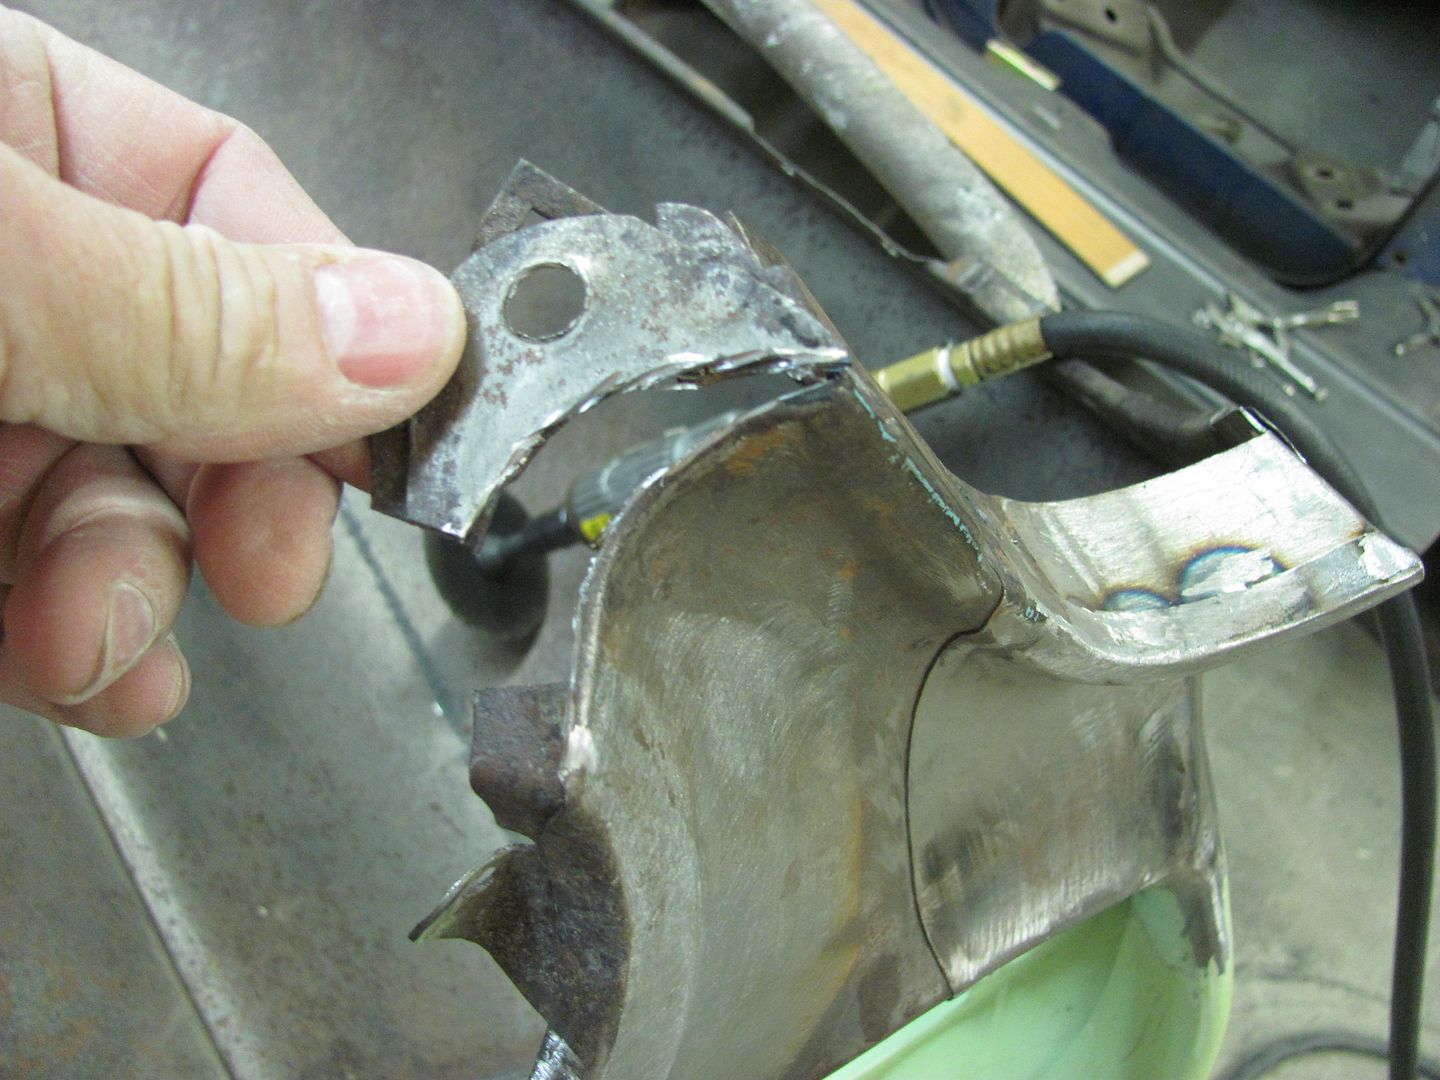 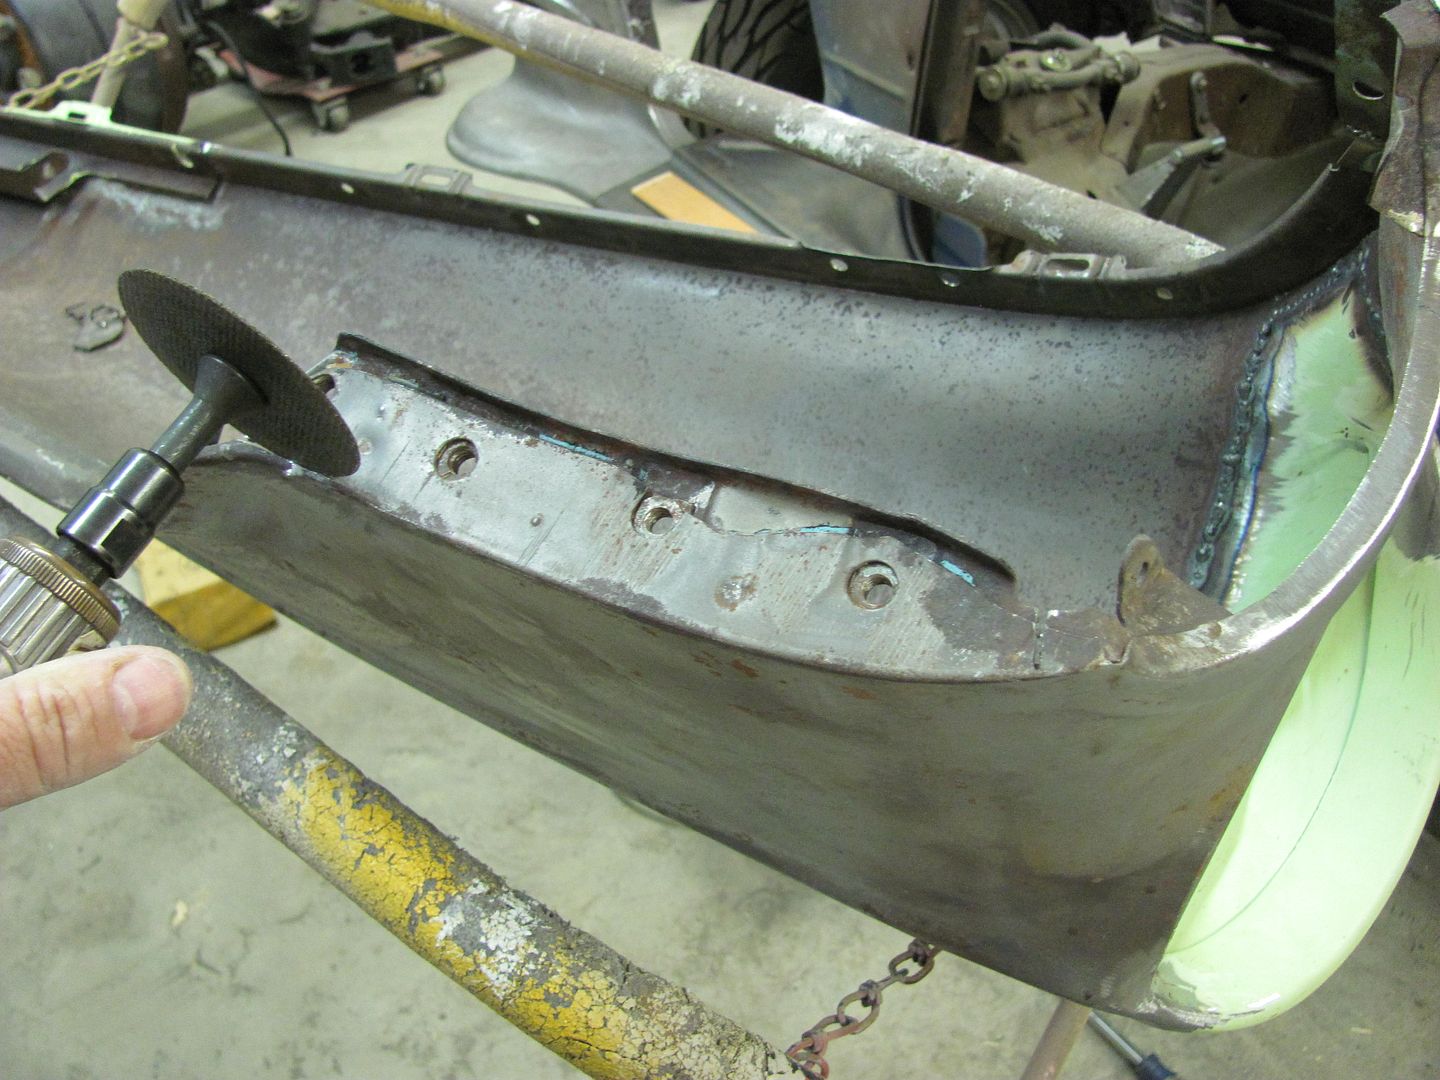 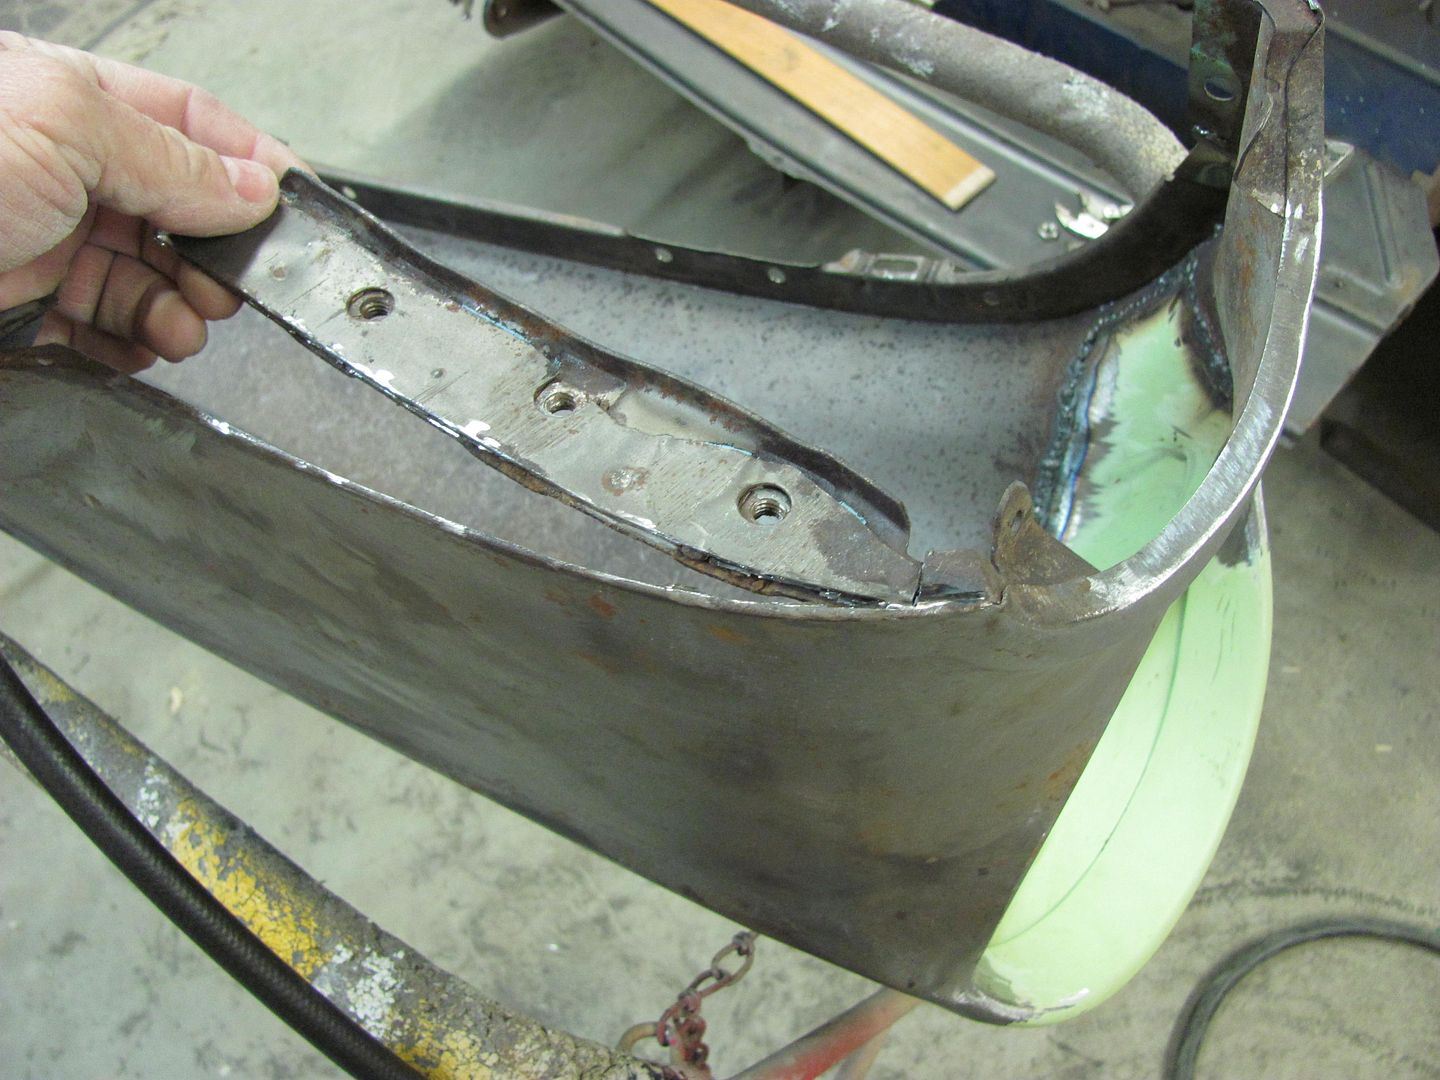 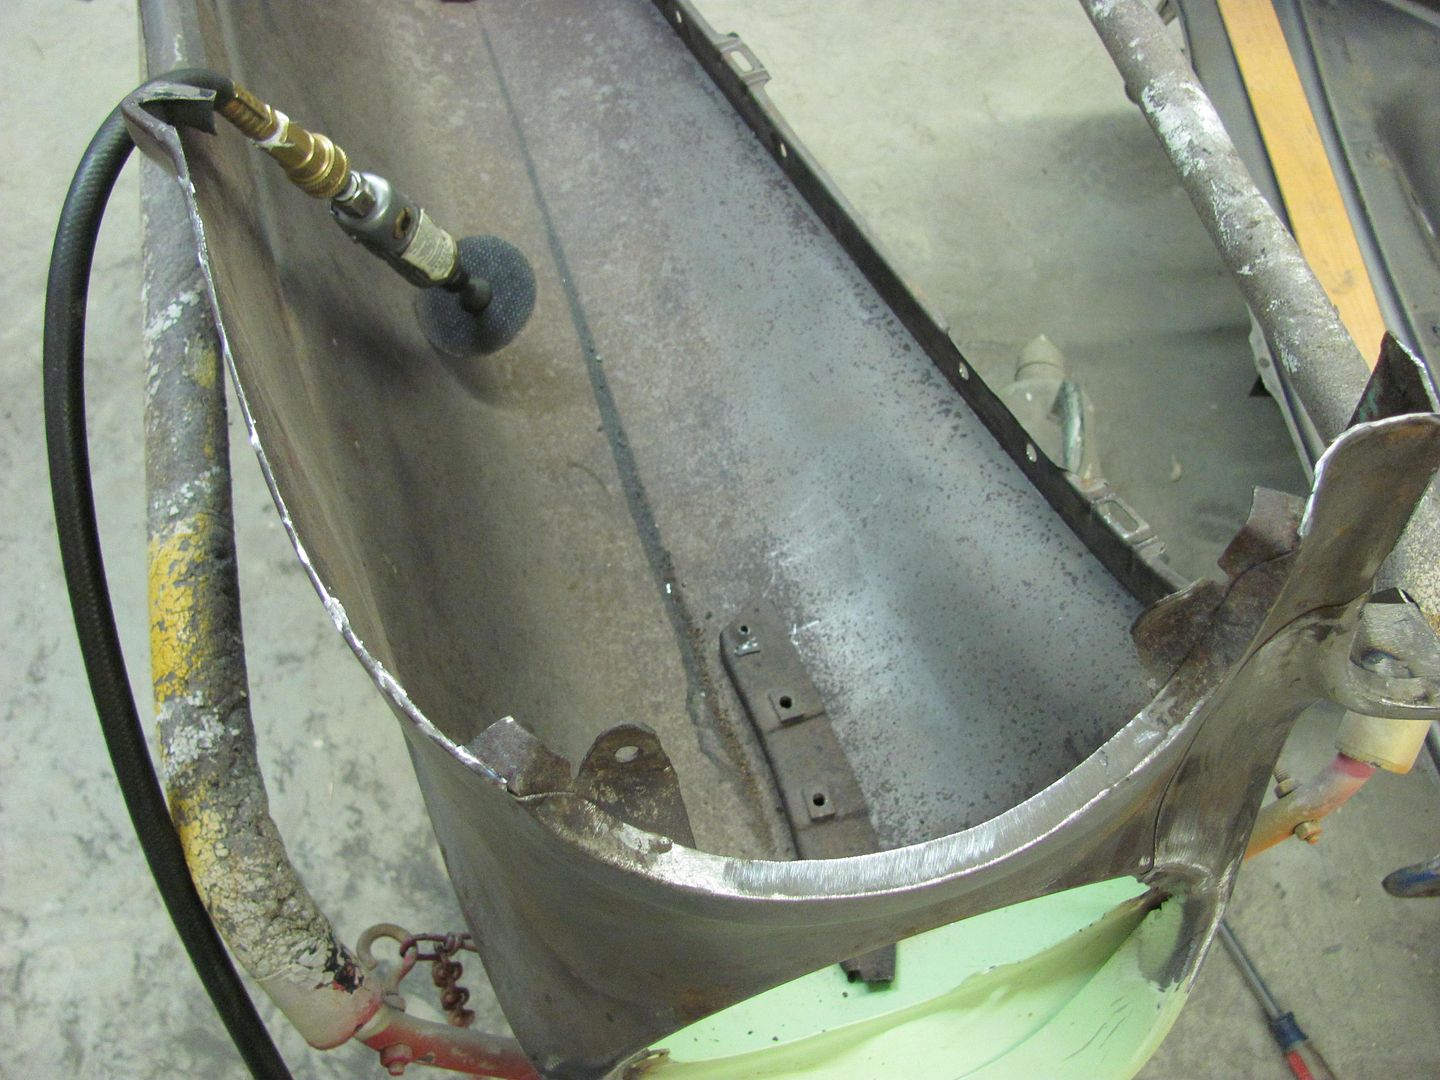 Then the top of the seam was trimmed.... 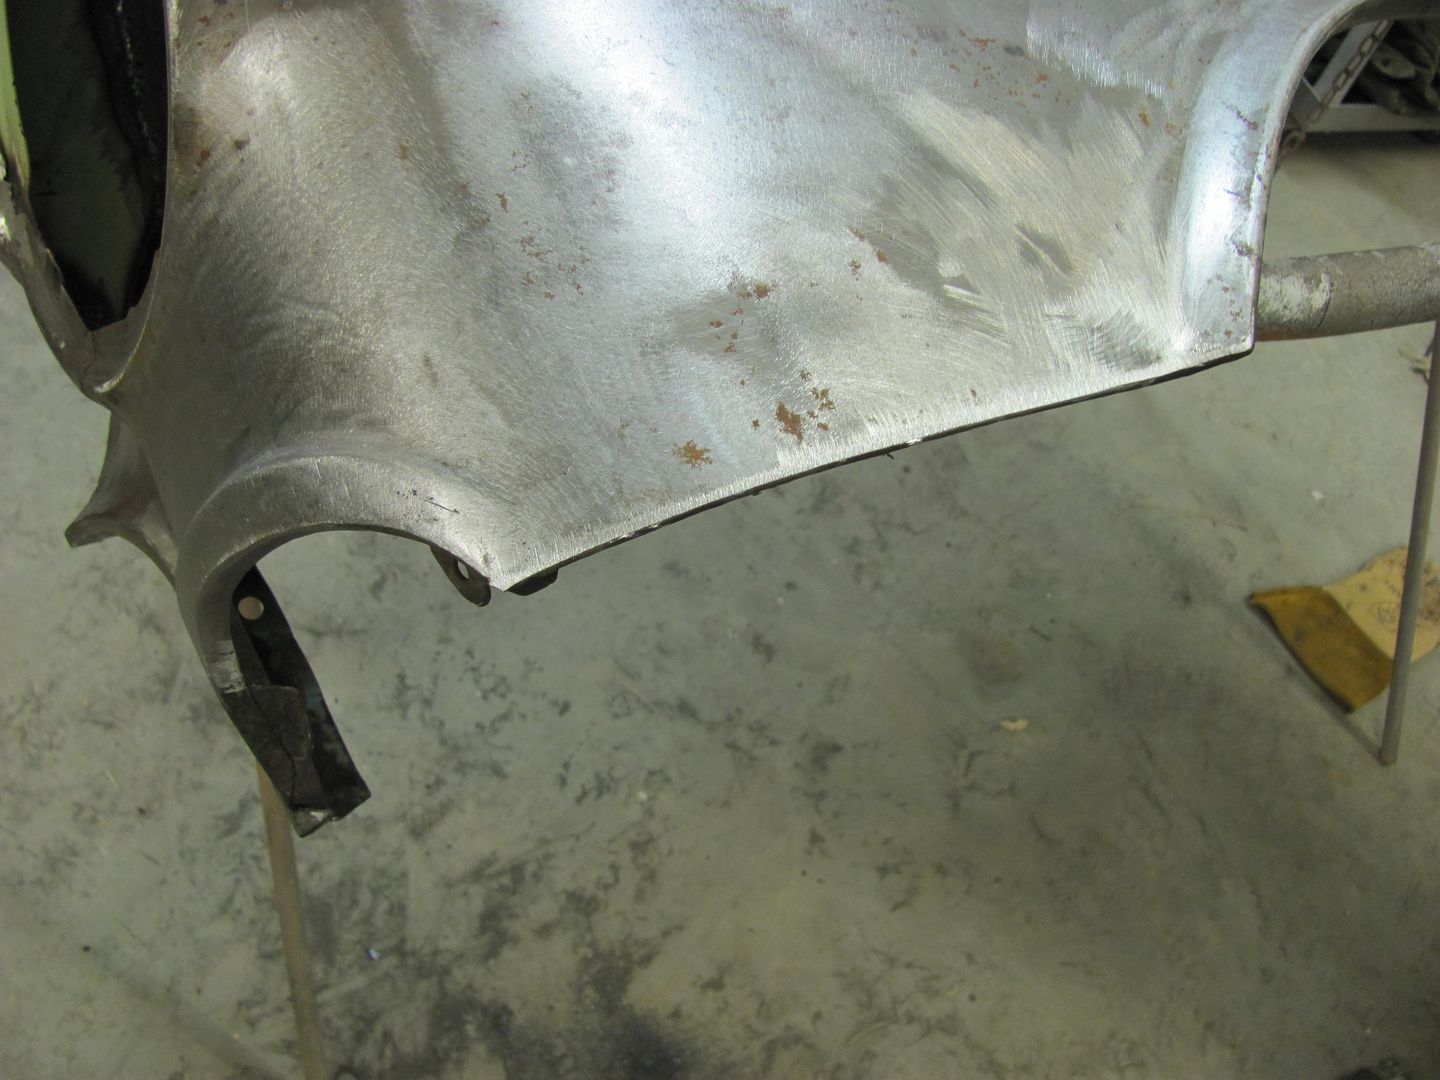 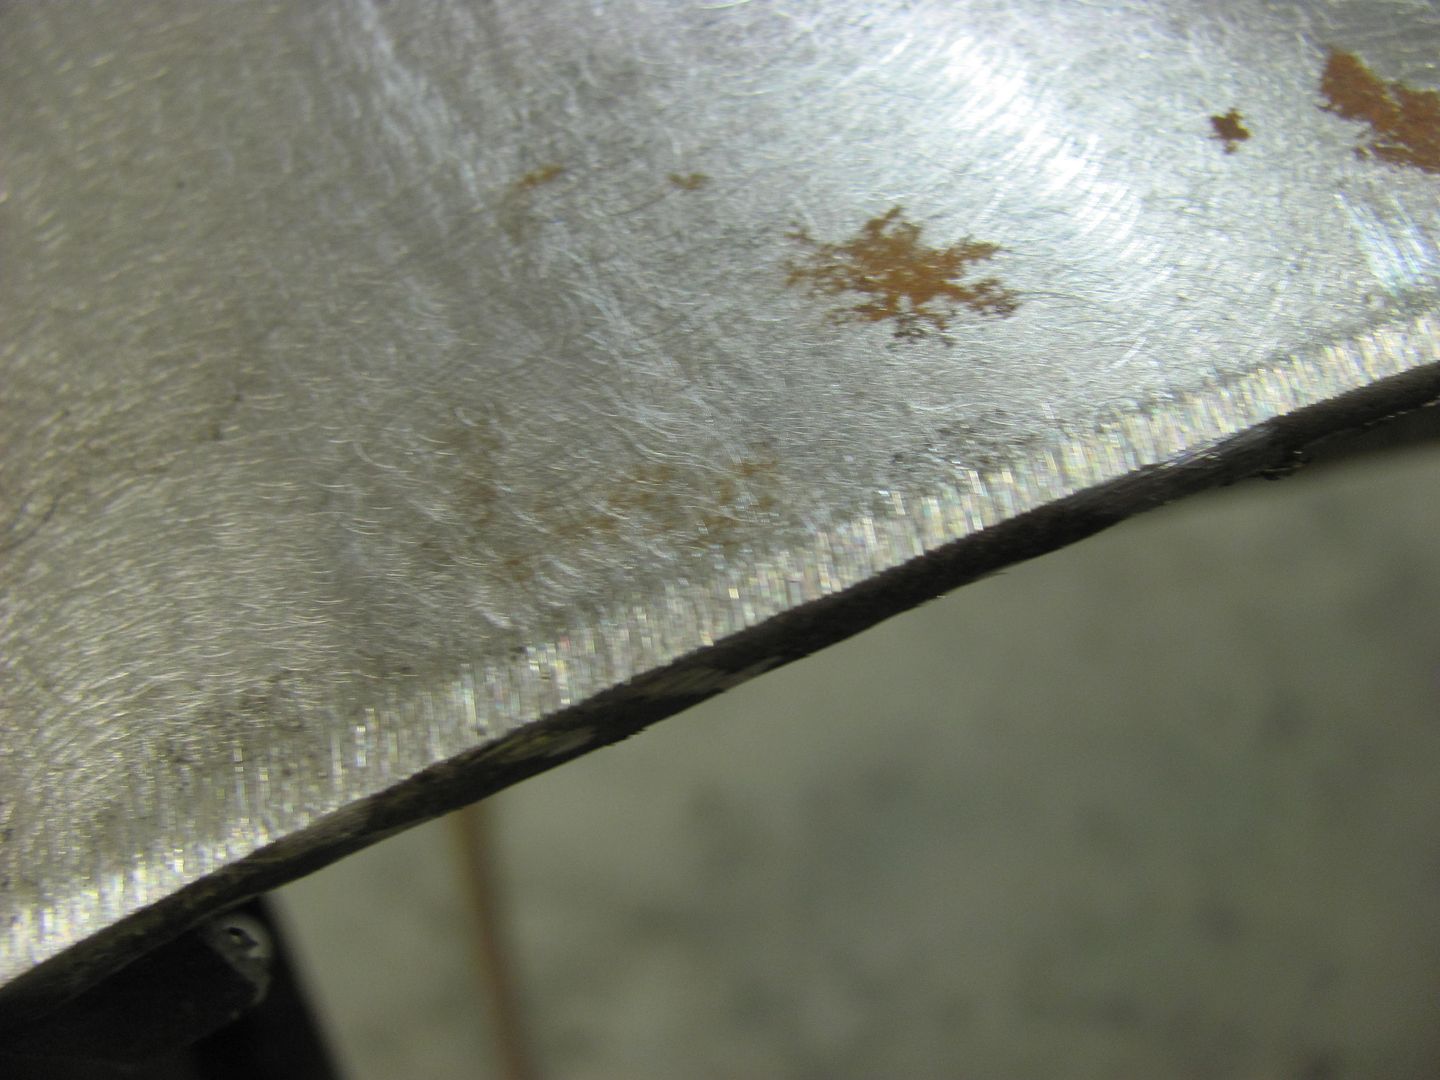 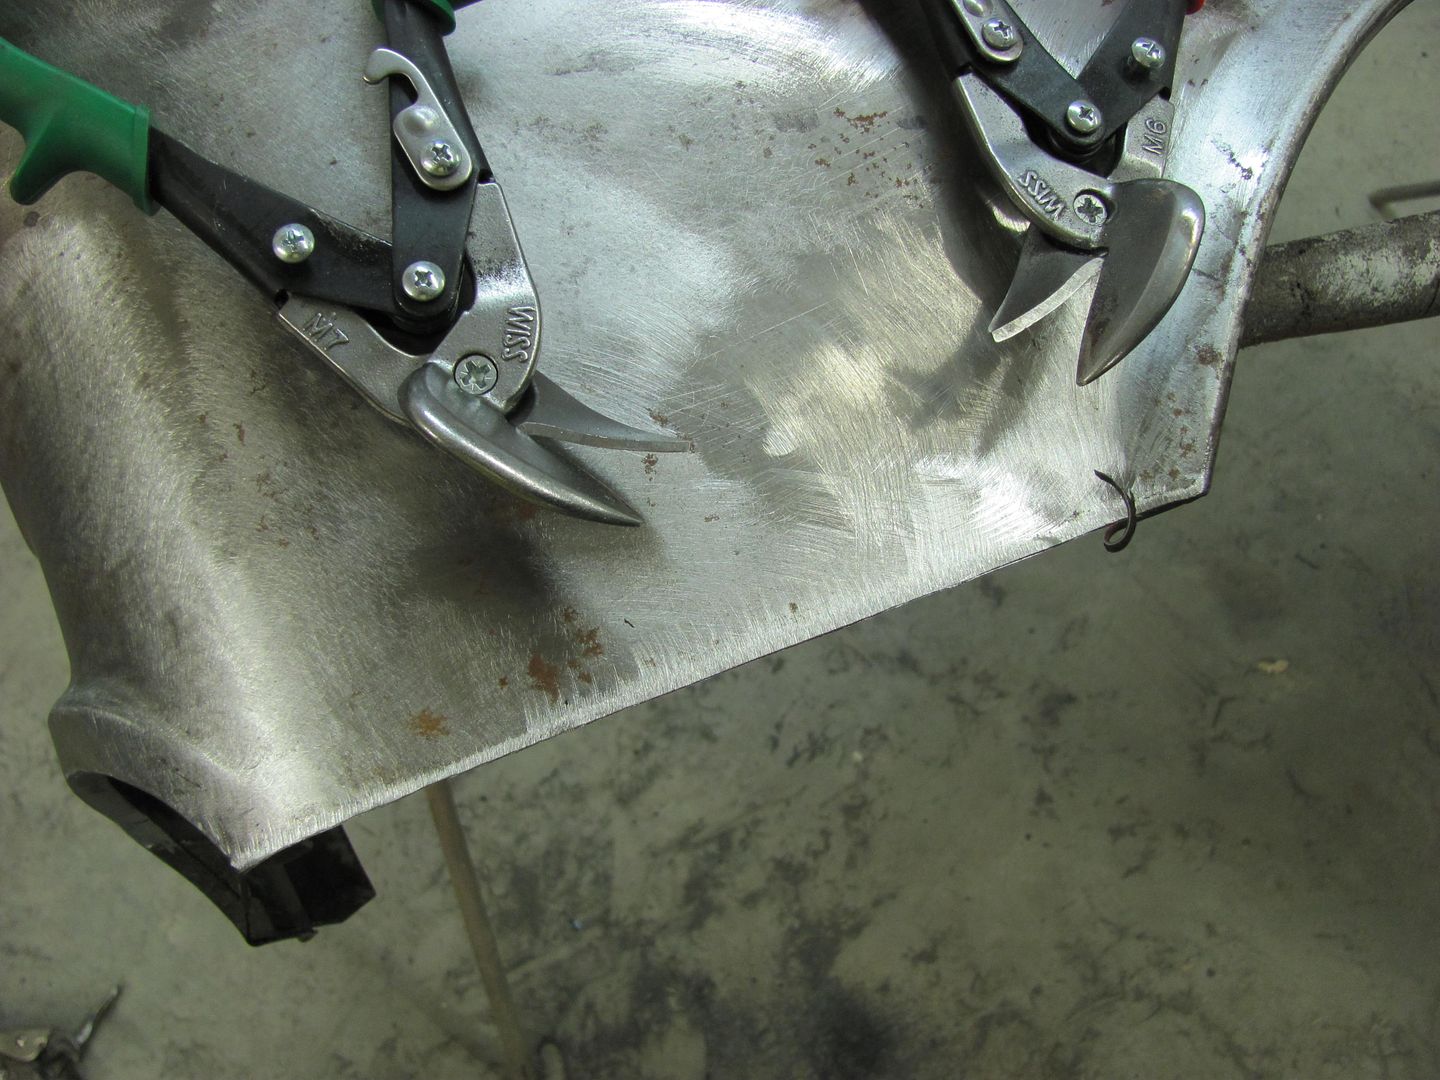 When trimming along through the center, I noticed a weak spot on the back side....   This is where some dirt had been trapped behind the bolting plate on top of the flange, and looks like it wouldn't have been long in coming through paint. To be able to trim the pitted area out, the lower section was trimmed with about 3/16 extra... see the scribe mark... 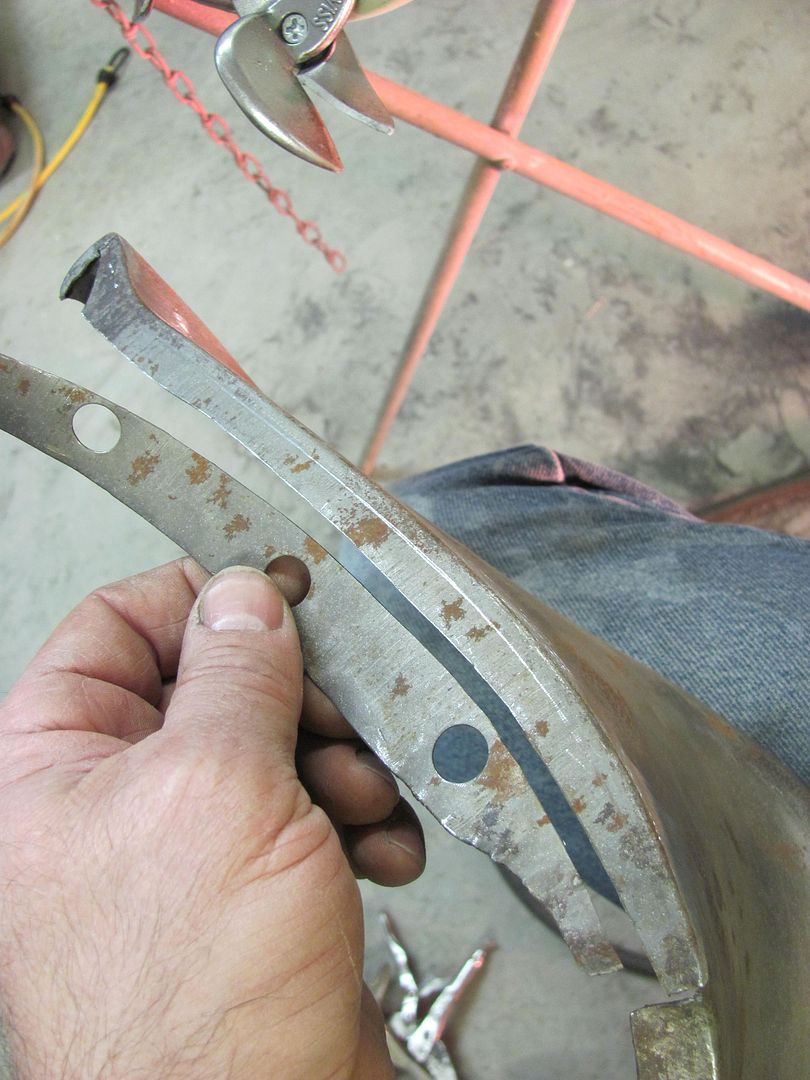 Planished flat..  Clamped over fender and scribed.... 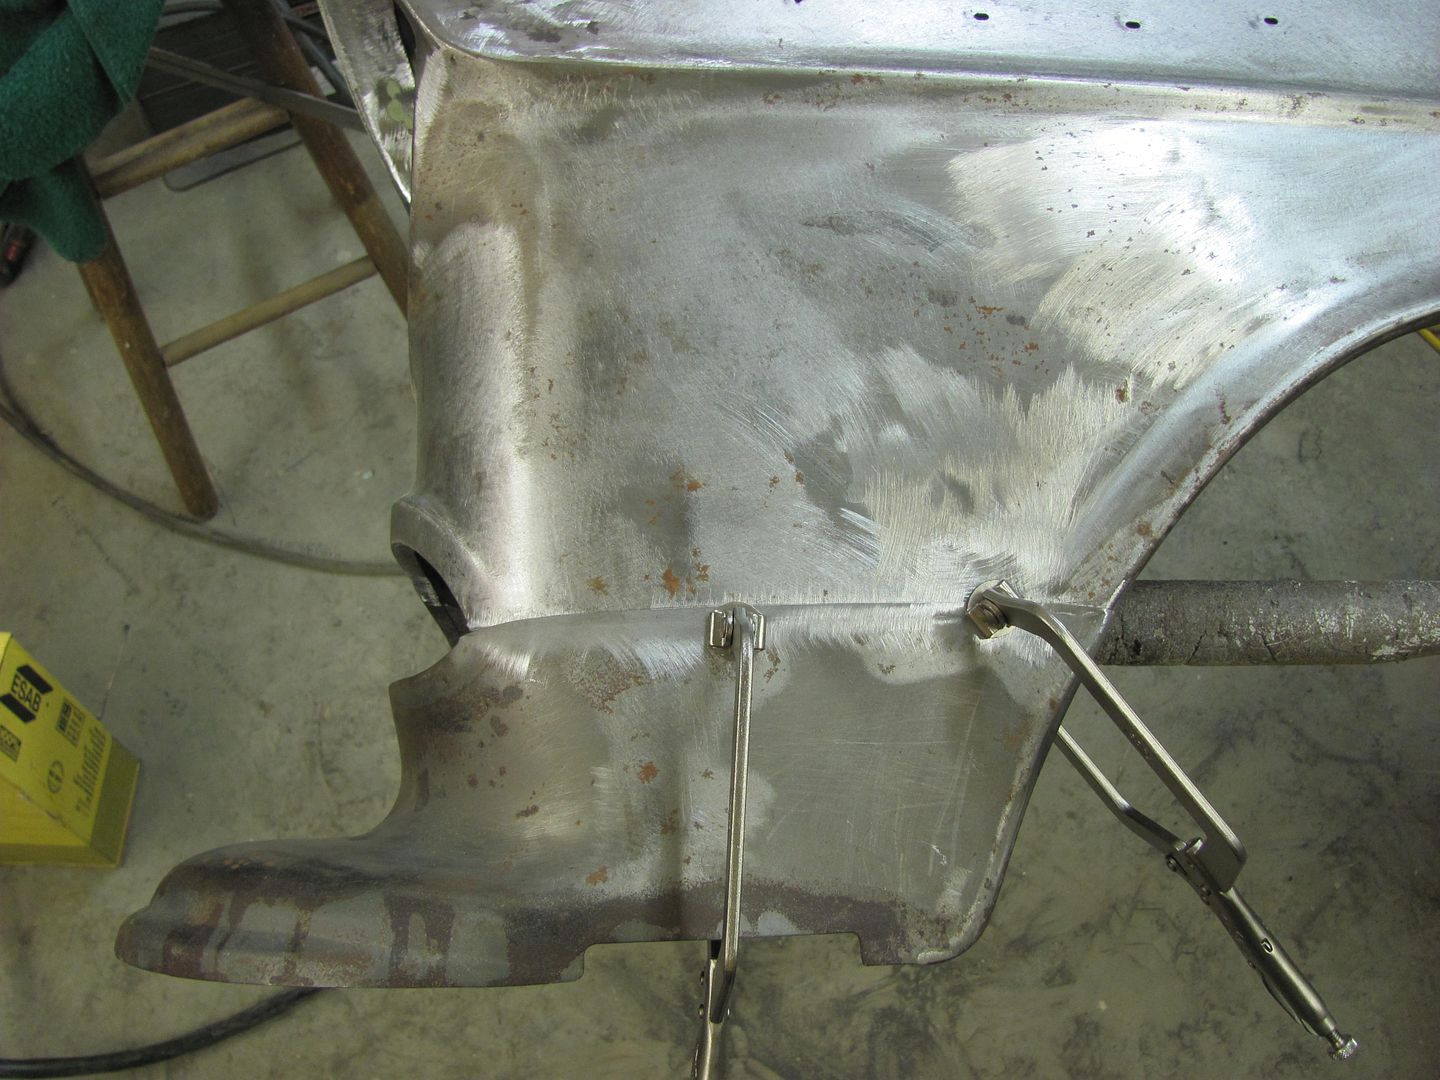 Trimmed for tight fit. Note that butt weld clamps are used to hold for fitment only, joint will be butted tight when welding... 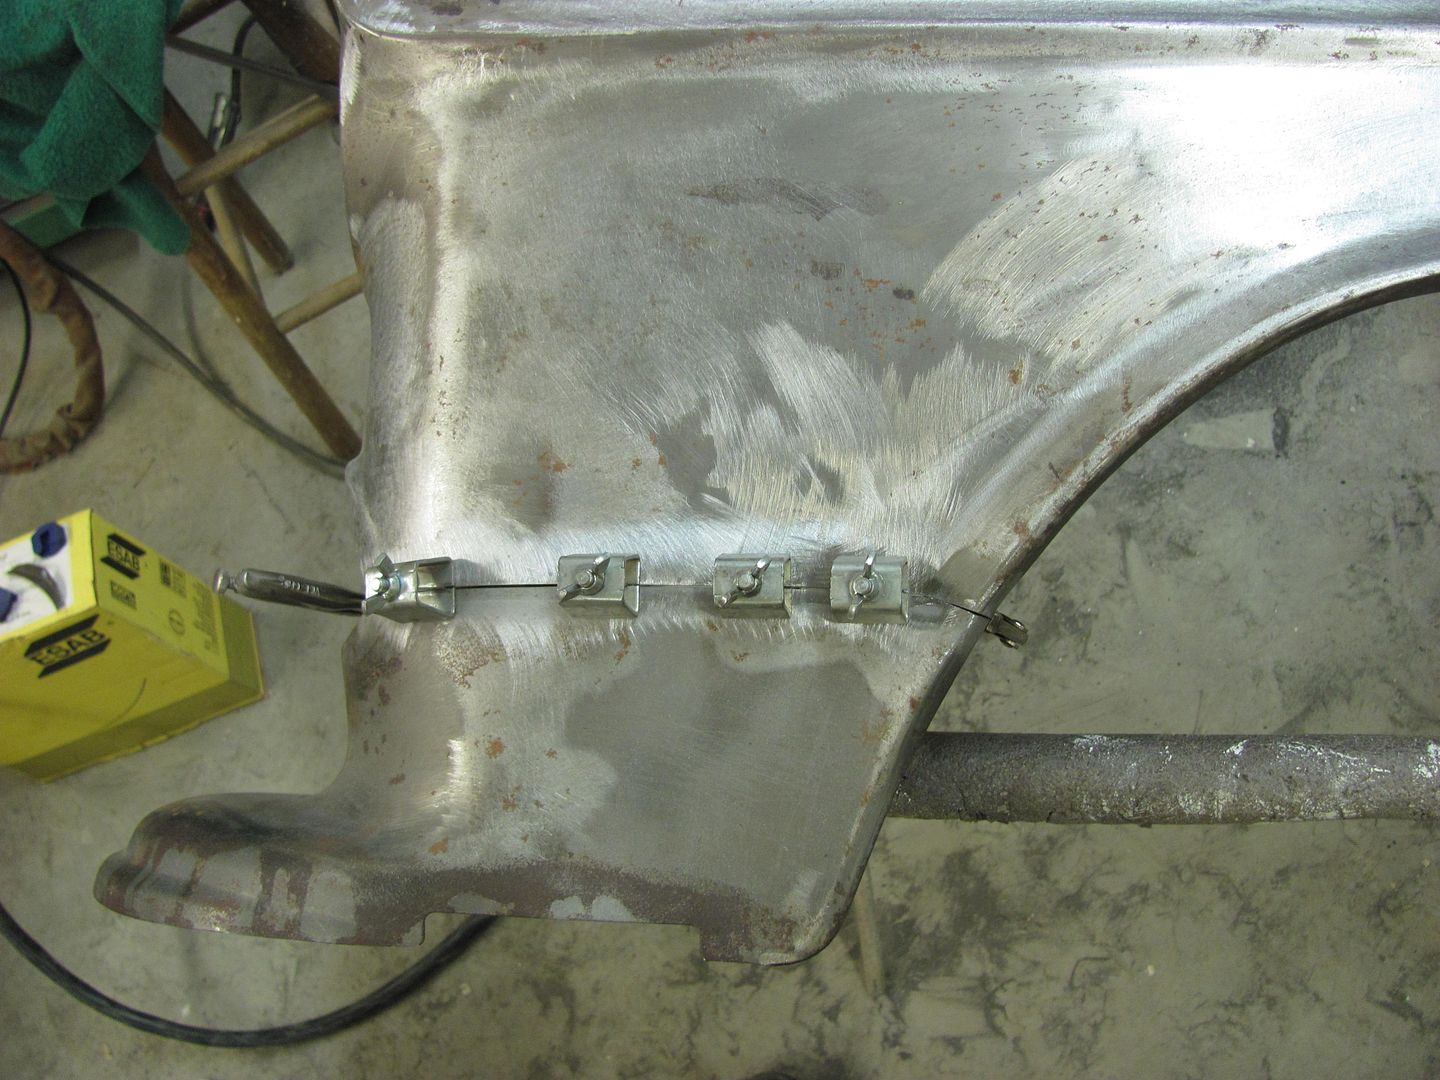 until next time....
__________________
Robert |
|
|
|
 |
| Bookmarks |
| Thread Tools | |
| Display Modes | |
|
|


 )
)


 Hybrid Mode
